Instruction
Classic Heel – flap and gusset
There are many different heel techniques. Two of the most popular are the gusset classic heel and the short row boomerang heel.
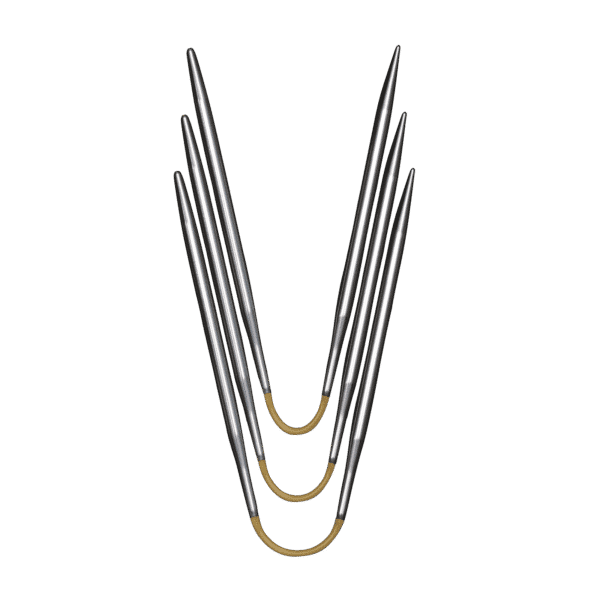
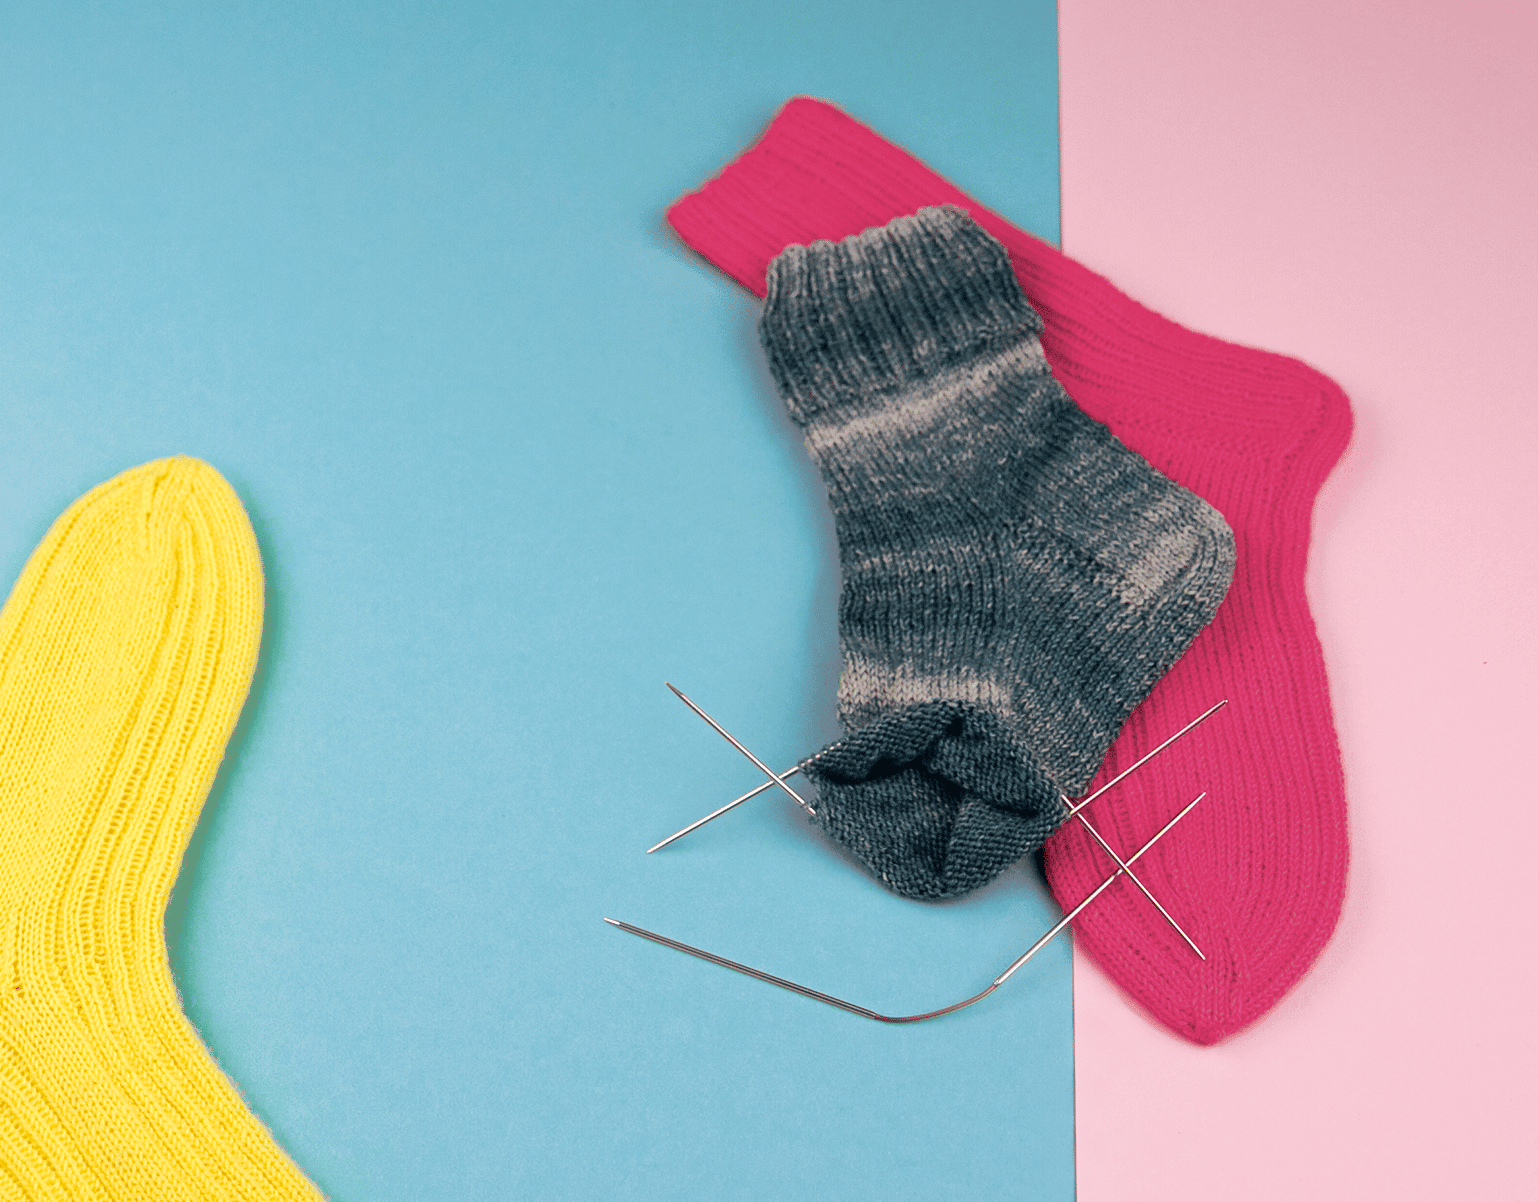
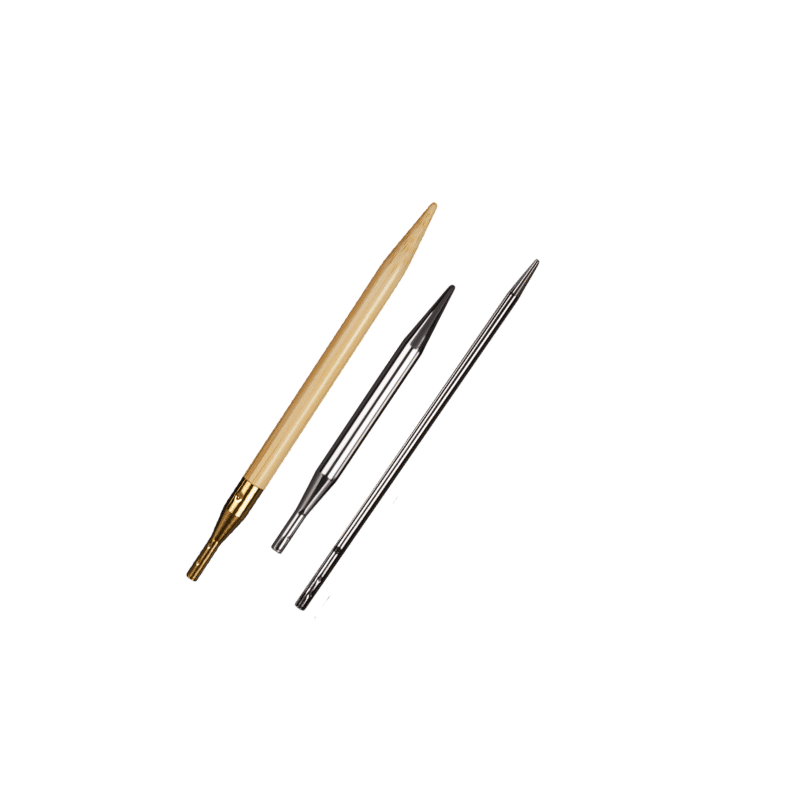
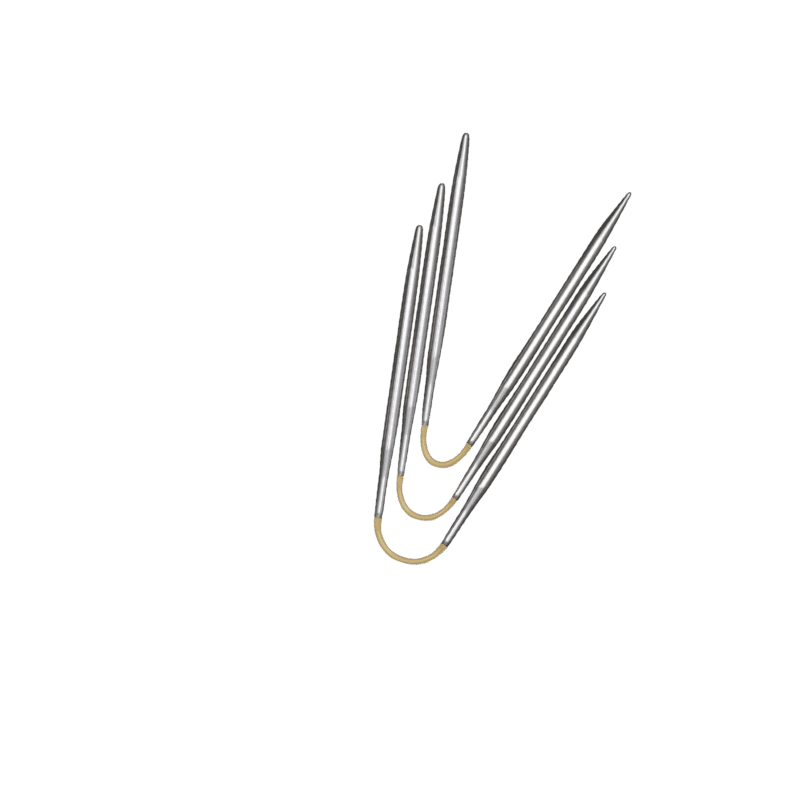
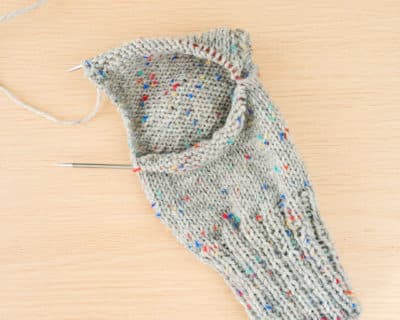
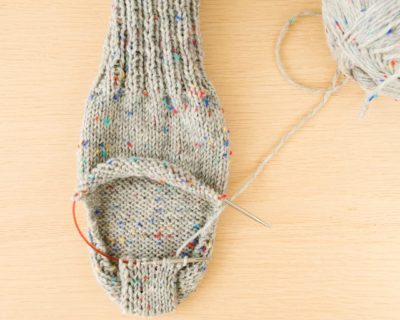
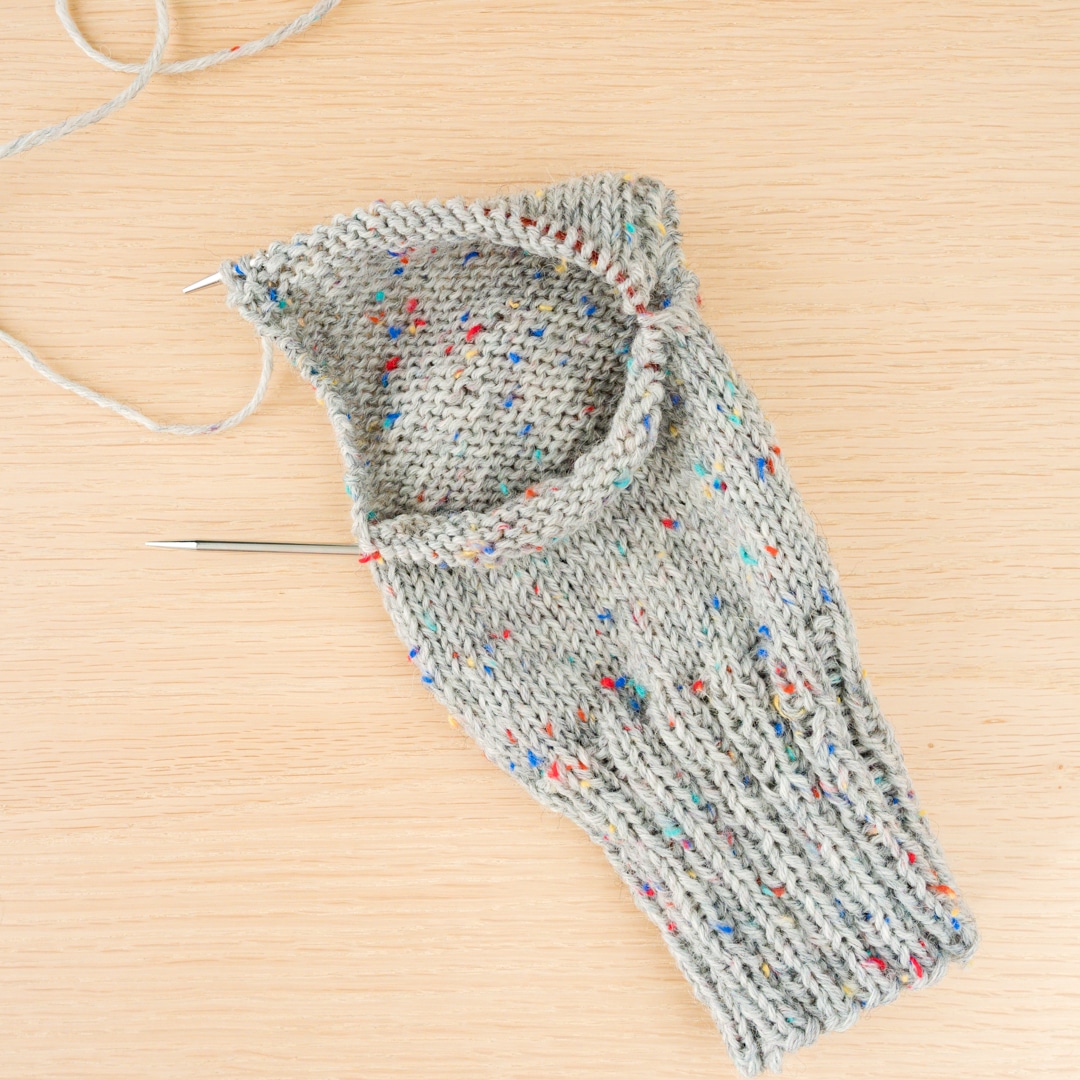
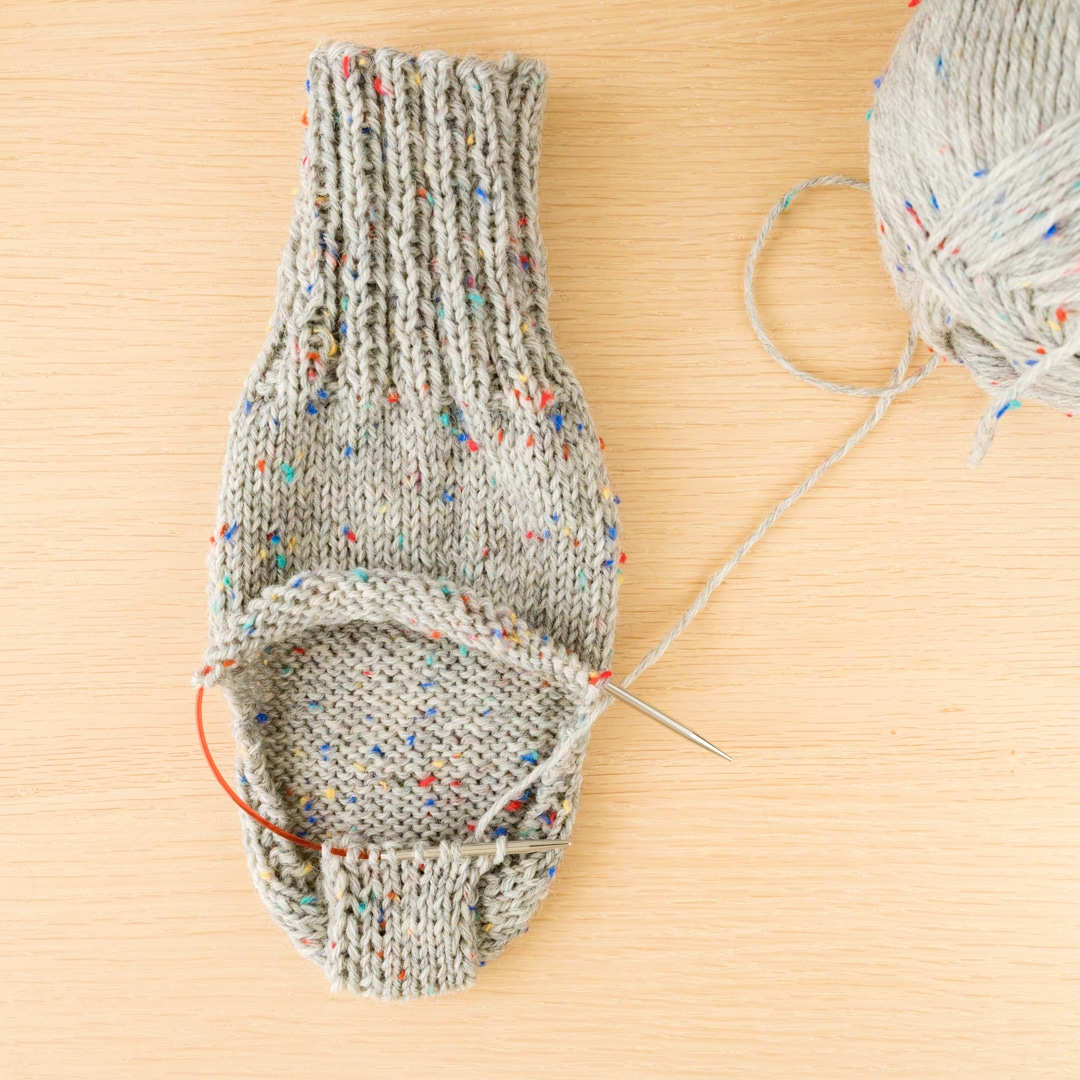
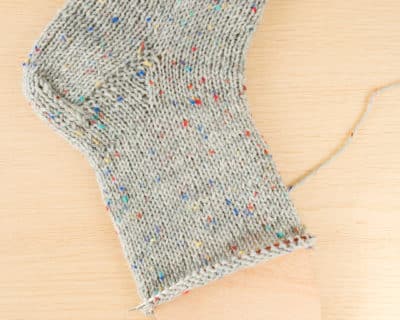
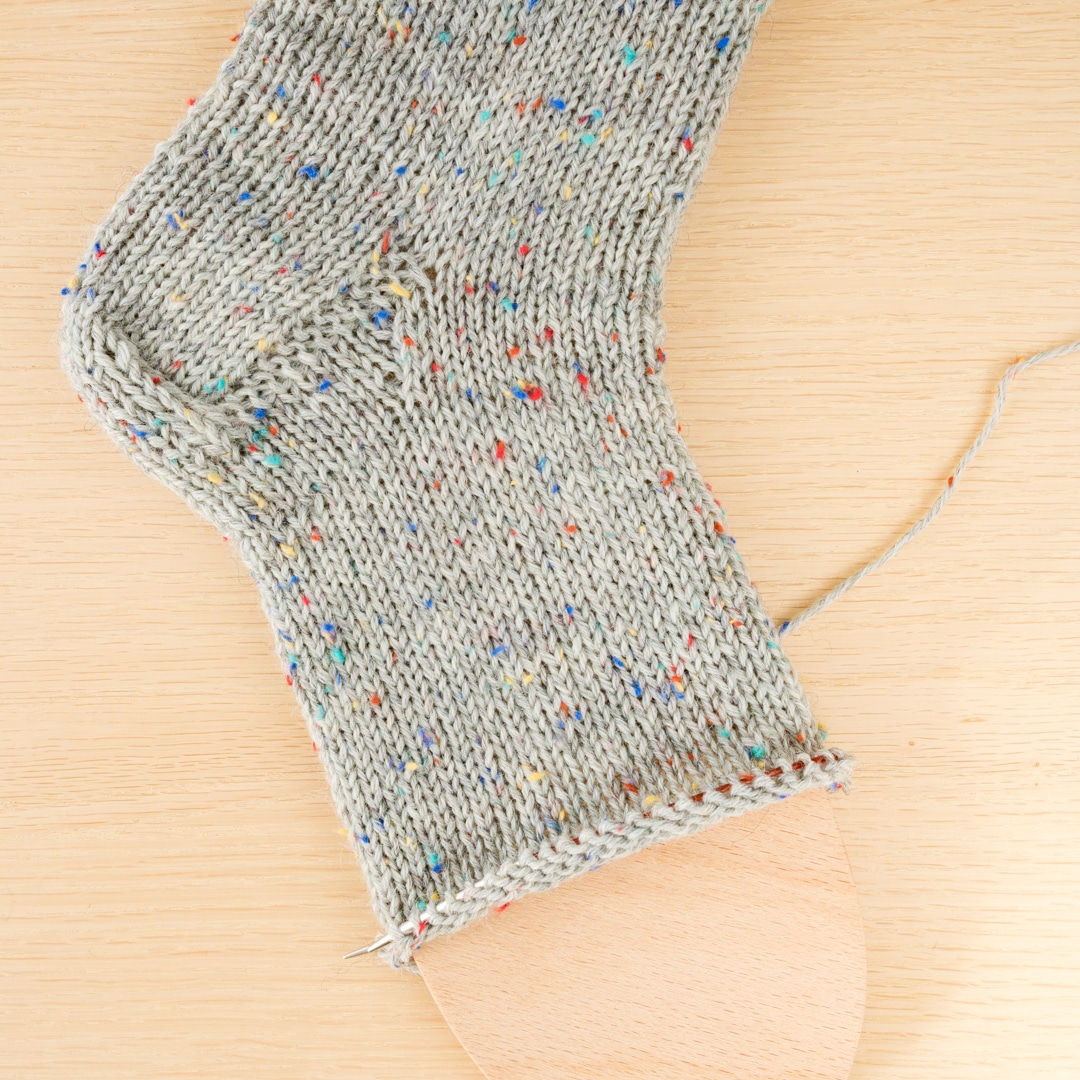
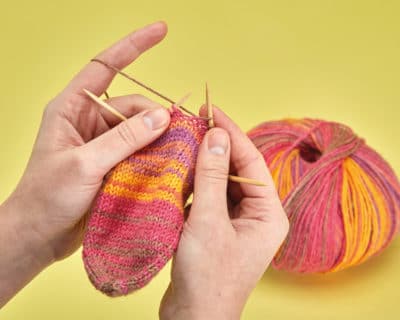
In this tutorial we describe step by step how to knit the classic heel with flap and gusset – with addiCraSyTrio, DPN or Sockwonder.
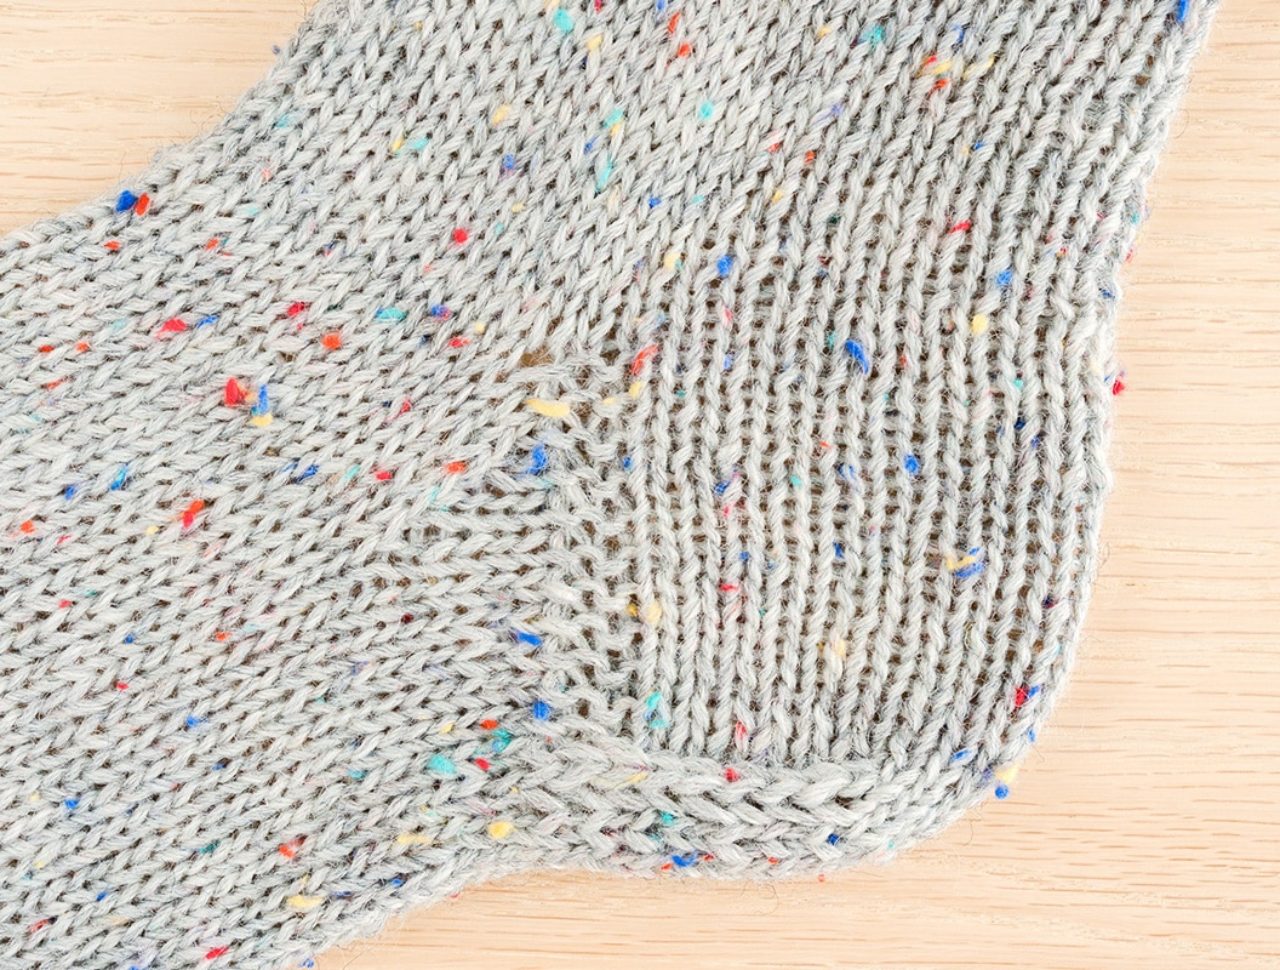
Characteristics of the classic heel:
Foot instep height: ♥♥♥♡♡
Wide heel: ♥♥♡♡♡
Yarn consumption: Medium
Technique: ↓ Top-Down
Customizability: A higher heel flap (for a higher instep) or more or less gusset decreases can be worked to change the fit for a wide or slim foot.
Knitting the Classic Heel – with flap-and-gusset technique


Knitting the Classic Heel – with flap-and-gusset technique
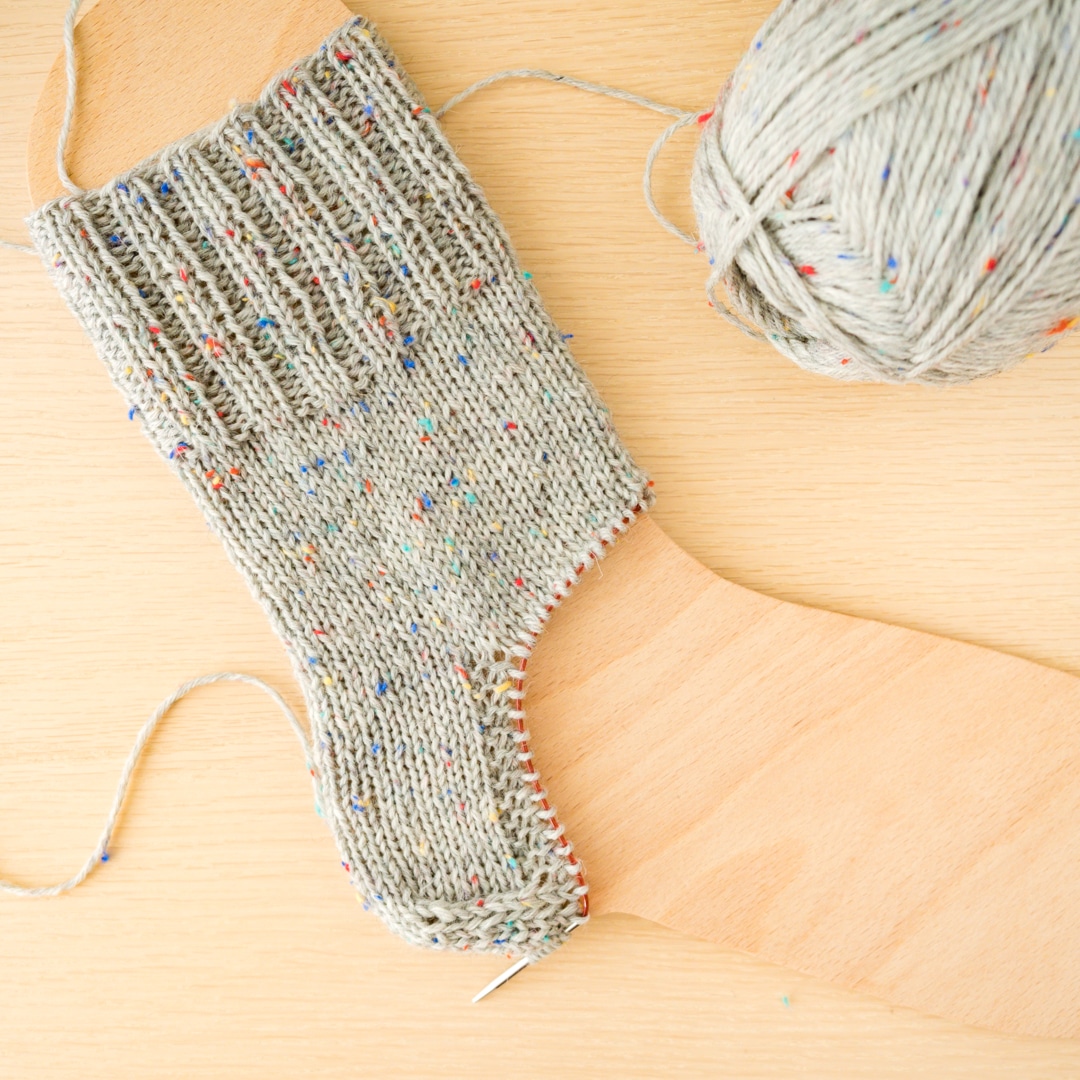
Heel flap
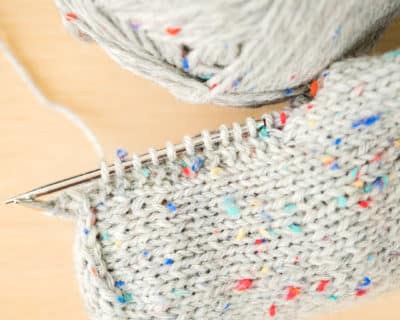
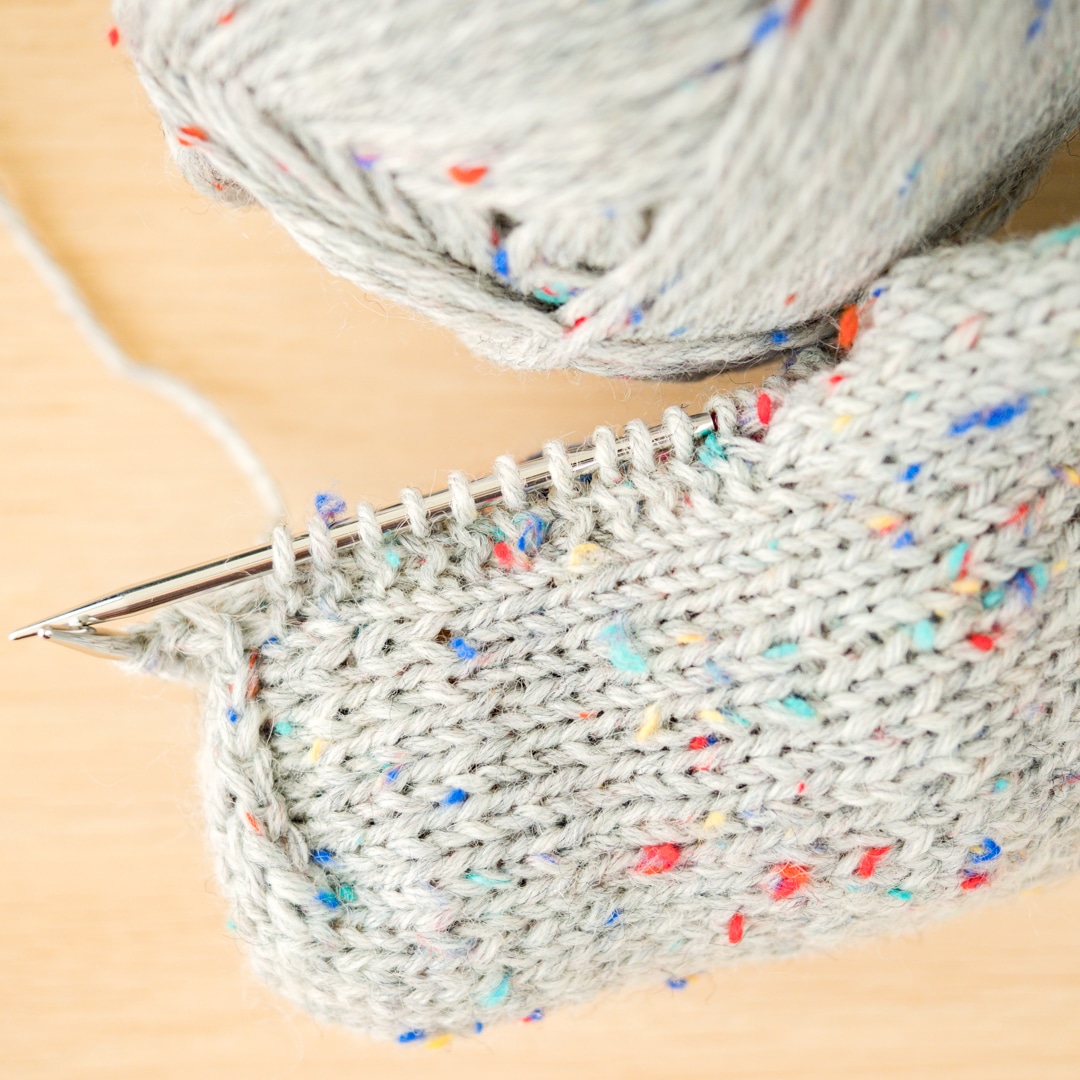
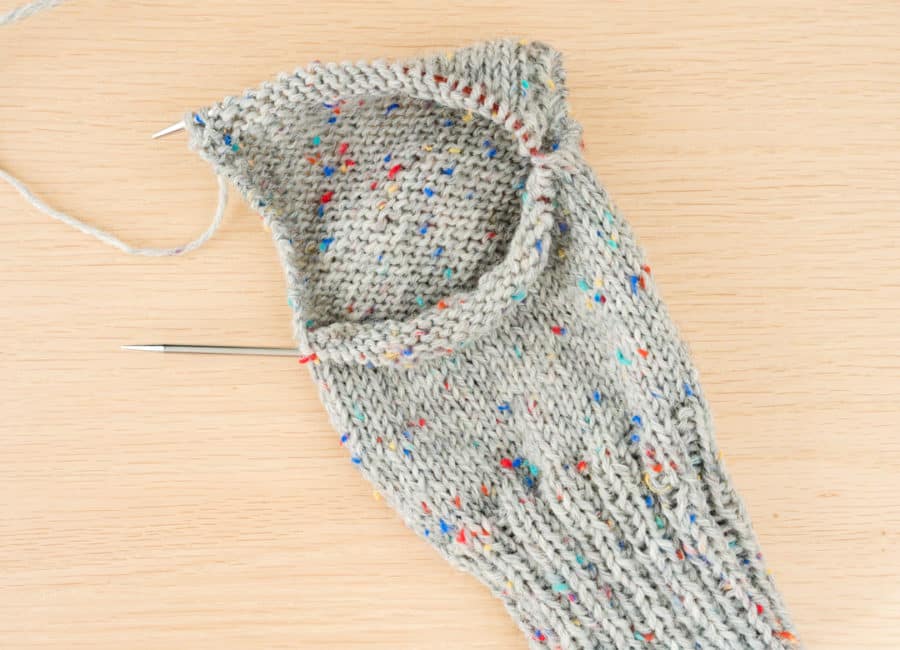
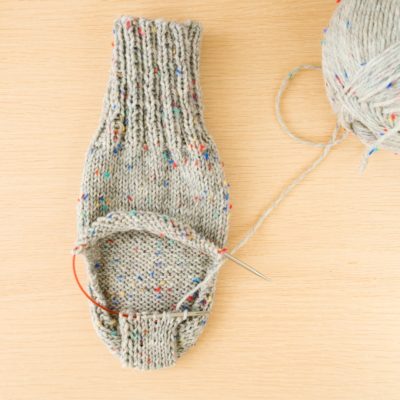
- You work your heel flap in stockinette stitch. Knit all stitches on the right side. On the wrong side you knit the first and last 2 stitches and purl the stitches in between. This way you get 2 garter stitches.
- Knit the heel flap for as many rows as indicated in the chart.
Heel flap
- You work your heel flap in stockinette stitch. Knit all stitches on the right side. On the wrong side you knit the first and last 2 stitches and purl the stitches in between. This way you get 2 garter stitches.
- Knit the heel flap for as many rows as indicated in the chart.
Heel turn
- First knit the stitches of the first third. Then knit the stitches of the second third also, up to the last stitch. This last stitch of the second third is not knitted, but knitted together with the first stitch of the last third by slipping the stitch as if to knit.
- The first stitch of the last third is knitted,
- then the slipped stitch is pulled over – you can also work a ssk decrease.
- The other stitches of the last third remain unknitted.
- Now turn the work. The first stitch is slipped and the second to penultimate stitches of the middle third are purled.
- The last stitch of the middle third is now purled together with the now first stitch of the first third. Just imagine that the two stitches are one stitch and that you purl them normally.
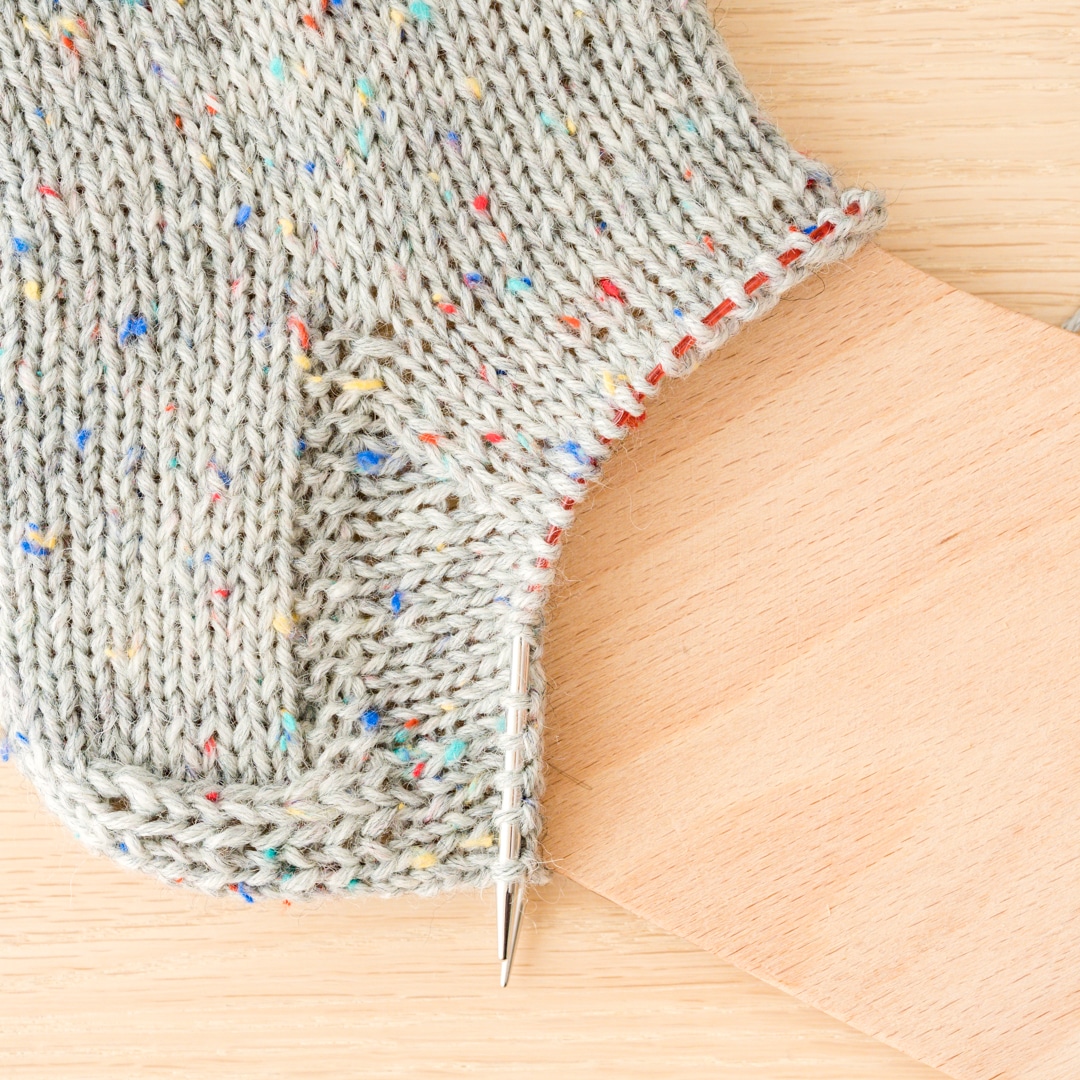
- Now turn the work again and slip the first stitch. If you look closely, there are 2 gaps where the stitches were worked together on the right and wrong row and slipped off after turning.
- From now on, on the right side you knit up to one stitch in front of the gap and knit the stitch in front of the gap together with the stitch behind the gap.
- Then turn, slip the first stitch and purl until one stitch before the gap.
- Then purl together the stitch before the gap with the stitch behind the gap.
- Repeat this process until only the stitches of the middle third are left.

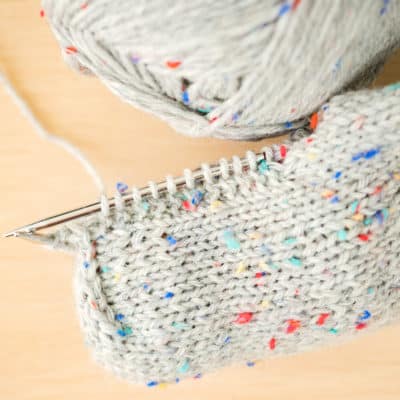
Sock Heel
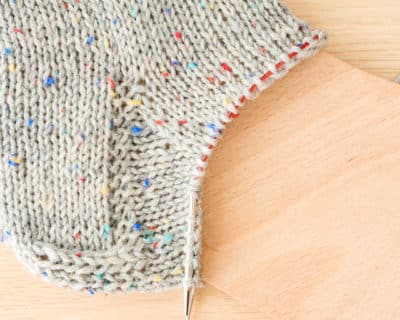
Now work in rounds again. To do this, knit the stitches of the middle third, then pick up a stitch from each knot on the left side edge of the heel flap.
- When all stitches on the left side edge are picked up, you place a stitch marker – except for DPNs, where you continue knitting with the next needle. Now knit all the stitches that were on the stitch holder and place a stitch marker – except for DPNs, where you continue knitting with the next needle. Arriving on the other side, stitches are picked up again from the right side edge. For this, pick up a stitch from each knot.
The beginning of the round is now in the middle of the heel stitches. You can mark this point with a stitch marker. If you knit with DPNs, you will start with a new needle anyway.
- Knit another round over all stitches, then the gusset begins.
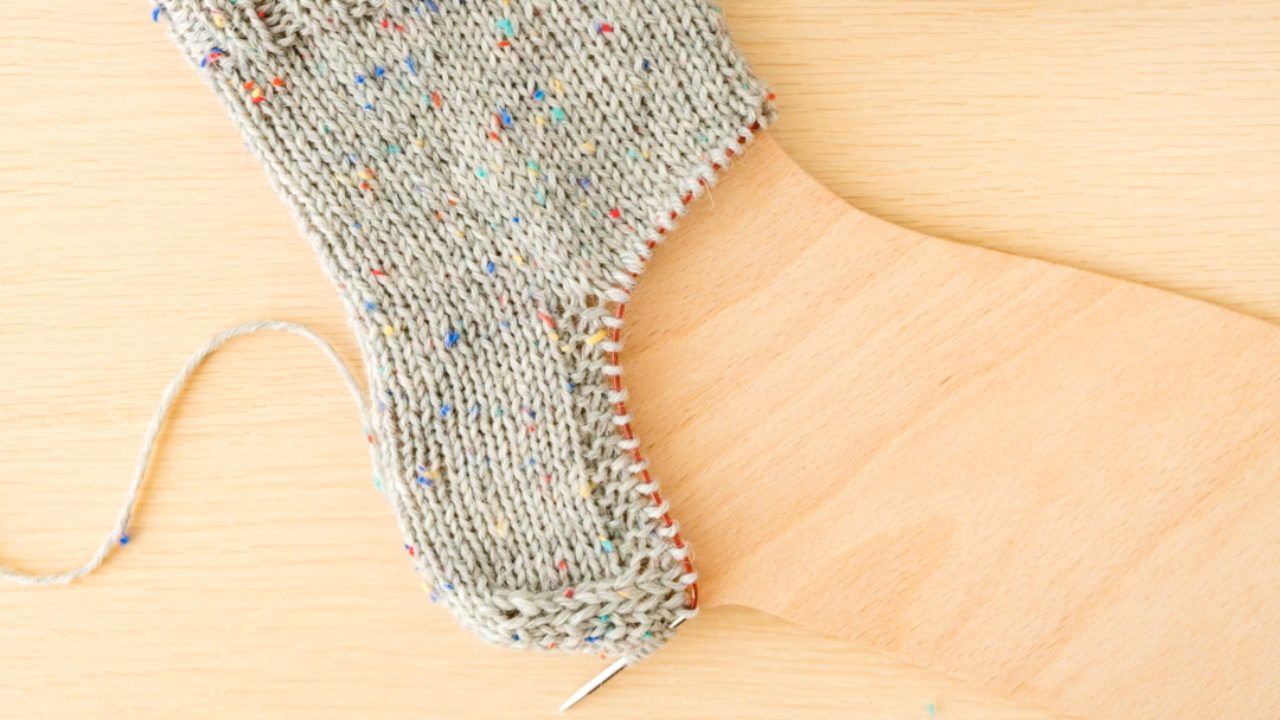
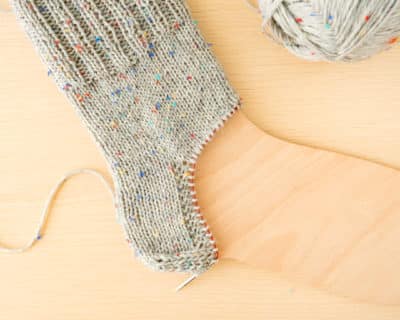
Gusset
- For this, in every 2nd round:
- knit to 3 sts before the next stitch marker or until the end of the 1st needle of your DPNs,
- k2tog, knit until the next stitch marker or until the end of the next DPN,
- knit 1, k2tog, knit to end of round.
- This is followed by a round without decreases. Now repeat these 2 rounds until you have the same number of stitches as on the shaft.
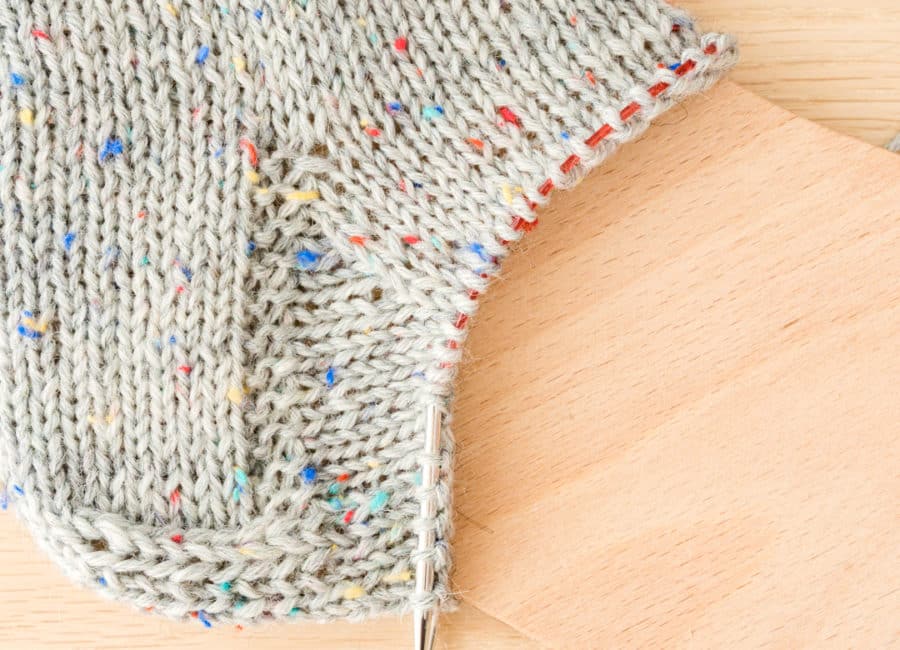
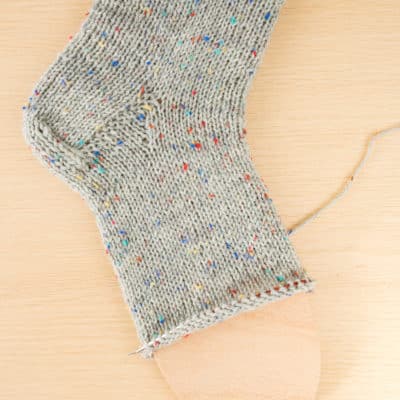
Once you have done this, your heel is finished and you can work the foot part.
Find out how in our sock knitting tutorial:
Tip: Tutorial for a Reinforced Heel
The cap heel can also be knitted reinforced for more stability. Learn how to do this in the instruction video by Sylvie Rasch - knitted with addiCraSyTrio needles:
The two first and last stitches of the heel continue to be knitted in garter stitch, the other stitches are strengthened by lifted knit stitch:
- Right side: k2, alternating *slip one purlwise, k1*
- Wrong side: k2, *purl all stitches*, k2
