
Charts with gauge for hats and instructions for knitting beanies for each yarn
Hats can be knitted in any size with any yarn and different needle sizes. Here you will find charts for every head size in which you can find the right number of stitches for your yarn based on your gauge.

For a hat to fit well and keep you warm, it must be neither too loose nor too tight. Depending on your head size, needle size and yarn, you will need the right number of stitches. We compiled the sizes and numbers for hats and beanies in the charts (Gauge: in stockinette):
Tip: How many stitches you need to cast on for the hat depends on the wool and needle size you use. If the gauge of your wool is e.g. 10 stitches per 10 cm, choose the first column of the table with the needle size indicated on the label.


For a hat to fit well and keep you warm, it must be neither too loose nor too tight. Depending on your head size, needle size and yarn, you will need the right number of stitches. We compiled the sizes and numbers for hats and beanies in the charts (Gauge: in stockinette):
Tip: How many stitches you need to cast on for the hat depends on the wool and needle size you use. If the gauge of your wool is e.g. 10 stitches per 10 cm, choose the first column of the table with the needle size indicated on the label.


Selecting the size of your hat
Measure the circumference of your head:
- Place a measuring tape horizontally around the head above the ears and eyebrows and hold it rather tightly.
- Alternatively, you can use a thread, which you then measure with a ruler.
Select the appropriate hat size from the chart based on the determined circumference.
Important: Knit your own gauge with the appropriate needle size (pattern of the hat) to ensure that the hat will fit properly.
Size charts for hats with gauge:
Baby size 3-6 months (42-44 cm/ 16.5-17.5")
| Gauge st per 10 cm (stockinette stitch) |
10 sts |
12 sts | 14 sts | 16 sts | 18 sts | 20 sts | 22 sts | 24 sts | 26 sts | 28 sts | 30 sts | 32 sts |
| Total stitches cast on | 38 | 46 | 54 | 60 | 68 | 76 | 84 | 90 | 98 | 106 | 114 | 122 |
- Circumference of the hat: approx. 38 cm
- Single height: approx. 15 cm
- Note: this size fits babies up to approx. 6 months
Baby size 6-12 months (46-48 cm/ 18-19")
| Gauge st per 10 cm (stockinette stitch) |
10 sts |
12 sts | 14 sts | 16 sts | 18 sts | 20 sts | 22 sts | 24 sts | 26 sts | 28 sts | 30 sts | 32 sts |
| Total stitches cast on | 40 | 48 | 56 | 64 | 72 | 80 | 88 | 96 | 104 | 112 | 120 | 128 |
- Circumference of the hat: approx. 40 cm
- Single height: approx. 16 cm
- Note: this size fits babies up to approx. 12 months
Size XXS (50-52 cm/ 20-20.5")
| Gauge st per 10 cm (stockinette stitch) |
10 sts |
12 sts | 14 sts | 16 sts | 18 sts | 20 sts | 22 sts | 24 sts | 26 sts | 28 sts | 30 sts | 32 sts |
| Total stitches cast on | 44 | 52 | 62 | 70 | 80 | 88 | 96 | 106 | 114 | 124 | 132 | 140 |
- Circumference of the hat: approx. 44 cm
- Single height: approx. 16.5 cm
- Note: this size fits children up to approx. 2 years
Size XS (52-54 cm/ 20.5-21.5")
| Gauge st per 10 cm (stockinette stitch) |
10 sts |
12 sts | 14 sts | 16 sts | 18 sts | 20 sts | 22 sts | 24 sts | 26 sts | 28 sts | 30 sts | 32 sts |
| Total stitches cast on | 52 | 60 | 68 | 76 | 88 | 96 | 104 | 112 | 120 | 128 | 136 | 144 |
- Circumference of the hat: approx. 46 cm
- Single height: approx. 17.5 cm
- Note: this size fits children aged 3–6 years
Size S (55-56 cm/ 21.5-22")
| Gauge st per 10 cm (stockinette stitch) |
10 sts |
12 sts | 14 sts | 16 sts | 18 sts | 20 sts | 22 sts | 24 sts | 26 sts | 28 sts | 30 sts | 32 sts |
| Total stitches cast on | 48 | 58 | 67 | 76 | 86 | 96 | 104 | 114 | 124 | 134 | 144 | 154 |
- Circumference of the hat: approx. 48 cm
- Single height: approx. 18.5 cm
Size M (56-57 cm/ 22-22.5")
| Gauge st per 10 cm (stockinette stitch) |
10 sts |
12 sts | 14 sts | 16 sts | 18 sts | 20 sts | 22 sts | 24 sts | 26 sts | 28 sts | 30 sts | 32 sts |
| Total stitches cast on | 50 | 60 | 70 | 80 | 90 | 100 | 110 | 120 | 130 | 140 | 150 | 160 |
- Circumference of the hat: approx. 50 cm
- Single height: approx. 19.5 cm
Size L (58-59 cm/ 22.5-23.5")
| Gauge st per 10 cm (stockinette stitch) |
10 sts |
12 sts | 14 sts | 16 sts | 18 sts | 20 sts | 22 sts | 24 sts | 26 sts | 28 sts | 30 sts | 32 sts |
| Total stitches cast on | 52 | 62 | 72 | 84 | 93 | 104 | 114 | 124 | 136 | 146 | 156 | 166 |
- Circumference of the hat: approx. 52 cm
- Single height: approx. 20.5 cm
Size XL (60-61 cm/ 23.5-24")
| Gauge st per 10 cm (stockinette stitch) |
10 sts |
12 sts | 14 sts | 16 sts | 18 sts | 20 sts | 22 sts | 24 sts | 26 sts | 28 sts | 30 sts | 32 sts |
| Total stitches cast on | 54 | 64 | 76 | 86 | 98 | 108 | 118 | 130 | 140 | 150 | 162 | 172 |
- Circumference of the hat: approx. 54 cm
- Single height: approx. 21.5 cm
Size XXL (62-63 cm/ 24.5-25")
| Gauge st per 10 cm (stockinette stitch) |
10 sts |
12 sts | 14 sts | 16 sts | 18 sts | 20 sts | 22 sts | 24 sts | 26 sts | 28 sts | 30 sts | 32 sts |
| Total stitches cast on | 56 | 66 | 78 | 90 | 100 | 112 | 124 | 134 | 146 | 156 | 168 | 180 |
- Circumference of the hat: approx. 56 cm
- Single height: approx. 22.5 cm
Calculate the number of stitches for knitting a hat
The circumference of the hat should be about 10-15% smaller than the measured head circumference. For a head circumference of 52 cm, this would be:
52 – (5,2 cm ≈ 6 cm) = 46 cm
Using the gauge swatch (10 x 10 cm), the required number of stitches for the head is now calculated:
Stitch gauge x 4.6 = stitches to be cast on for the hat
The values determined in this calculation can be found above in our hat tables for each head circumference.
How to knit hats: for every yarn and needle size
Inspiration for different cuff lengths and shapes of hats.


How to knit hats: for every yarn and needle size
Inspiration for different cuff lengths and shapes of hats.


How to knit a hat step by step
Step 1: Cast on stitches and knit cuff
Tip: You can knit a hat with different types of knitting needles. Read more in the section below “The best knitting needle for hats”.
This is how to knit a hat:
- Gauge: knit stockinette stitch with your preferred needle size and select the appropriate gauge from the chart.
- Cast on the number of stitches from the chart with your preferred needle and distribute the stitches evenly on the needle(s).
- To do this, choose a stretchy cast-on such as the long tail cast-on (for many patterns) or the tubular cast-on (only for 1×1 rib pattern)
- Make sure that the stitches are not twisted.
Close the work in the round and work in the cuff pattern of your choice. The following options are possible:
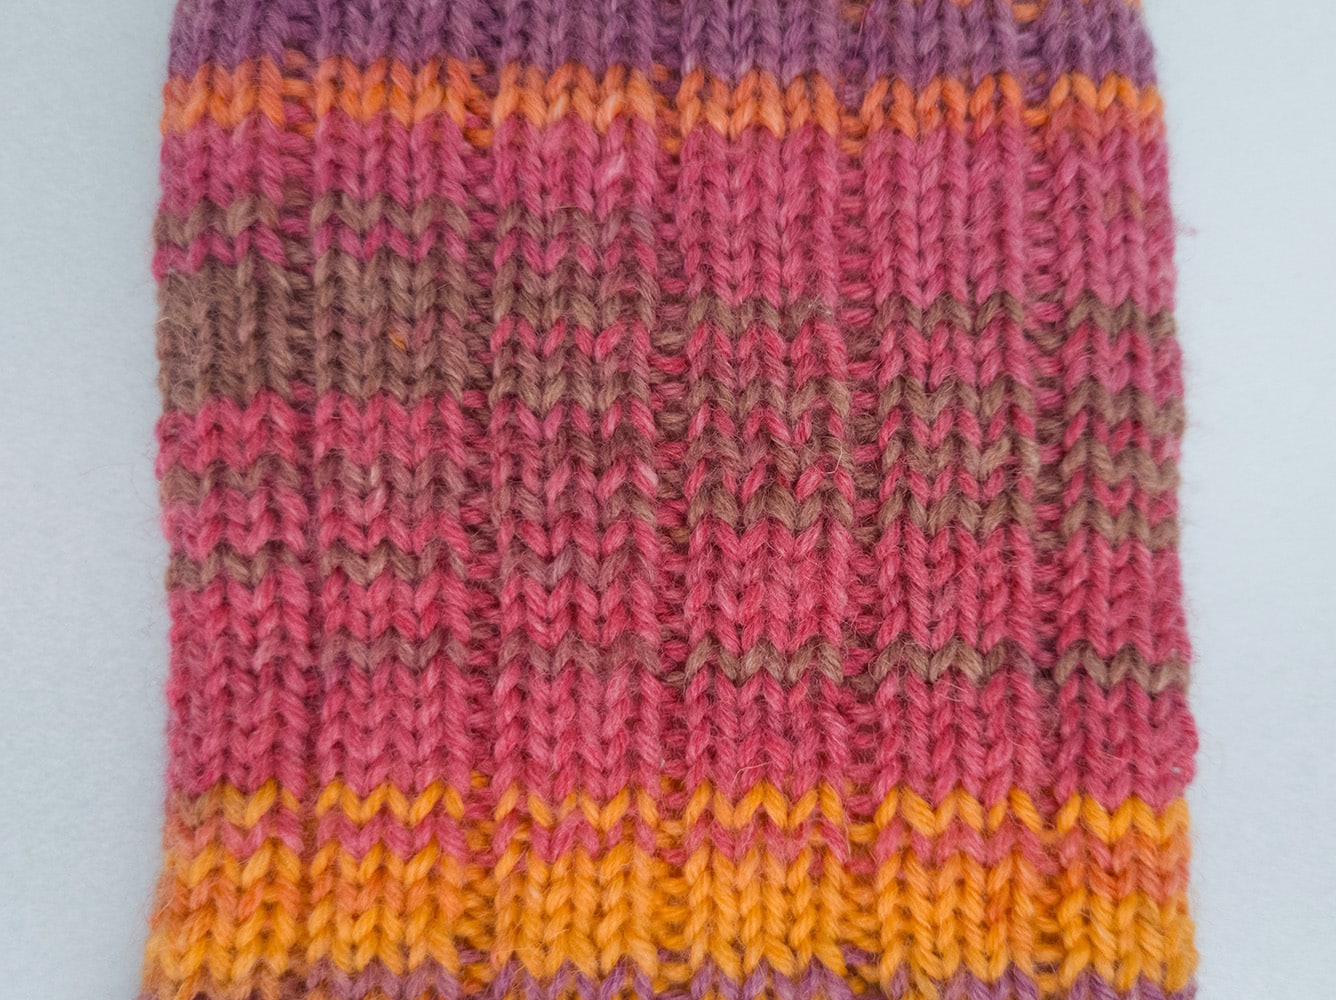
- Simple cuff - knit a slim cuff approx. 3-4 cm high in the cuff pattern.
- Double cuff - which is later folded up to keep the ears doubly warm - with a single height of approx. 10 cm, a total of 20 cm is knitted in the round in the cuff pattern.


Cuff pattern ideas
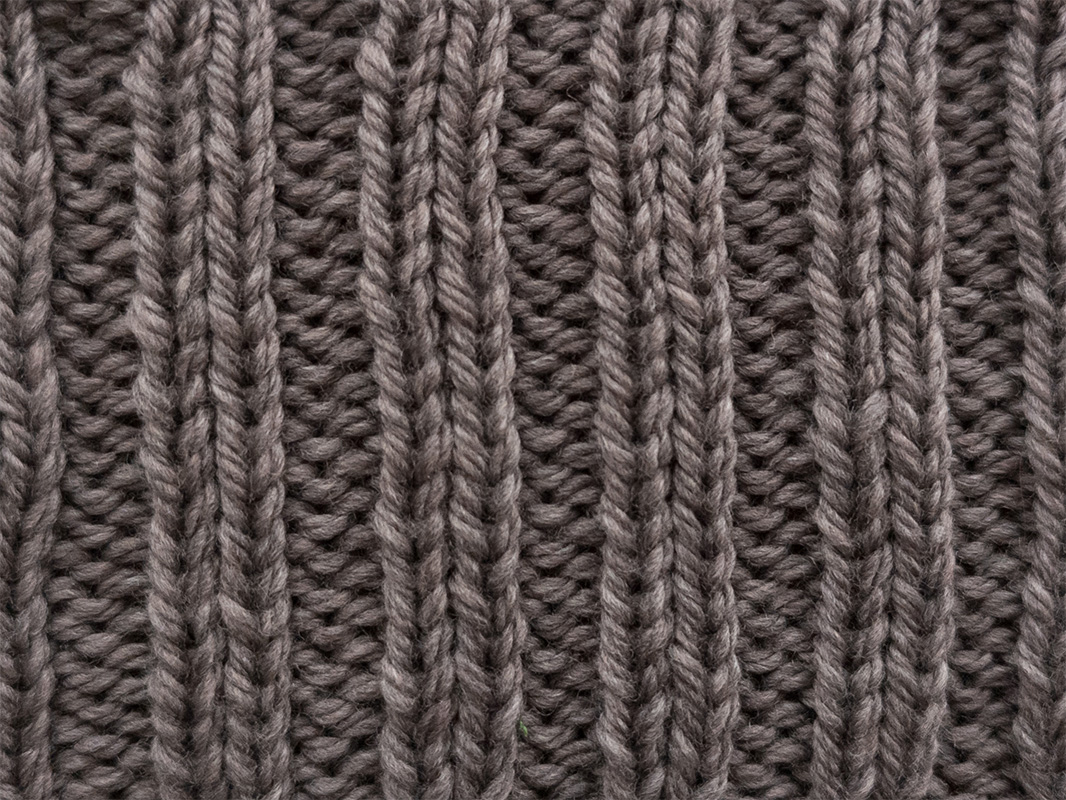
For a well-fitting hat, we recommend choosing a slightly tapered pattern (e.g. rib pattern), especially for the cuff:
- Ribing k1 , p1 (repeat 2 sts)
- Rib pattern k2, p2 (repeat 4 st)
- Rib pattern k3, p1 (repeat 4 st)
A less stretchy pattern, e.g. stockinette stitch with rolled edge, is also possible. In this case, the hat sits a little less tightly on the head and you can cast on a slightly smaller number of stitches if necessary.
Also pay attention to the repeat of your pattern (the total number of stitches must be divisible by the repeat) and cast on a few more or fewer stitches if necessary to create a nice pattern.

Cuff pattern ideas
For a well-fitting hat, we recommend choosing a slightly tapered pattern (e.g. rib pattern), especially for the cuff:
- Ribing k1 , p1 (repeat 2 sts)
- Rib pattern k2, p2 (repeat 4 st)
- Rib pattern k3, p1 (repeat 4 st)
A less stretchy pattern, e.g. stockinette stitch with rolled edge, is also possible. In this case, the hat sits a little less tightly on the head and you can cast on a slightly smaller number of stitches if necessary.
Also pay attention to the repeat of your pattern (the total number of stitches must be divisible by the repeat) and cast on a few more or fewer stitches if necessary to create a nice pattern.


Step 2: Knit the hat
Once the cuff is knitted, continue in stockinette stitch or continue in the chosen hat pattern until the following length is reached after the cuff:
- XS approx. 14.5 cm
- S approx. 15.5 cm
- M approx. 16.5 cm
- L approx. 17.5 cm
- XL approx. 18.5 cm
Of course, it can also be knitted longer or shorter overall. The longer the hat is knitted, the more “slouchy” it will hang down later (beanie). If the hat is knitted shorter, it does not hang down but becomes a closer-fitting fisherman’s cap (the cuff height stays the same).


Pattern recommendations for knitting a hat
After the rib cuff, the hat pattern can be changed or the cuff pattern simply continued.
- For a loose hat, for example, the stockinette stitch pattern is suitable
- For a slightly stretchy result, the seed rib pattern is a good choice
- If the cuff pattern is continued, the hat fits rather snugly on the head.
Tip: For a harmonious look, the cuff and hat patterns can be matched. The pattern repeats should fit together, e.g. the cuff can be knitted in 2×2 rib (repeat 4 st) and the hat in seed rib with double ribs (repeat 4 st). This way, the ribs visually continue.
Decreases for different patterns: If the pattern is knitted over the entire hat, make sure the stitch markers are evenly distributed in the pattern for the decreases – e.g. always place the marker before 2 knit stitches.


Pattern recommendations for knitting a hat
After the rib cuff, the hat pattern can be changed or the cuff pattern simply continued.
- For a loose hat, for example, the stockinette stitch pattern is suitable
- For a slightly stretchy result, the seed rib pattern is a good choice
- If the cuff pattern is continued, the hat fits rather snugly on the head.
Tip: For a harmonious look, the cuff and hat patterns can be matched. The pattern repeats should fit together, e.g. the cuff can be knitted in 2×2 rib (repeat 4 st) and the hat in seed rib with double ribs (repeat 4 st). This way, the ribs visually continue.
Decreases for different patterns: If the pattern is knitted over the entire hat, make sure the stitch markers are evenly distributed in the pattern for the decreases – e.g. always place the marker before 2 knit stitches.


Step 3: Knitting the decreases
Finally, the hat is shaped towards the top by decreases and sewn up at the end.
Especially easy for beginners: It is also possible to continue knitting the hat in the round for about 5-6 cm and then pull the end tight (thread the tail through all stitches, pull tight, weave in the yarn). Optionally decorate with a pompom (photo of the green-brown patterned hat).
- For the Decreases 6-8 decreases are worked evenly distributed in the round (see the video tutorials on slanted decreases below):
- If you decrease BEFORE a stitch marker, left-slanting decreases are knitted
- AFTER the stitch marker, right-leaning decreases are knitted
Various Positions for the decreases are possible, depending on the desired look (see photos)
-
- At 4 positions, frame 1–4 sts each with two stitch markers and decrease before and after them (brown hat)
- Place stitch markers at 8 positions and always decrease either before (star-shaped, beige hat) or after (spiral, black hat) them.
- Knit alternate one decrease round and one round without decreases until only about 2/3 of the cast-on stitches remain.
- Then work the Decreases in every round until 8 stitches remain.
- The remaining stitches are now sewn up.


Step 3: Knitting the decreases
Finally, the hat is shaped towards the top by decreases and sewn up at the end.
Especially easy for beginners: It is also possible to continue knitting the hat in the round for about 5-6 cm and then pull the end tight (thread the tail through all stitches, pull tight, weave in the yarn). Optionally decorate with a pompom (photo of the green-brown patterned hat).
- For the Decreases 6-8 decreases are worked evenly distributed in the round (see the video tutorials on slanted decreases below):
- If you decrease BEFORE a stitch marker, left-slanting decreases are knitted
- AFTER the stitch marker, right-leaning decreases are knitted
Various Positions for the decreases are possible, depending on the desired look (see photos)
-
- At 4 positions, frame 1–4 sts each with two stitch markers and decrease before and after them (brown hat)
- Place stitch markers at 8 positions and always decrease either before (star-shaped, beige hat) or after (spiral, black hat) them.
- Knit alternate one decrease round and one round without decreases until only about 2/3 of the cast-on stitches remain.
- Then work the Decreases in every round until 8 stitches remain.
- The remaining stitches are now sewn up.



By loading the video you accept the privacy policy of YouTube.
Learn more
By loading the video you accept the privacy policy of YouTube.
Learn more
By loading the video you accept the privacy policy of YouTube.
Learn more
The hat is finished!
The right knitting needle for hats
Hats can be knitted with different methods and knitting needles that are suitable for rather small diameters. What works best depends on your own preference:
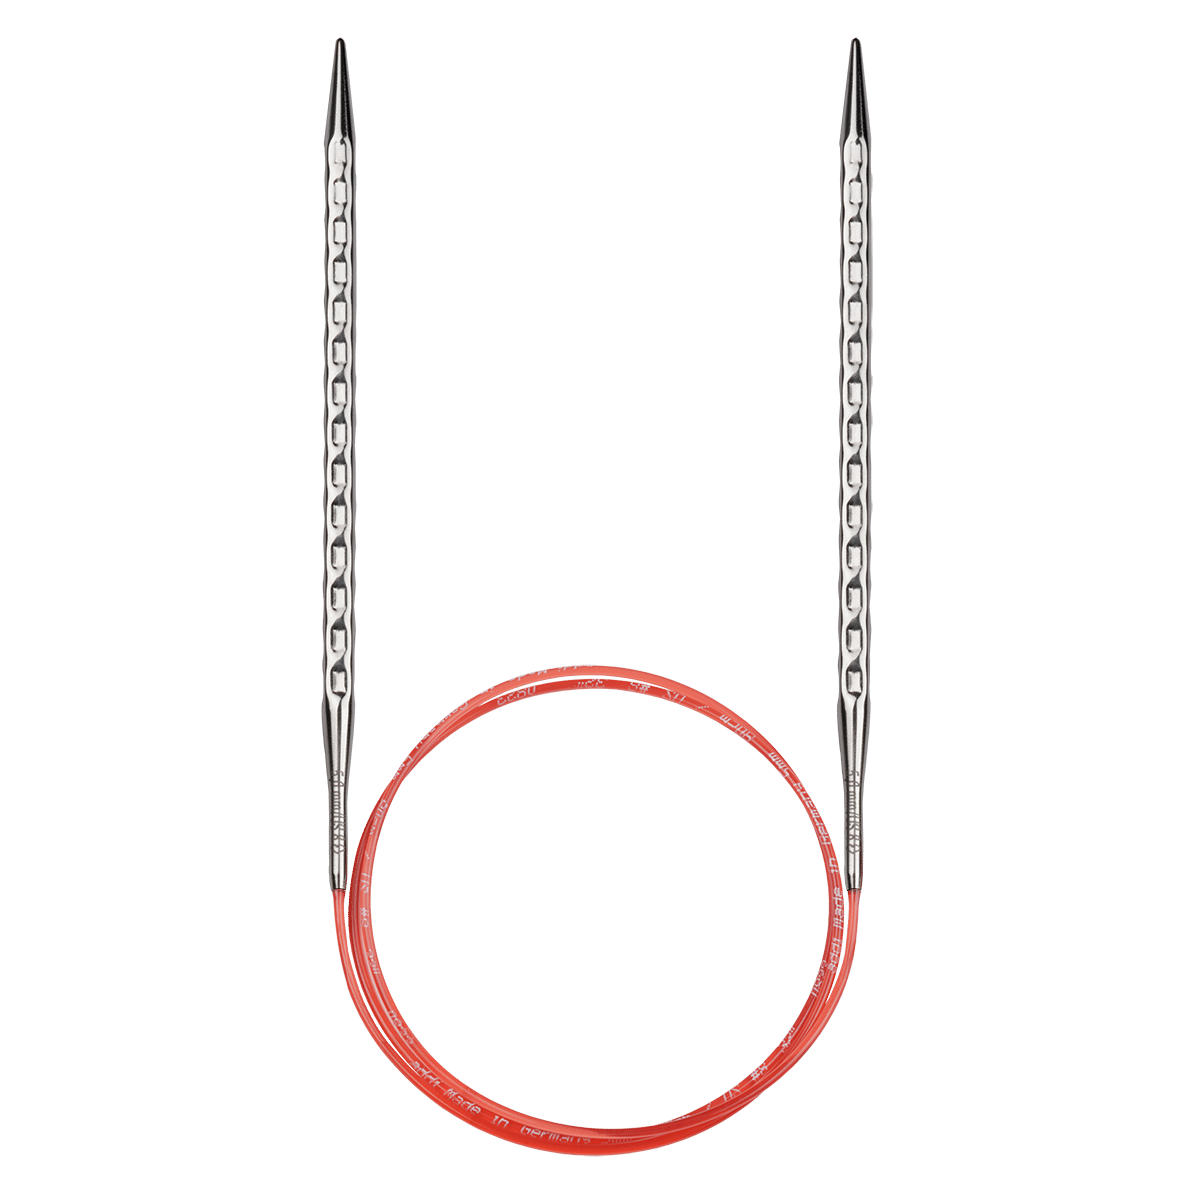
Short circular knitting needle
- Knit quickly and without transitions
- Very well suited for jacquard patterns because there is no changing of needles or pulling through of the cable
- The knitting needle should be slightly shorter overall than the head circumference
- Up to size XXS about 30 cm long (the extra-short size is available as addiPremium)
- Size XS to L approx. 40 cm
- From size XL approx. 50 cm
This is how it works: All stitches of the hat are knitted in the round with the short circular knitting needle. This is particularly quick and without transitions. The beginning of the round can be marked with a stitch marker.
For the decreases, as the diameter gets smaller you can knit with two circular knitting needles or switch to one of the other needles described below.
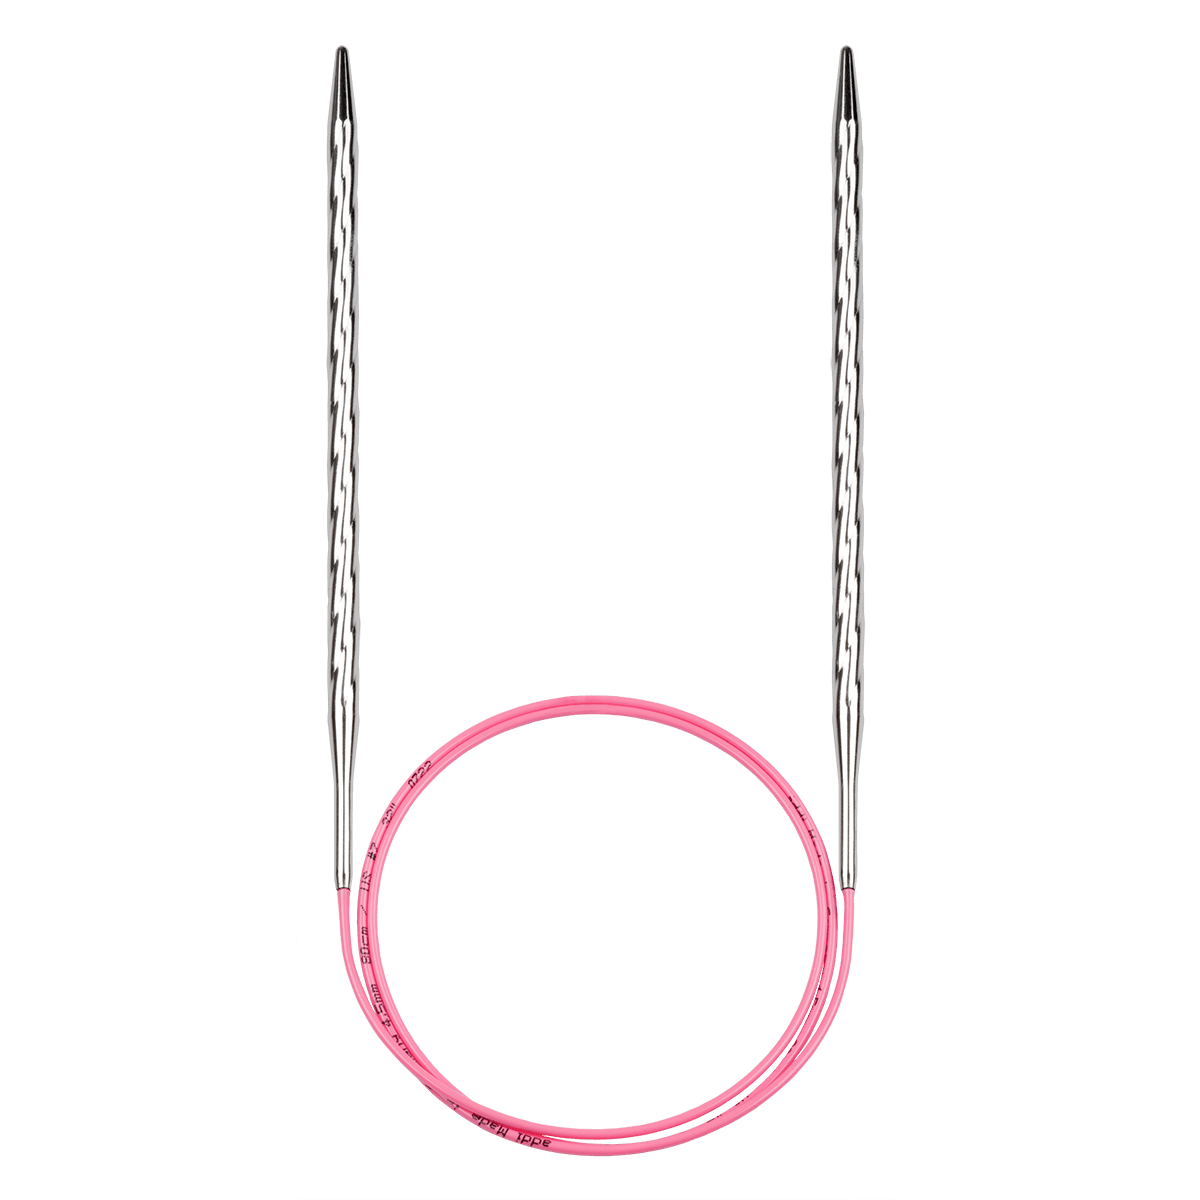
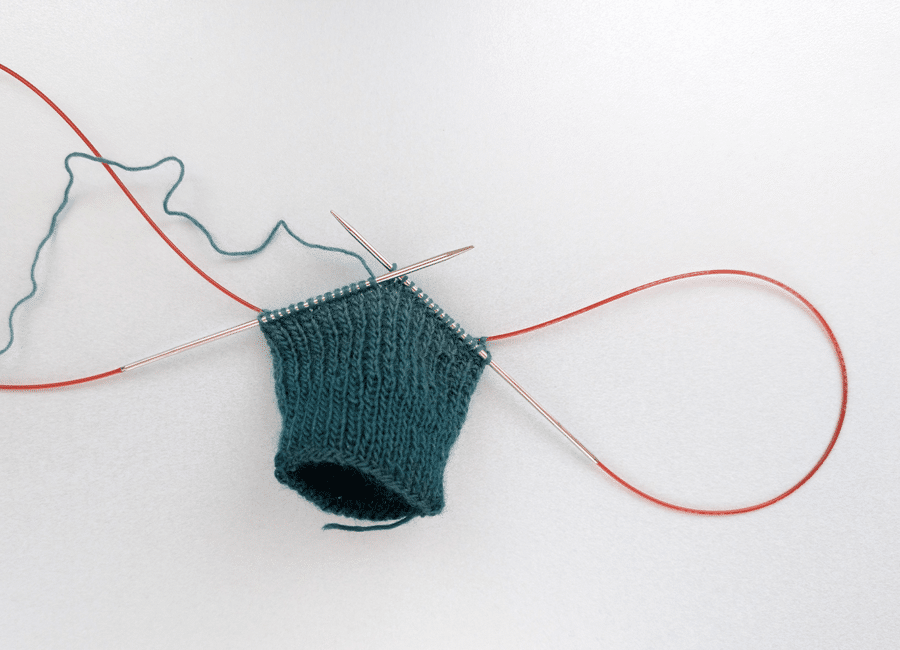
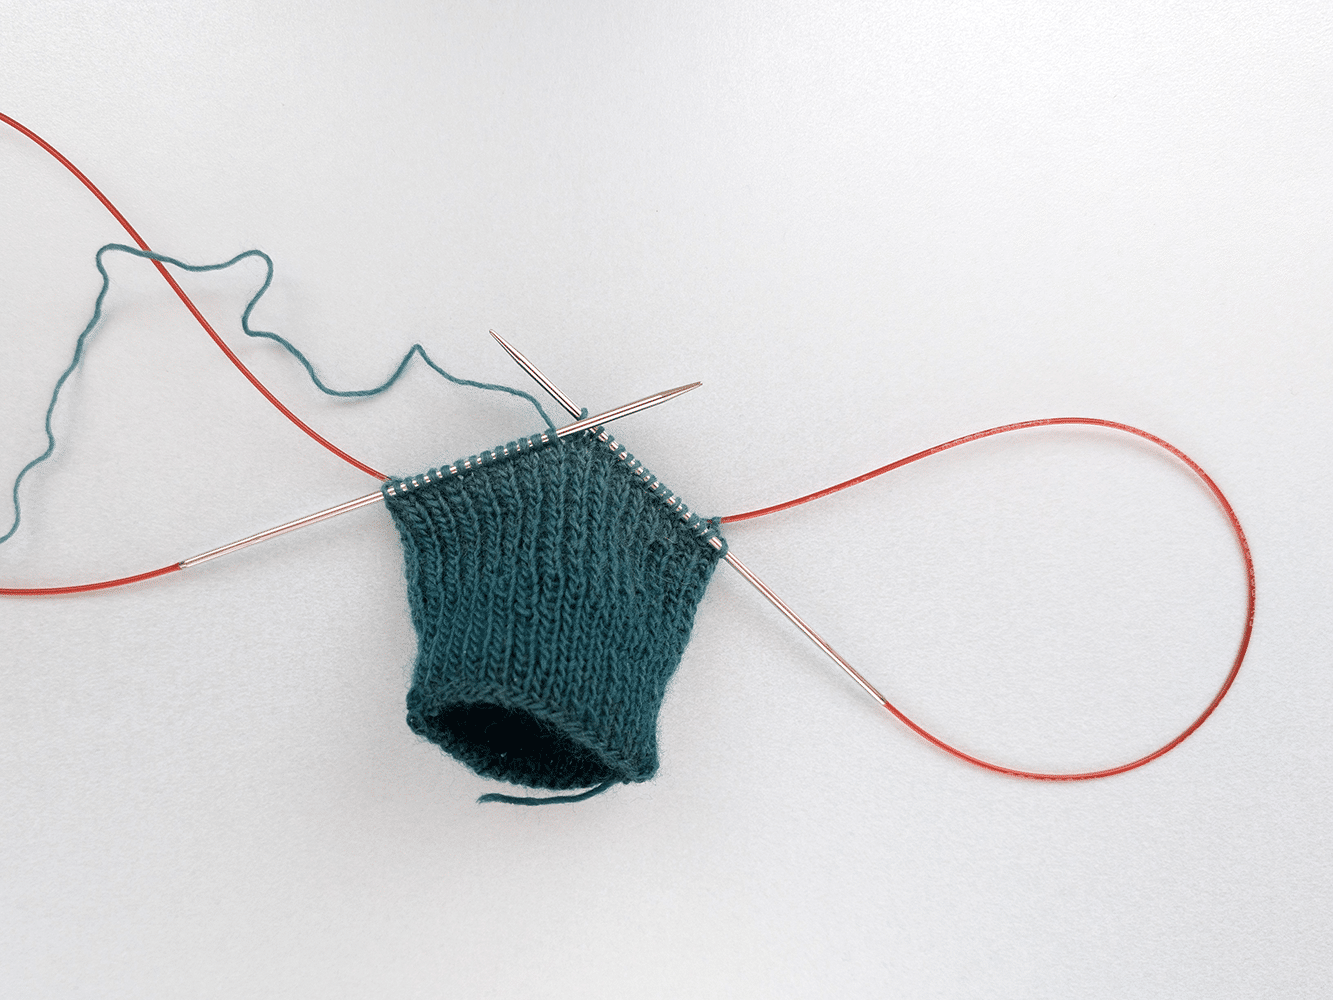
Long circular knitting needle with Magic Loop
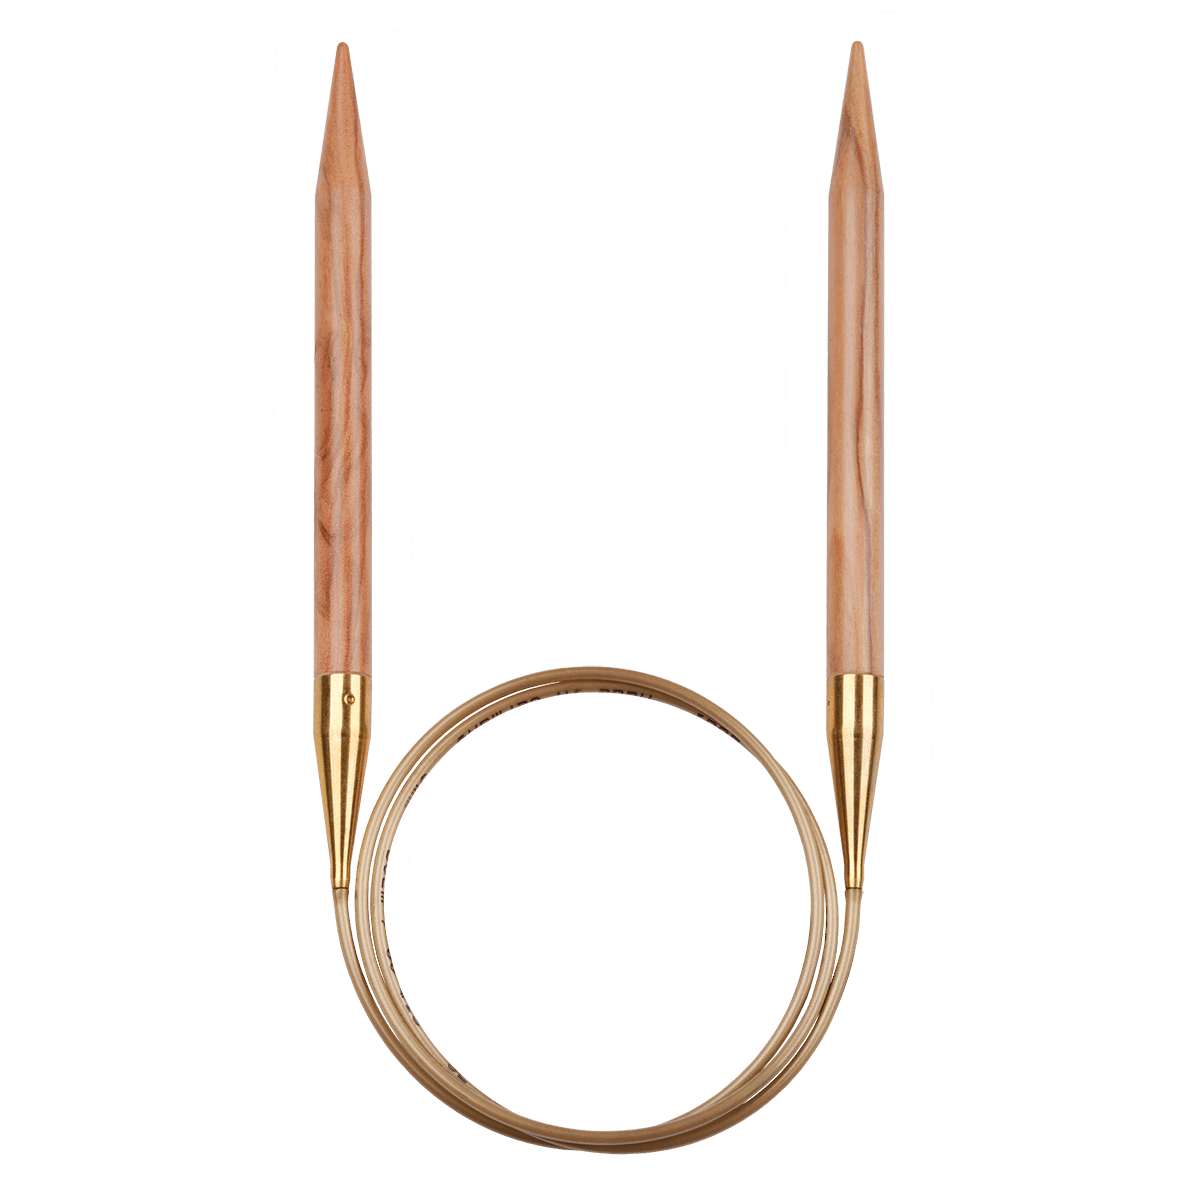
With the Magic Loop method, a longer knitting needle can be used that is laid into loops on two sides
- The circular knitting needle can be used for many knitting projects
- The needle tips are longer than on 40–50 cm circular knitting needles and are easier to hold with large hands
- For this technique, the needle should be about 100 cm long
This is how it works: The stitches are divided in half: one part lies on the cord, the other on the needle tips for knitting, separated by a loop of cord.
Make sure that the second half always starts with a knit stitch to avoid ladders. For this, the pattern can also be divided at a point other than exactly in the middle.

Long circular knitting needle with Magic Loop
With the Magic Loop method, a longer knitting needle can be used that is laid into loops on two sides
- The circular knitting needle can be used for many knitting projects
- The needle tips are longer than on 40–50 cm circular knitting needles and are easier to hold with large hands
- For this technique, the needle should be about 100 cm long
This is how it works: The stitches are divided in half: one part lies on the cord, the other on the needle tips for knitting, separated by a loop of cord.
Make sure that the second half always starts with a knit stitch to avoid ladders. For this, the pattern can also be divided at a point other than exactly in the middle.


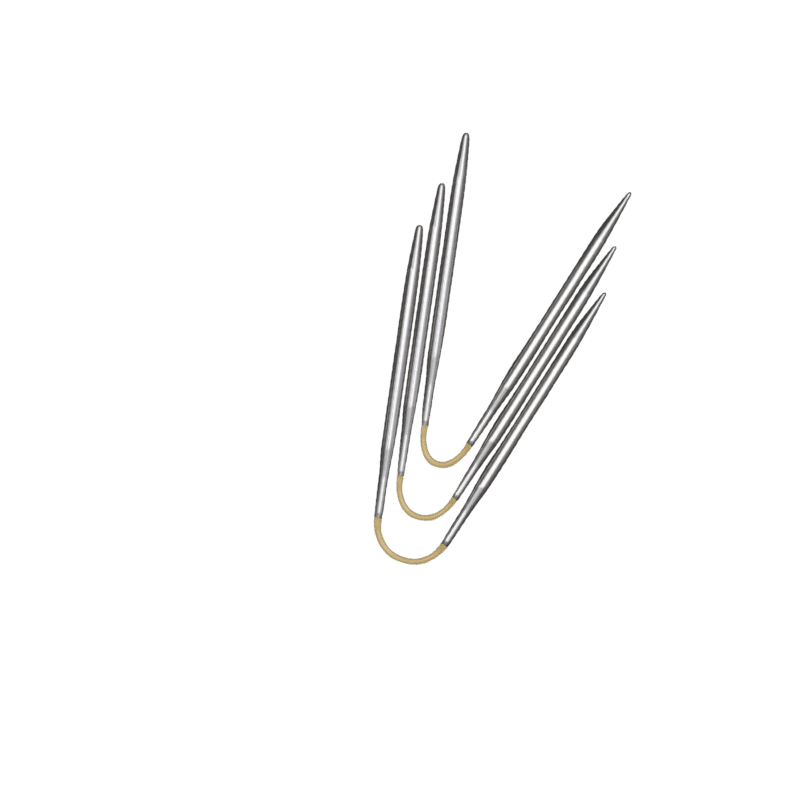
addiCraSyTrio Long
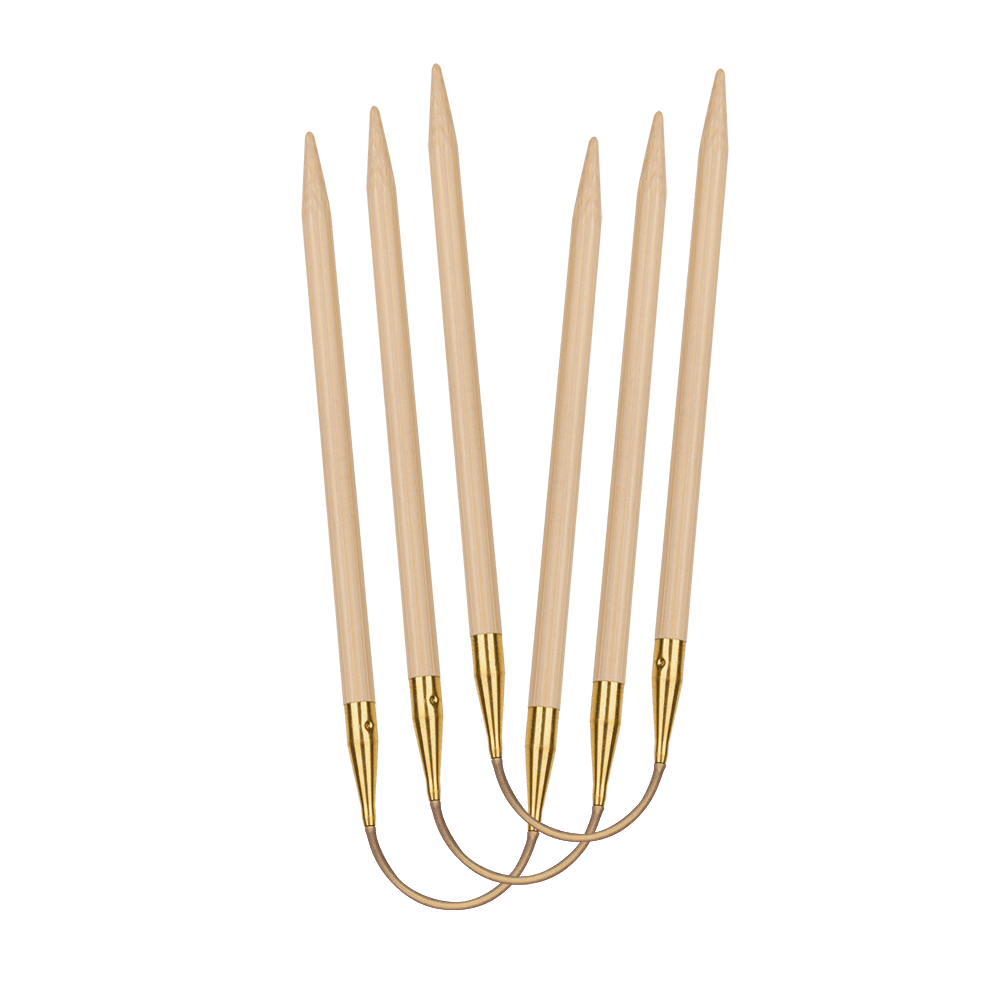
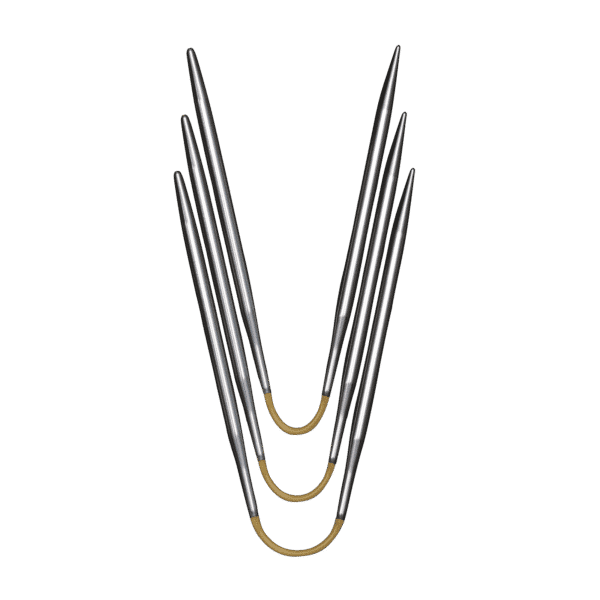
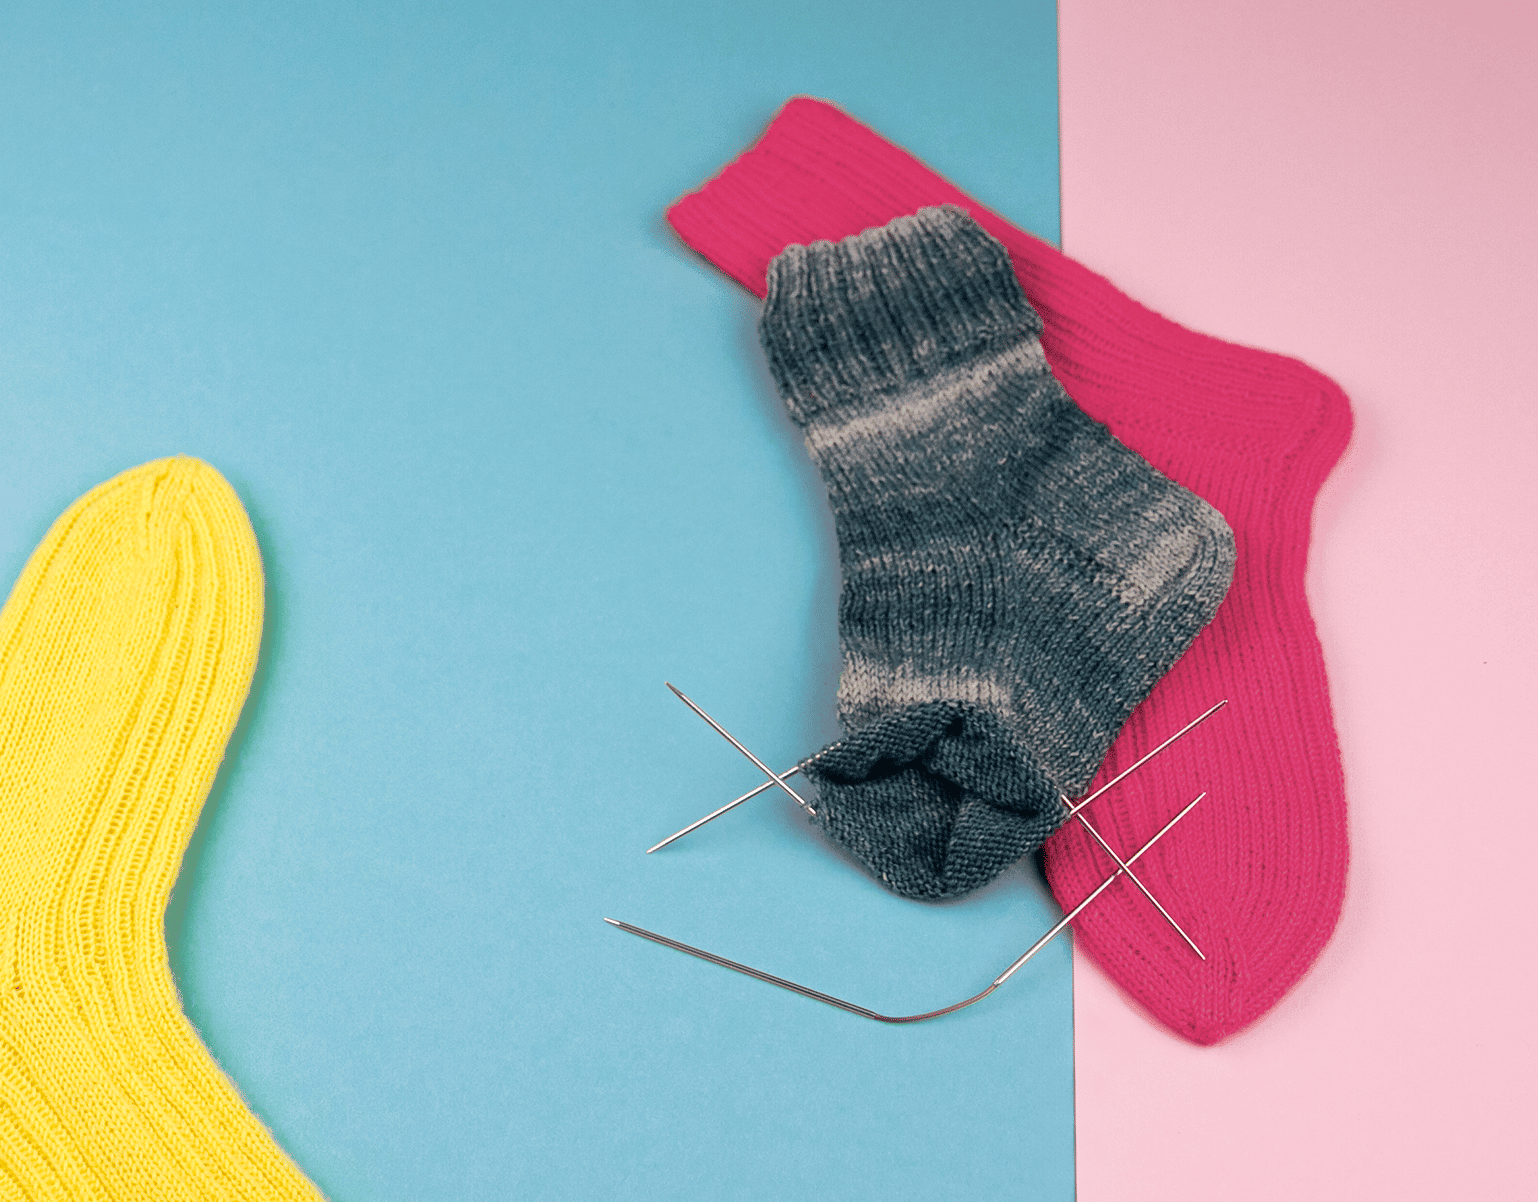
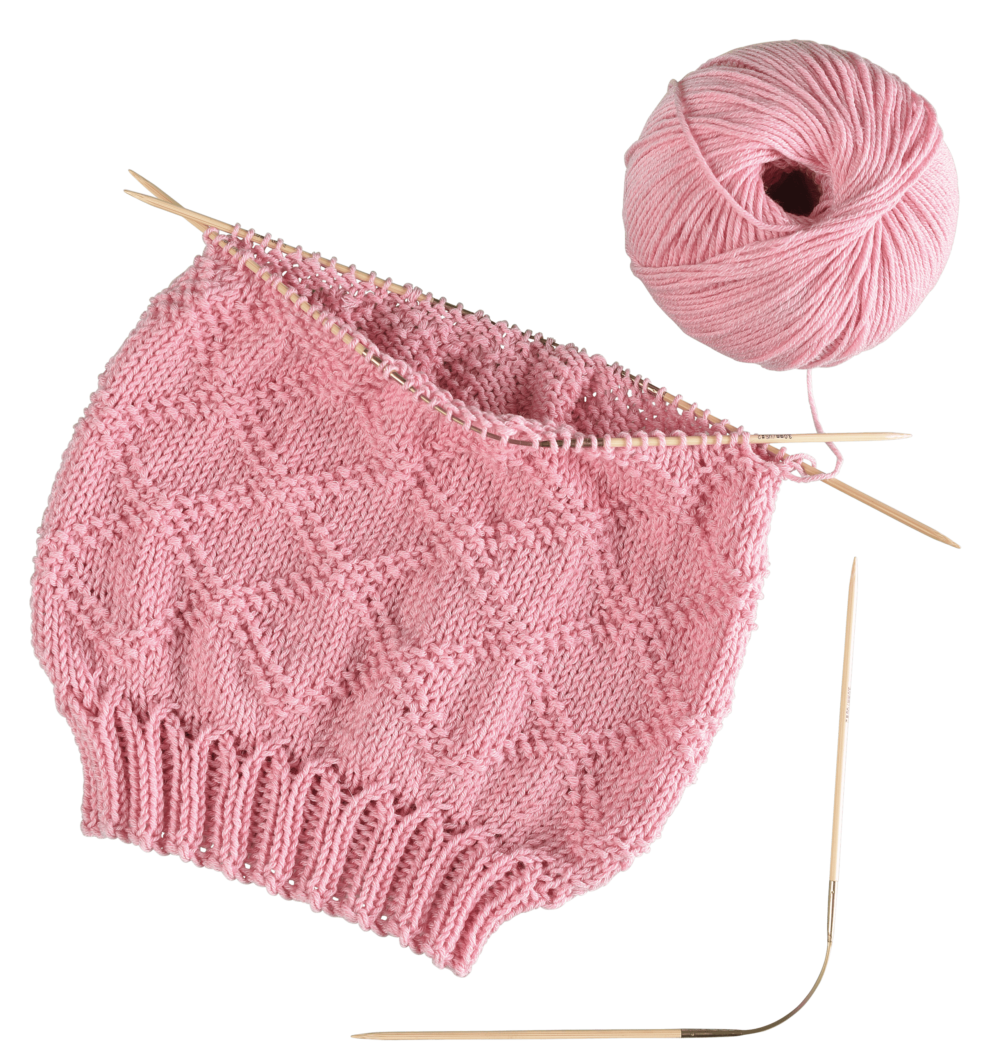
With the addiCraSyTrio Long you can also knit in the round with three flexible needles, with only 2 needle changes per round.
- The principle is easier for beginners to learn
- This way, hats of all sizes can be knitted comfortably without pushing the stitches along the cable.
- Projects are particularly easy to take along with the flexible needles, and the stitches do not slip off the needle so easily.
- Depending on the hat size, the Trios should be 26–30 cm long.
This is how it works: The stitches are divided in half and distributed over two needles. The stitches are knitted with the third needle.
Make sure that the second half always starts with a knit stitch to avoid ladders. For this, the pattern can also be divided at a point other than exactly in the middle.

addiCraSyTrio Long
With the addiCraSyTrio Long you can also knit in the round with three flexible needles, with only 2 needle changes per round.
- The principle is easier for beginners to learn
- This way, hats of all sizes can be knitted comfortably without pushing the stitches along the cable.
- Projects are particularly easy to take along with the flexible needles, and the stitches do not slip off the needle so easily.
- Depending on the hat size, the Trios should be 26–30 cm long.
This is how it works: The stitches are divided in half and distributed over two needles. The stitches are knitted with the third needle.
Make sure that the second half always starts with a knit stitch to avoid ladders. For this, the pattern can also be divided at a point other than exactly in the middle.


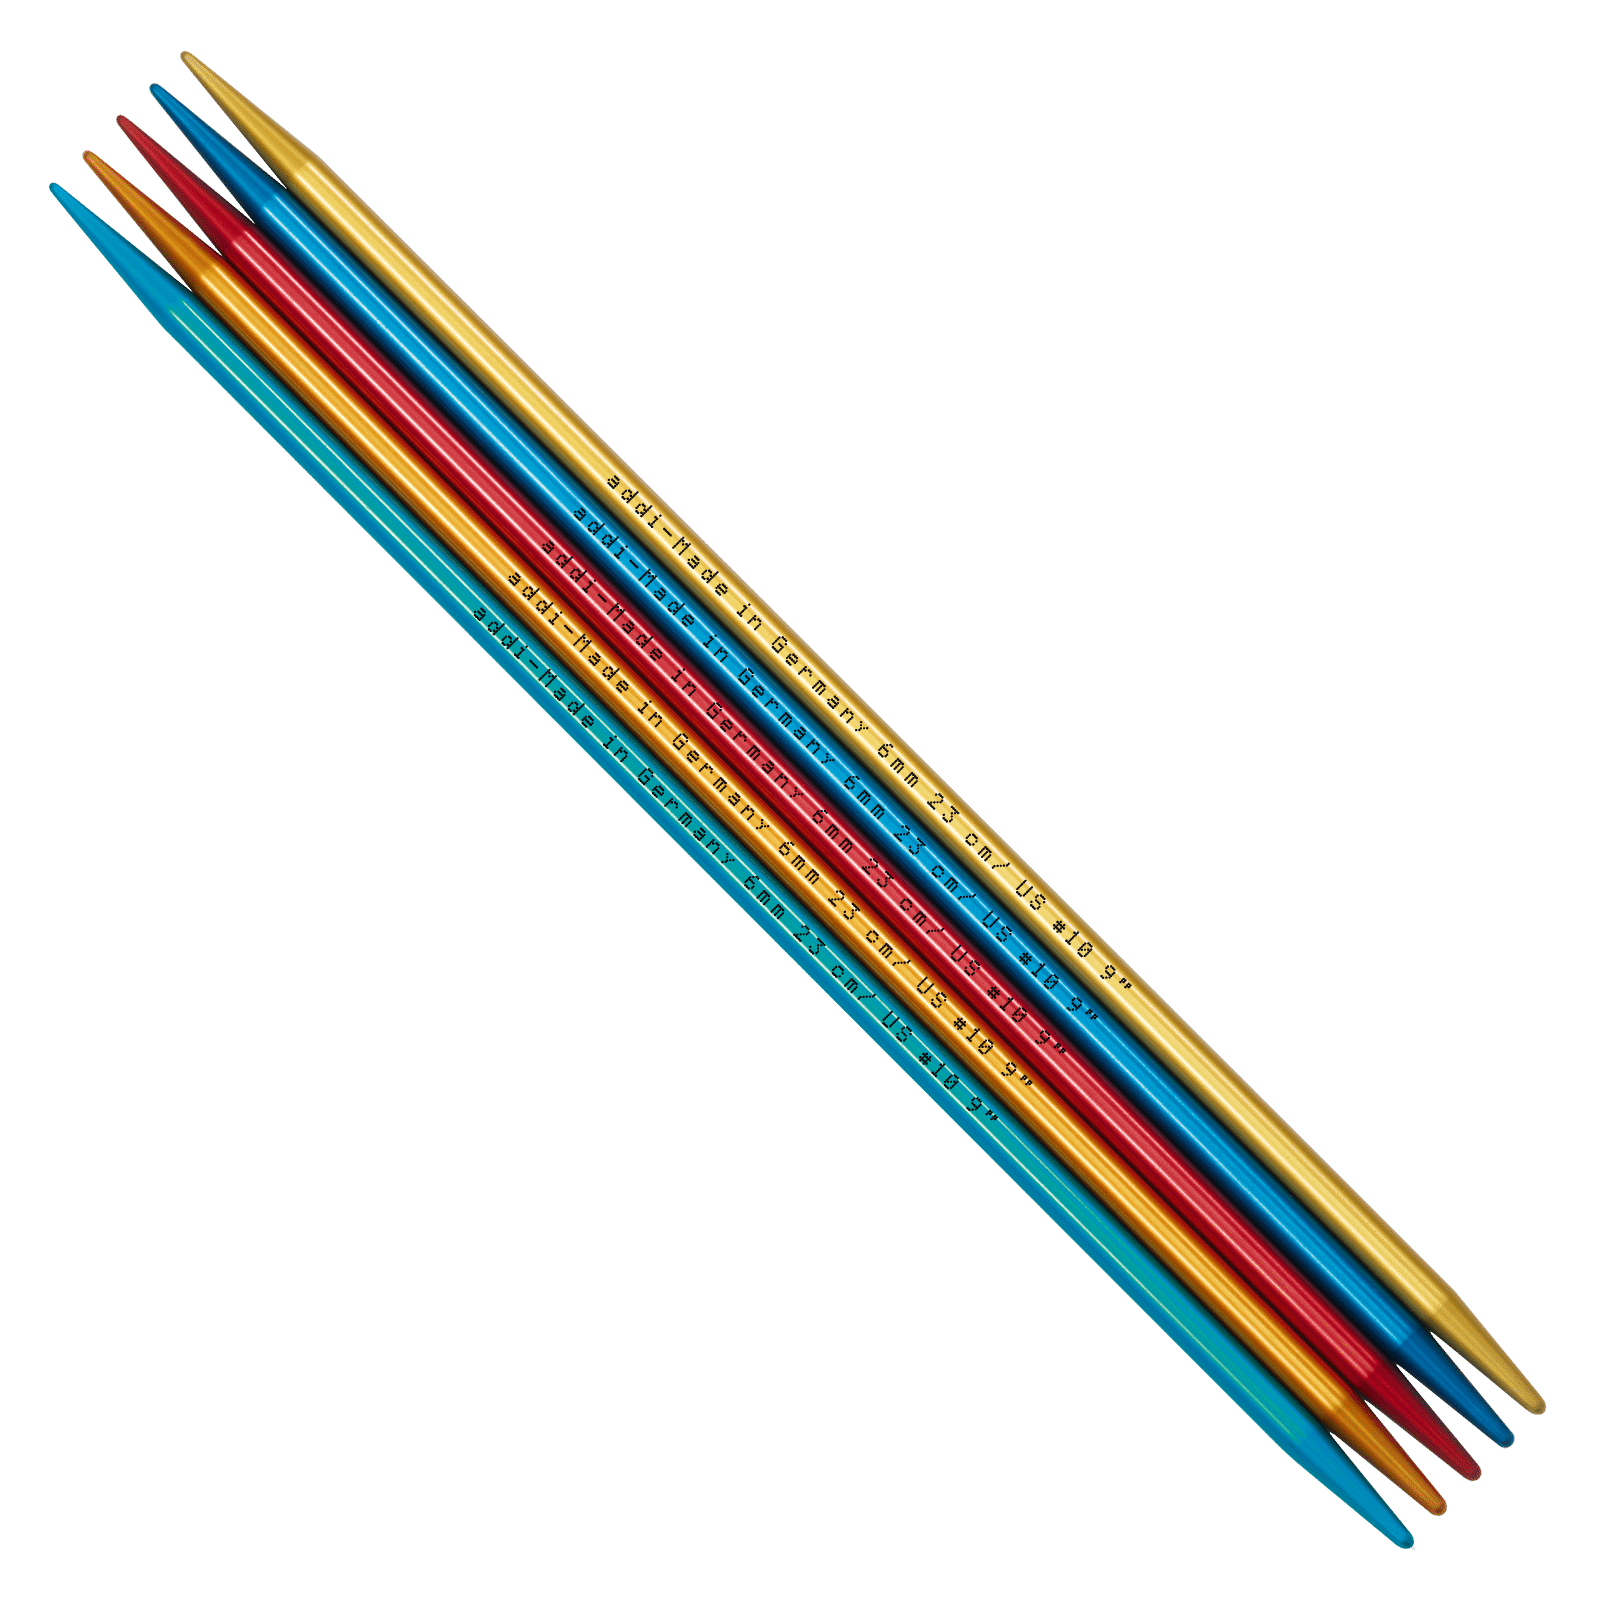
Double-pointed needles
Hats can also be knitted classically in the round with a classic set of double-pointed needles.
- For baby sizes, a 15 cm set of double-pointed needles is sufficient
- For adult hats, 20 cm long sets of double-pointed needles fit
This is how it works: The stitches are divided into four roughly equal parts and distributed over 4 needles. The stitches are knitted with the fifth needle.
Make sure that the quarters always start with a knit stitch if possible to avoid ladders. For this, the pattern can also be divided at a point other than exactly in the middle.

Double-pointed needles
Hats can also be knitted classically in the round with a classic set of double-pointed needles.
- For baby sizes, a 15 cm set of double-pointed needles is sufficient
- For adult hats, 20 cm long sets of double-pointed needles fit
This is how it works: The stitches are divided into four roughly equal parts and distributed over 4 needles. The stitches are knitted with the fifth needle.
Make sure that the quarters always start with a knit stitch if possible to avoid ladders. For this, the pattern can also be divided at a point other than exactly in the middle.