
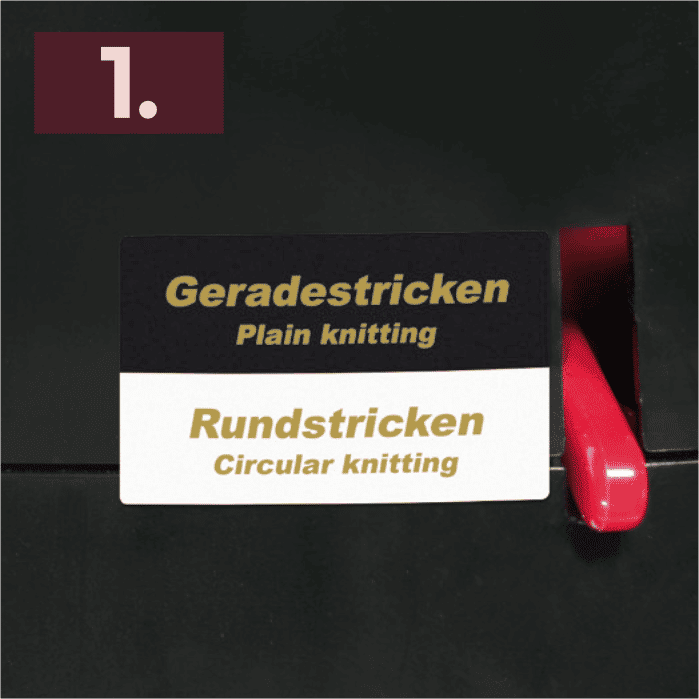
addiExpress Basic Instruction
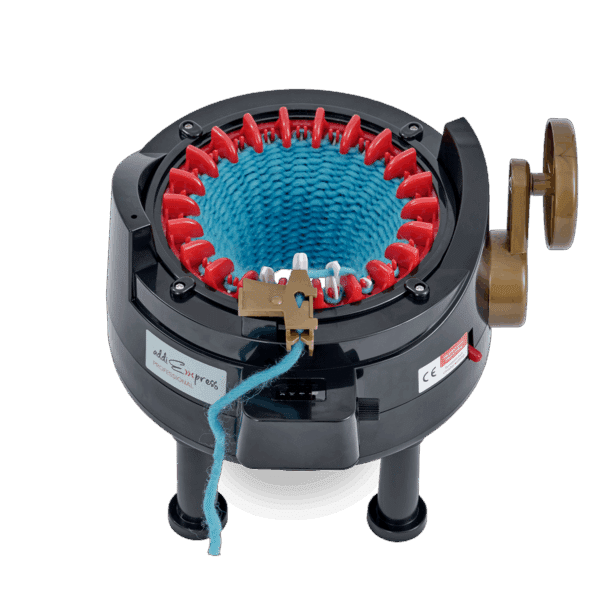
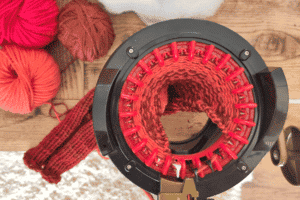
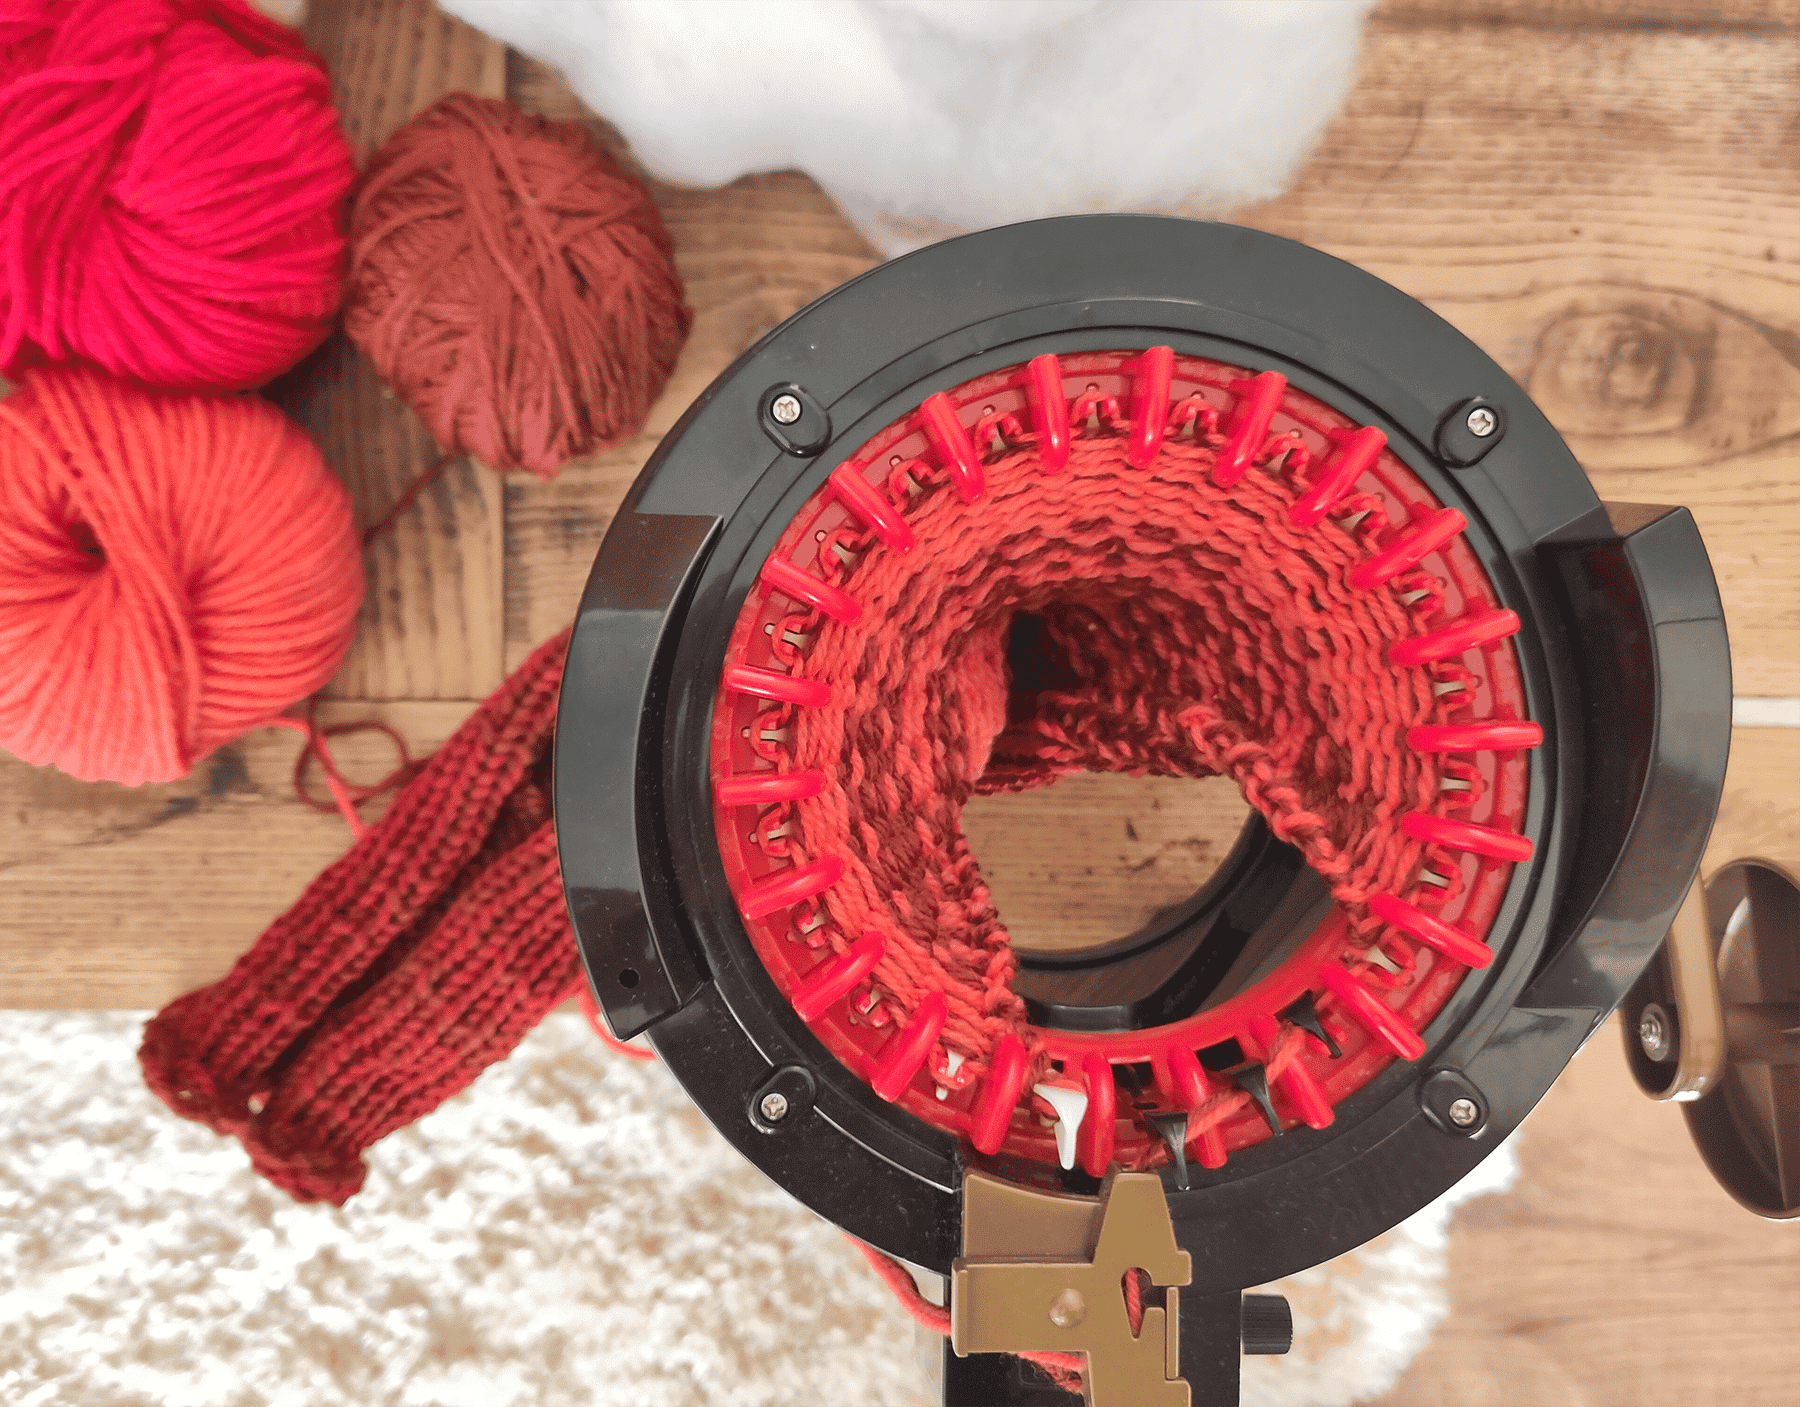
With the addiExpress, knitting becomes super easy and comfortable: Knit quickly round or straight – just turn the crank!
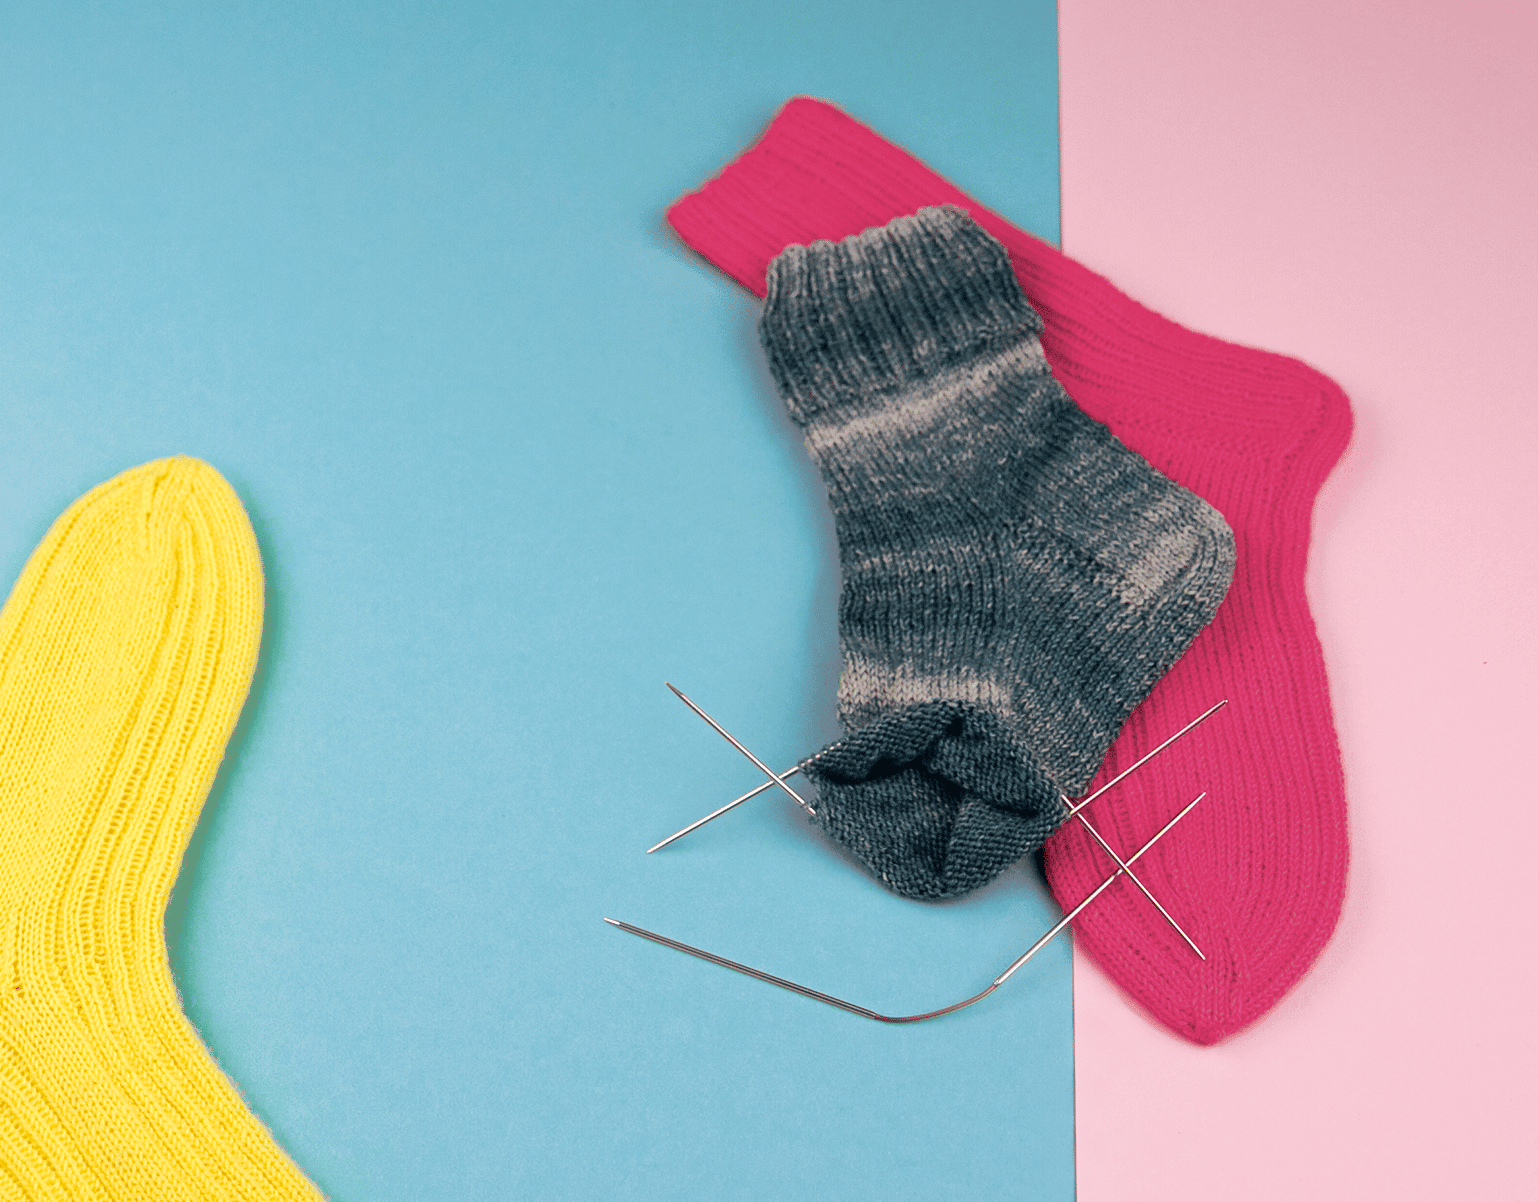
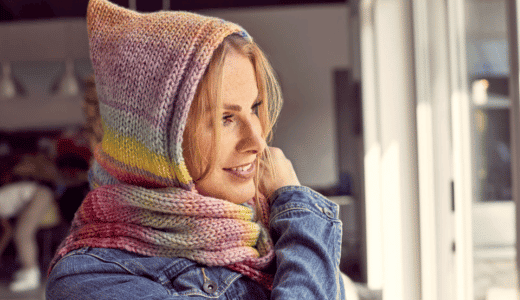
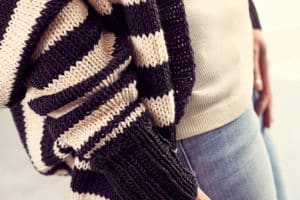
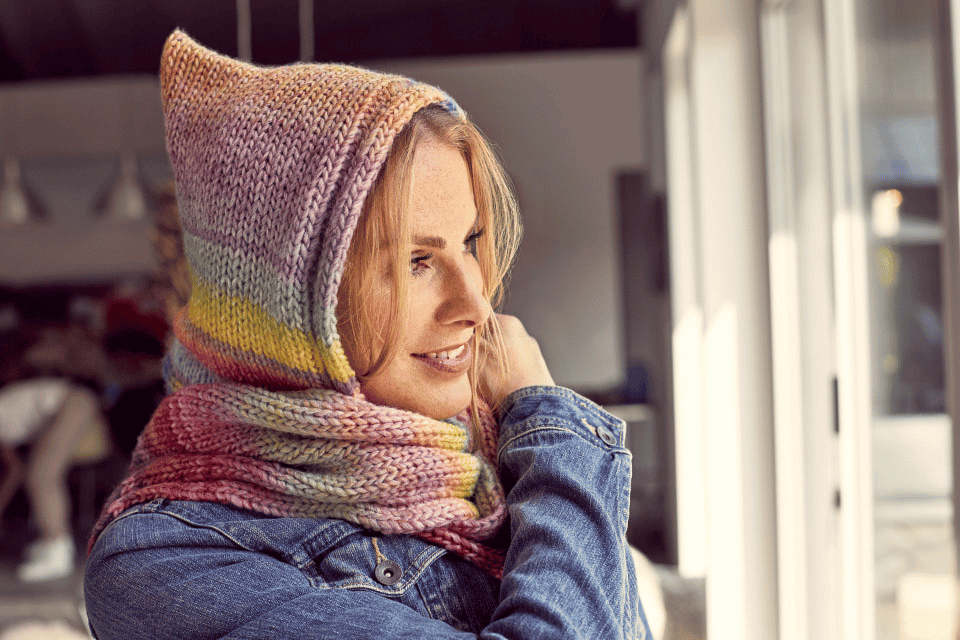
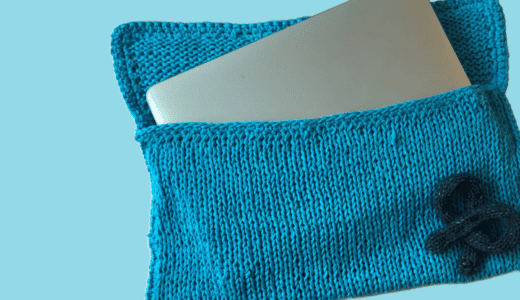
Even beginners will be proud of their work within minutes: on scarfs or patchwork sweaters and vests, on cuffs for arms or legs, on small items like cell phone holders, eggwarmers and even socks. The addiExpress has a practical needle holder and a row counter.
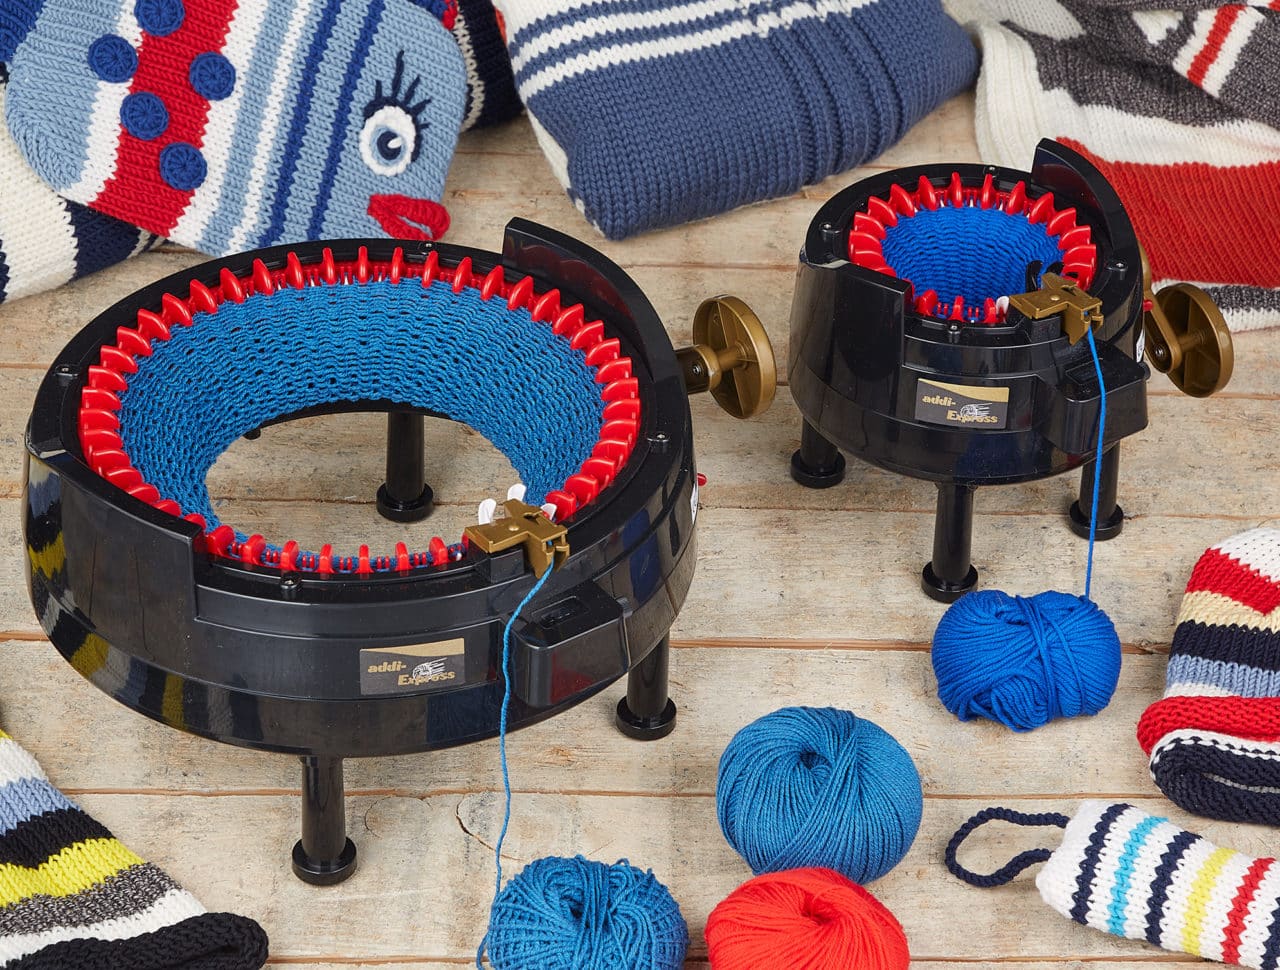
addiExpress knitting machines are available in two sizes.
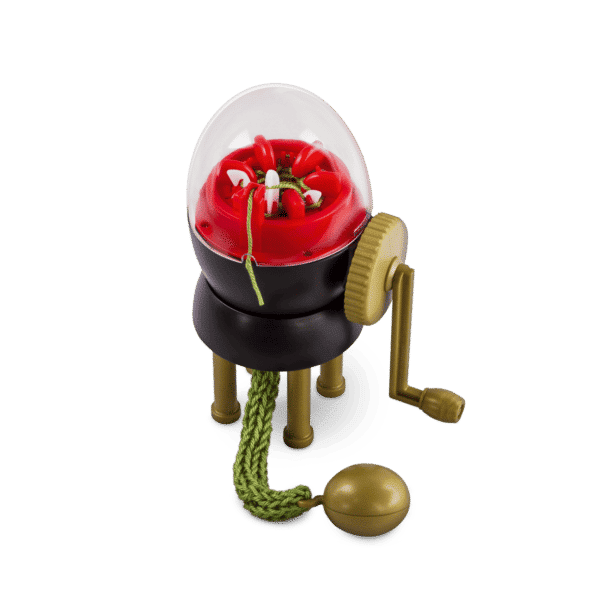
Das kleine Modell „addiExpress Professional“ besitzt 22 Nadeln, das große Modell „addiExpress Kingsize“ hat 46 Nadeln. Zusätzlich gibt es das „addiEi“ mit 6 Nadeln für kleine Strickkordeln und Accessoires.
Even non-knitters simply turn the crank and have their first own knitted pieces created in no time.

addiExpress knitting machines are available in two sizes.
Das kleine Modell „addiExpress Professional“ besitzt 22 Nadeln, das große Modell „addiExpress Kingsize“ hat 46 Nadeln. Zusätzlich gibt es das „addiEi“ mit 6 Nadeln für kleine Strickkordeln und Accessoires.
Even non-knitters simply turn the crank and have their first own knitted pieces created in no time.


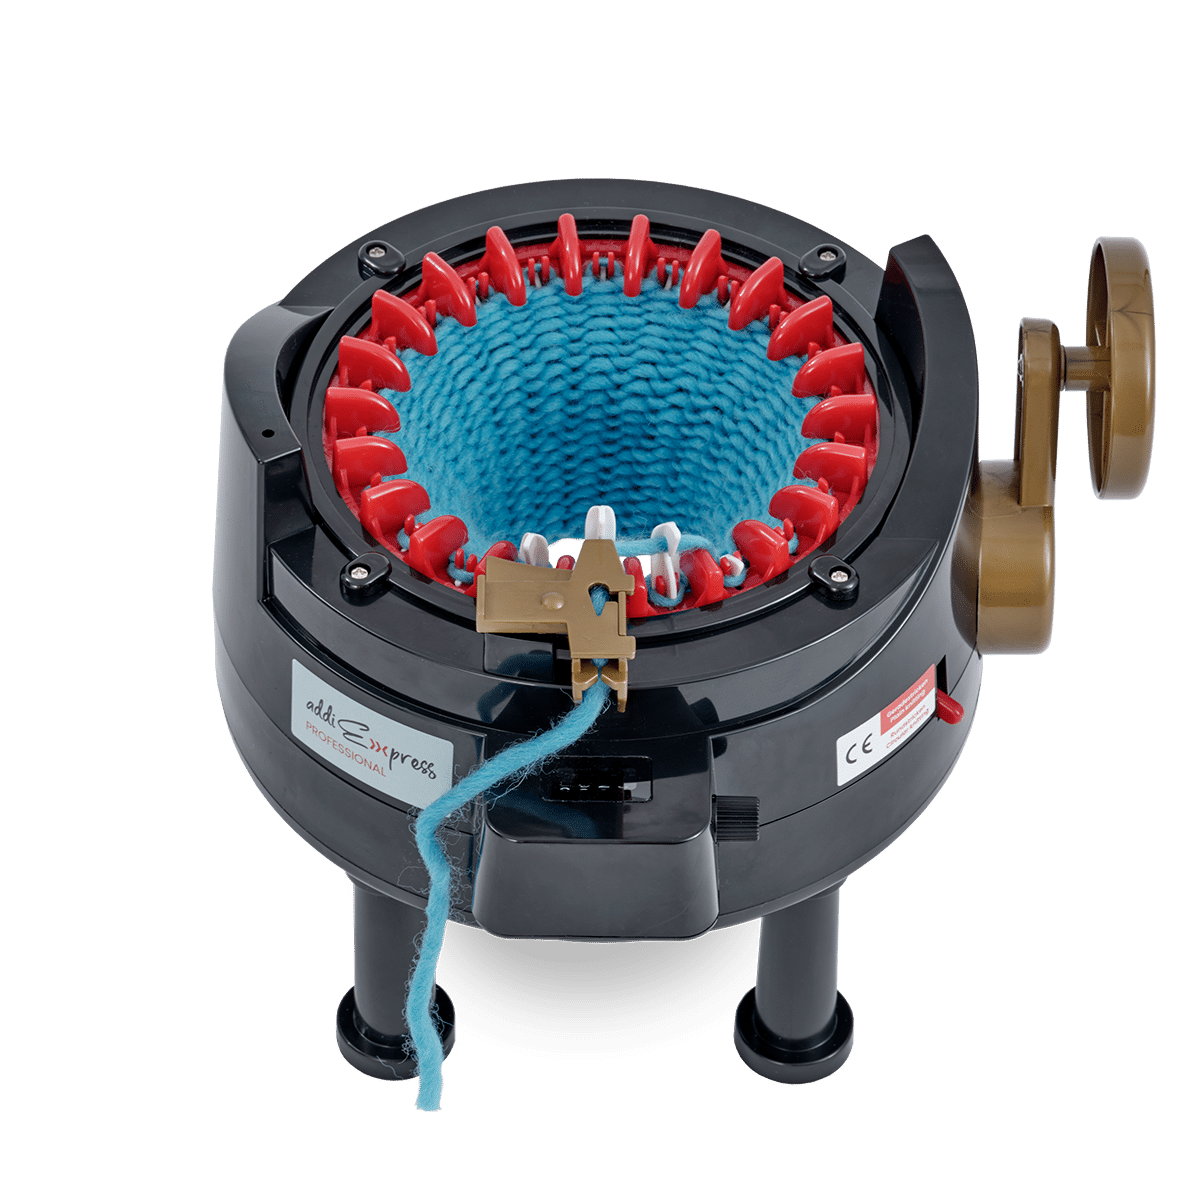
addiExpress Professional
- 22 needles
-
Circular knitting: ca. 4″ – 5.9″ (10 bis 15 cm) diameter
-
Plain knitting: ca. 5.9″ – 7.9″ (15 bis 20 cm) wide
- Yarn size: needle size US 6 – 11 (4 – 8 mm)
addiExpress Professional
- 22 needles
-
Circular knitting: ca. 4″ – 5.9″ (10 bis 15 cm) diameter
-
Plain knitting: ca. 5.9″ – 7.9″ (15 bis 20 cm) wide
- Yarn size: needle size US 6 – 11 (4 – 8 mm)
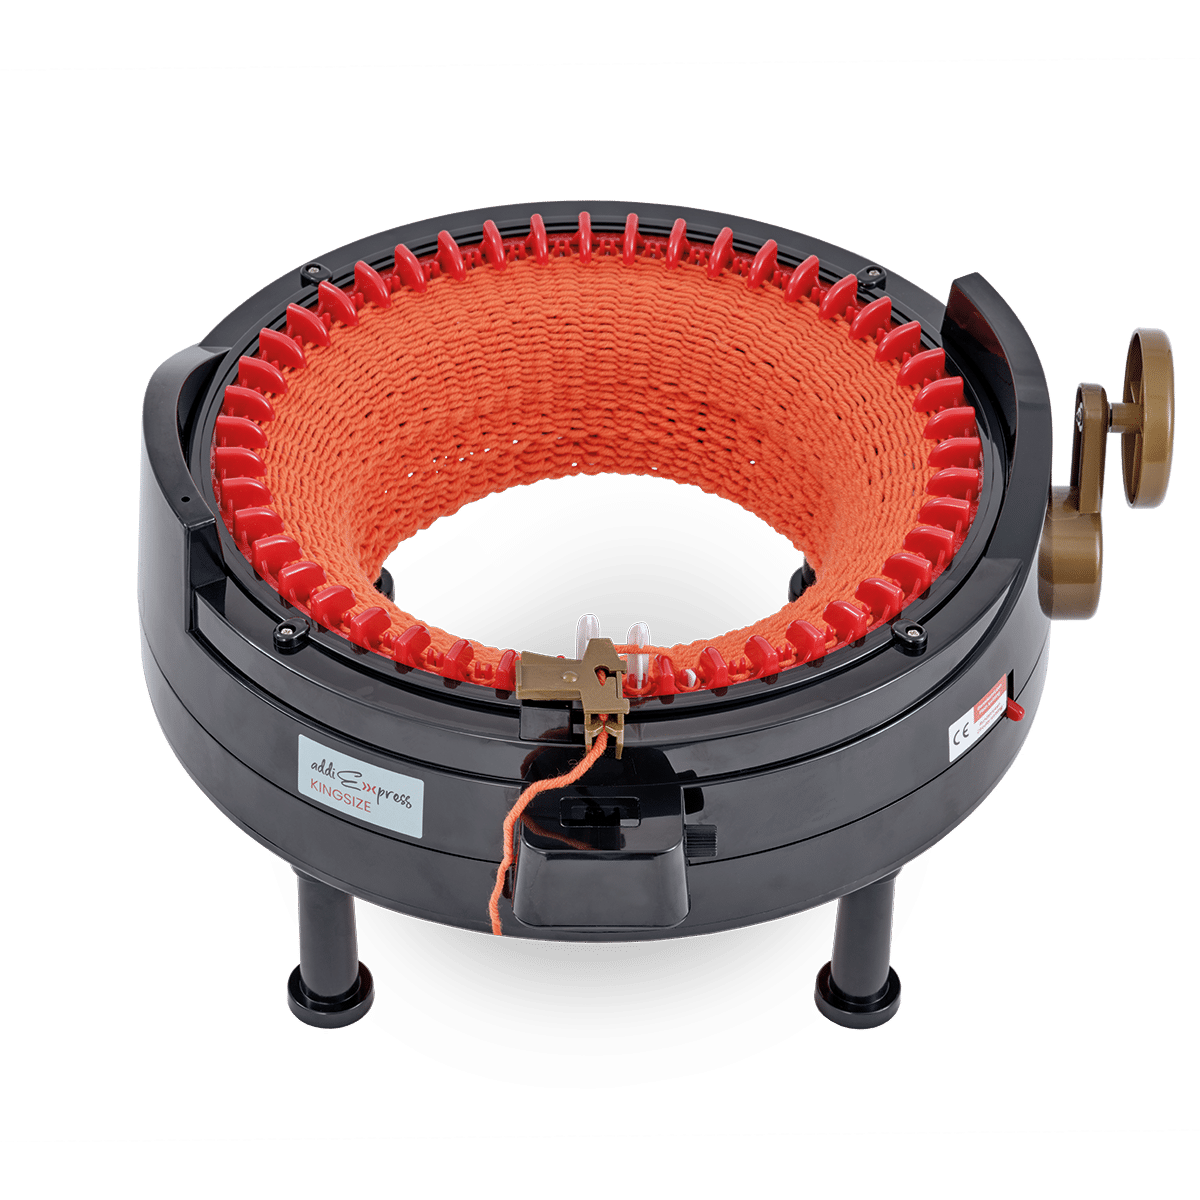
addiExpress Kingsize
Knitting performance:
- 46 needles
-
Circular knitting: ca. 13.8″ (35 cm) diameter
-
Plain knitting: ca. 17.7″ (45 cm) wide
-
Yarn size: needle size US 6 – 11 (4 – 8 mm)
addiExpress Kingsize
Knitting performance:
- 46 needles
-
Circular knitting: ca. 13.8″ (35 cm) diameter
-
Plain knitting: ca. 17.7″ (45 cm) wide
-
Yarn size: needle size US 6 – 11 (4 – 8 mm)
Mit dem Laden des Videos akzeptieren Sie die Datenschutzerklärung von YouTube.
Learn more
Mit dem Laden des Videos akzeptieren Sie die Datenschutzerklärung von YouTube.
Learn more
Mit dem Laden des Videos akzeptieren Sie die Datenschutzerklärung von YouTube.
Learn more
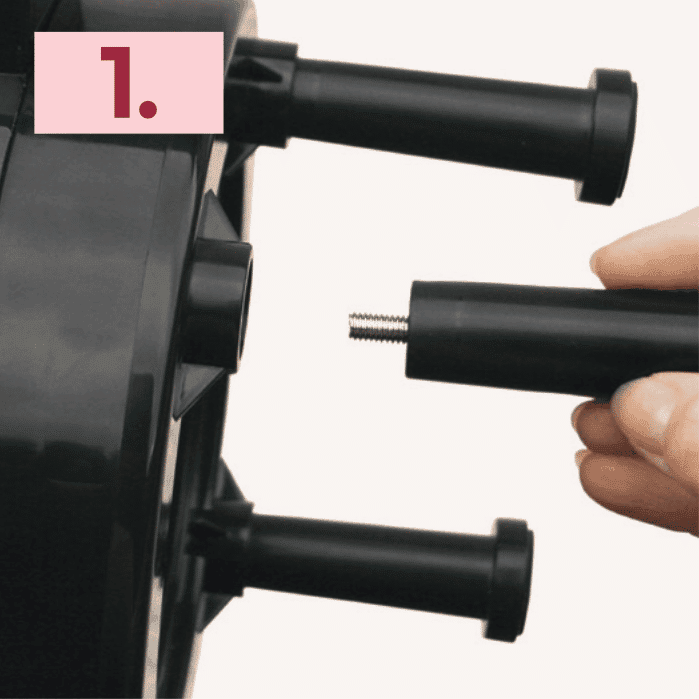
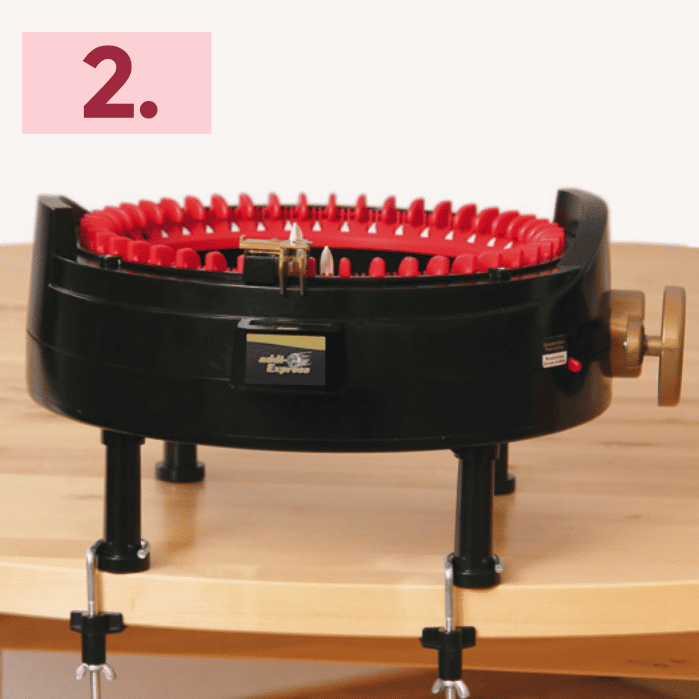
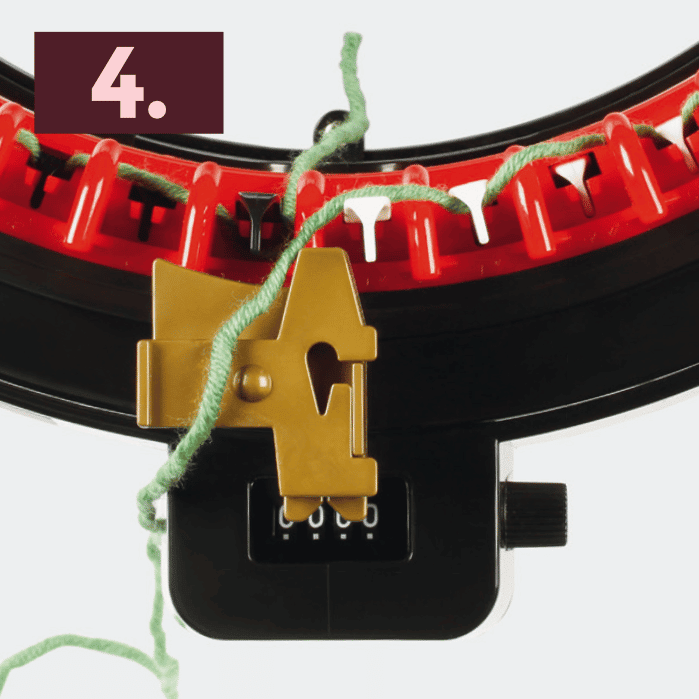
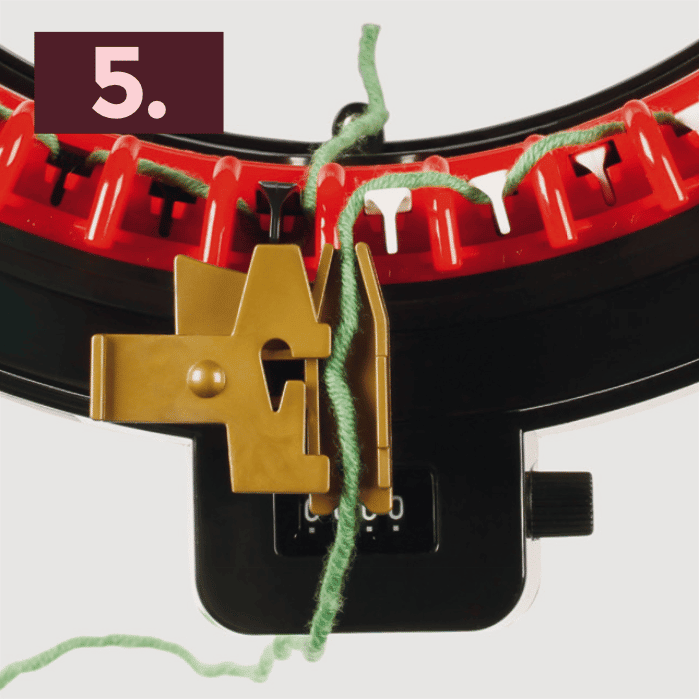
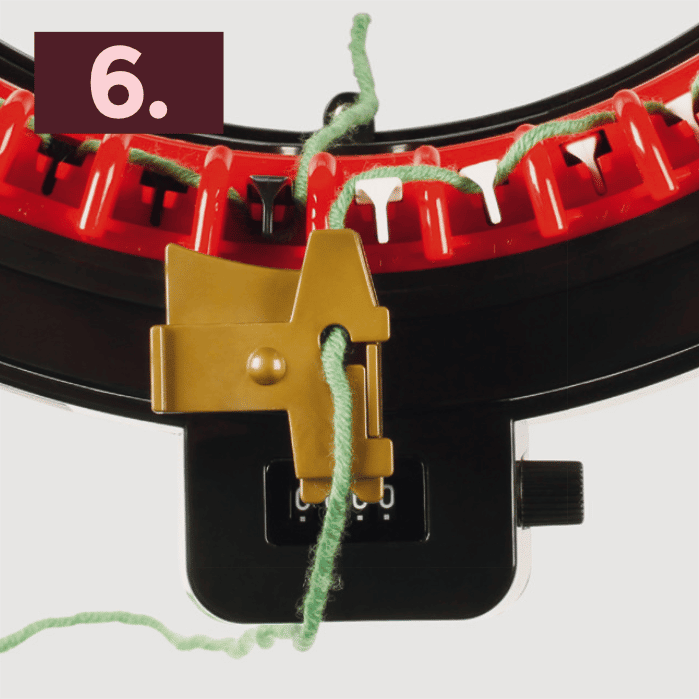
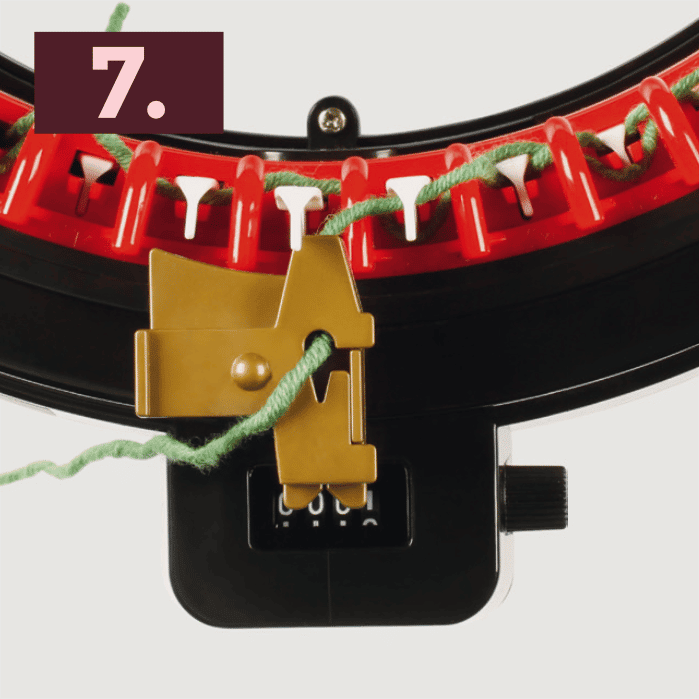
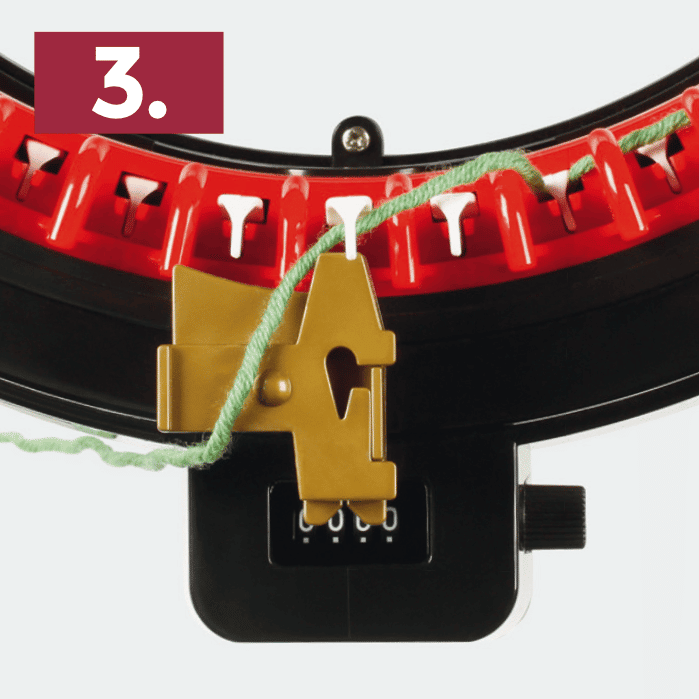
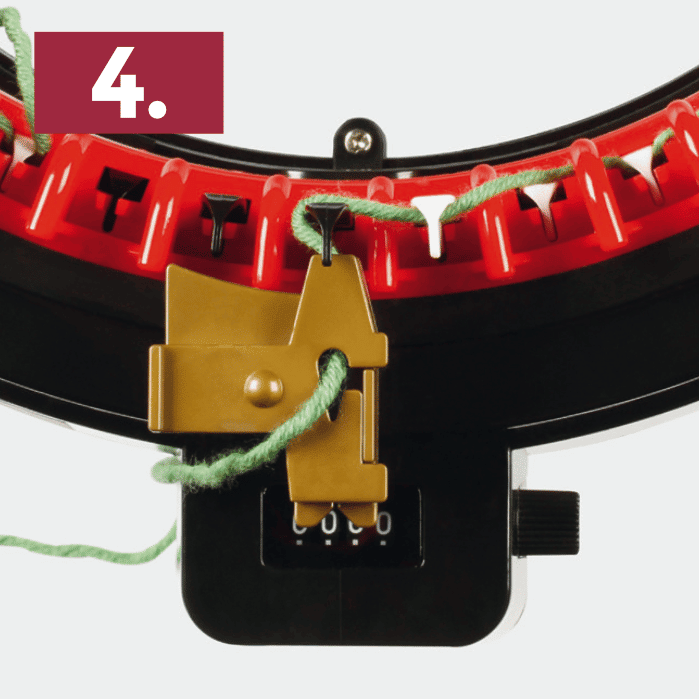
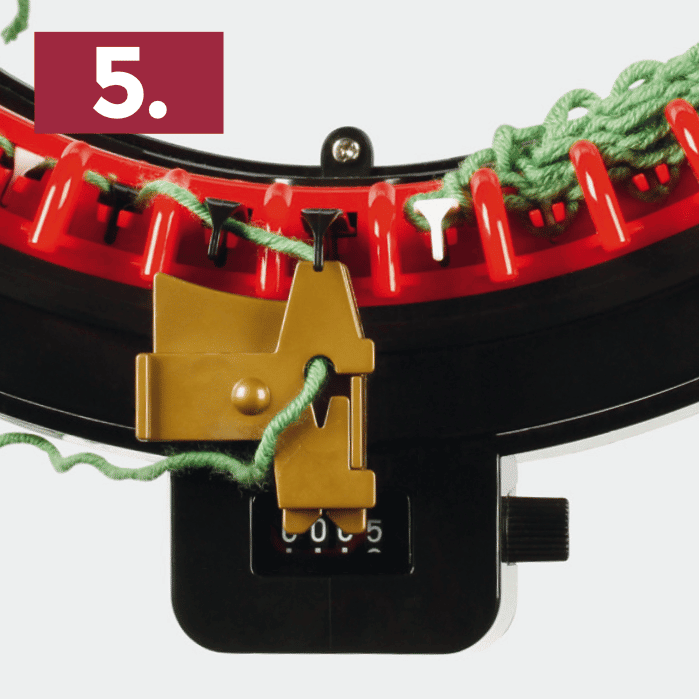
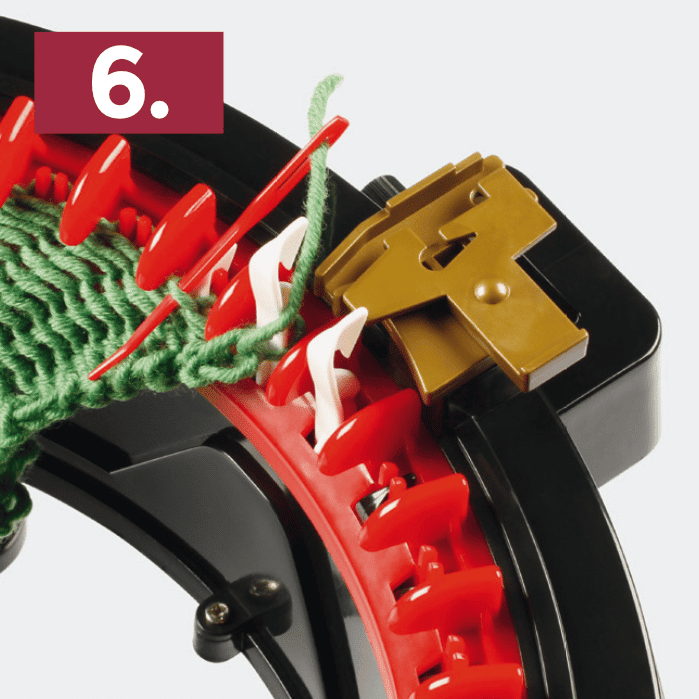
This is how it works:
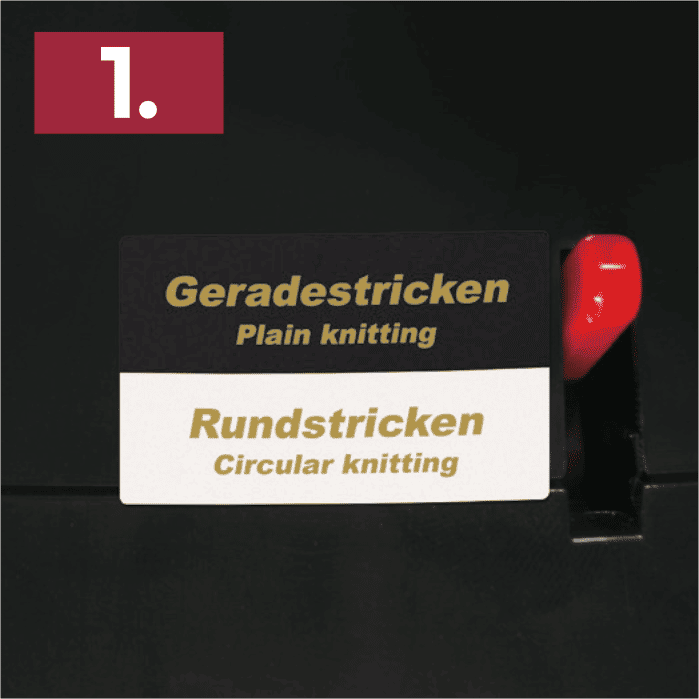
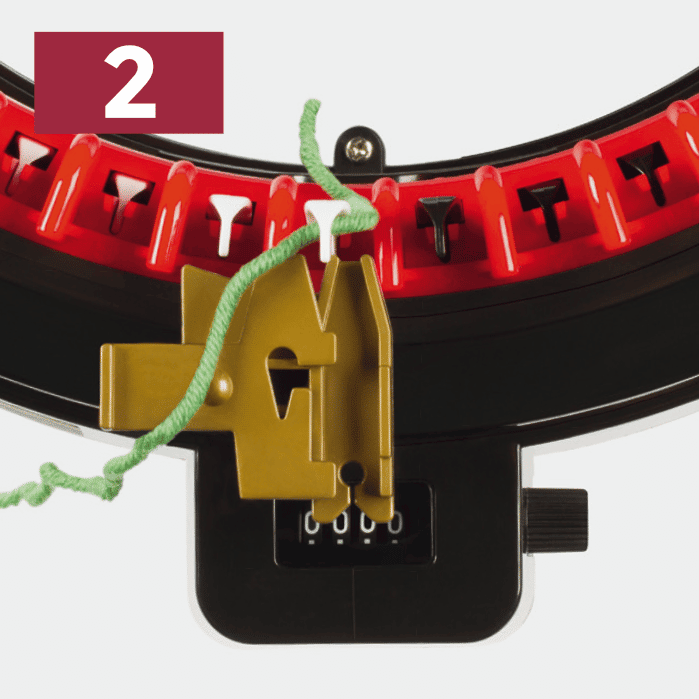
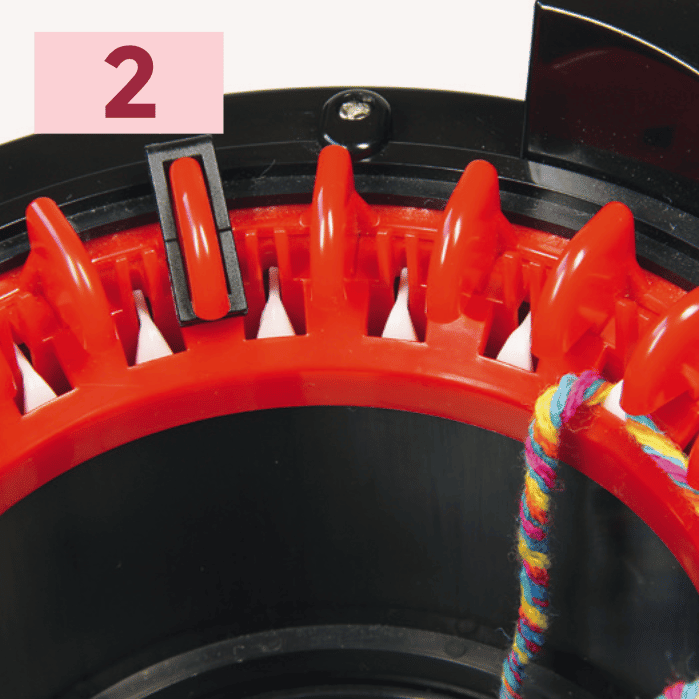
Set up
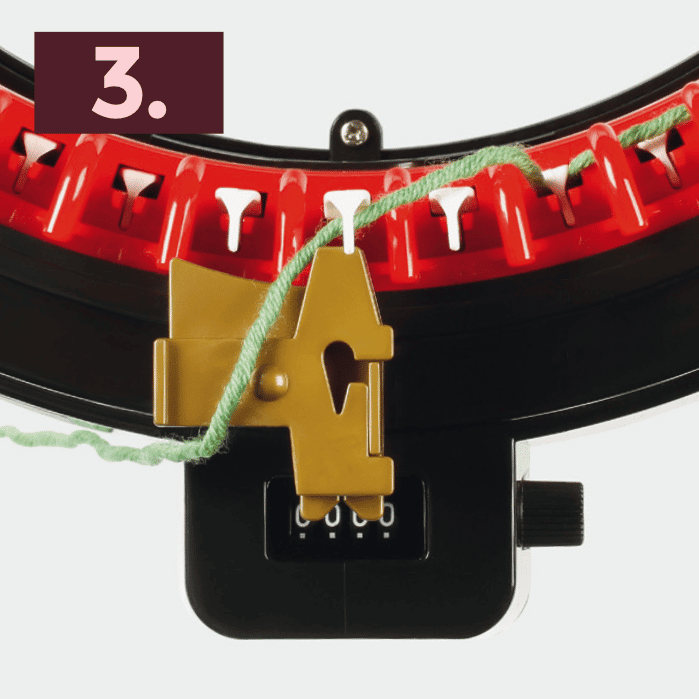
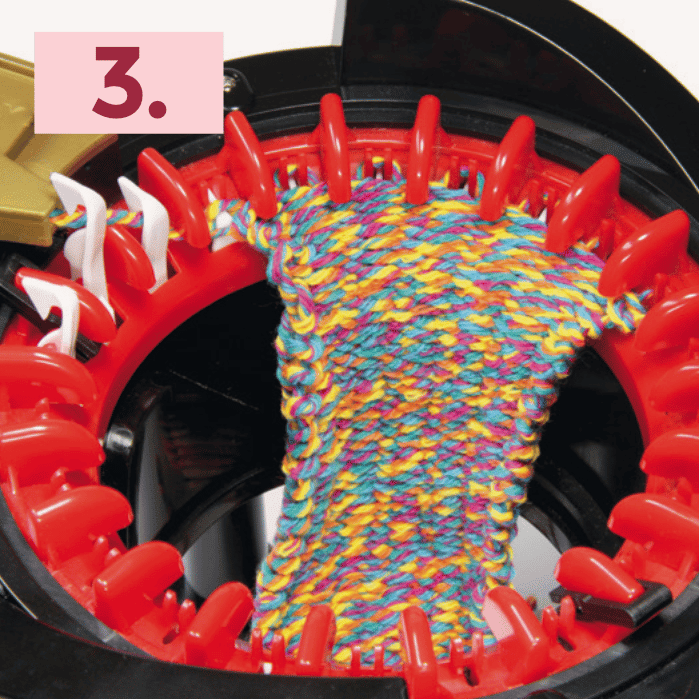
Basic course - circular knitting
All 22 Needles (Professional) or 46 needles (Express) are used.


Basic course - plain knitting
19 (Professional) resp. 43 needles (Kingsize) are used.
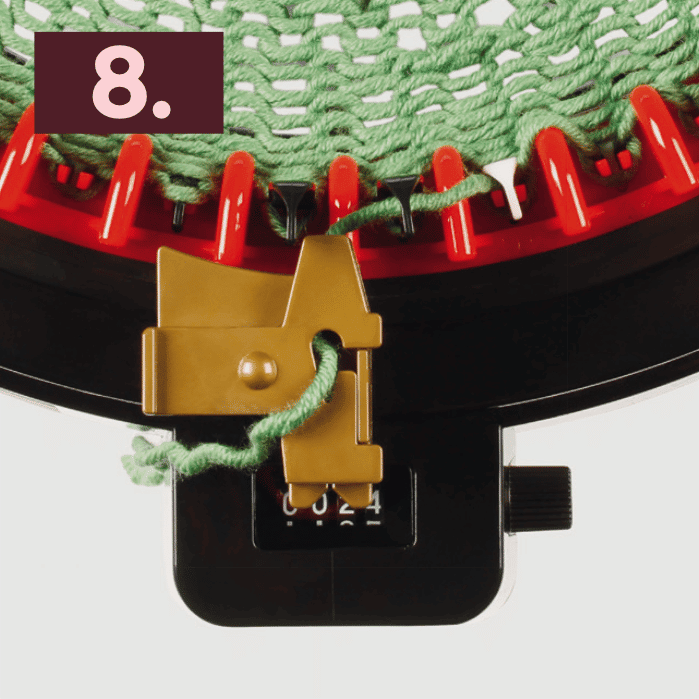
In order to cast off follow the steps 8 to 10 of circular knitting.
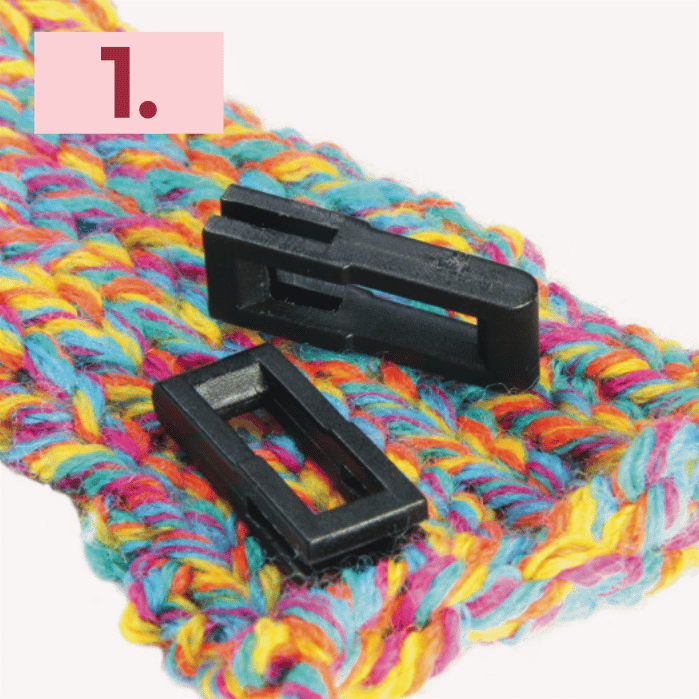
addiStopper
Slip Stich
Increase stitches
Decrease stiches on the side
Increases are quite easy to do (see above), decreases are not. Especially when several st are to be decreased in 1 row. For this it is better to cast off the knitting and knit the decreases manually with the knitting needle.
You should therefore carefully consider the direction of knitting:
it often makes sense, for example, to start a front part of a sweater from the top and a sleeve from the bottom.
Increase stitches on the sides
It is very easy if you want to increase only 1 st on the side edges:
Simply crank on by 1 st more than the existing knit. Then make sure that the yarn jumps around the next red latch after the newly occupied needle (otherwise the newly occupied needle will not knit off any stitches!). Then continue knitting.
If more than 2 stitches or more are required at one time in increases, proceed as when casting on stitches directly on the machine:
On the 1st needle, place the yarn in front of the needle, and on the 2nd needle, behind it, always alternating. Repeat this process until the desired number of further increases has been made.
Before knitting the back row
always make sure that the thread is around the red latch of the last occupied needle.
Otherwise it will not be knitted off.
Tips and tricks
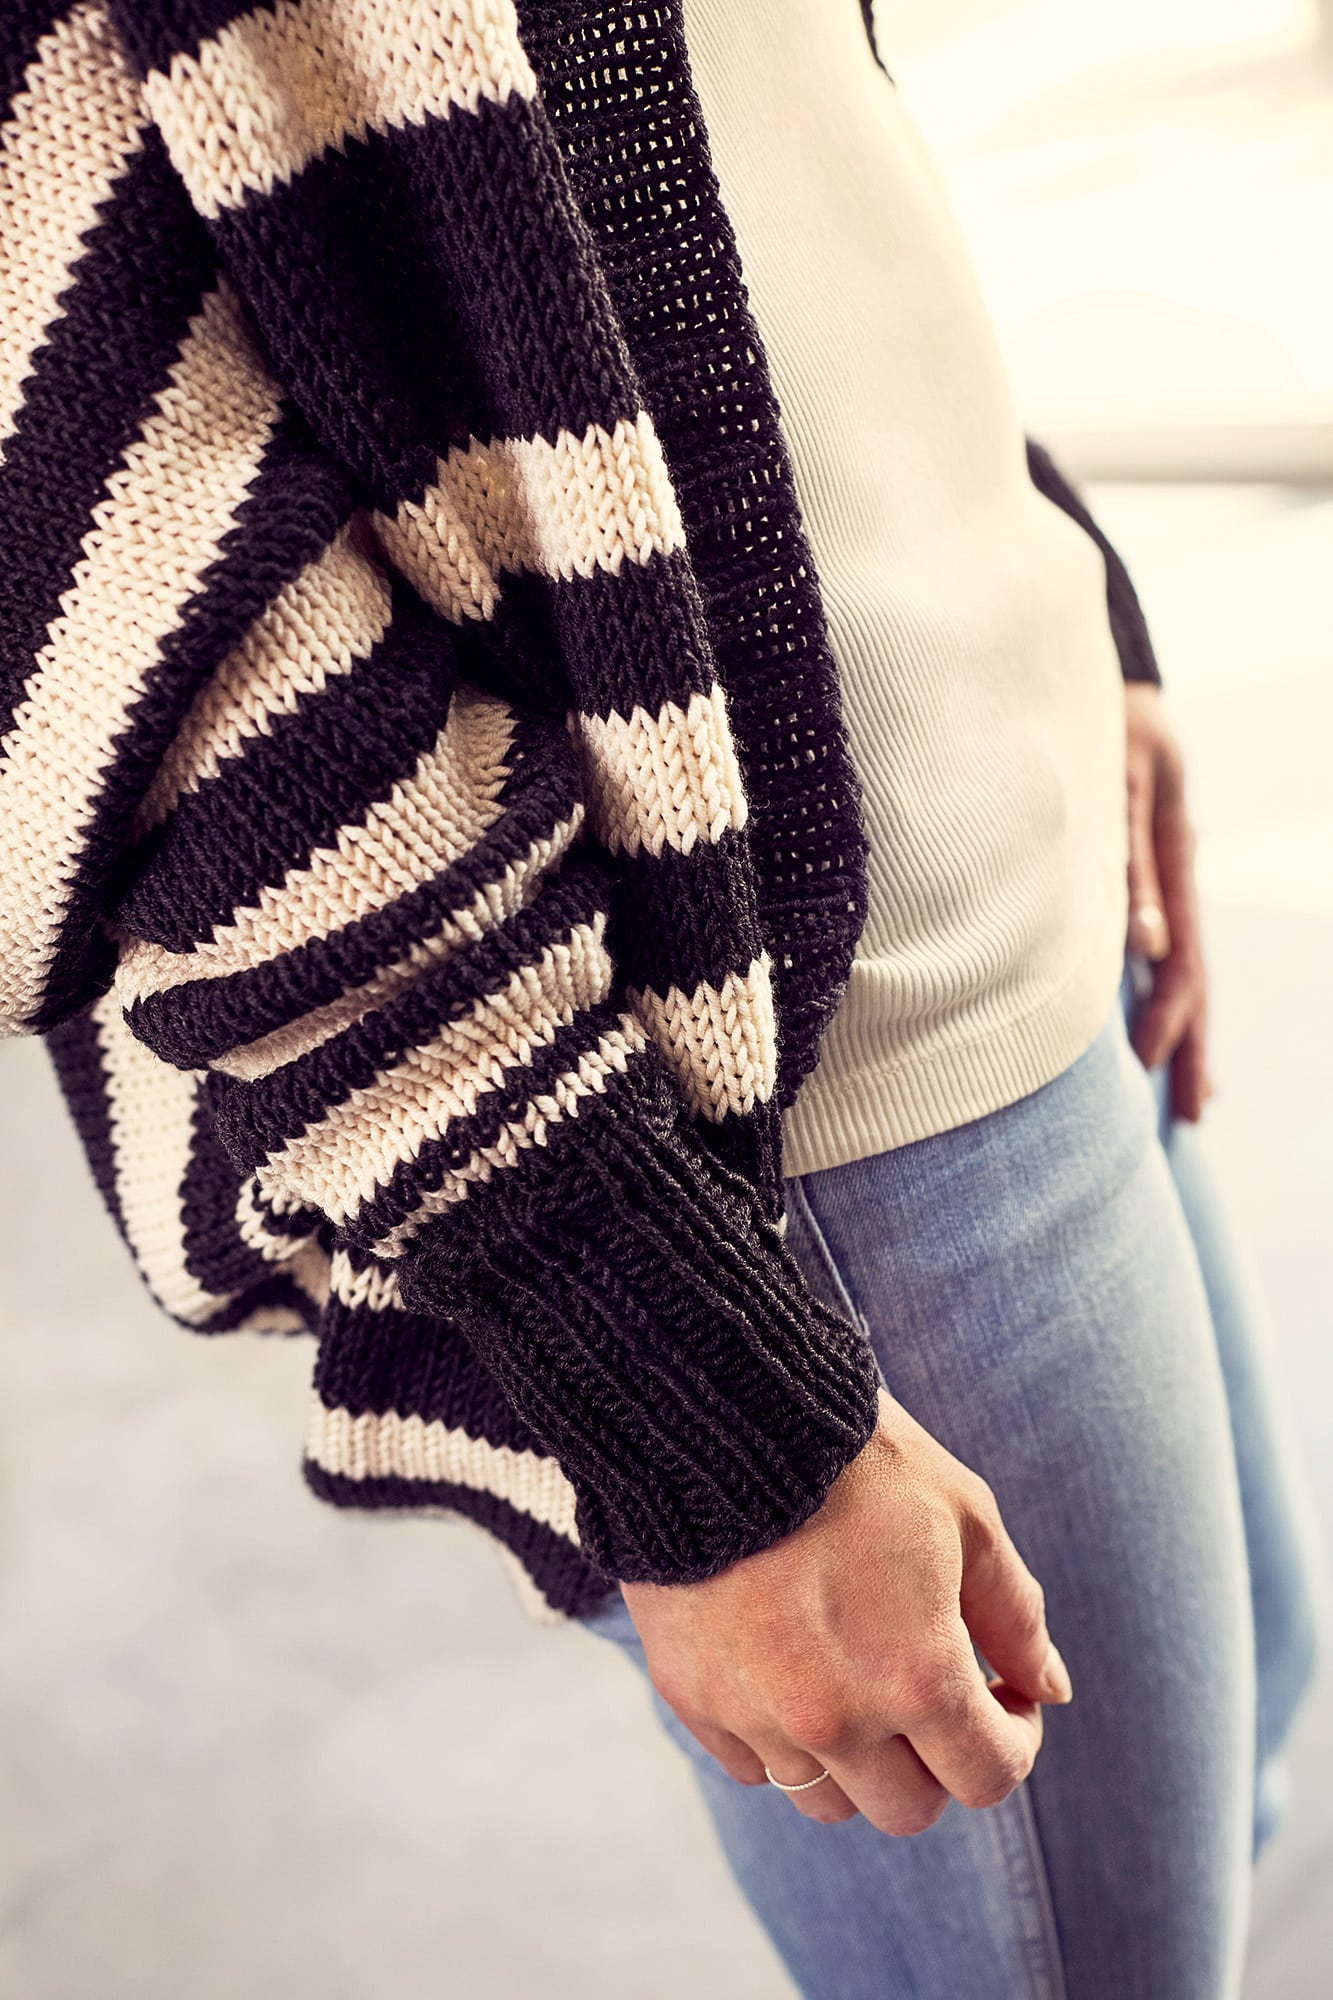
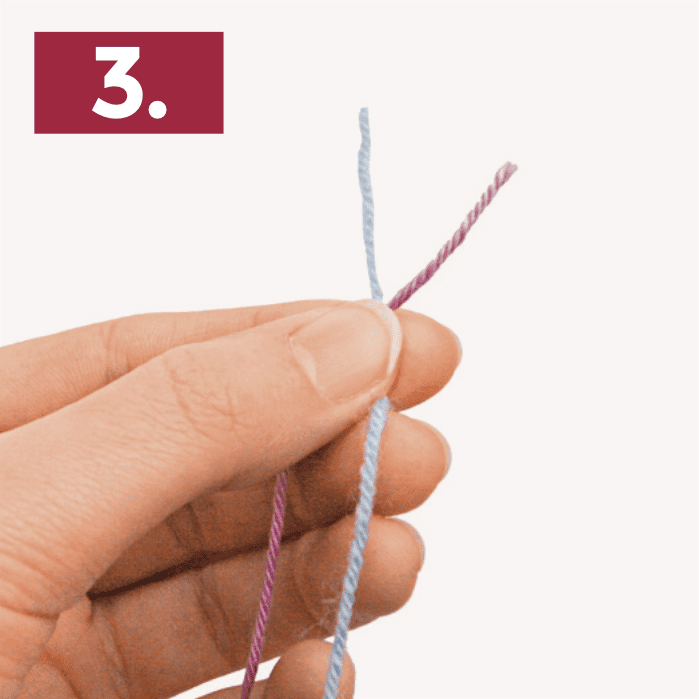
Multicolor knitting variant 1 - Trying yarns together
- To knit with more than one colour, just tie
the two yarns together. Be careful to make a proper, tight knot.

- Lay the ends of both yarns, one behind the other, in a cross.
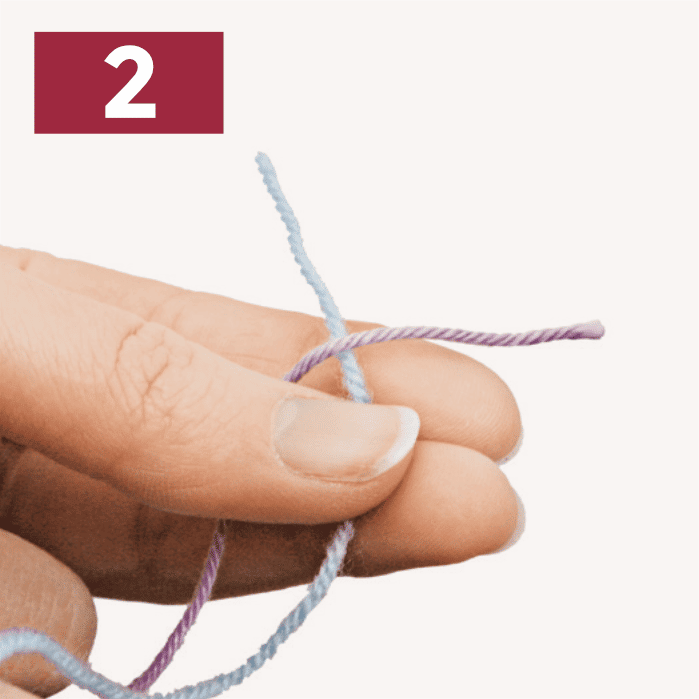
- Place your left thumb on the point where the yarns cross.
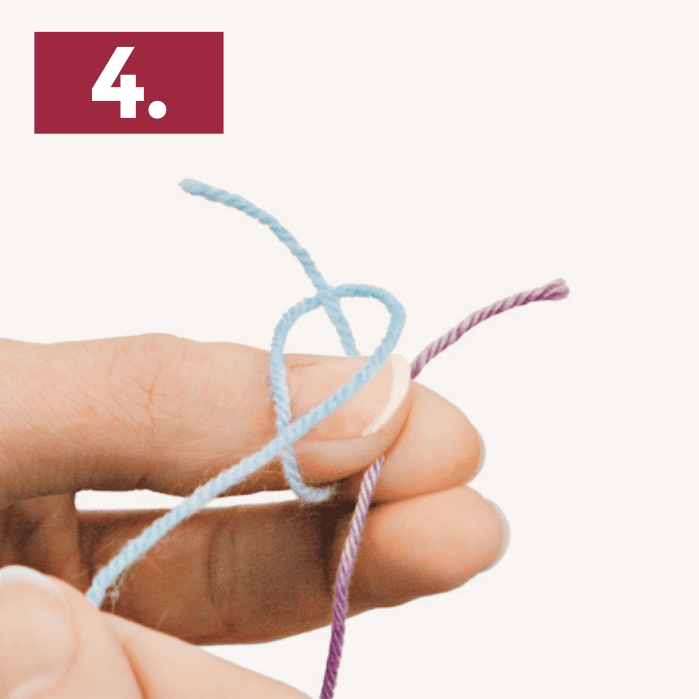
- Then make a loop with the thread in your right hand around its own end.
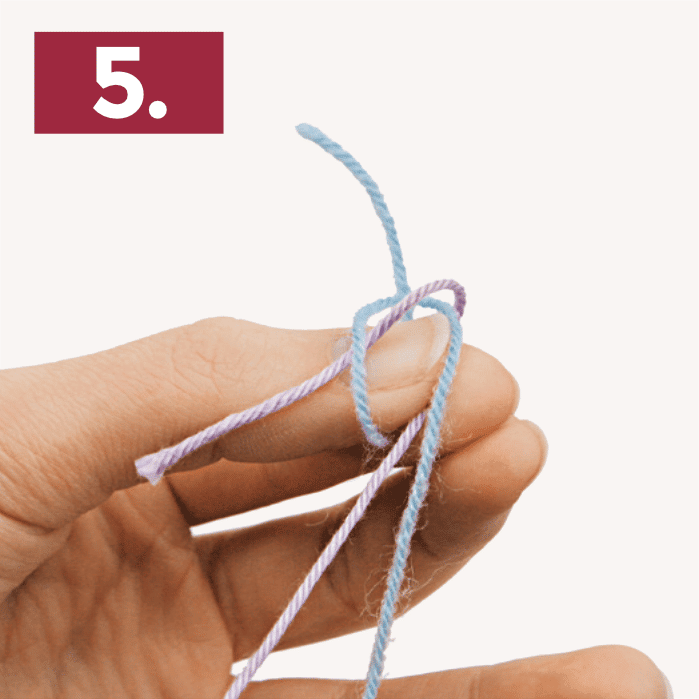
- Now take the end of the other colour. Lay it over the right-hand thread of the loop and pull it through under the left-hand thread.
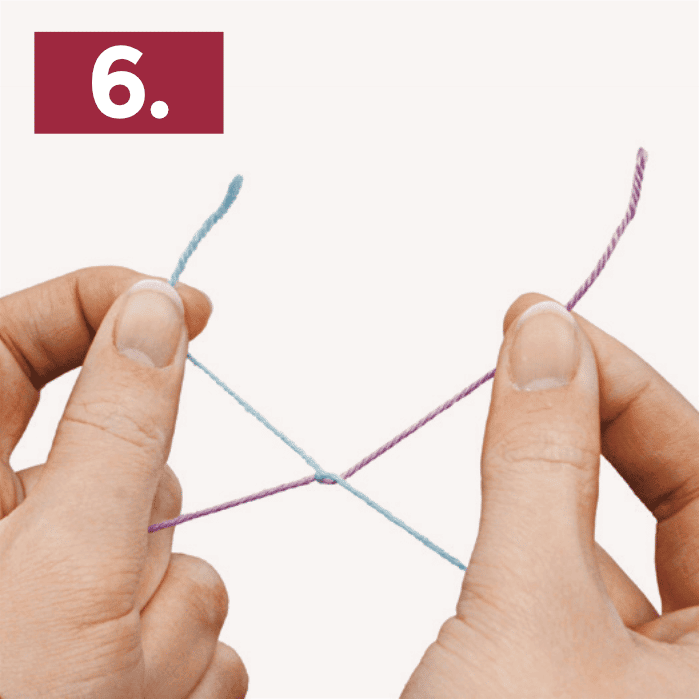
- Remove your thumb from the loop and pull
the knot really tight. Cut the yarn end off
near the knot.
When knitting it in, position the knot in such a way that it does not sit on a needle.
Multicolor knitting variant 2 - Crossing yarns
This method usually creates
neater joins.
At the end of a row or a round, the previously used ball is taken out of the yarn holder and placed in the middle of the machine.
The ball with the new colour is inserted into the
yarn holder and knitting continues in the usual
manner for machine knitting.
For repeating stripes, the two balls are crossed once after each turn (=2 rows) so that no loose hanging threads remain on the side – just like when knitting by hand.
After finishing the knitting or after casting off,
it is advisable to tie the free hanging threads together and then sew them up.
Yarns
You can use any yarn, even “flamed” ones, including yarn grades of different thicknesses.
We recommend for the addiExpress yarn sizes for needle sizes 4 – 8 mm. This is only a guideline. Not every yarn structure will crank well, try what works well for your project.
Mehr Infos weiter unten.
Total row count
Always knit an odd number of rows,
because knit stitches are better for casting off (1st row = immediately after stopping).
Adapting patterns to your size
The maximum width for knitted pieces, knitted in rows, is 43 st. If wider pieces are needed, the knitted piece is divided into strips, which are sewn together later. Please allow a seam allowance of 1 st on both sides for sewing together.
Idea 1: It is best to use a knitted piece that fits well as a basis and take the cut and the measurements from it. Calculate the stitches and rows accordingly. Always allow 1 additional st per edge for seam allowances.
Idea 2: Take cutting instructions from needlework books that provide for your own desired size and calculate the required number of stitches and rows according to the gauge.
All our addiExpress instructions contain sketches with measurements that can be used to change the size.
Correcting knitting mistakes
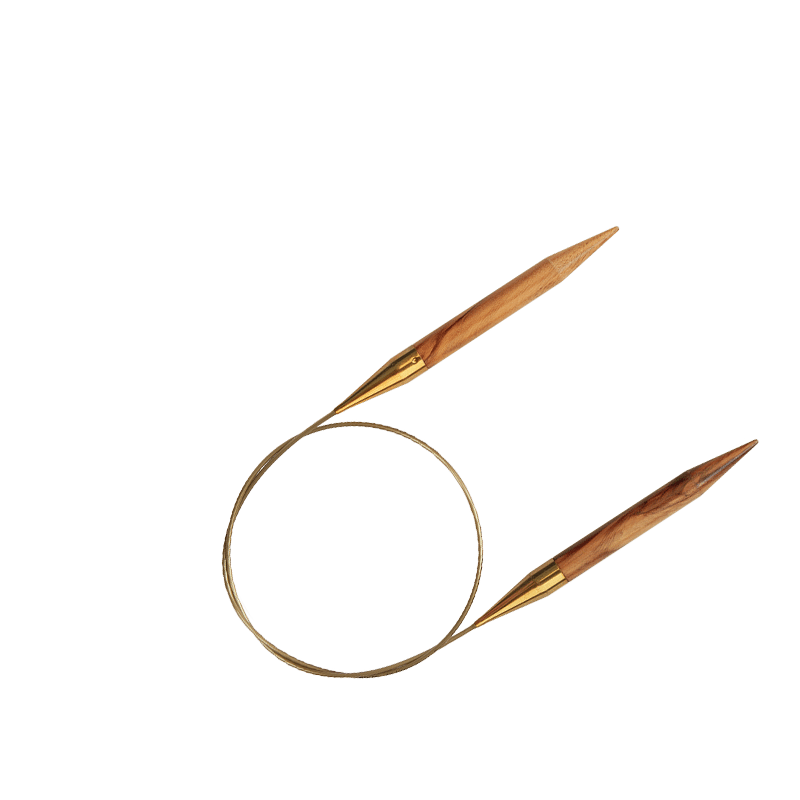
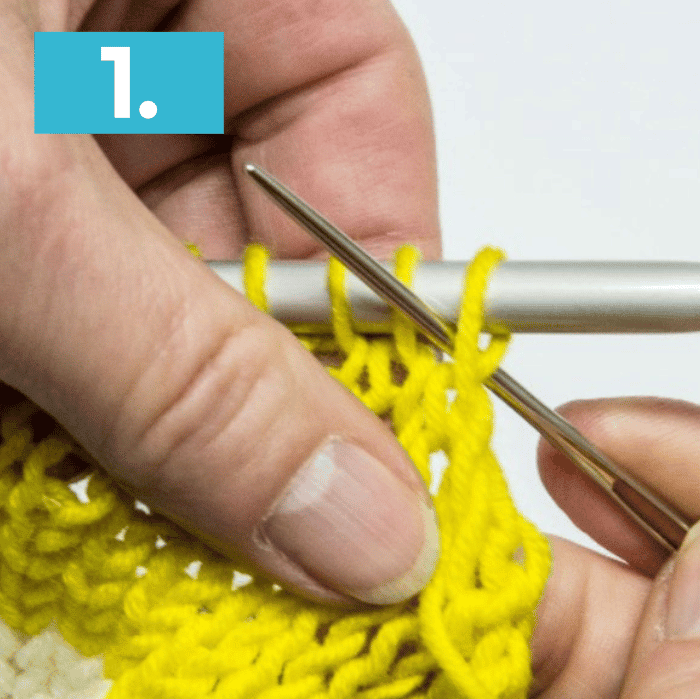
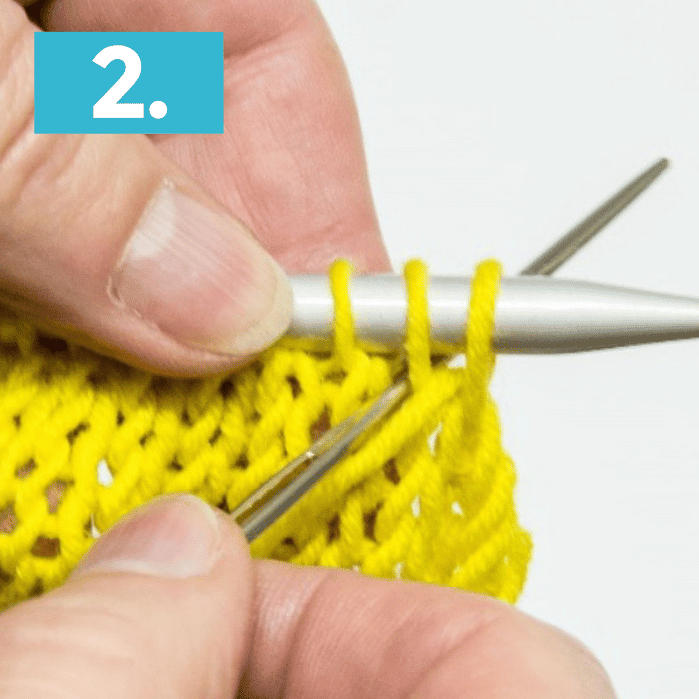
If knitting mistakes should happen, it is best to cast off the knitting completely. Pick up the st on a circular needle and either correct the knitting mistake directly (e.g. drop the chain stitch and crochet it up again with the crochet hook) or unpick the knitting until the row or round with the mistake is undone.
Make sure that the knitting yarn is now on the wrong side of the right knitting side. (The wrong side of the knitting is visible on the inside when knitting in the machine). Then, using the addiExpress hook, lift stitch by stitch, starting from the right and working to the left, back onto the machine’s individual needles.
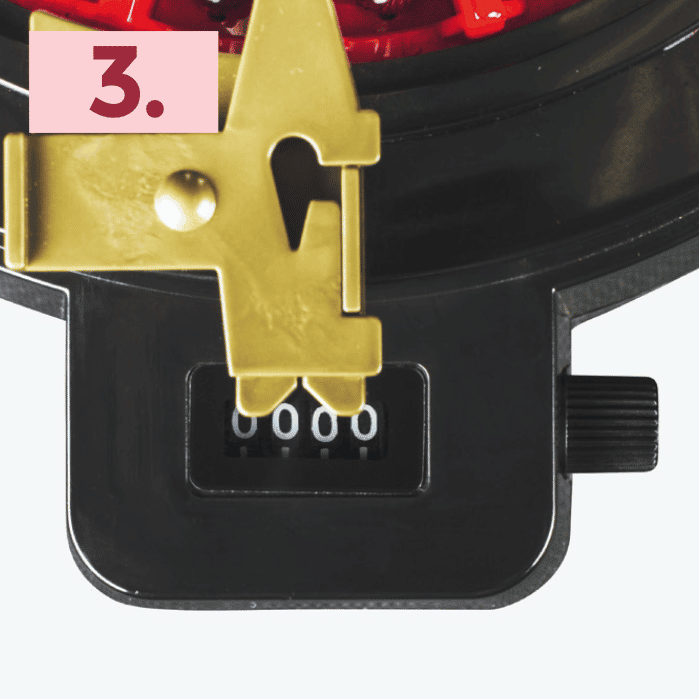
Row counter function
Please note: When producing a wedge or narrower ribbons, only every 2nd row is counted up to the 16th stitch.
Finishing
Finishing
You can cast on stitches directly with the machine, which gives an elastic but not particularly attractive edge.
Casting off or sewing the end edge on the machine is also very time-consuming and requires a lot of concentration.
One fairly simple solution is to knit a few rounds first with spare yarn (you can use it to knit the beginning stitches directly on the machine), which is removed later.
Continue knitting with the main yarn you want. After the last row knitted with the main yarn, knit a few rows again with a spare yarn. Then “cast off” the knitting, which means knitting back and forth once without yarn.
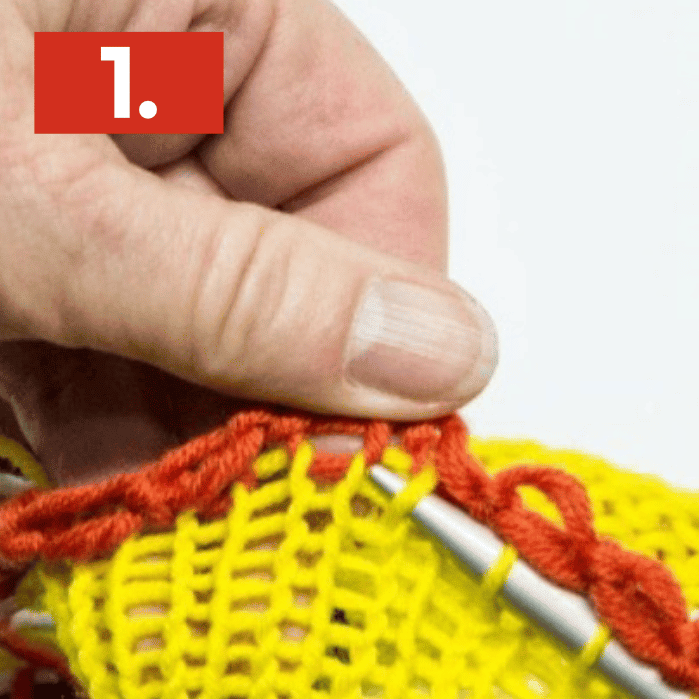
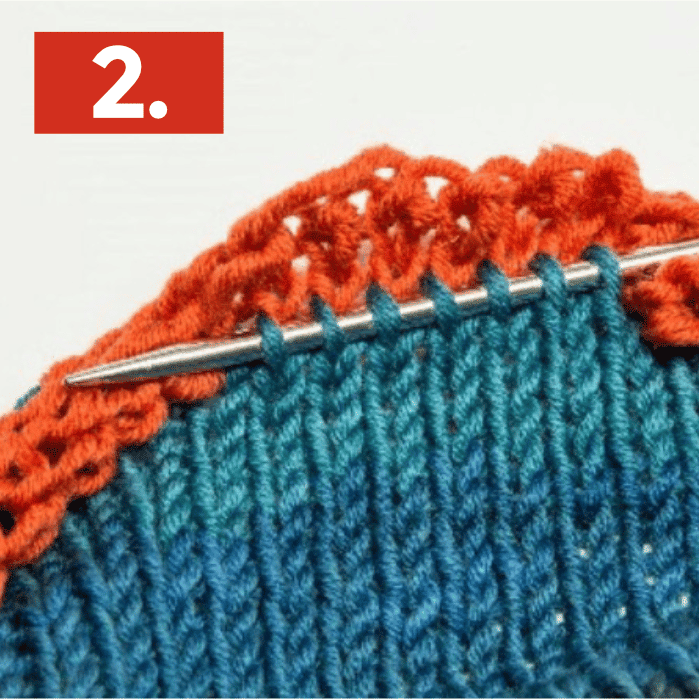
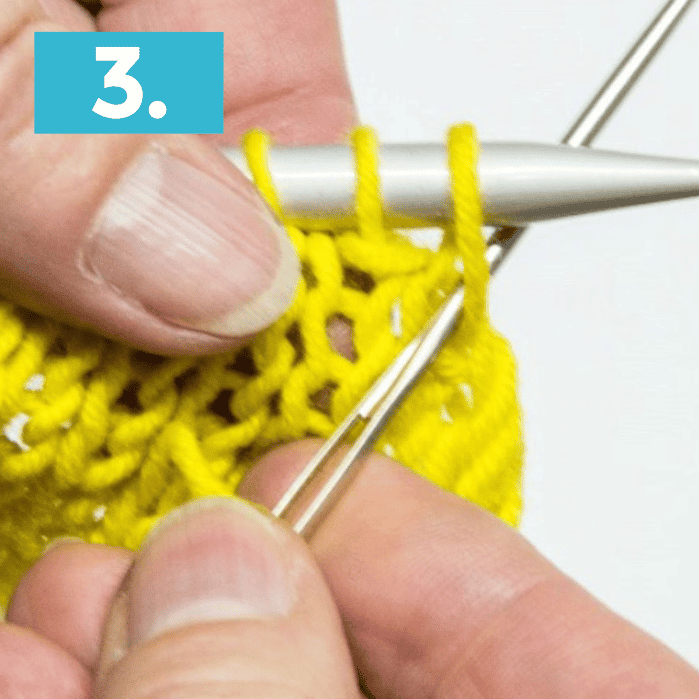
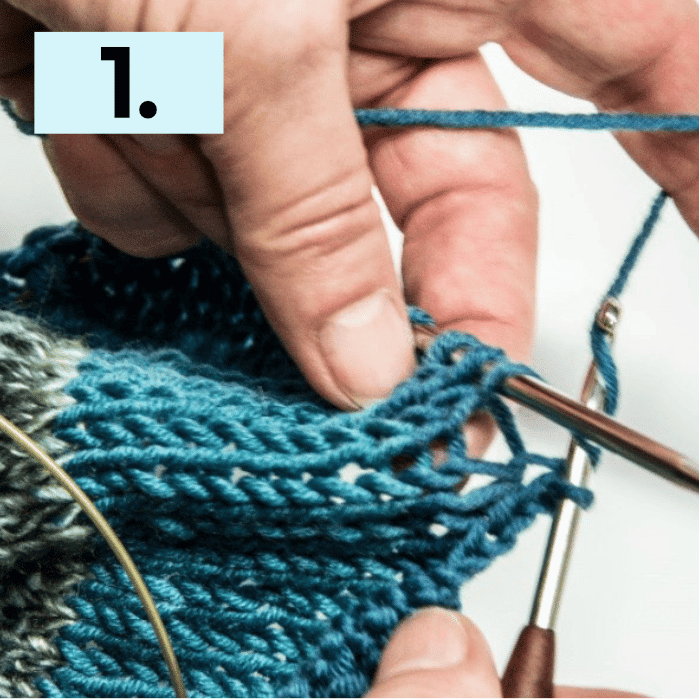
The clean finish at both the beginning and end goes like this: pick up all stitches of the first and last row in the main yarn with a circular knitting needle, then remove the spare yarn.
Version 1 - Casting off
The clean finish at both the beginning and end goes like this:
Pick up all stitches of the first and last row in the main yarn with a circular knitting needle, then remove the spare yarn.
Now loosely cast off the edge with needle no. 6 using the main yarn.
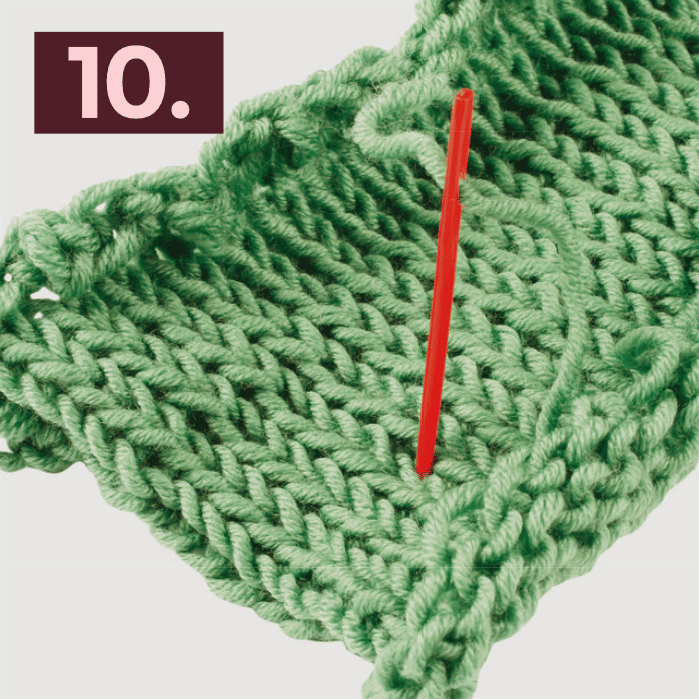
Version 2 – Abnähen
If you want the edge to look elastic but still neat, use a blunt coarse embroidery needle to stitch down the edge:
- Step 1 - Push the needle from the back to the front between the
first (right) and the next stitch, pull the yarn all the way
through and pull moderately tight.
- Step 2 - Push the needle through the 2nd stitch as for right-hand knitting and tighten.
- Step 3 - Push the needle through the 2nd stitch as for knitting.
Let the stitch slide off the needle and pull tight.
Repeat steps 1-3 until there is only 1 st left on the needle. Pull the thread through. Finished!
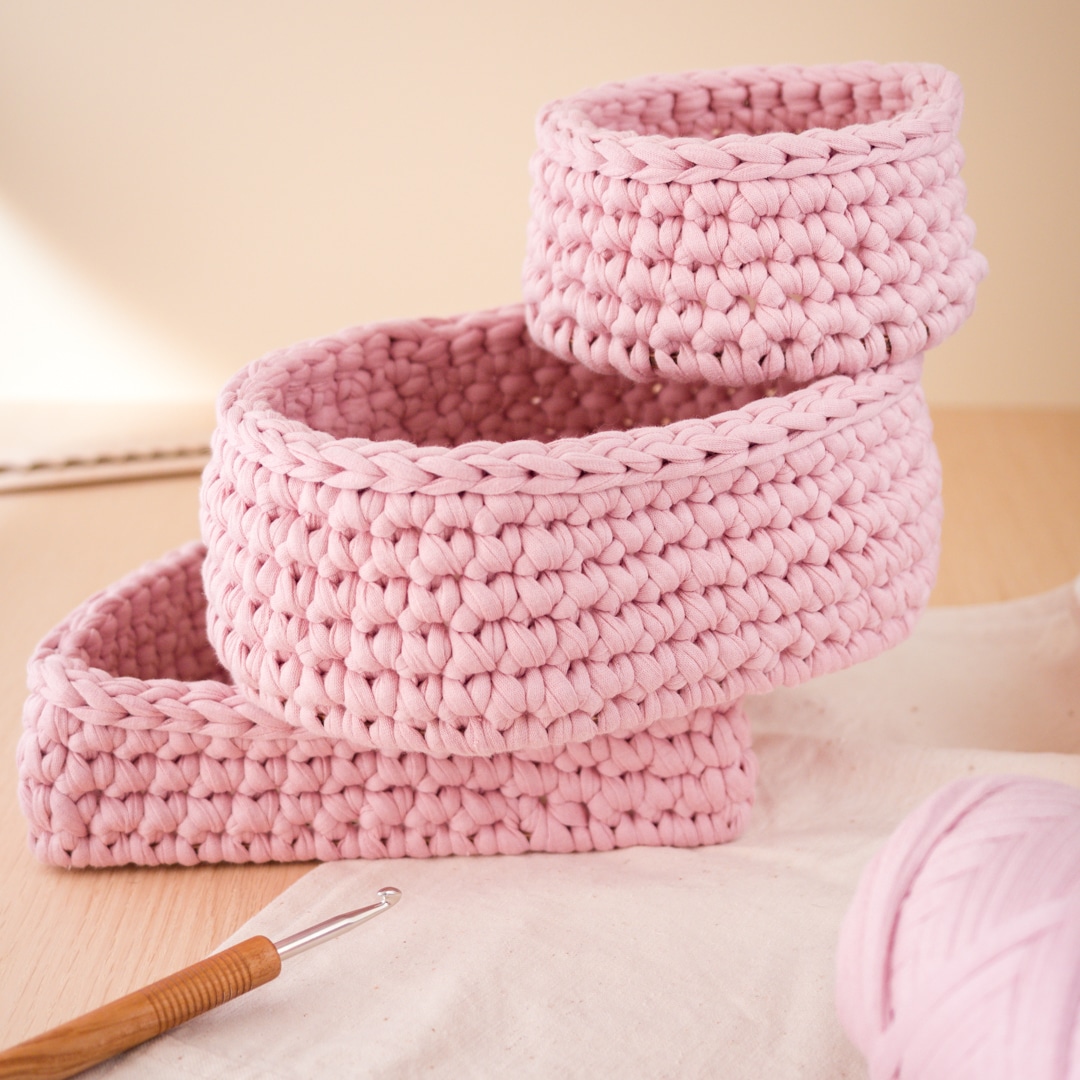
Version 3 - Crochet
Use crochet hook size 4.5 or coarser to crochet off:
*1 st with slip stitch first, and then 1 chain stitch.
Repeat from *.
Trouble shooting
If the handle stops turning it is maybe because...
… the mode switch is set to
“Plain knitting”.
… the thread has not been inserted properly. In which case simply start again, following the instructions.
… remnants of yarn are stuck between the needle and the shank. These can be plucked out using the plastic needle or a pair of tweezers.
If stitches are dropped...
… the handle was turned too fast.
… the yarn was held too loosely.
… the yarn was not properly caught on the needle.
So always watch the run of the yarn when knitting. In this case, simply pick up the stitches again with the plastic needle (as you would in normal knitting) and pull it over the needle.
The handle is difficult to turn because...
… the knitting yarn is set up too tightly. Remove the yarn and thread it back again. Hold it loosely as you do so and unwind the first few centimetres from the ball before you knit the first row.
… the needles are damaged. Replace them according to the manufacturer’s instructions.
… the yarn has slipped over the needle heads and must be properly repositioned.
To change needles...
… loosen the 4 ring holder screws with a precision screwdriver, carefully lift the black ring holder, unscrew the two inner screws and remove the high black cylinder.
Now gently lift out the damaged needles, replace them with the needles supplied and put the pieces back together in reverse order.
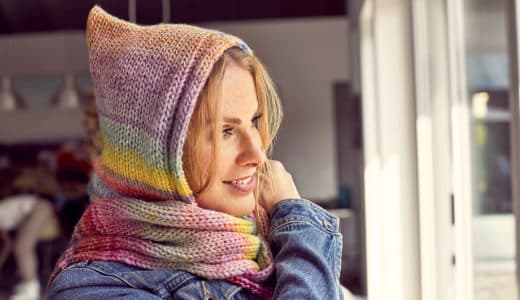
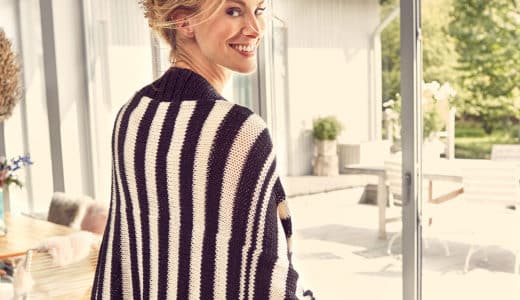


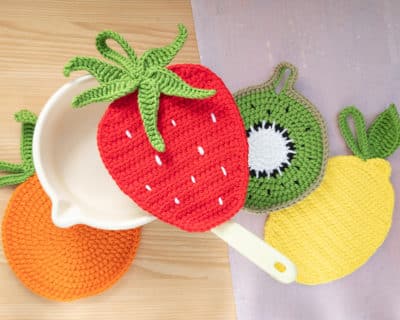
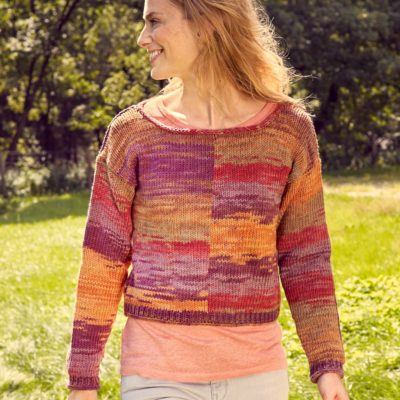
What can you knit with the addiExpress?
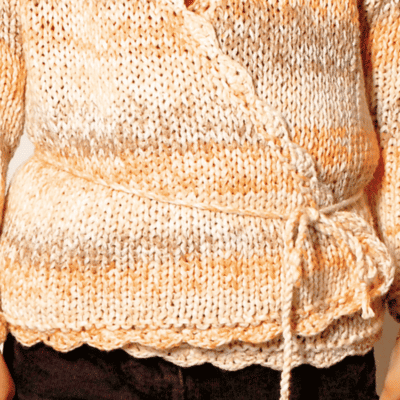
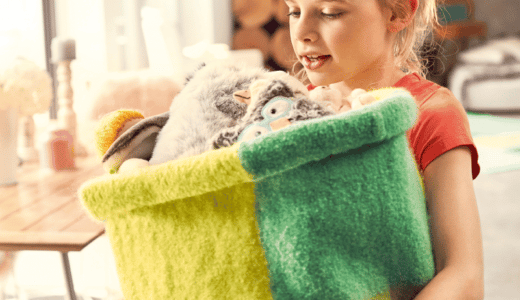
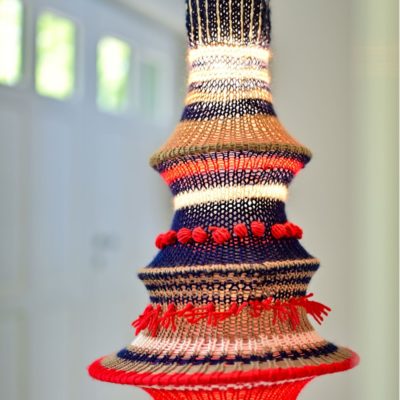
The addiExpress knitting machines can be used to crank everything from accessories to garments or even rugs and decorations.
With the knitting machines, straight courses or rounds are cranked, which can be additionally shaped by increases or decreases (courses). The panels or rounds are then knitted together, patterned or sewn, for example, to create effective knitted pieces.
What can you knit with the addiExpress?
The addiExpress knitting machines can be used to crank everything from accessories to garments or even rugs and decorations.
With the knitting machines, straight courses or rounds are cranked, which can be additionally shaped by increases or decreases (courses). The panels or rounds are then knitted together, patterned or sewn, for example, to create effective knitted pieces.


Which yarn is particularly suitable for knitting machines?
We recommend yarn sizes for needle sizes 4 - 8 mm for the addiExpress. This is only a guideline. Not every yarn structure can be cranked well, try out what works well for your project.
- Basically, more sturdy yarns work better than very fine and fibrous qualities that can get caught in the knitting machines.
- The yarn has a decisive influence on the appearance of the knitted fabric - thinner yarns produce a loose result, thicker yarns a tight and dense stitch pattern.
- You can use any yarn, even “flamed” ones, including yarn grades of different thicknesses.
Thinner yarns can also be knitted in double yarns to achieve a firmer result or to create color effects.
Flat ribbon yarn must be held at an angle, so that the needles pick up the entire ribbon. Always let the yarn run loosely through your hand.
Yarn recommendations and tips:


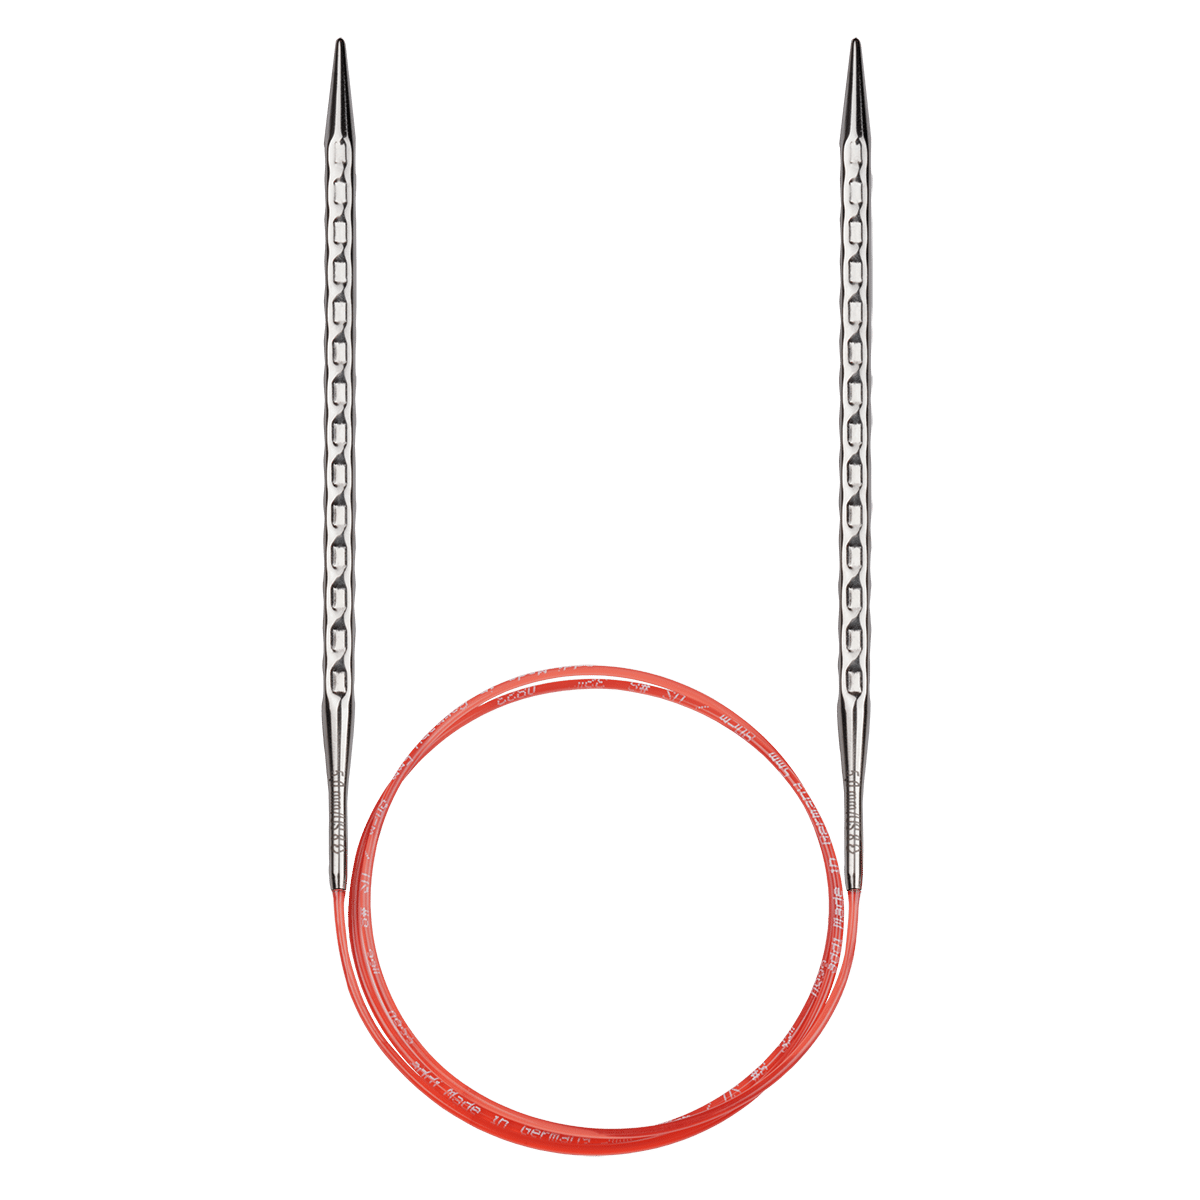
The ideal accessories for knitting machines
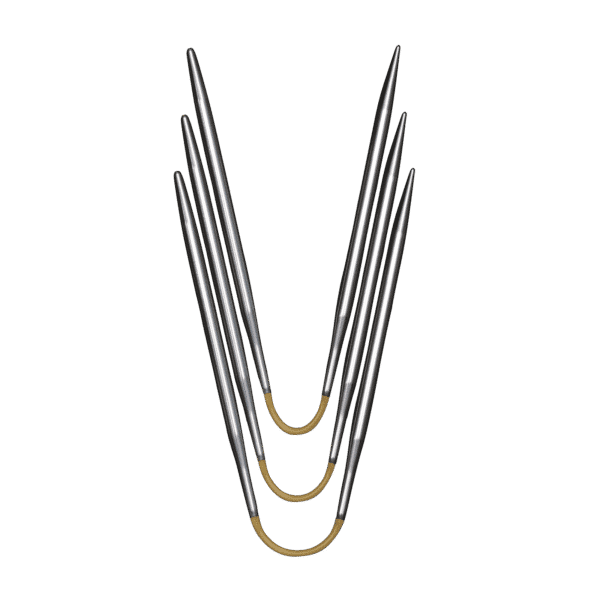
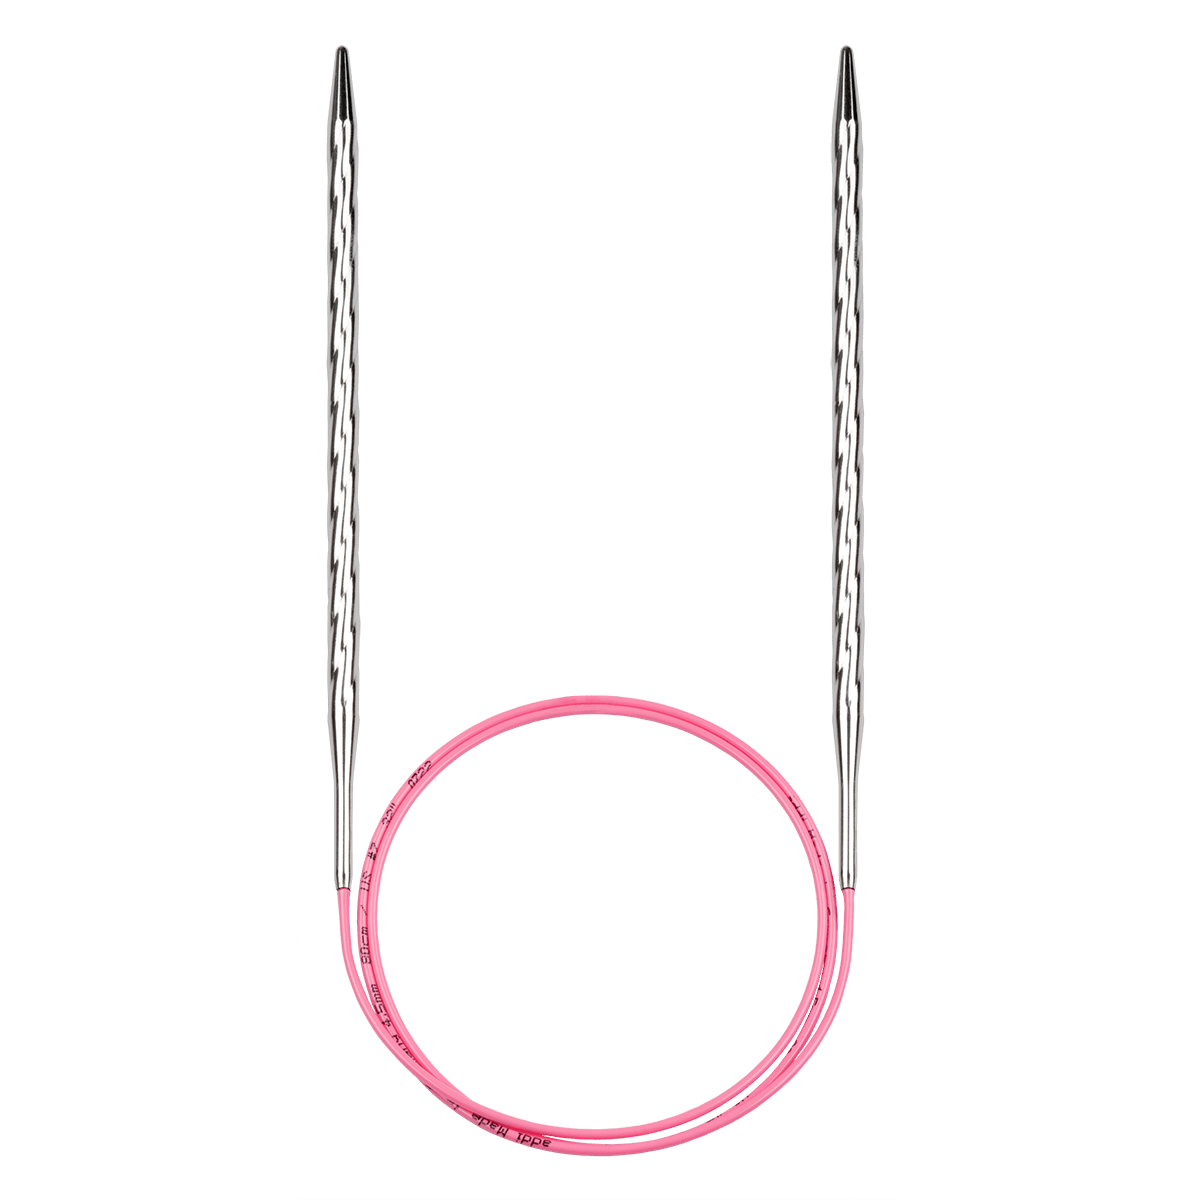
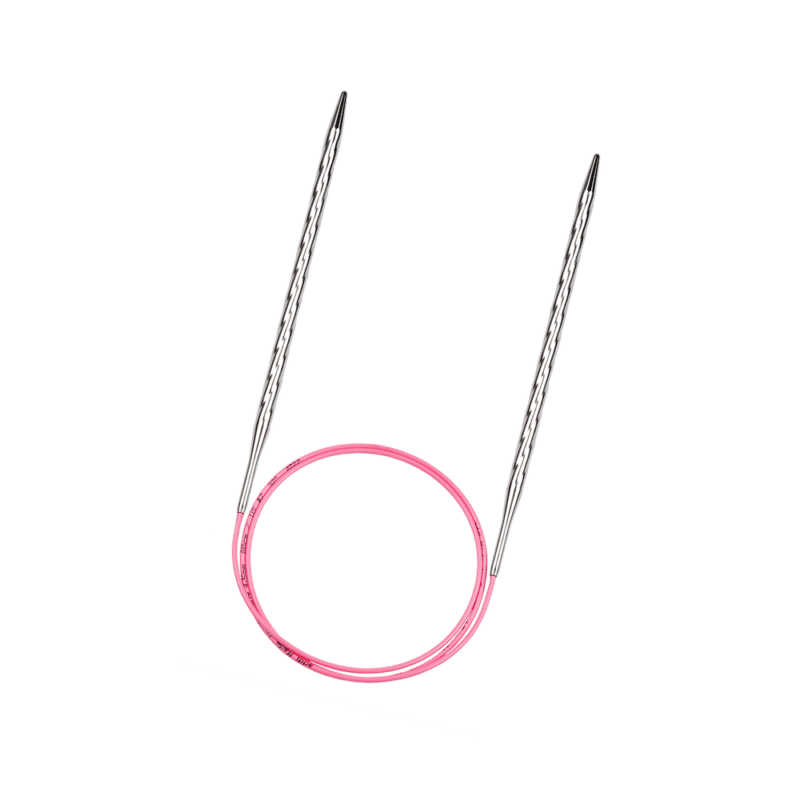
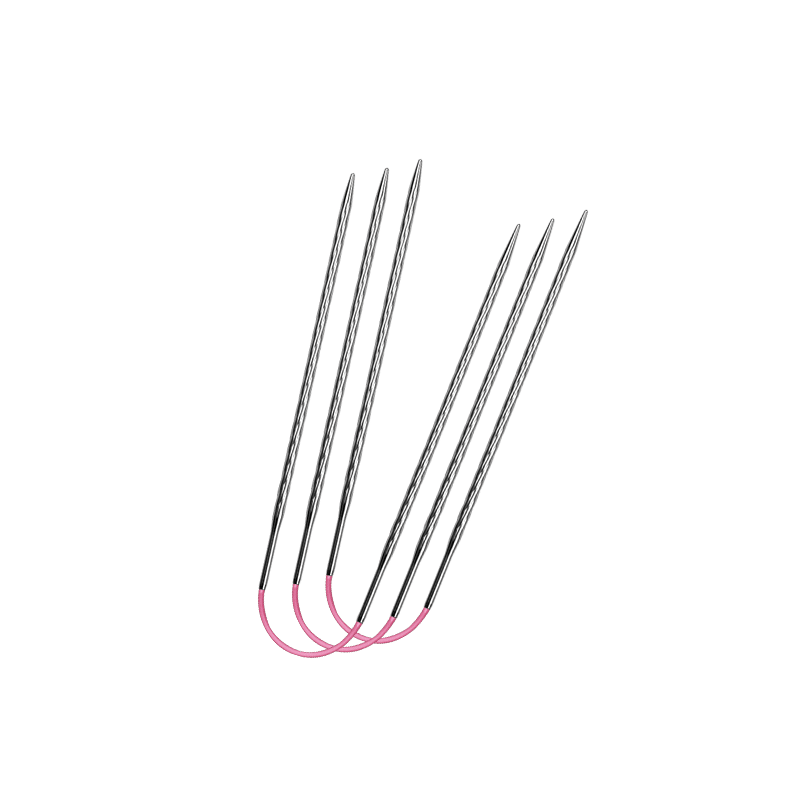
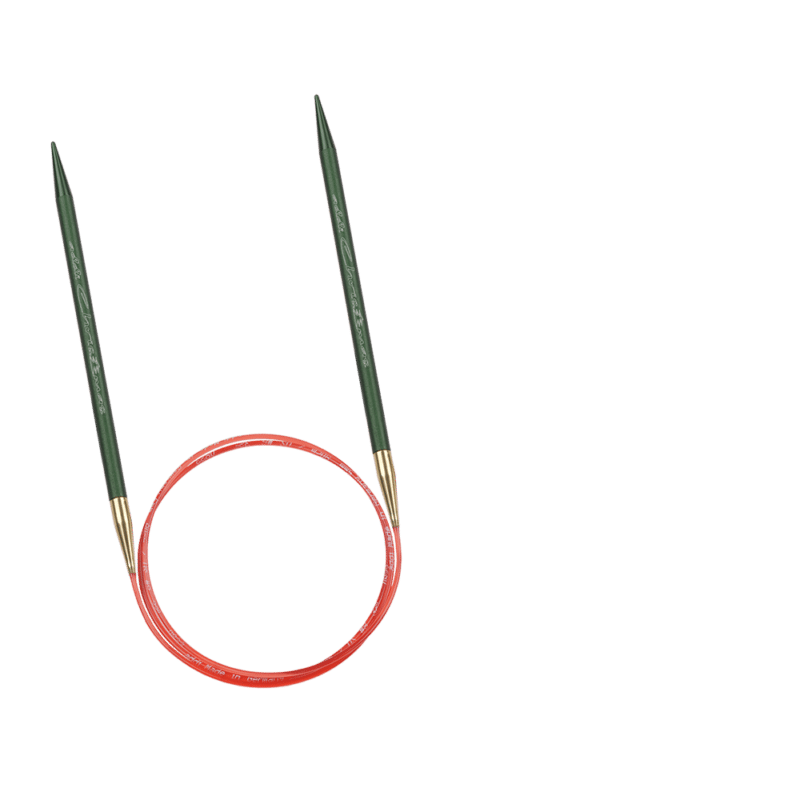
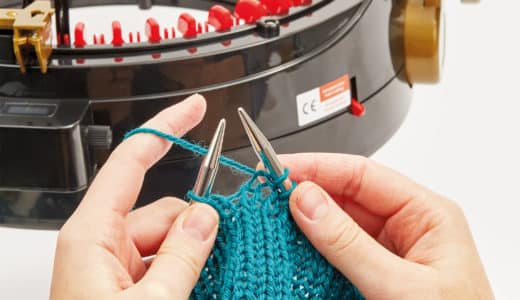
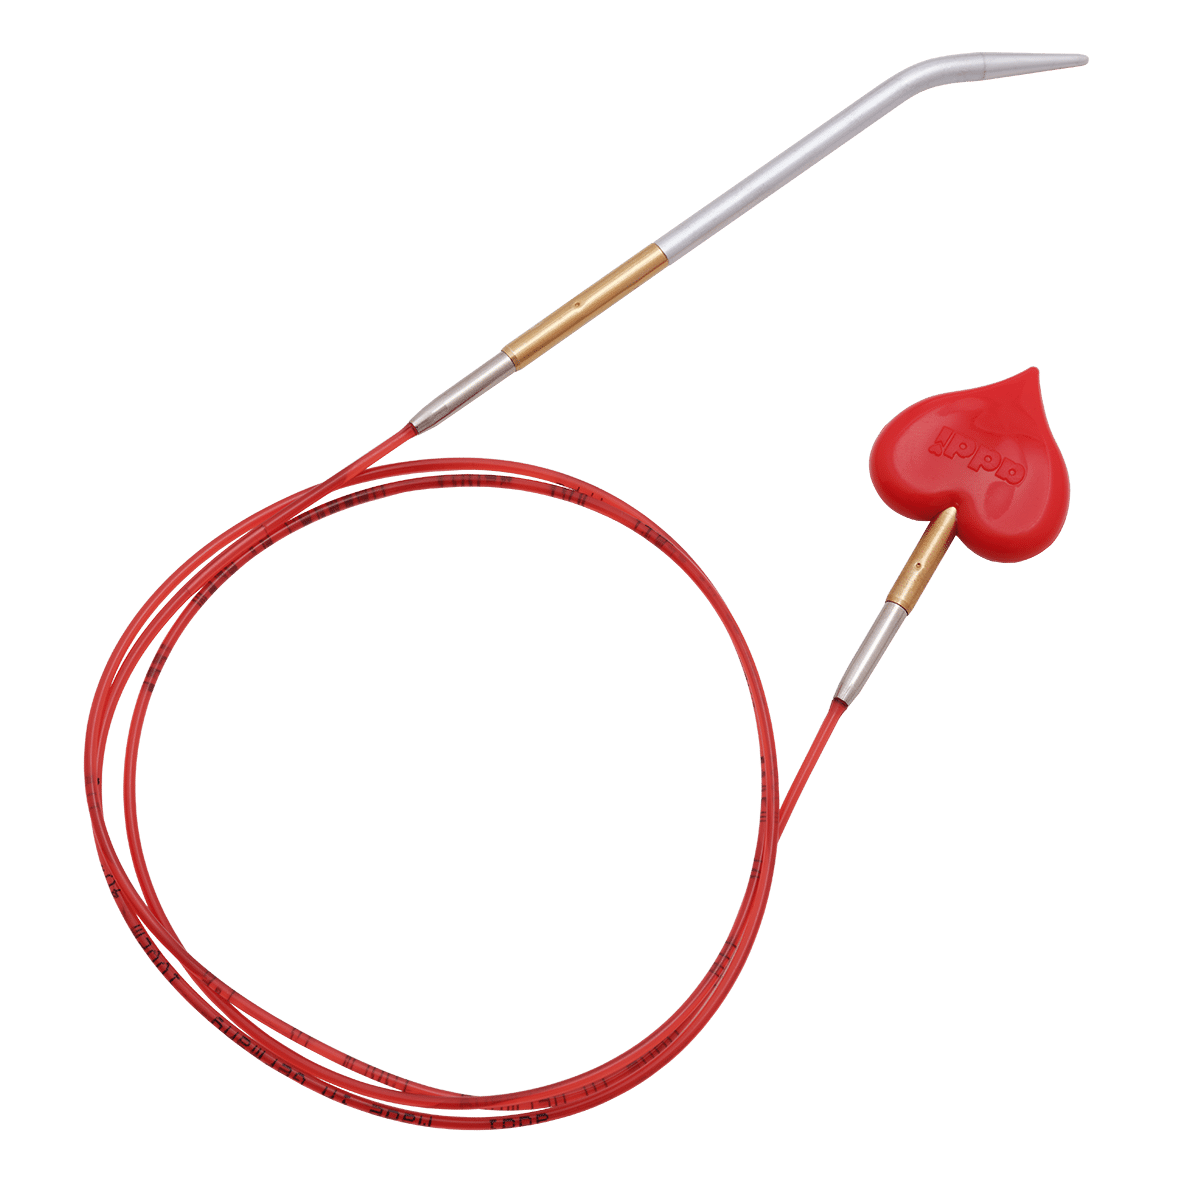
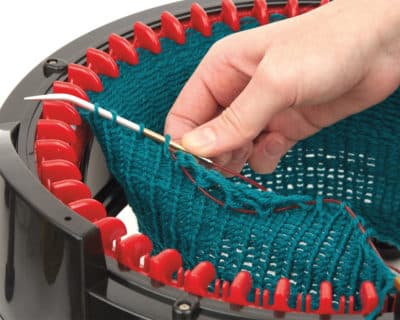
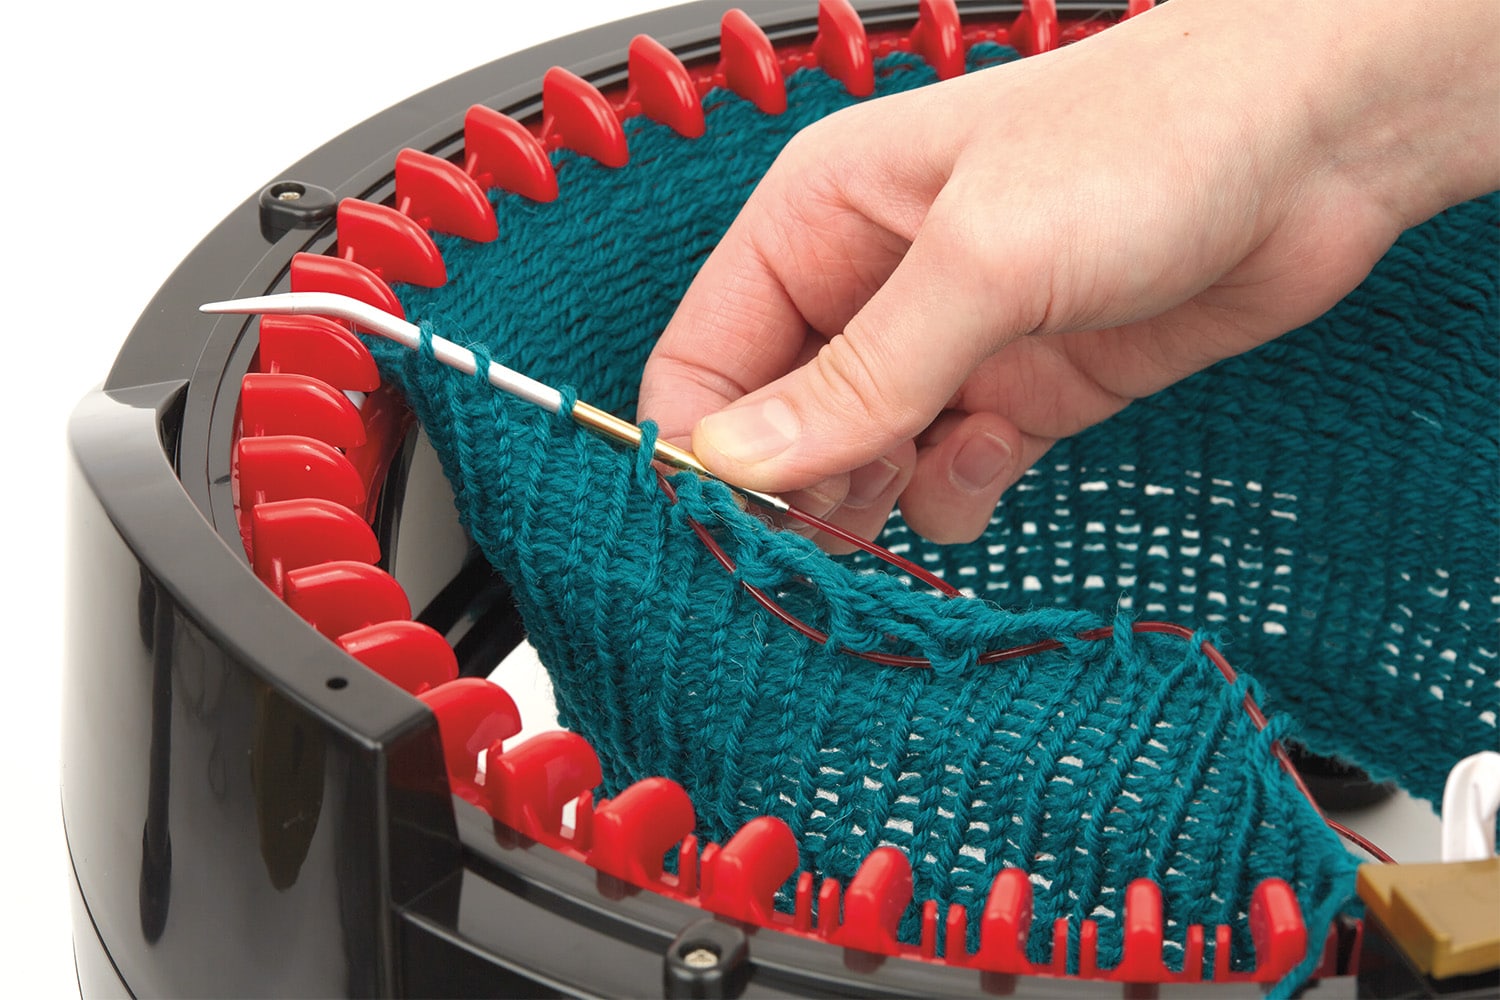
addiExpress TakeOff slip off needle set
The addiExpress TakeOff needle set consists of a bent tip, a 60 cm SOS Click cord and a stopper - so the stitches can be easily slipped from the small or large addiExpress knitting machine onto the cord.
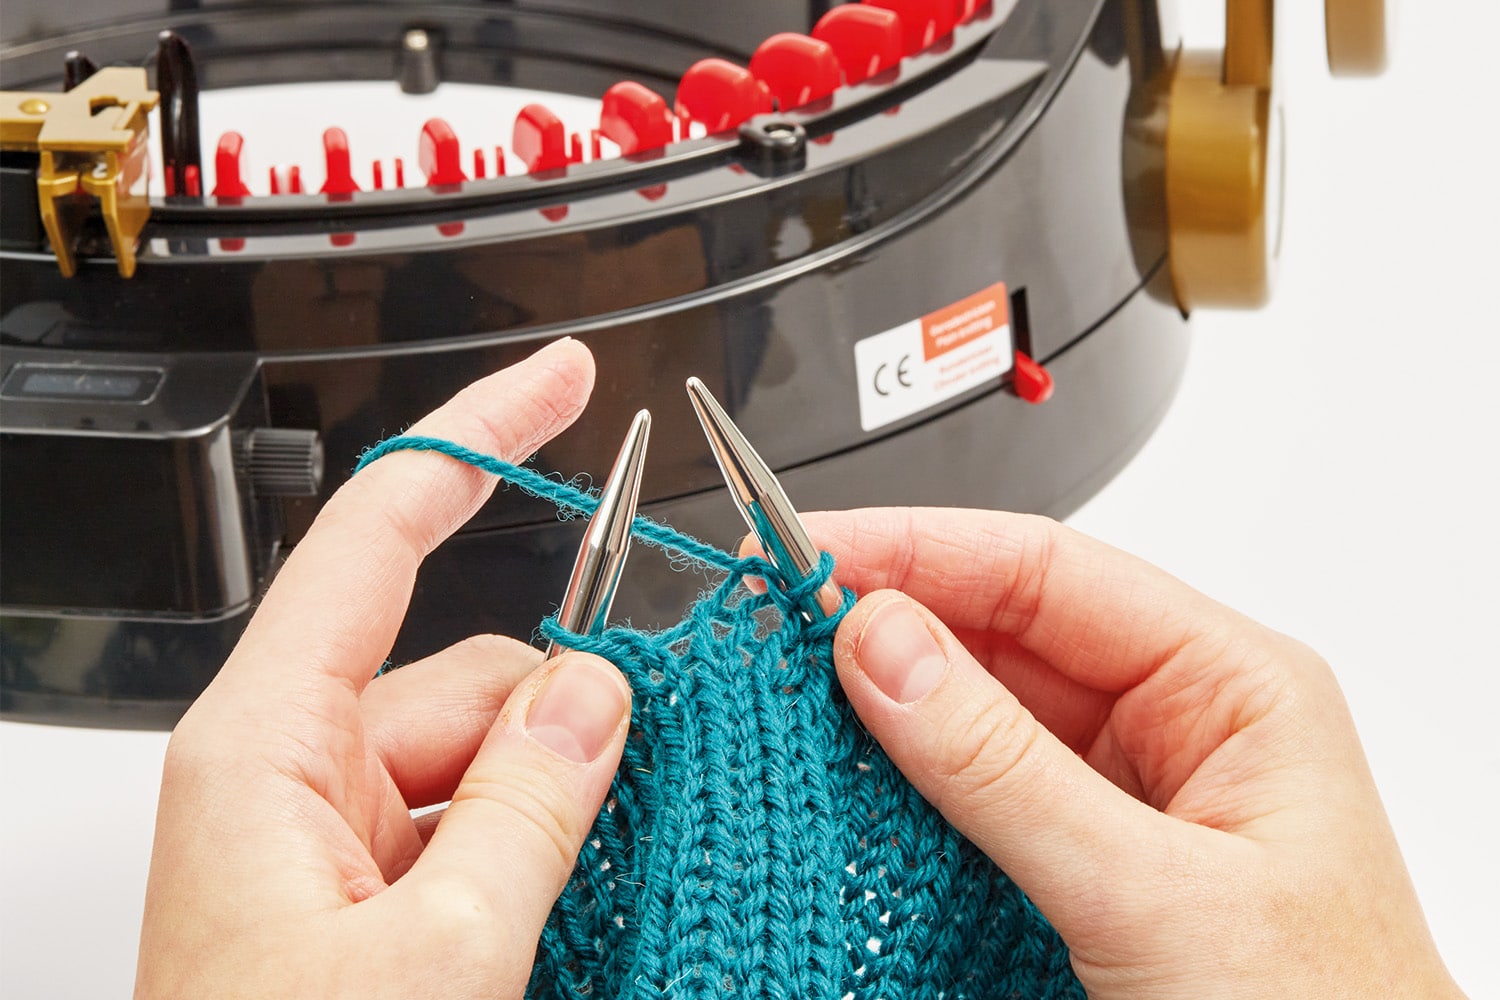
Combined with an additional pair of click needle tips in the desired size, you can simply continue knitting by hand, for example to knit a cuff or join several knitted pieces.
Tip: If you combine the cord with the addiClick Short tips the wound piece can be perfectly knitted in rounds directly from the addiExpress Kingsize.
The ideal accessories for knitting machines
addiExpress TakeOff slip off needle set
The addiExpress TakeOff needle set consists of a bent tip, a 60 cm SOS Click cord and a stopper - so the stitches can be easily slipped from the small or large addiExpress knitting machine onto the cord.
Combined with an additional pair of click needle tips in the desired size, you can simply continue knitting by hand, for example to knit a cuff or join several knitted pieces.
Tip: If you combine the cord with the addiClick Short tips the wound piece can be perfectly knitted in rounds directly from the addiExpress Kingsize.


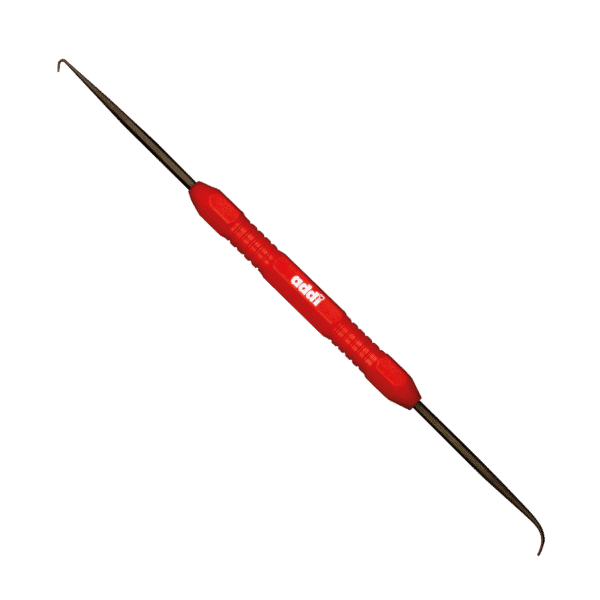
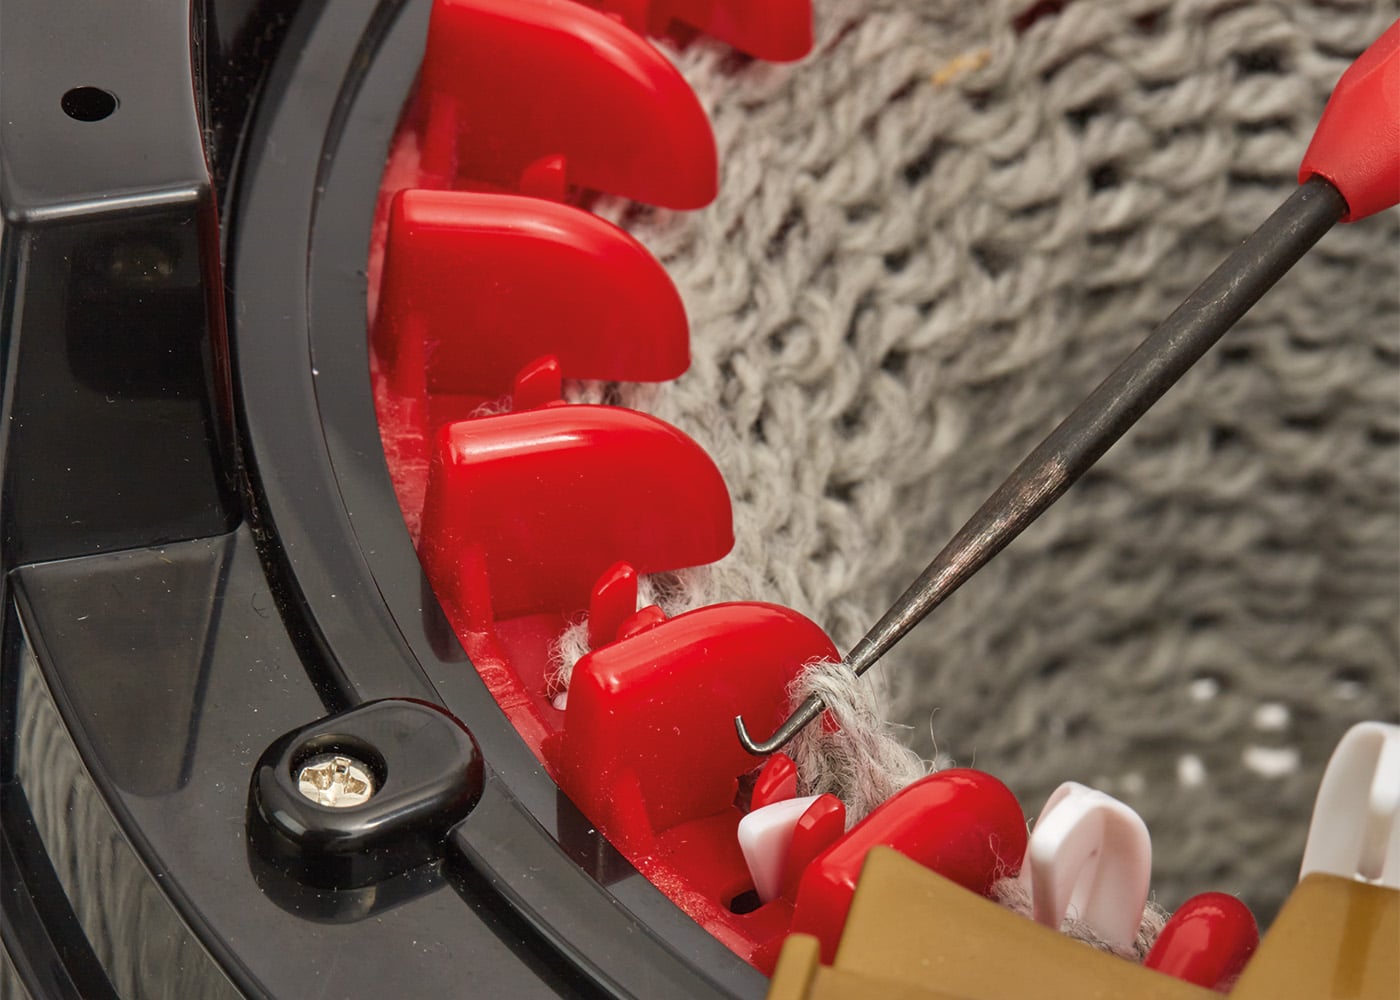
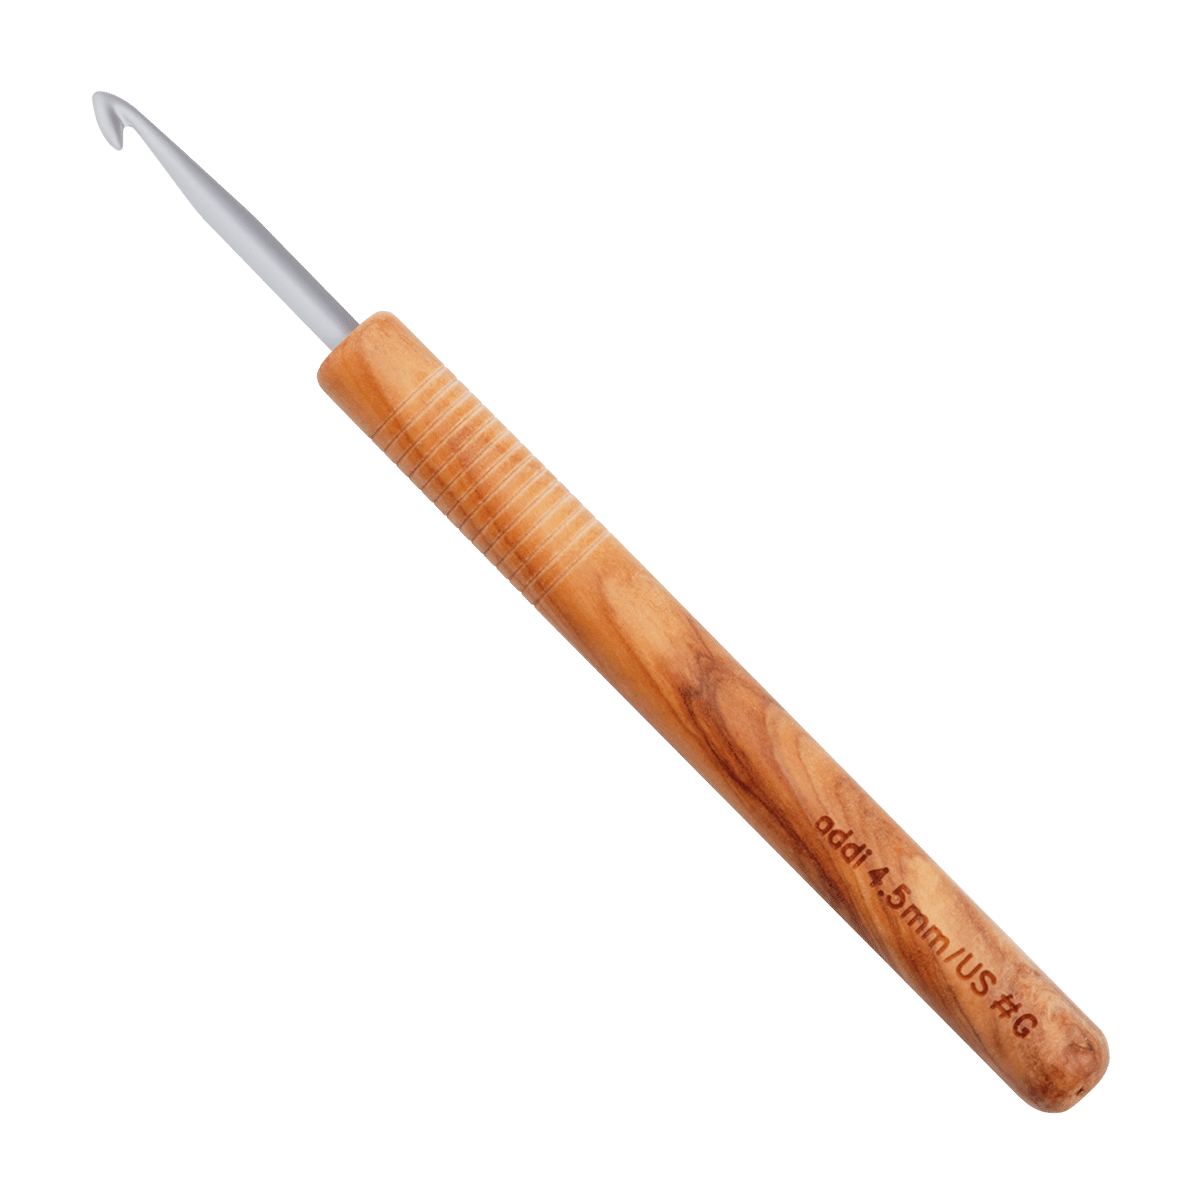
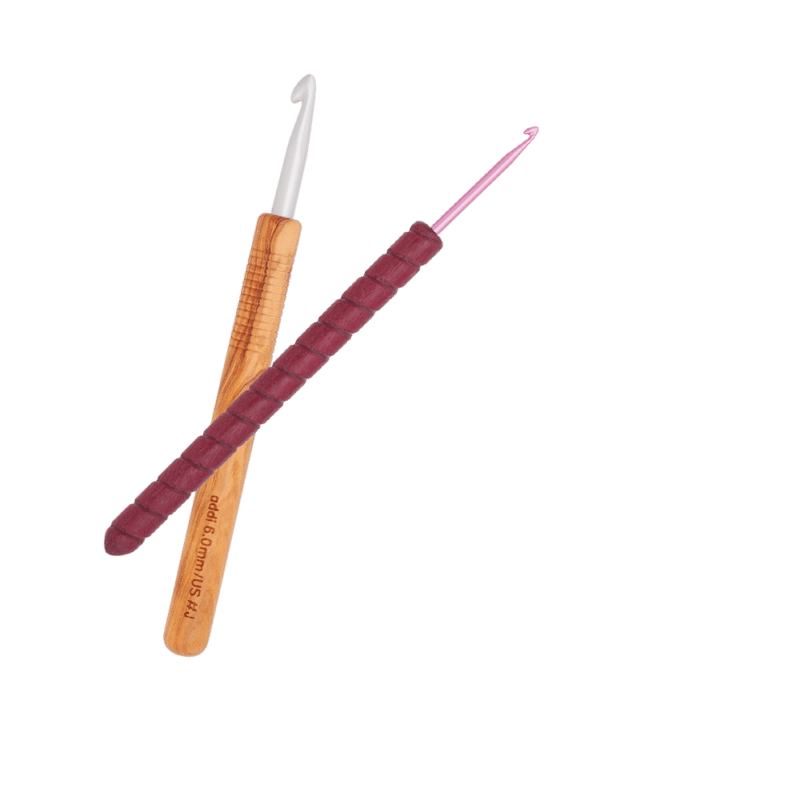
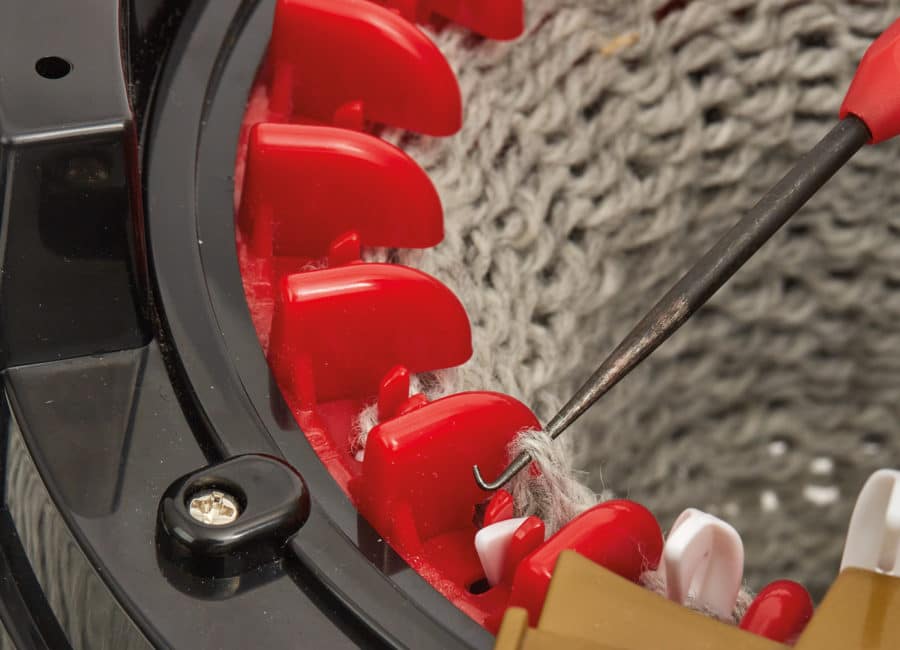
addiExpress hook
Our addiExpress hook is a great accessory for all crank fans. It is particularly suitable for working with the addiExpress machines or for using more complex knitting or crochet techniques.
If a thread has slipped, everything can be pushed back into place precisely by using the fine hooks. With the two differently shaped sides, you can easily reach all the threads in and on the machine. For example, stitches can be picked up or taken off again - a real multitool.