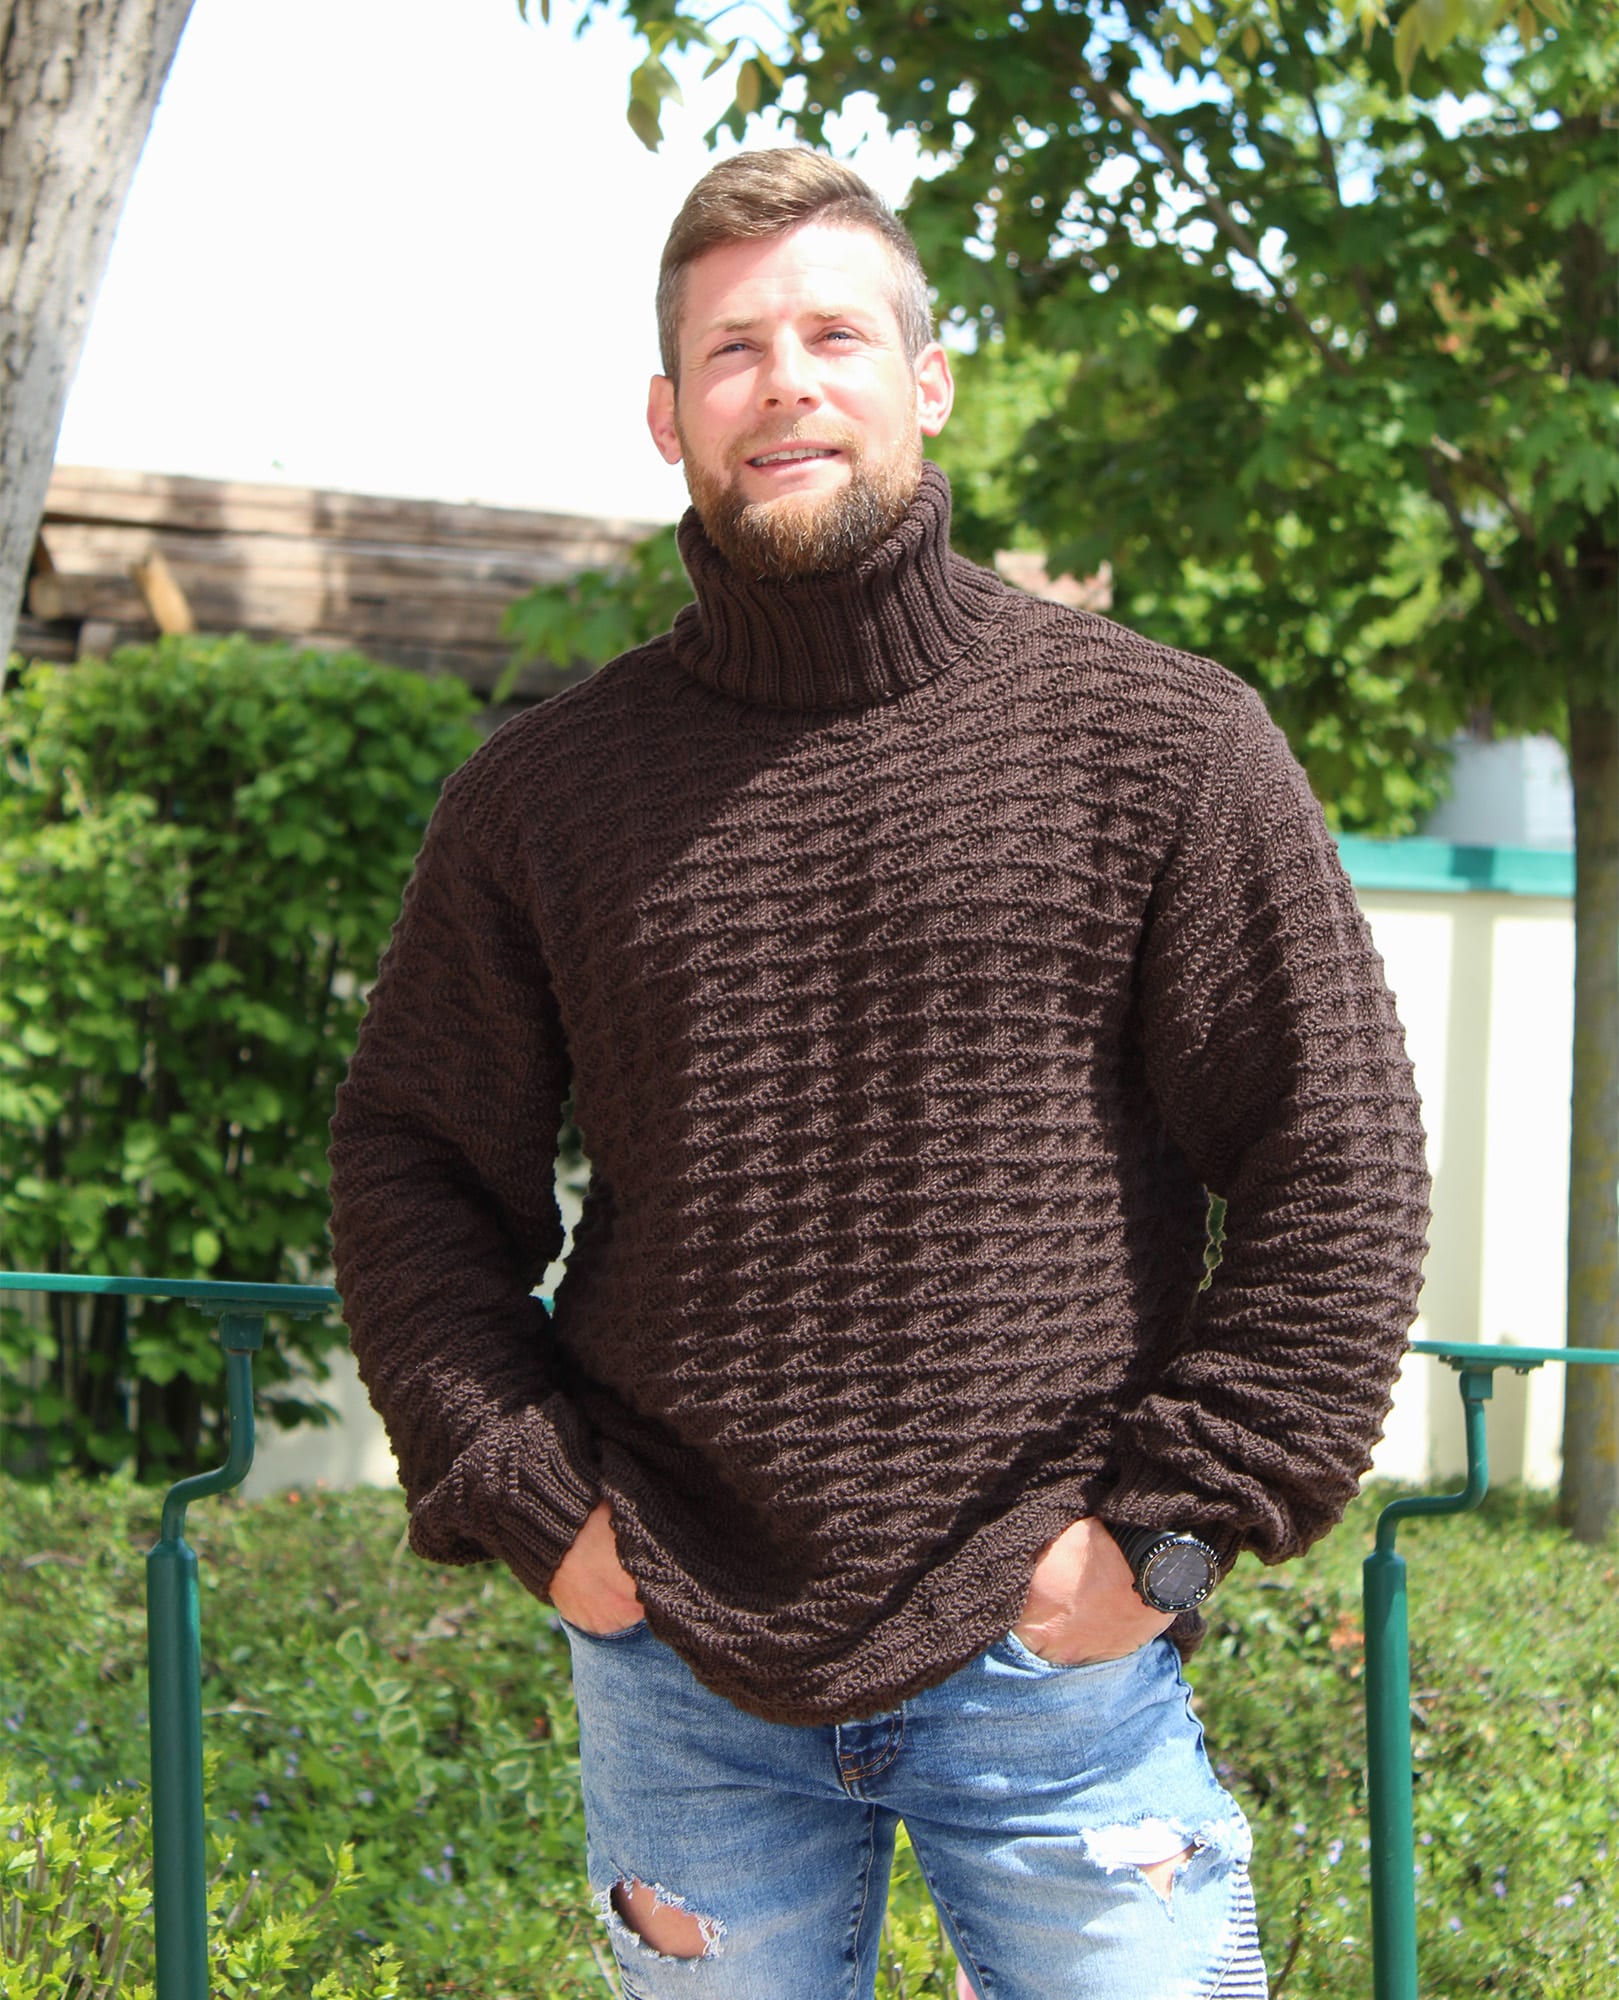
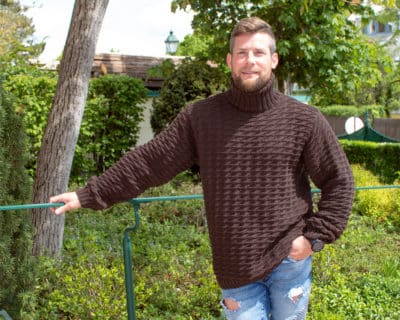
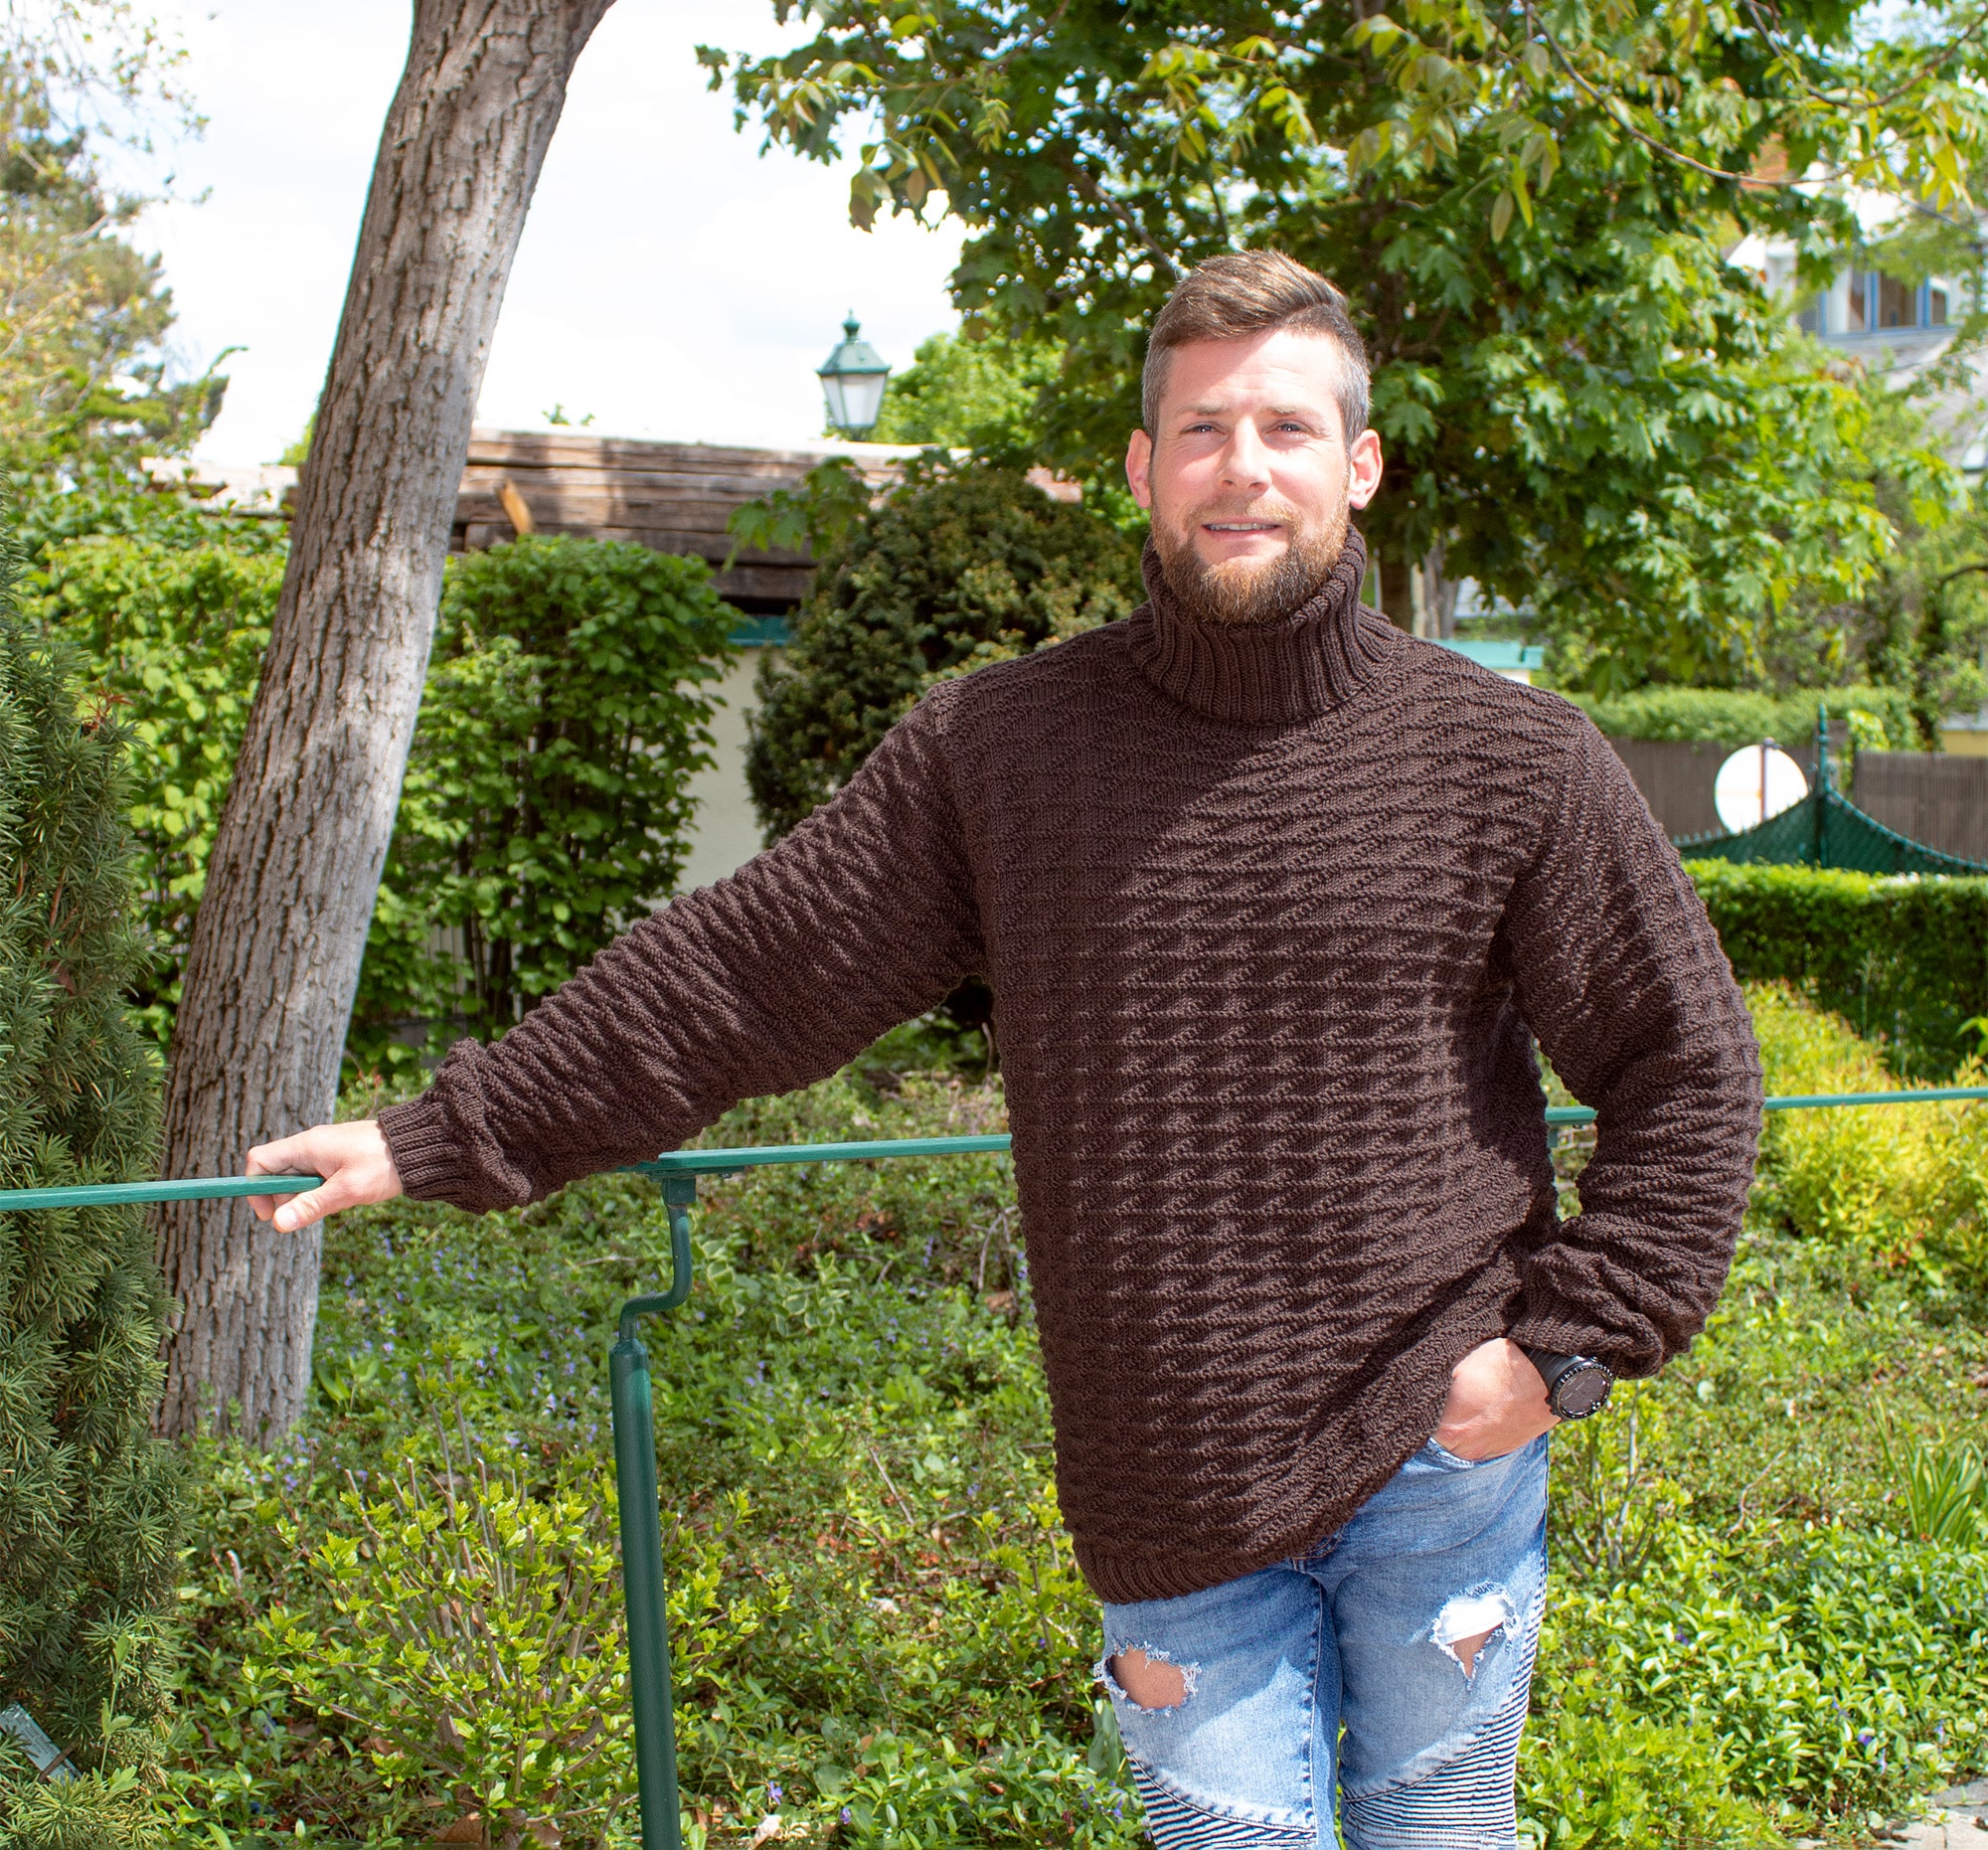
Knit Men's Sweater "Monza"
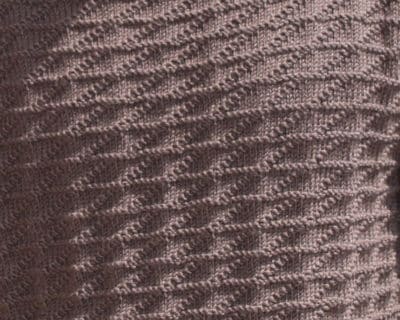
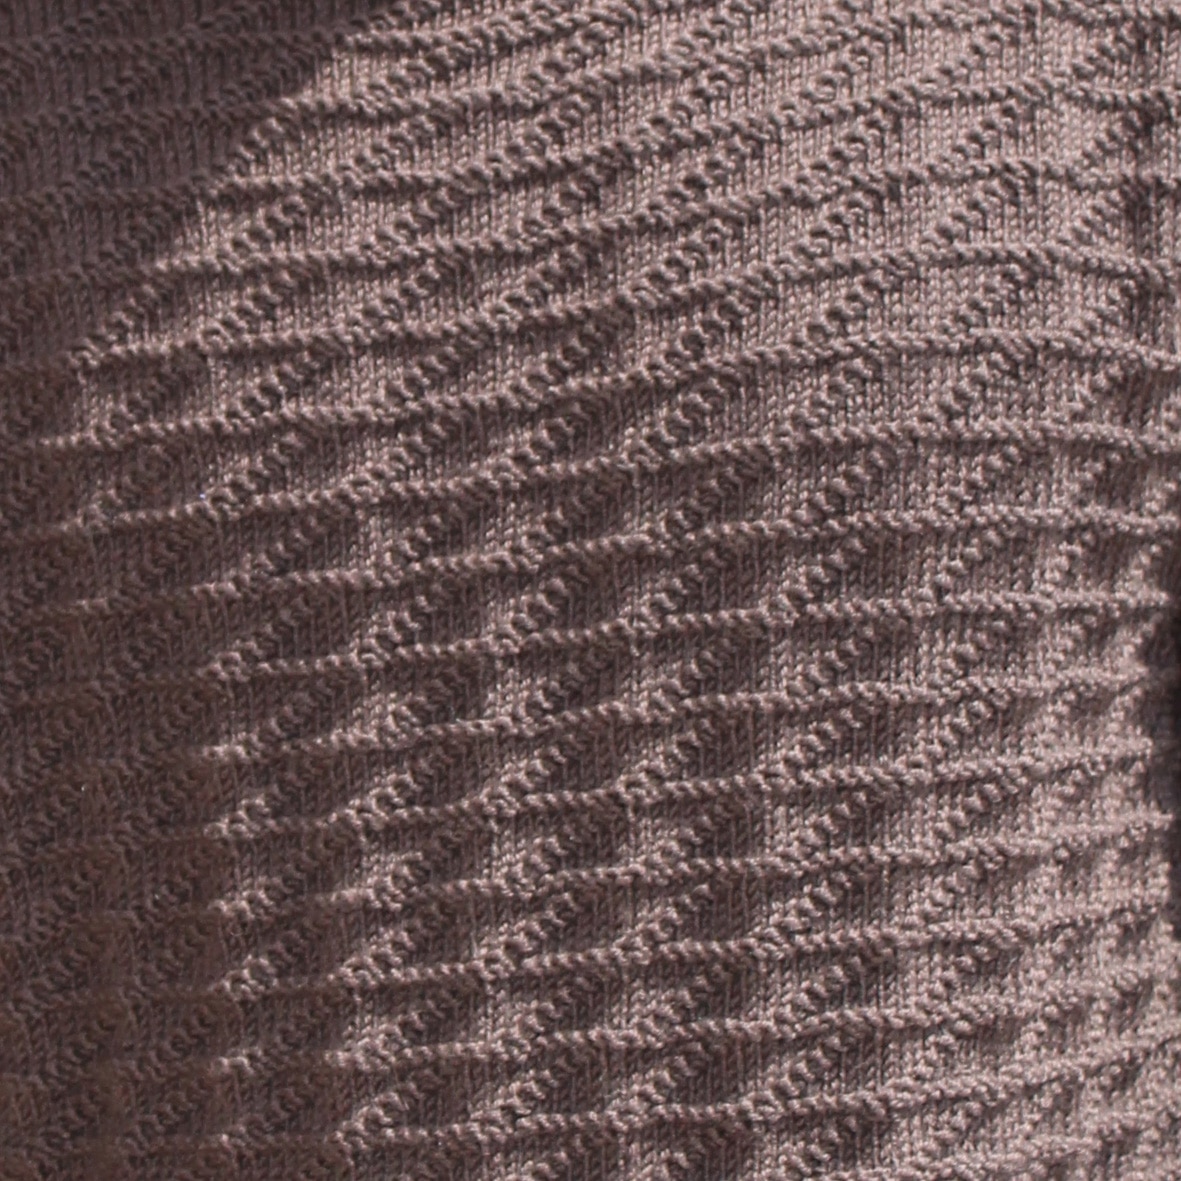
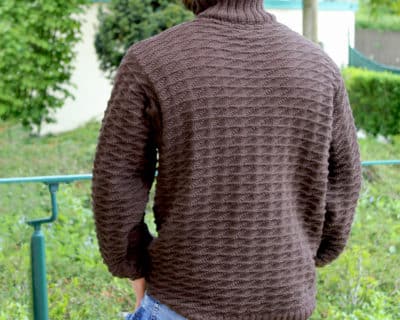
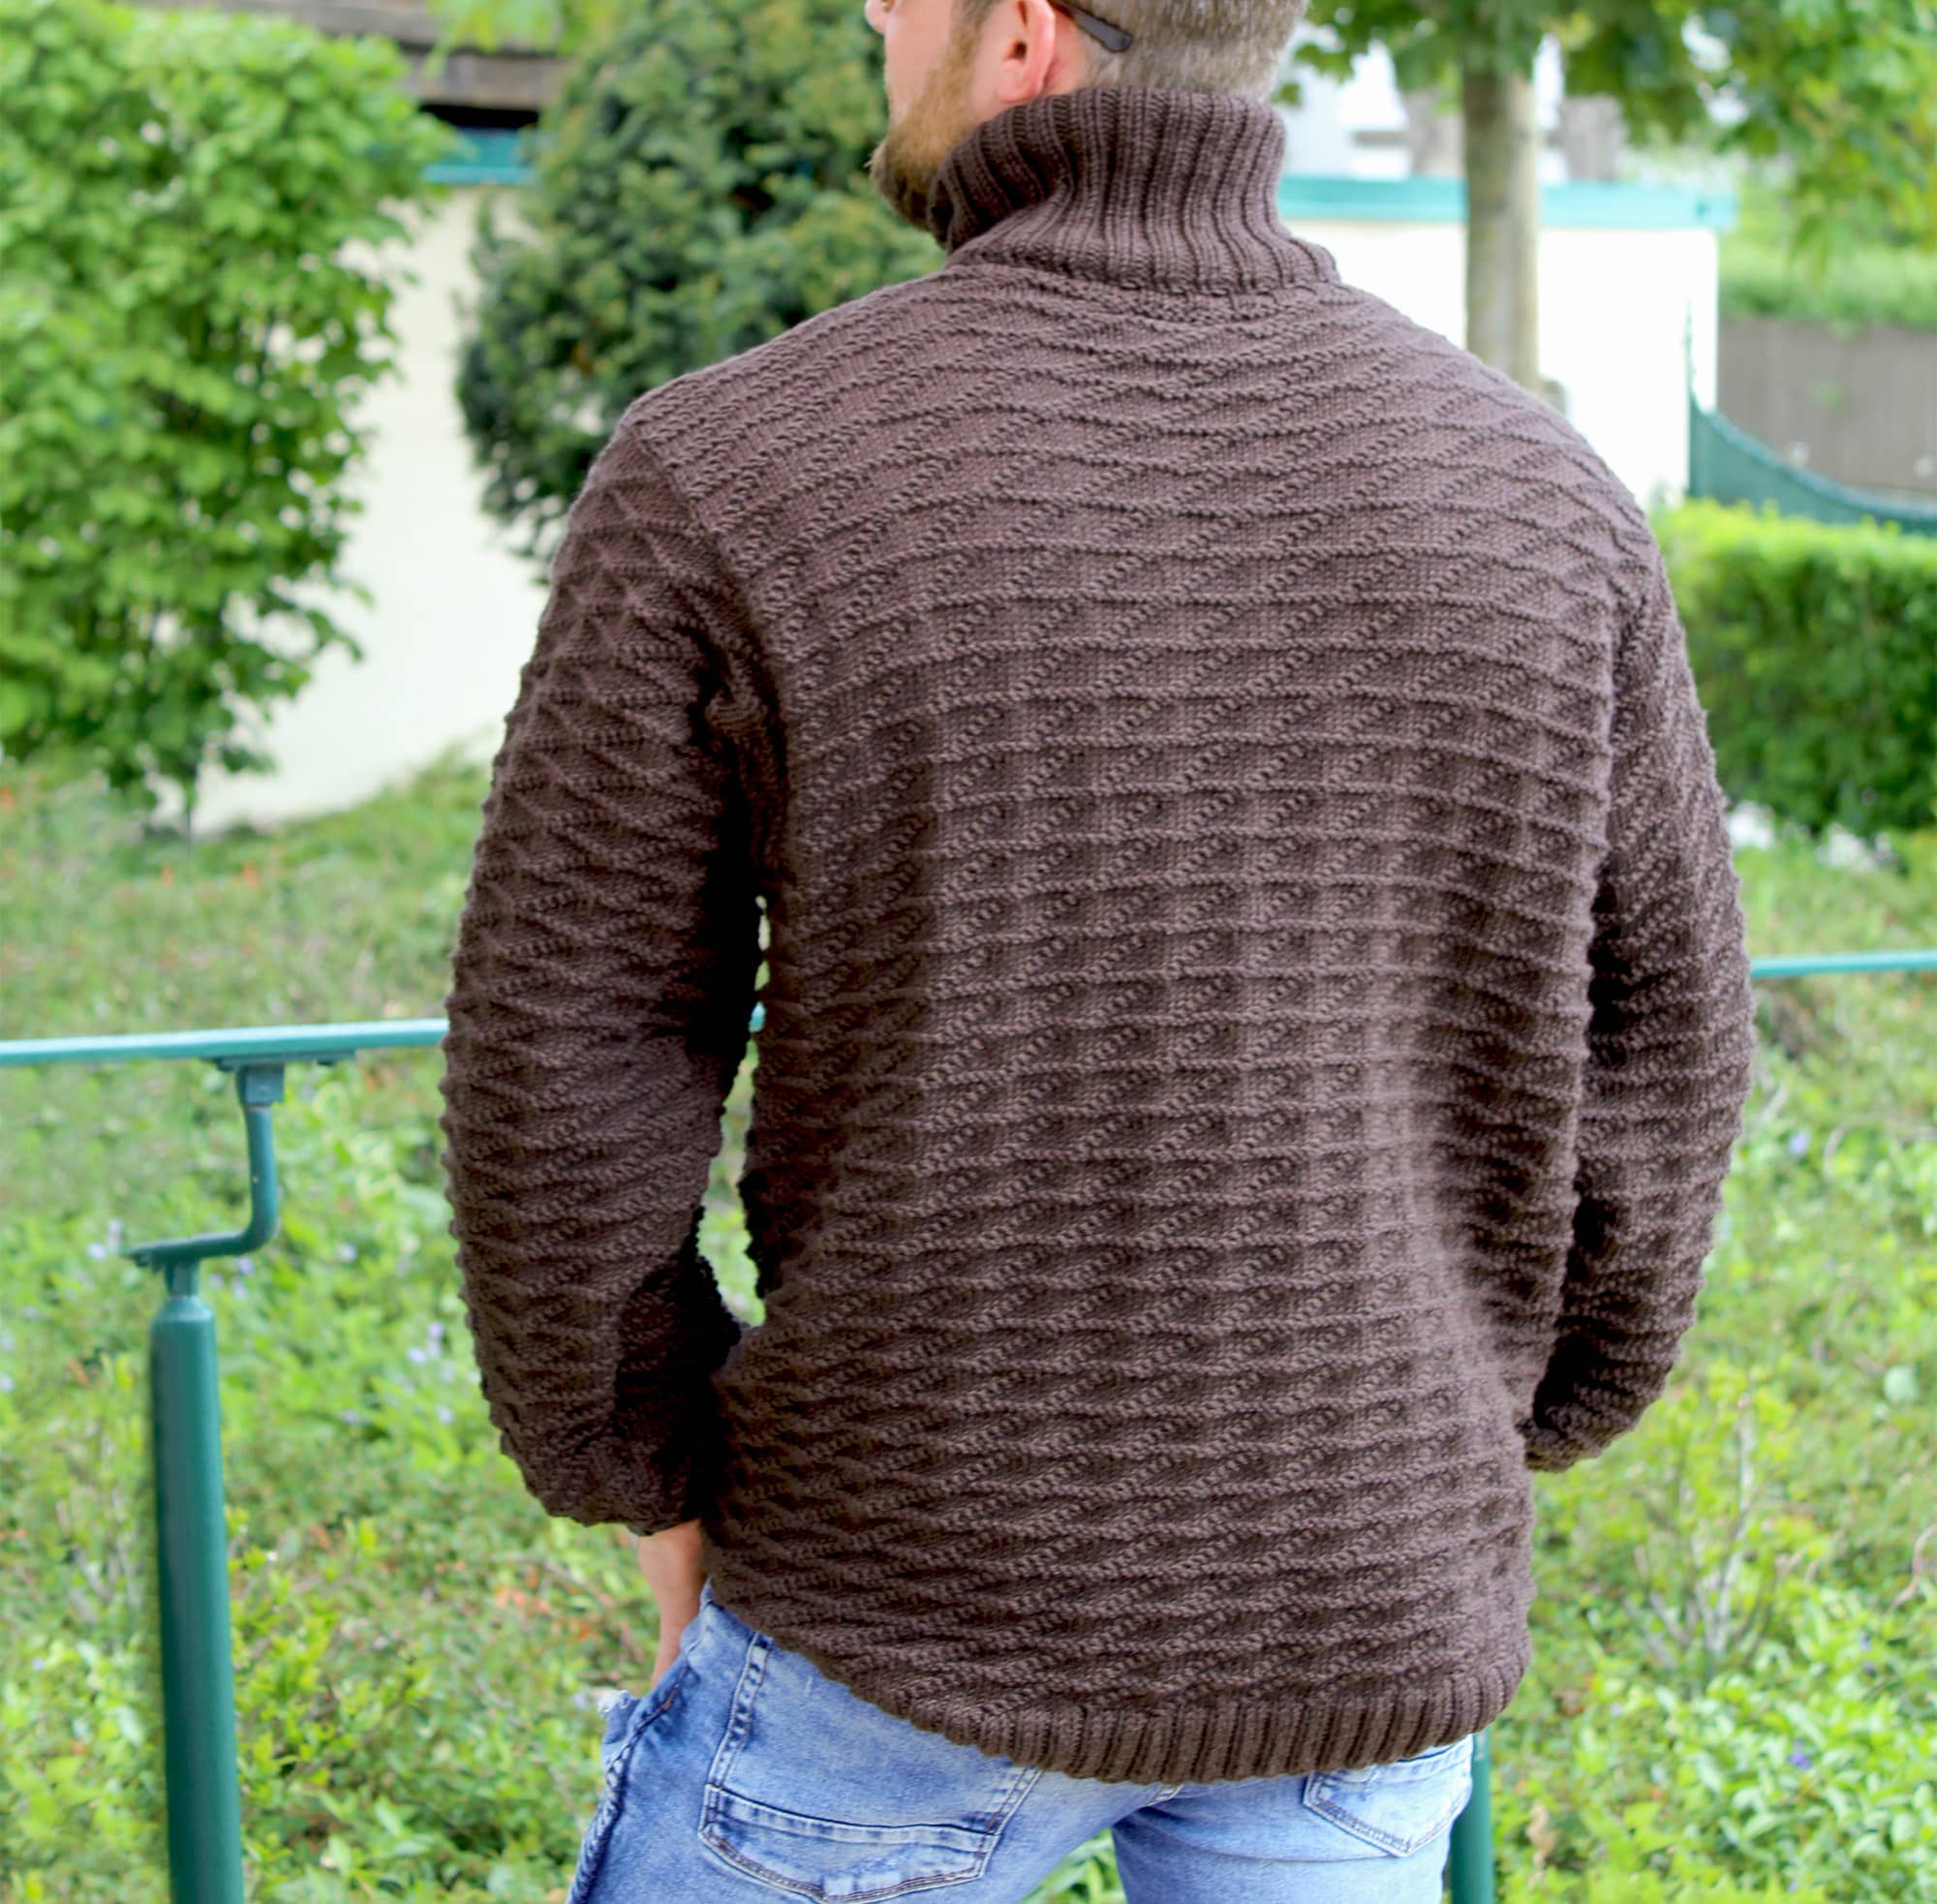
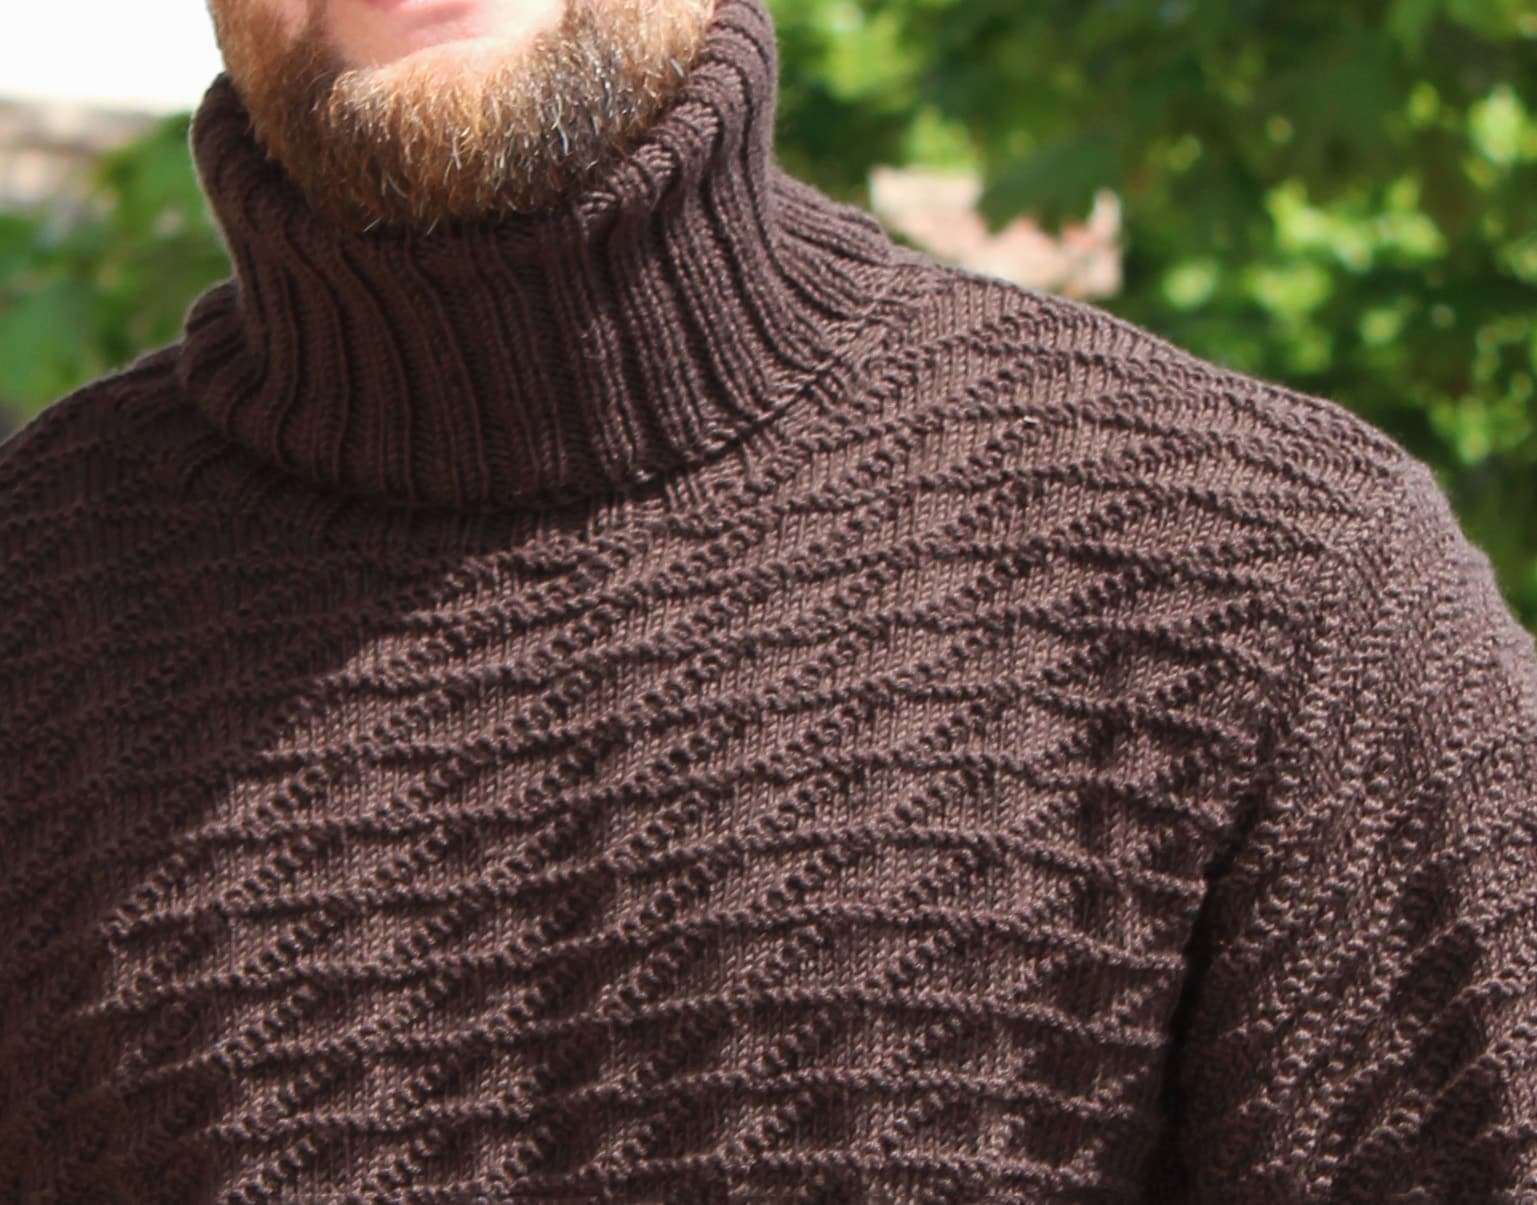
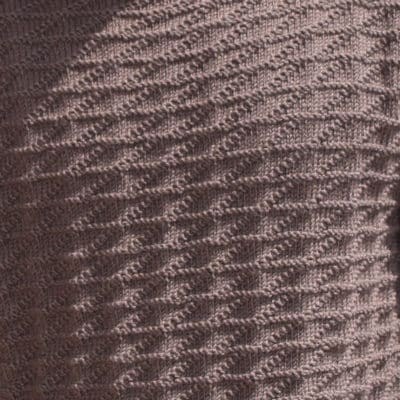
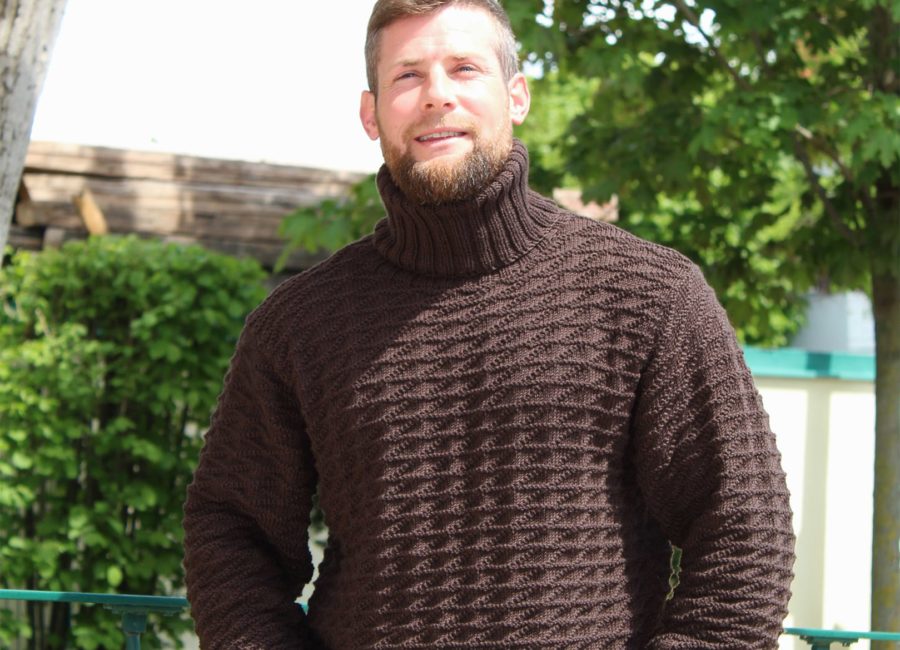
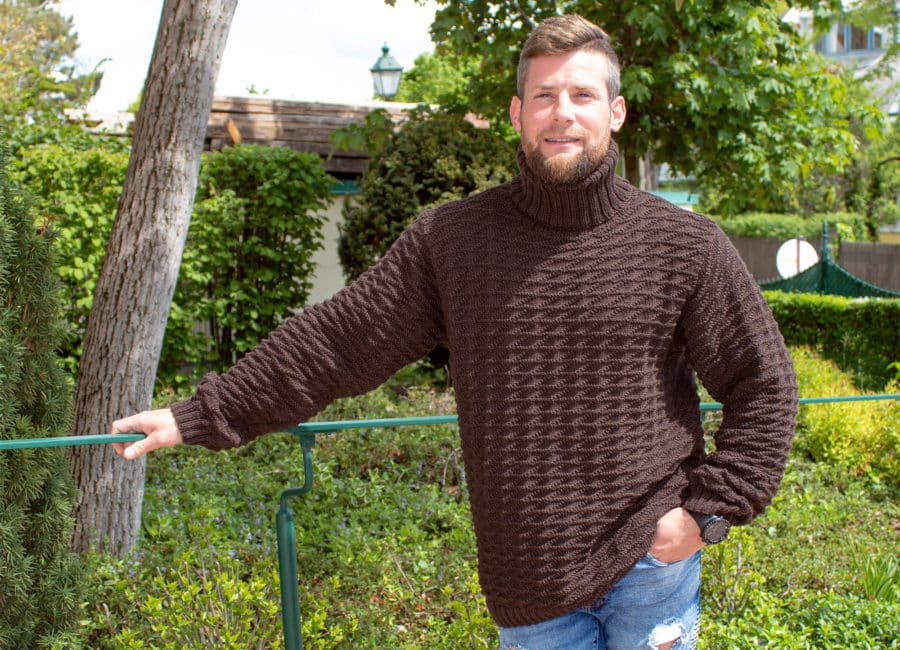
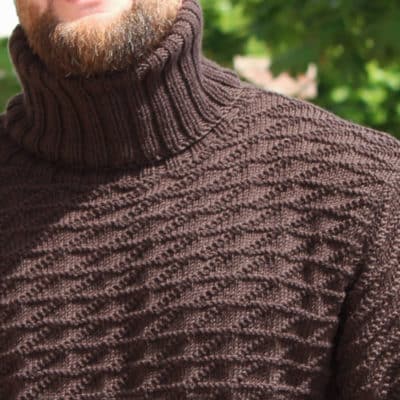
Der Herrenpulli Monza mit seinem dreidimensionales Rautenmuster und dem kuscheligen Rollkragen ist der perfekte Begleiter für kältere Tage. Die Strickanleitung für den super schönen Herrenpulli „Monza“ entstand in Kooperation mit Elisa.
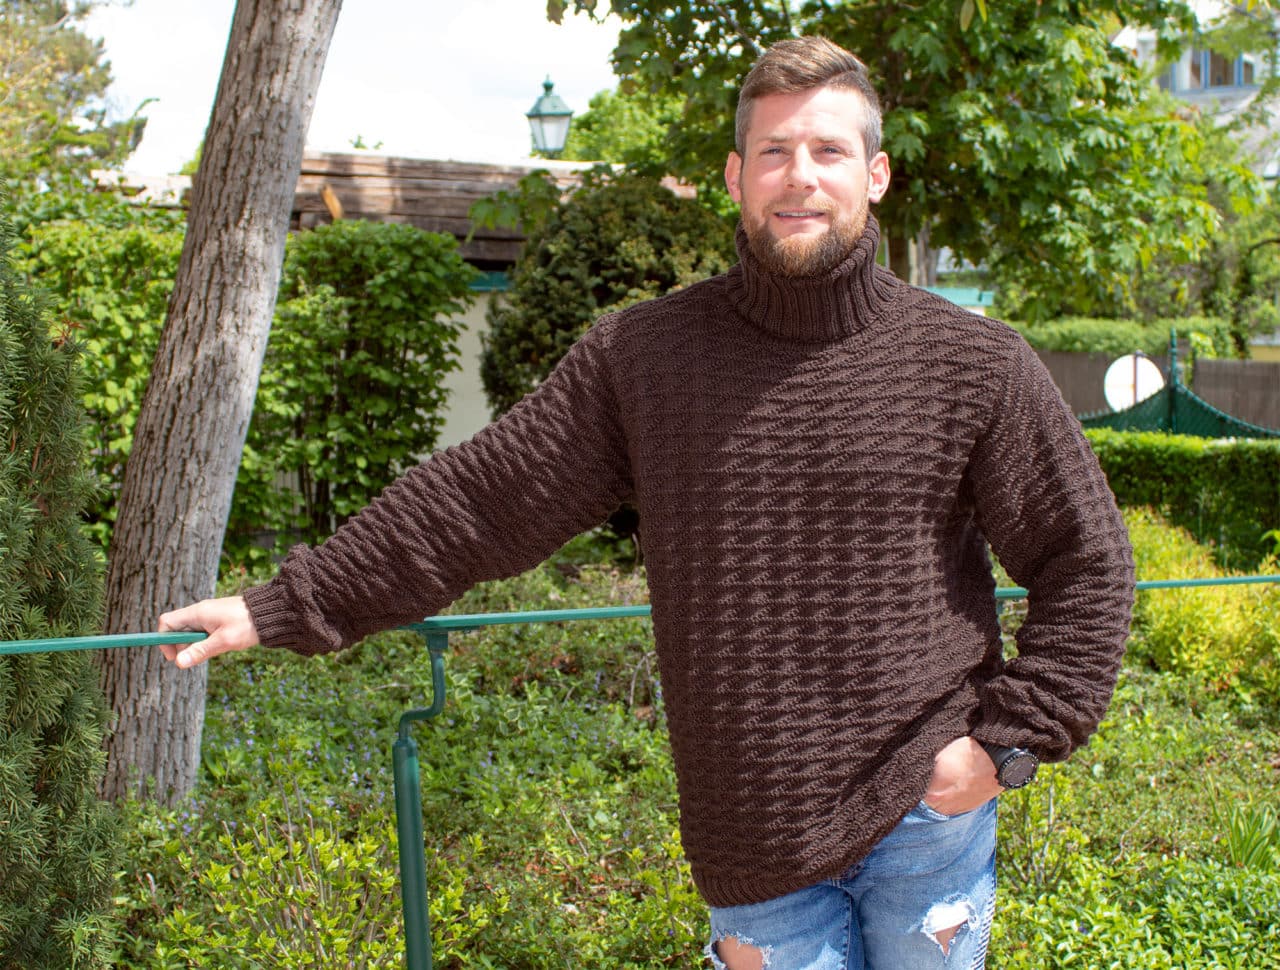
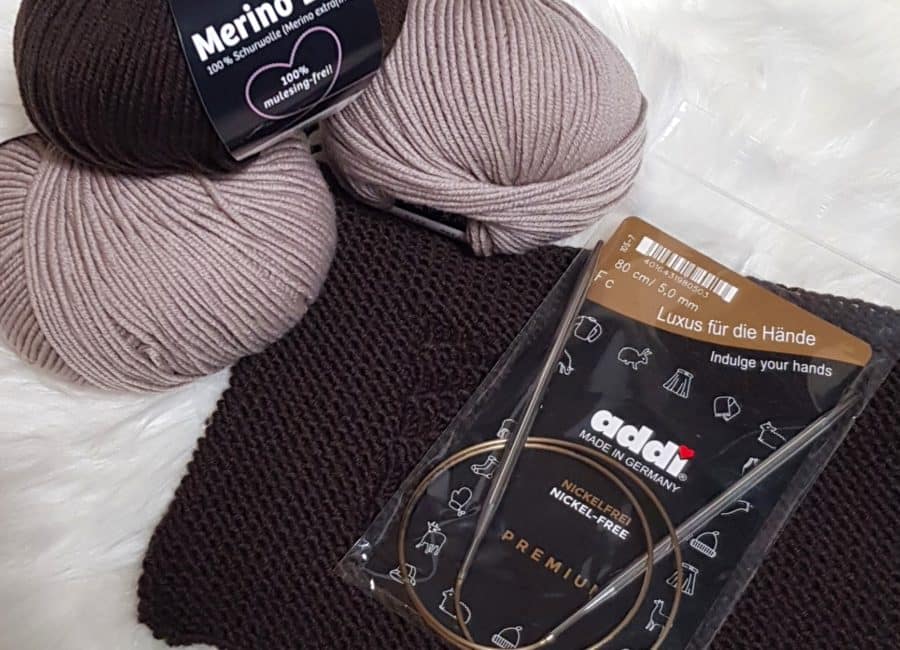
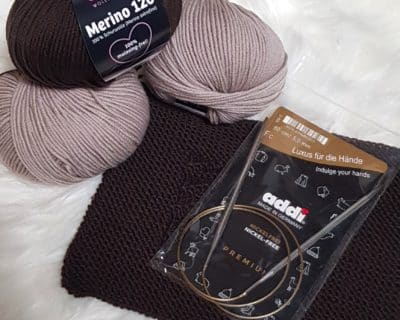
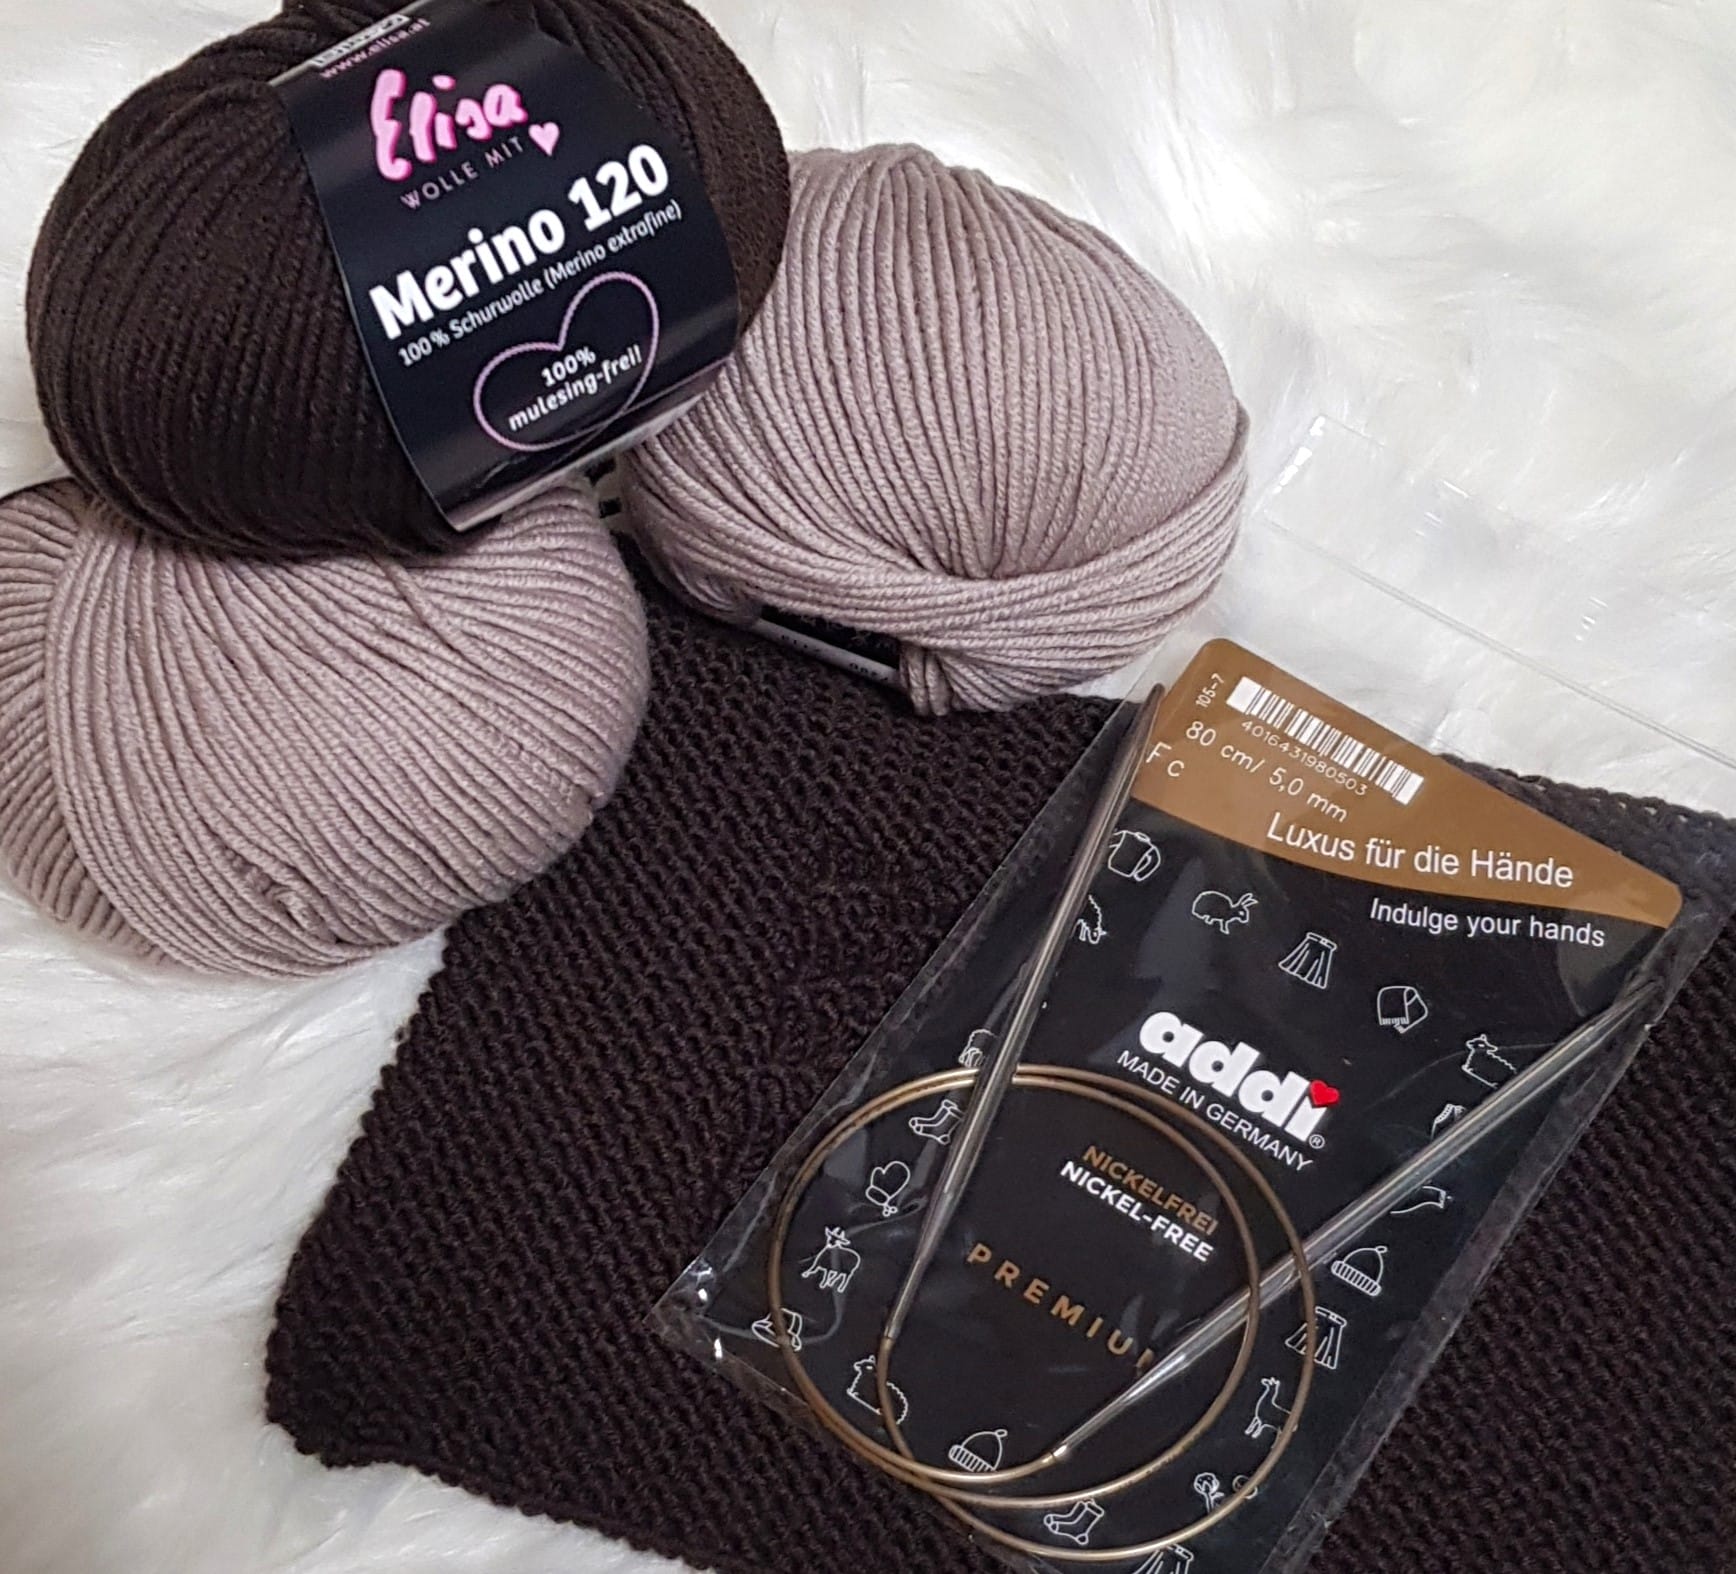
- Elisa Merino 120
- color No 7208 (brown)
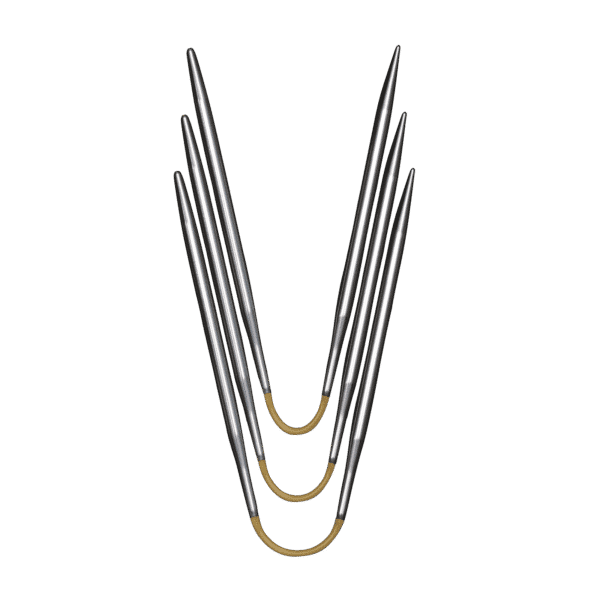
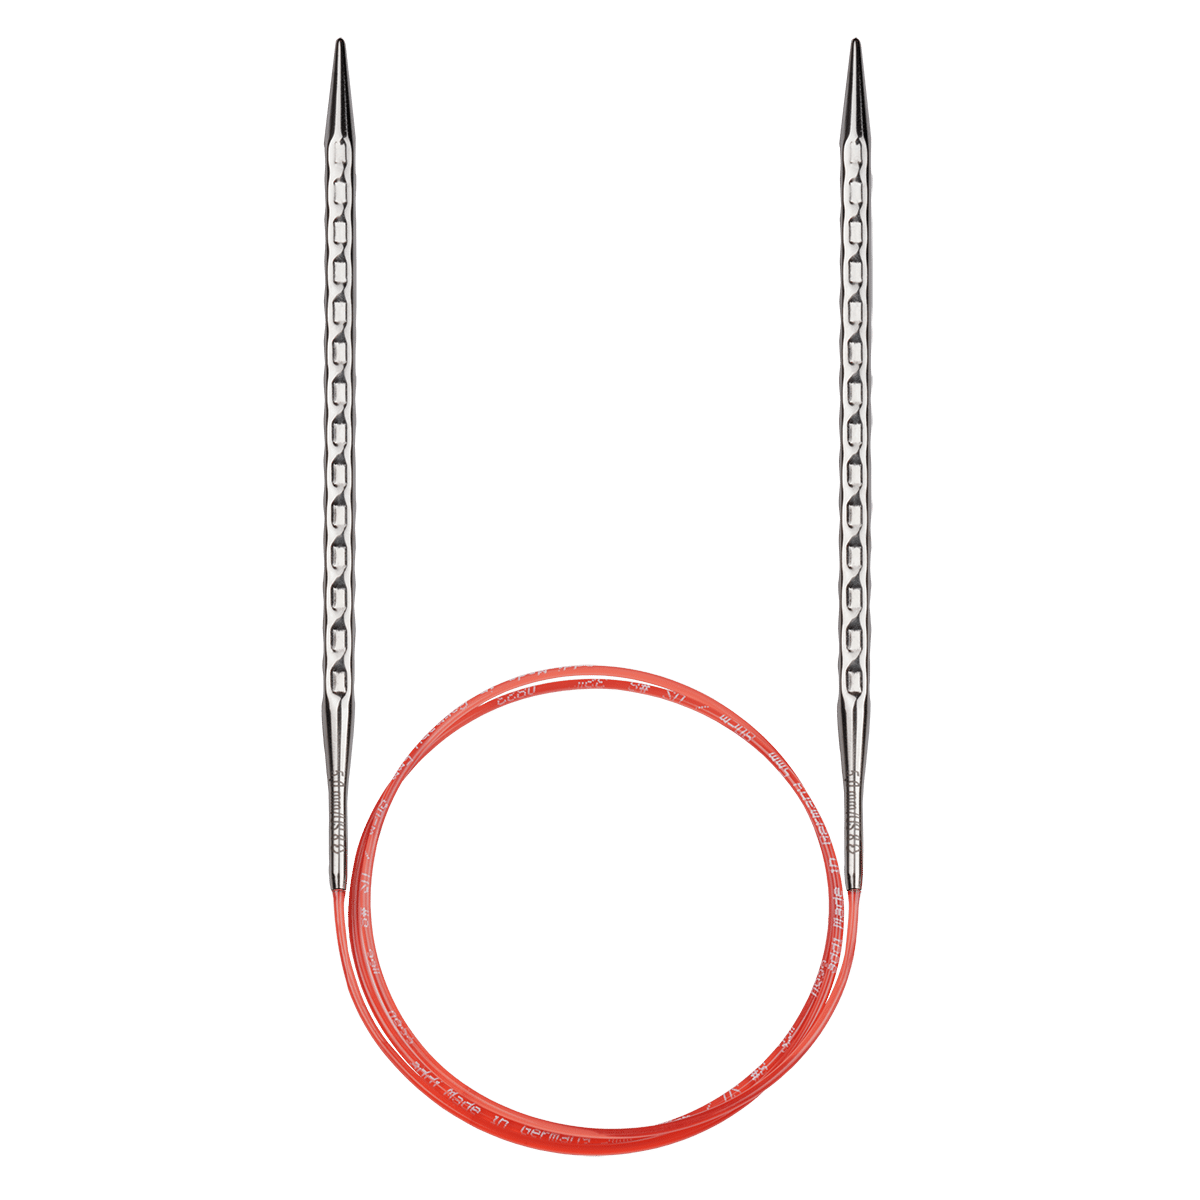
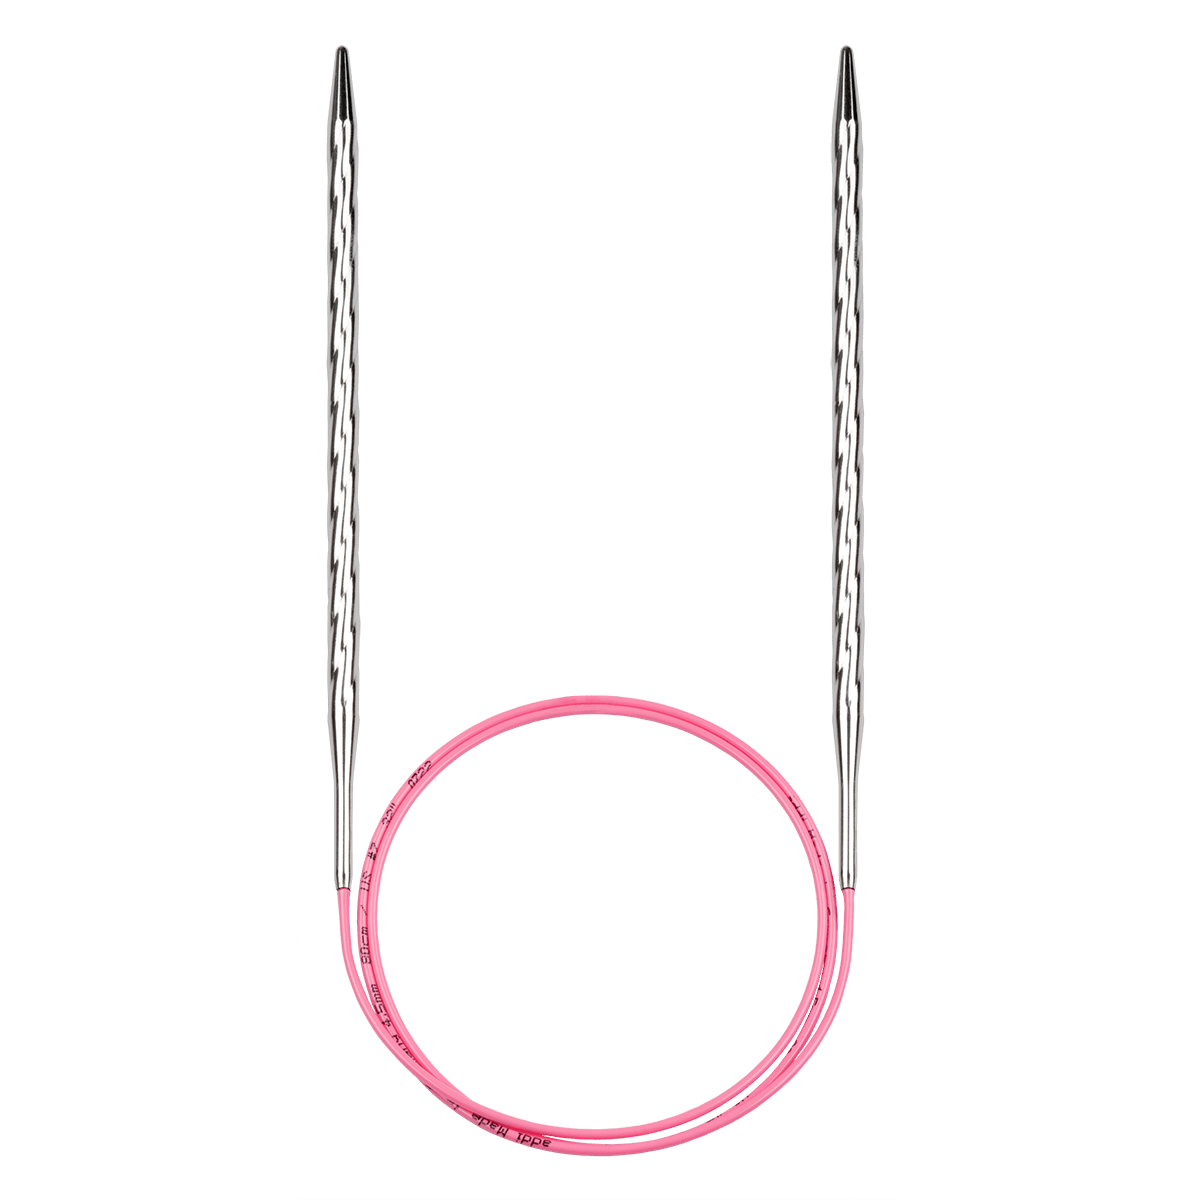
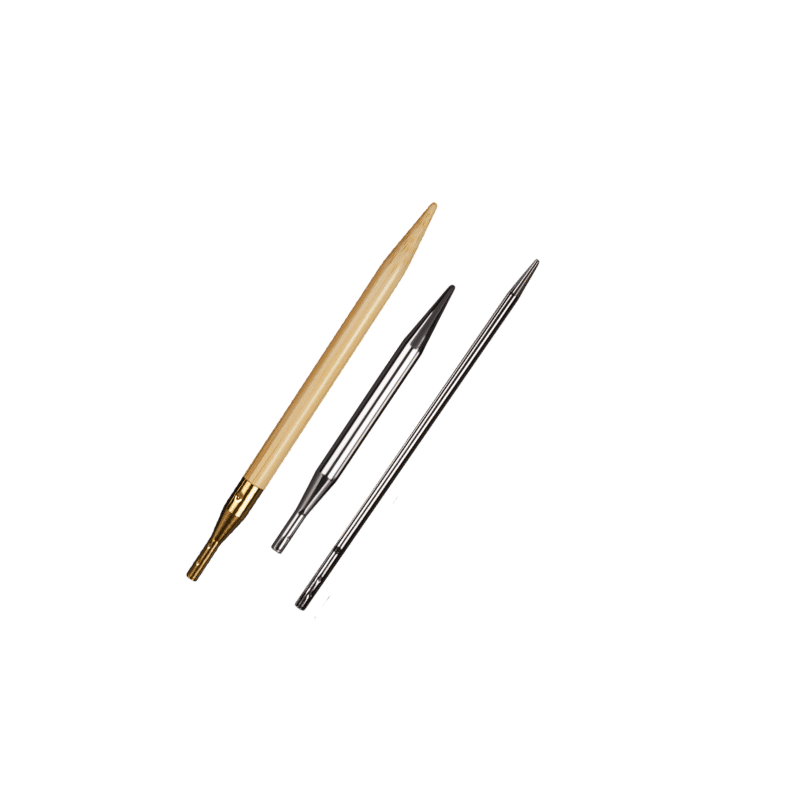
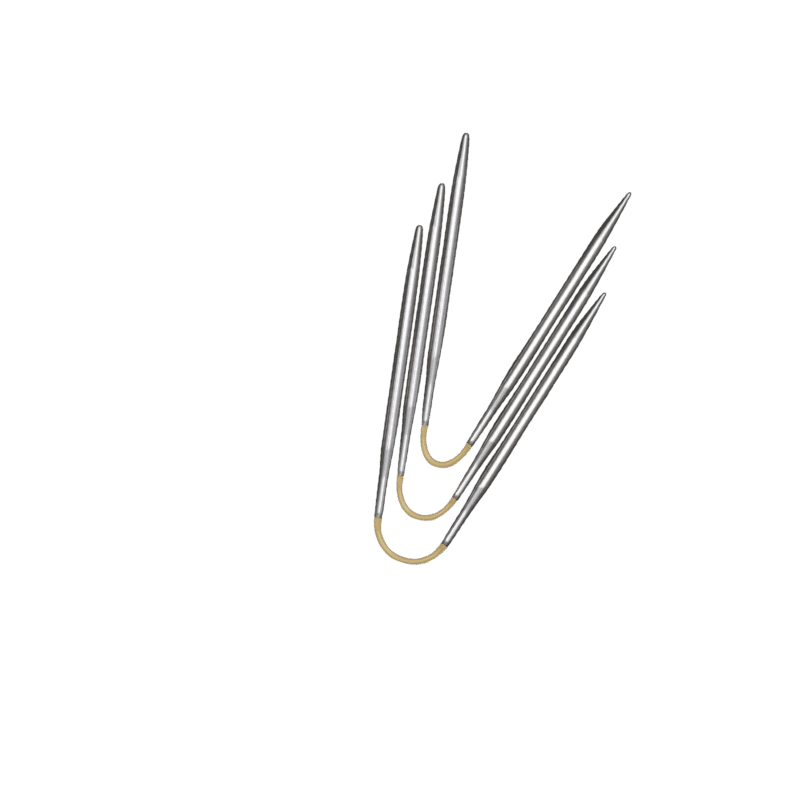
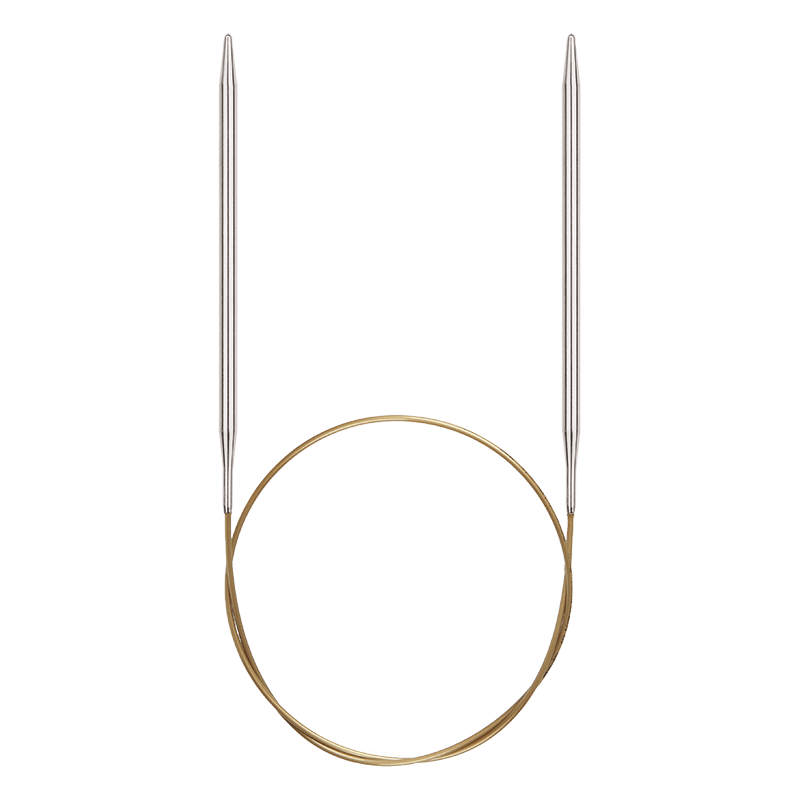
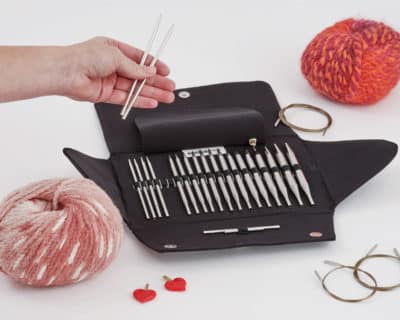
- addi criculars, 5 mm (U.S. 8)/ 50 cm and 80 cm
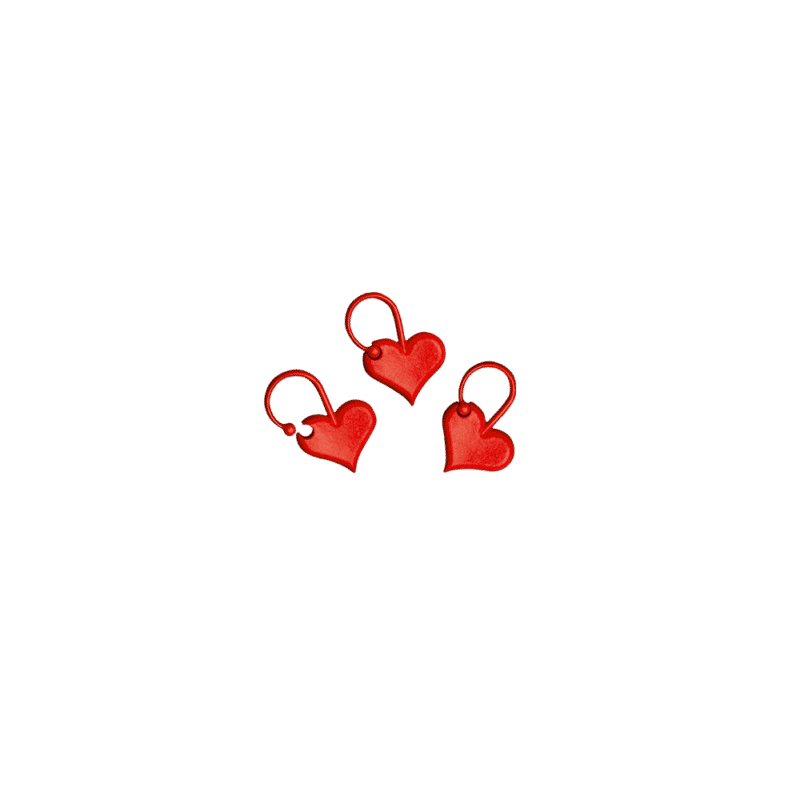
- addiLove stitch markers
- addiLoop darning needle
- addiGoldmarie scissors
Gauge: 22 sts × 36 rows = 10 × 10 cm / 4 x 4 inch
Sizes: 50-52 / 54-56
Yarn usage:
- ca. 950 g (approx. 2280 m) / 33.5 oz (approx. 2500 yd) for sizes 50-52
- ca. 1050 g (approx. 2520 m) / 40.5 oz (approx. 2800 yd) for sizes 54-56
Pattern A – Ribbing
In Rows:
- Row 1: selv st, [ k 2, p 2 ], selv st (wrong side row)
- Row 2: selv st, [ k 2, p 2 ], selv st (right side row)
Repeat the 1st – 2nd row always.
In Rounds:
- Round 1: [ k 2, p 2 ]
Always repeat the 1st round.
Pattern A – Ribbing
In Rows:
- Row 1: selv st, [ k 2, p 2 ], selv st (wrong side row)
- Row 2: selv st, [ k 2, p 2 ], selv st (right side row)
Repeat the 1st – 2nd row always.
In Rounds:
- Round 1: [ k 2, p 2 ]
Always repeat the 1st round.
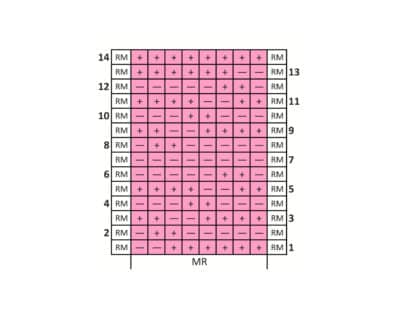
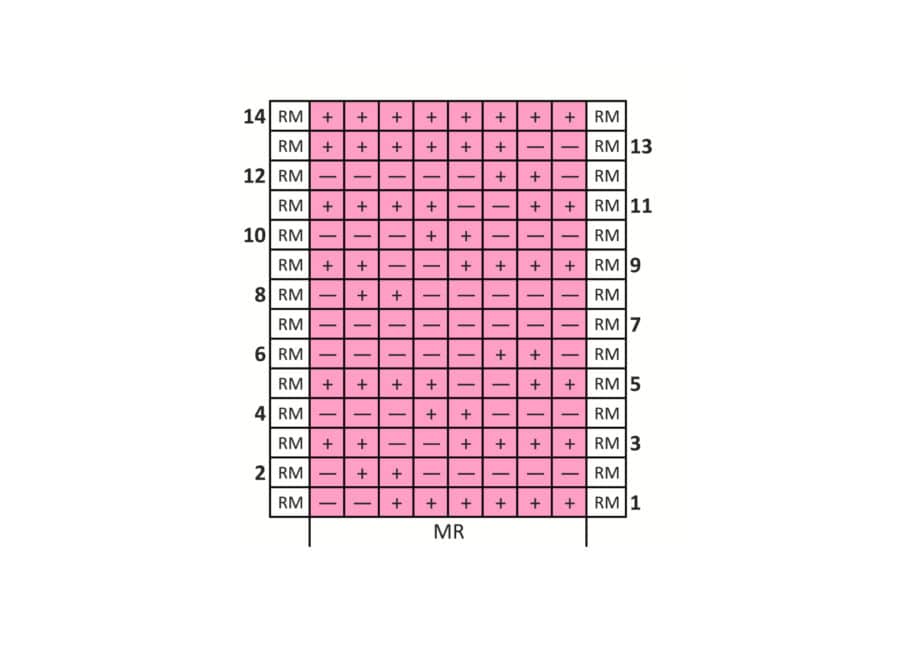
Pattern B – Main pattern
In Rows:
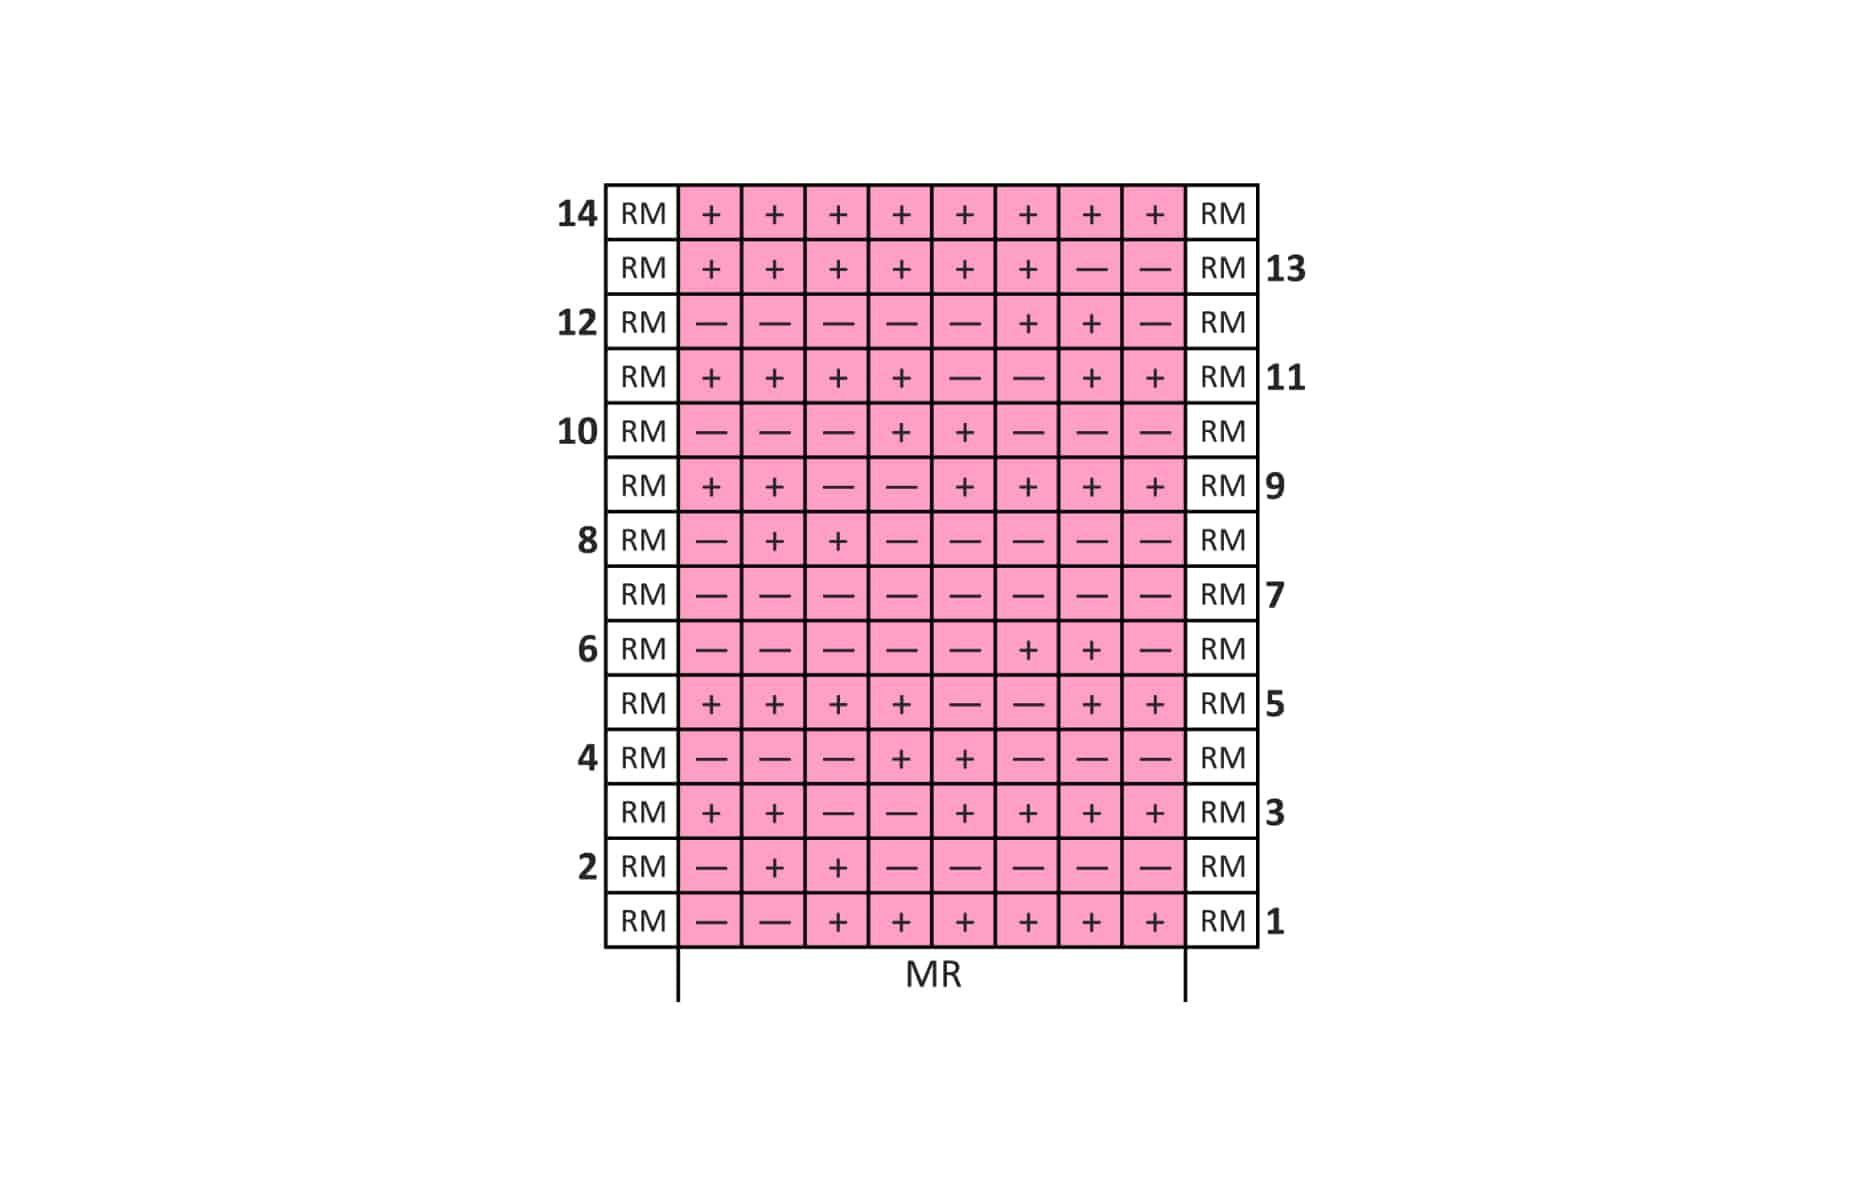
- Row 1: selv st, [ k 6, p 2 ], selv st (right side row)
- Row 2: selv st, [ p 1, k 2, p 5 ], selv st (wrong side row)
- Row 3: selv st, [ k 4, p 2, k 2 ], selv st (right side row)
- Row 4: selv st, [ p 3, k 2, p 3 ], selv st (wrong side row)
- Row 5: selv st, [ k 2, p 2, k 4 ], selv st (right side row)
- Row 6: selv st, [ p 5, k 2, p 1 ], selv st (wrong side row)
- Row 7: selv st, p all, selv st (right side row)
- Row 8: selv st, [ p 1, k 2, p 5 ], selv st (wrong side row)
- Row 9: selv st, [ k 4, p 2, k 2 ], selv st (right side row)
- Row 10: selv st, [ p 3, k 2, p 3 ], selv st (wrong side row)
- Row 11: selv st [ k 2, p 2, k 4 ], selv st (right side row)
- Row 12: selv st, [ p 5, k 2, p 1 ], selv st (wrong side row)
- Row 13: selv st, [ p 2, k 6 ], selv st (right side row)
- Row 14: selv st, k all, selv st (wrong side row)
Repeat rows 1–14.
Herrenpulli stricken – Modell „Monza“ mit Rollkragen
The turtleneck sweater for men is worked in 4 steps. The back, front, and sleeves are each knitted separately from the bottom up.
After closing the side and shoulder seams, the sleeves are inserted. Finally, the turtleneck is worked in rounds.
Spelling for the sizes: 50-52/54-56
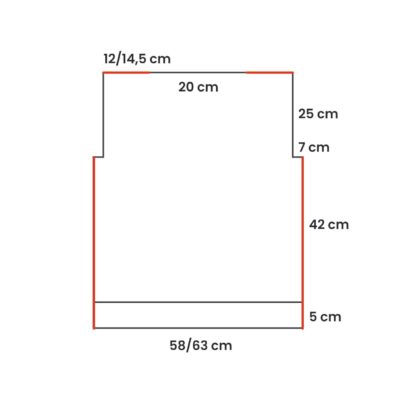
Back part
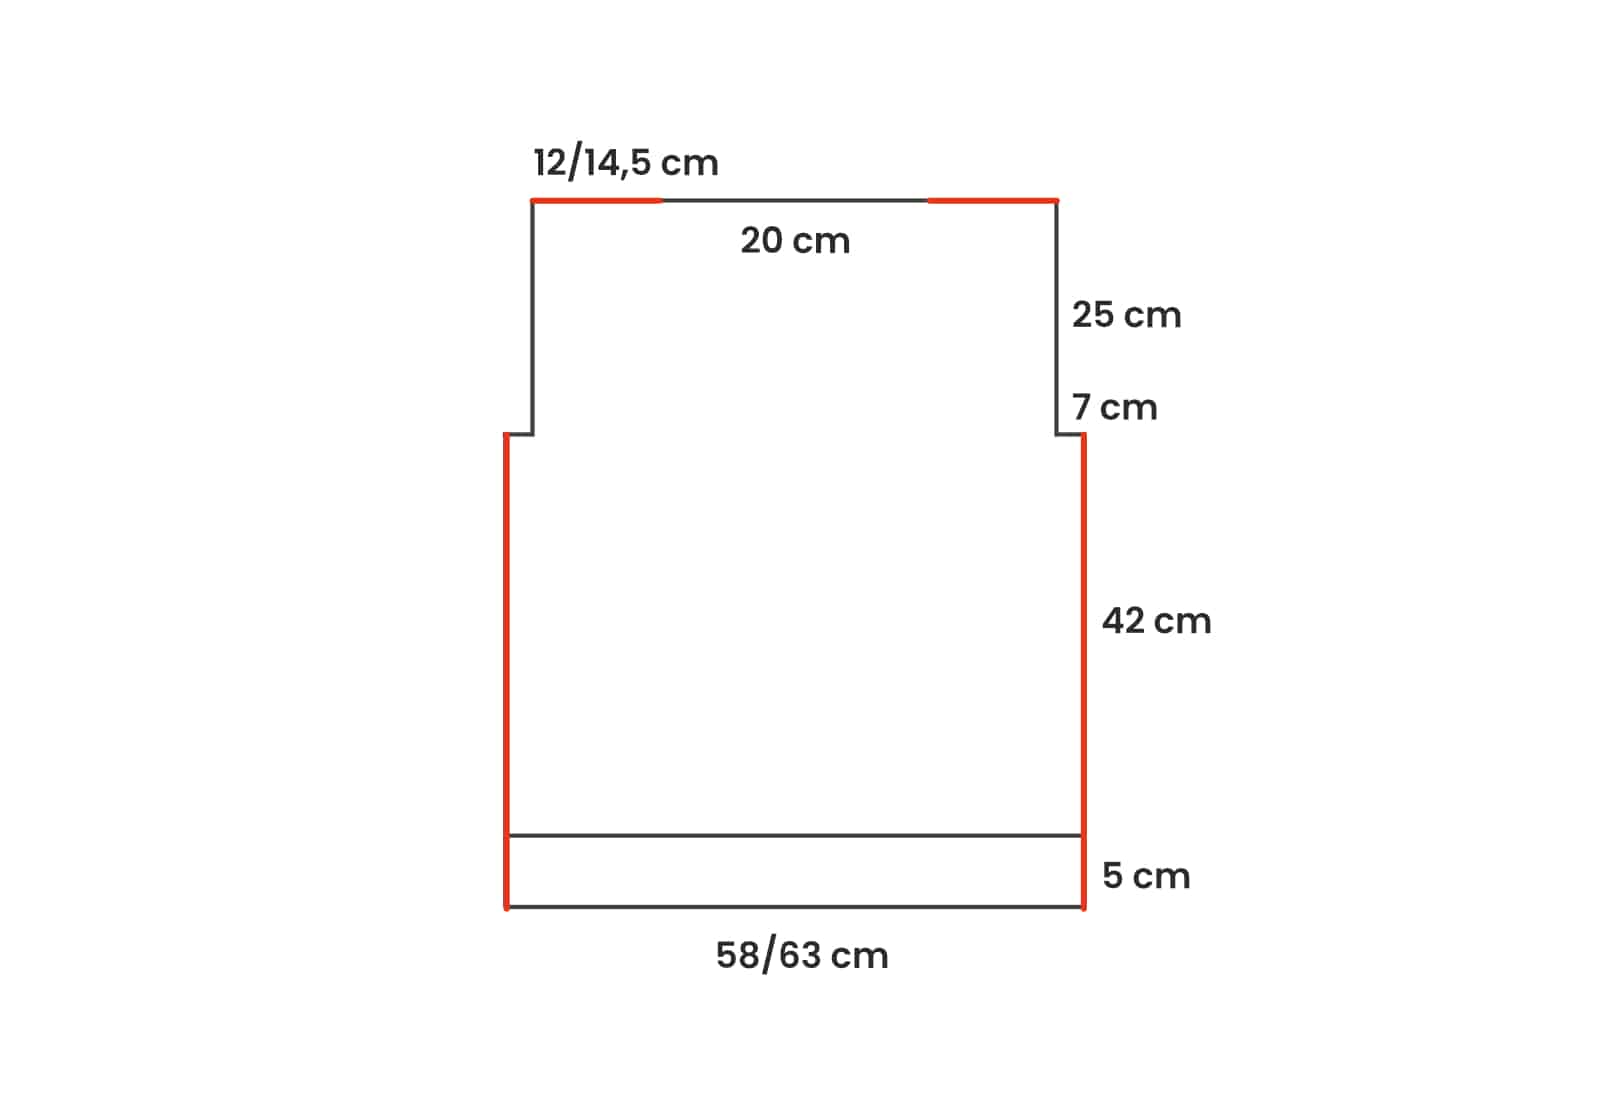
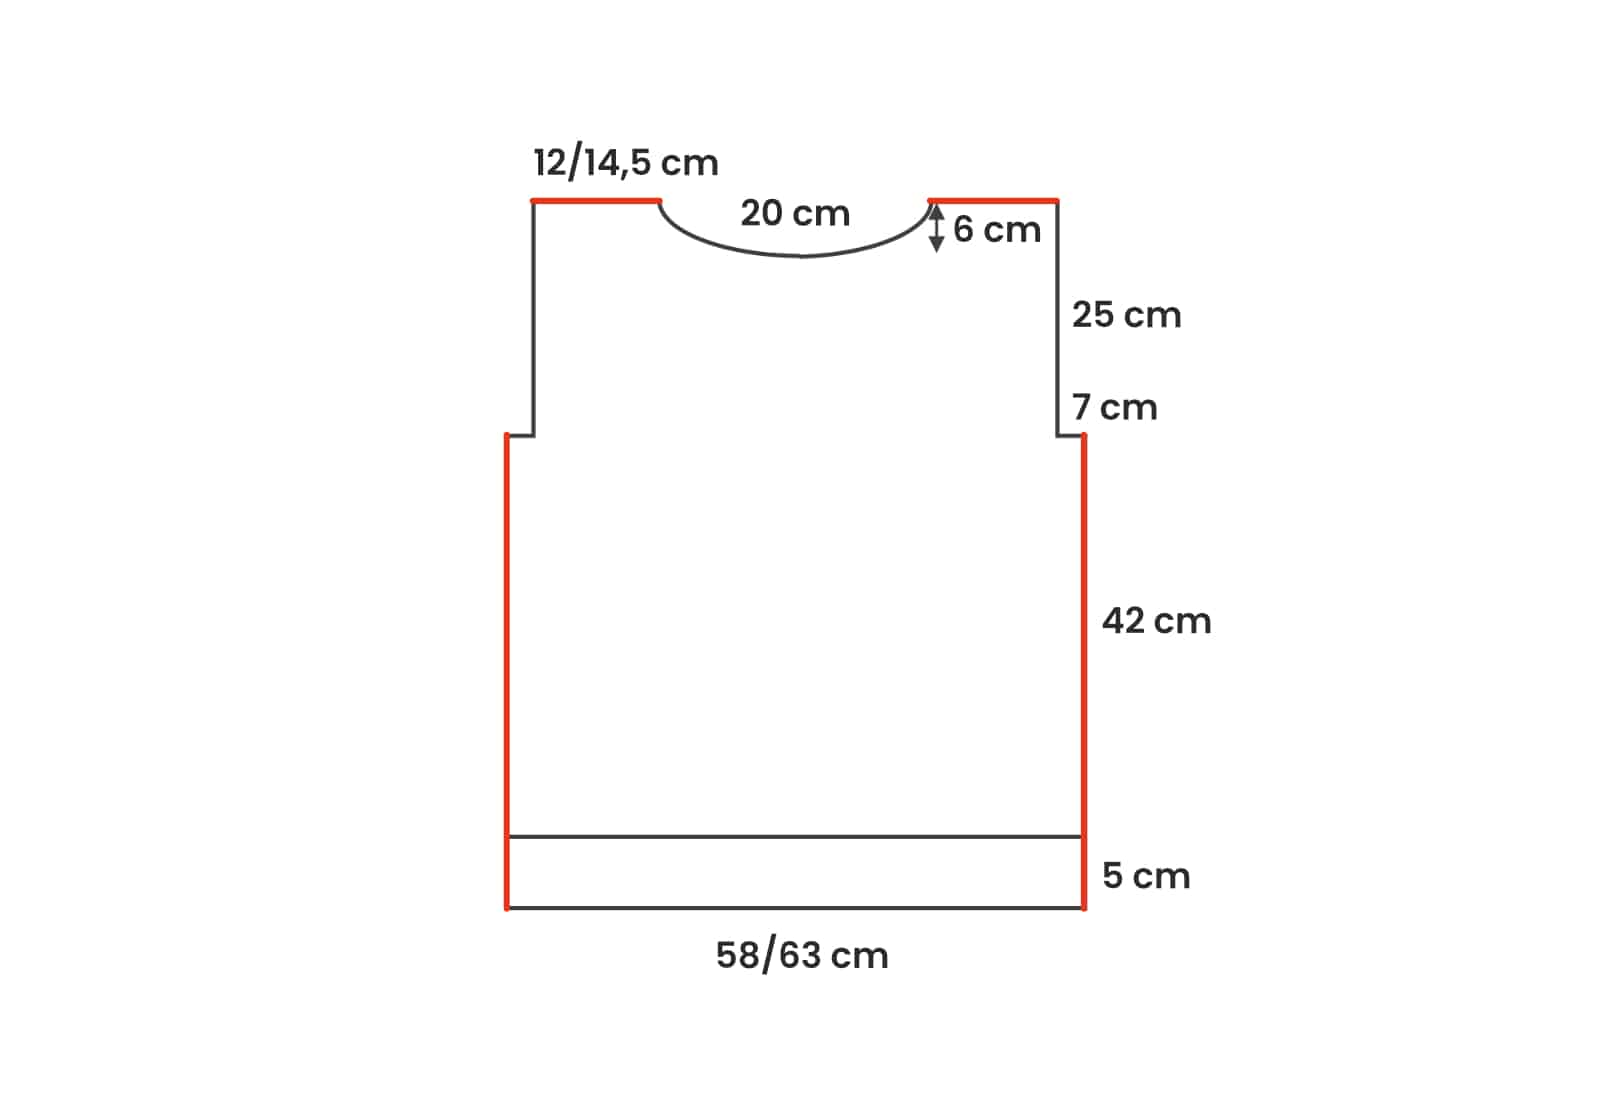
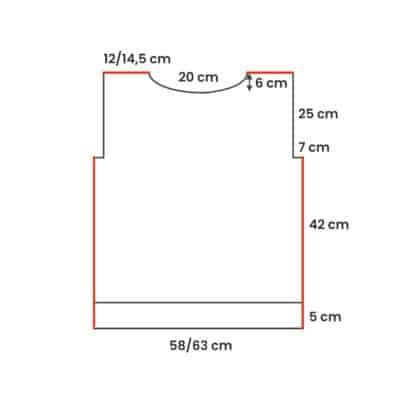
Cast on: 162/178 sts (including 2 selv sts) with longer knitting needles.
- Start with Pattern A – Ribbing.
- When the piece is 5 cm height (measured from the cast-on edge), change to Pattern B – main pattern and decrease 32/40 sts in the first right side row (= 130/138 sts).
- When the piece measures 42 cm from the end of the ribbing, bind off 16 sts each on every edge for the armholes (= 98/106 sts).
- After 25 cm from the armholes, bind off all sts loosely in a right side row.
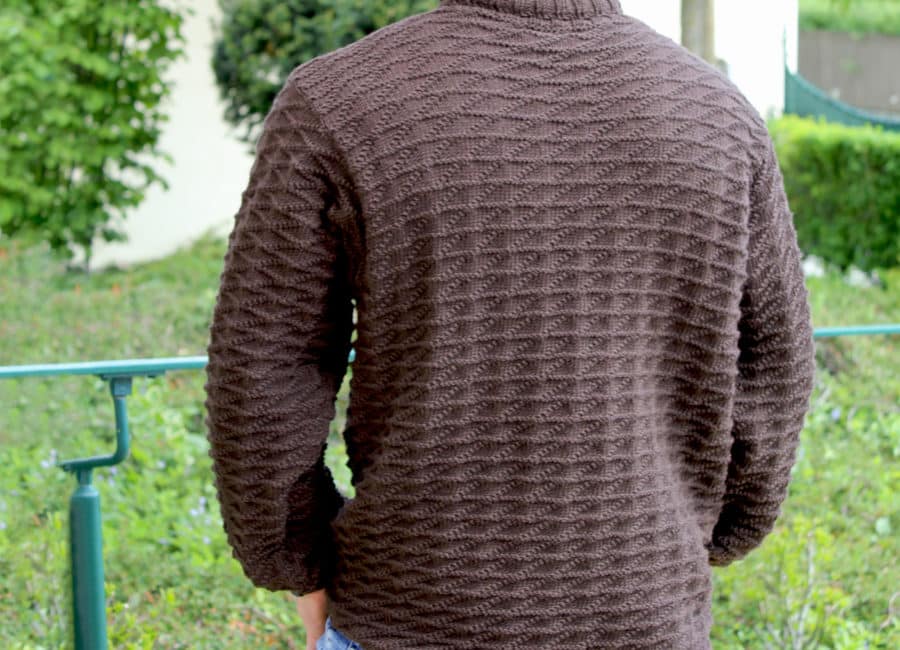
Front part
Cast on: 162/178 sts (including 2 selc sts).
- Start with Pattern A – Ribbing.
- When the piece is 5 cm height (measured from the cast-on edge), change to Pattern B – main pattern and decrease 32/40 sts in the first right side row (= 130/138 sts).
- When the piece measures 42 cm from the end of the ribbing, bind off 16 sts each on every edge for the armholes (= 98/106 sts).
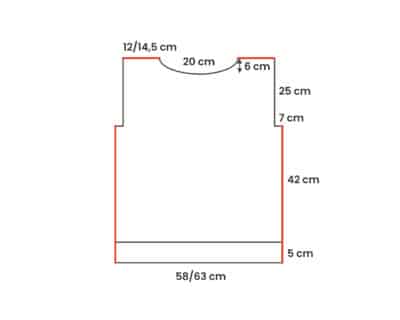
- After 19 cm from the armholes, bind off the center 16 sts loosely for the neckline. Finish both shoulder-parts separately.
- Bind off sts in the next rows at the neckline edge as follows:
- 5 times: 2 sts in every 2nd row
- 4 times: 1 st in every row
- After 25 cm from the armholes, bind off all remaining 27/31 sts in a right side row.
Work the other side in reverse.
Knit sleeves
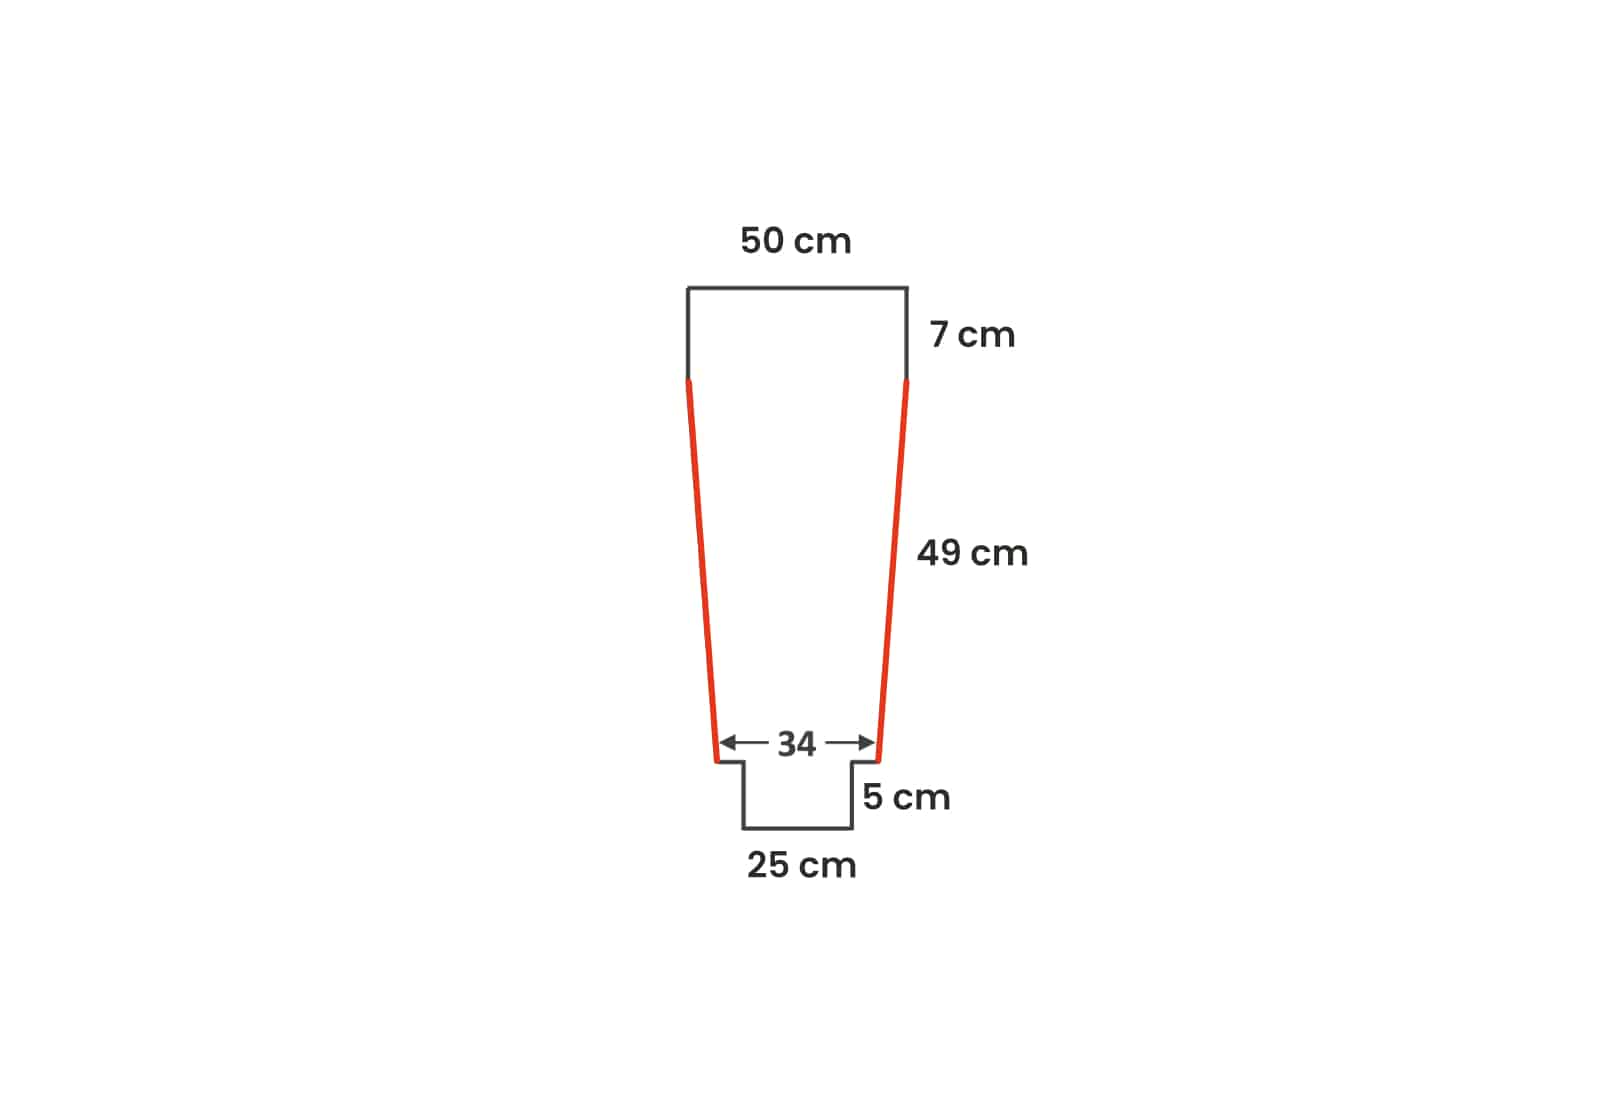
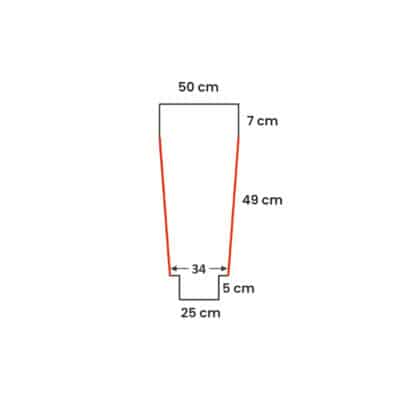
Cast on 70 sts (including. 2 selv sts).
- Start with Pattern A – Ribbing.
- When the piece is 5 cm in height (measured from the cast-on edge), change to Pattern B – main pattern and increase 4 sts evenly (= 74 sts).
- The sleeve slant starts in the 14th row: increase 1 st at each edge. Following increases:
- 12 times in every 10th row
- 5 times in every 8th row
- After 49 cm (measured from the end of the ribbing), continue working in Pattern B – main pattern without increases.
- After 7 cm without increases, bind off all remaining stitches loosely.
Repeat the instructions for the 2nd sleeve.
Finishing
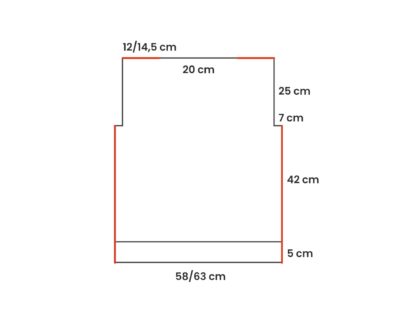
Close the side and shoulder seams (observe the sectional drawing – the red lines show the respective seam). Insert sleeves.
Work the turtleneck.
For this, use shorter circular knitting needle.
Put on the needle and knit 96 sts from the neckline and close to work in the round.
- Set stitch marker (= beginning of the round) and work in Pattern A – ribbing.
- Bind off all sts after 25 cm according to the pattern as follows:
- k NOT loosely
- p loosely
Finally, weave in all ends.
Instruction video - knitting a men's jumper
Have fun knitting and wearing or giving it away!
Be sure to show us your finished jumper with the hashtag #addifriends on Instagram or in our Facebook group!
Be sure to show us your finished jumper with the hashtag #addifriends on Instagram or in our Facebook group!
