Crochet Easter bunny greeting card
This little crocheted Easter bunny makes for very special Easter mail. With its tasty carrot and long ears, it makes hearts beat faster. With the matching gift tag, he is the star of every Easter basket.
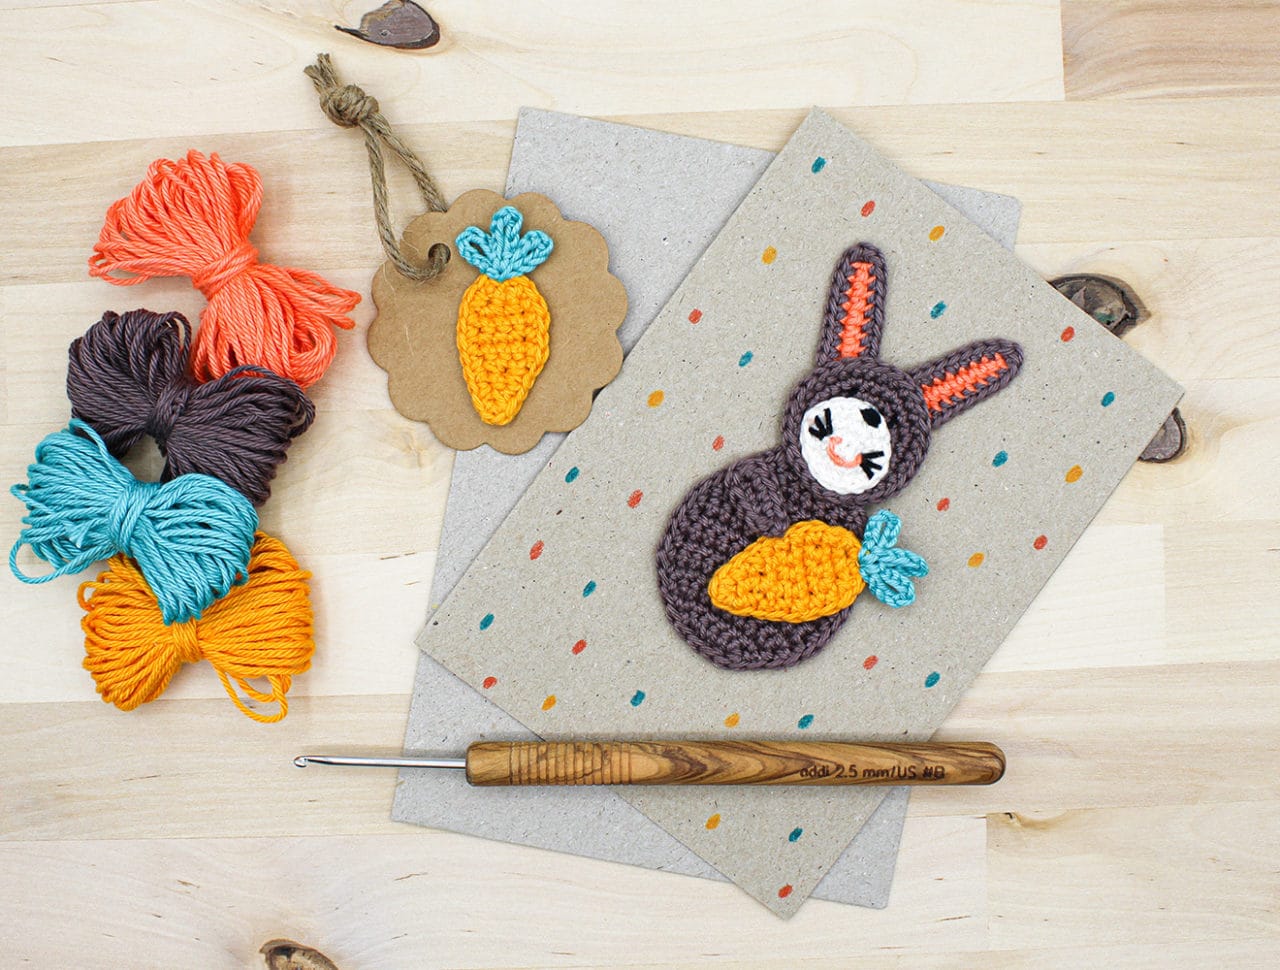
- Cotton yarn 125m/ 100g
- here in brown, coral, white, black, orange and green (leftovers, max. 5 g per colour)
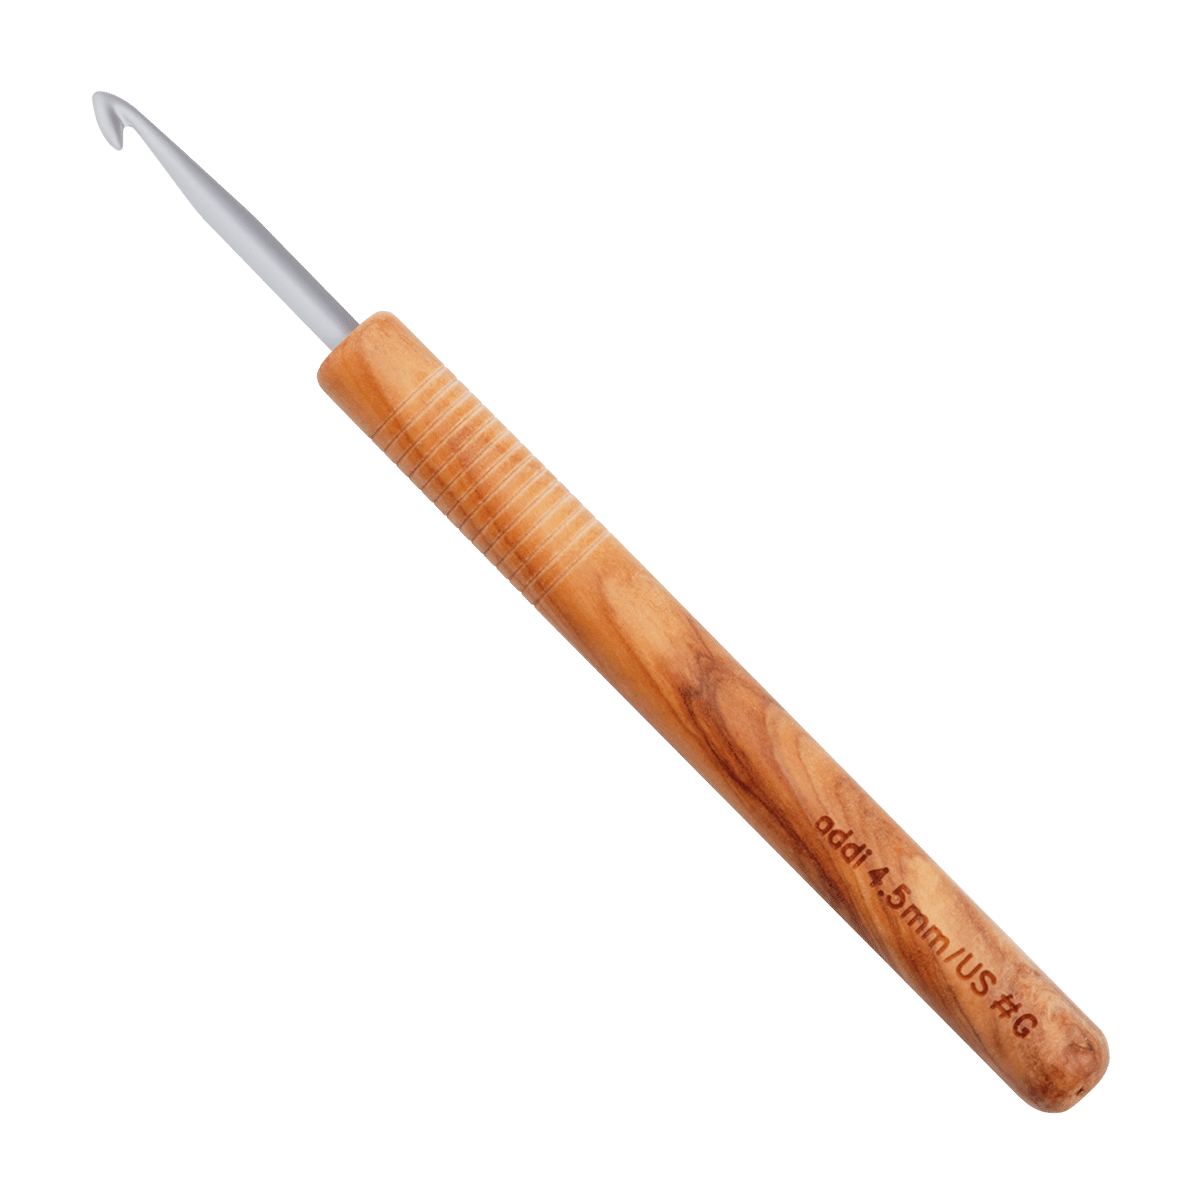
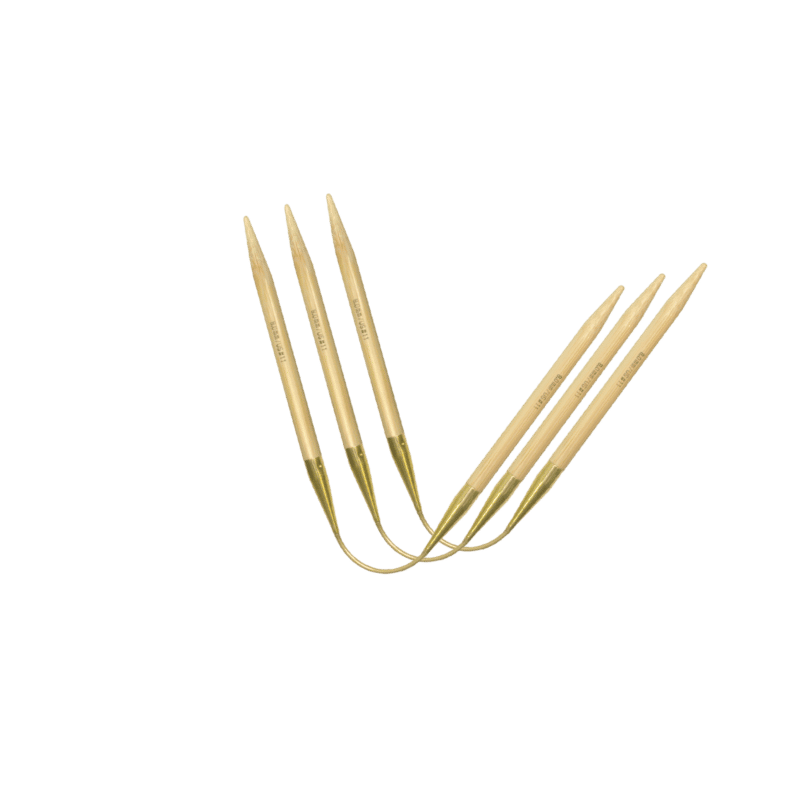
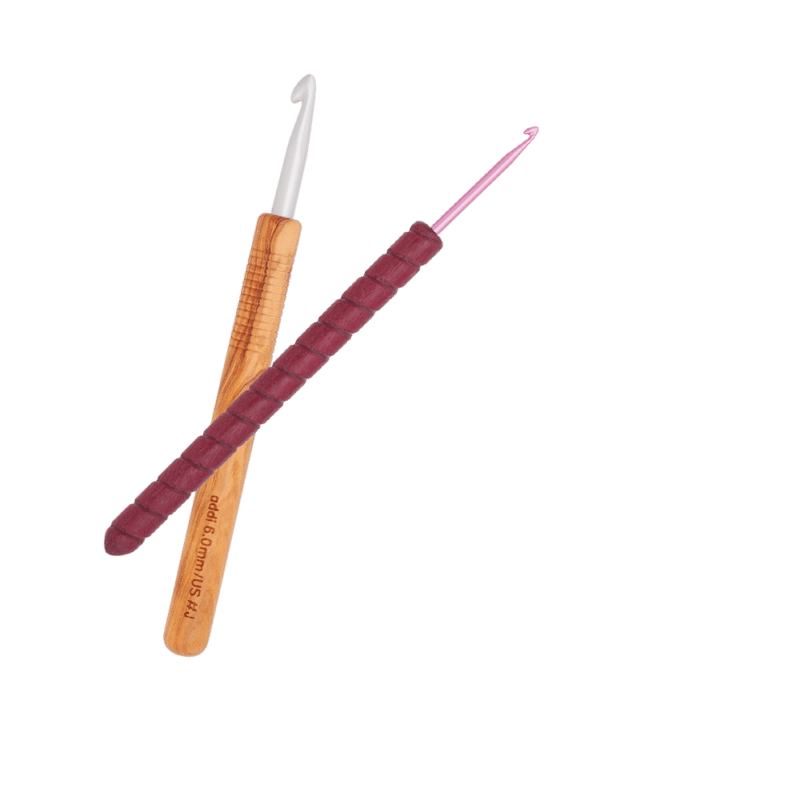
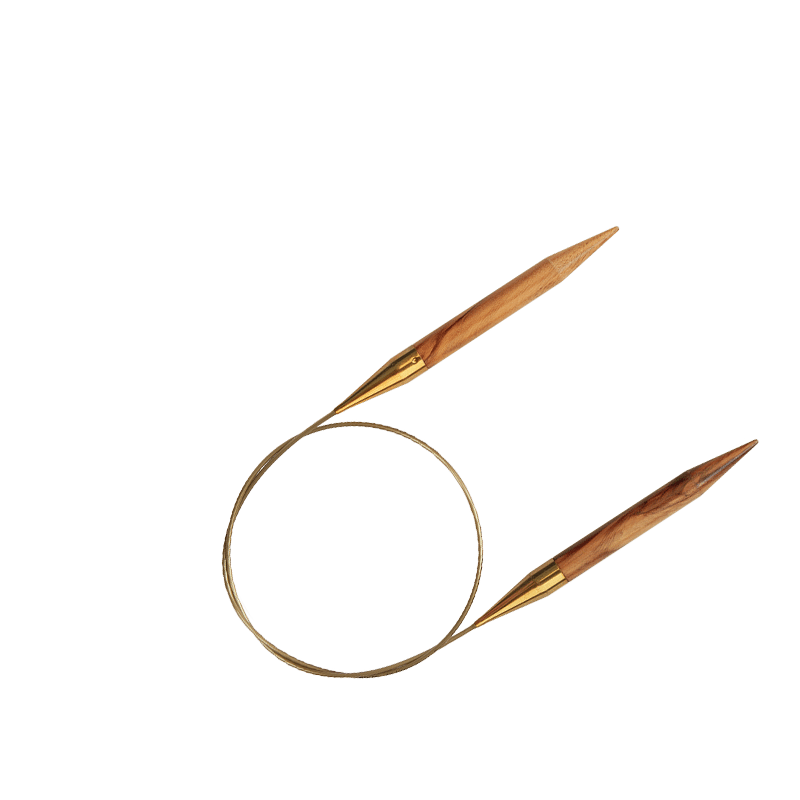
- addiNature Olive wool crochet hook, 2.5 mm
- Gift tags made from kraft paper
- Kraft paper folding card
- Textile glue
- Tapestry needle
- Scissors
- Optional: tweezers, crayons, stamps, stickers
Abbreviations:
- ill = illustration
- de = decrease
- col = colour
- sc = single stitch
- sl st = slip stitch
- ch= chain stitches
- sts = stitch(es)
- ndl = needle
- r = row/s
- Rd round(s)
- rep = repeat
- inc = increase
- tog = together
Crochet Easter bunny greeting card
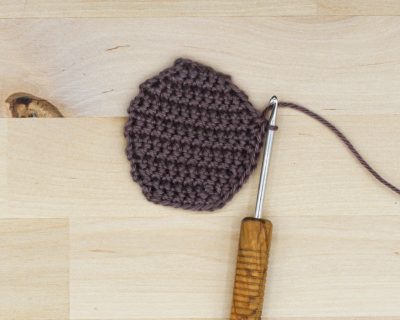
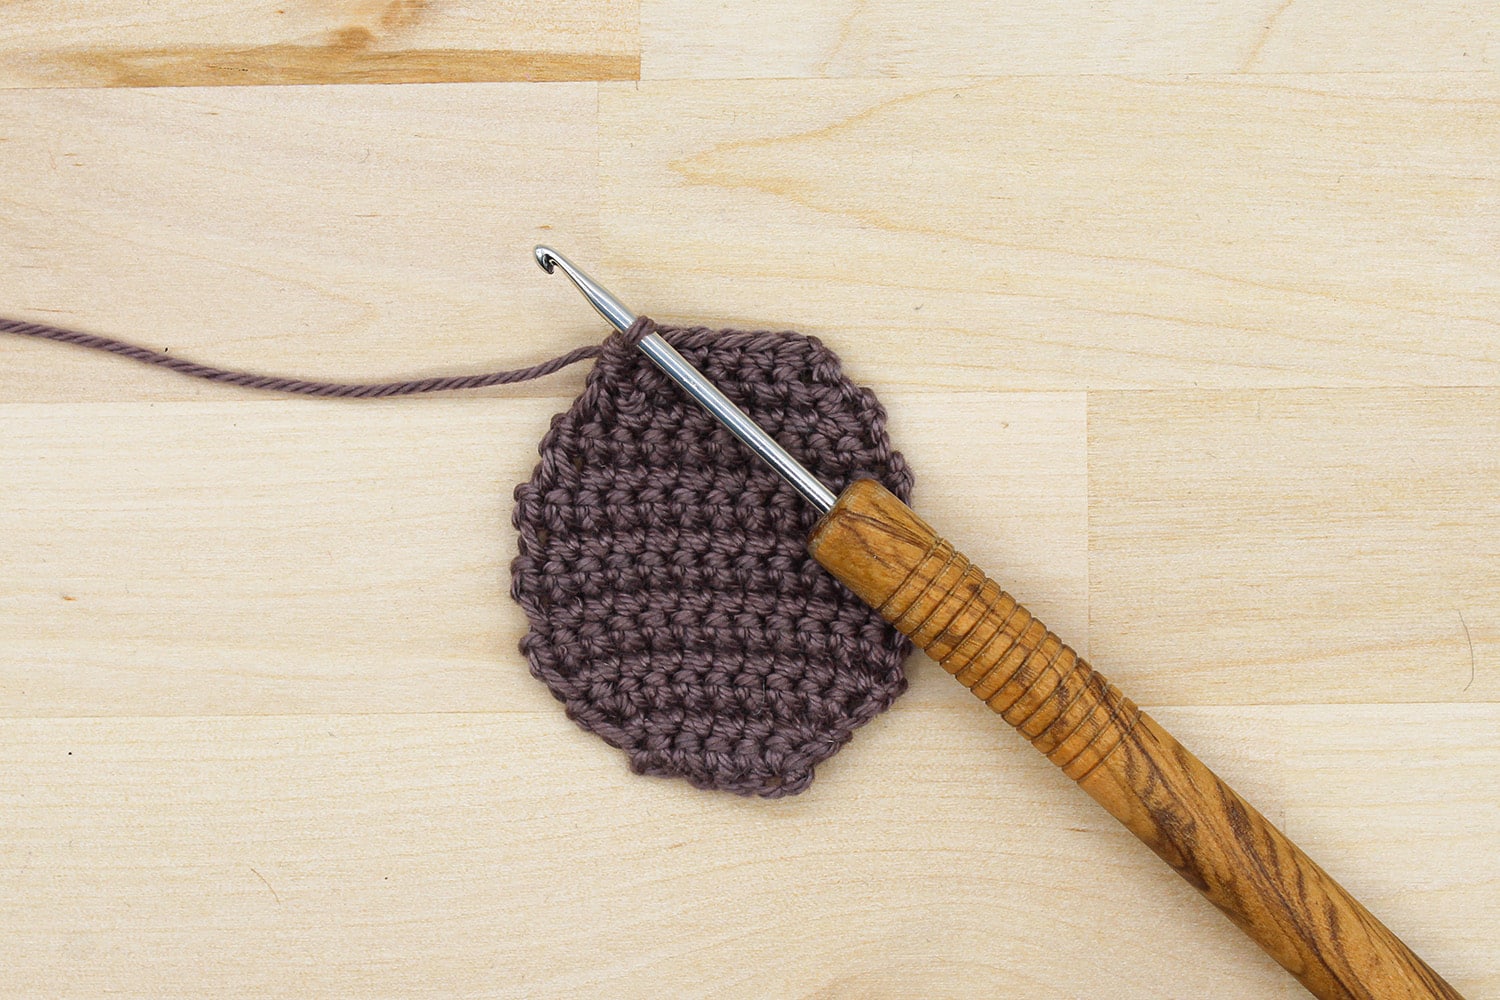
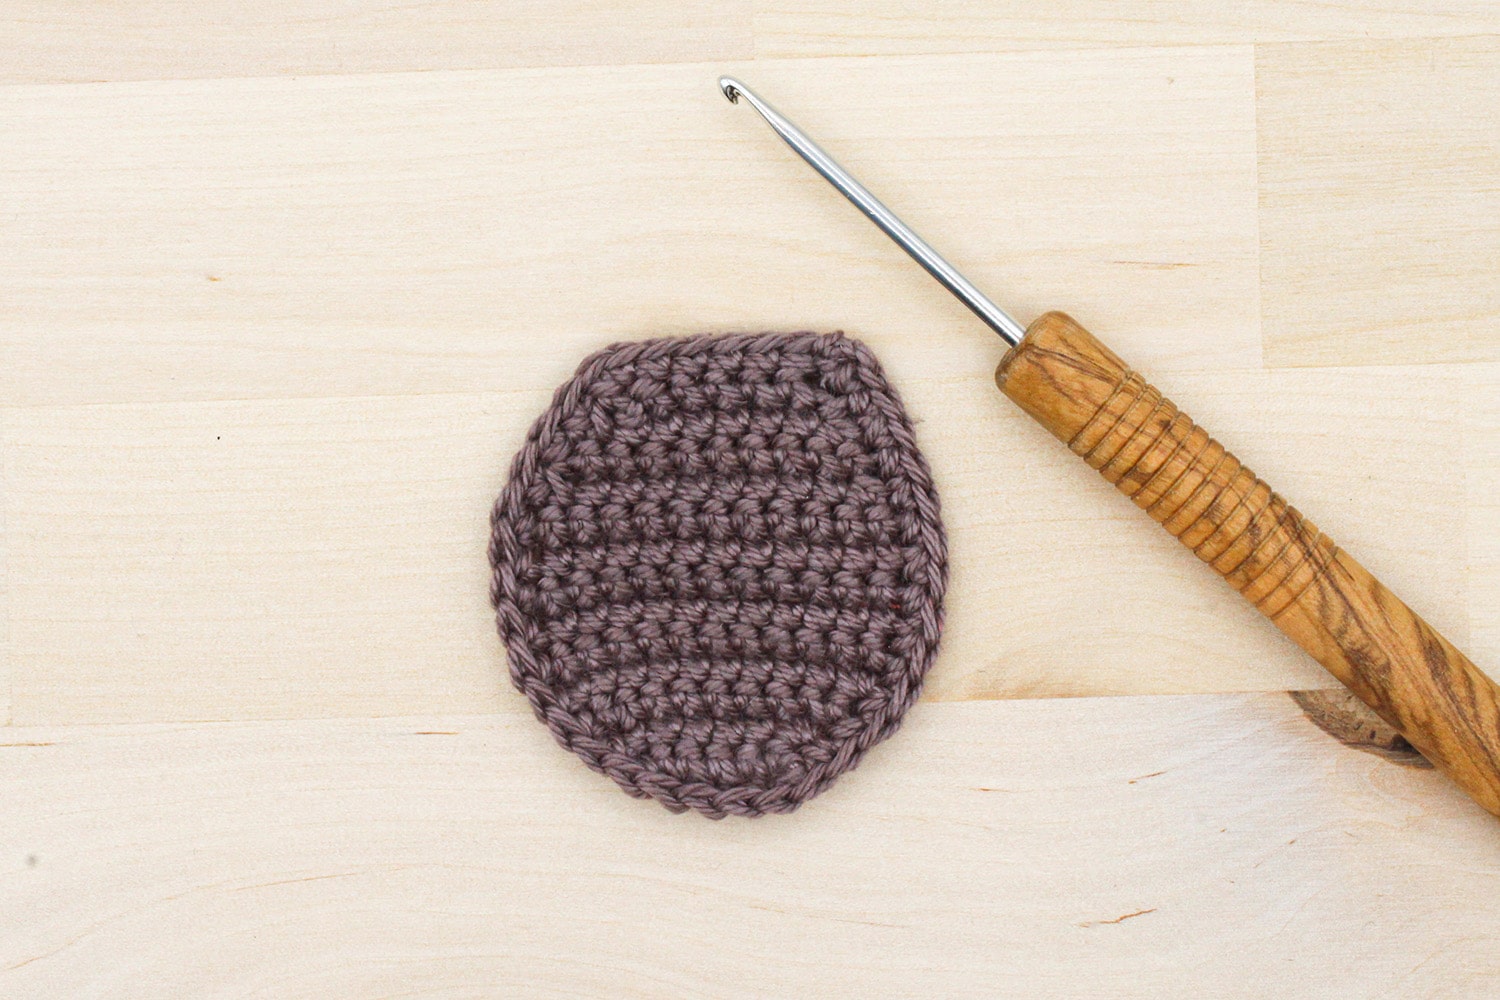
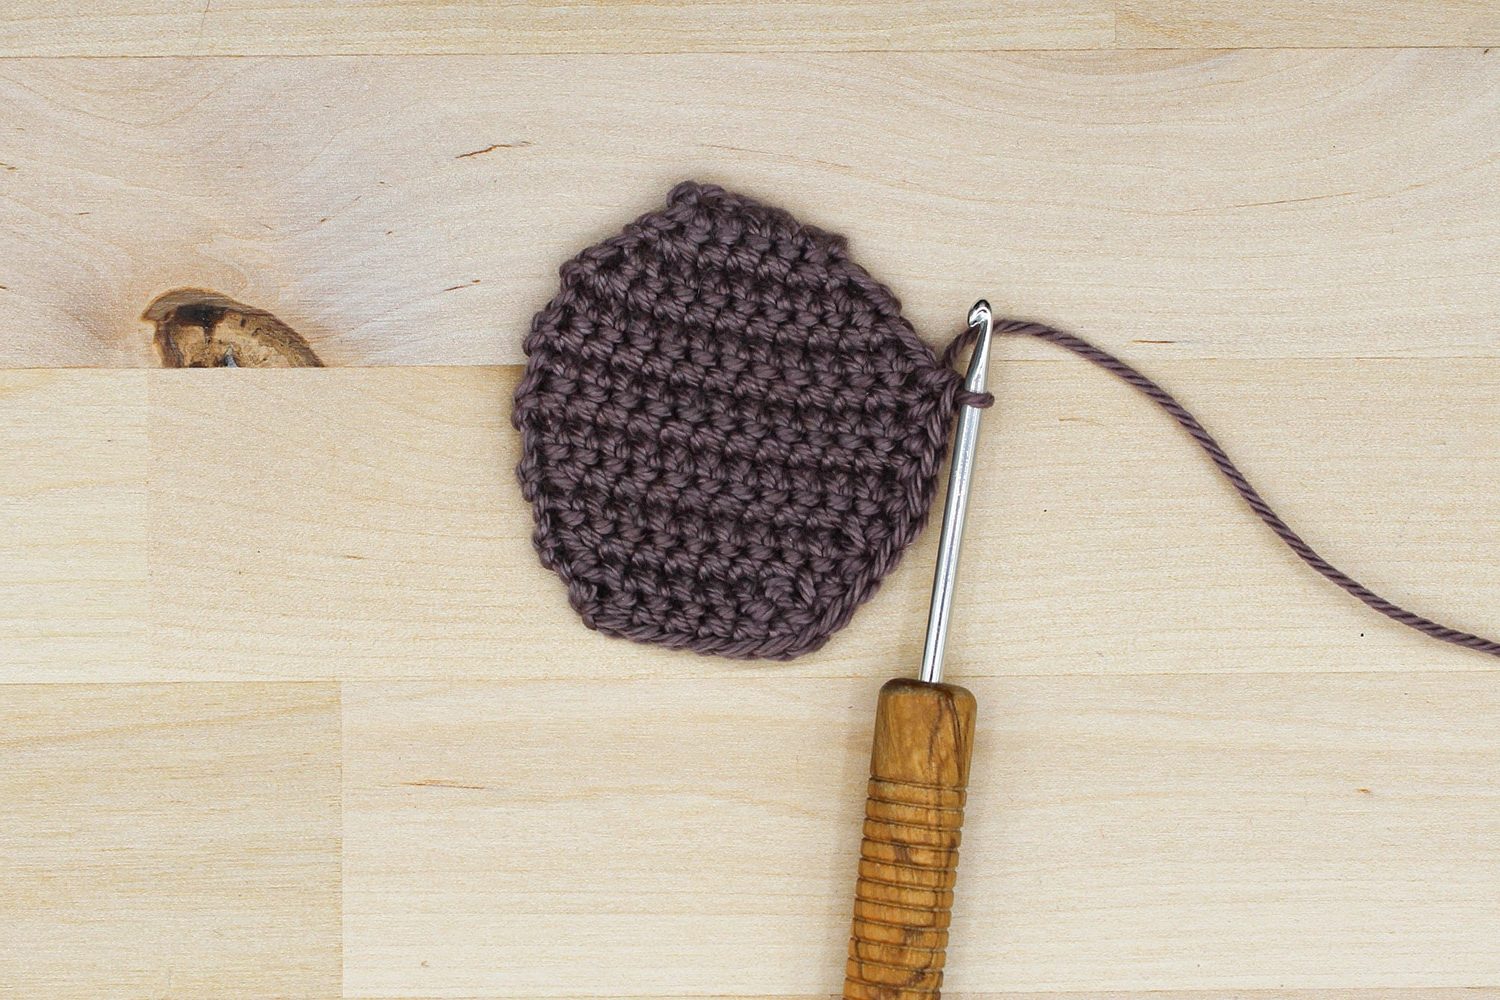
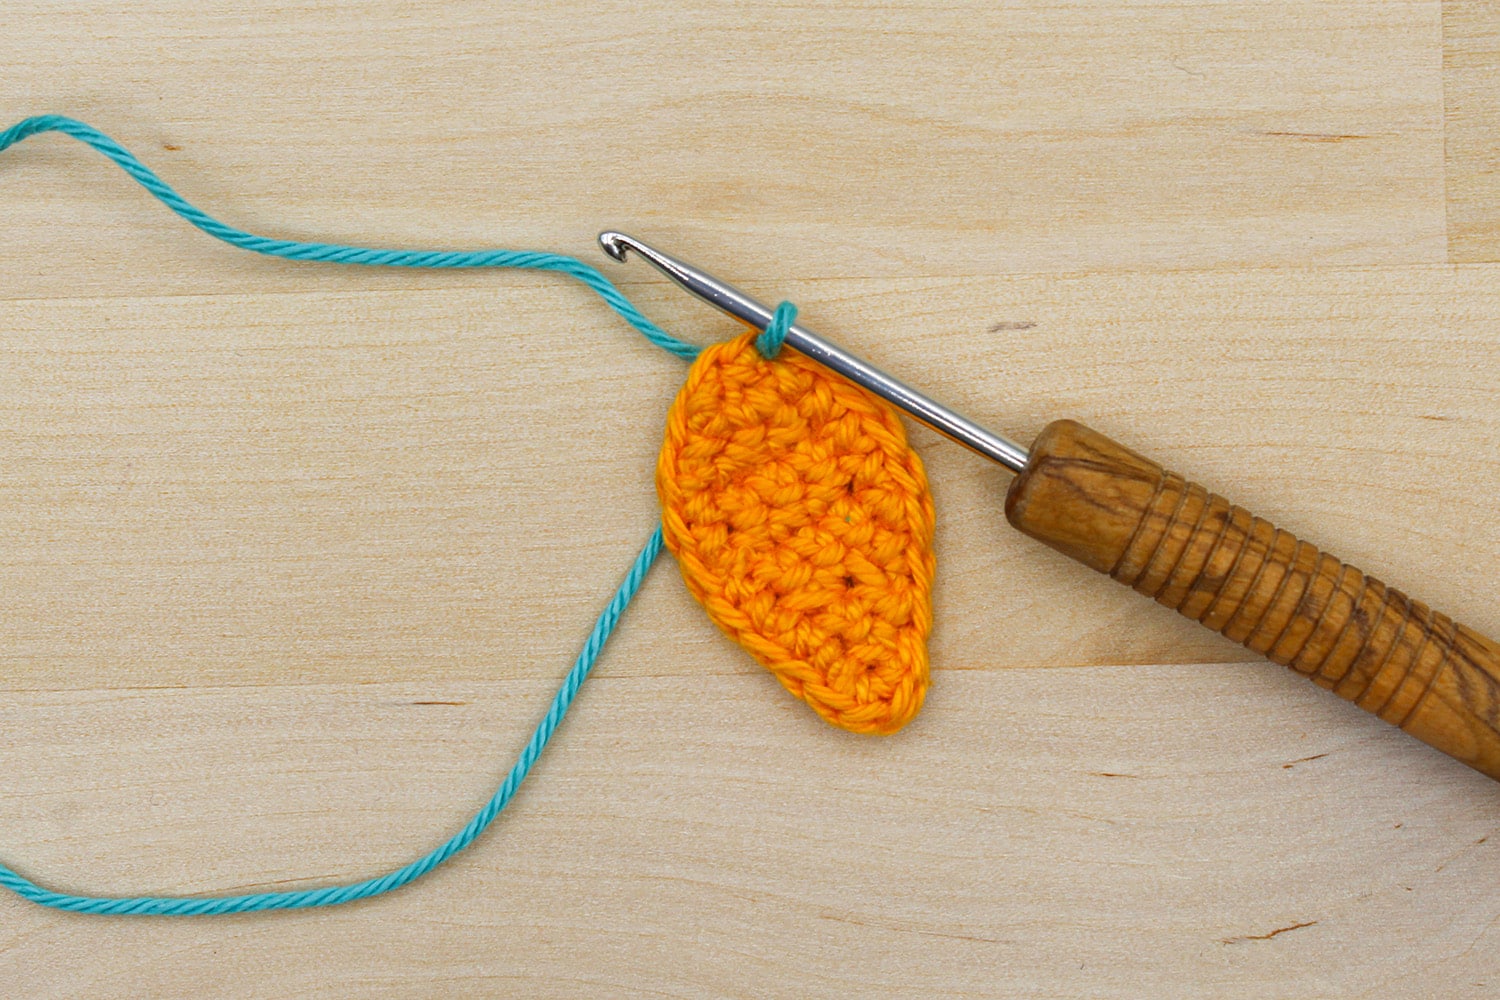
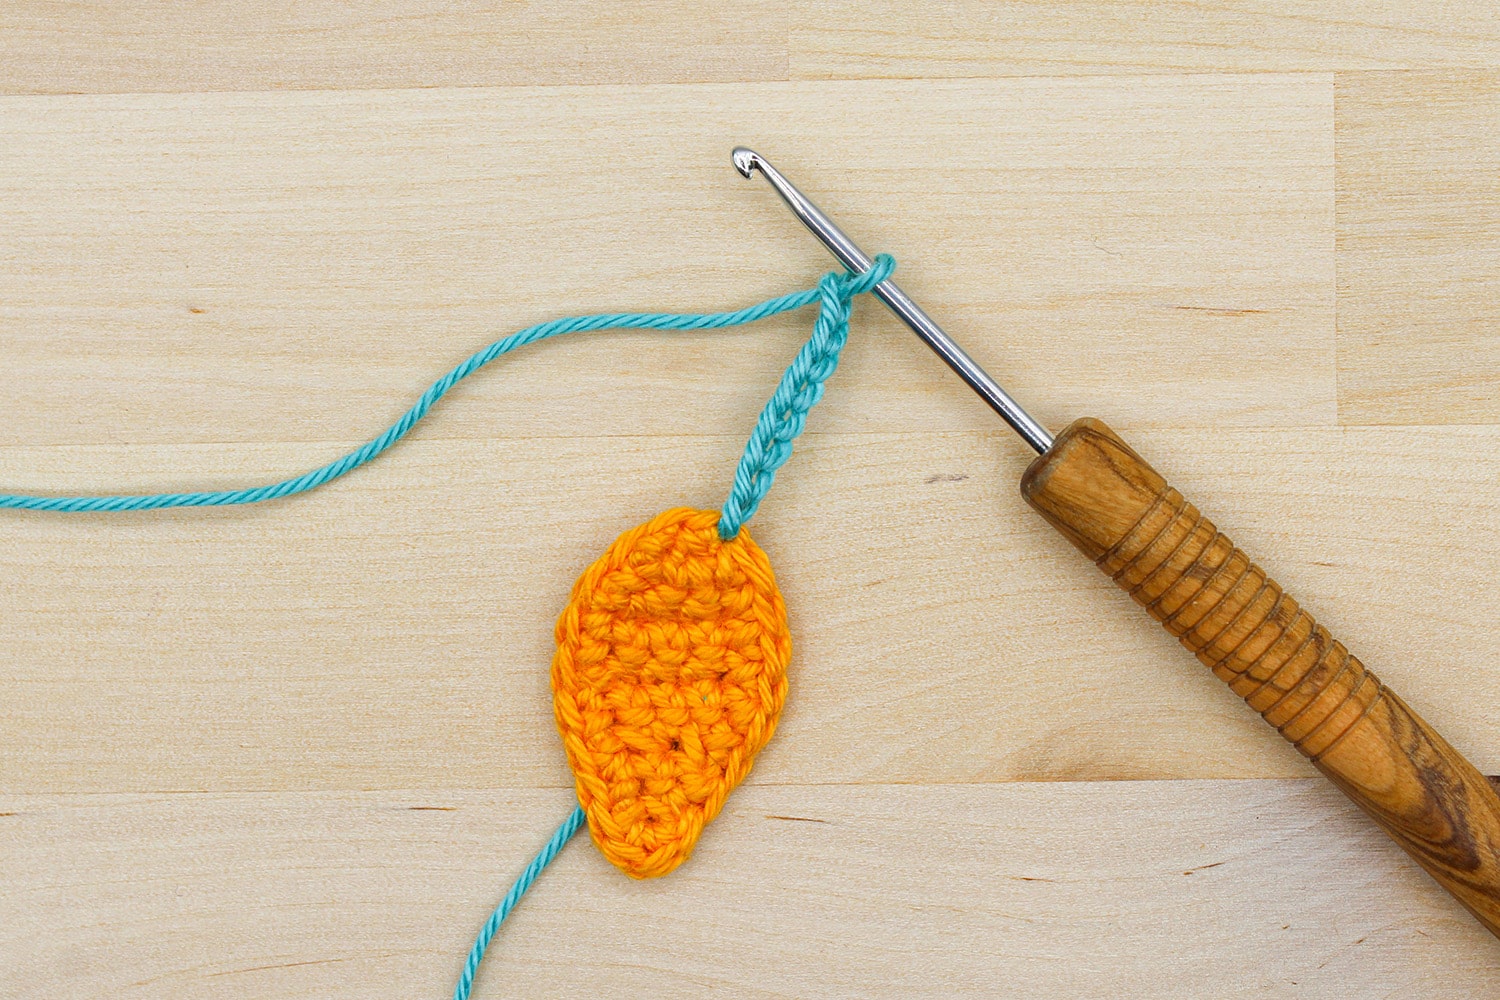
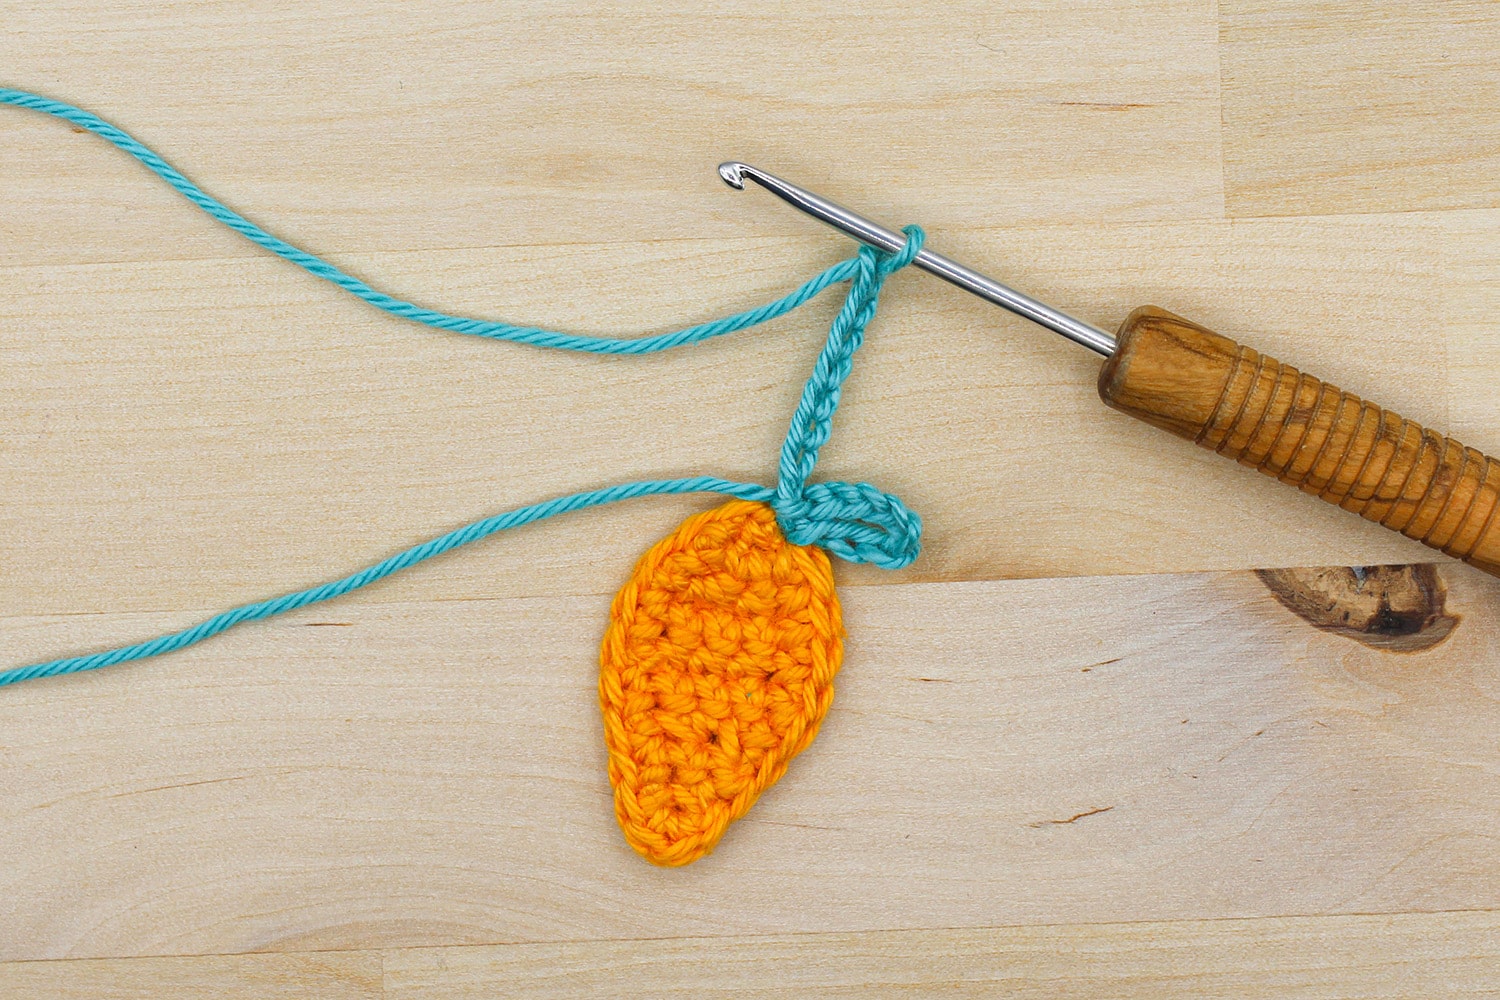
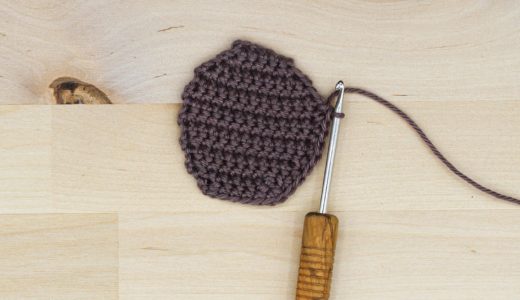
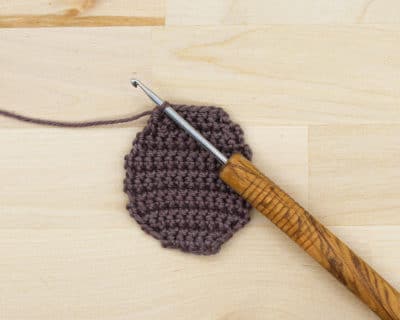
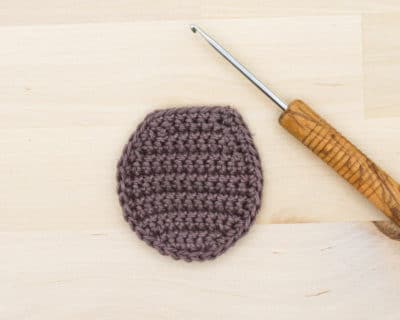
The head, snout and paw of the Easter bunny are crocheted in spiral rounds with dc. Ears, body and carrot are crocheted in rows. Each row begins with a turning ch. The appliqués are glued onto the greetings card. You can also sew the individual parts together and use them as a classic patch.
- Rd 1: 7 sc.
- Rd 2: 7 x 1 s inc [= 14 s].
- Rd 3: * 1 sc, 1 s inc; from * still 6x rep [= 21 s].
- Rd 4: * 2 sc, 1 s inc; from * still 6x rep [= 38 s].
- Cut yarn and weave in ends .
- Rd 1: 2 sc, 3 sc into 1 s, 1 sc, 1 M inc [= 8 s].
- Rd 2: * 1 sc, 1 s inc; from * still 3x rep [= 12 s].
- Rd 3: * 2 sc, 1 s inc; from * still 3x rep [= 16 s].
Cut and sew the thread. Embroider the nose and whiskers in black using 3 short tension stitches each. Embroider a mouth between the whiskers using coral. Sew the snout onto the head.
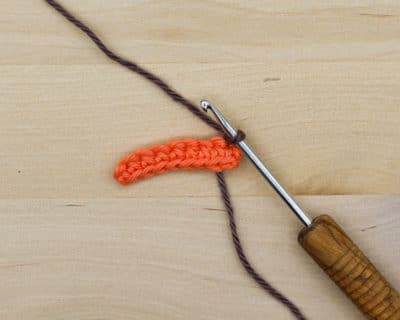
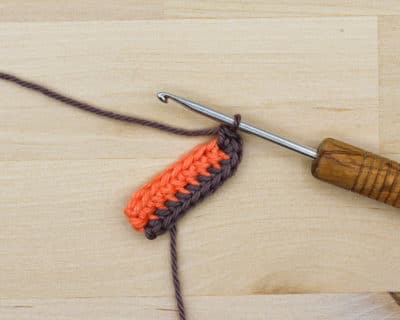
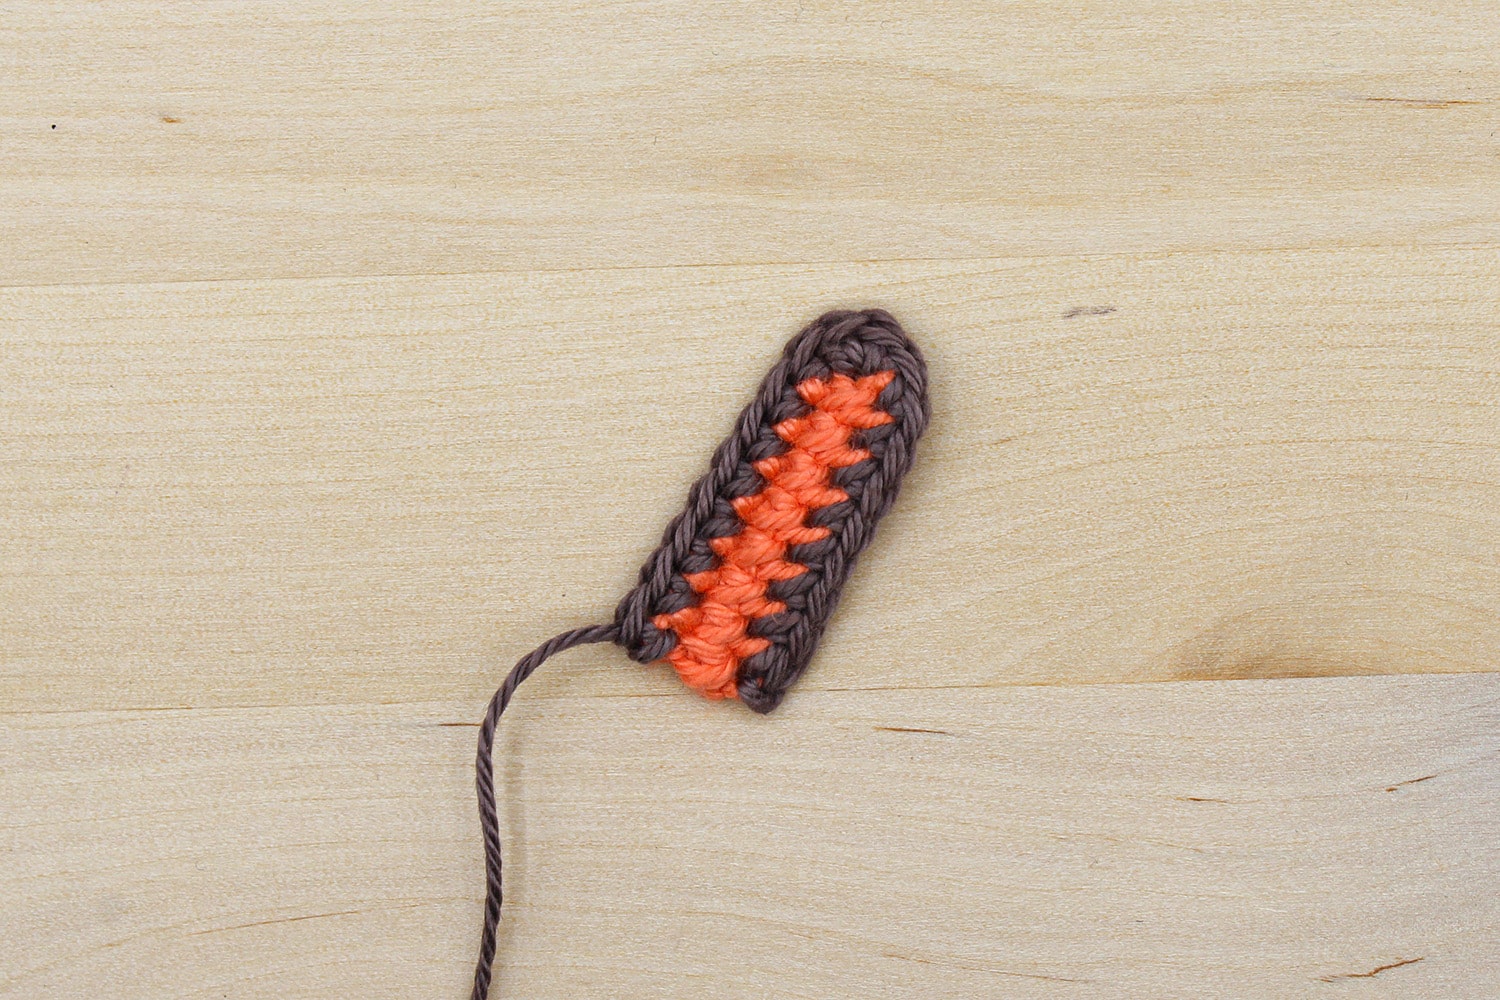
- R 1: 8 sc.
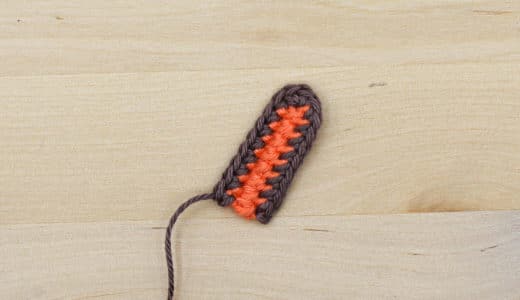
- R 1: 8 sc.
- R 1: 1 s inc, 2 sc, 1 s inc [= 6 s].
- R 2: 1 s inc, 4 sc, 1 s inc [= 8 s].
- R 3: 1 s inc, 6 sc, 1 s inc [= 10 s].
- R 4: 1 s inc, 8 sc, 1 s inc [= 12 s].
- R 5–9: 1 sc in each s.
- R 10: 1 s de, 8 sc, 1 s de [= 10 s].
- R 11: 1 sc in each s.
- R 12: 1 s de, 6 sc, 1 s de [= 8 s].
- R 13: 1 s de, 4 sc, 1 s de [= 6 s].
- R 14: 1 sc in each s.
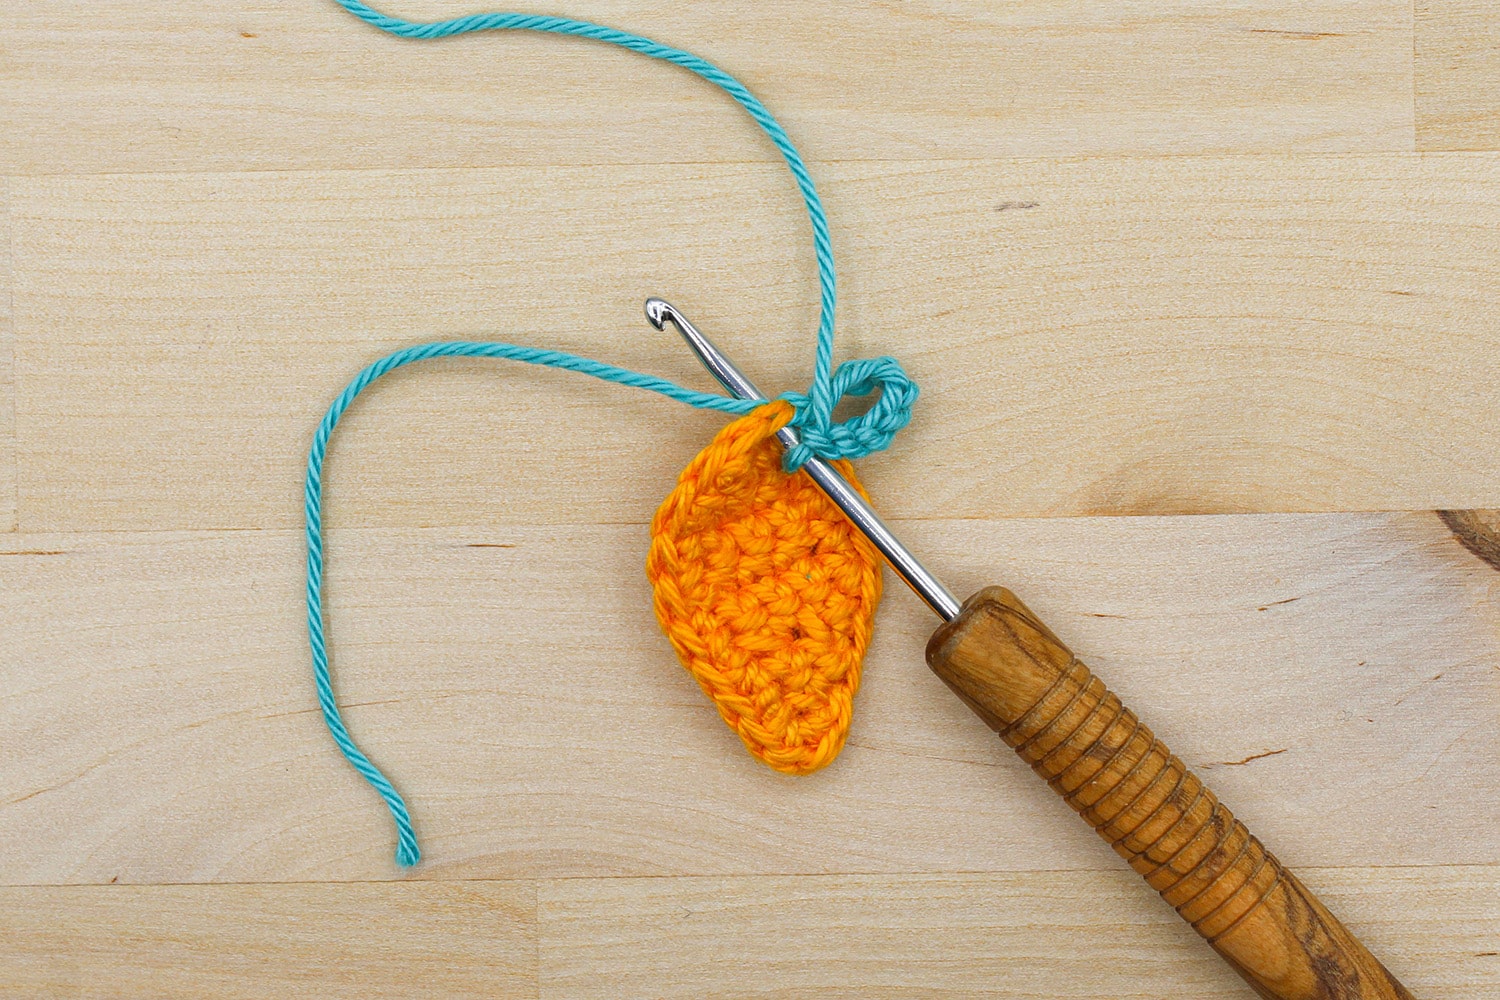
- R 1: 1 s inc, 1 sc [= 3 s].
- R 2: 1 s inc, 2 sc[= 4 s].
- R 3–5: 1 sc in each s.
- R 6: 2x 1 s de [= 2 s].
- R 7: 1 sc in each s.
- R 8: 1 s de [= 1 s].
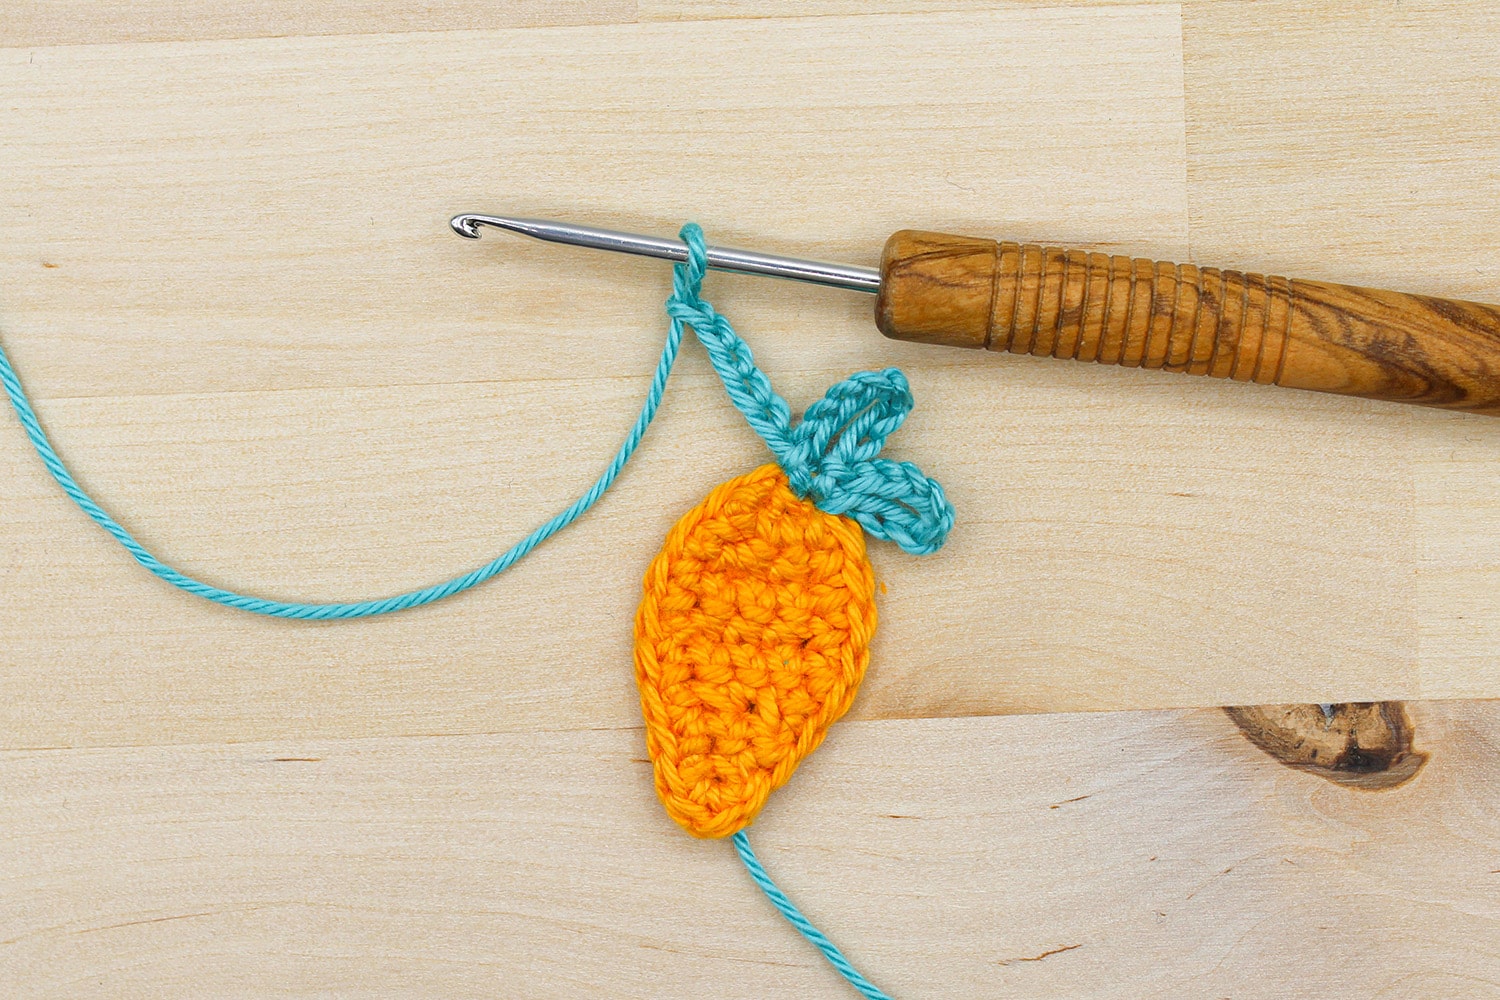
- R 1: 1 s inc, 1 sc [= 3 s].
- R 2: 1 s inc, 2 sc[= 4 s].
- R 3–5: 1 sc in each s.
- R 6: 2x 1 s de [= 2 s].
- R 7: 1 sc in each s.
- R 8: 1 s de [= 1 s].
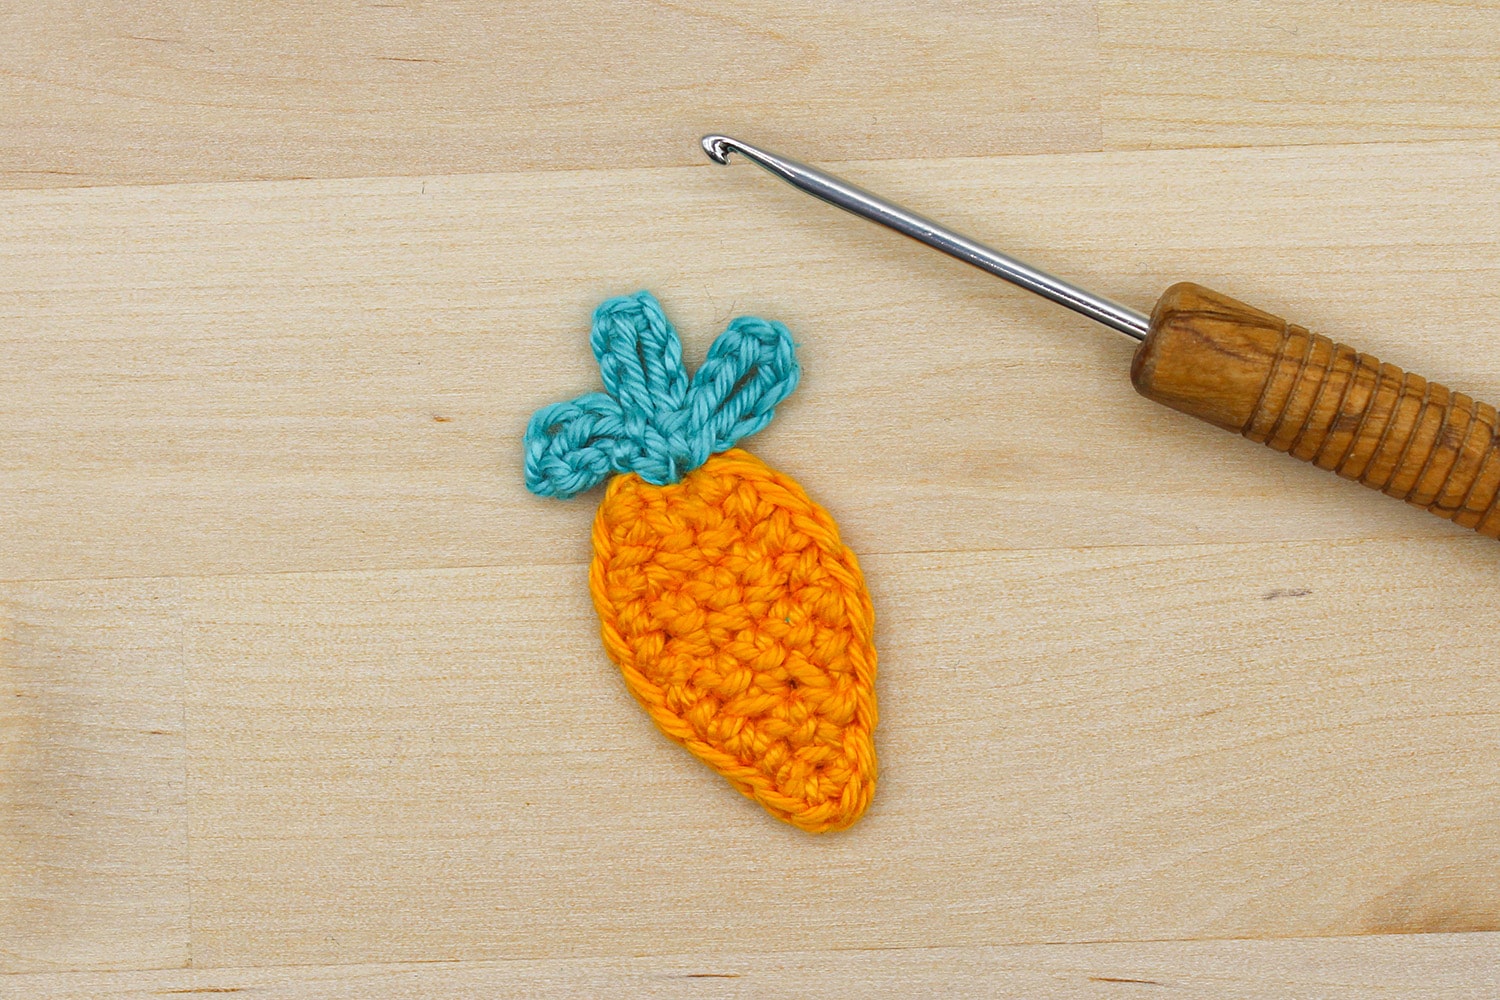
Glue the parts of the Easter bunny onto the folded card as shown in the illustration. The pieces may overlap - this gives the appliqué more depth. Tweezers can be helpful when sticking them on. For the gift tag, crochet the carrot again and glue it onto the gift tag. If you like, you can paint the card with coloured pencils or personalise it with stamps or stickers.
Have fun crocheting and giving as a gift!
Are you currently crocheting your Easter card with crochet appliqué? Share the result on Instagram at @byfrauline @addi_by_selter
or in our Facebook group "addi Friends”
Design + Photos: Ms Line
