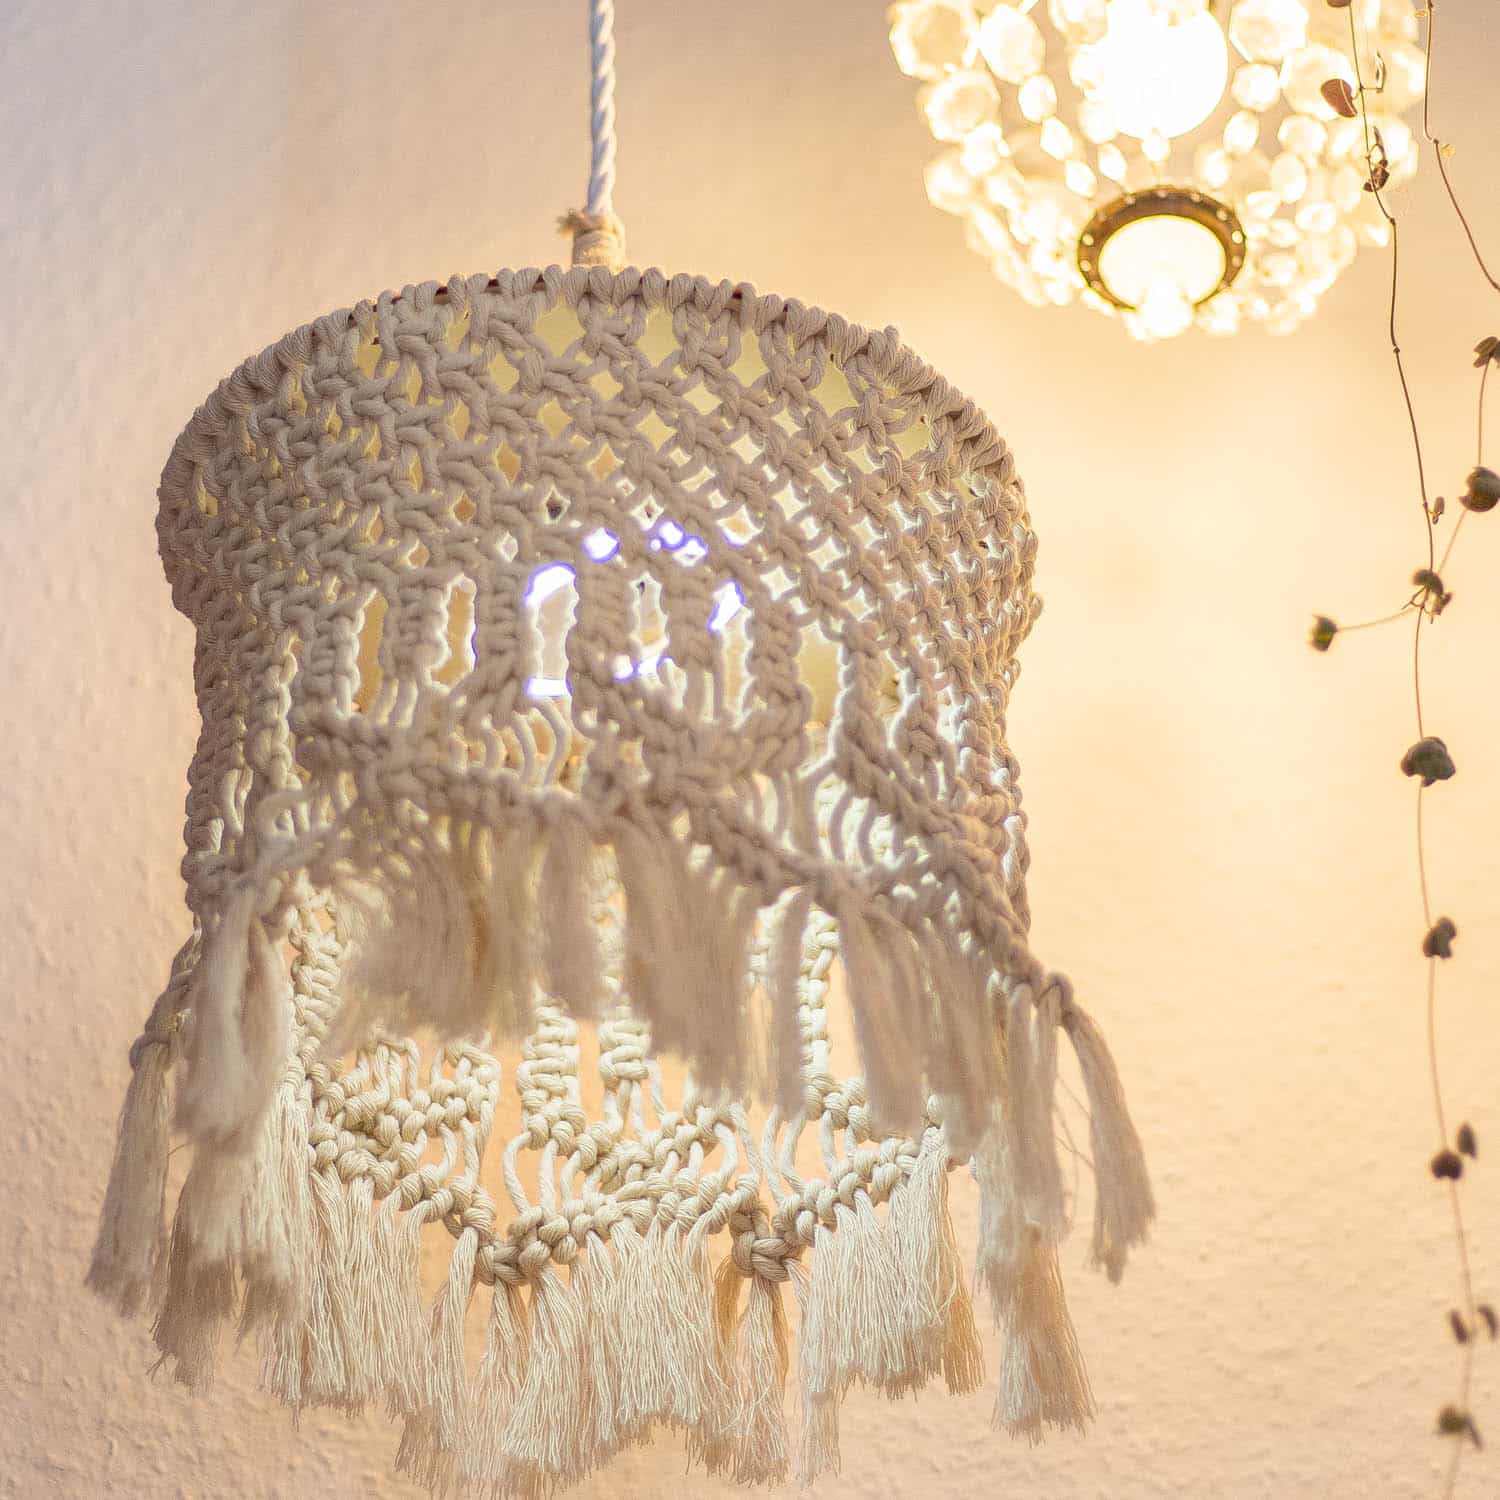
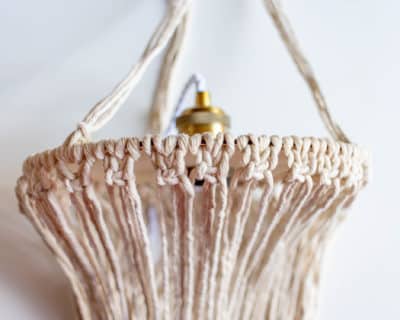
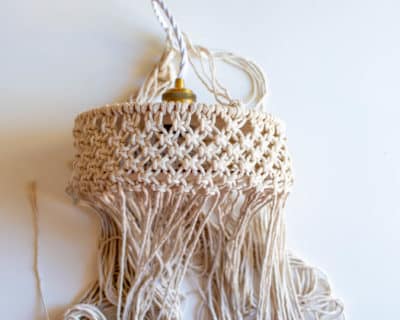
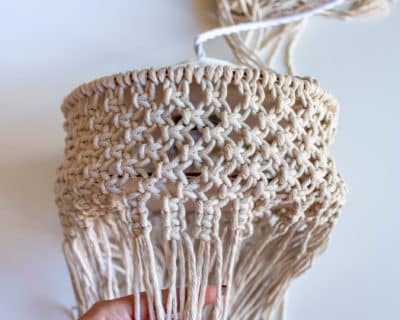
Macramé lampshade with addiShapes
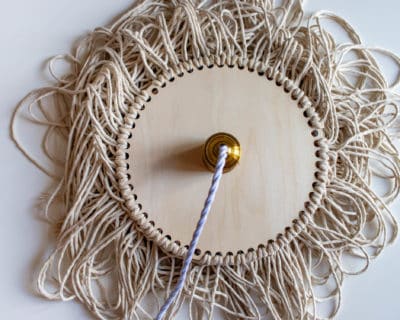
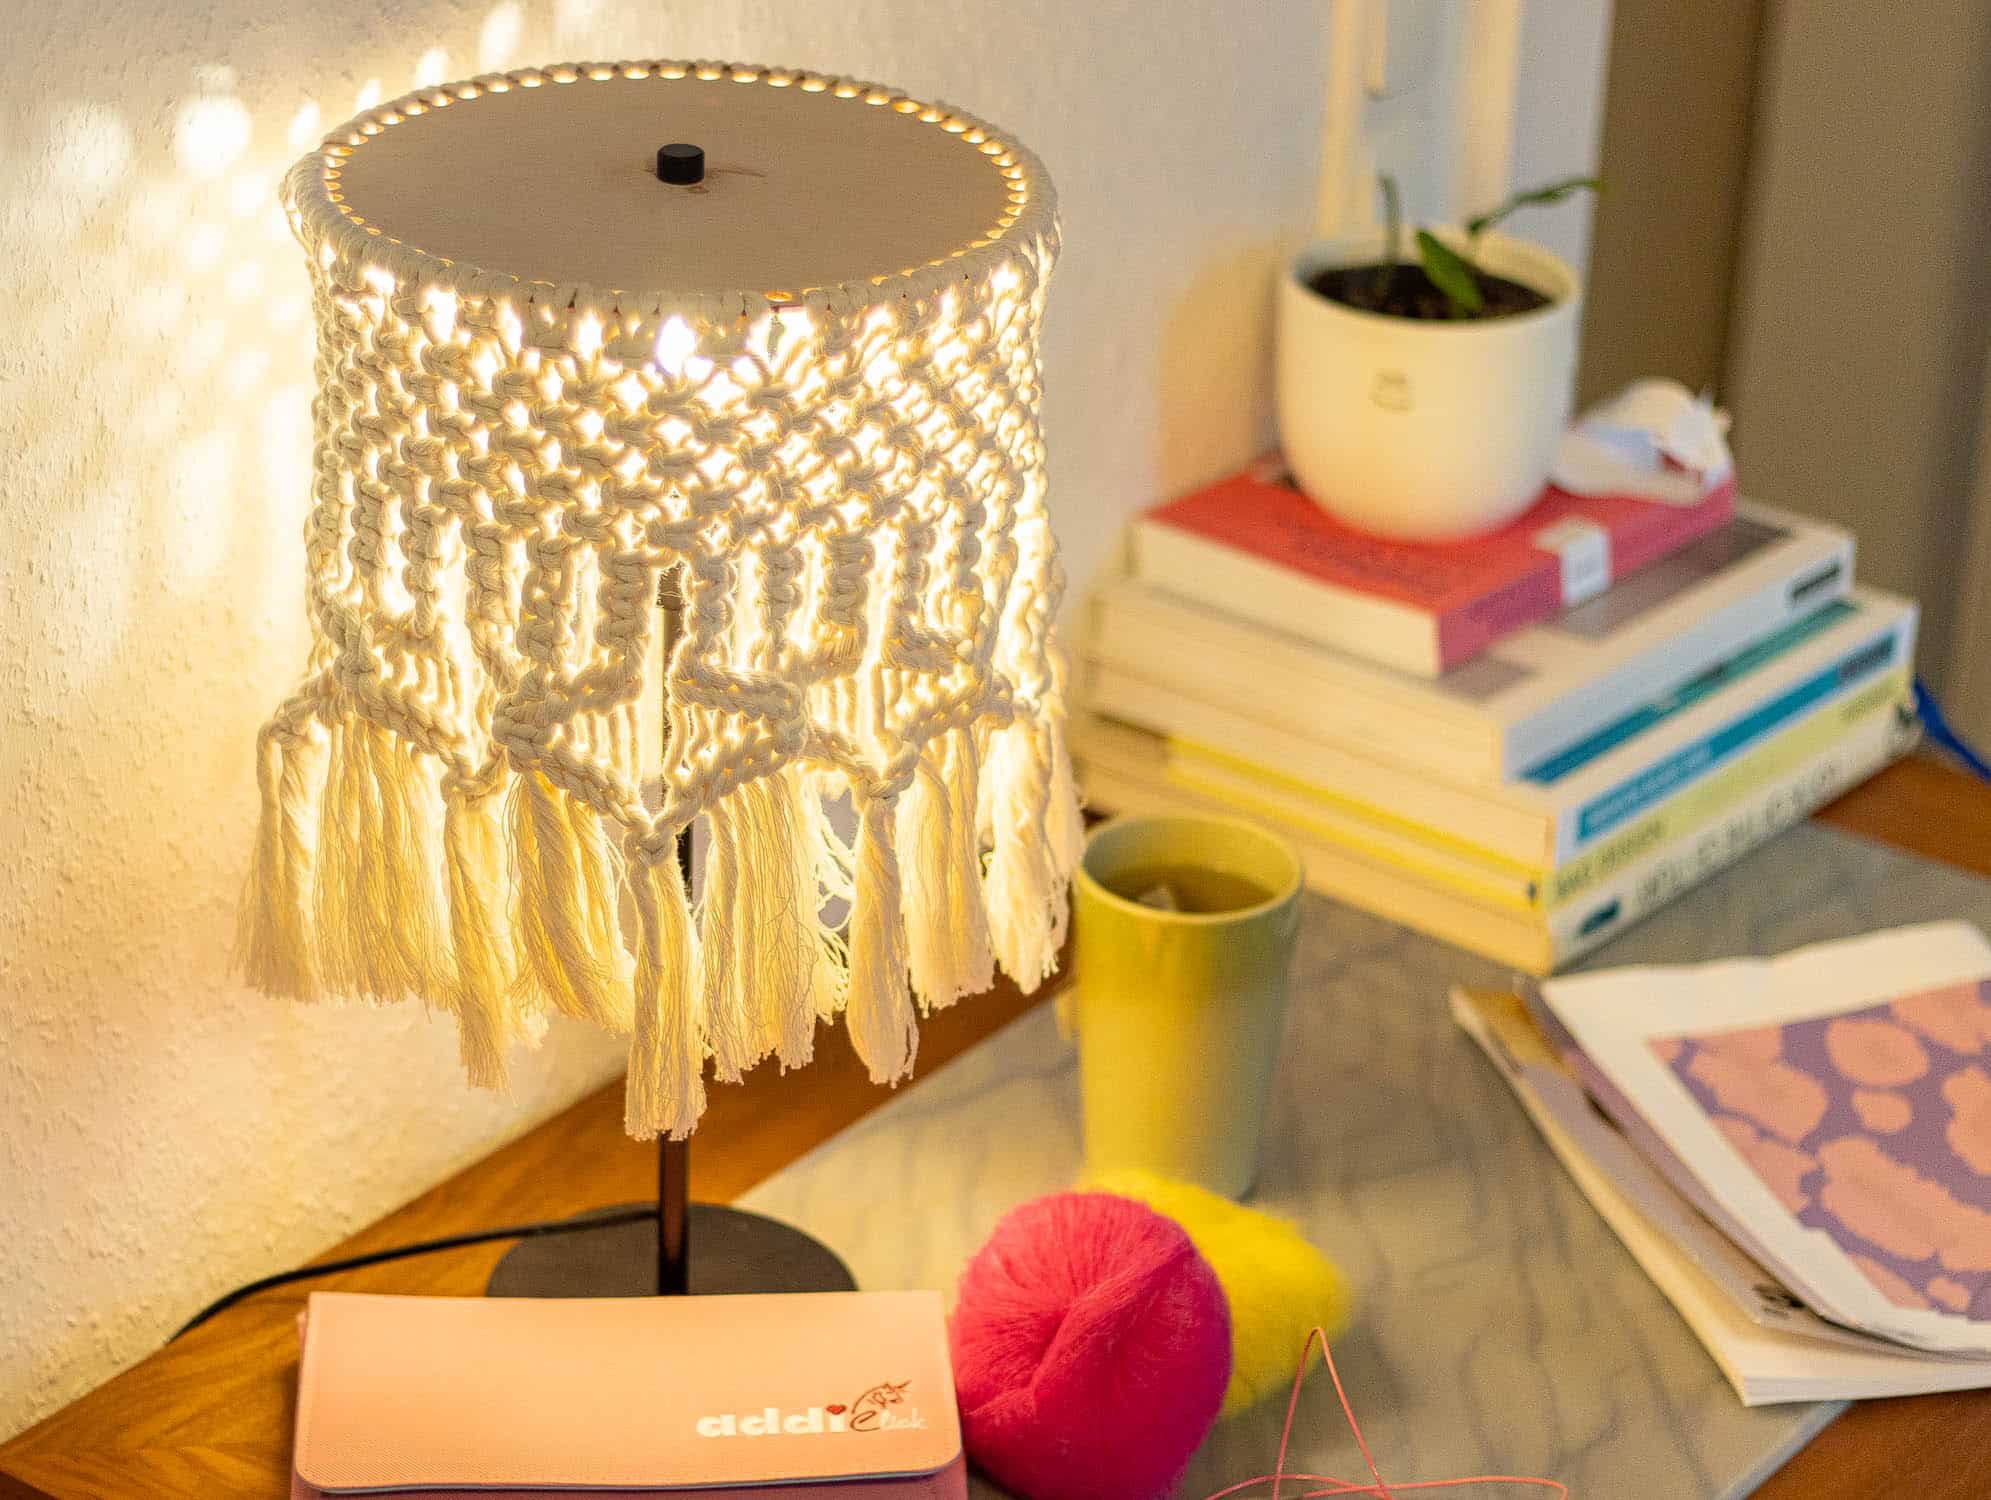
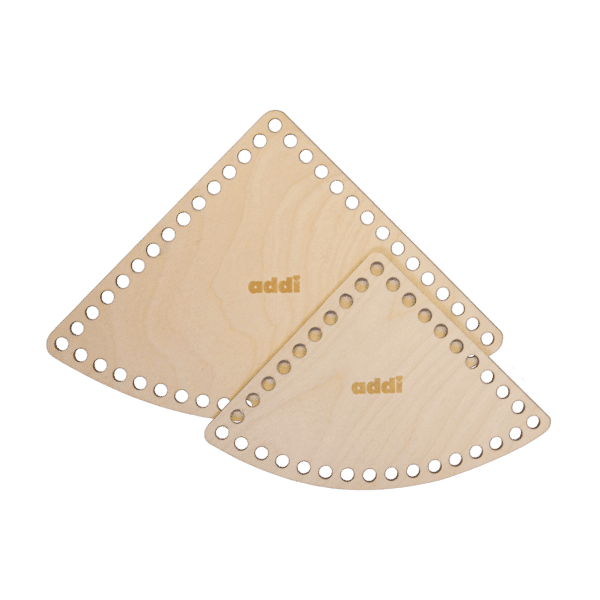
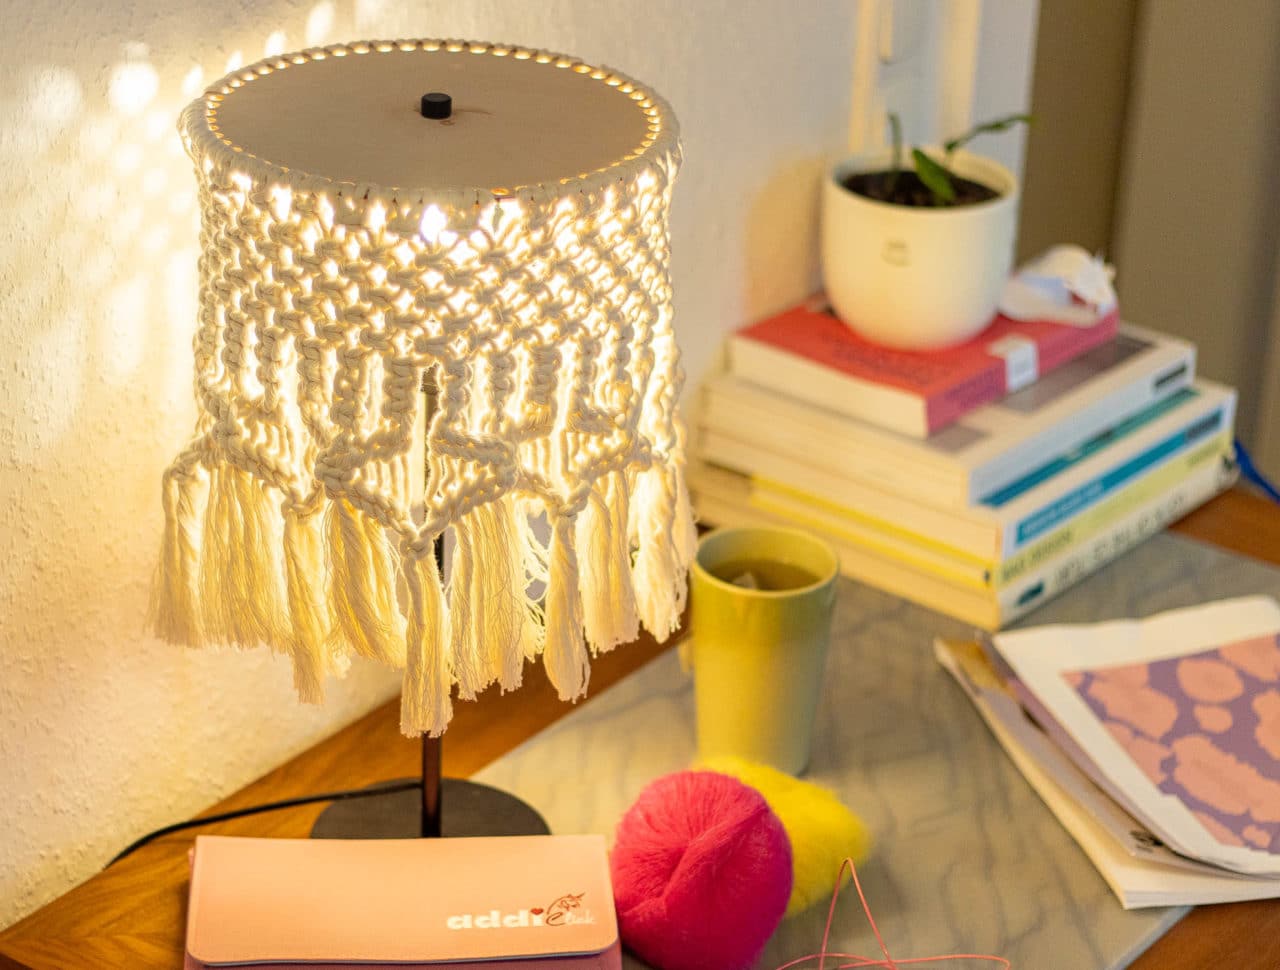
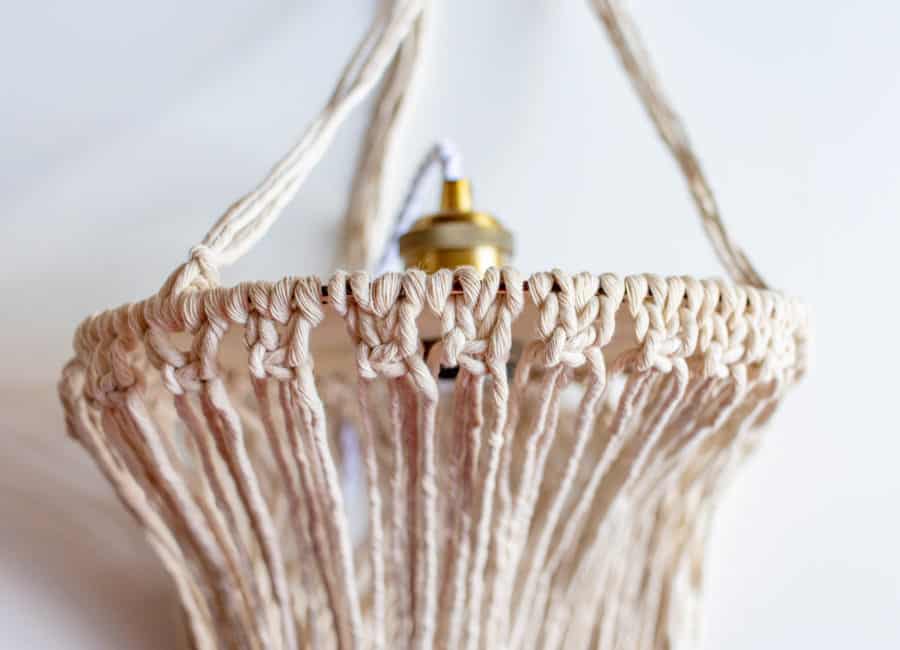
Macramé stands for boho style and the free hippie lifestyle - with the addiShapes, you can incorporate this freedom into your interior design! The large, round base, yarn and a lamp socket or lamp base with lamp harp can be used to create a romantic and cosy hanging or table lamp.
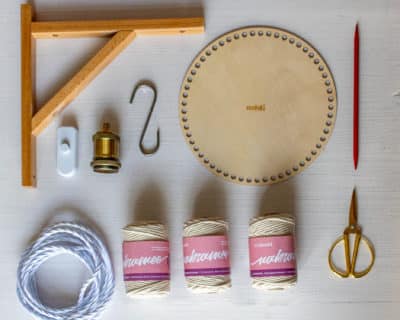
Material:
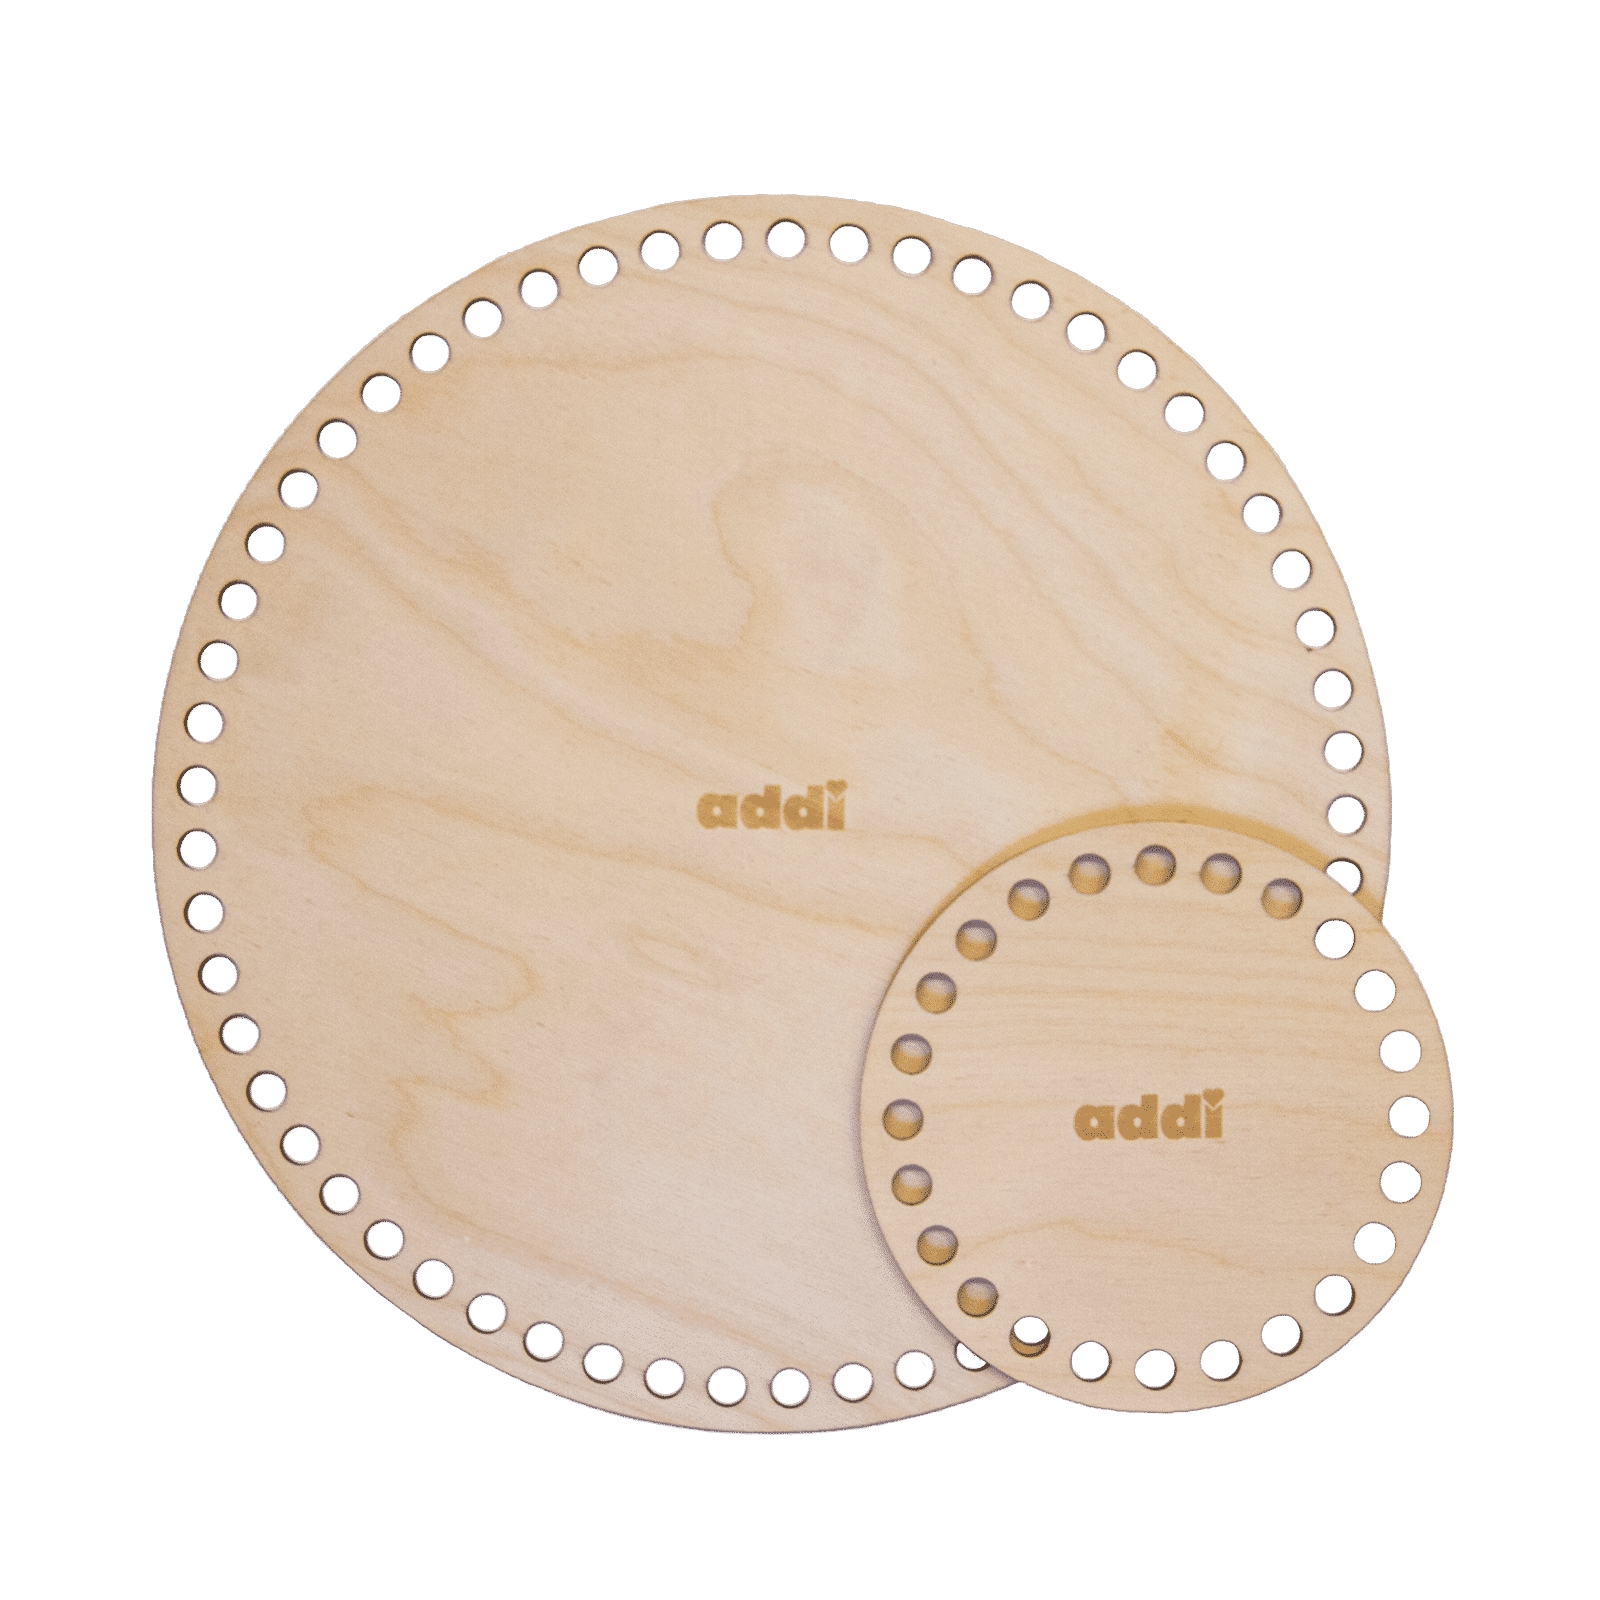
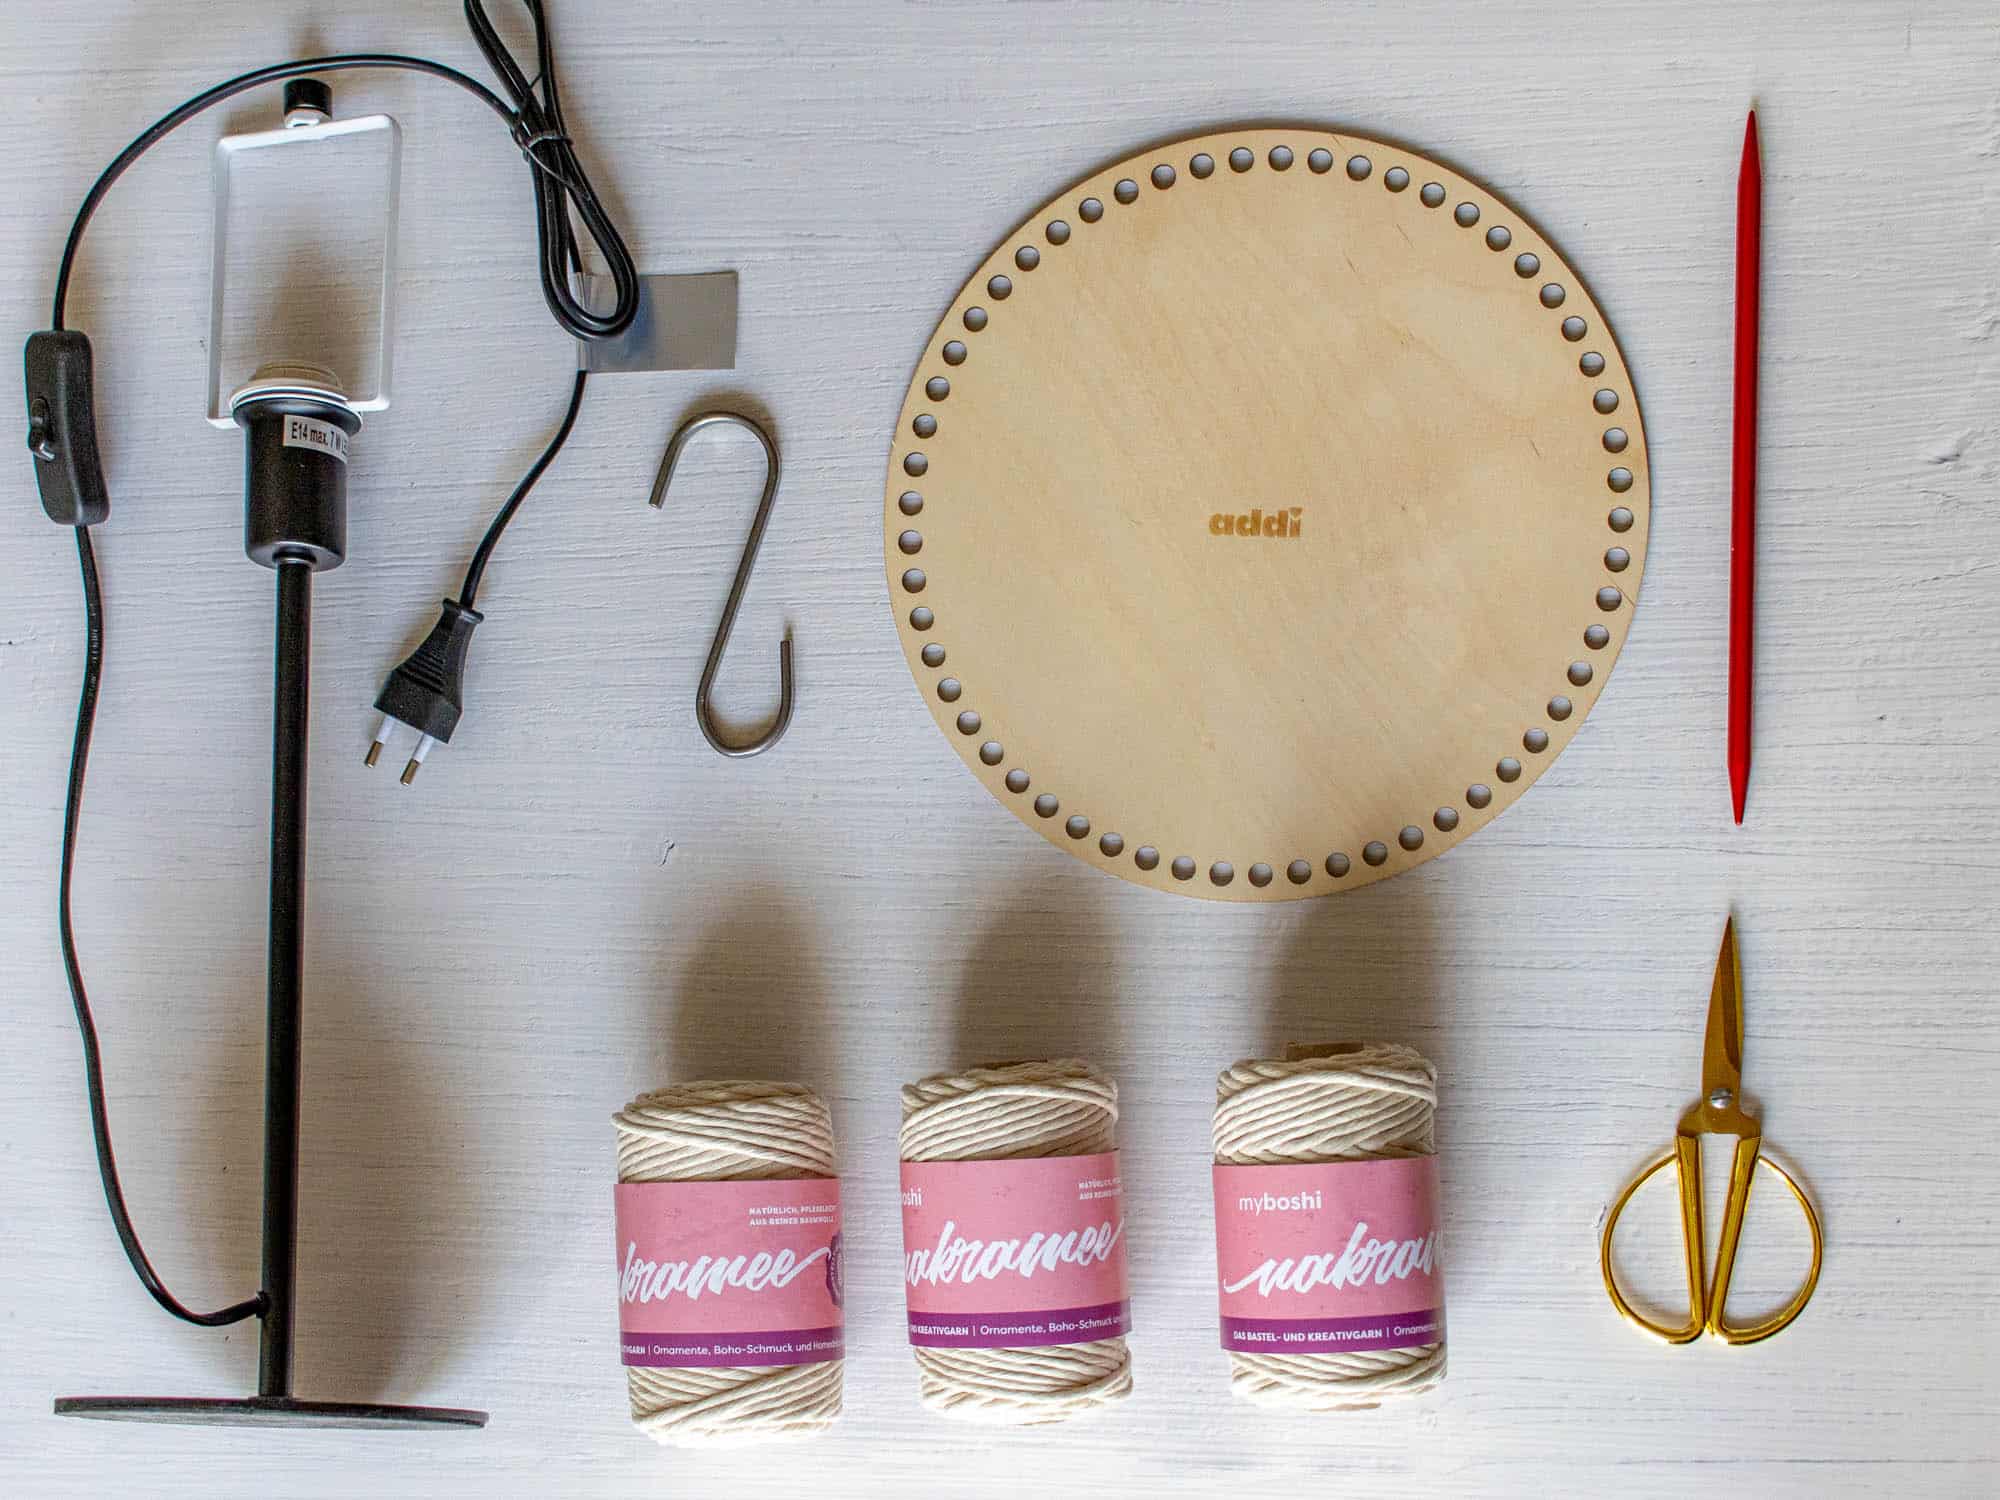
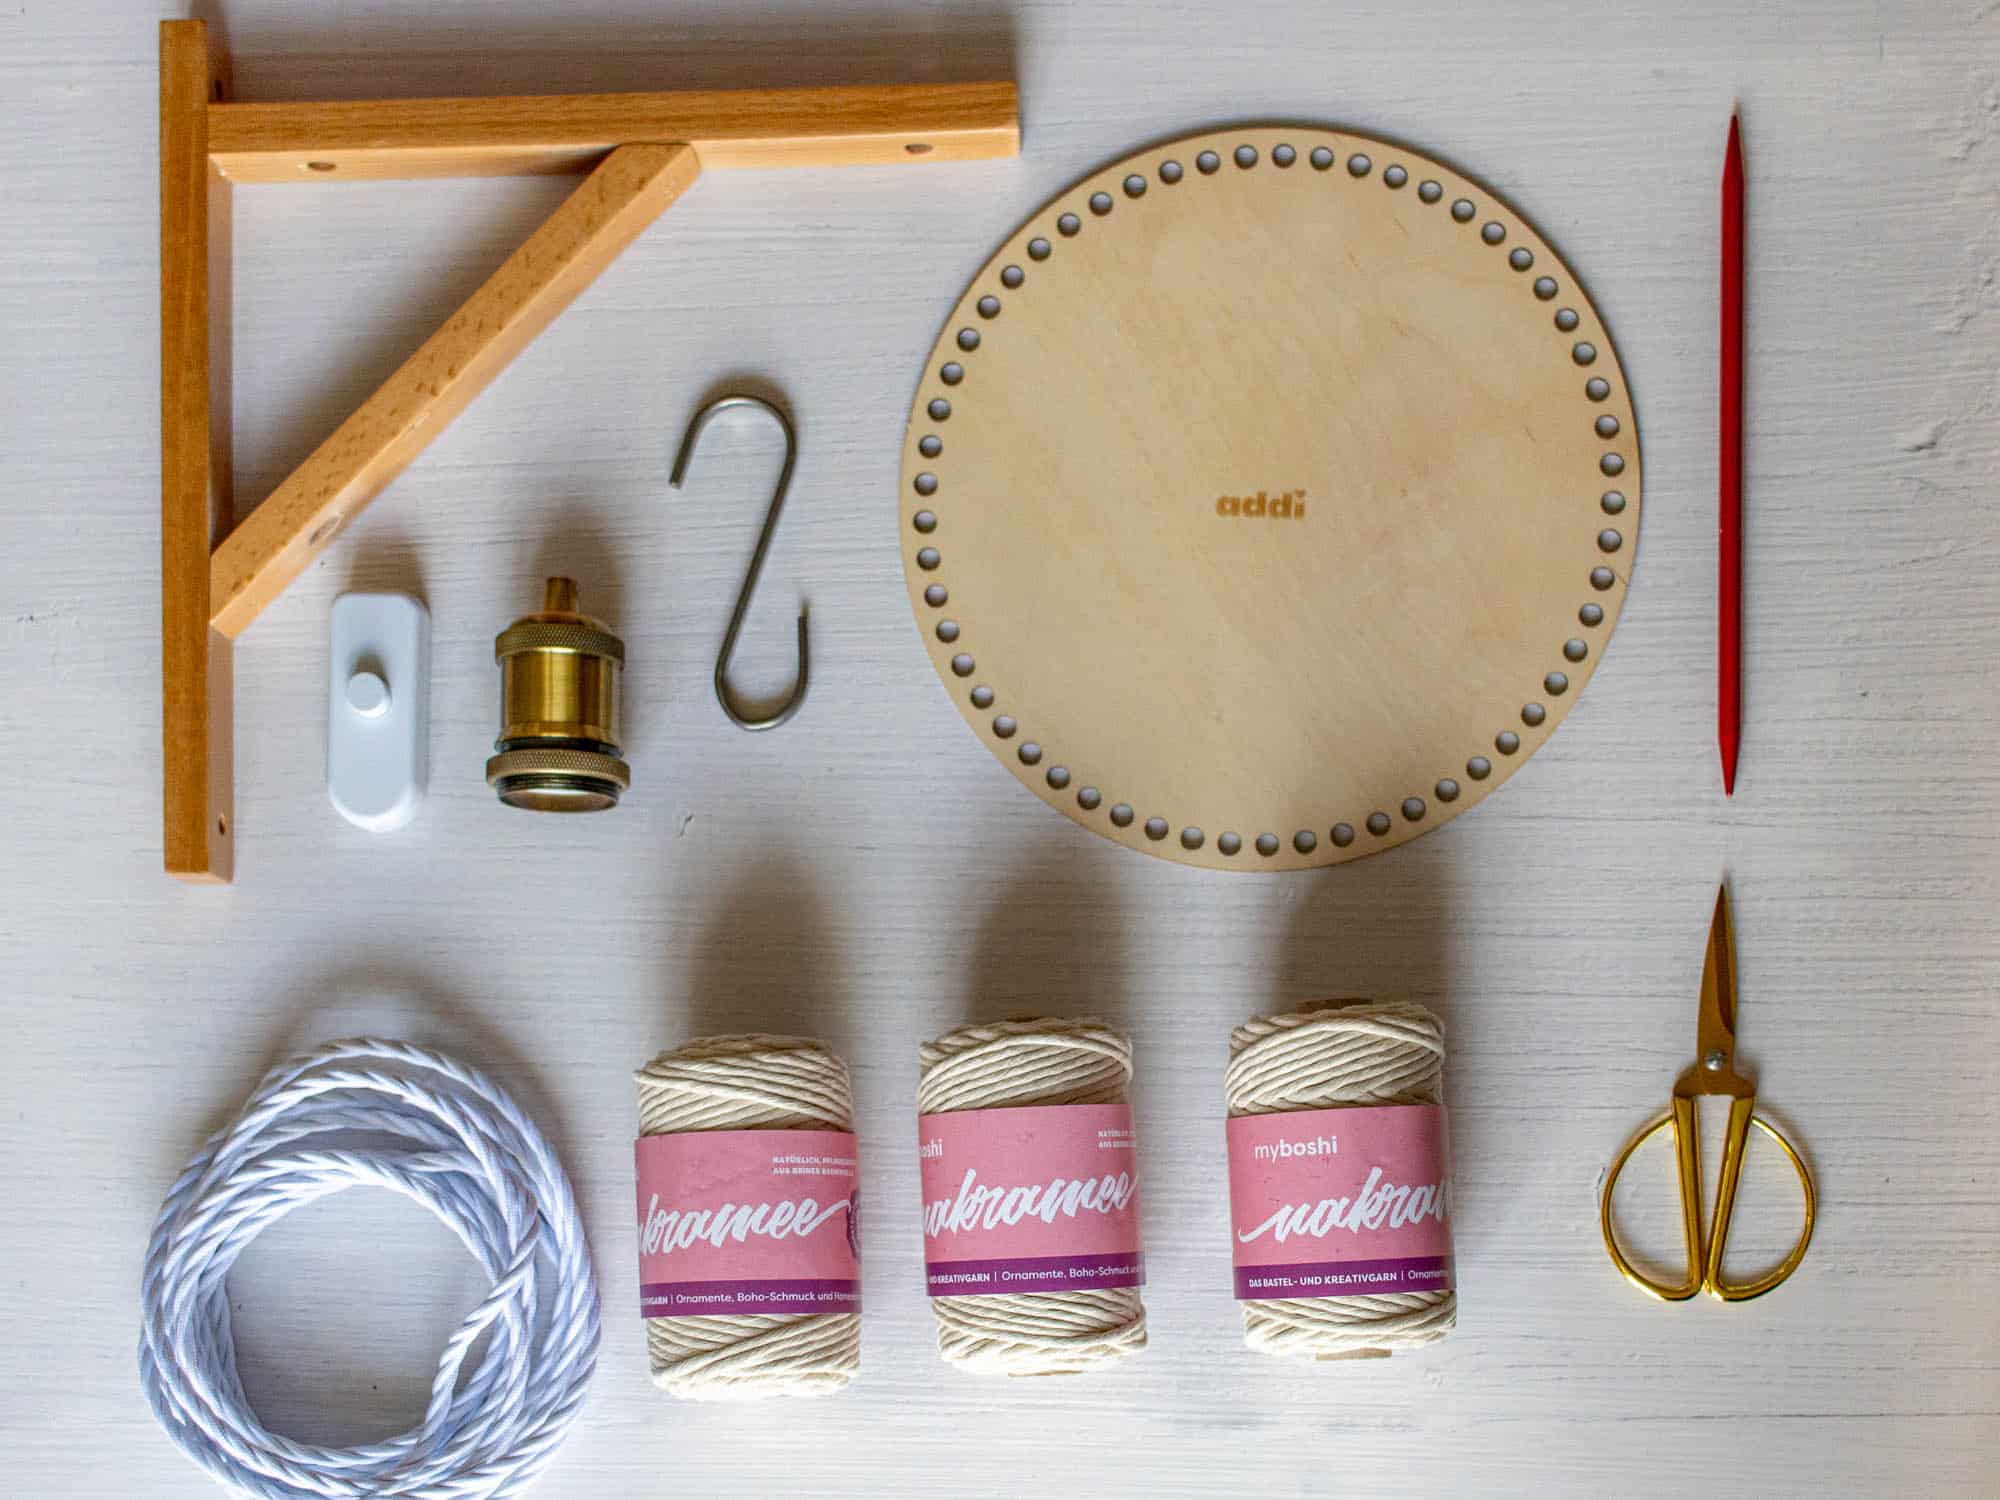
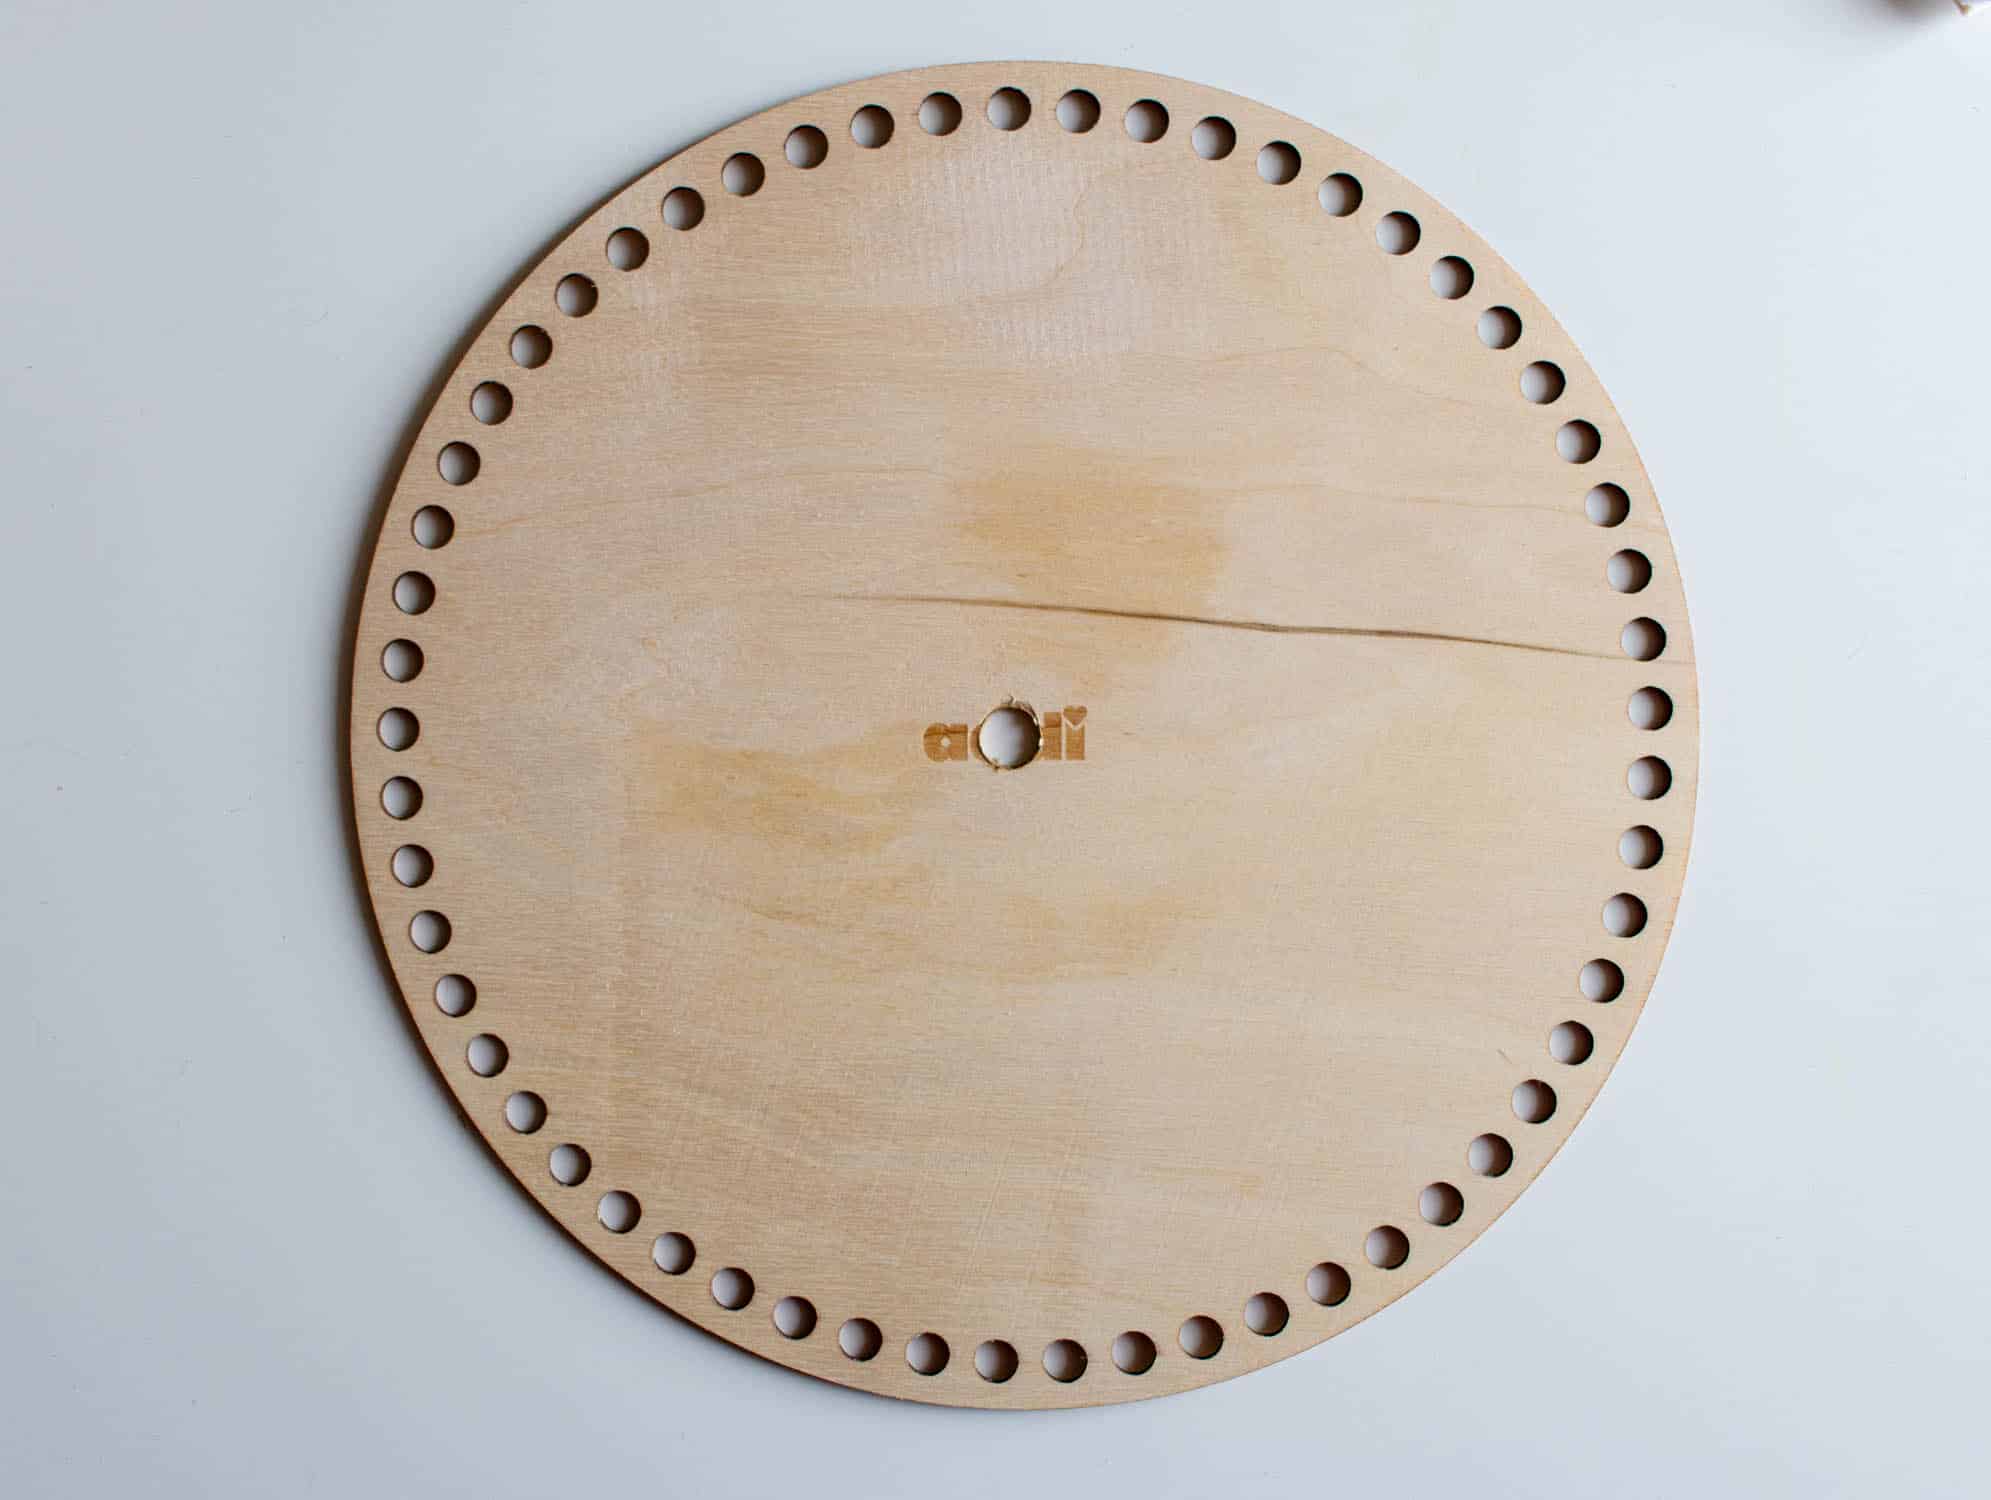
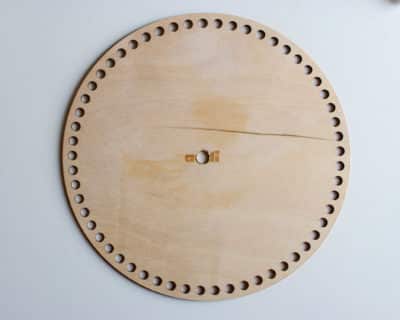
- 1 large addiShapes Circle
- 3 rolls MyBoshi macramé twisted natural colour
- 1 lamp base with lamp harp or socket, lamp holder, cable, switch and plug
Tools:
- Scissors
- S-hook
- darning needle
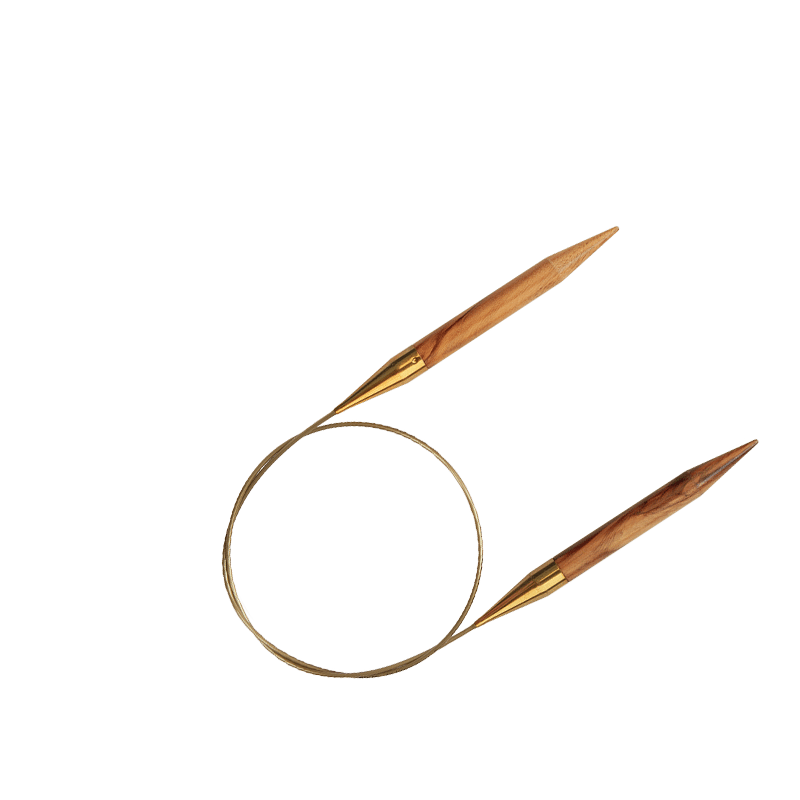
- 8mm needle, e.g. addiColibri
- Measuring tape
- Comb
- Drill (1 mm larger than the diameter of the socket or the screw on the lamp harp)
- Drilling machine
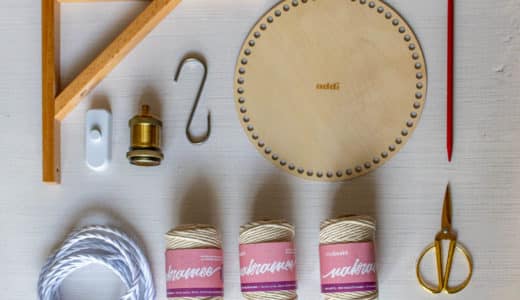
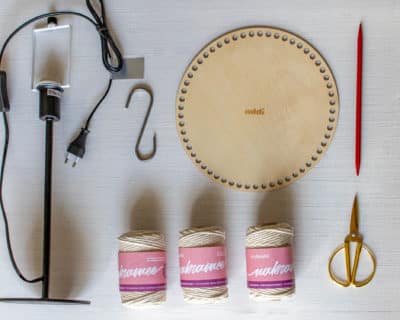
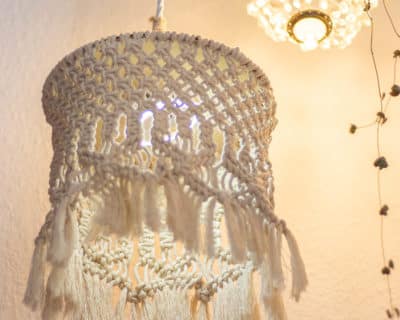
1. Base nodes
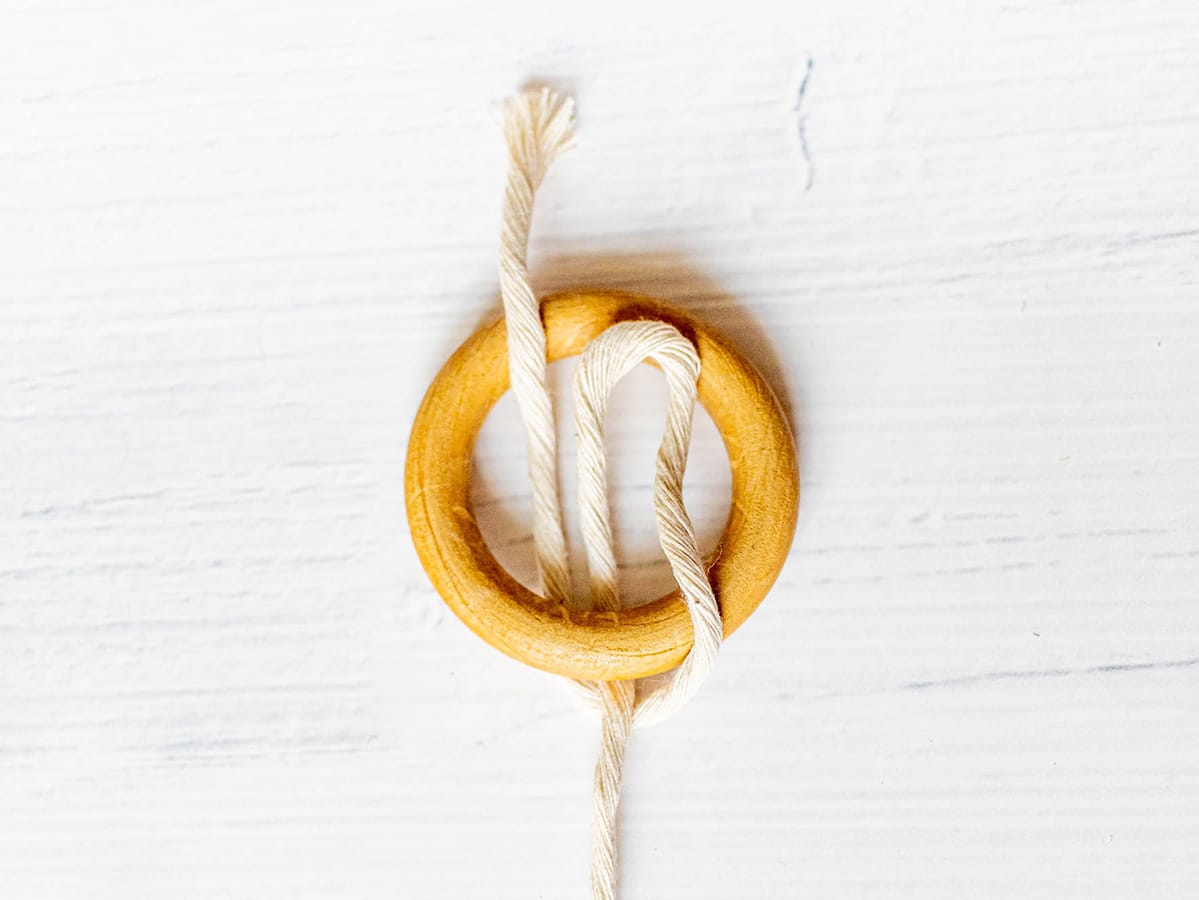
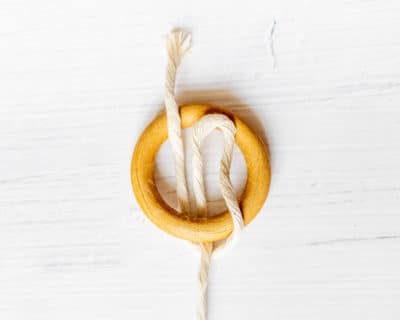
The lampshade contains three basic knots that are used in different ways: right and left half hitches and left cross knots. The threads are divided into leading threads (threads that are looped around by the knot) and working threads (threads that are looped around another thread in the knot). Instead of a guide thread, a ring or bar can also be wrapped with knots
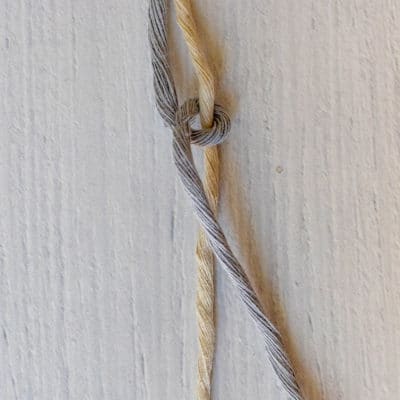
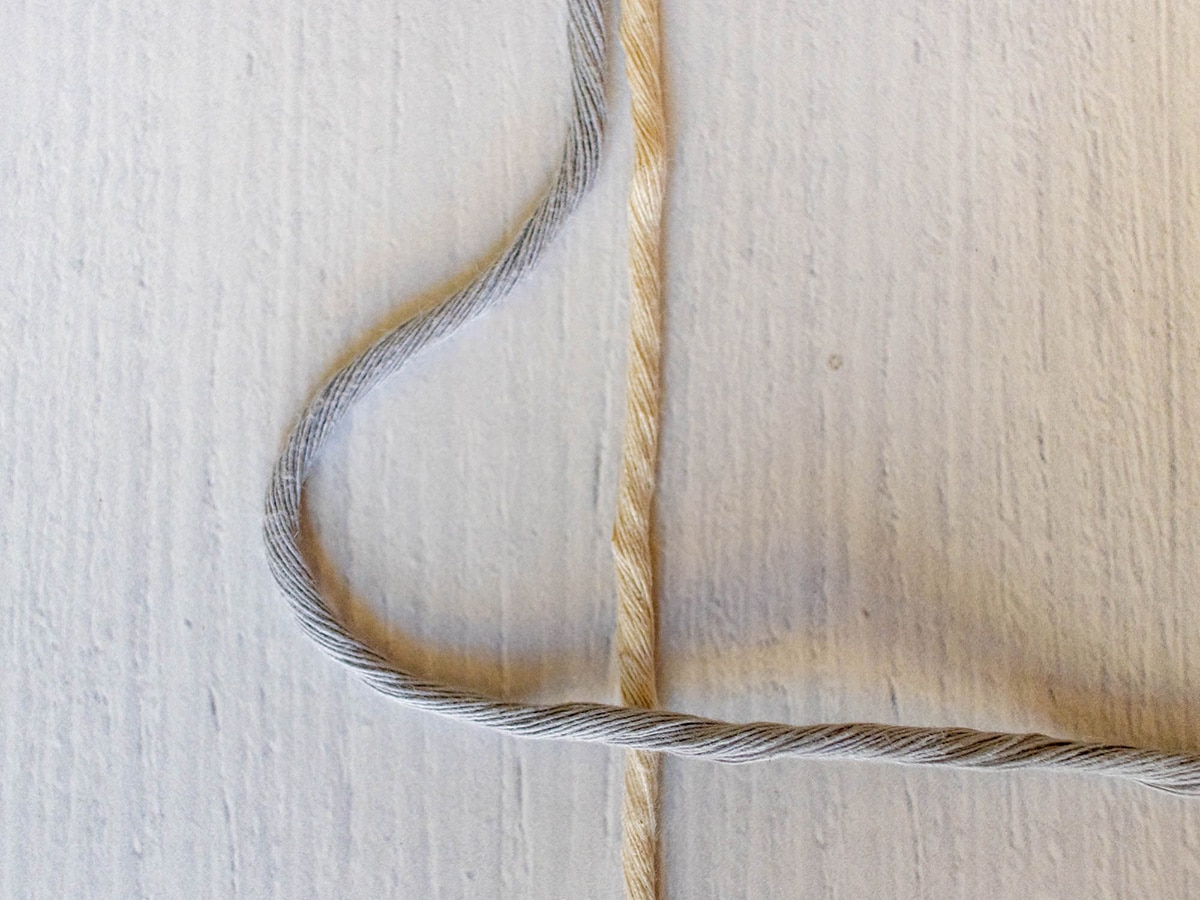
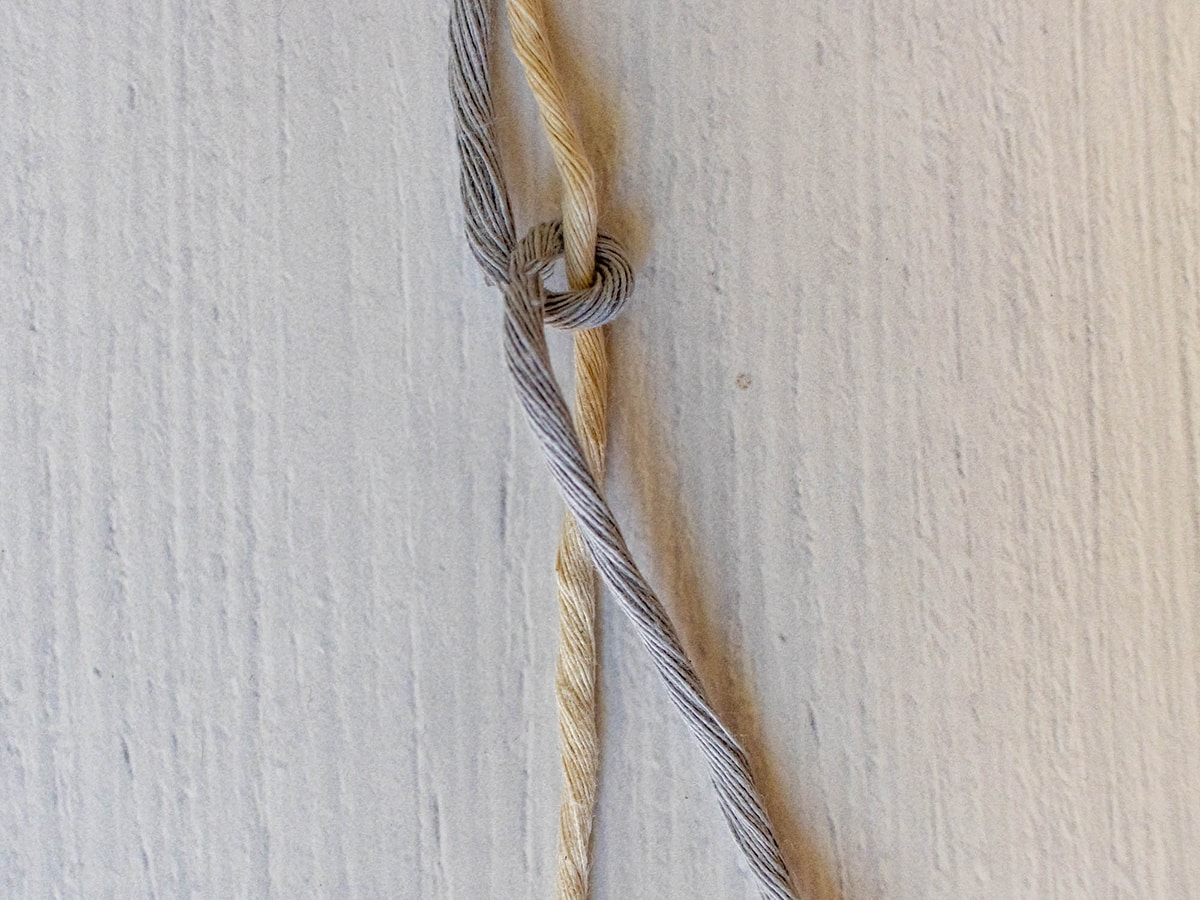
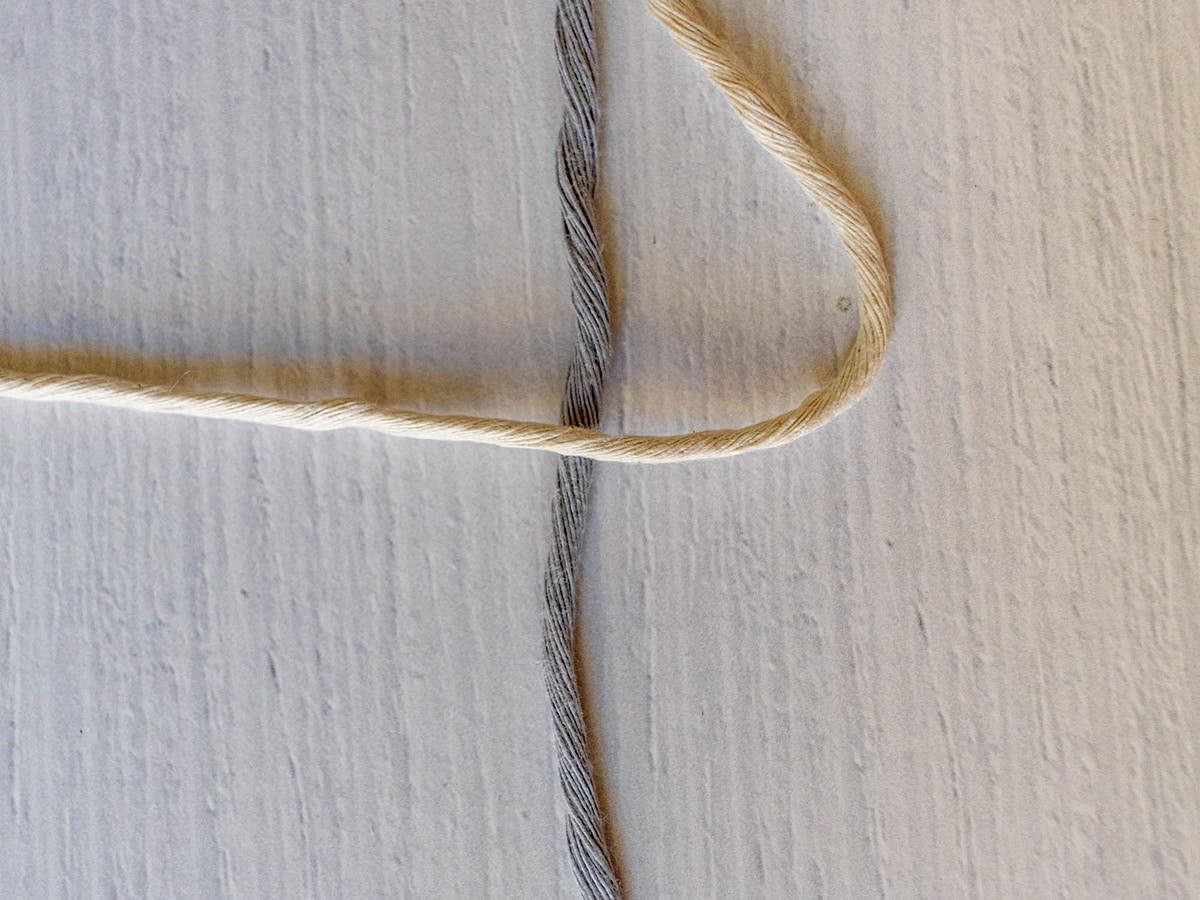
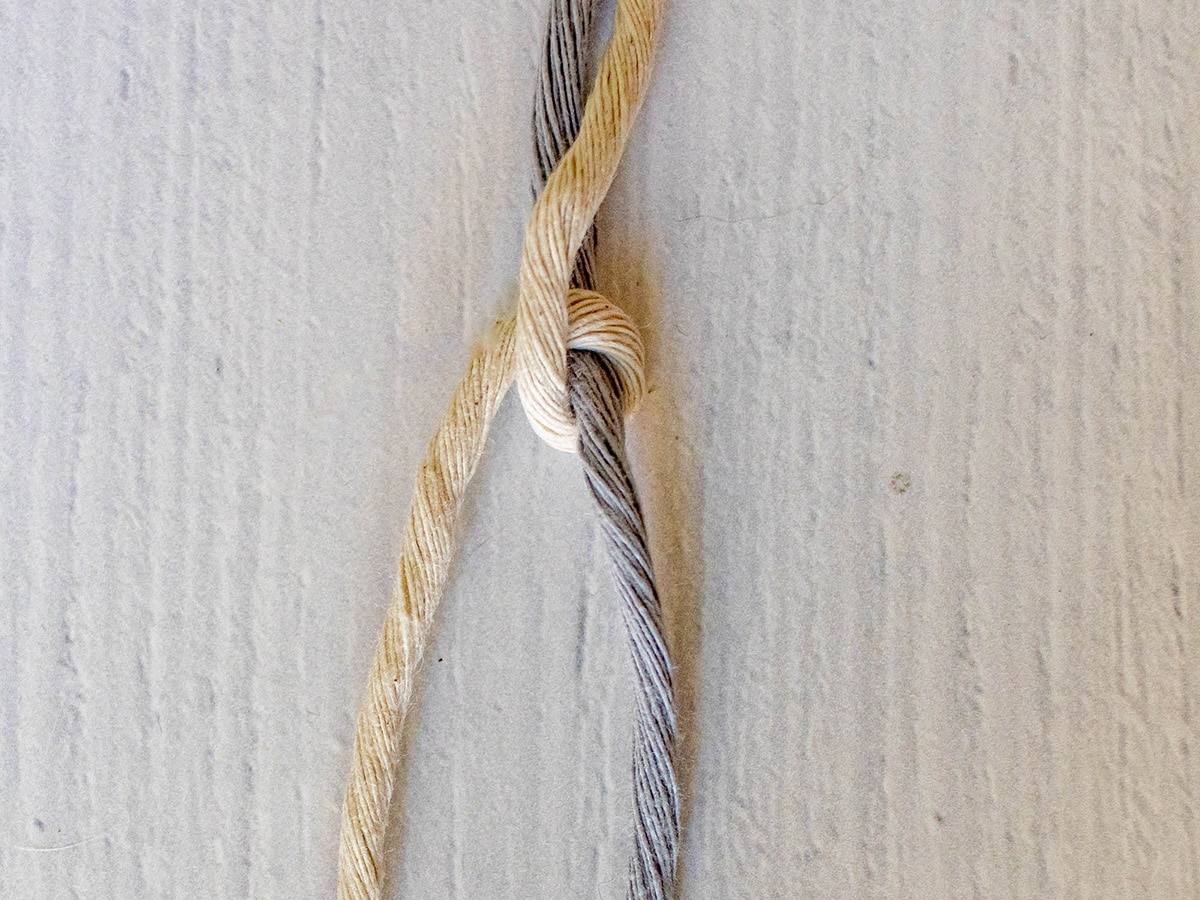
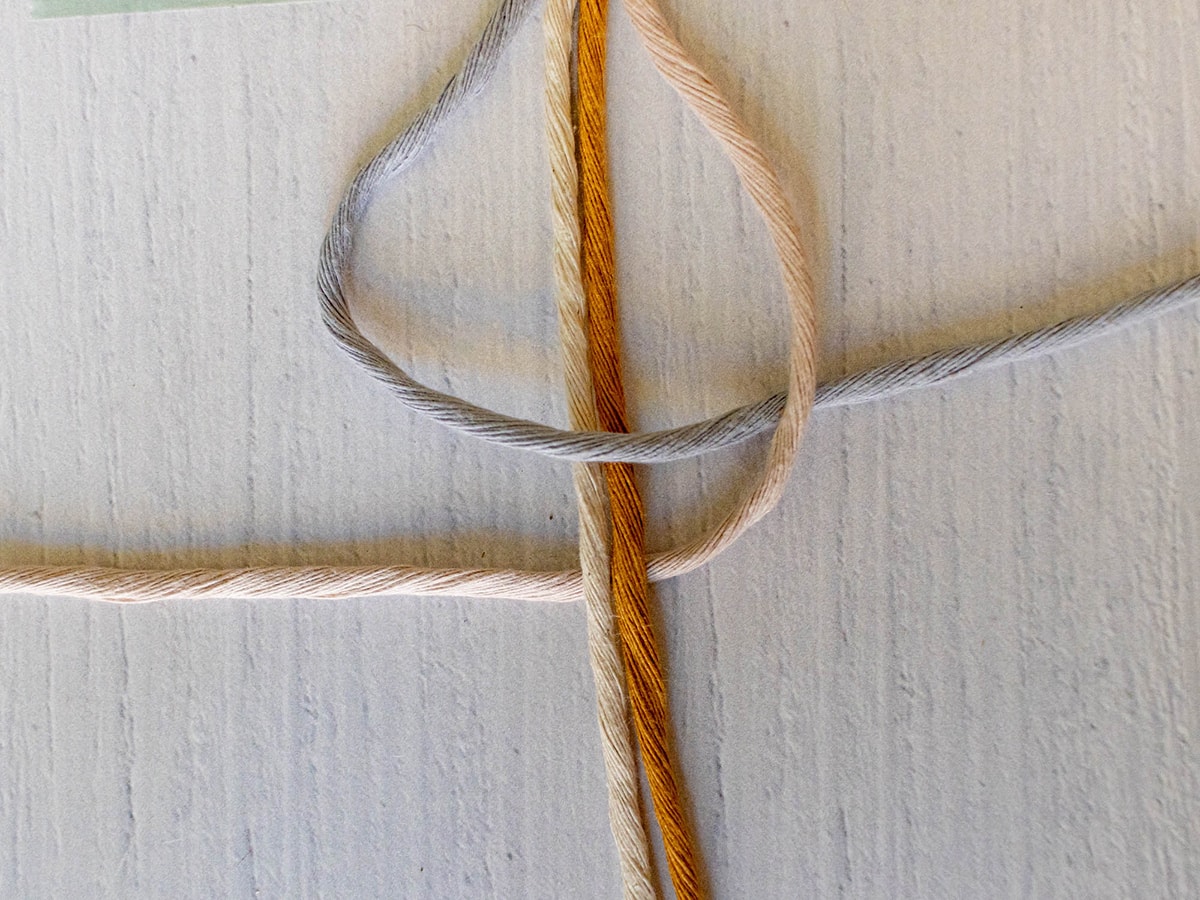
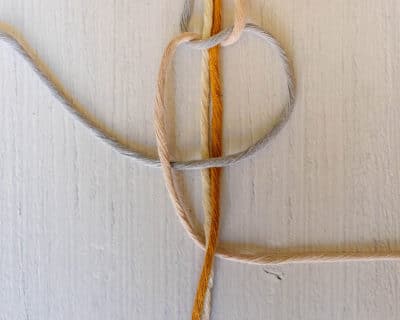
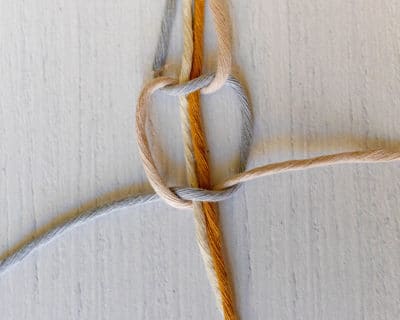
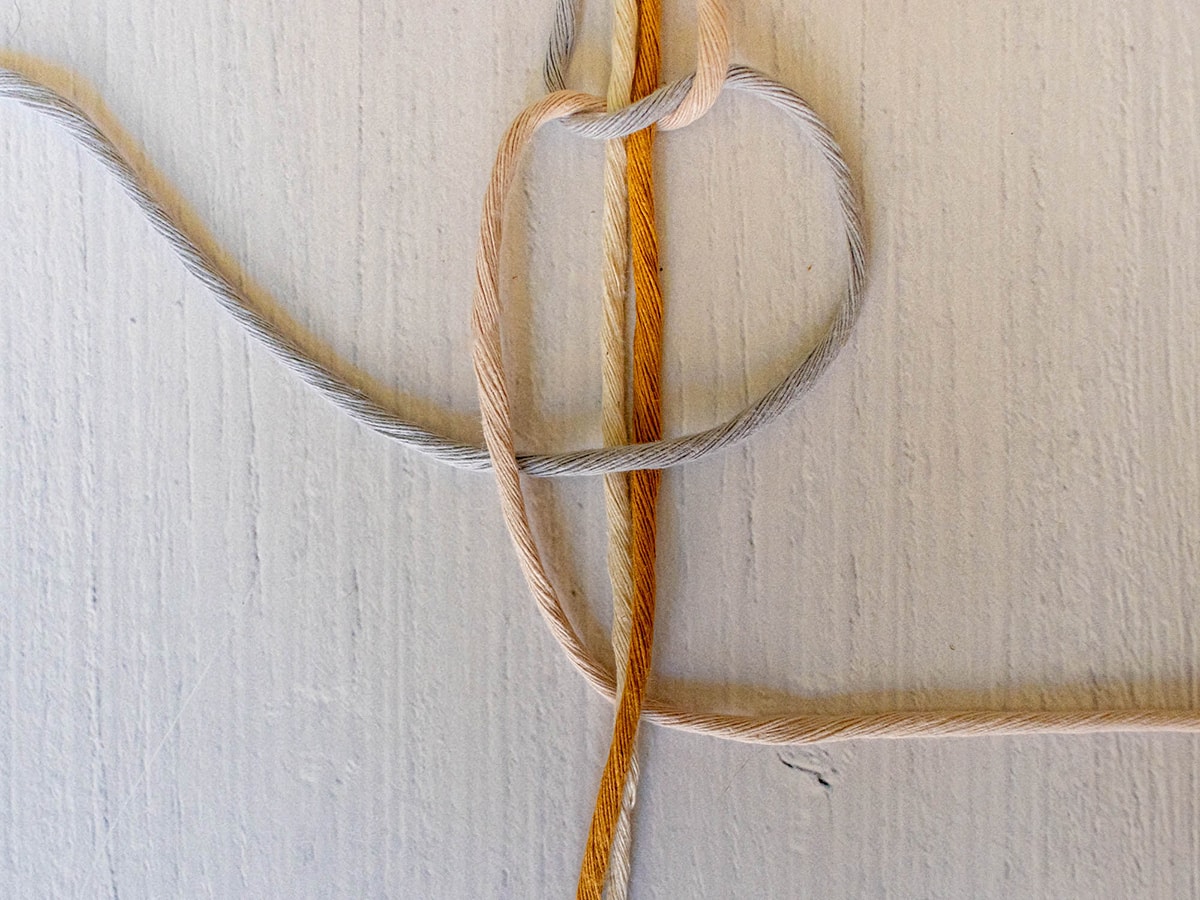
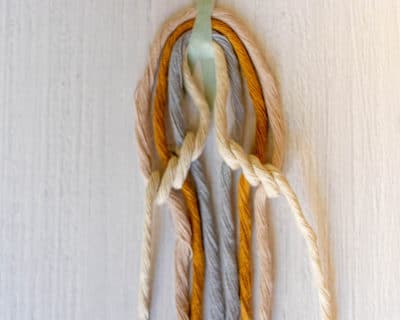
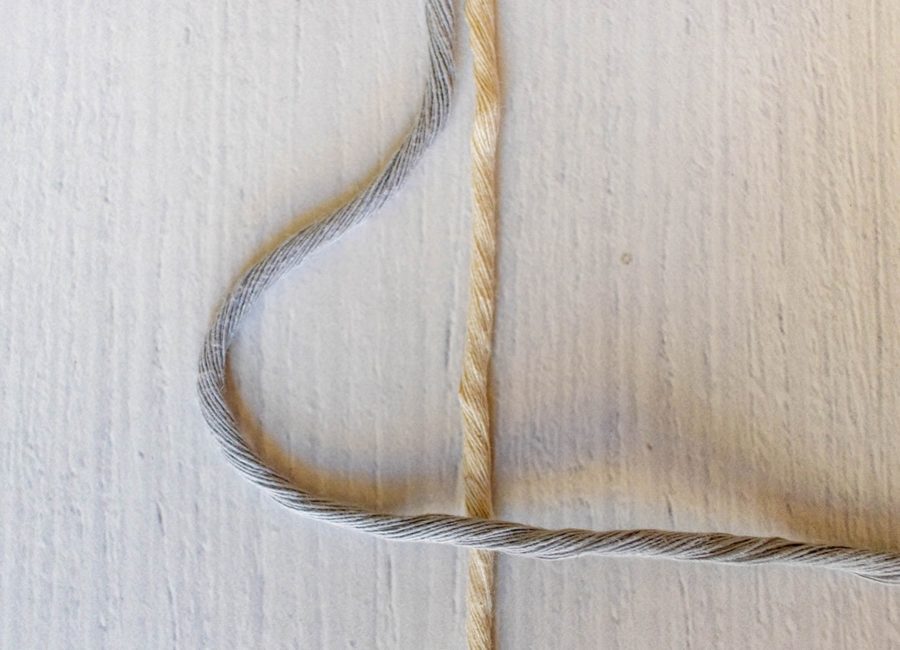
Half hitch right-leaning
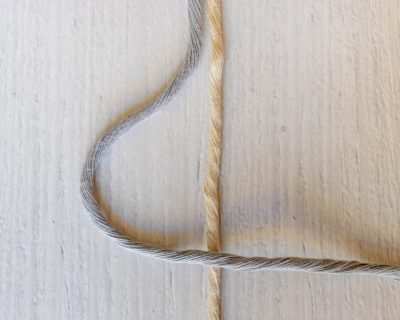
- For the right-leaning half hitch, the left-hand cord is the working cord (gray). The right-hand cord (white) is the holding cord.
- Lay the working cord over the holding cord from left to right.
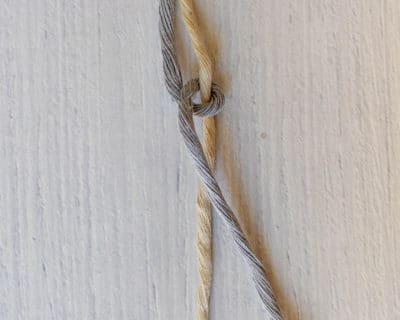
- Then pull it back behind the holding cord and pull the end forward through the loop created between the working cord and the holding cord. Carefully pull the knot tight.
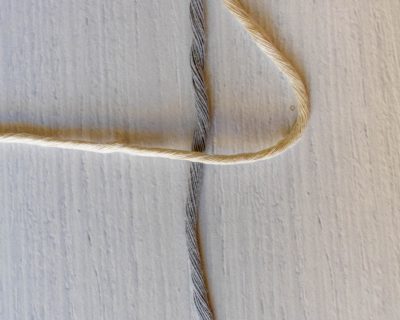
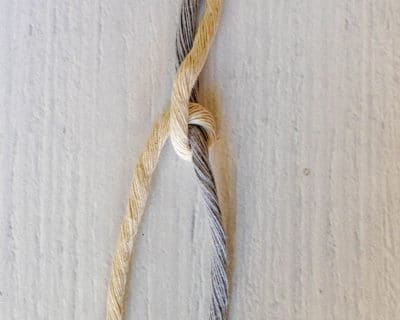
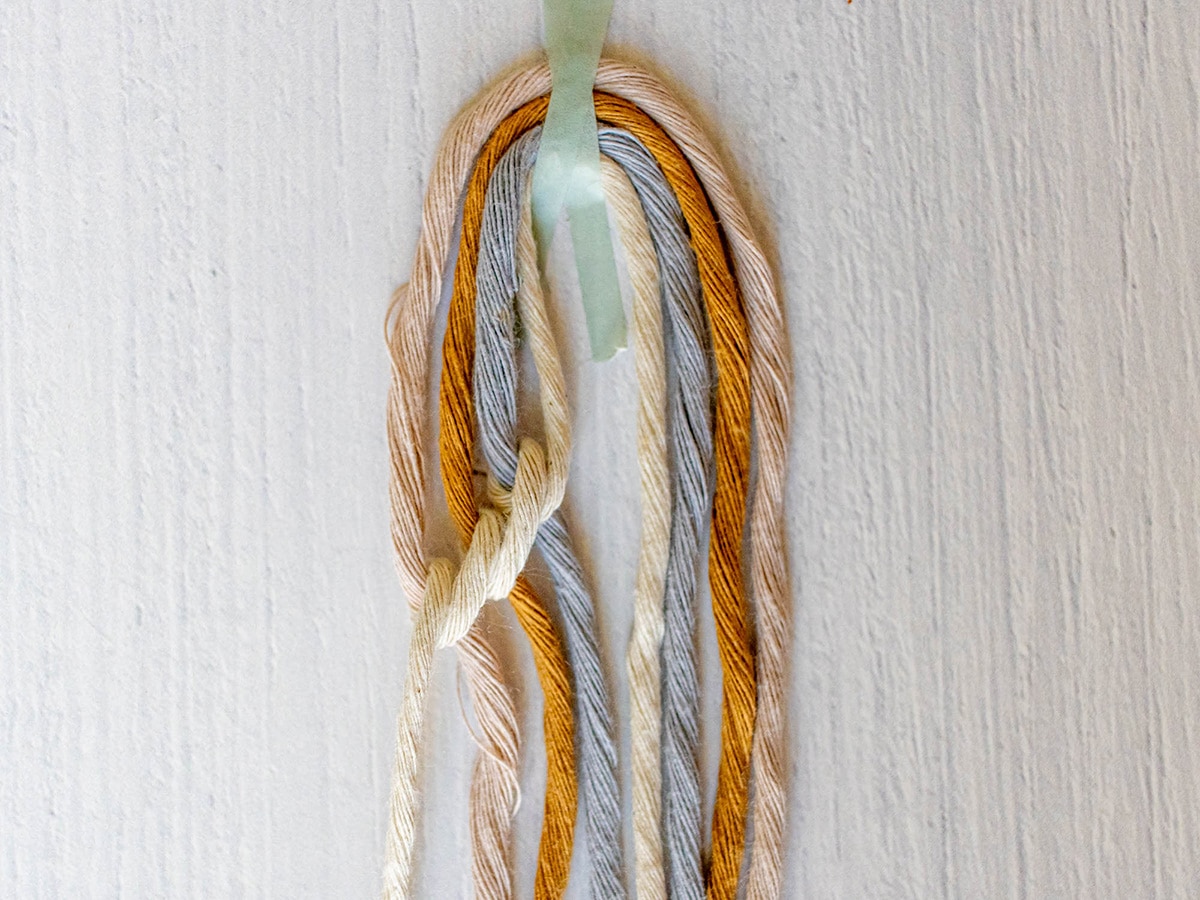
Half hitch left-leaning:
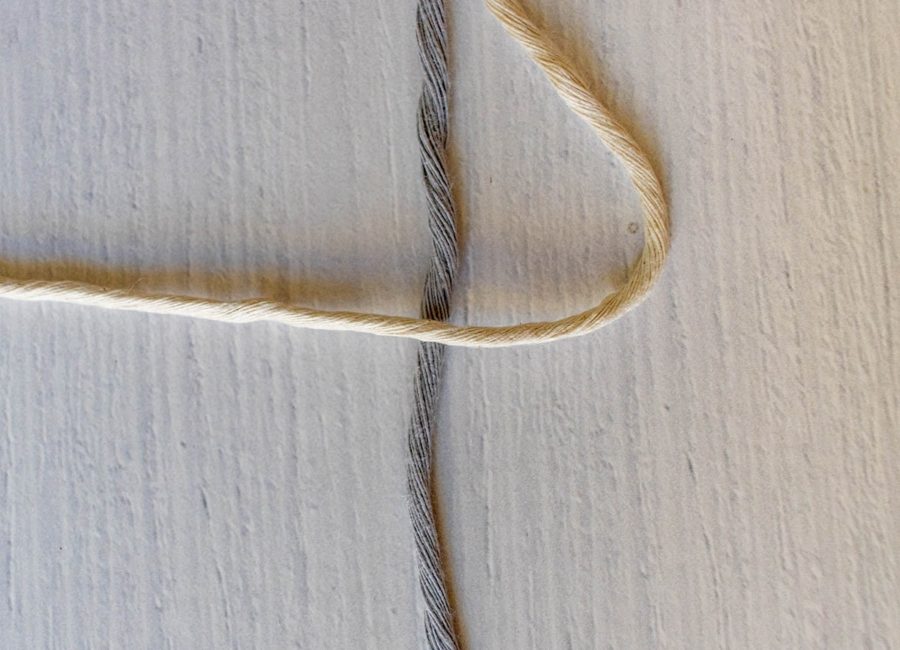
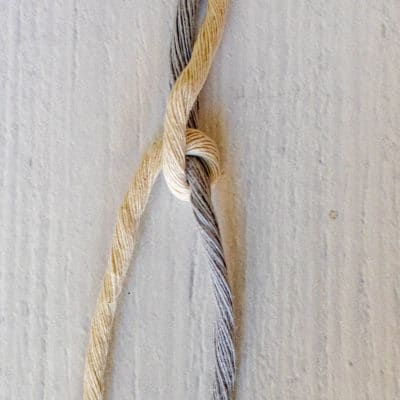
- For the left-leaning half hitch, the right cord is the working cord and the left cord is the holding cord.
- Lay the working cord over the holding cord from right to left
- Then pull it back behind the holding cord and pull the end forward through the loop created between the working cord and the holding cord. Carefully pull the knot tight.
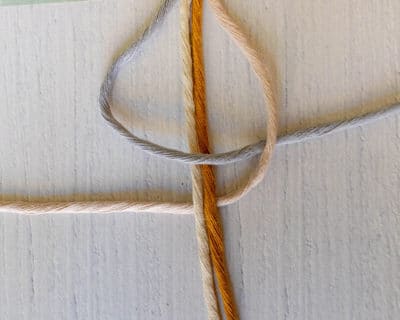
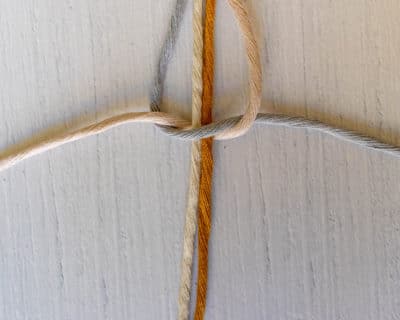
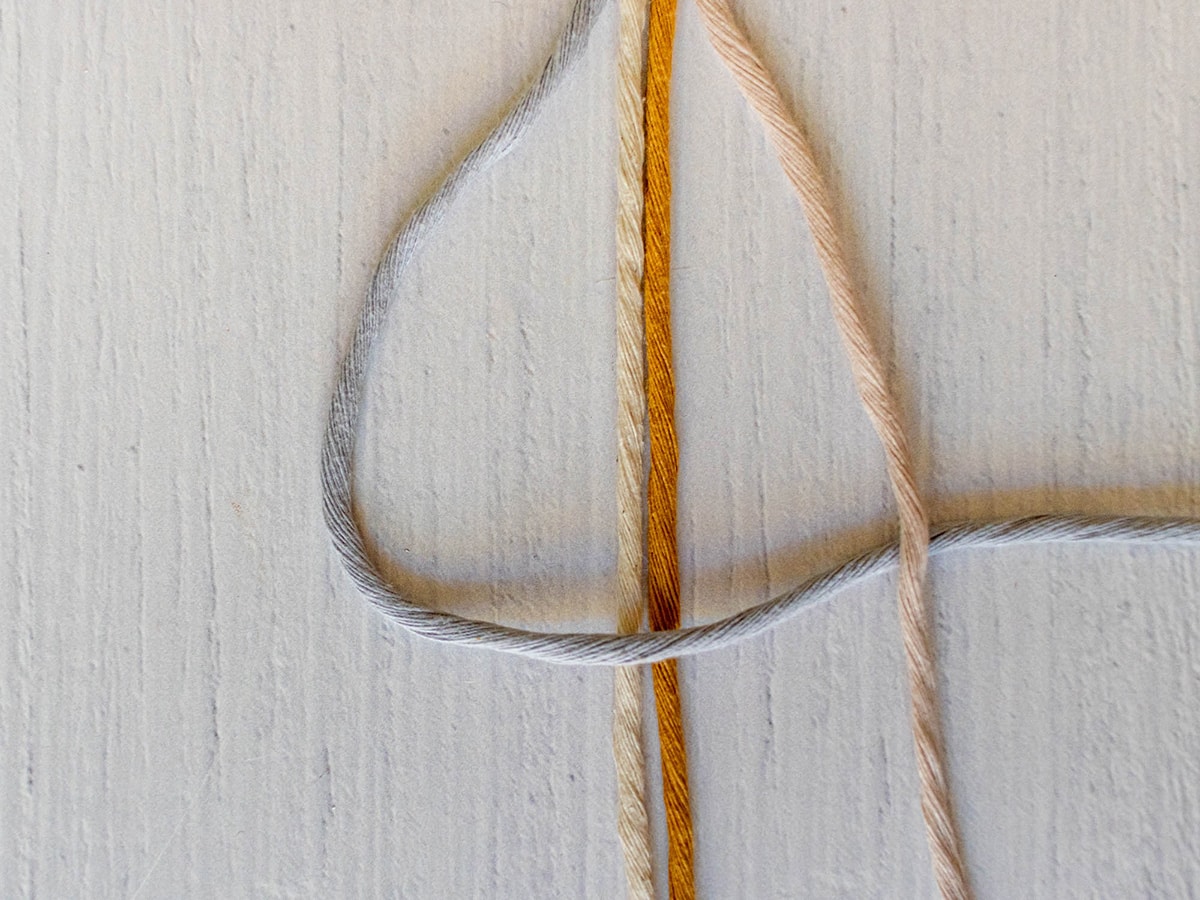
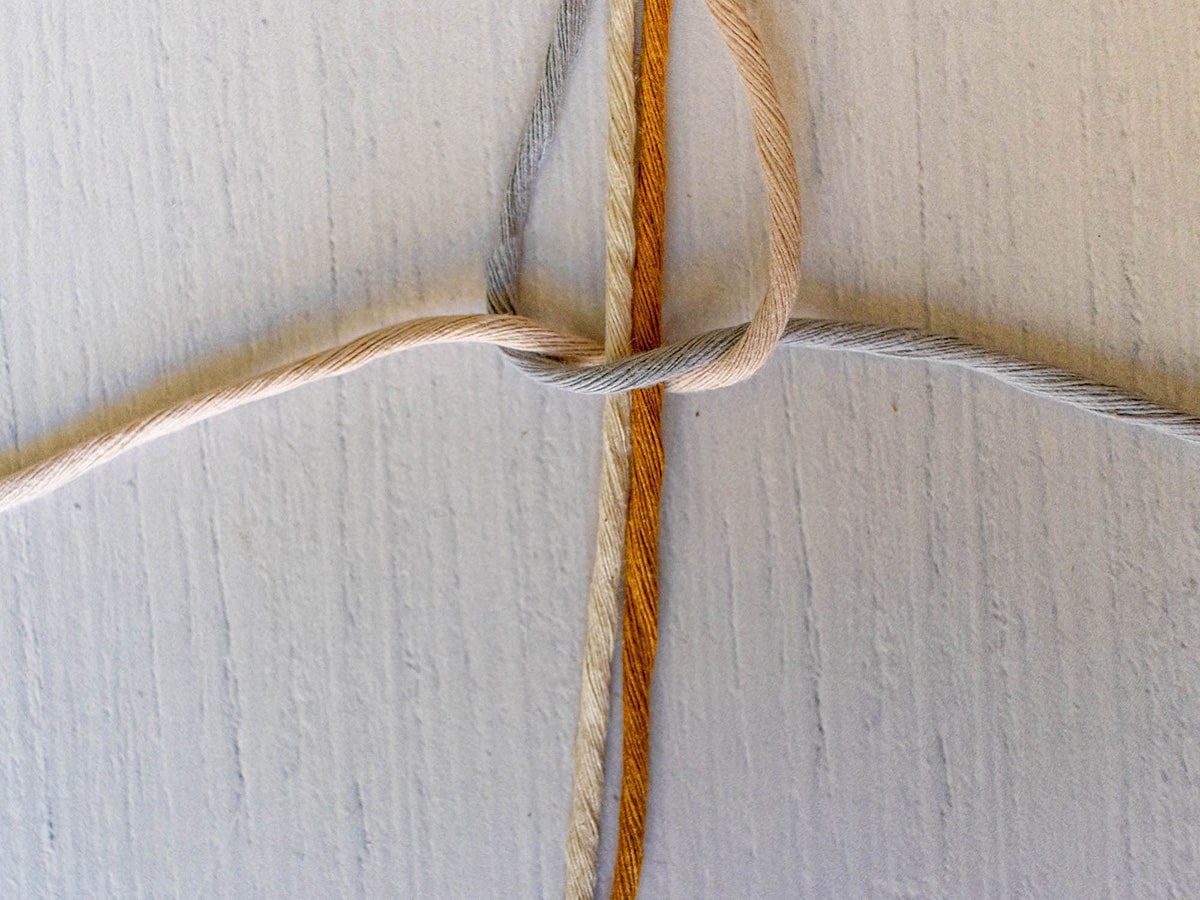
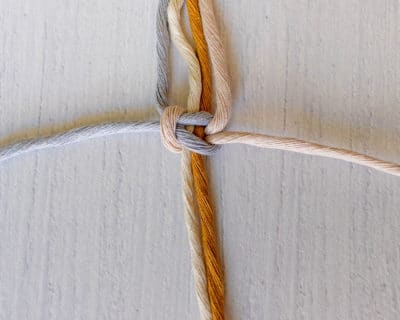
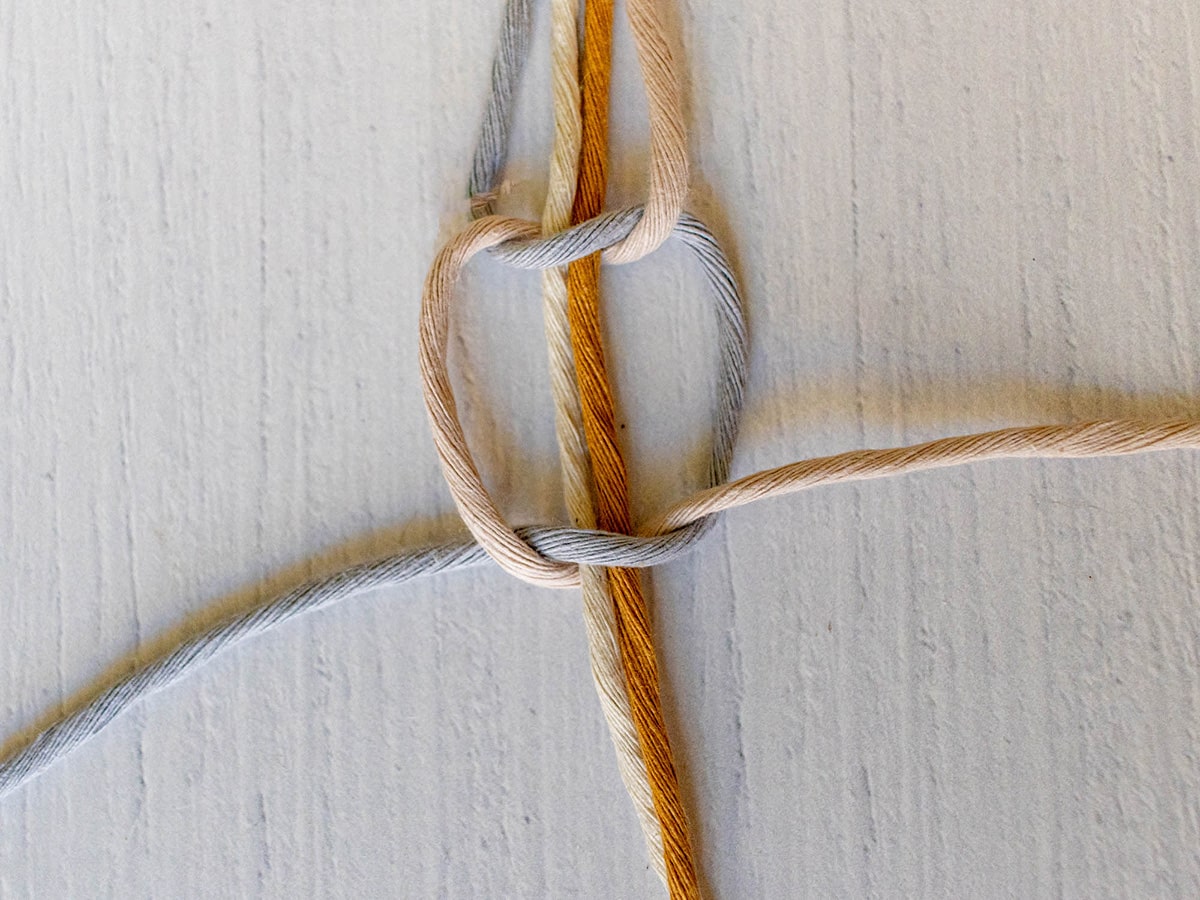
Half knot:
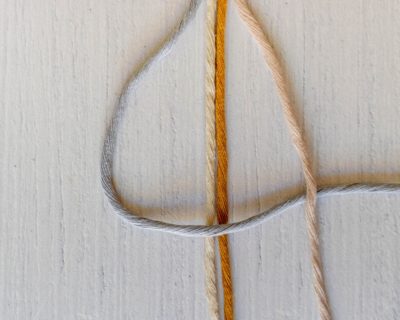
- You need at least 4 threads for a half knot. The guide threads (white|yellow) are in the centre and the working threads are on the outside.
-
Place your left working cord (gray) over the two holding cords at the front. Then pass it under the right working cord (pink).
- Now guide the right working cord to the left behind the two holding cords.
- If you tie several of these half knots in succession, they form a spiral strand.
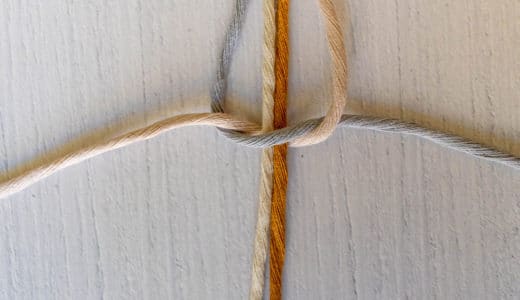
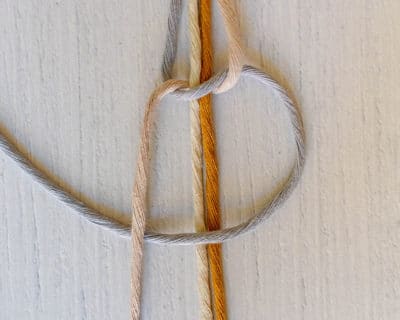
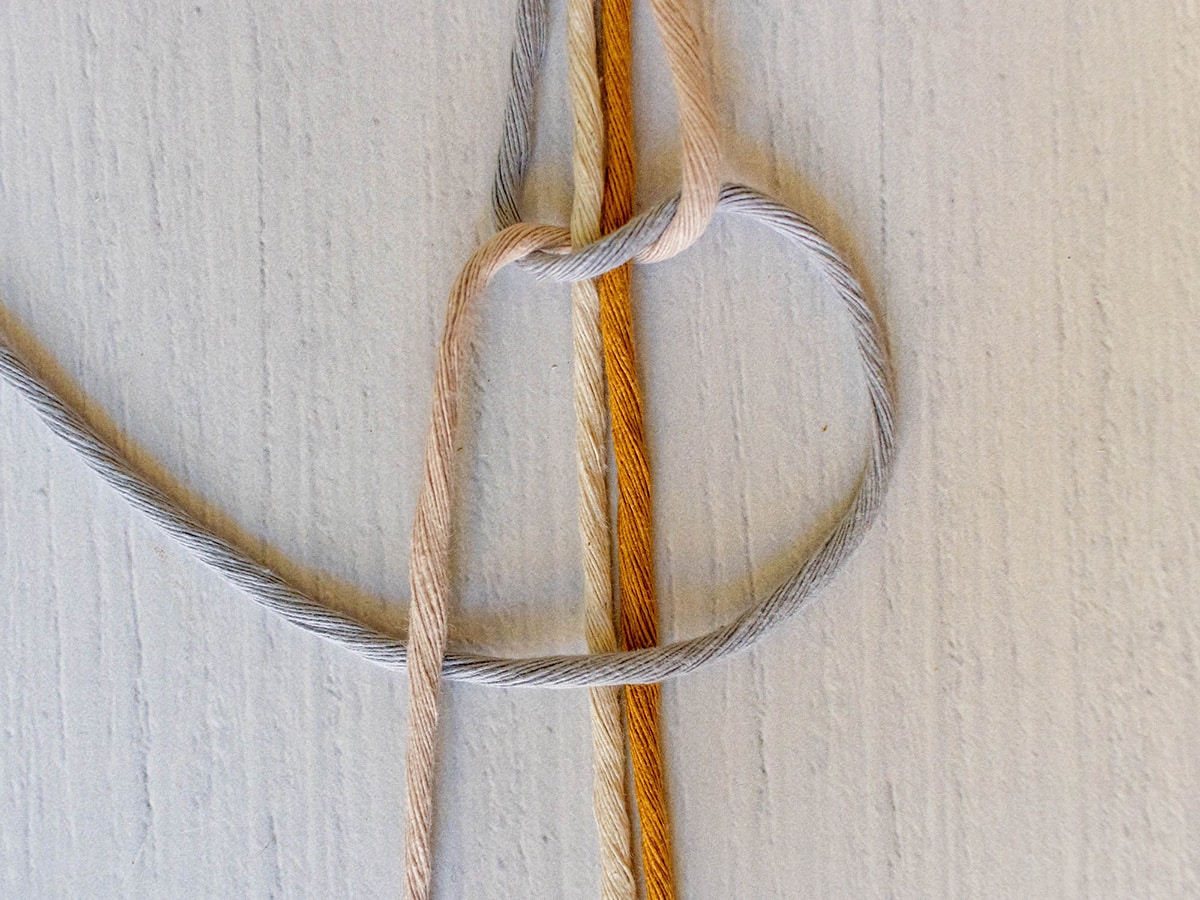
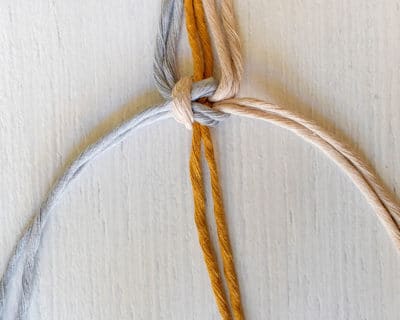
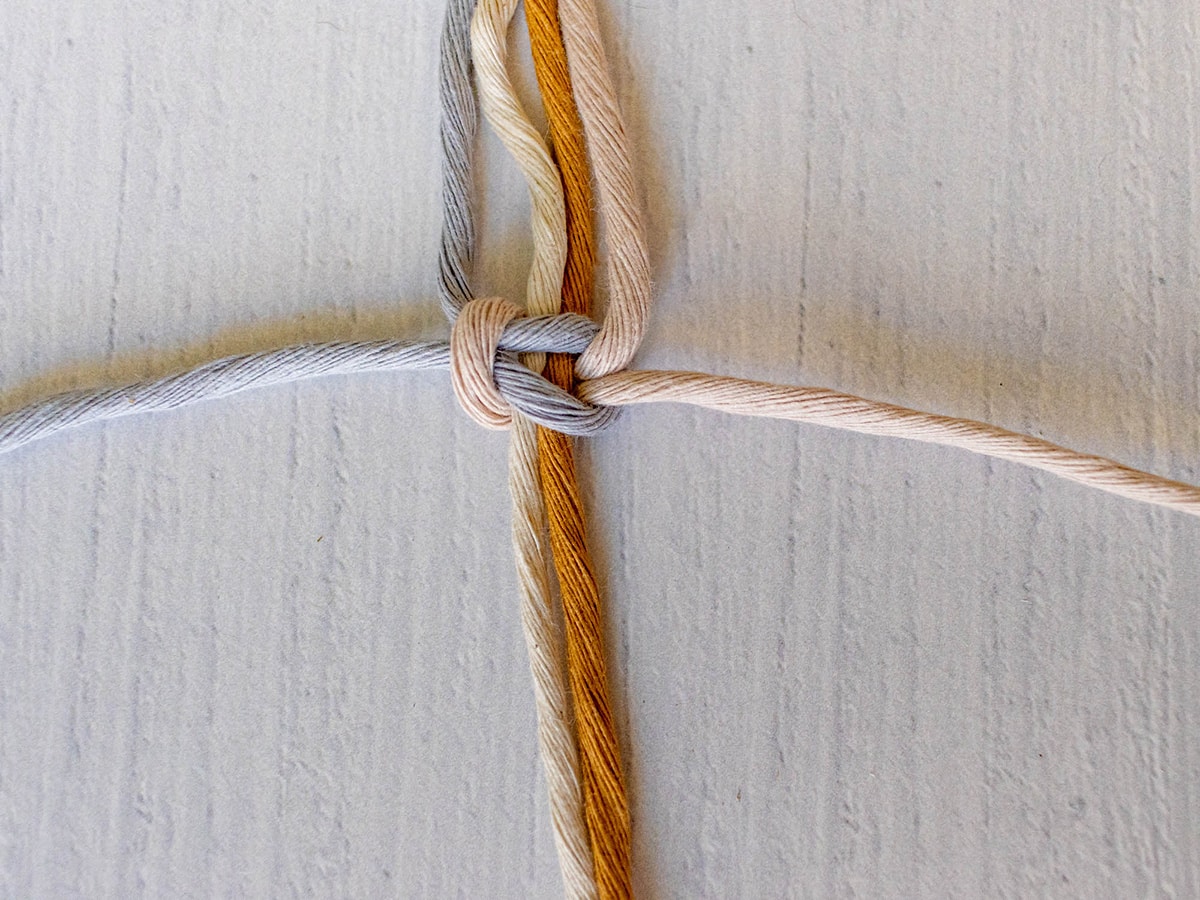
Cross knot left-handed:
- You need at least 4 cords for a square knot. The holding cords (white|yellow) are in the middle and the working cords are on the outside.
- Place your left working cord (gray) over the two holding cords at the front. Then pass it under the right working cord (pink).
- Now guide the right working cord to the left behind the two holding cords.
- Now pull the end of the right working cord from behind through the loop between the left working cord and the holding cords. Tighten the knot.
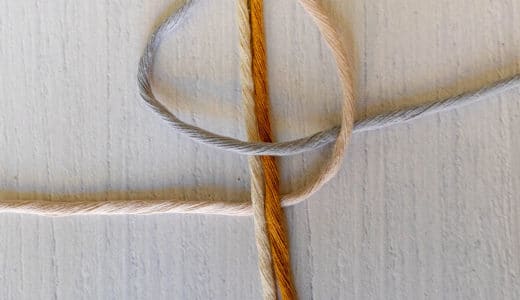
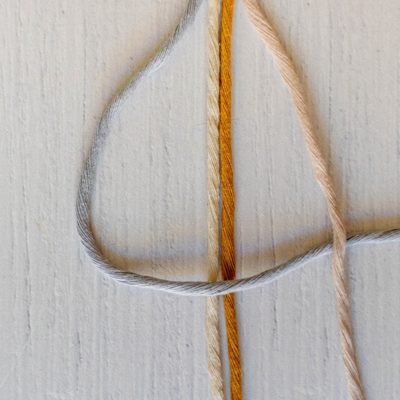
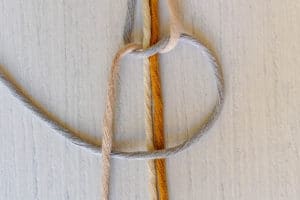
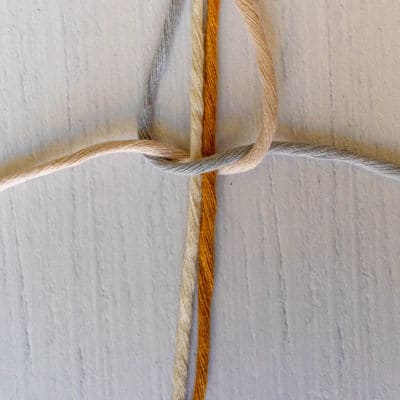
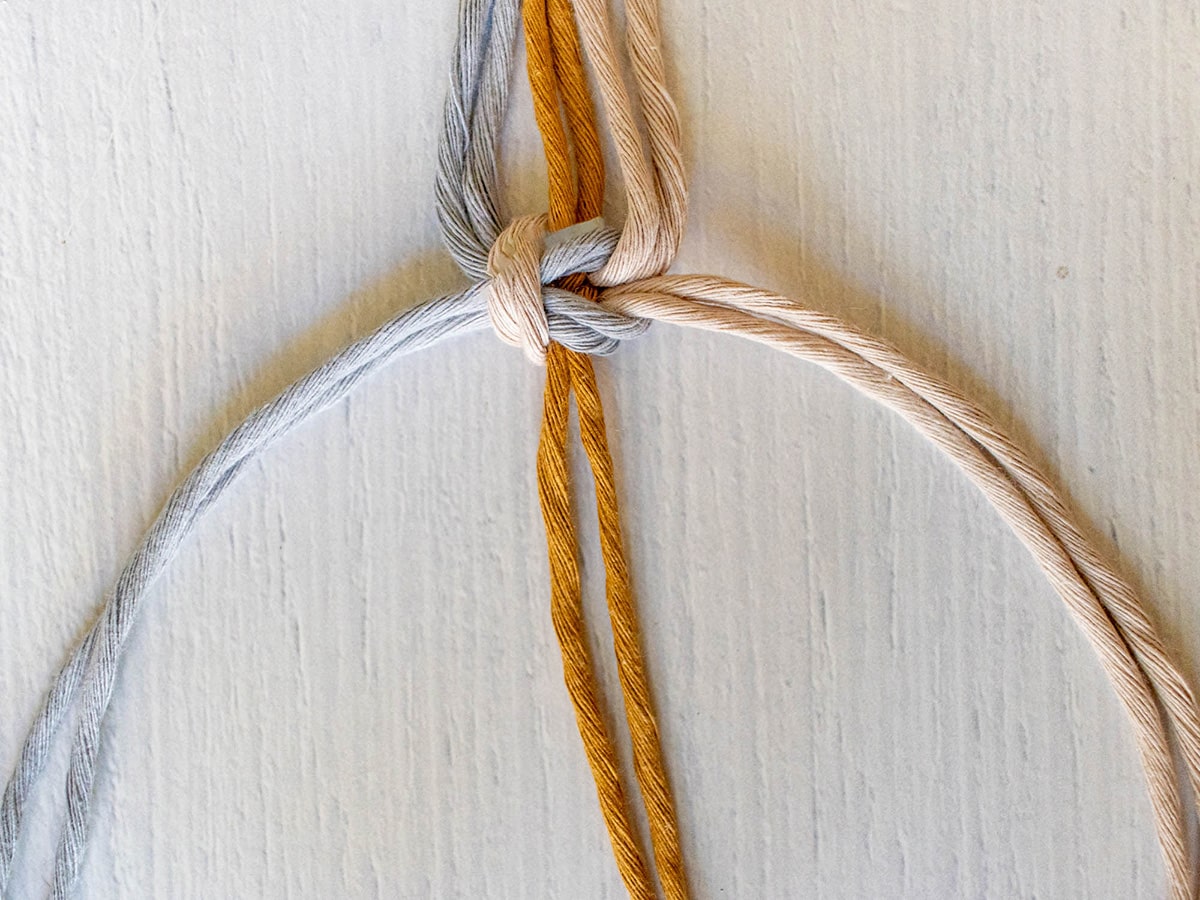
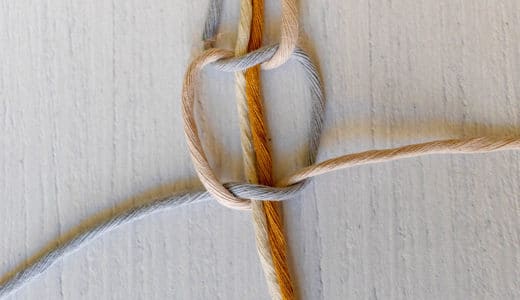
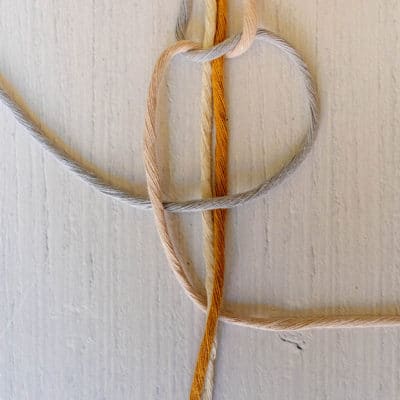
- Guide the left working cord (gray) back to the left side in front of the holding cords. Pass it under the right working cord (pink).
- Pull the right working cord (pink) behind the holding cords to the right side
- Pass the end of the right working cord through the loop between the left working cord and the holding cords and tighten the knot.
- In the instructions, this knot is referred to as "square knot 1 over 2", as it is tied with one right and one left working cord over two holding cords.
According to this scheme, square knots with two right and two left working cords and two holding cords are called "square knot 2 over 2" and so on. In these knots, the working cords are always passed around the holding cords together.
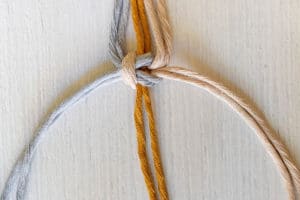
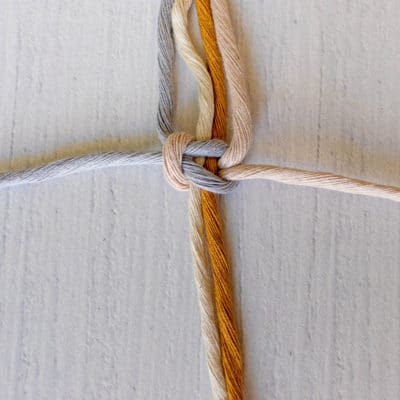
2. basic pattern for the lampshade
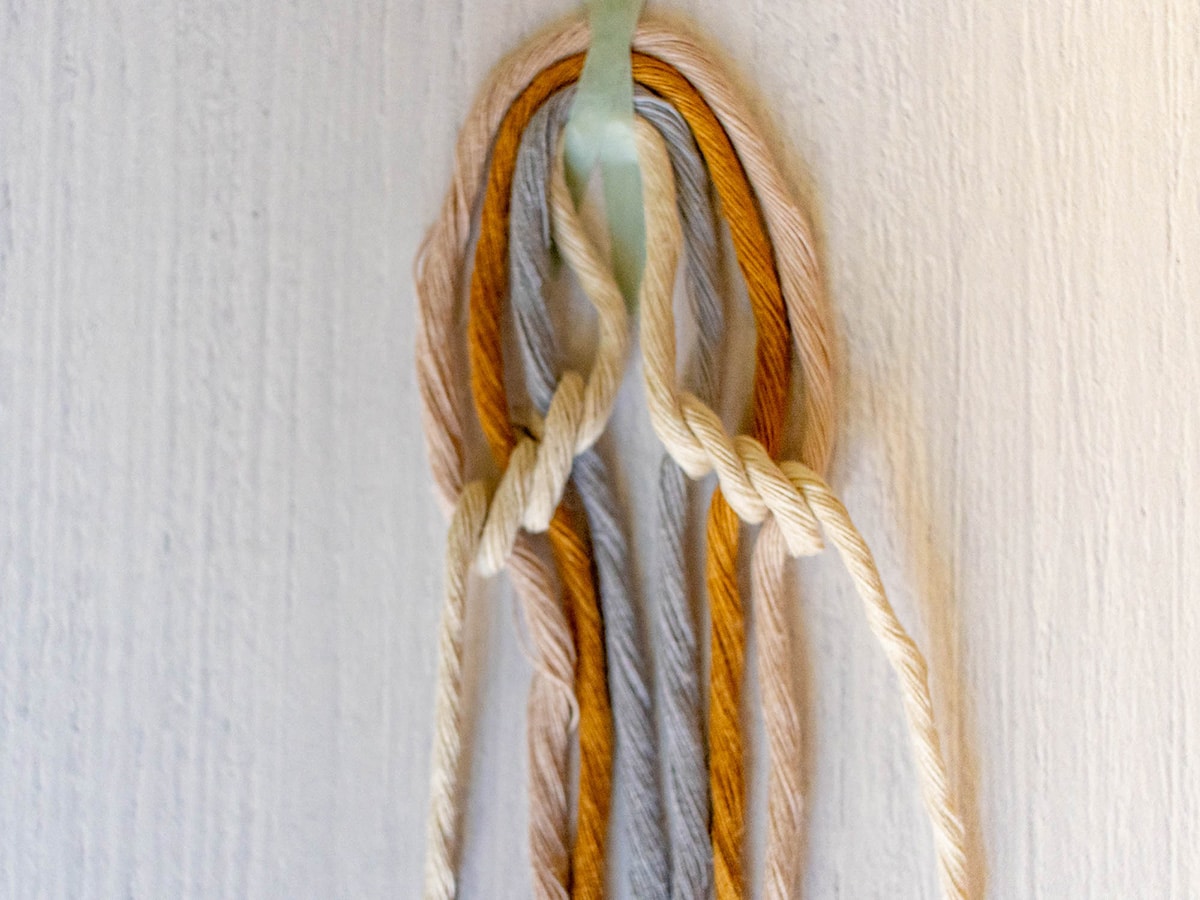
Cross knots and half hitches are sufficient for many macramé works to create exciting patterns. Half hitches can be worked straight or diagonally. For the lampshade, you need a motif from the simplest variant of diagonally arranged half hitches.
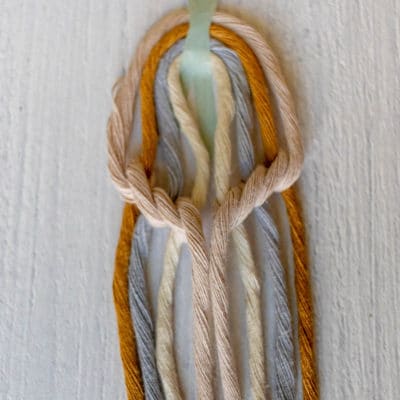
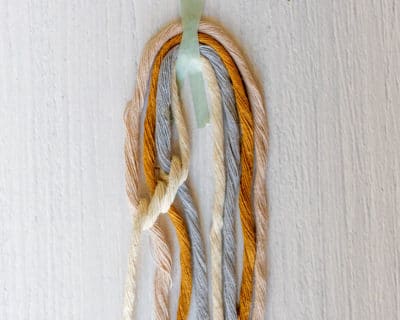
Falling half hitch triangle
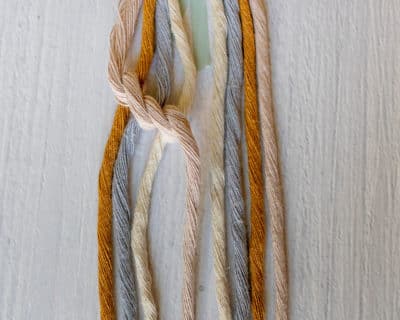
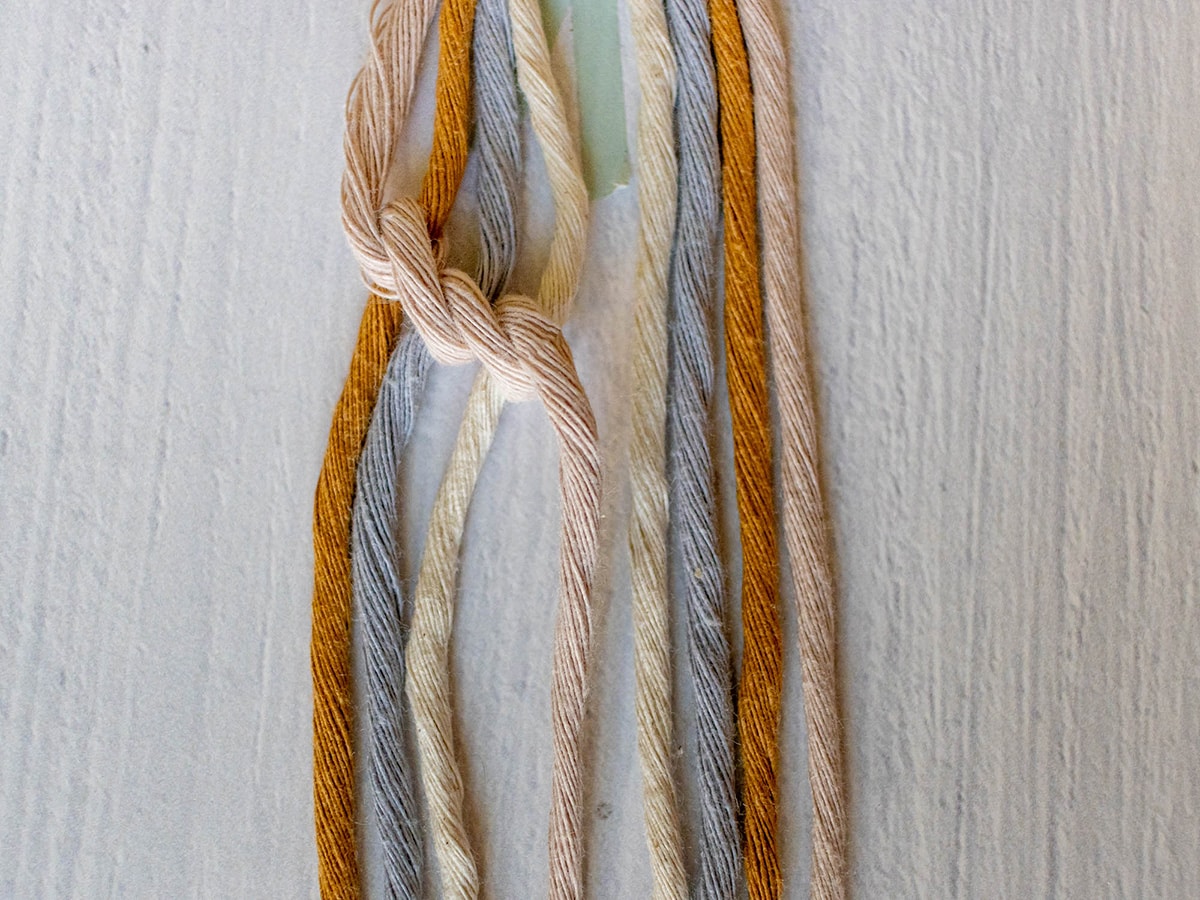
Divide the threads into two halves of the same thread count. The outermost thread on the left and right (pink) are your working cords. The inner threads are the holding cords.
- Tie a right-leaning half hitch with the left-hand working cord over all the left-hand holding cords. The knots are next to each other offset downwards by half a knot height.
-
Now use the right-hand working cord to tie a left-leaning half hitch over each of the right-hand holding cords. Make sure that the knots are at the same height as the right-hand knots.
This motif is called a "single-row, falling half hitch triangle over 6". For a "double row, falling half hitch triangle over 6", use the yellow threads that are now on the outside as working cords and tie another row of half hitches directly under the first row.
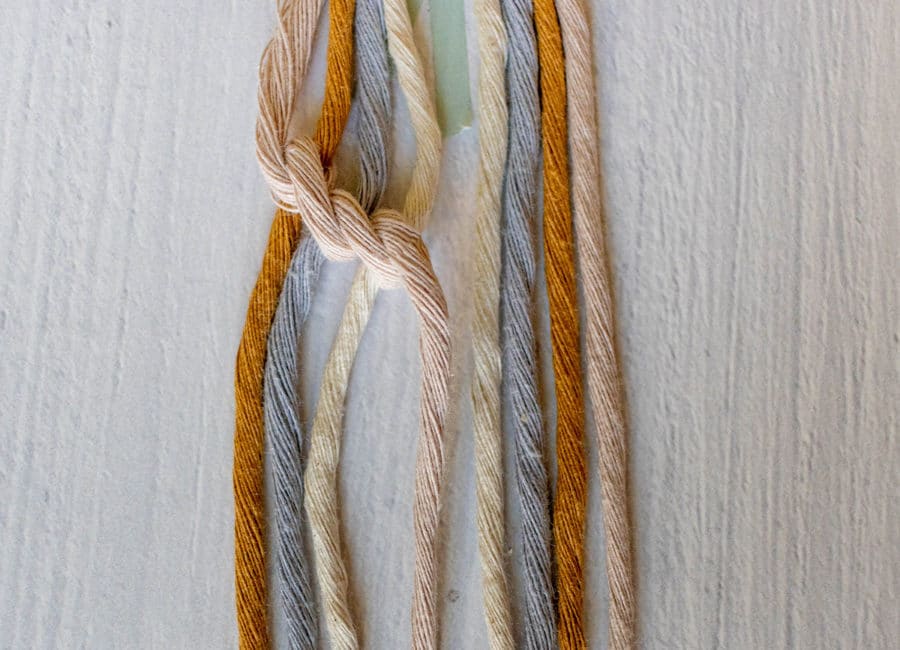
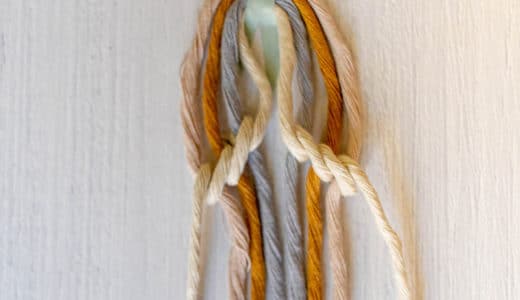
Rising half hitch triangle
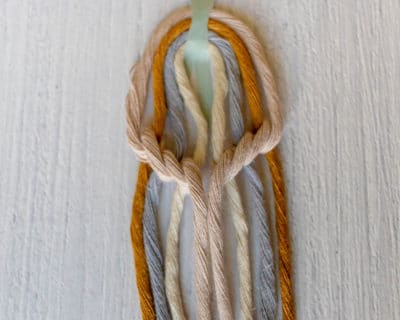
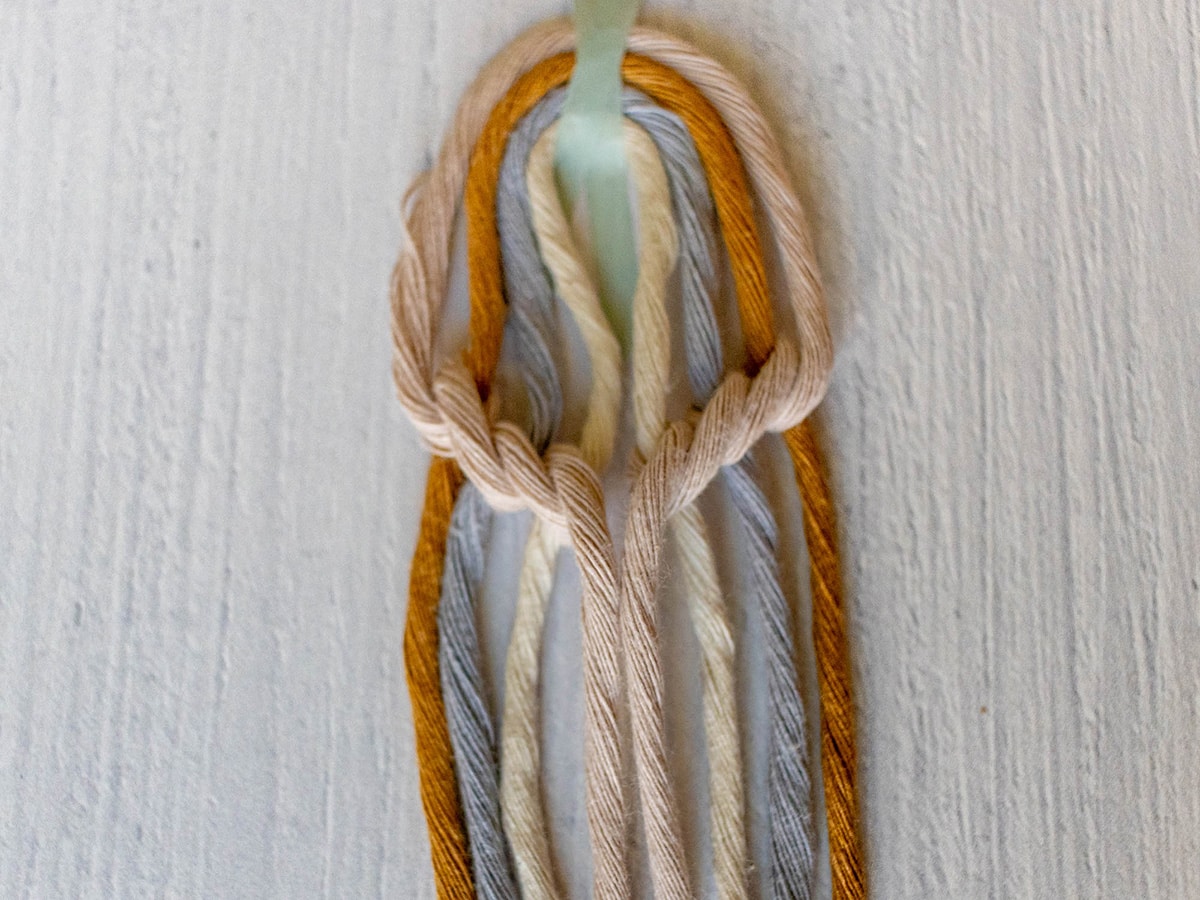
Divide the threads into two halves of the same thread count. The inner threads on the left and right (white) are your working cords. The outer threads are the holding cords.
- Tie a left-leaning half hitch with the left-hand working cord over each of the left-hand holding cords. The knots are next to each other offset downwards by half a knot height.
- Now use the right-hand working cord to tie a right-leaning half hitch over each of the right-hand holding cords. Make sure that the knots are at the same height as the left-leaning half hitches.
Now use the right-hand working cord to tie a right-leaning half hitch over each of the right-hand holding cords. Make sure that the knots are at the same height as the left-leaning half hitches.
3. prepare the lampshade
- Position the hole
- Mark the centre of the floor. It is located in the addi -logo on the right edge of the first d slightly below the arch. Check the position by measuring in several directions to the edge. The measurement must always be the same.
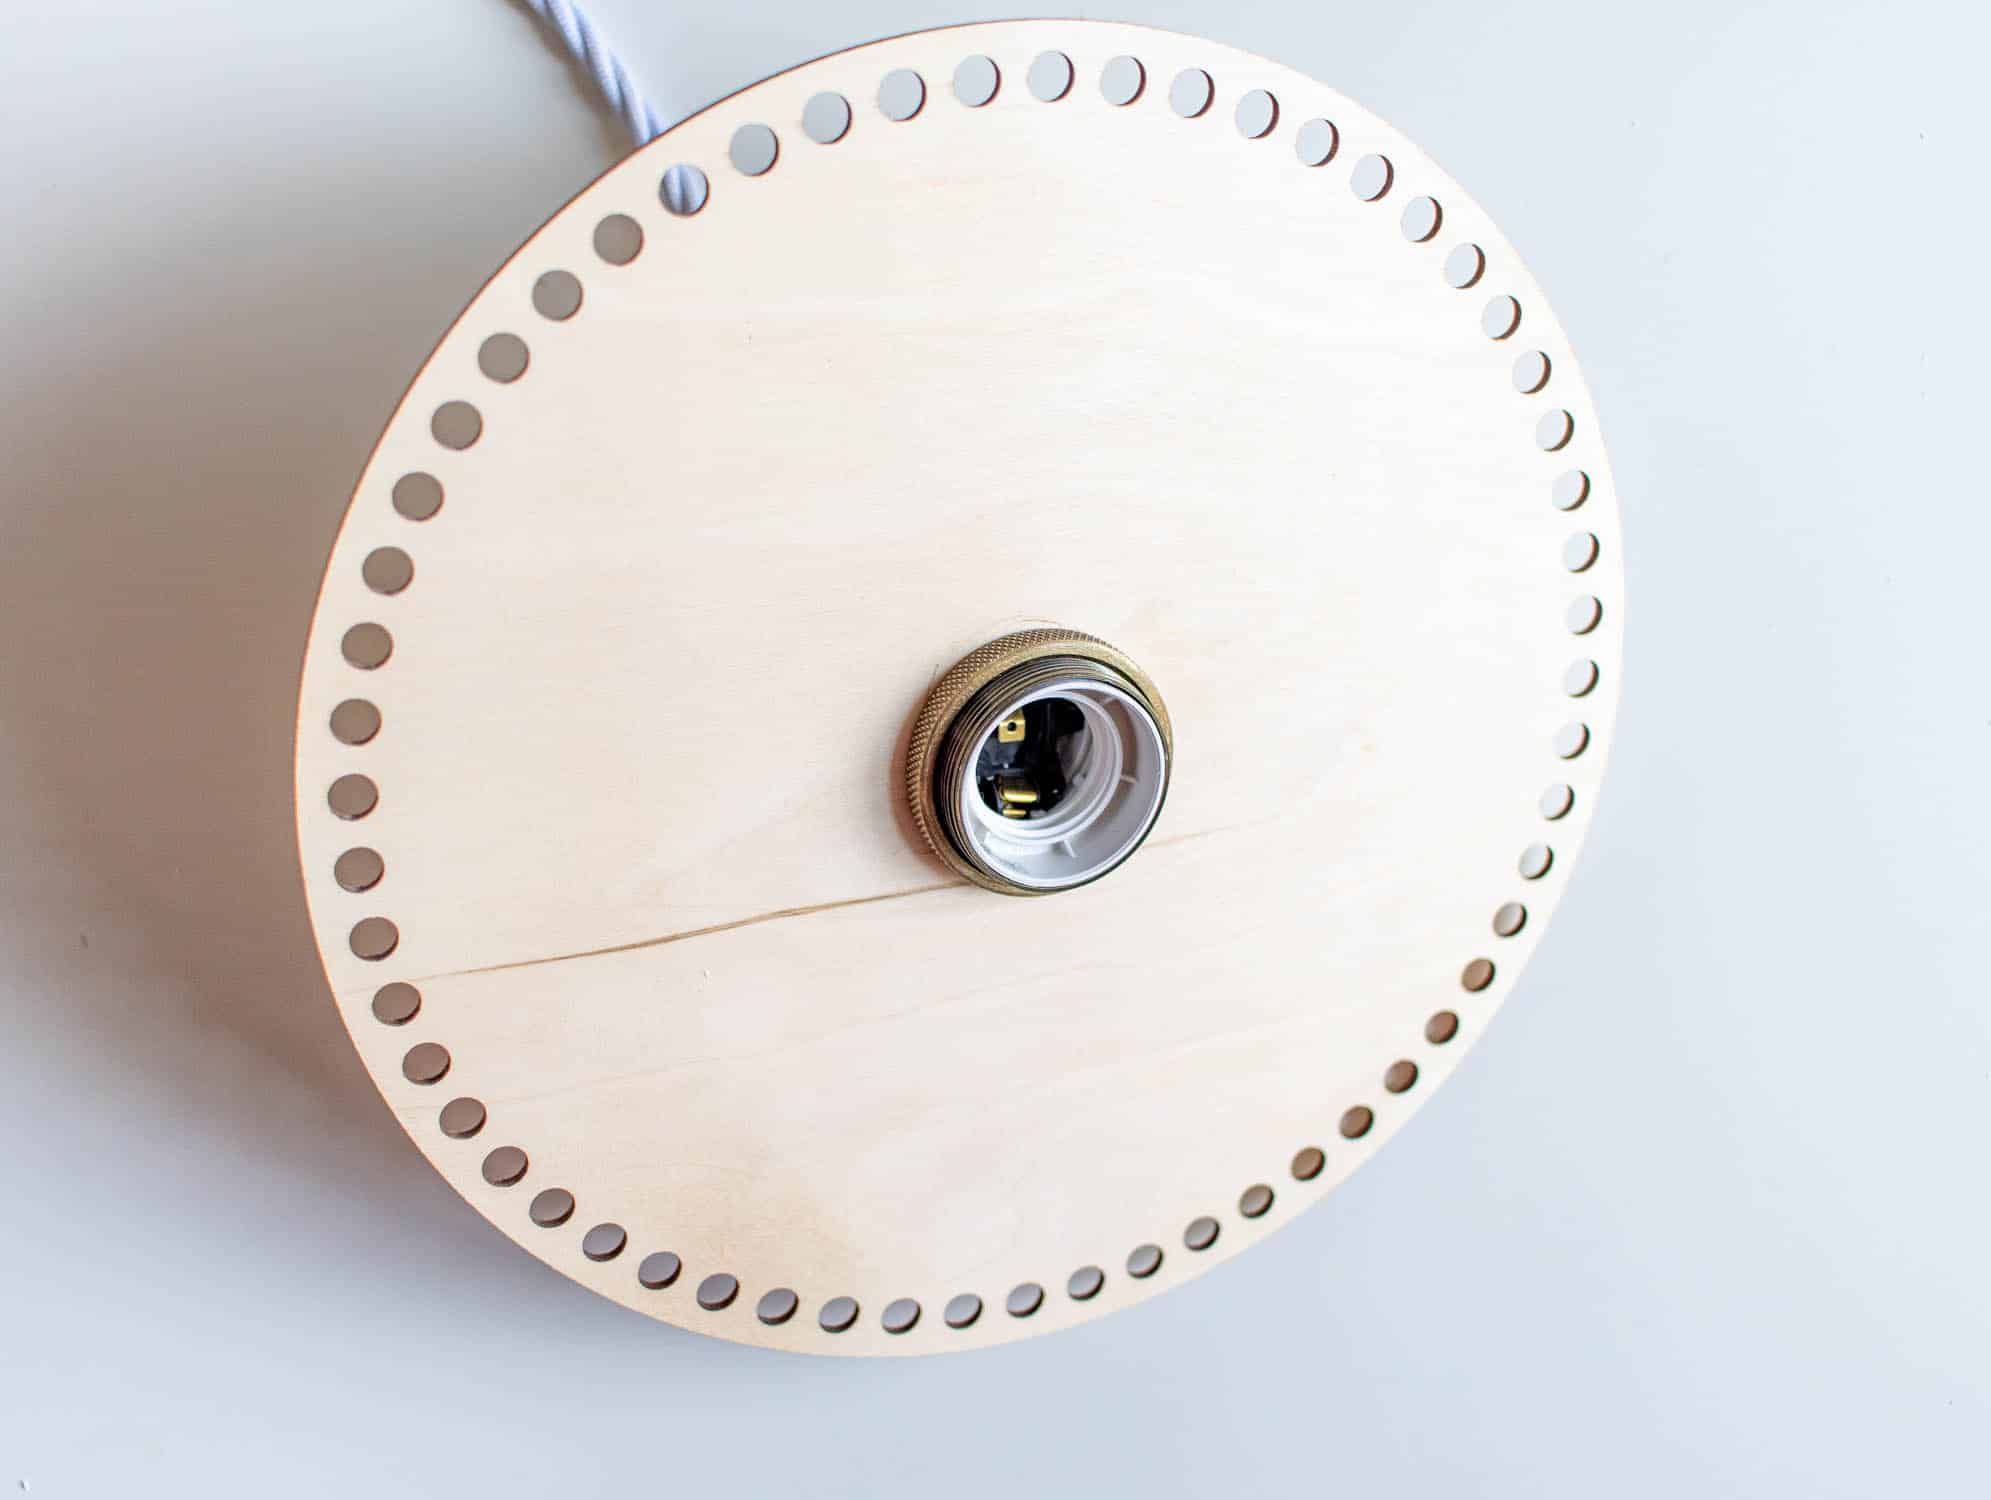
- Drill the hole in the centre of the base. Place a piece of wood underneath on the underside, into which you can drill a few mm deep. This will prevent the wood of the addiShapes from splintering when the drill bit passes through.
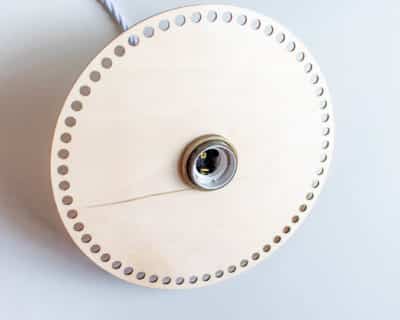
- Assemble the lamp holder according to the instructions. And screw it into the addiShape base.
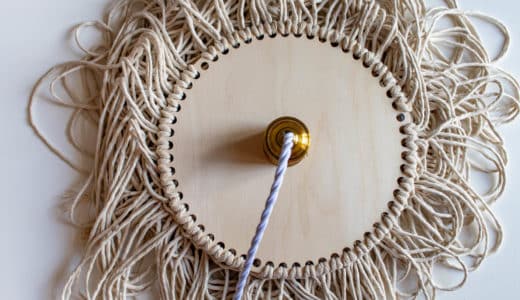
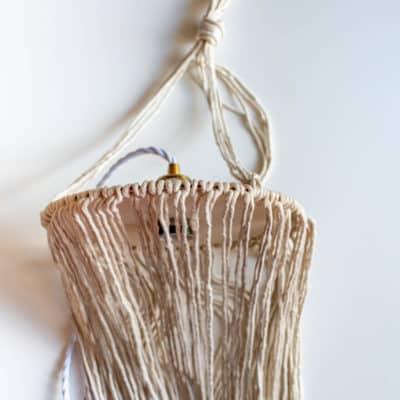
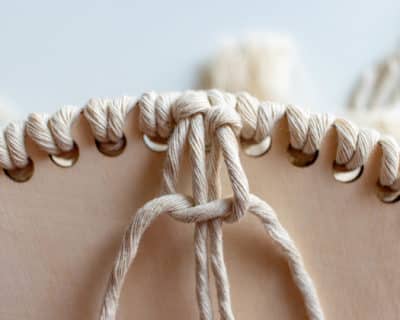
- If you want to make a shade for a hanging lamp, cut another 6 threads 3 metres long. Thread two threads through each of the remaining three holes. If you are knotting a shade for a table lamp, you can use threads of 1m length each as auxiliary threads. threads.
- Wenn du einen Schirm für eine Hängelampe knüpfen möchtest, schneide nun weitere 6 Fäthe mit 3m Länge ab. Fädele sie zu je zwei Fäthe durch die übrigen drei Löcher. Wenn Du einen Schirm für eine Tischlampe knüpfst, kannst Du Fäthe from je 1m Länge as Hilfsfäthe verwenden.
- Knot these threads together with a loose knot and use them to hang up while you work.
4. knot a macramé lampshade with addiShapes
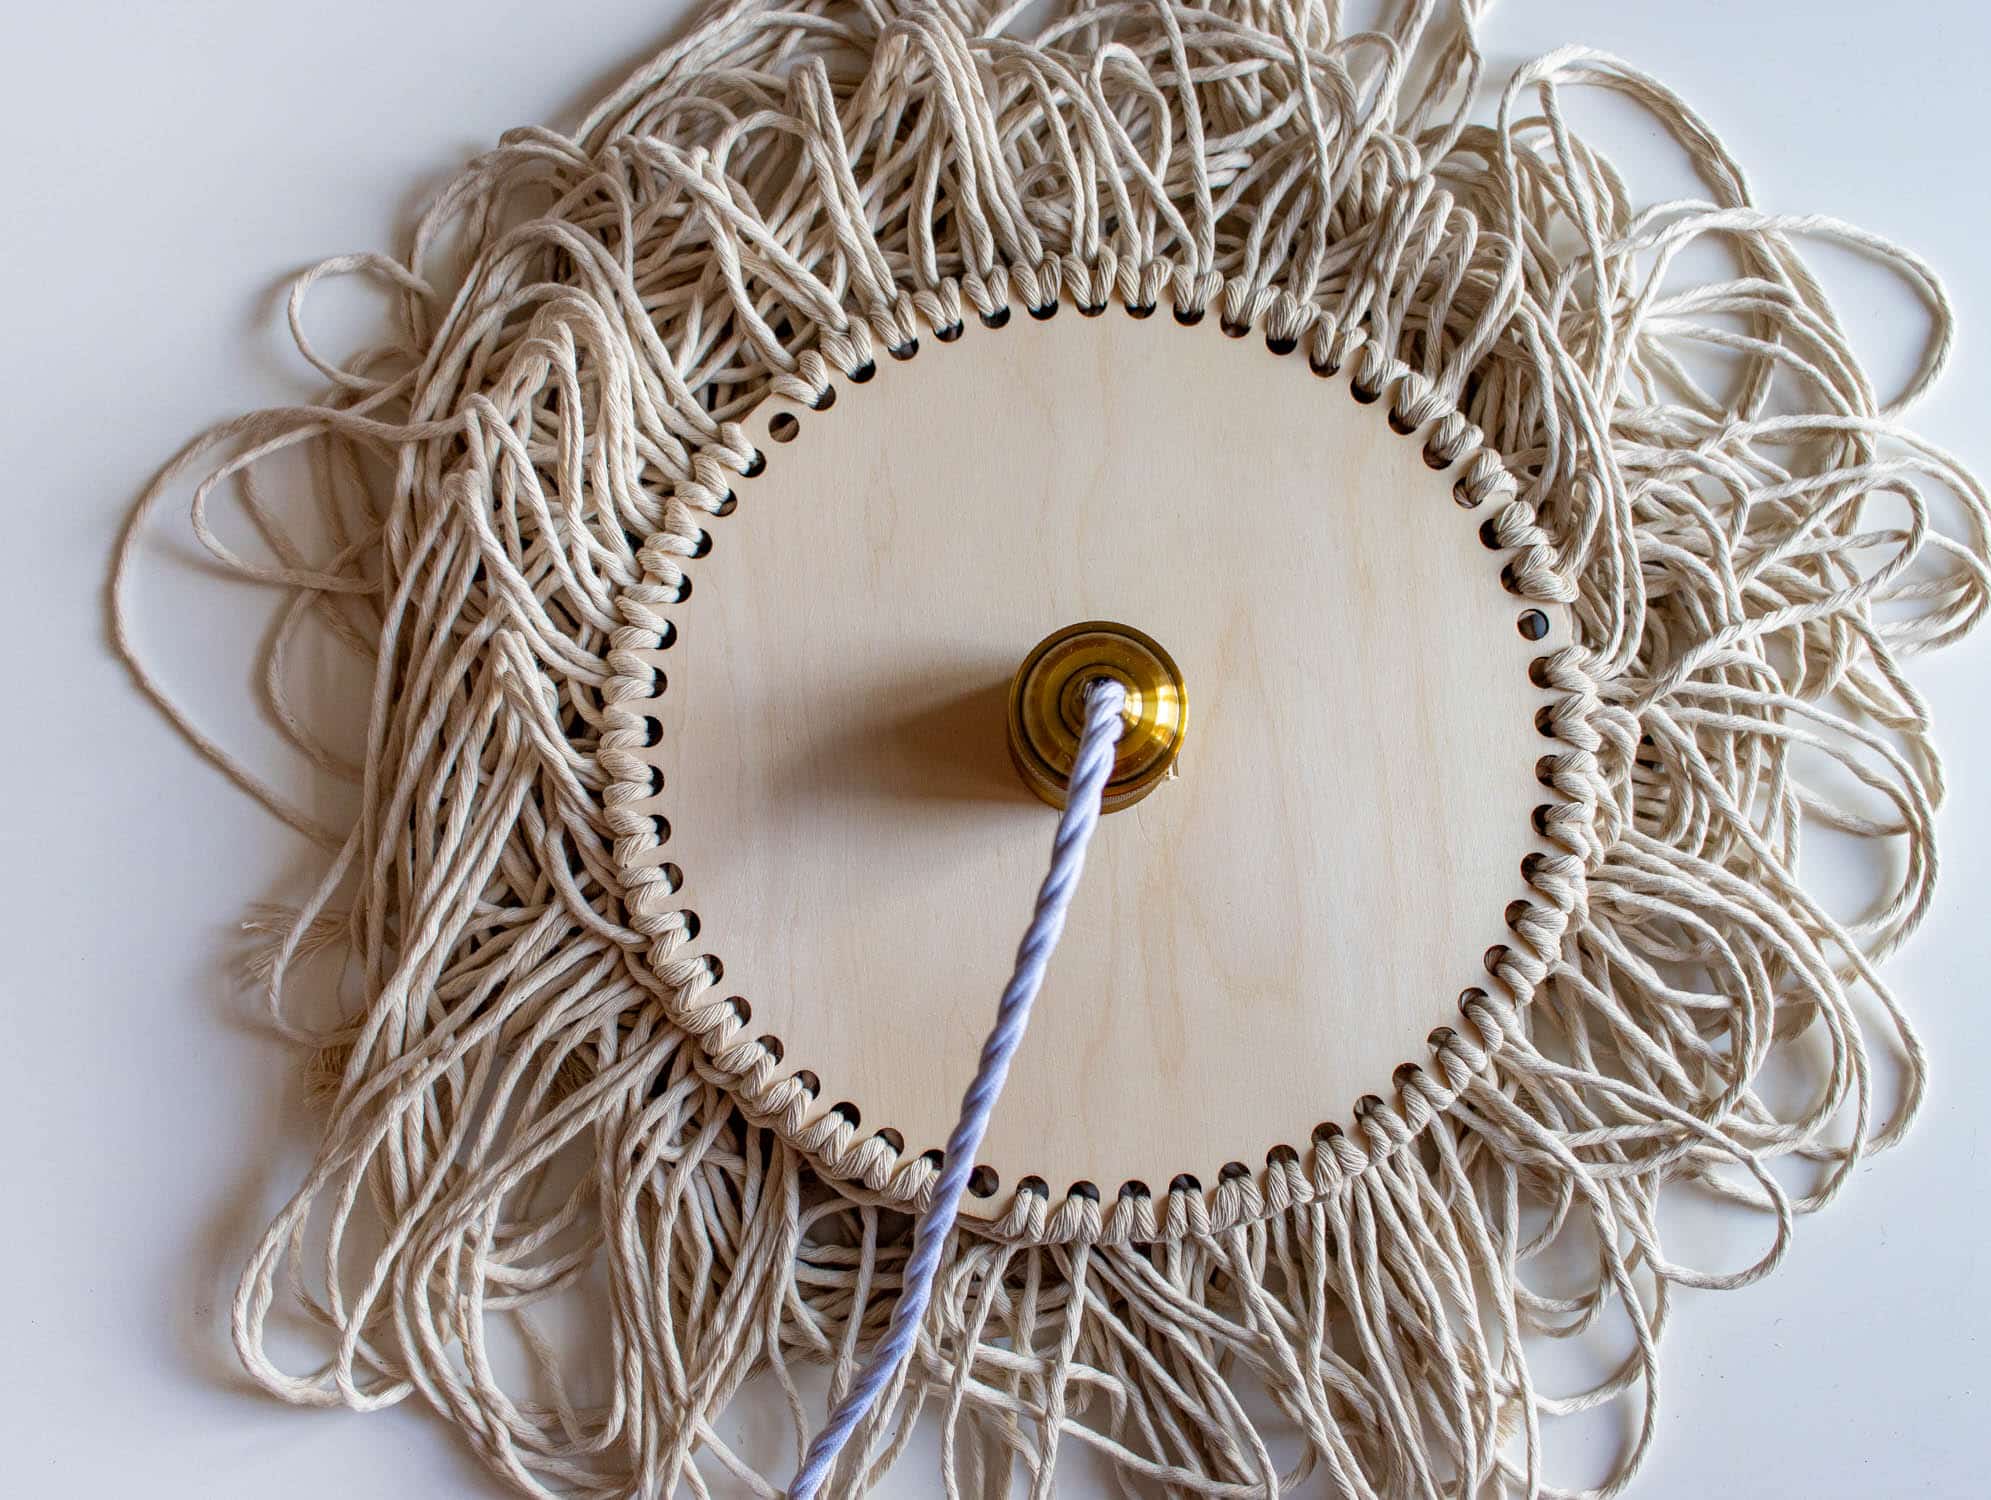
Step 1: Knot the lampshade
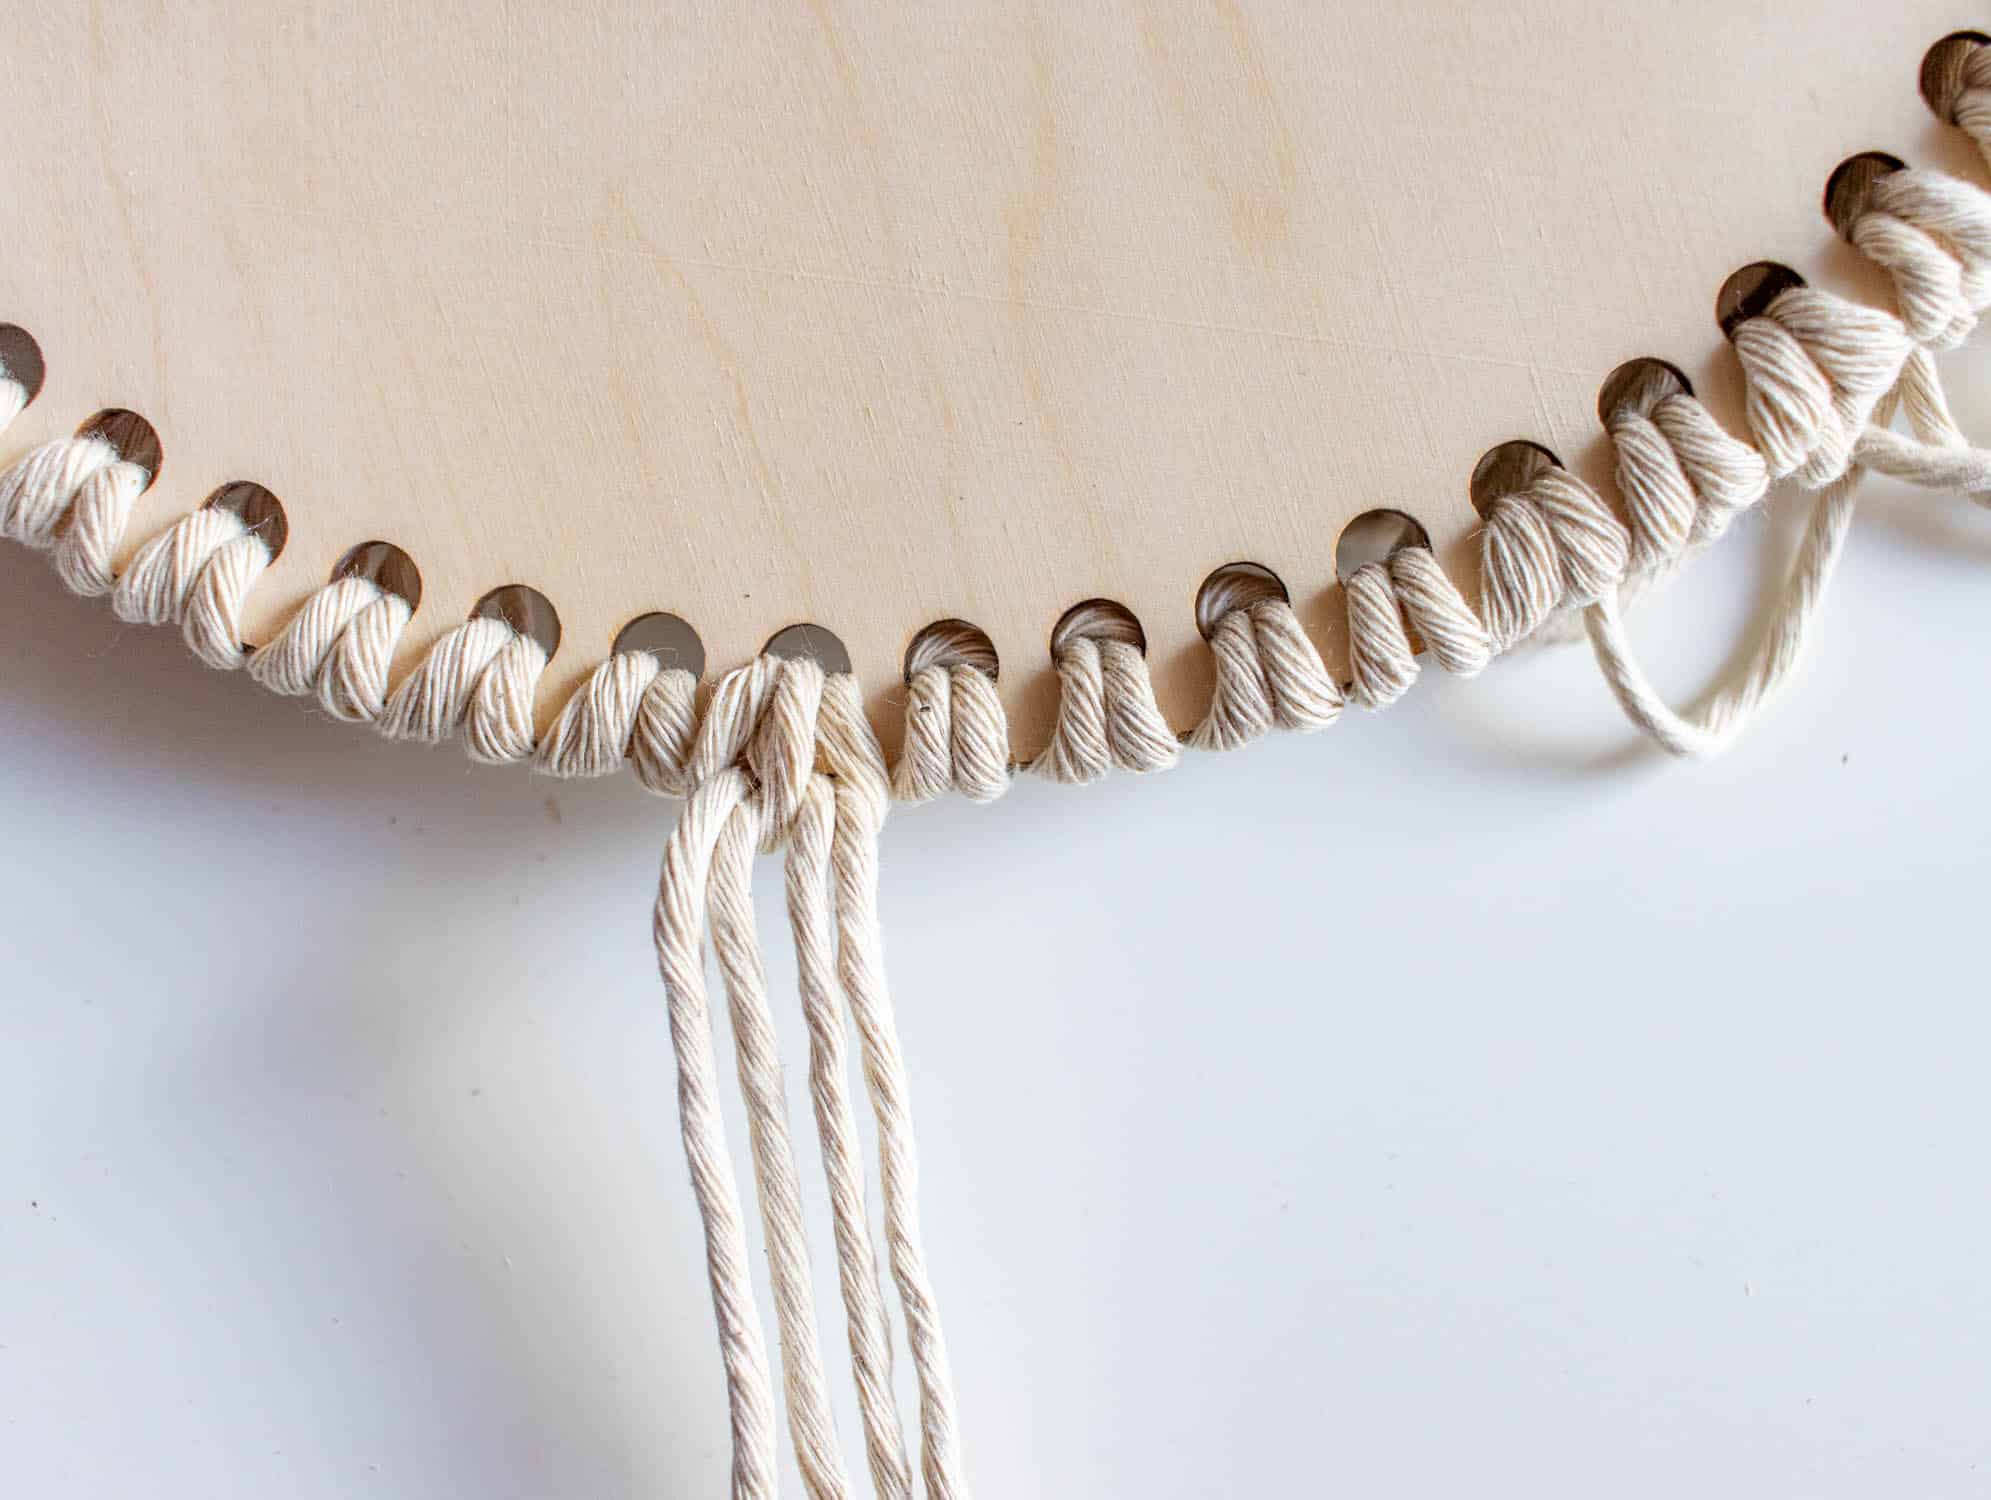
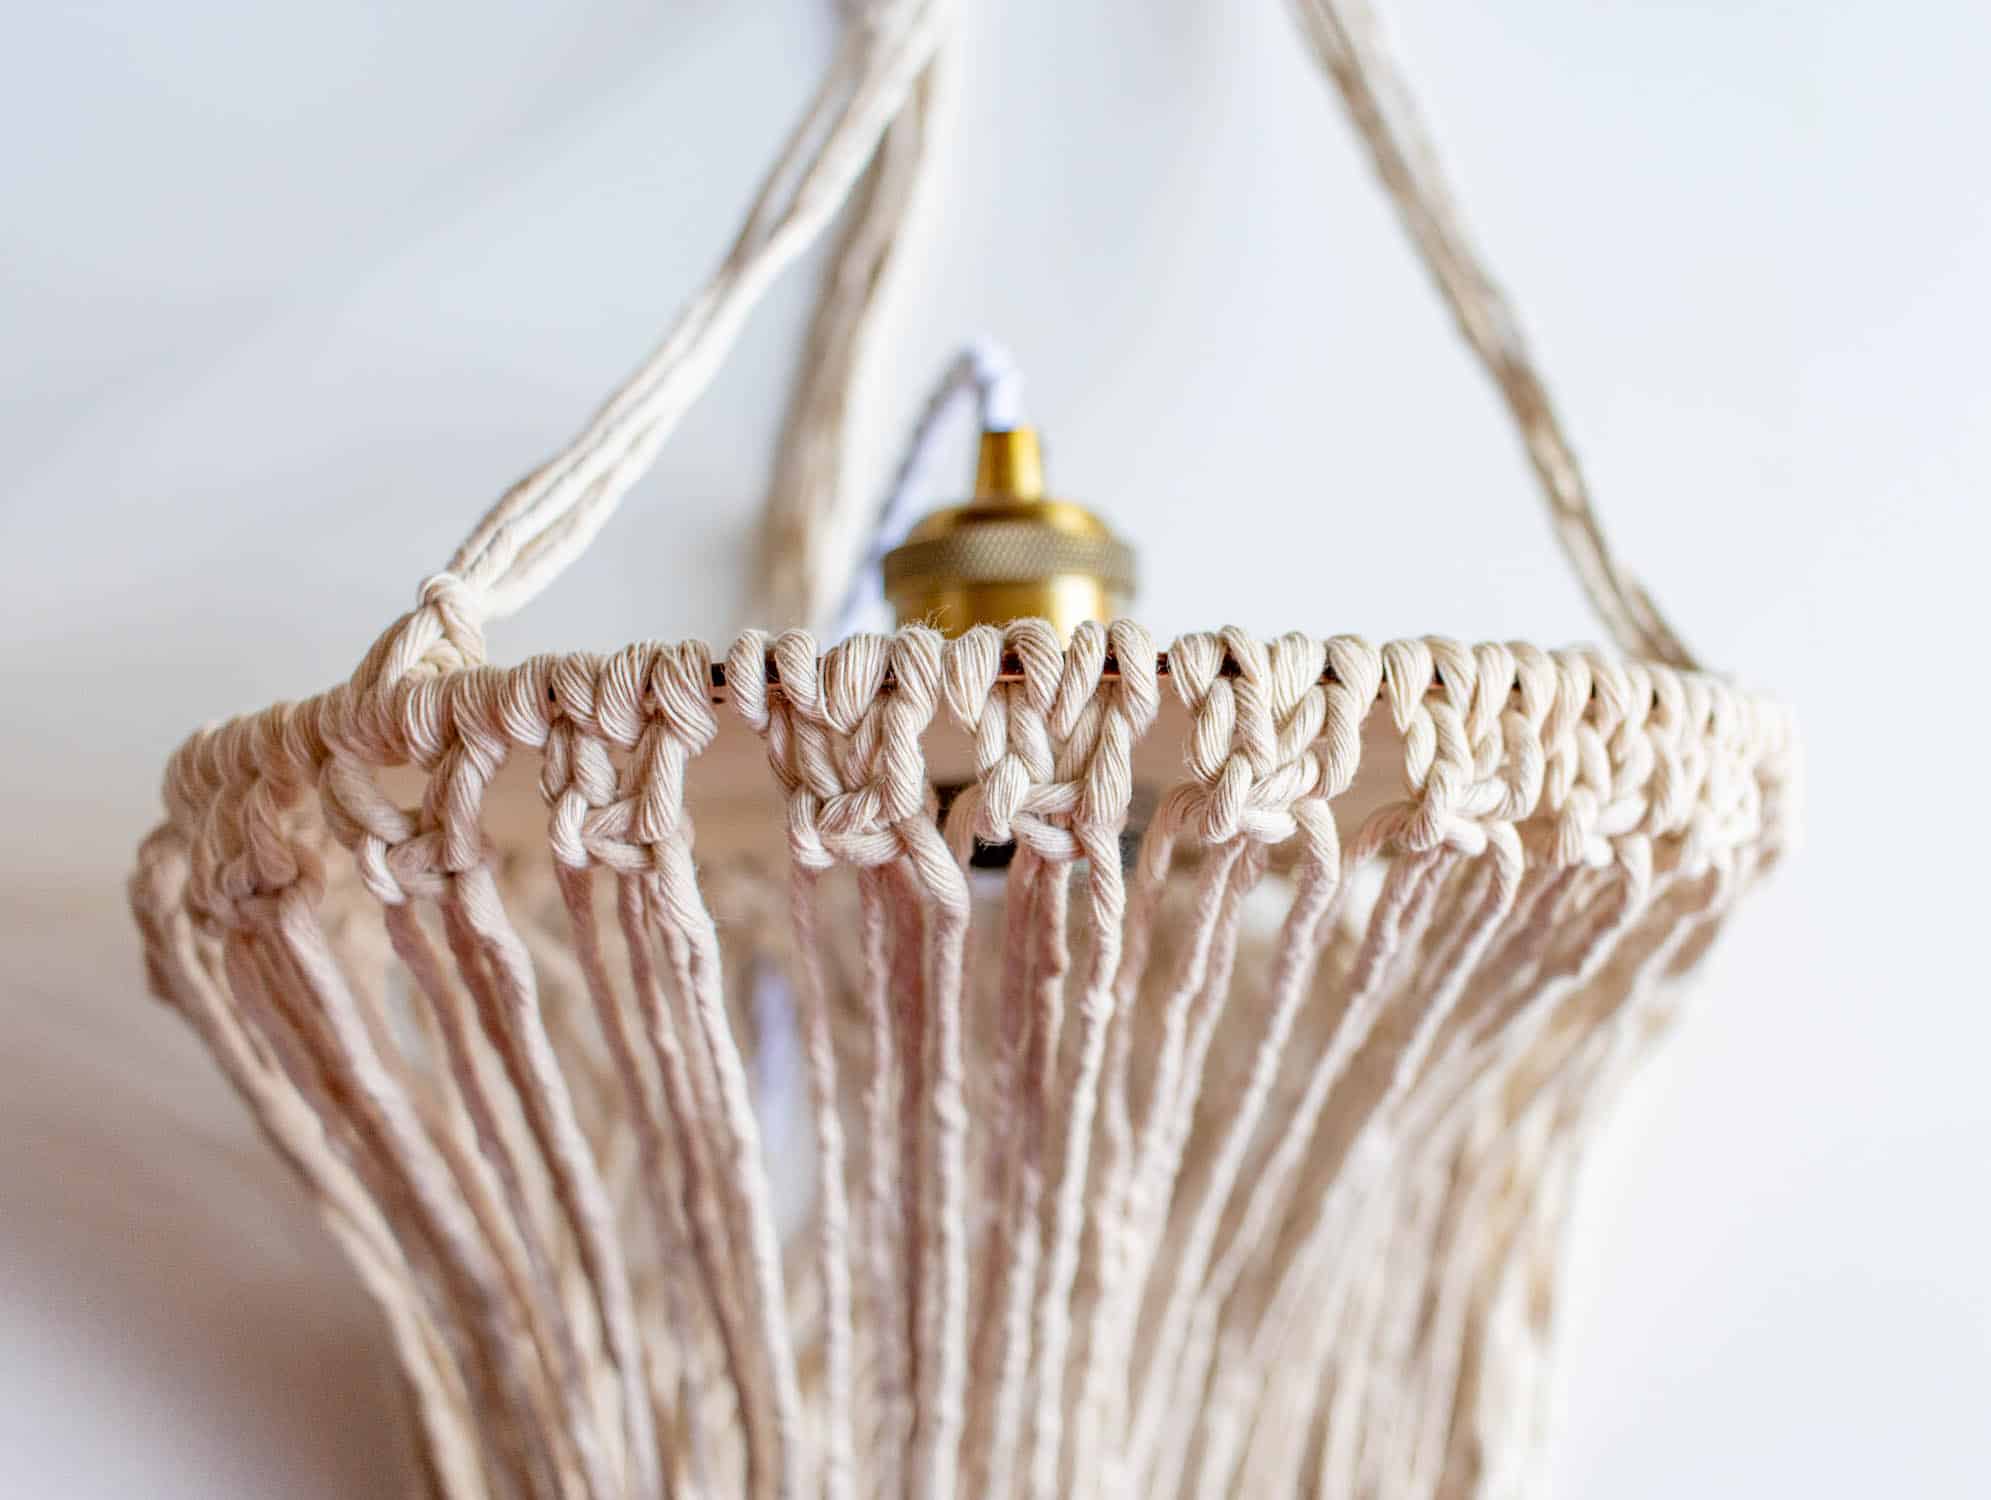
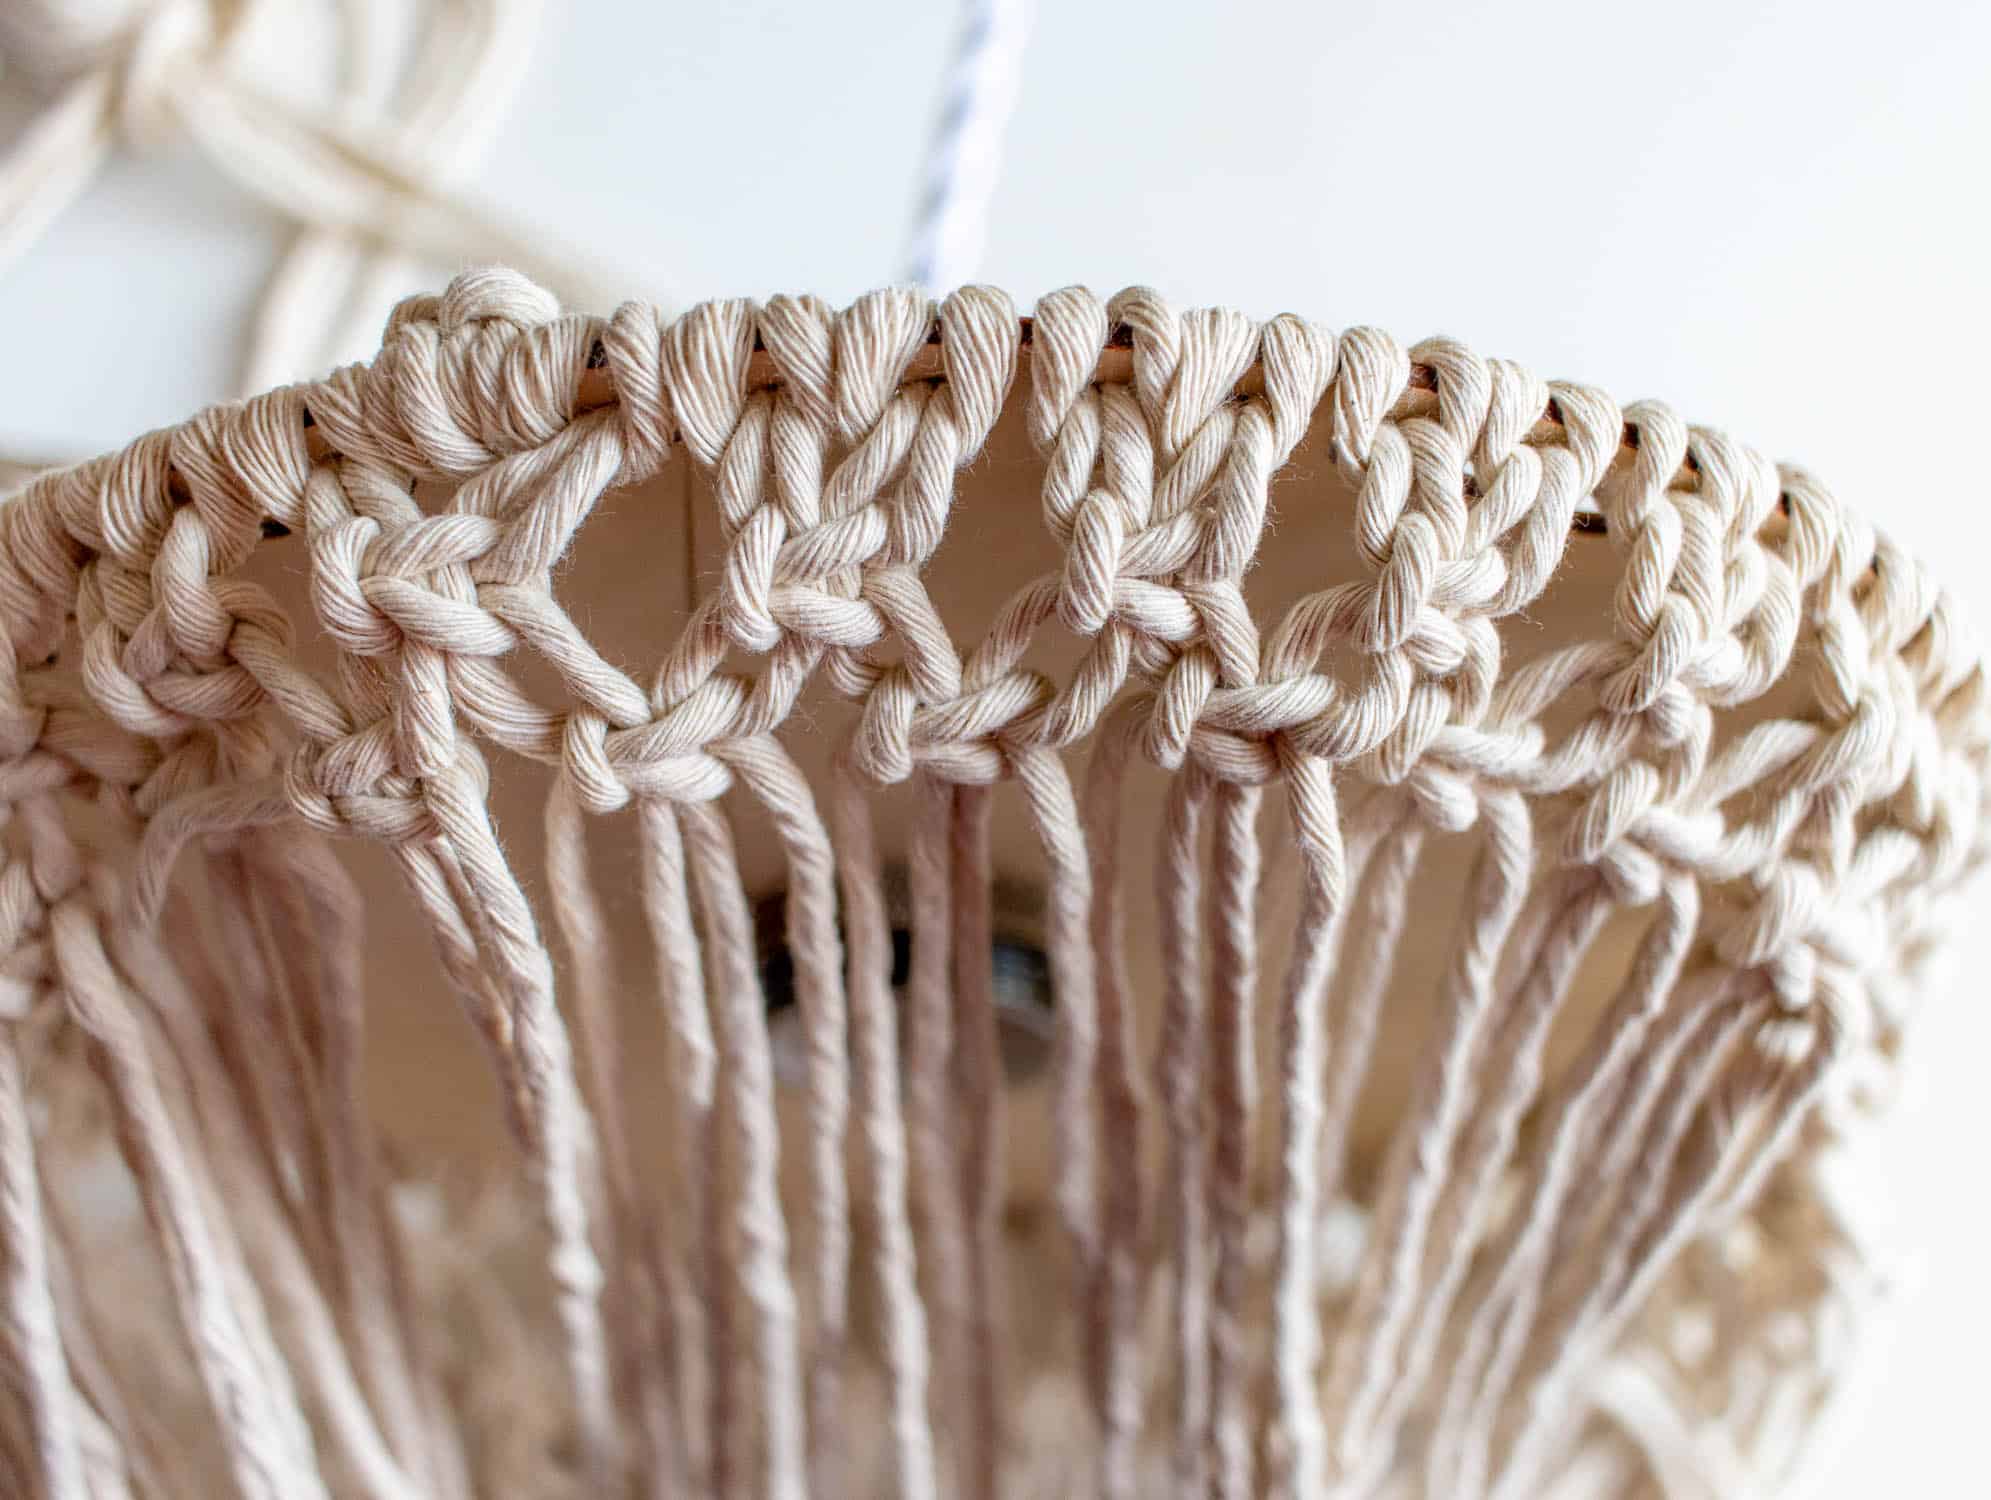
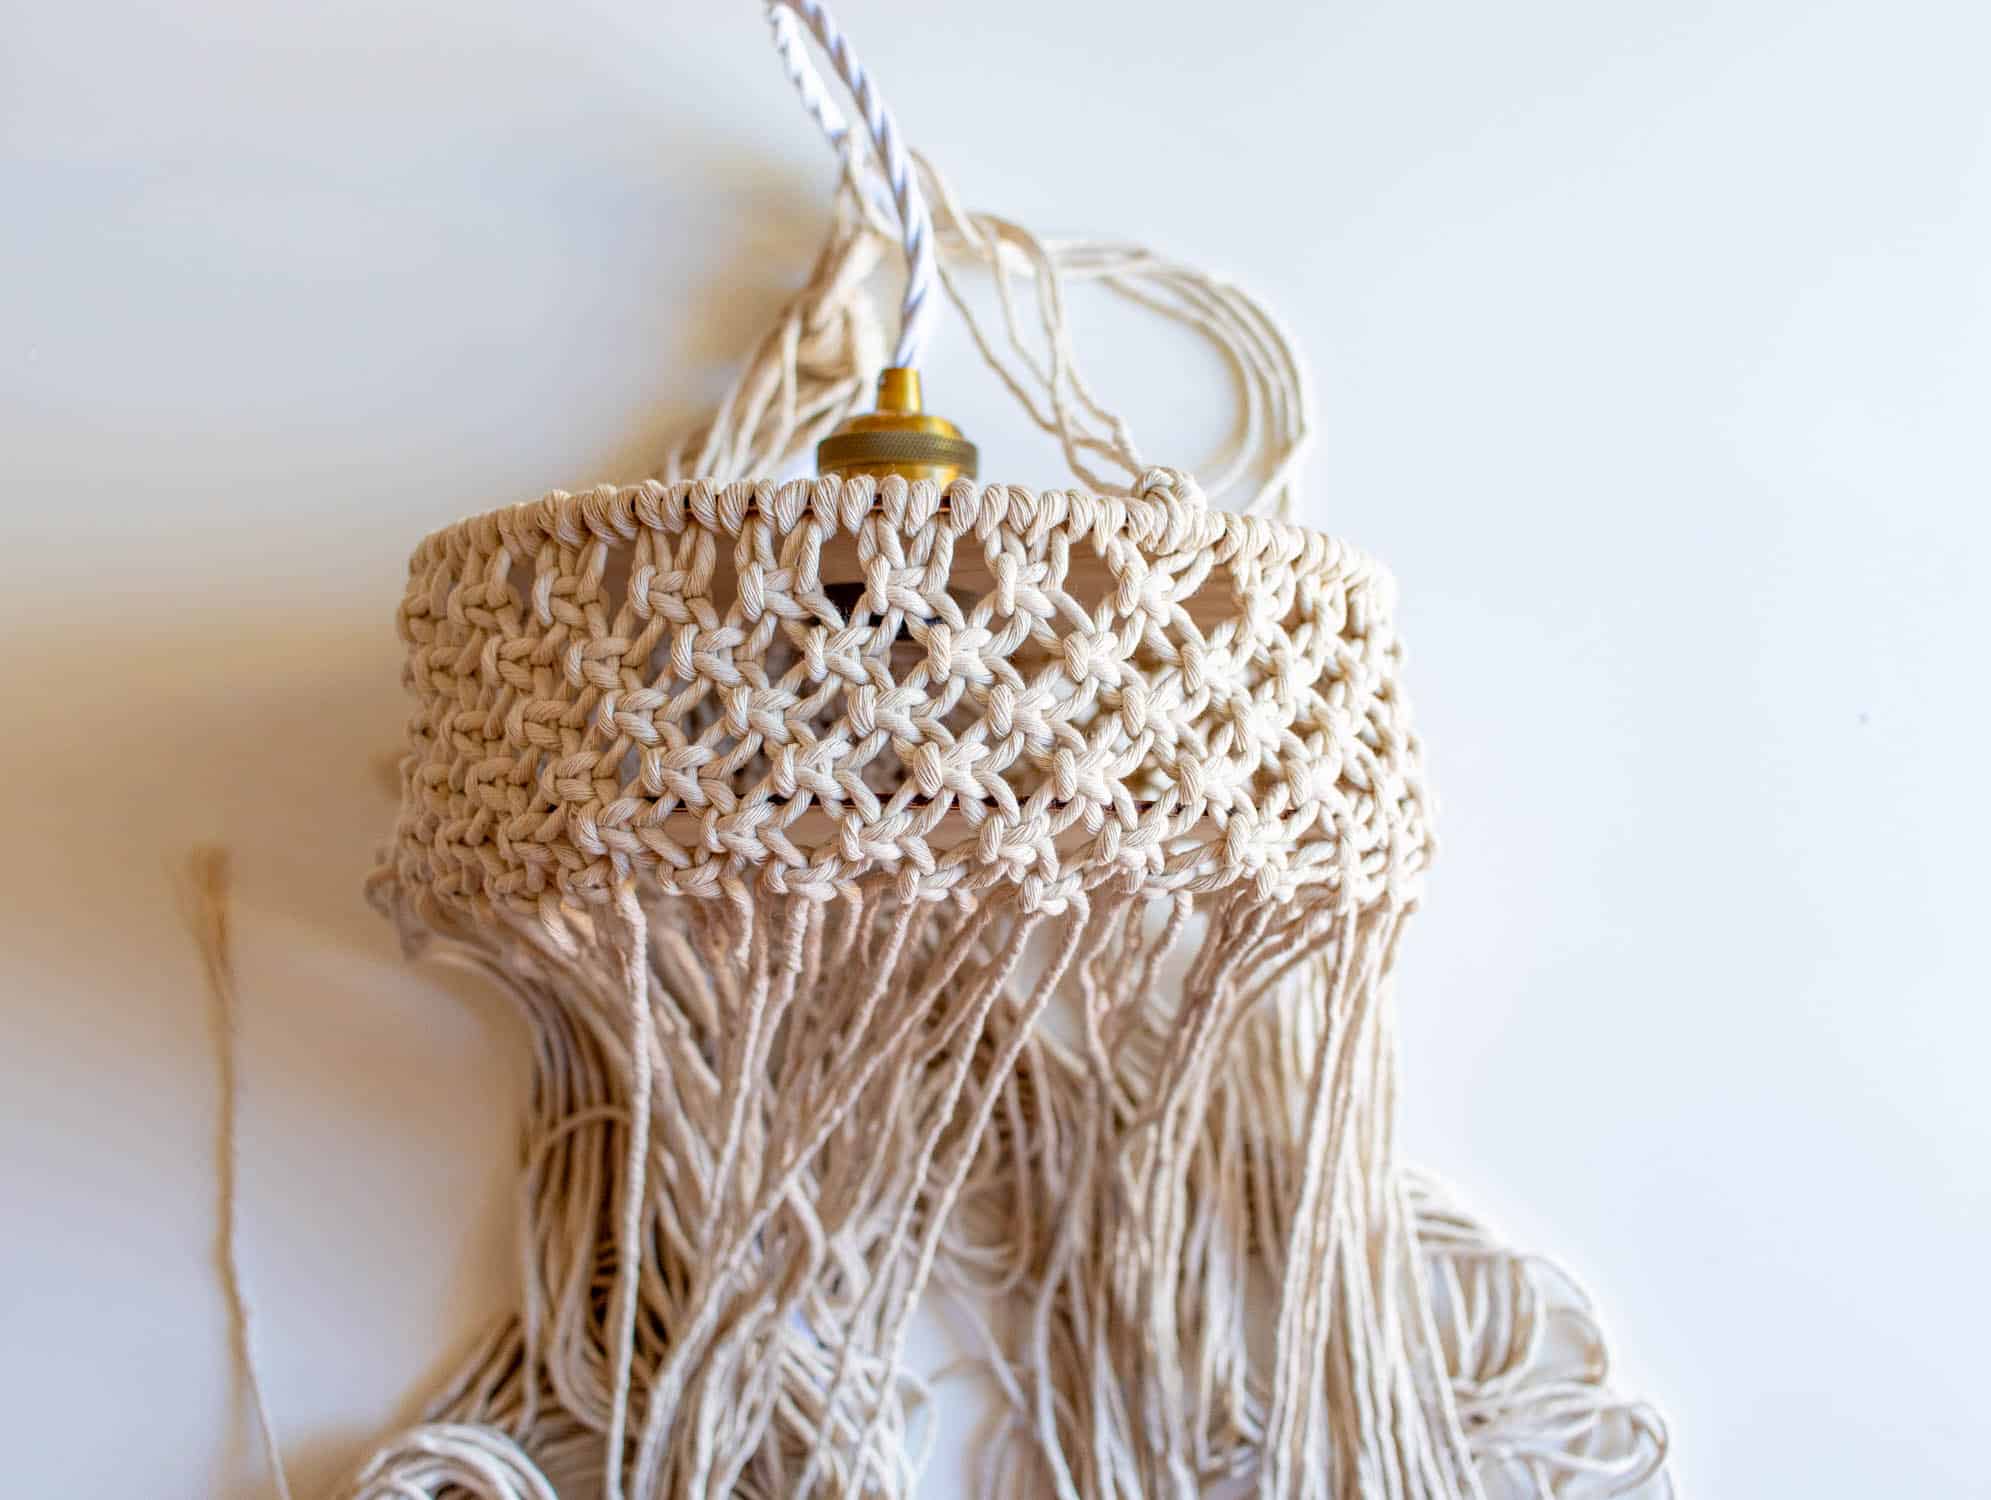
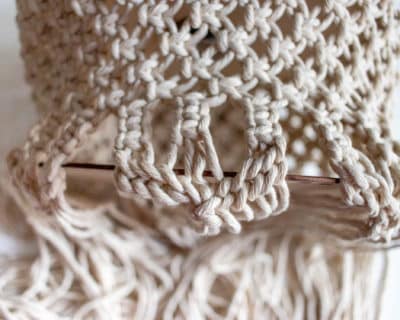
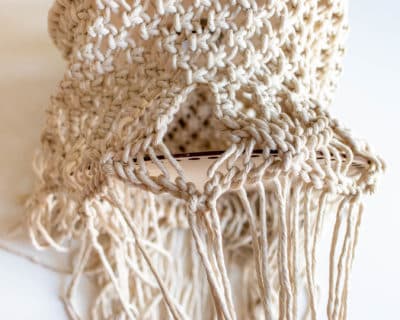
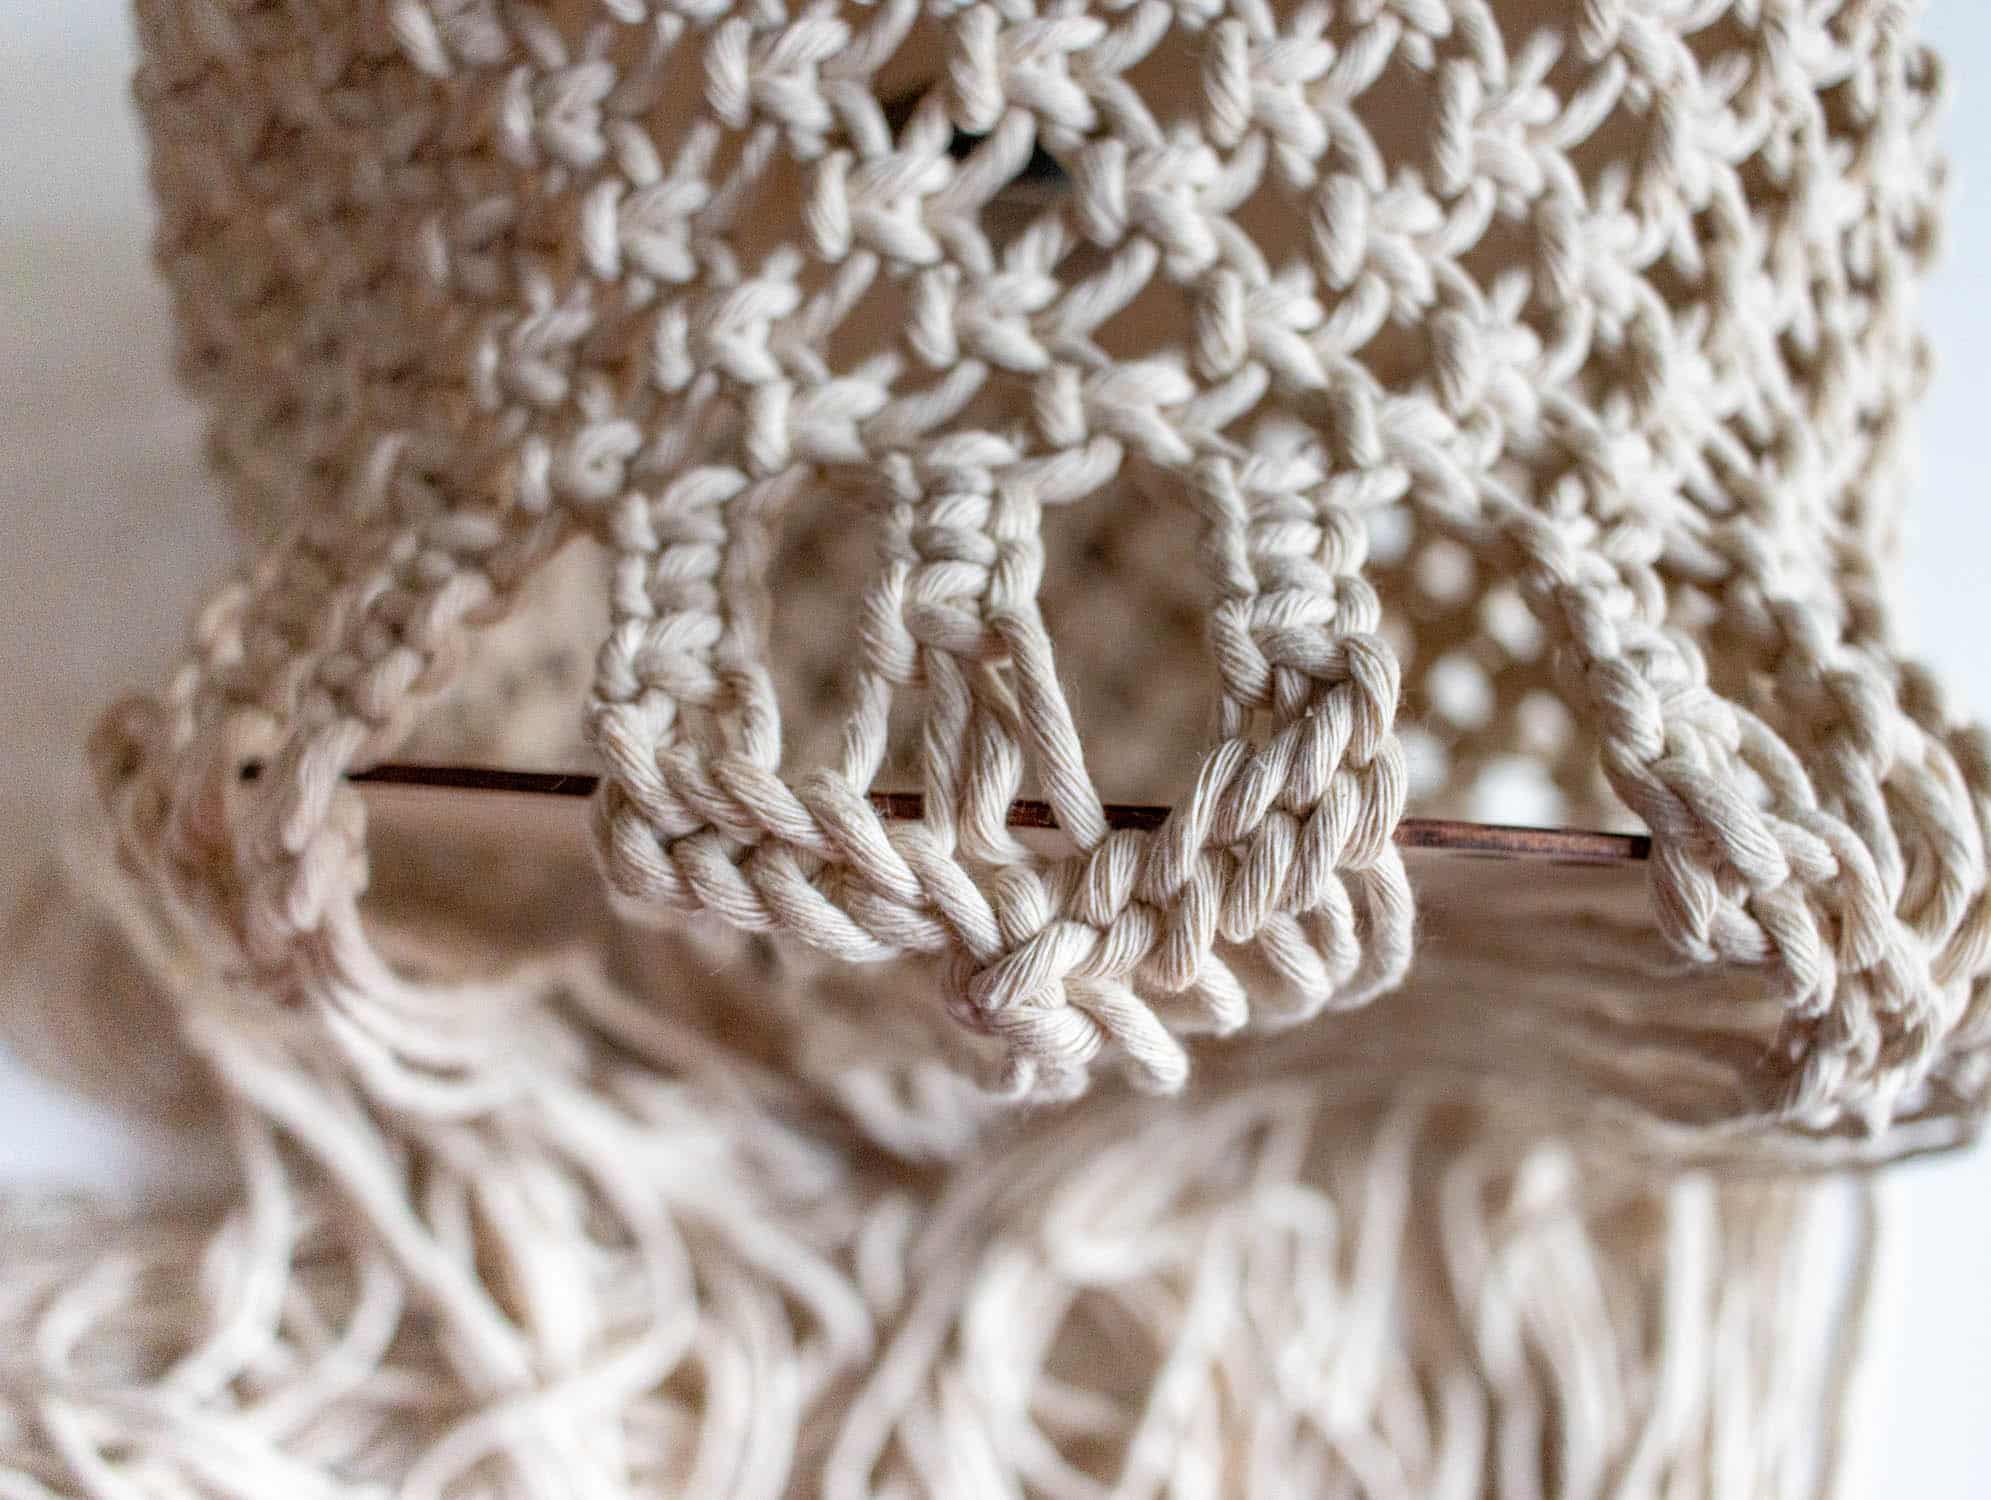
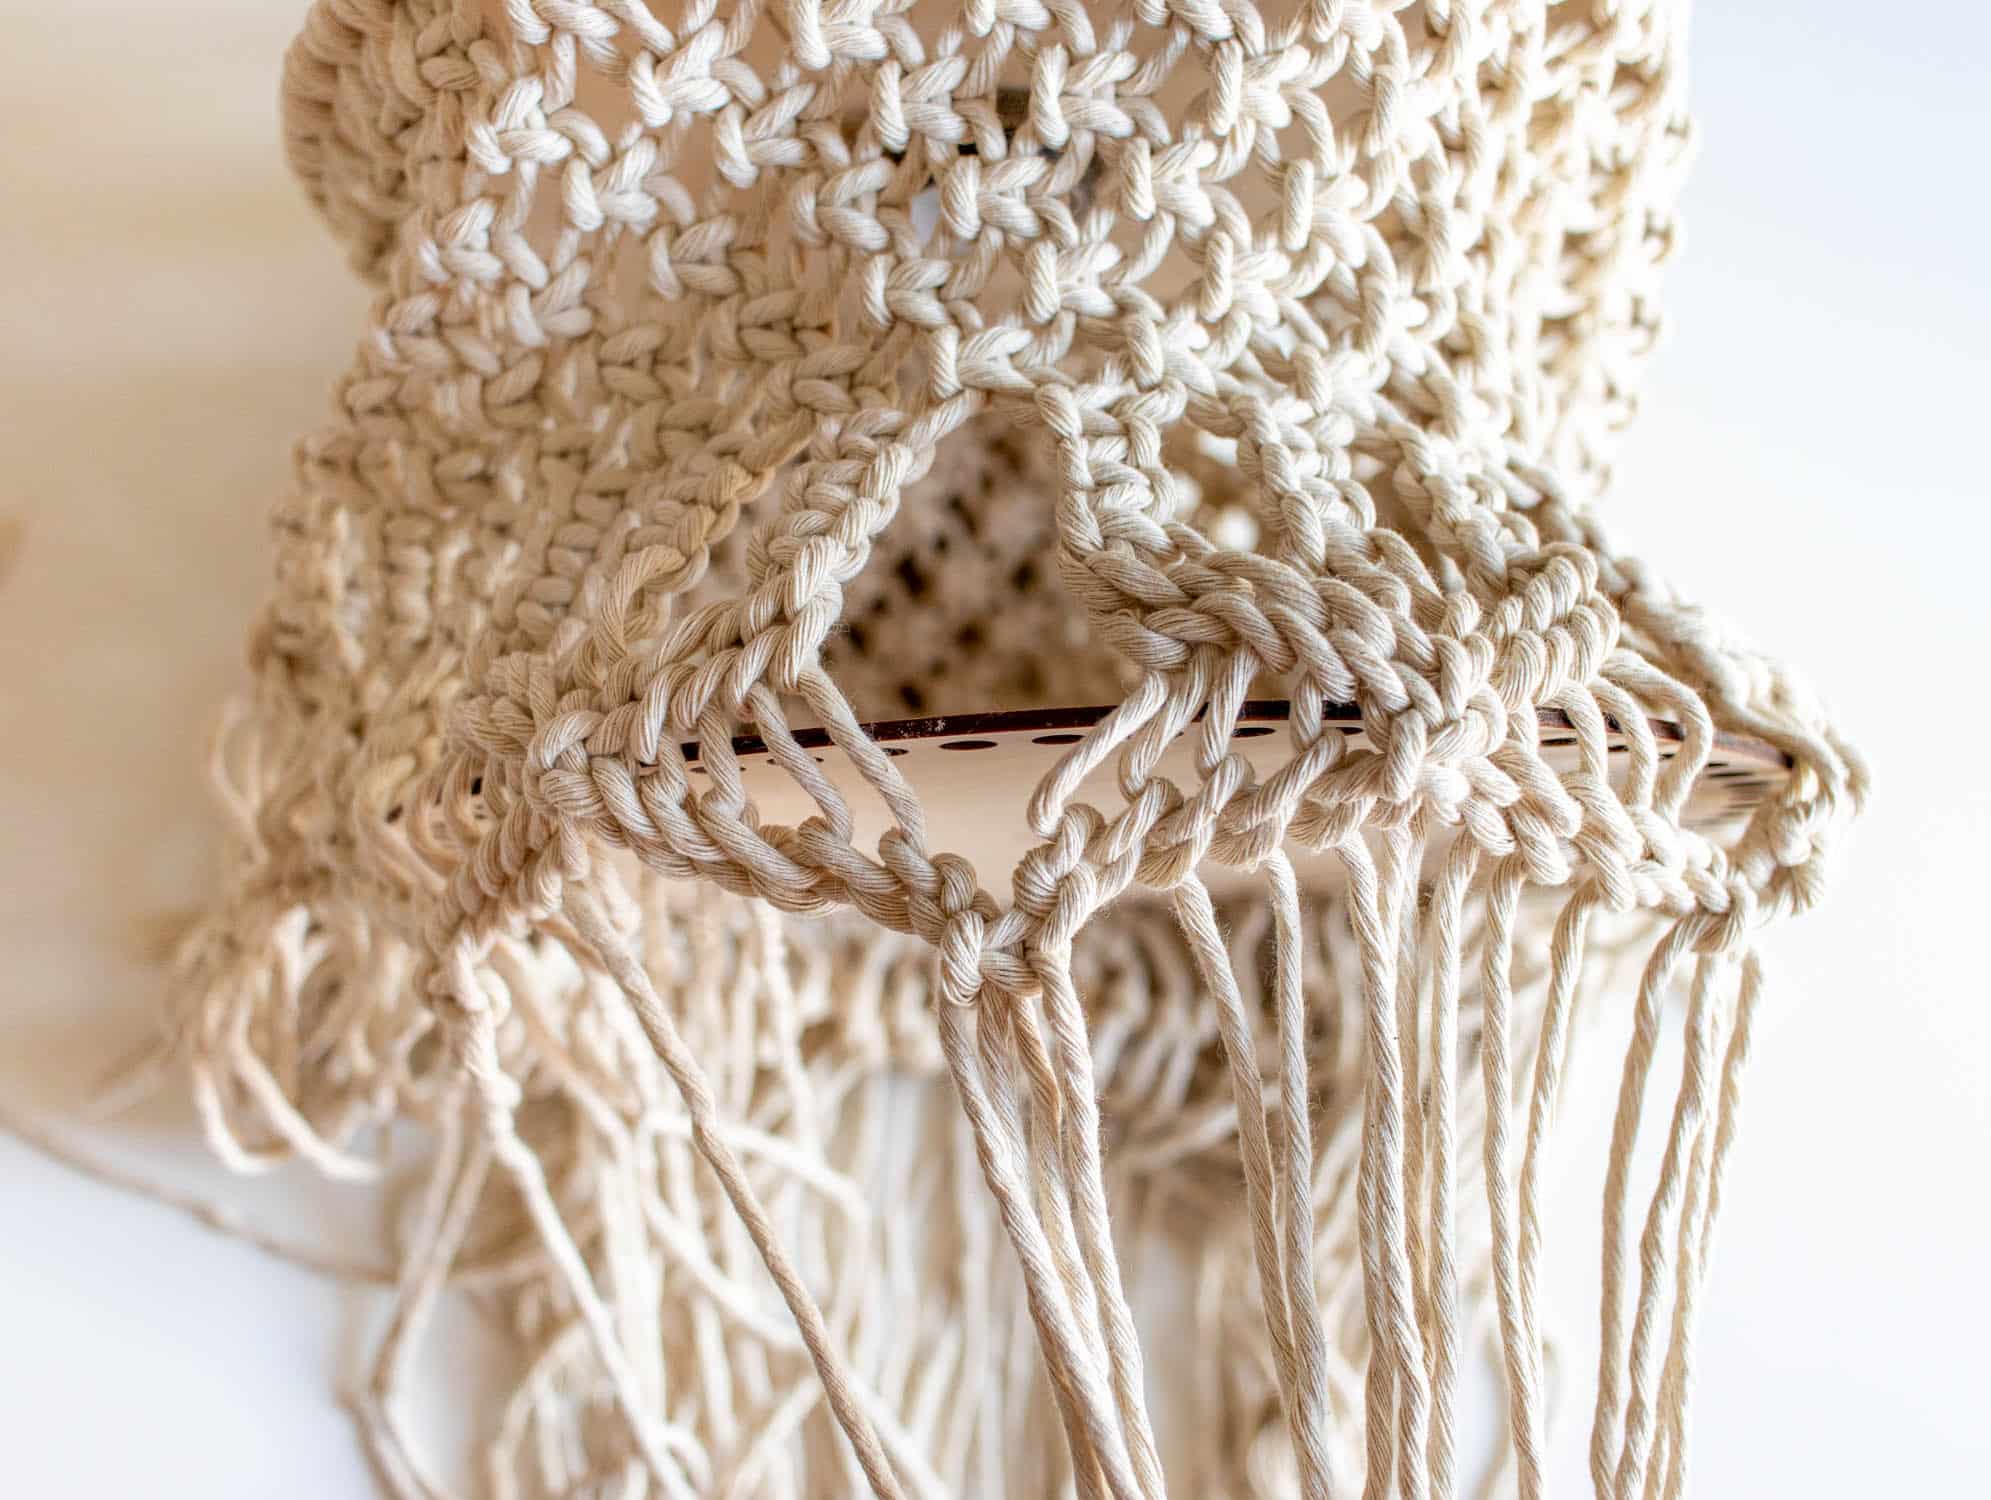
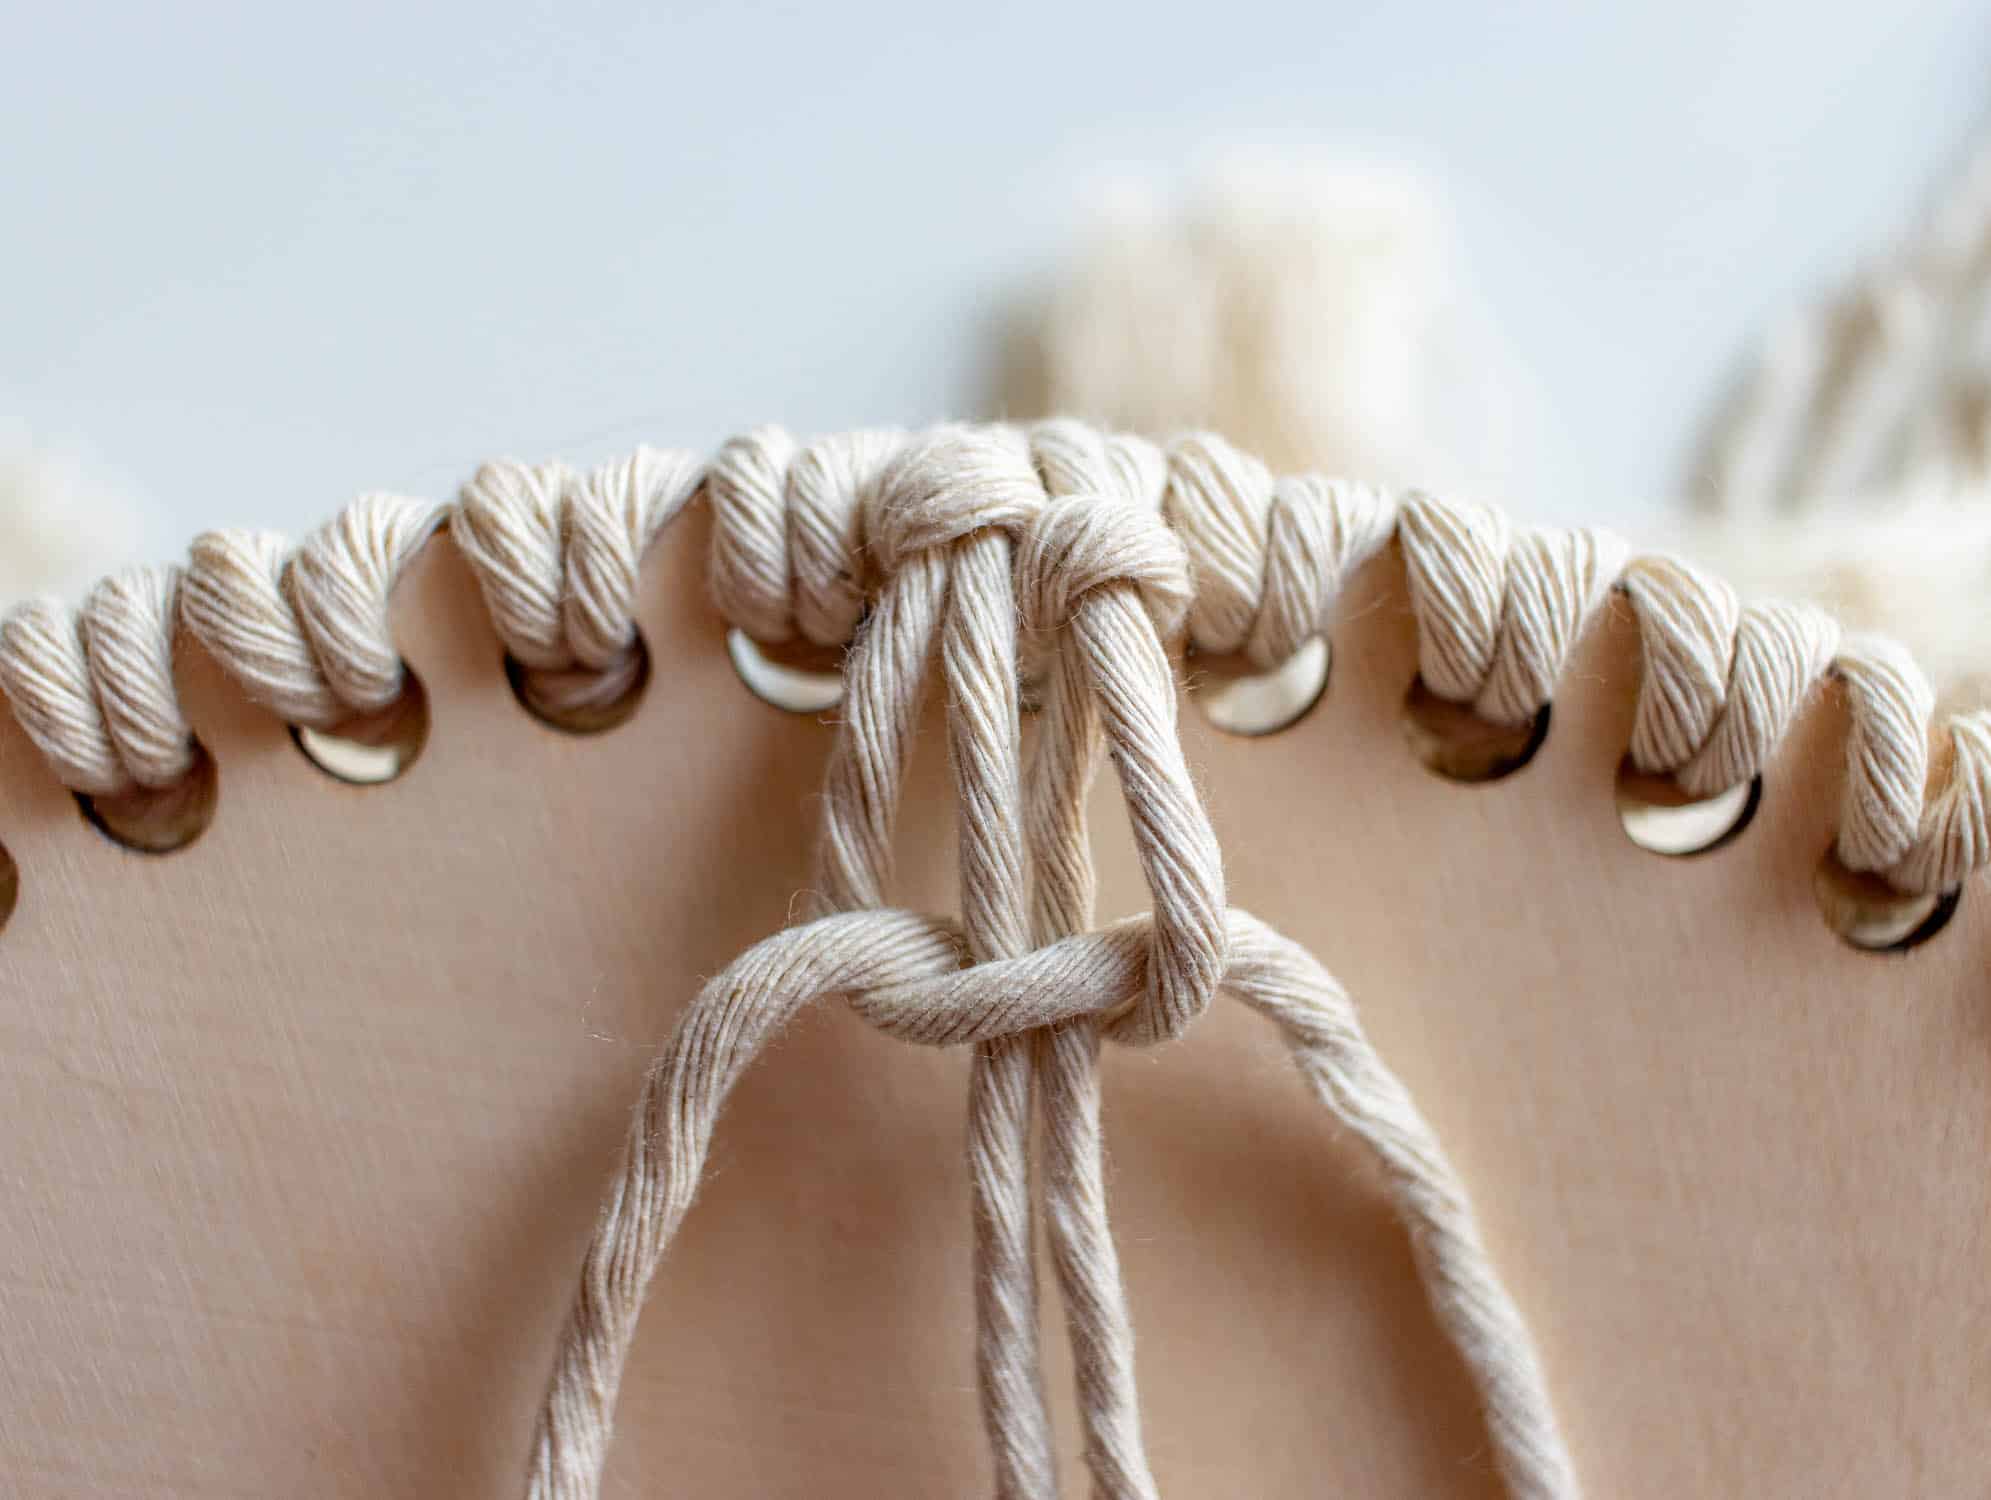
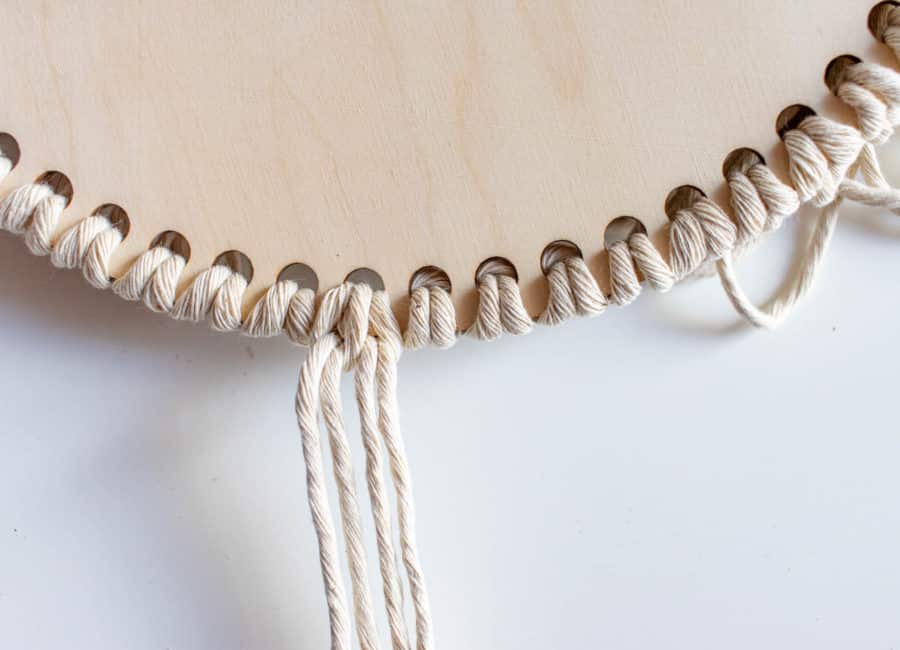
- Begin with a row of square knots made from two working threads and two guide threads. Start with a pair of threads to the right and left of one of the holes left open. Always place the figure 8 knitting needle between the base and the knot to ensure that all distances are equal.
- Now tie another row of square knots underneath with an offset. Use the knitting needle as a spacer here too.
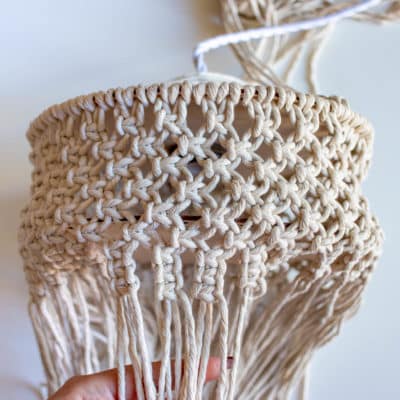
- Repeat rows 1 and 2 2 more times. You now have a net pattern of 6 rows Cross knot.
- Now tie 3 square knots underneath each other, again offset from the previous row.
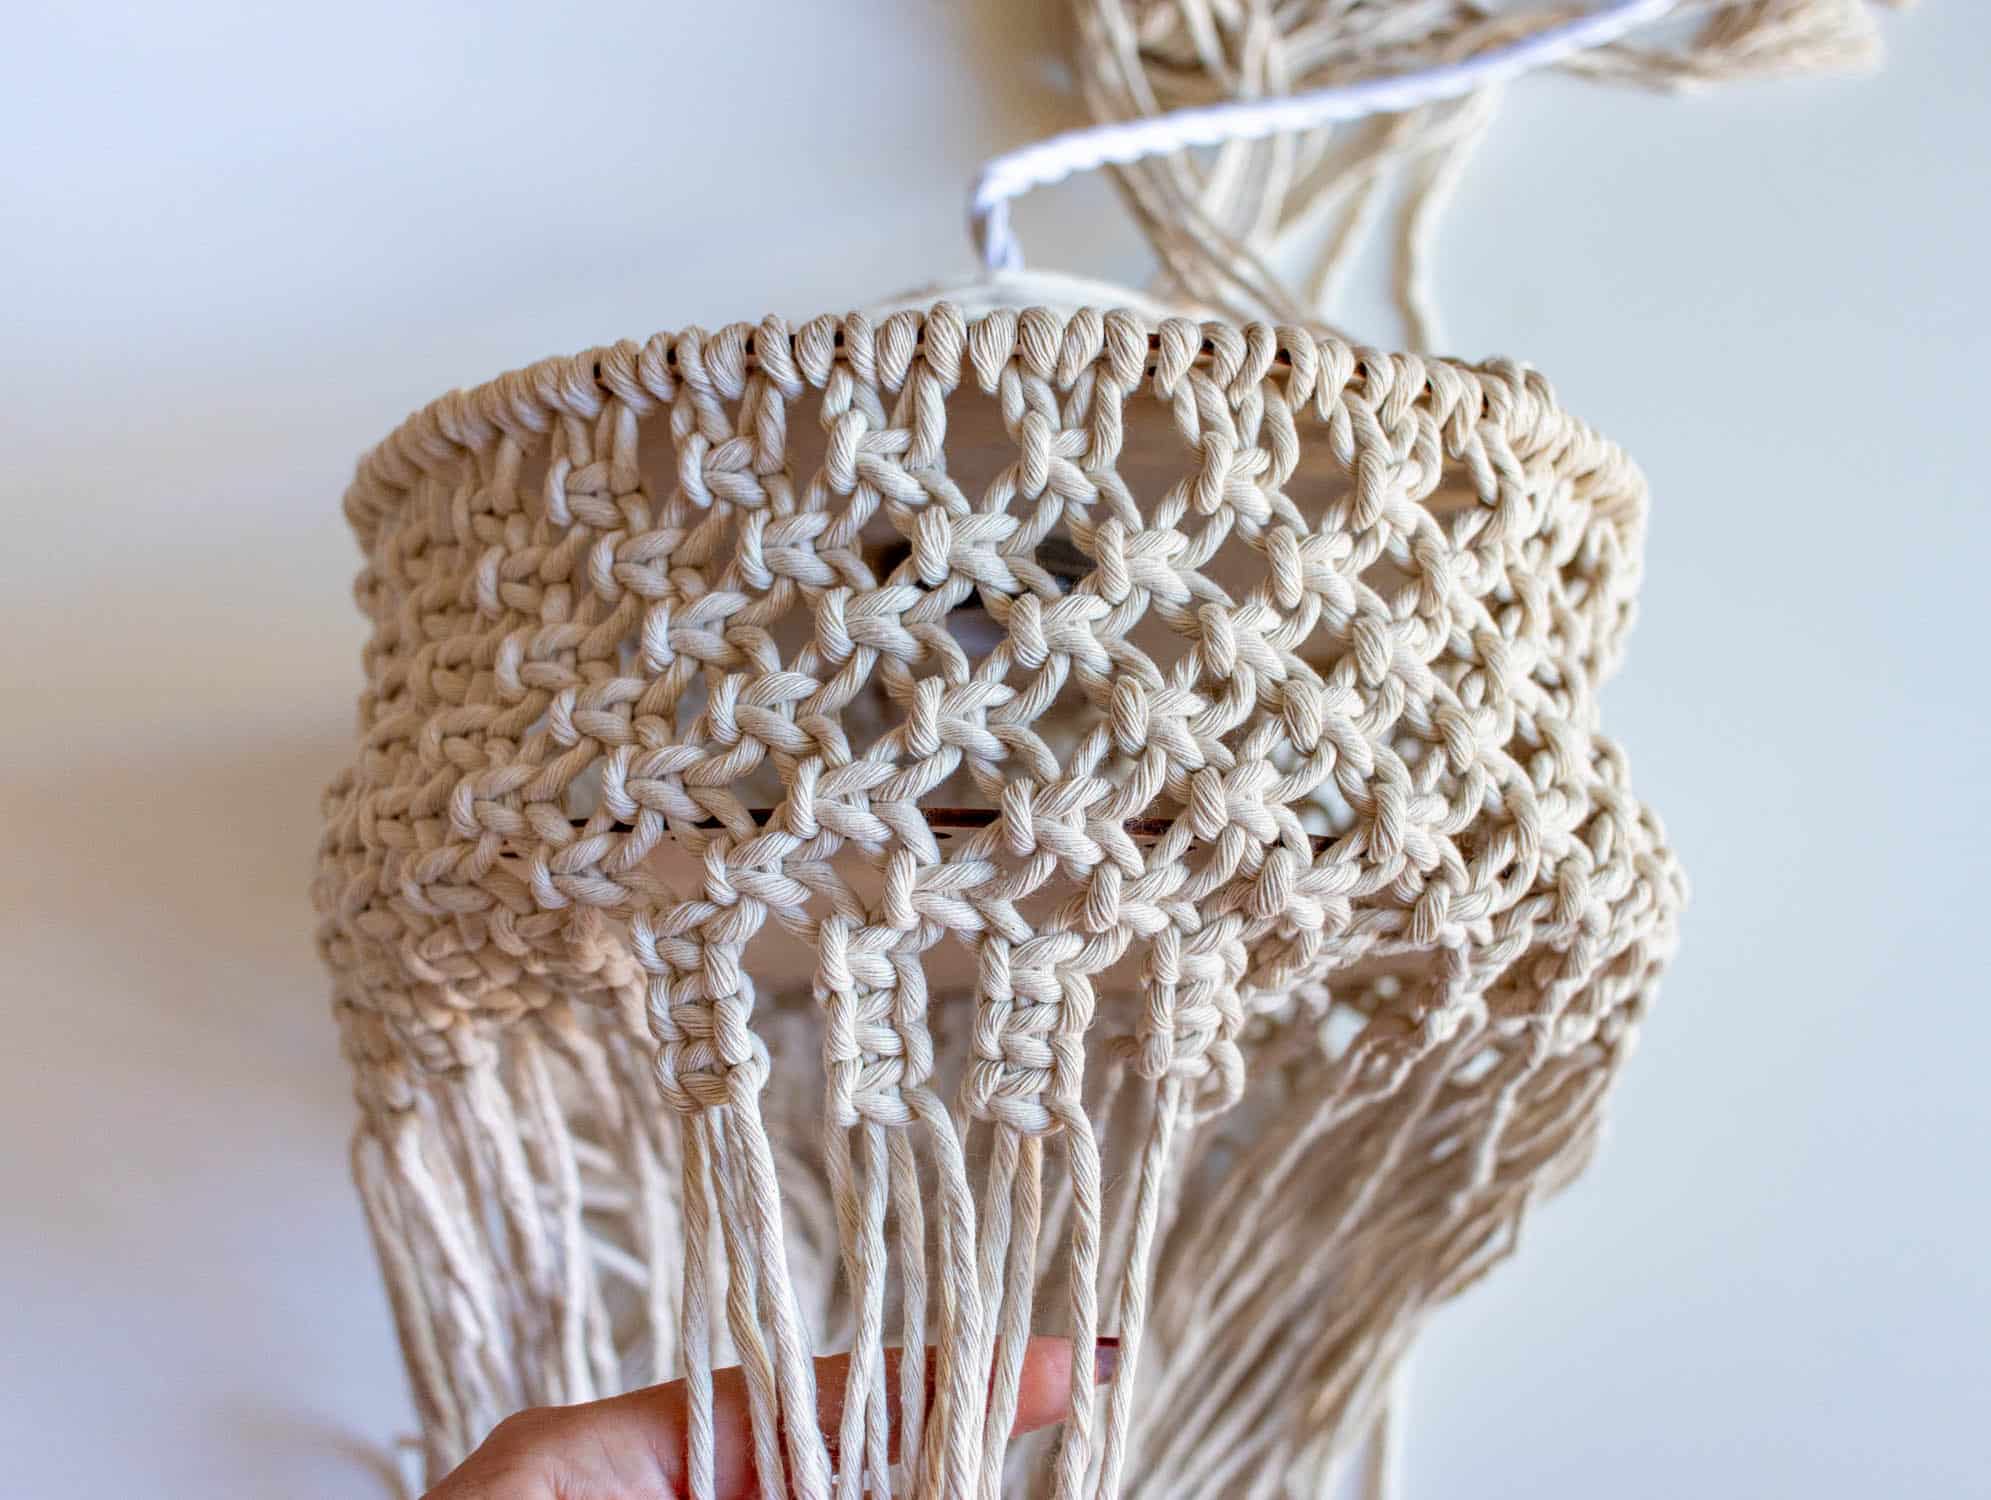
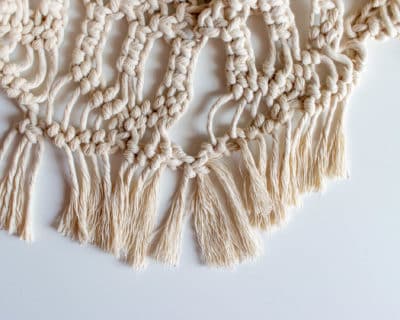
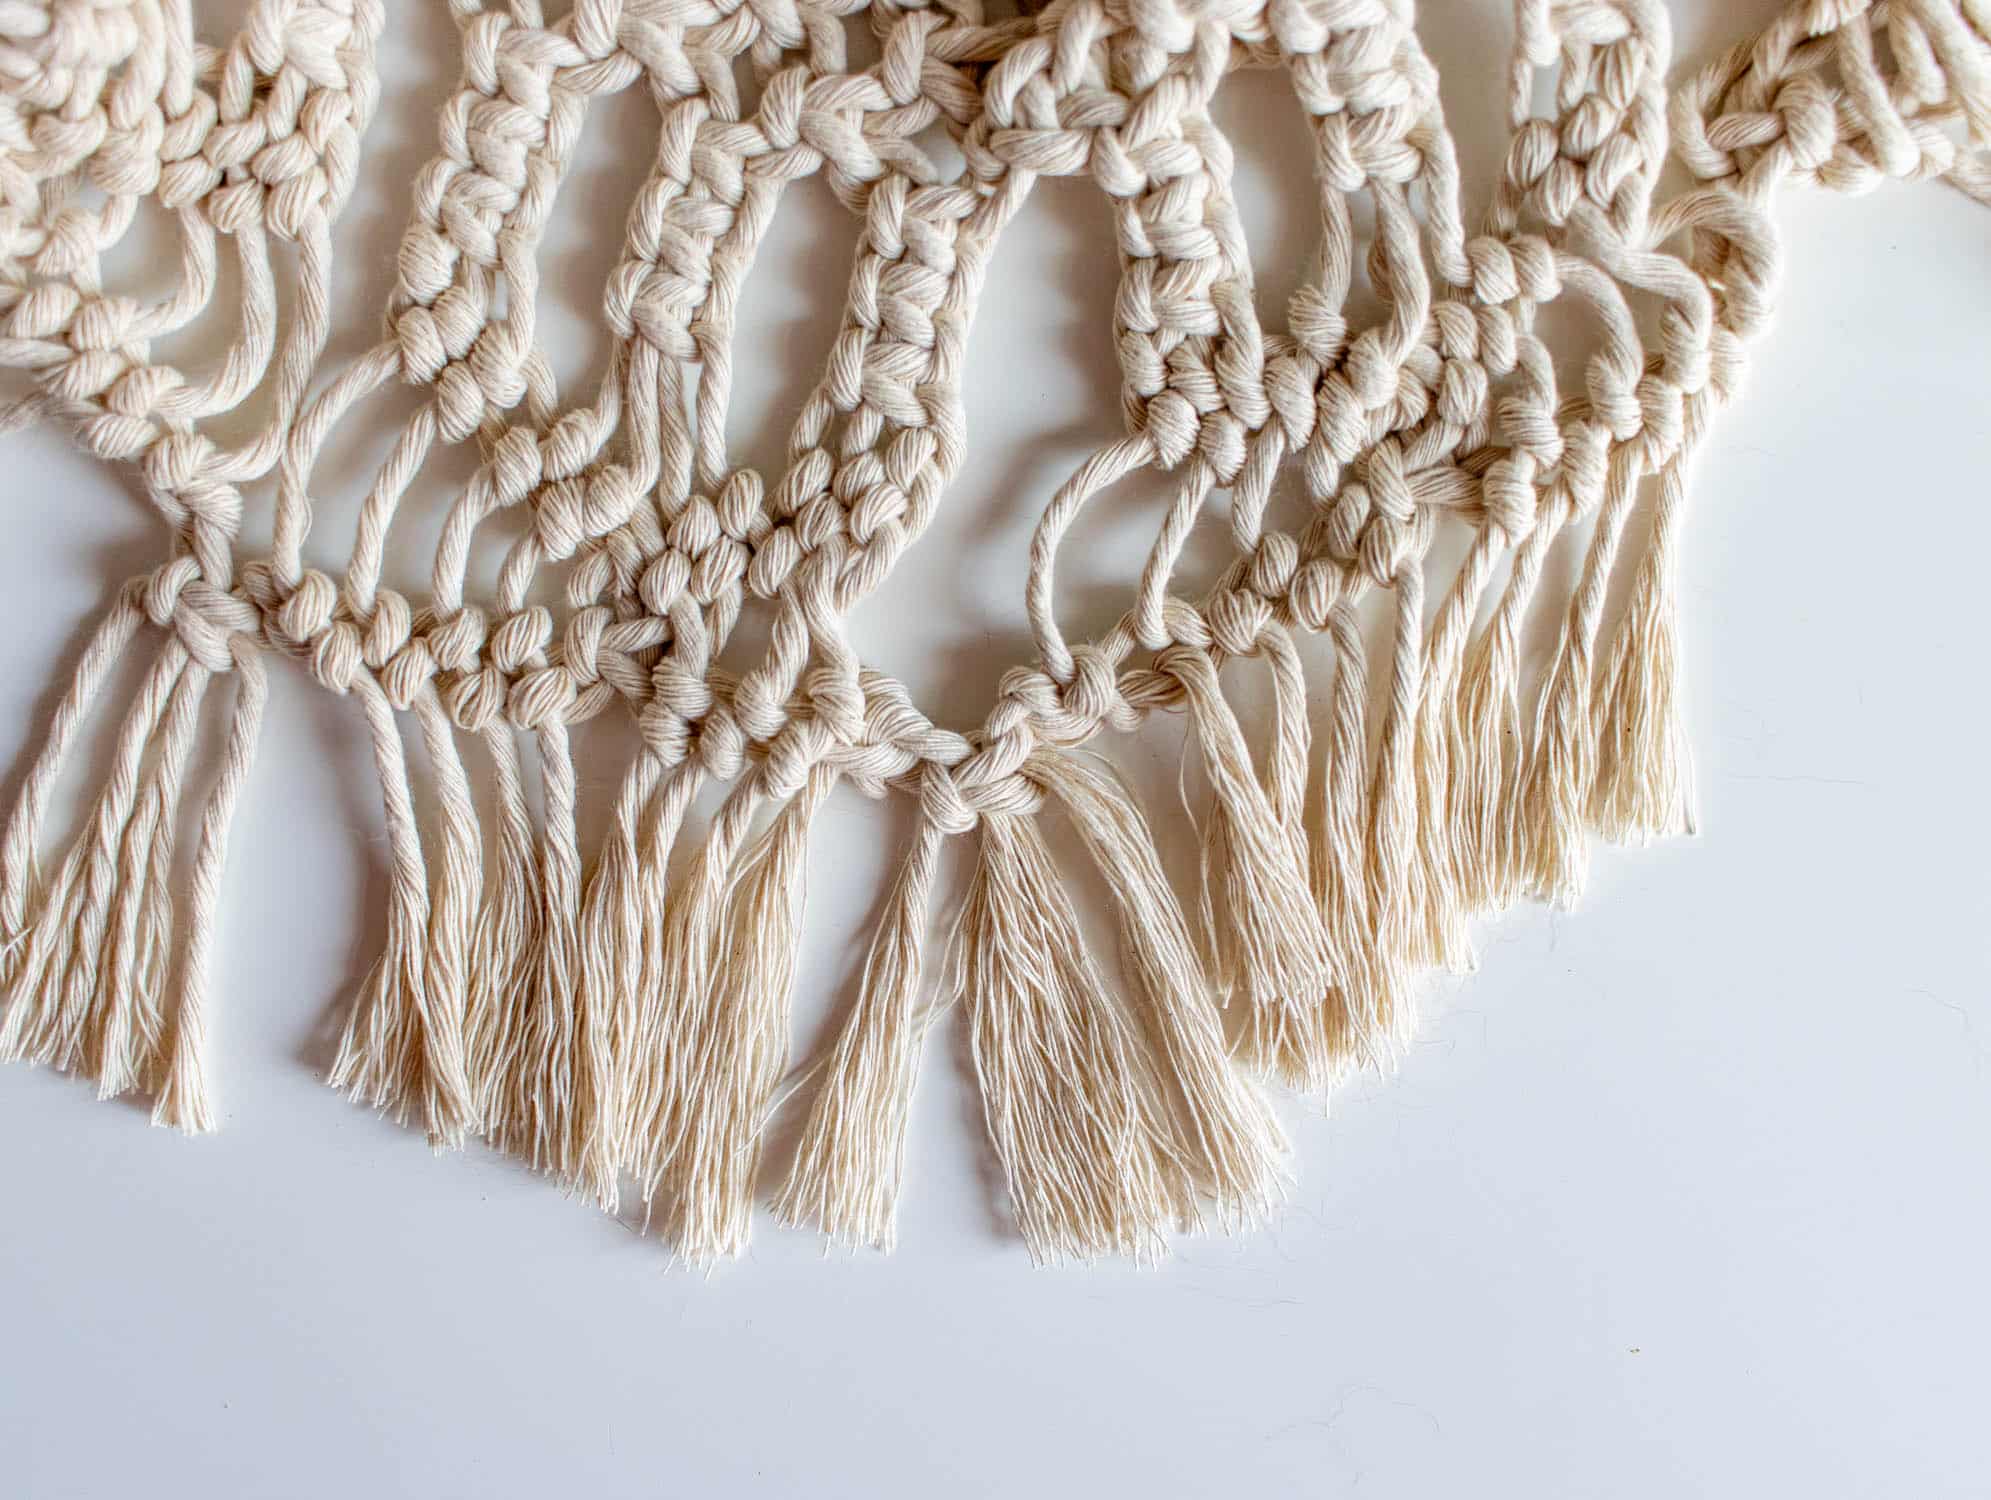
- Now gather groups of 3×4 threads together. Tie a two-row, falling half hitch triangle in each of these groups over over 10.
- Tie a square knot from the the centre 4 threads of each group into a square knot.
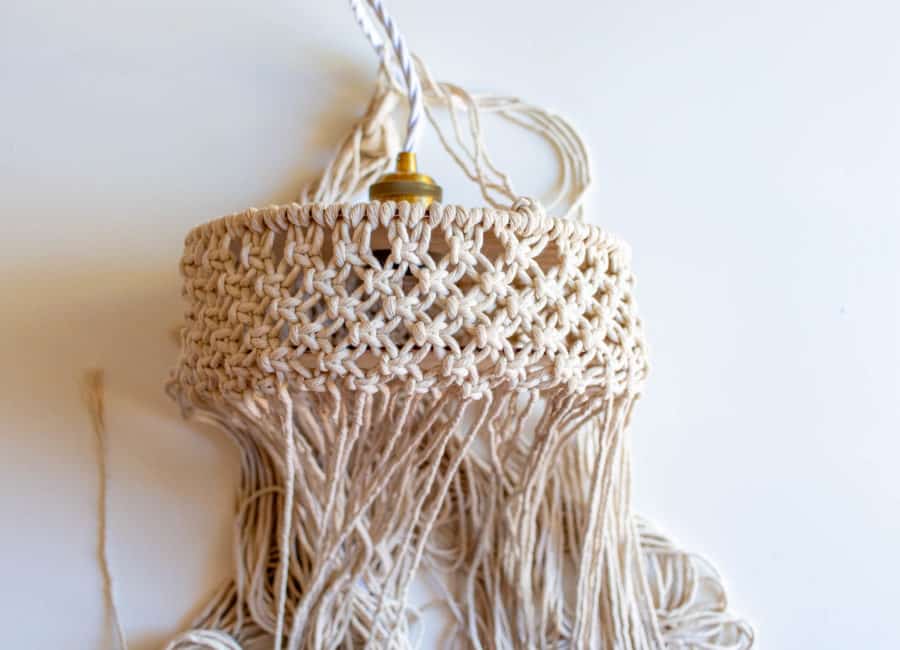
- Now, starting with the working threads of the cross knot, knot a double-row, ascending half-triangle. half hitch triangle.
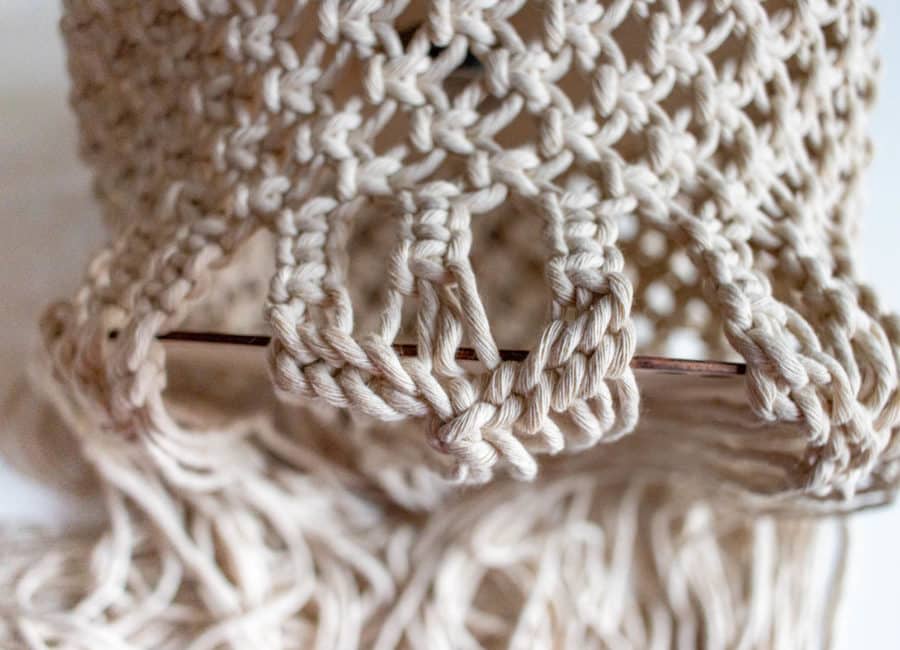
- Now, starting with the working threads of the cross knot, knot a double-row, ascending half-triangle. half hitch triangle.

- Now join the groups of threads by tying the two outer the two outer threads into a connecting square knot.
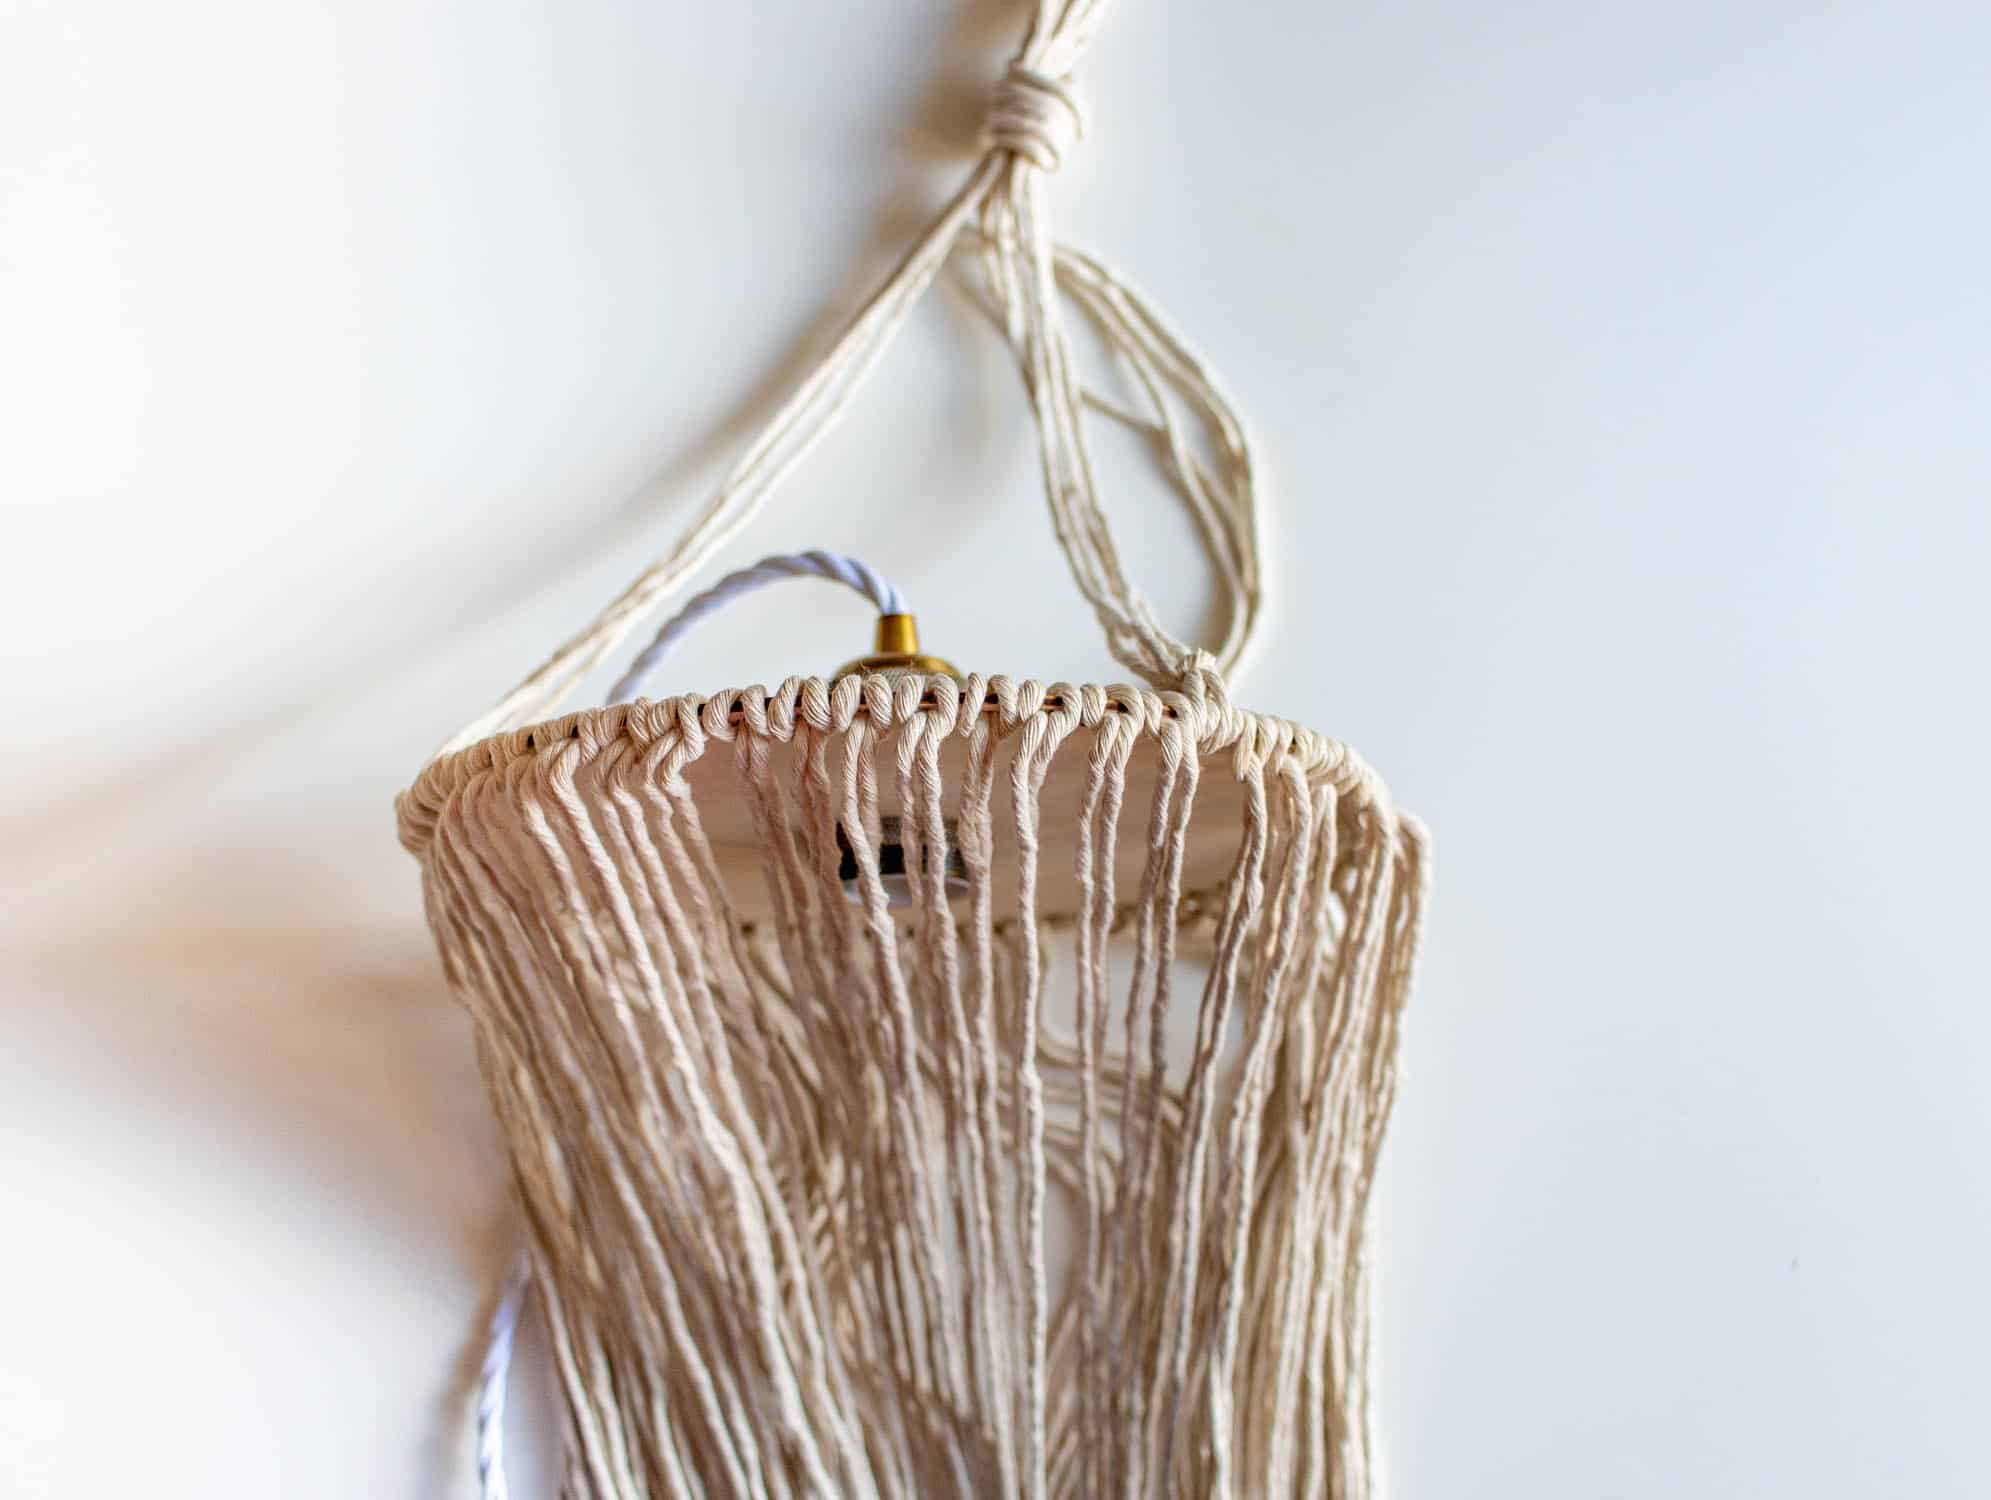
- Cut the strands back to a length of 7.5cm and comb them out. out.
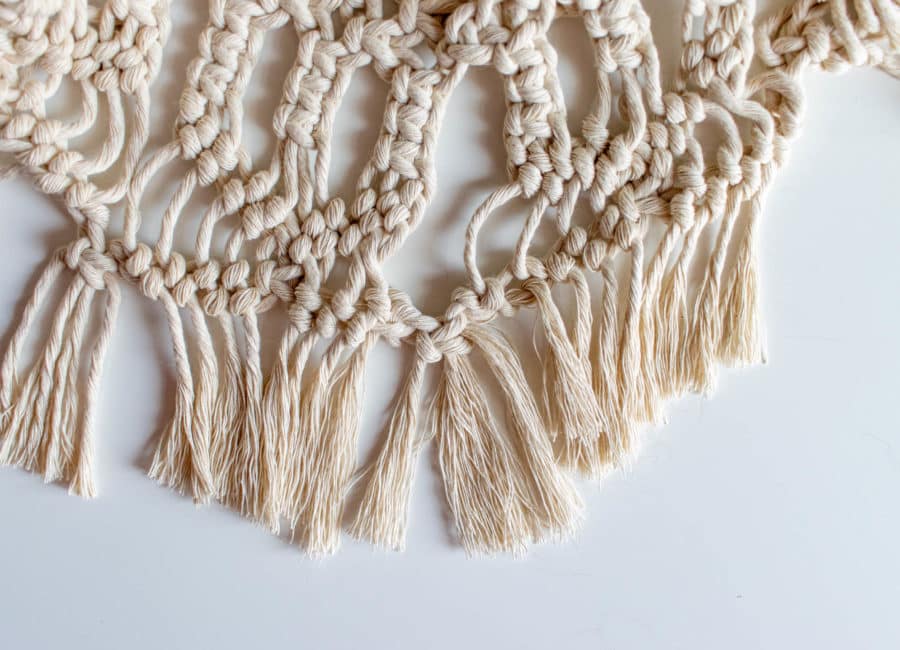
- Now join the groups of threads by tying the two outer the two outer threads into a connecting square knot.
- Cut the strands back to a length of 7.5cm and comb them out. out.
5. knot the bracket
- The holder is only made for a hanging lampshade. If you are making a table lamp, you can now mount the lampshade.
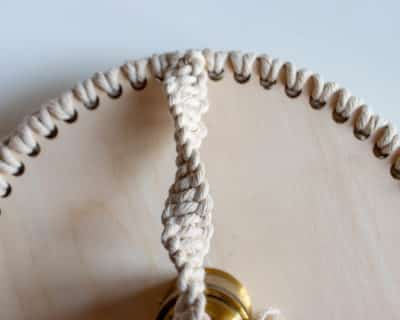
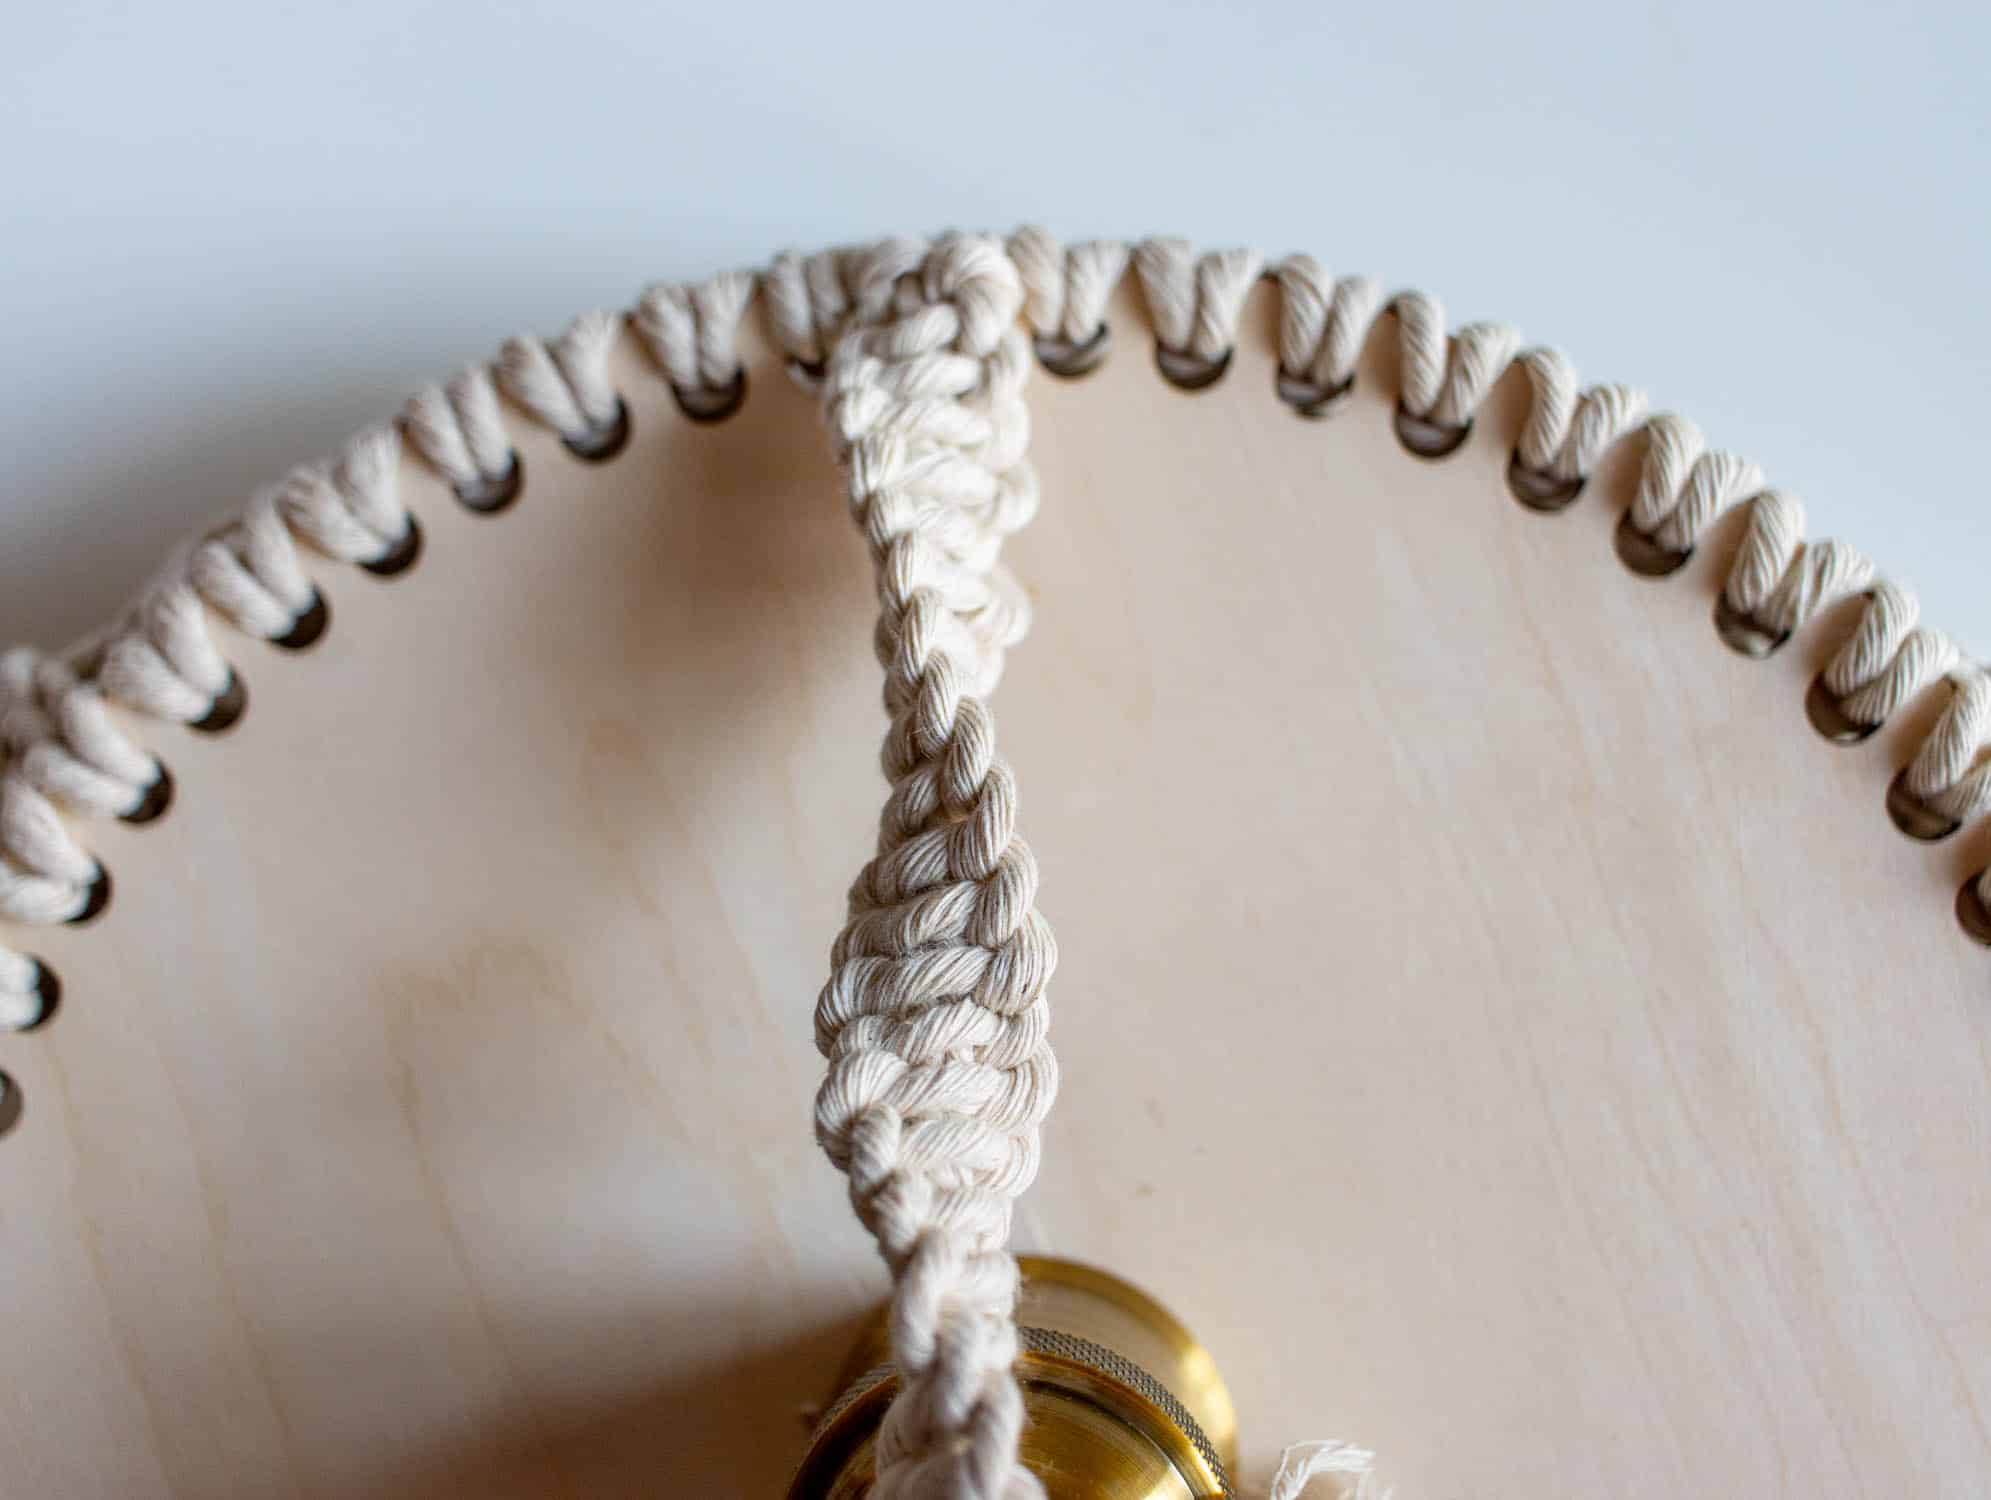
- Now make neck knot spirals of 23 knots each from the four threads that you have fixed in the 3 holes in between.
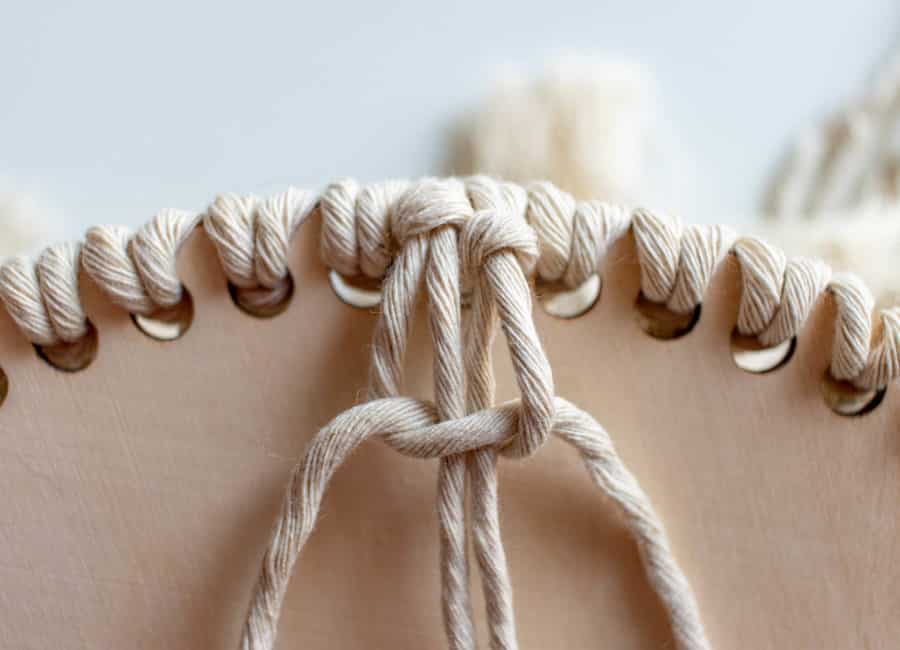
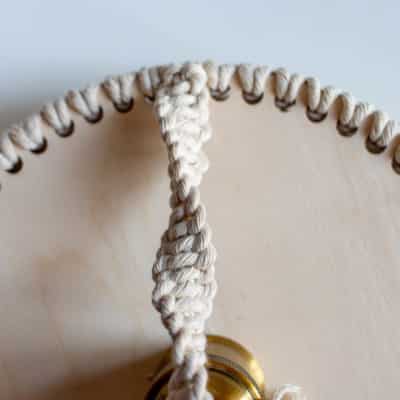
5. knot the bracket
- The holder is only made for a hanging lampshade. If you are making a table lamp, you can now mount the lampshade.
- Now make neck knot spirals of 23 knots each from the four threads that you have fixed in the 3 holes in between.
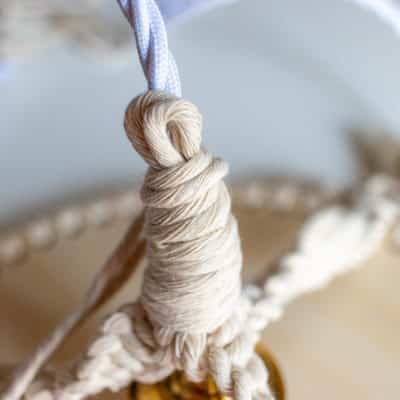
- If you want to hang the lampshade directly from the ceiling, keep tying until your spirals are the right length.
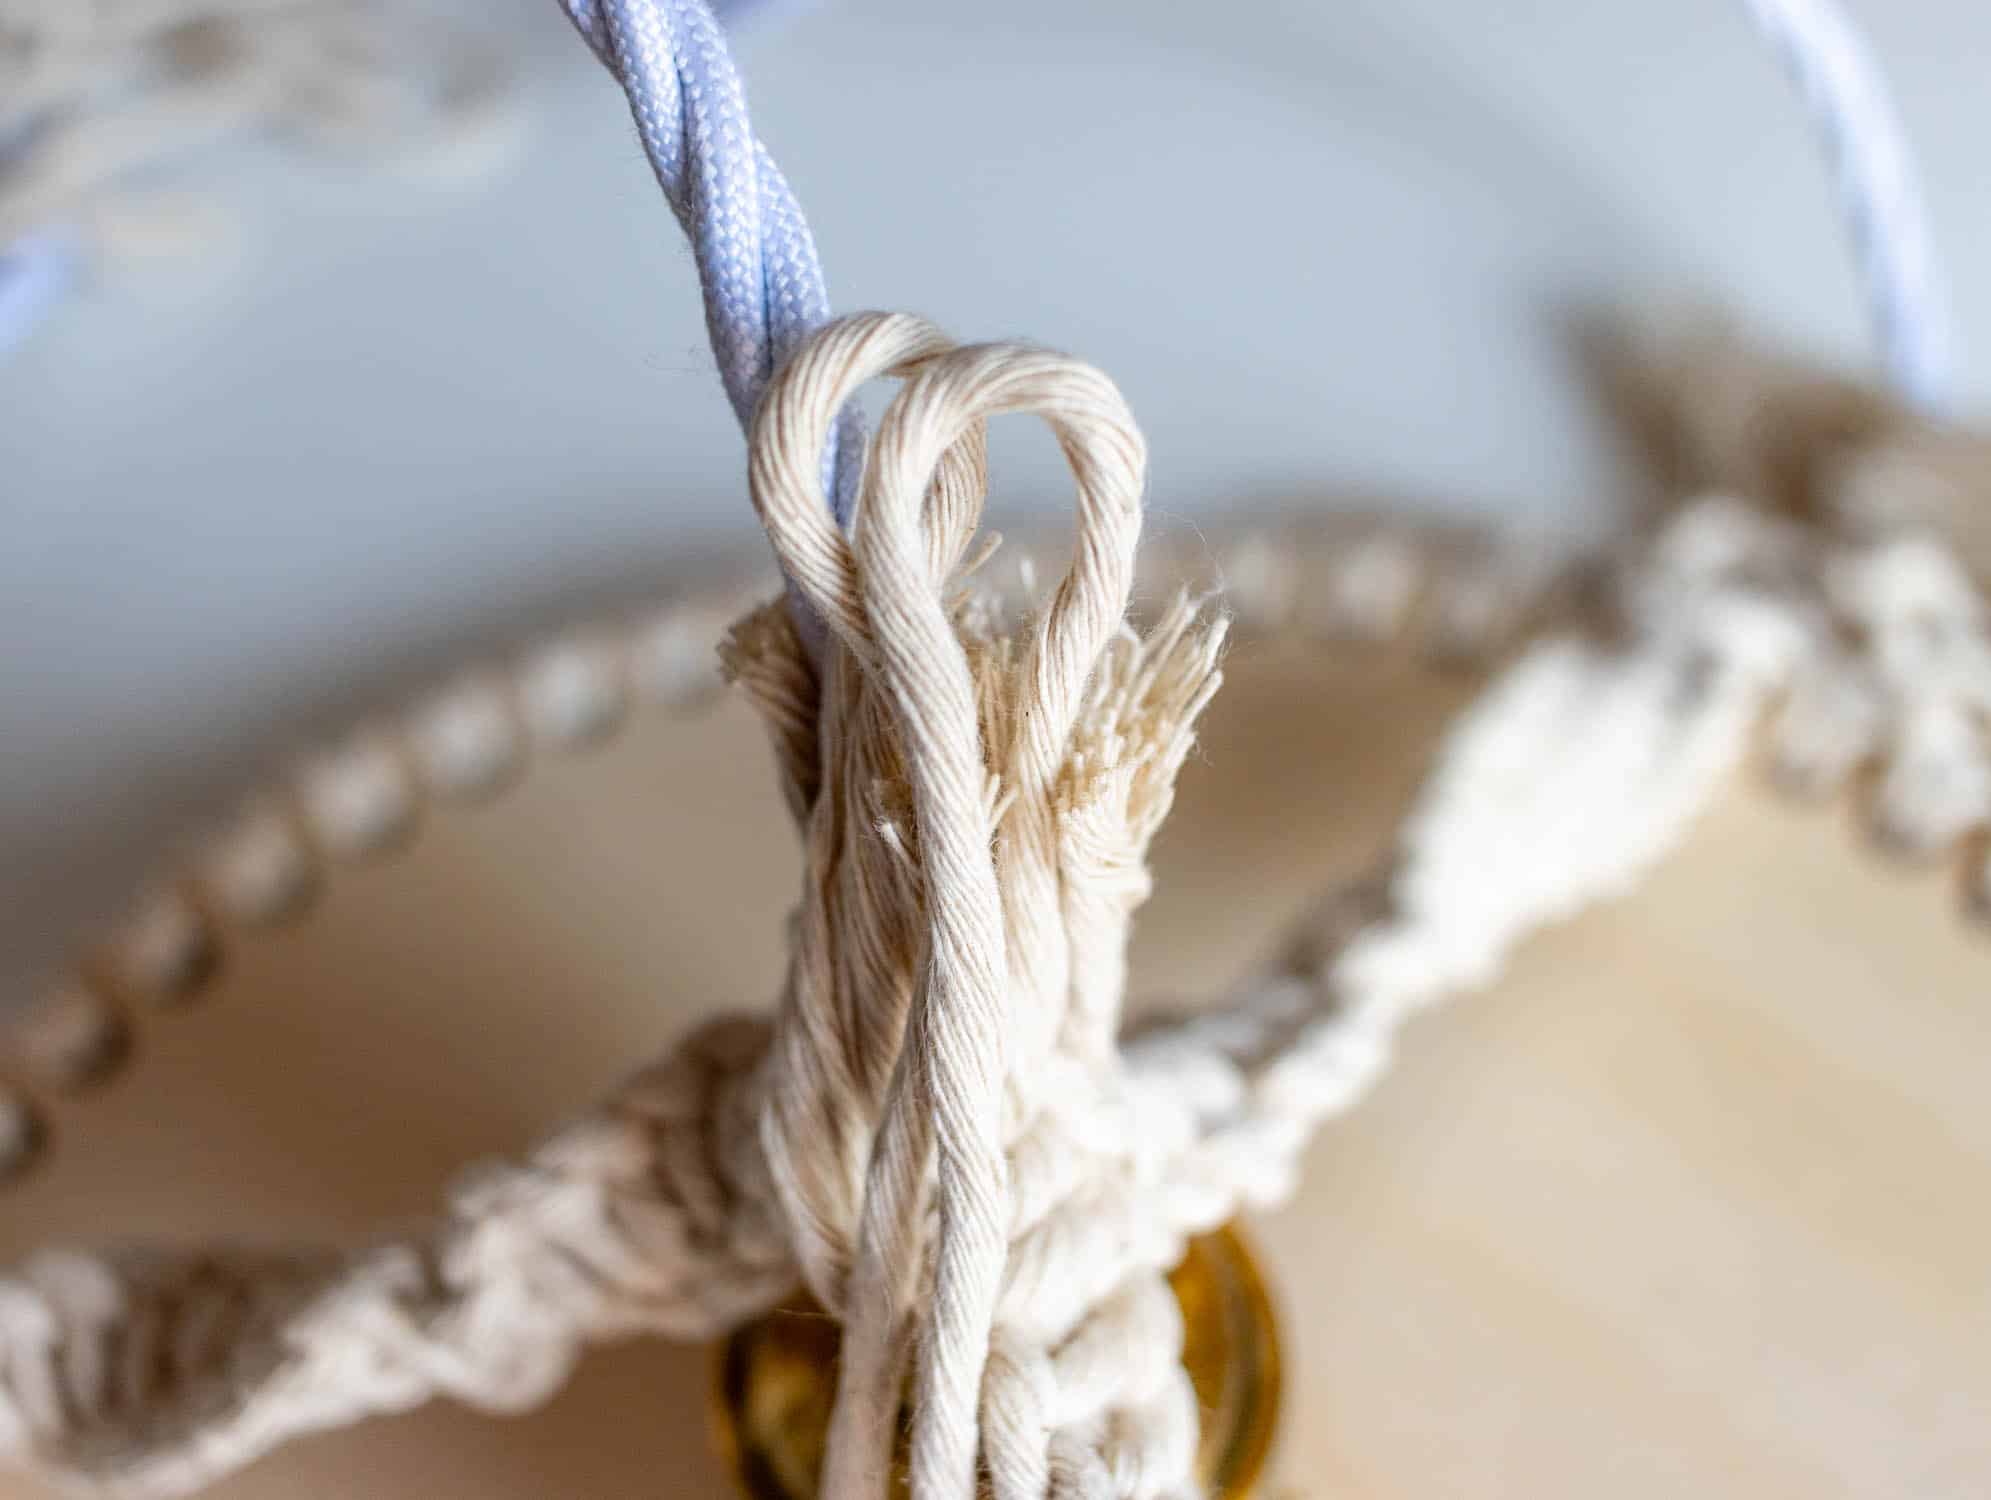
- Cut 10 of the 2 threads back to a length of 4 cm and arrange them evenly around the cable. The remaining two threads are laid as a loop that sticks out 1 cm above the thread ends.
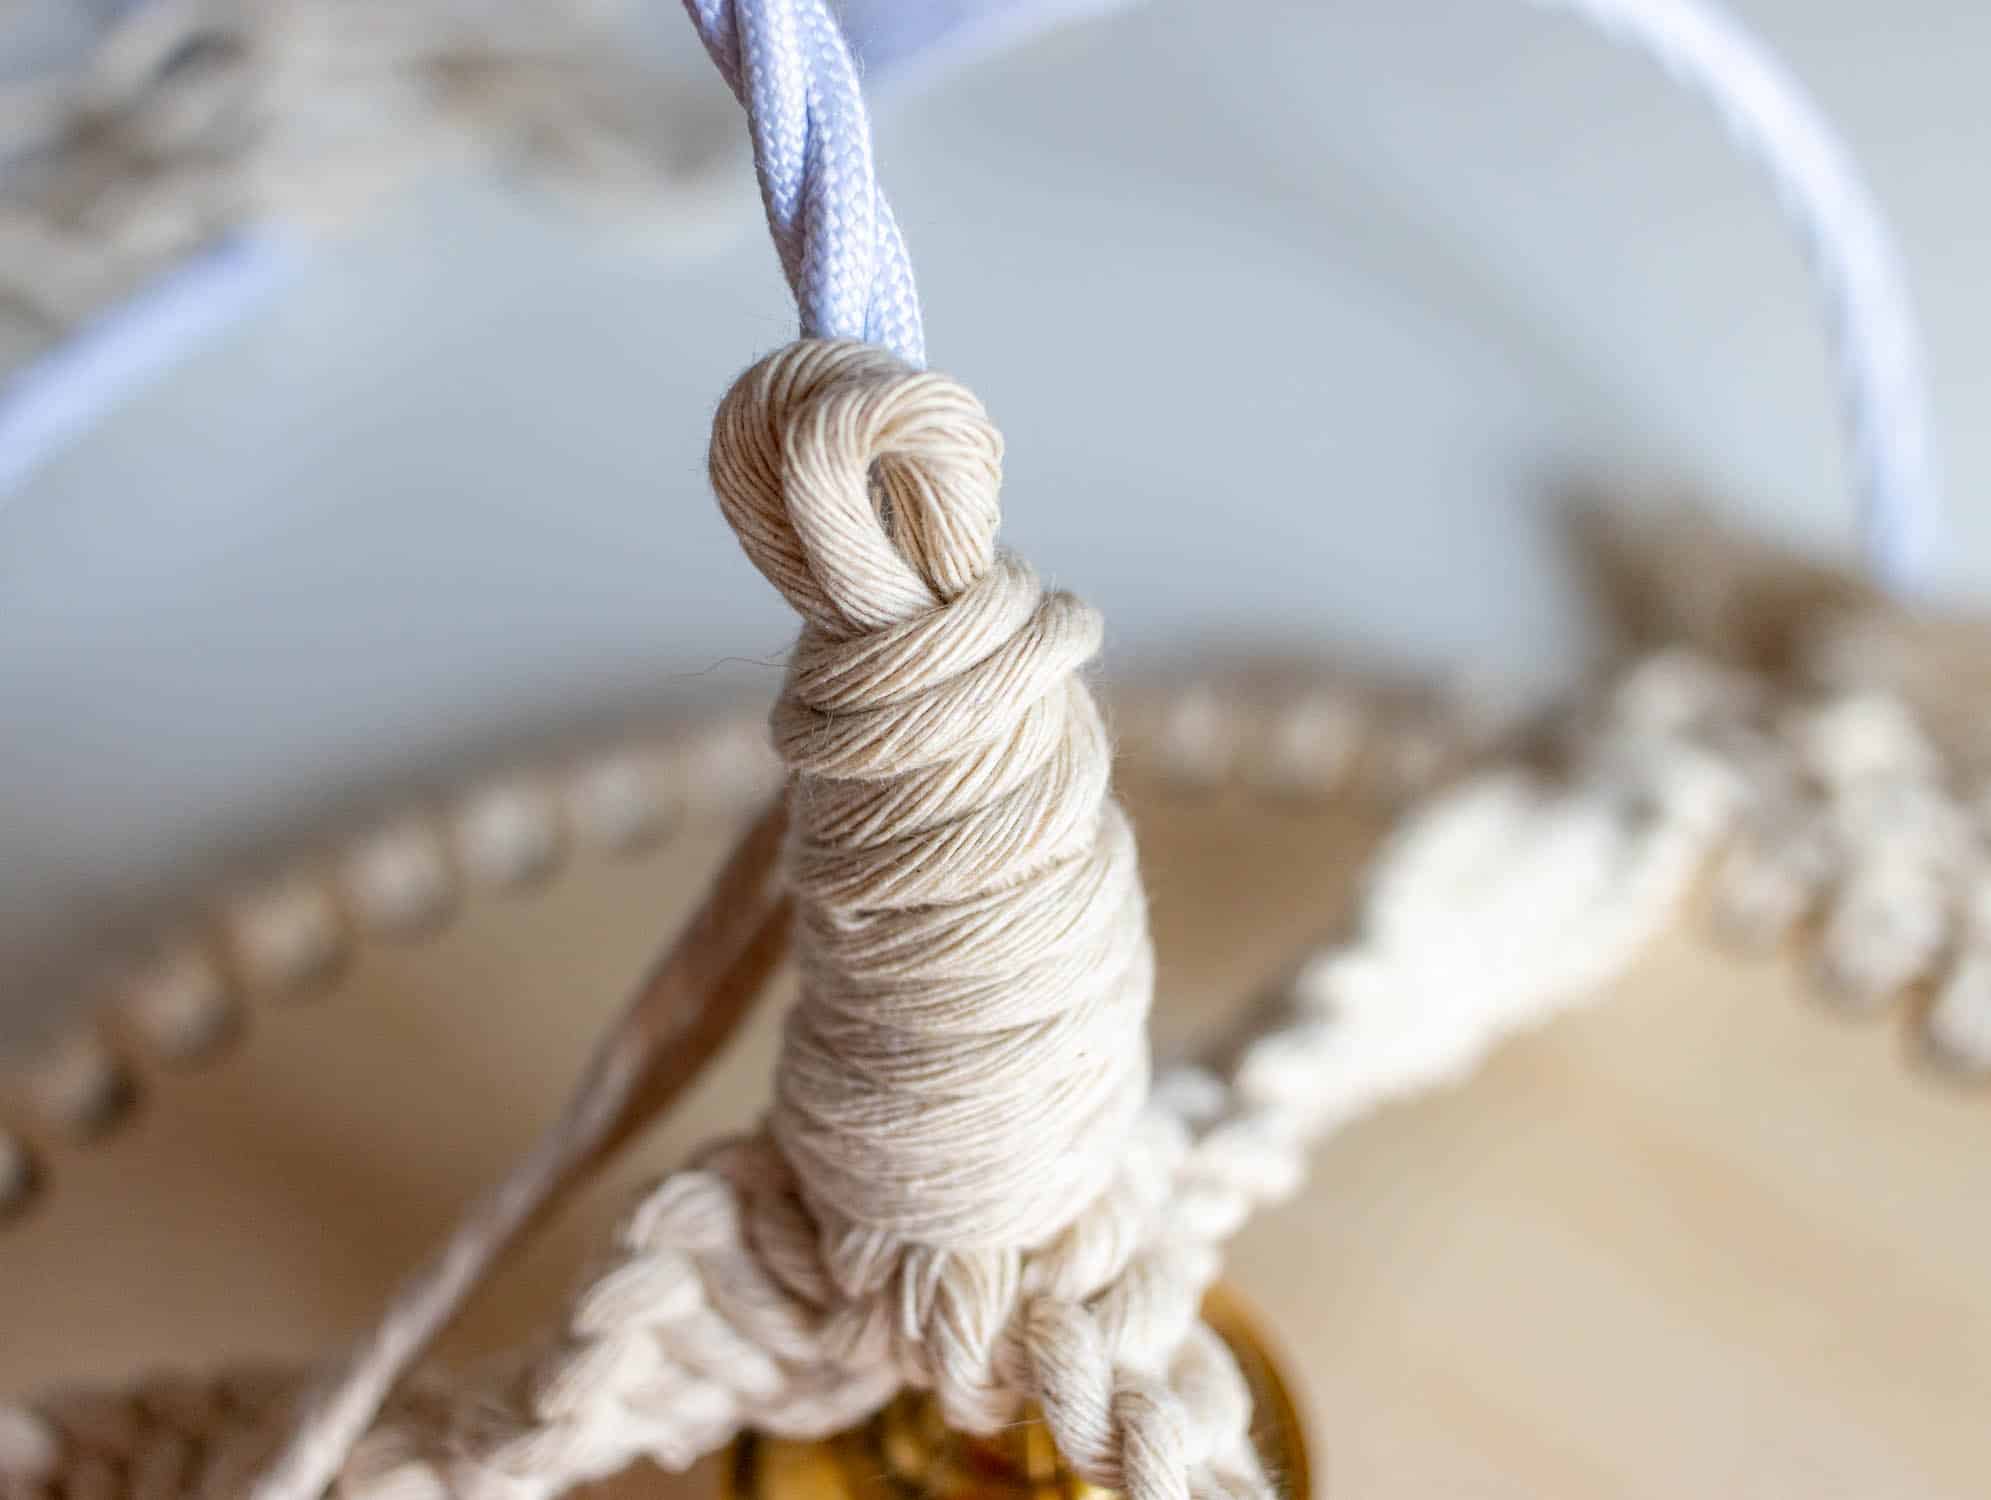
- Wrap the threads tightly around the remaining 47 threads to a length of 4 cm. Towards the top. Pull the ends through the loops and then under the wraps. Cut the thread ends.
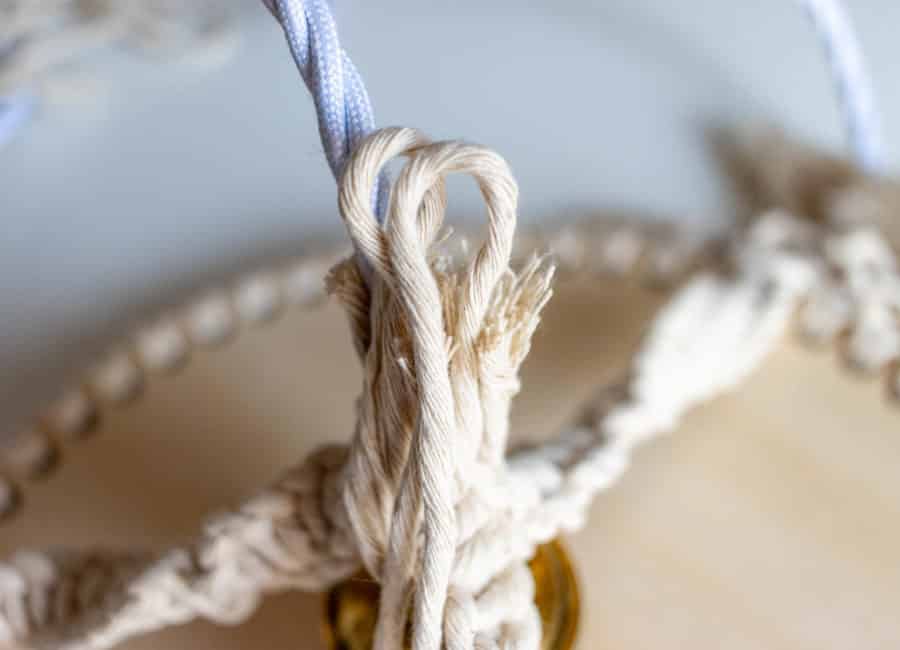
Install plugs and switches.
Finished!
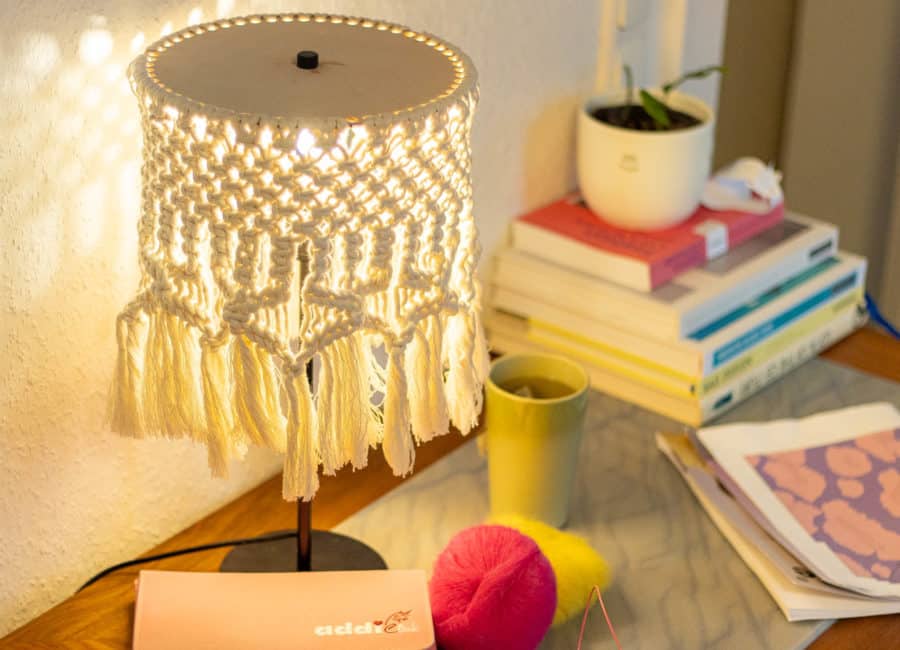
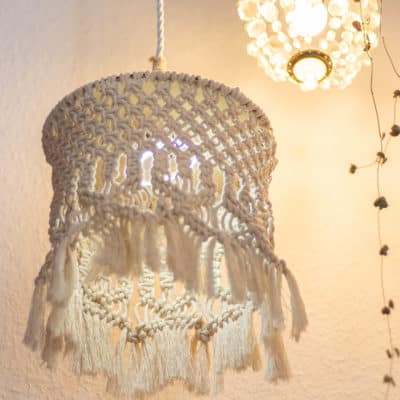
Install plugs and switches.
Finished!
Did you like our guide?
Then please remember and recommend or share the result on Instagram at @lalillyherzileien @addi_by_selter
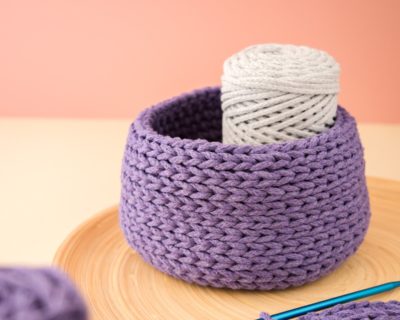
The addi Shapes birch wood bottoms can be used in a variety of ways. Whether crocheted into a basket, bag or tray or woven into a basket using the paper technique or knotted as macramé.
More instructions for the addiShapes can be found below.
Instructions + Photos: LaLilly
