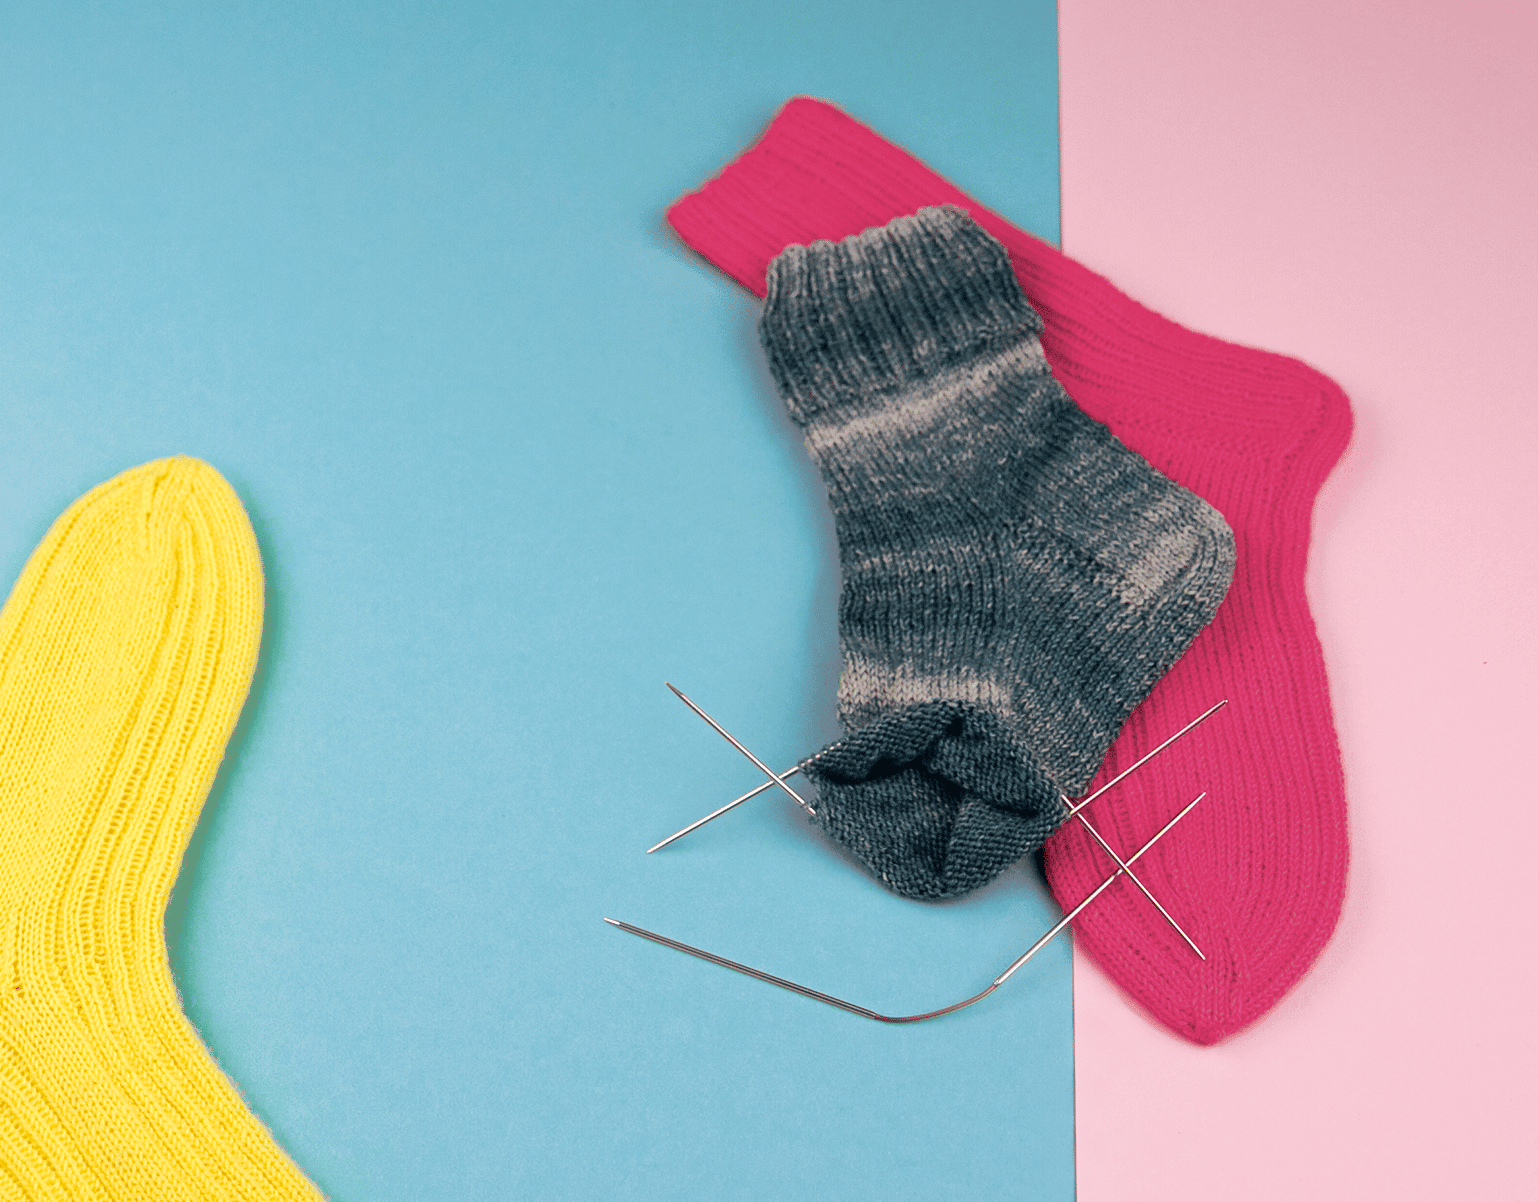
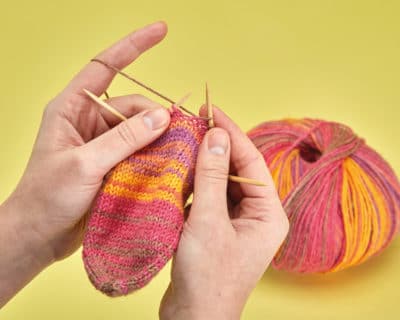
Heart heel - flap and gusset
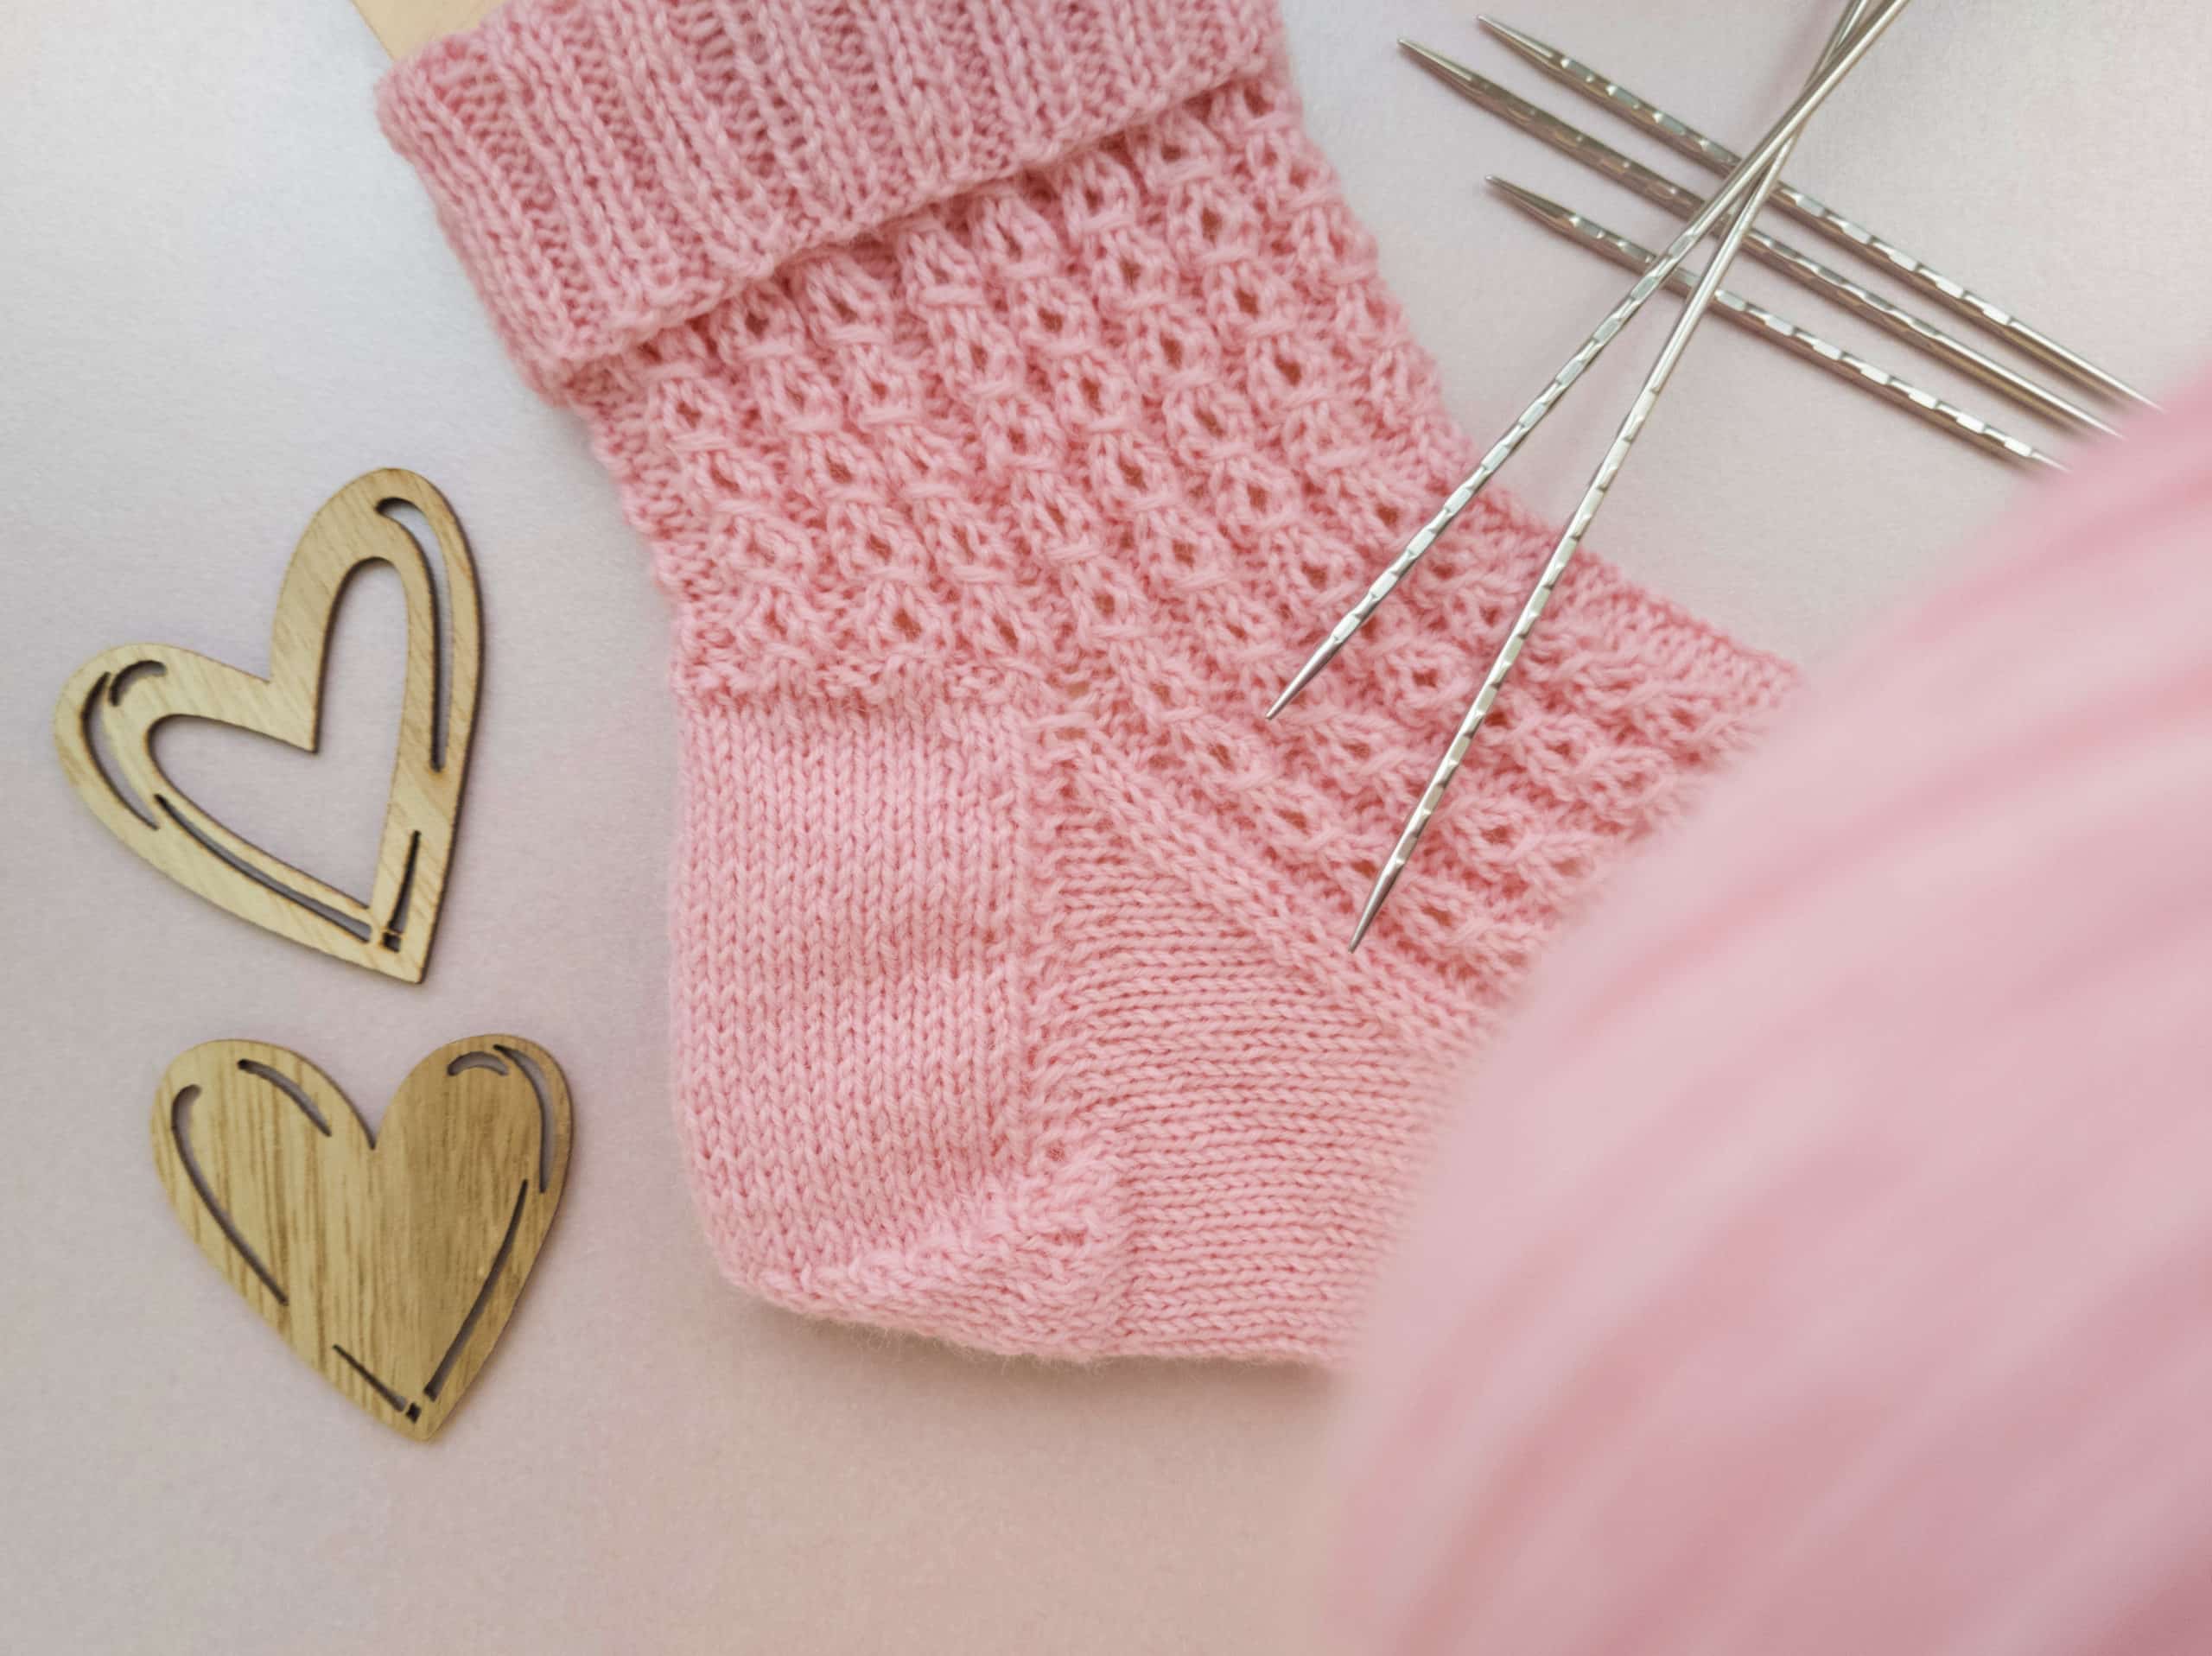
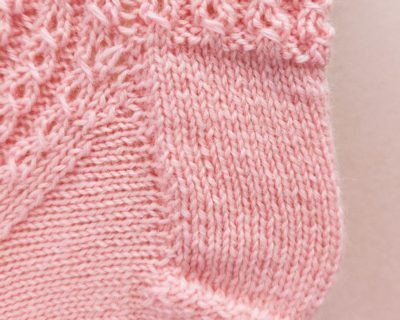
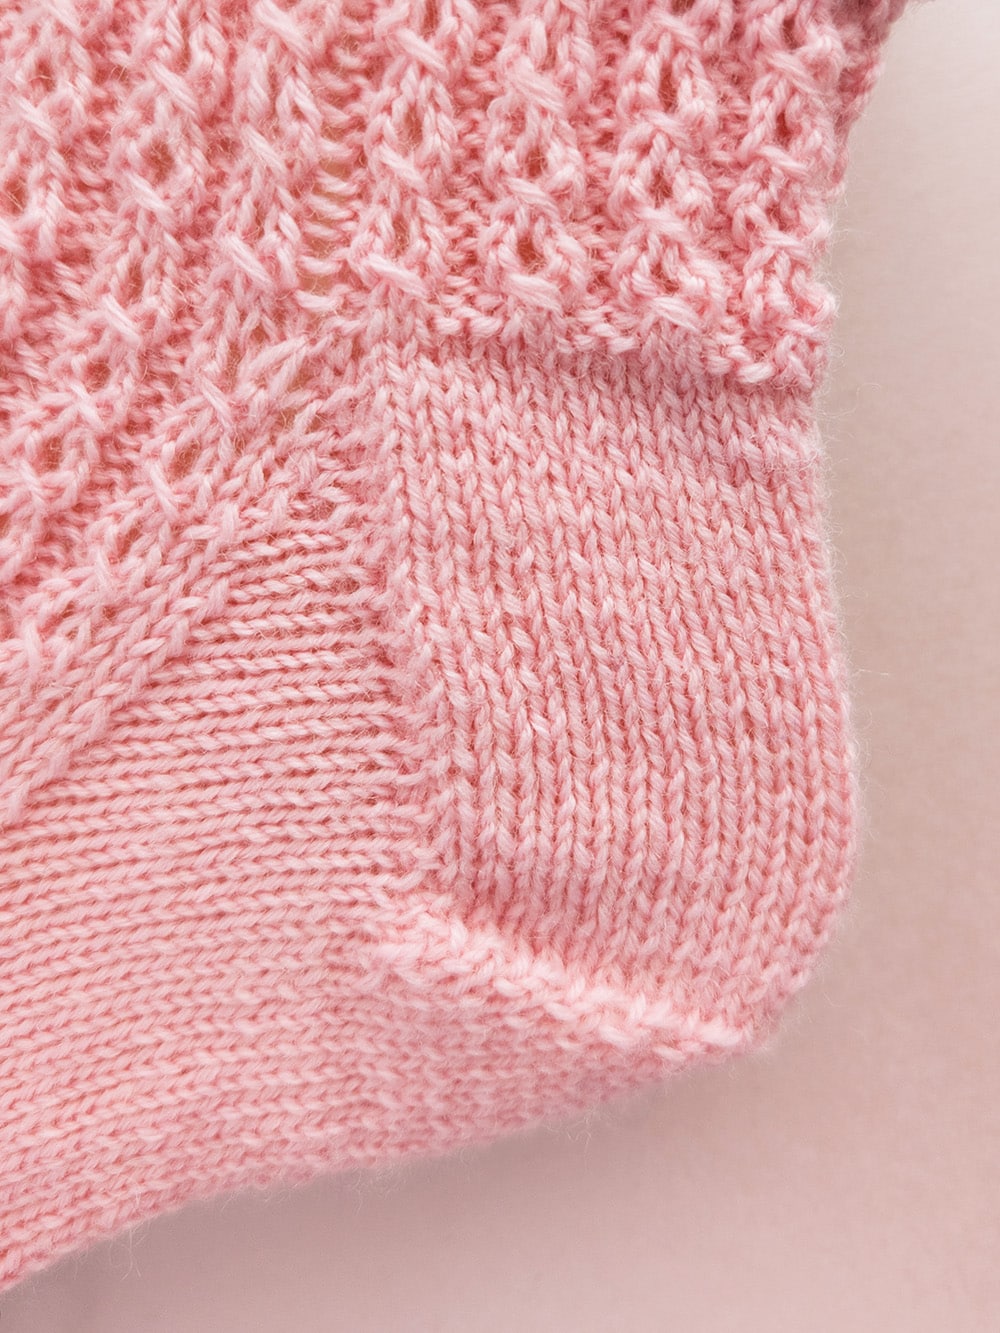
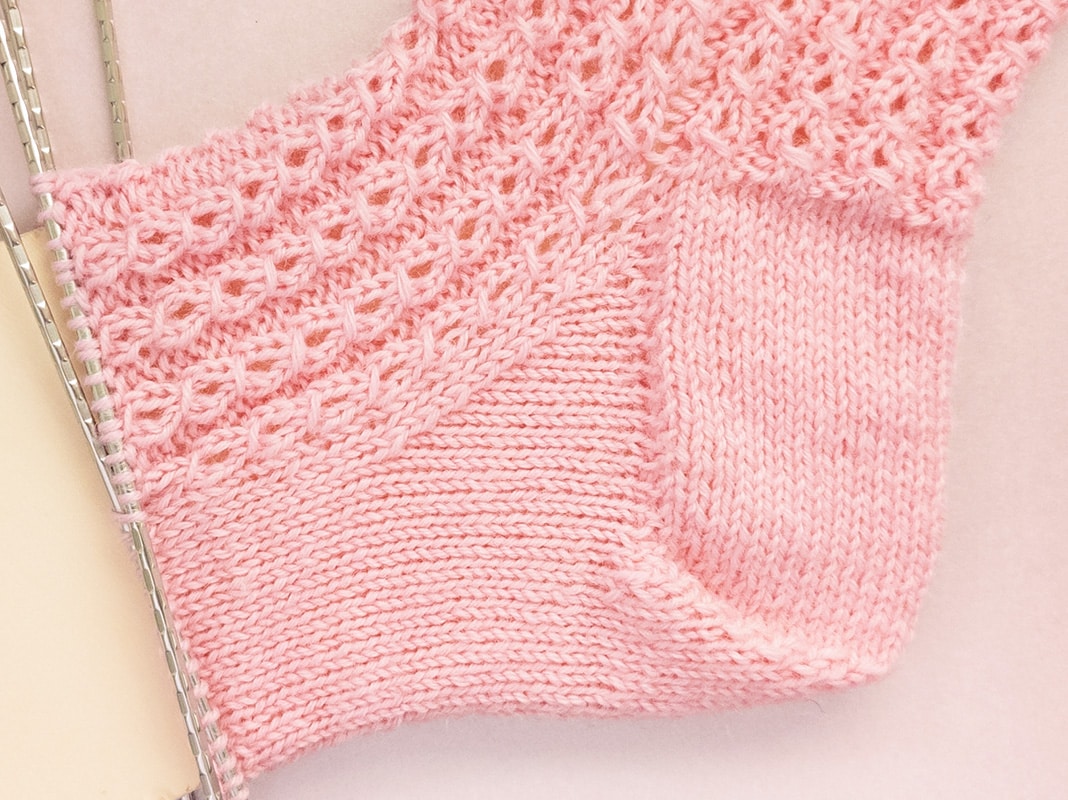
The heart heel is a top-down heel with a classic heel flap in which the flap (in contrast to the classic heel) is knitted together in a wedge shape under the heel to create more space for wider heels and feet.
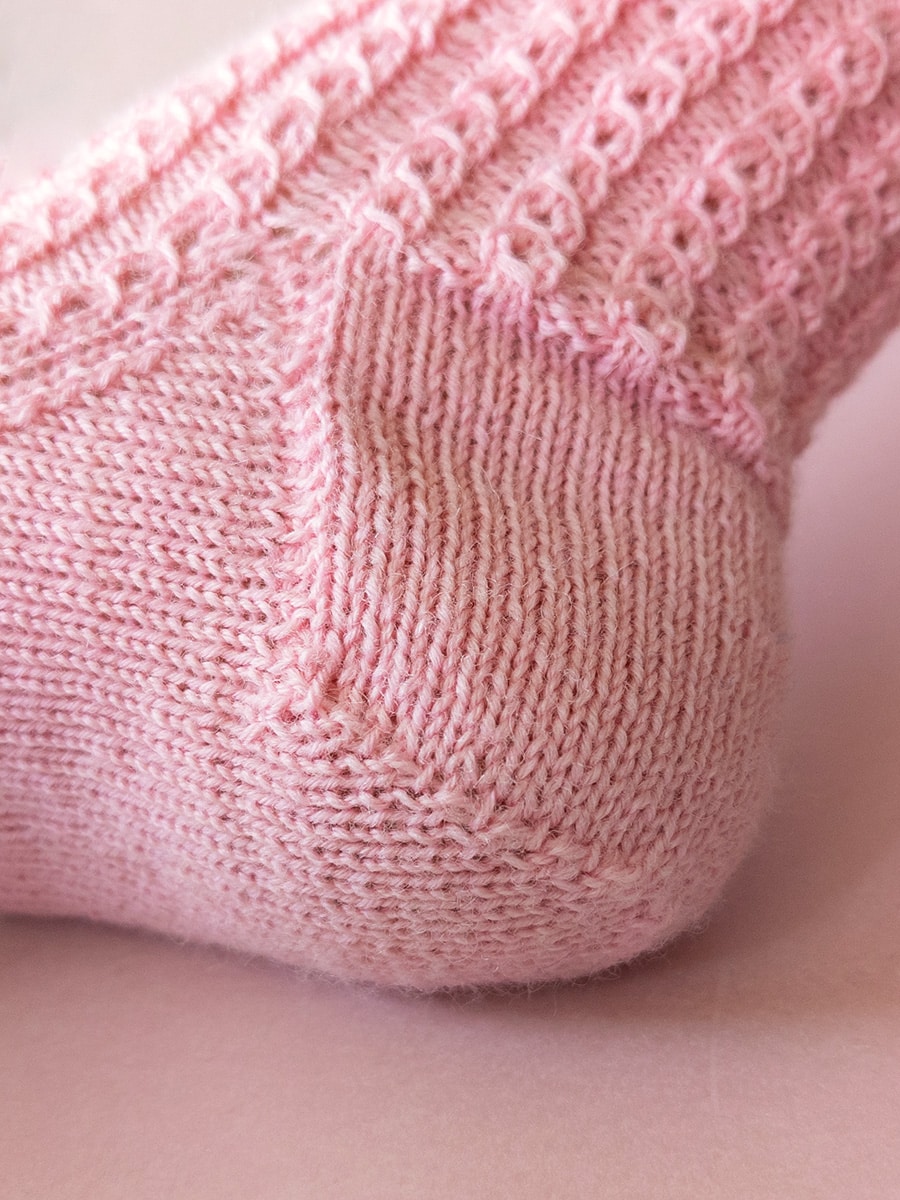
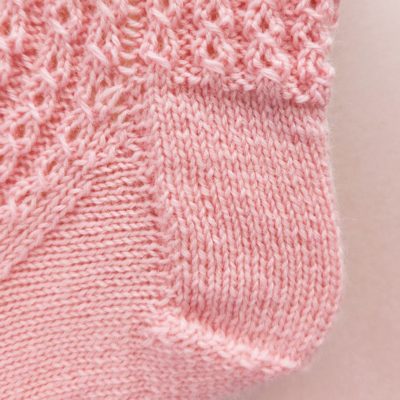
The name of the heart heel comes from its heart-shaped heel, which is reminiscent of a heart.
Heart heel characteristics:
Foot instep height: ♥♥♥♥♡
Wide heel: ♥♥♥♥♡
Yarn consumption: Medium
Technique: ↓ Top-Down
The heart heel is worked in a similar way to the classic heel, with the difference that the heel turn is wedge-shaped, making the fit more suitable for wider heels and feet.
Customizability: More or less gusset decreases can be worked to change the fit for the instep.
Abbreviations and terms:
st(s) = stitch(es)
k = knit
p = purl
r = row
psso = pass the slip stitch over
M1P = make one stitch purlwise
M1K = make one stitch knitwise
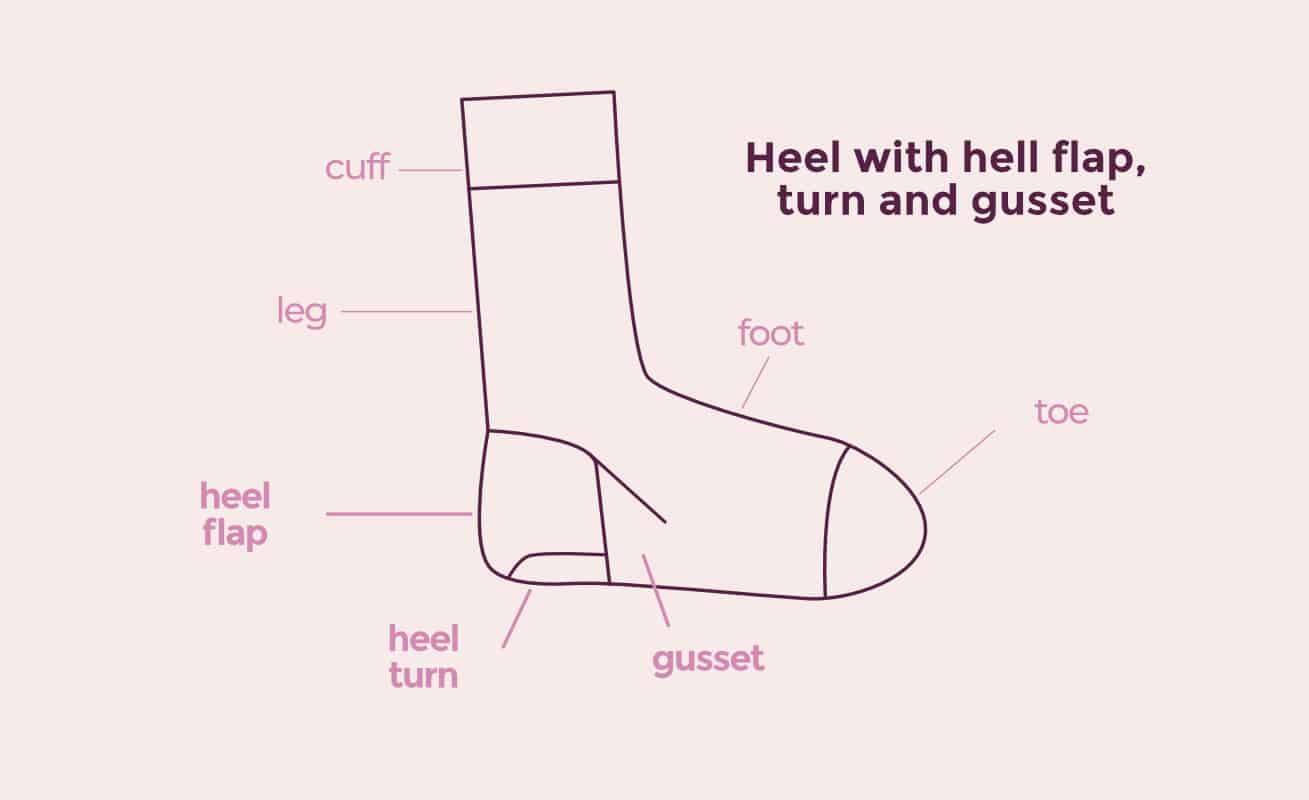
Abbreviations and terms:
st(s) = stitch(es)
k = knit
p = purl
r = row
psso = pass the slip stitch over
M1P = make one stitch purlwise
M1K = make one stitch knitwise
Knitting the heart heel
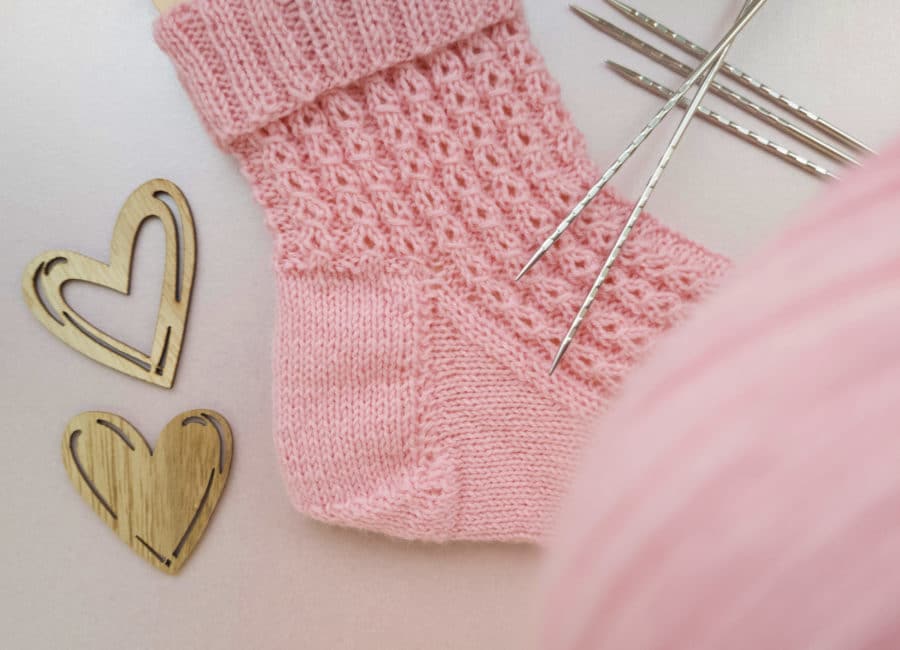
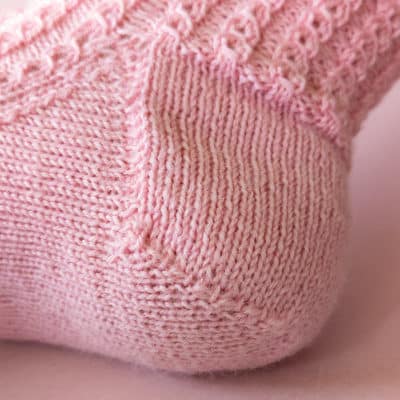
Knitting the heart heel
Herzchenferse – Fersenwand
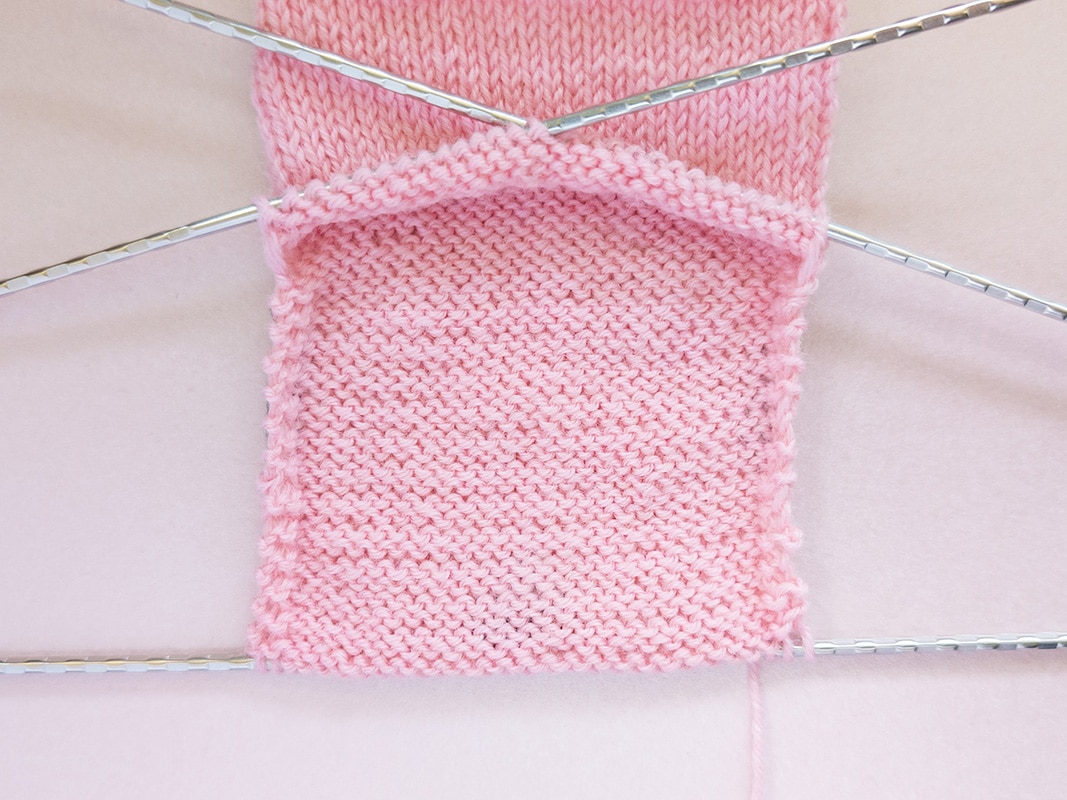
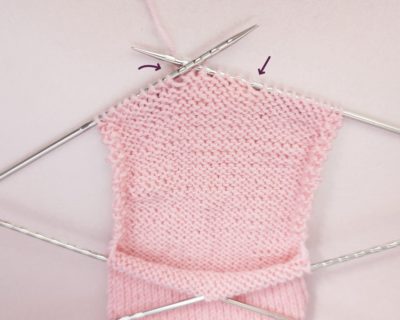
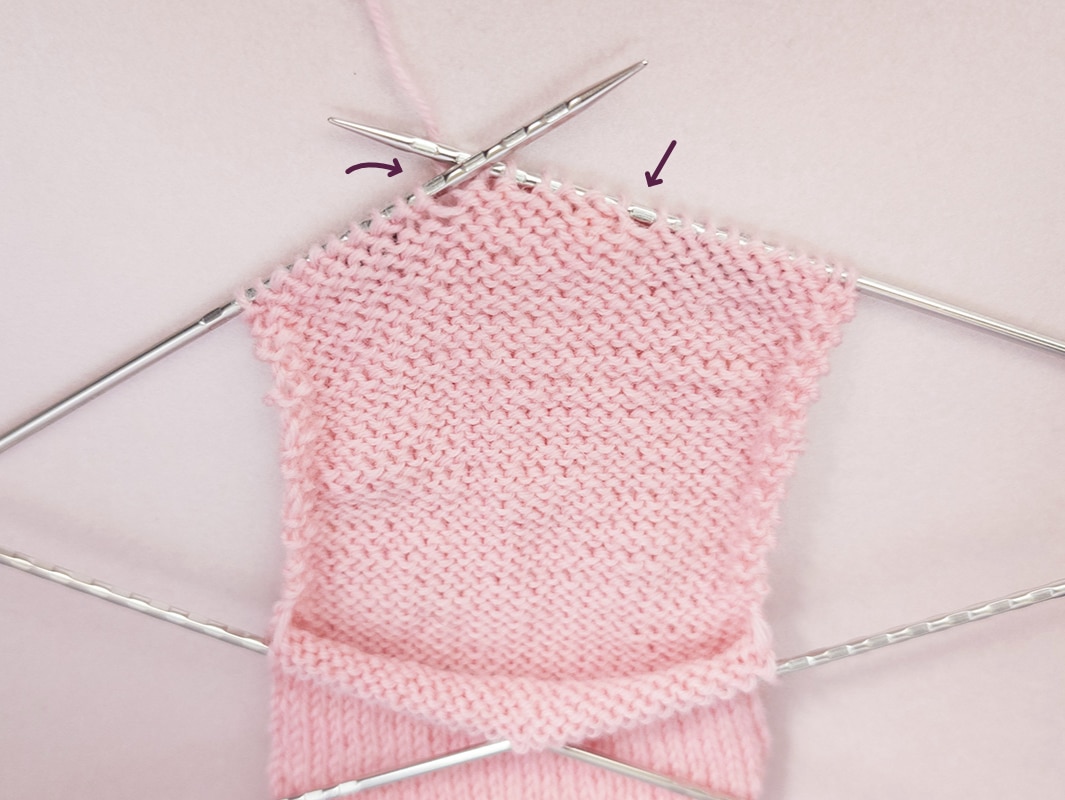
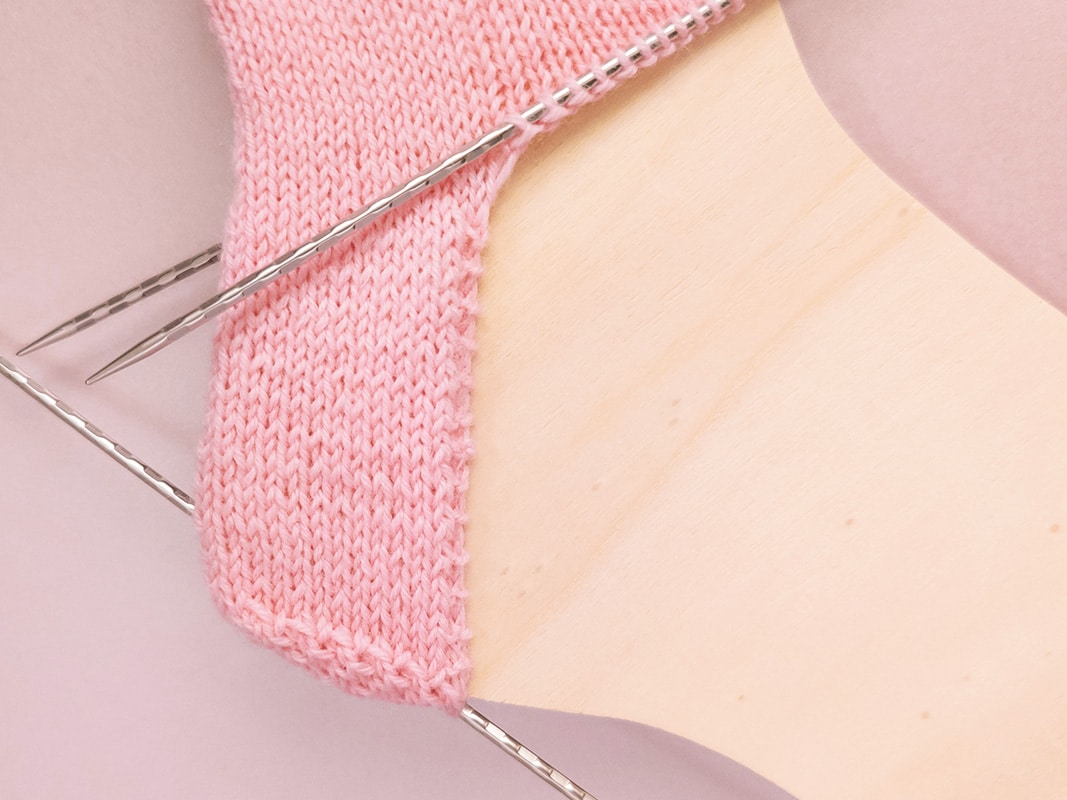
- You work your heel flap in stockinette stitch. Knit all stitches on the right side. On the wrong side you knit the first and last 2 stitches and purl the stitches in between. This way you get 2 garter stitches.
- Die Fersenwand über so viele Reihen, wie in der Sock table angegeben stricken (Käppchenferse – Fersenwandhöhe in Reihen)
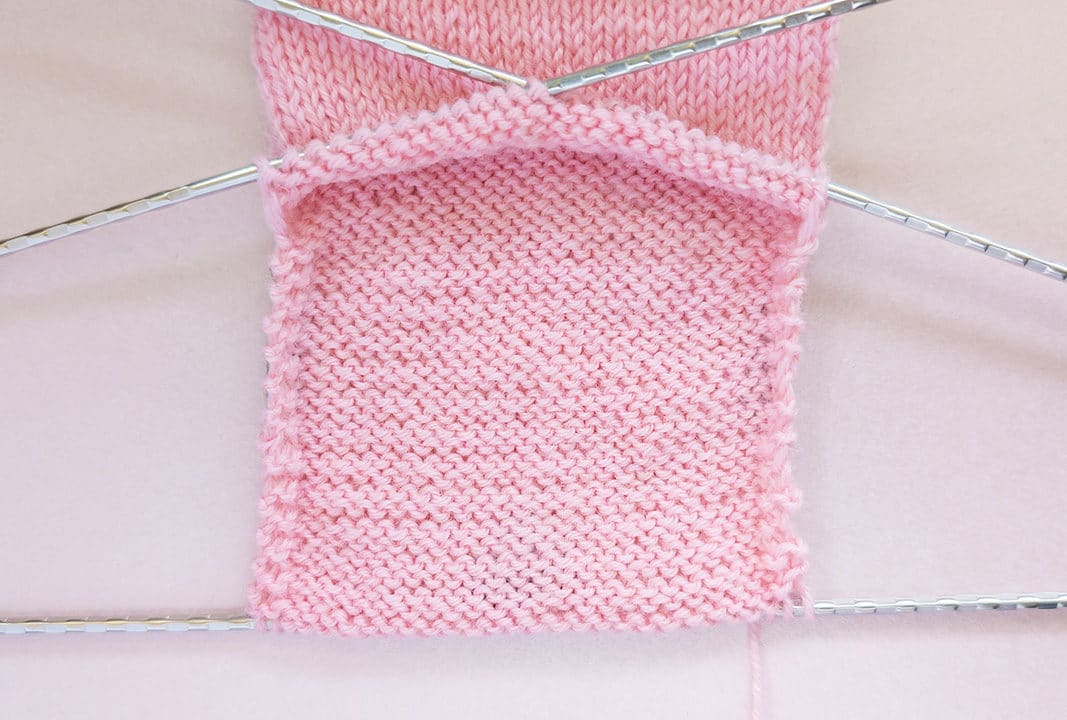
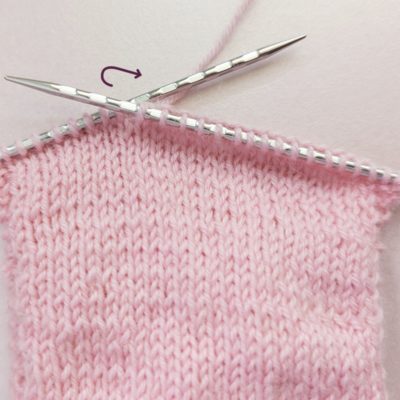
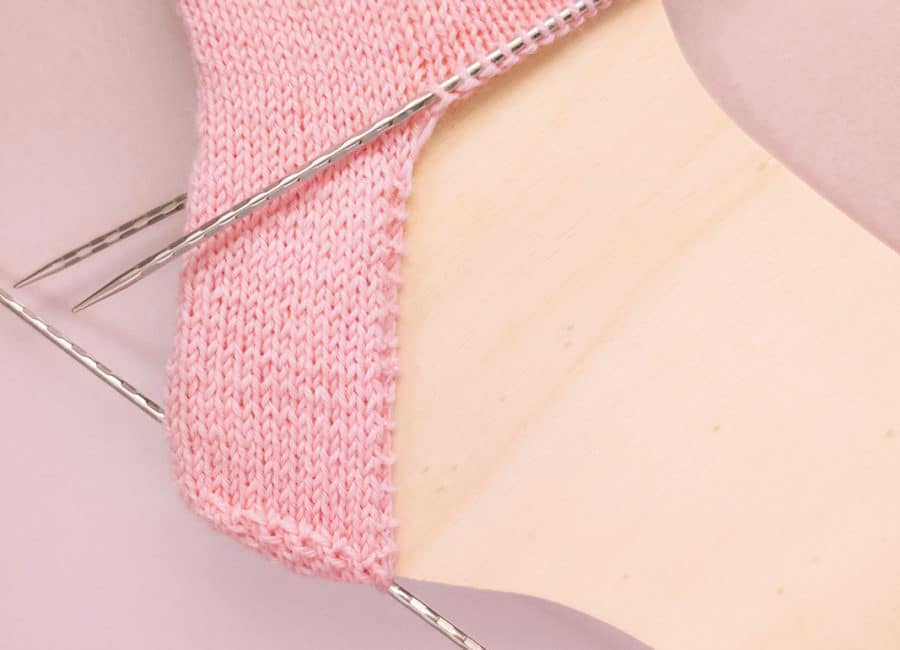
The heel turn in wedge shape (heart)
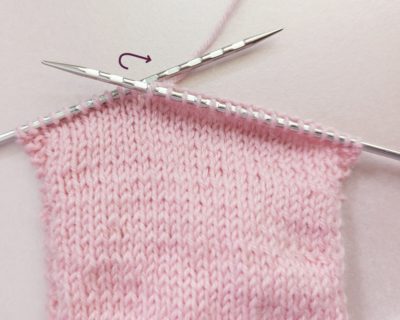
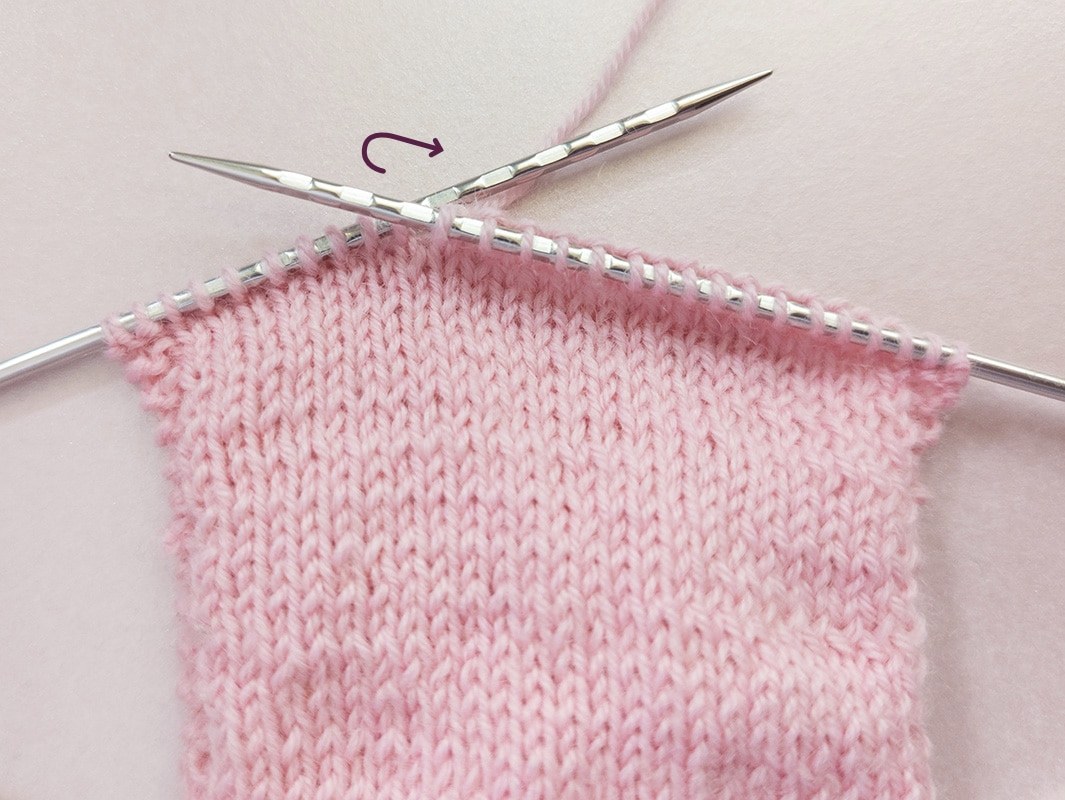
- Right Side (row 1): Knit for the heel turn to the middle (half of all heel stitches) in the right side row.
Now the wedge begins:
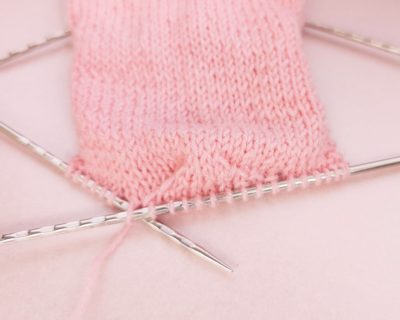
- Right Side (row 1): after the middle still knit 1 st, slip 1, psso, k1, turn the work
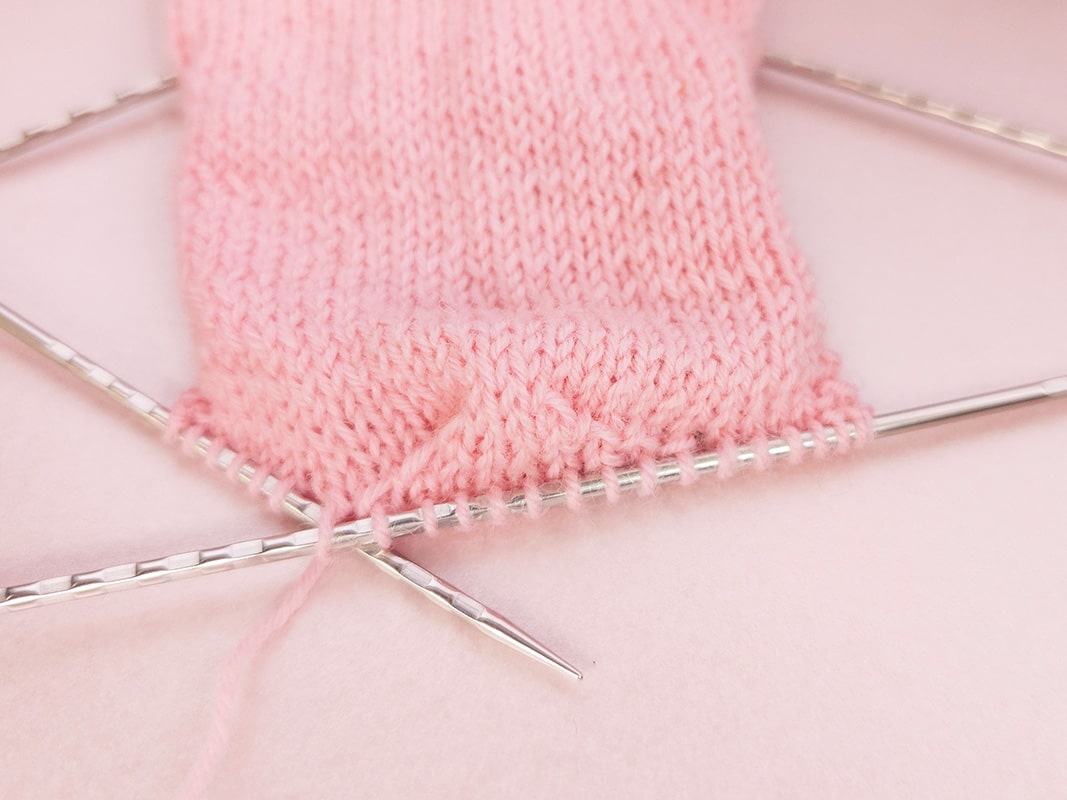
- Wrong Side (row 2): M1P, p3, p2tog, p1, turn
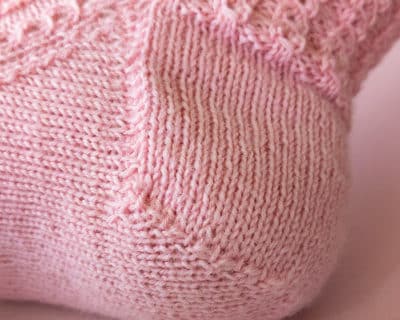
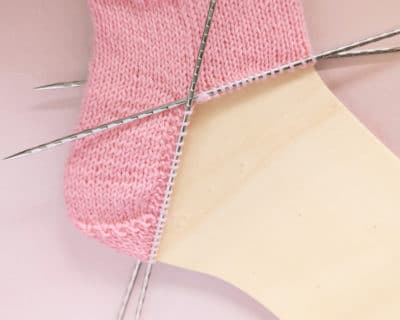
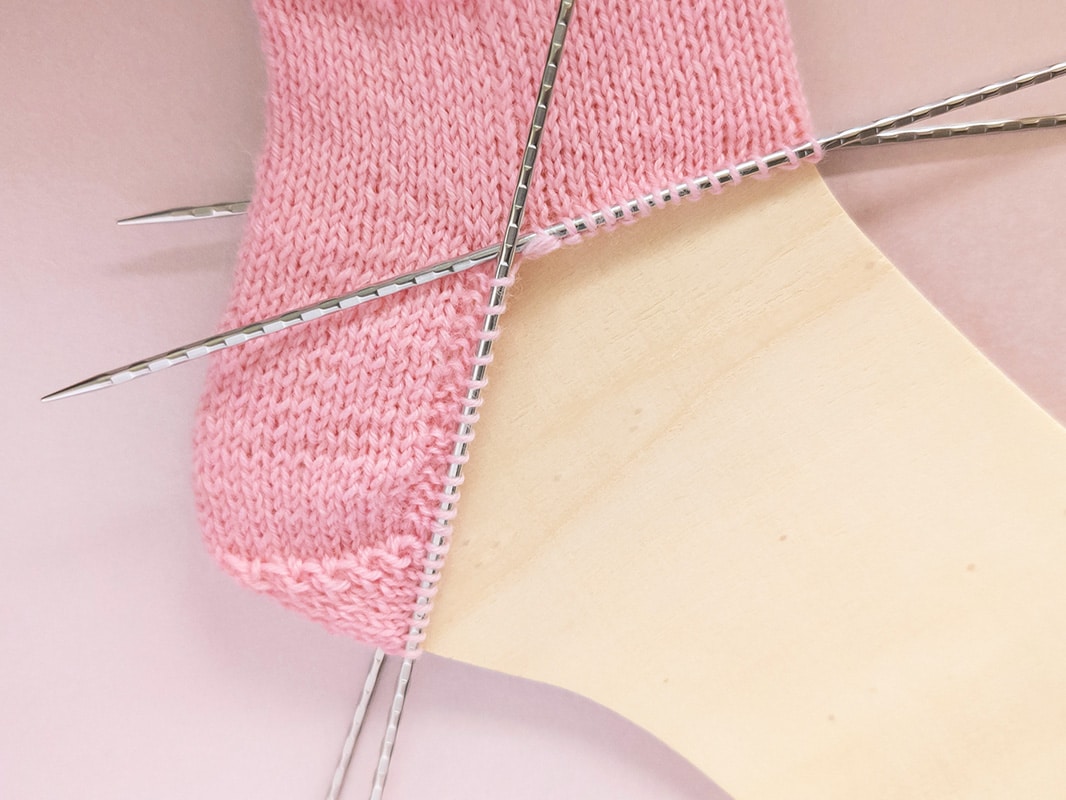
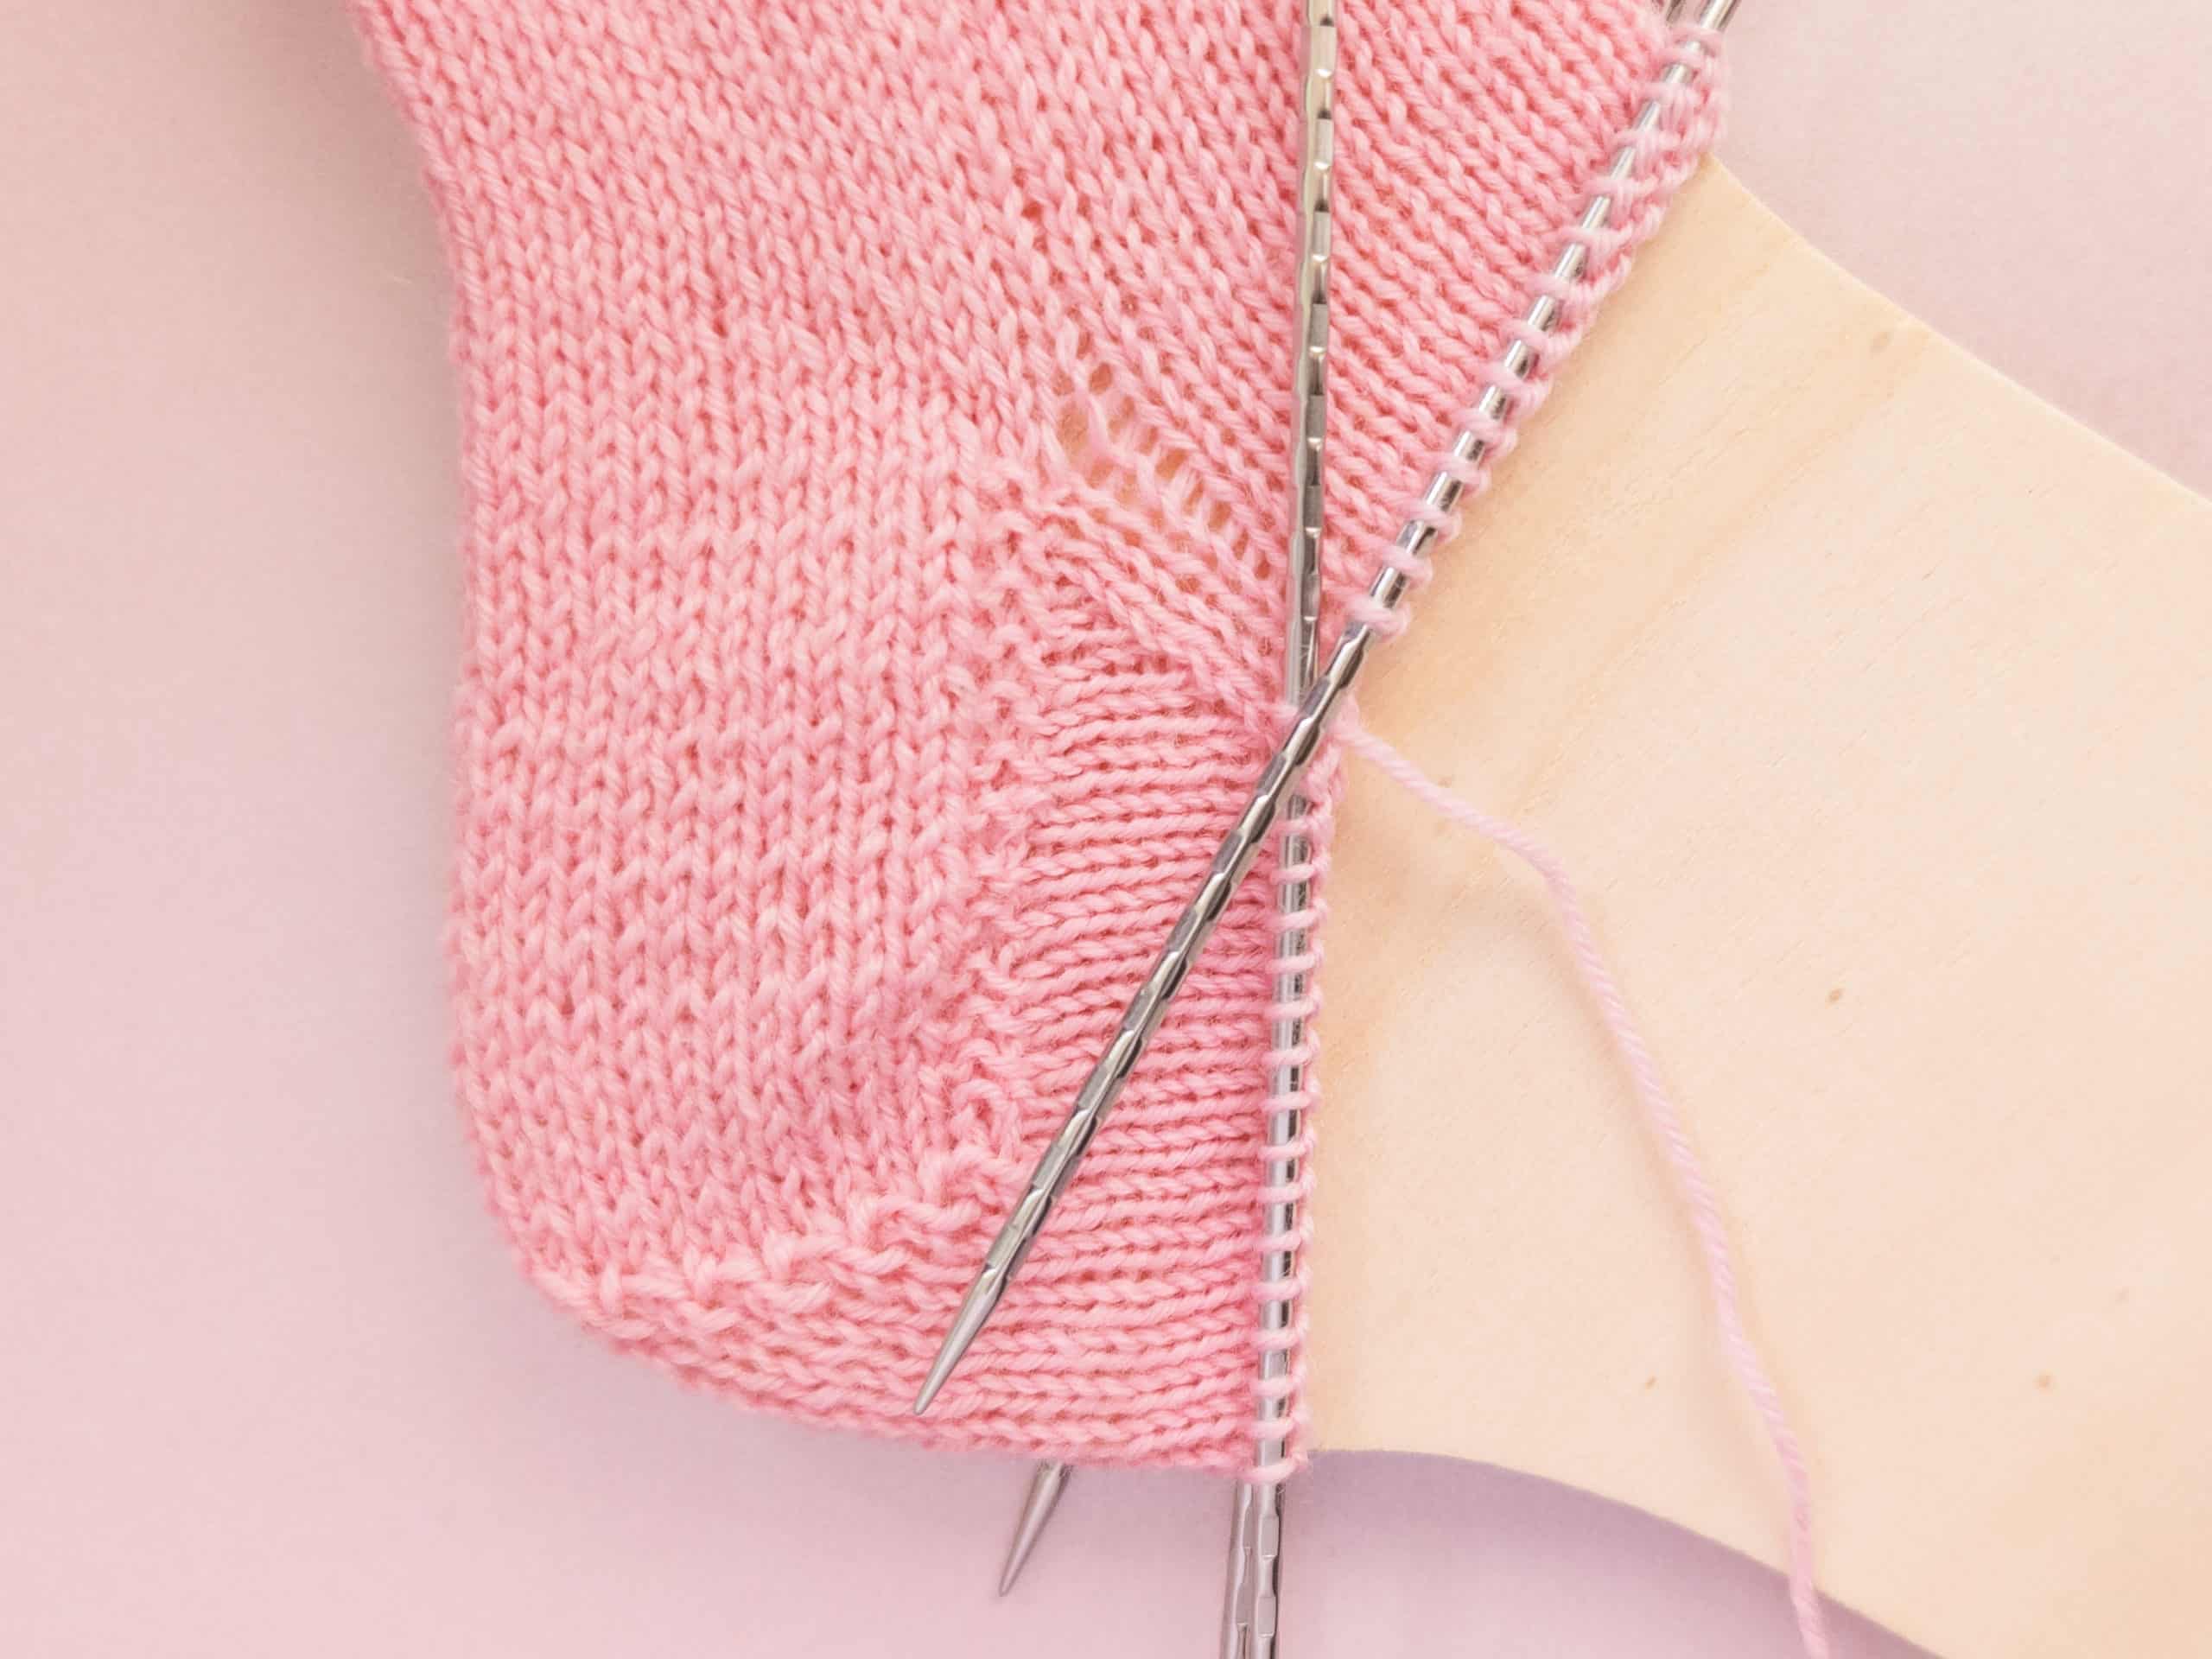
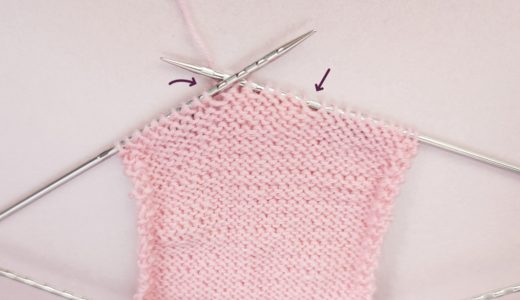
There are now two gaps to the left and right of the middle stitches (photo 2), which are closed in the next right and wrong side by decrease the stitches in front of and behind the gap.
- Right Side (row 3):slip 1, k4, slip1, psso, 1, turn
- Wrong Side (row 4):slip 1, p5, p2tog (the sts in front and behind the gap), p1, turn
- Right Side (row 5):slip 1, k6 , slip 1, psso, k1, turn
- Wrong Side (row 6):slip 1, p7, p2tog, p1, turn
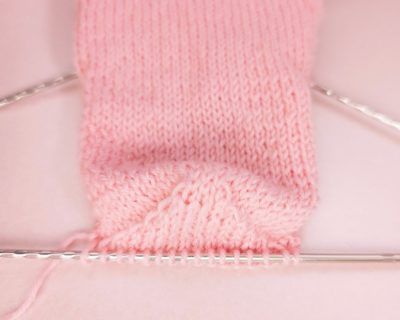
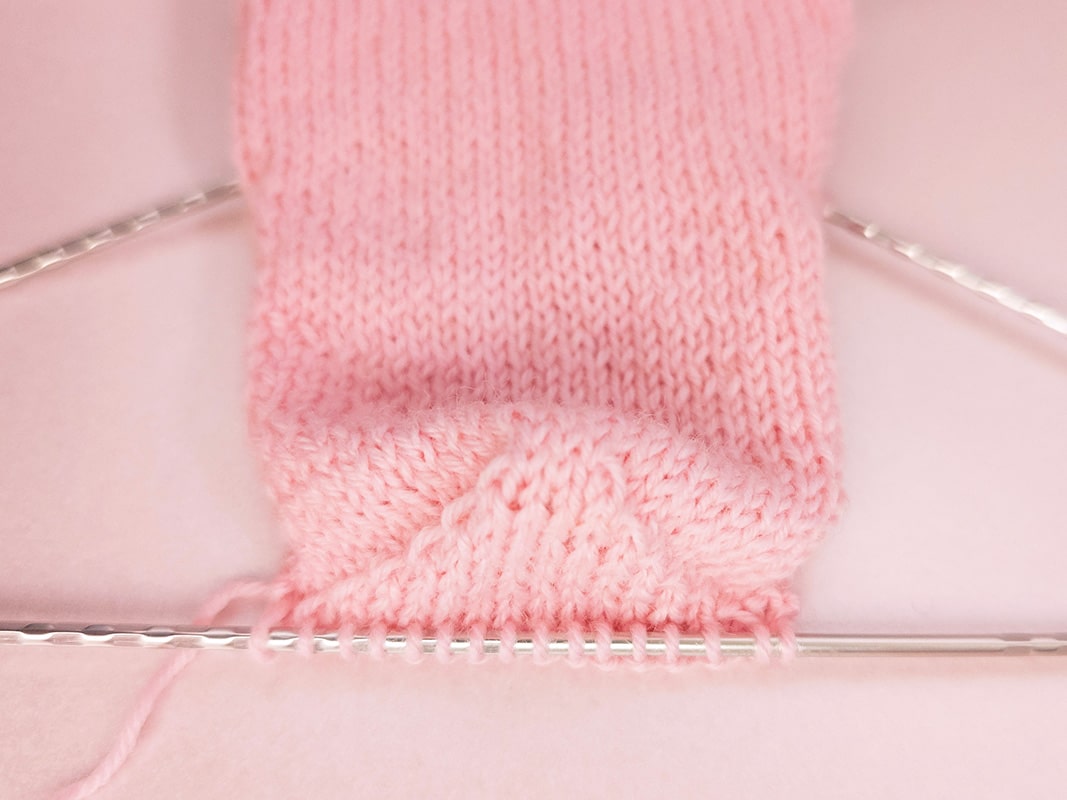
The rows are repeated continuously. Knit or purl 1 stitch more in each row, see underlined number, until all heel stitches have been worked.
Tip: If you don't want to count, take note of the gaps and knit the stitch BEFORE the gap together with the stitch BEHIND the gap.
The heart-shaped heel wedge is then finished.
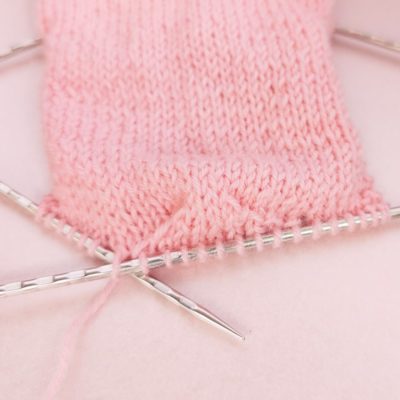
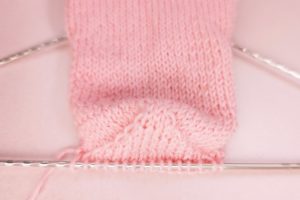
Transition to the foot
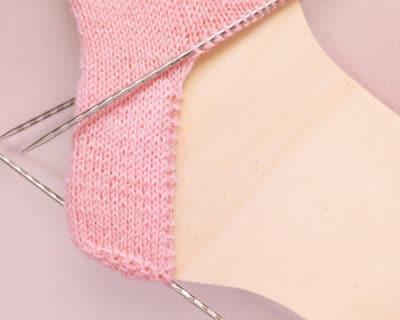
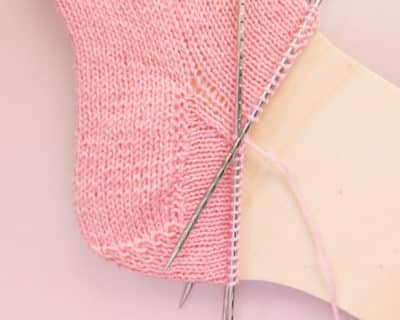
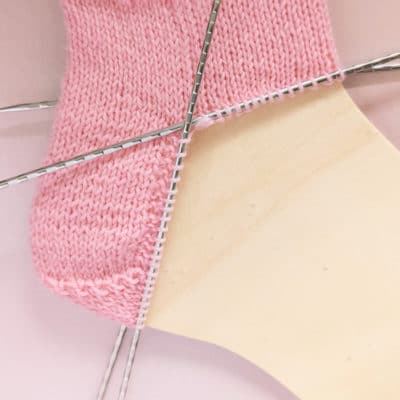
Now knit in the round again. To do this, knit the stitches in the middle third, then pick up a stitch from the left side edge of the heel flap from each knot and knit.
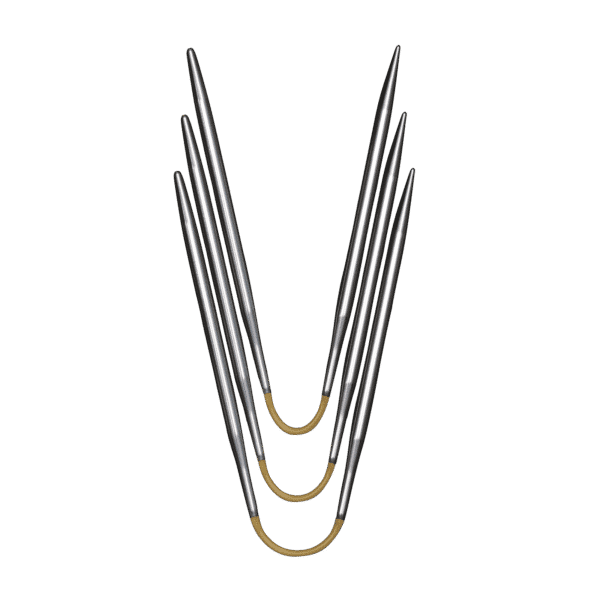
- When all stitches on the left side edge are picked up, you place a stitch marker – except for DPNs, where you continue knitting with the next needle. Now knit all the stitches that were on the stitch holder and place a stitch marker – except for DPNs, where you continue knitting with the next needle. Arriving on the other side, stitches are picked up again from the right side edge. For this, pick up a stitch from each knot.
The beginning of the round is now in the middle of the heel stitches. You can mark this point with a stitch marker. If you knit with DPNs, you will start with a new needle anyway.
- Knit another round over all stitches, then the gusset begins.
Knit Heart Heel - Gusset
- For this, in every 2nd round:
- knit to 3 sts before the next stitch marker or until the end of the 1st needle of your DPNs,
- k2tog, knit until the next stitch marker or until the end of the next DPN
- k 1, k2tog, knit to end of round.
- This is followed by a round without decreases.
This is followed by a round without decreases. Now repeat these 2 rounds until you have the same number of stitches as on the shaft.
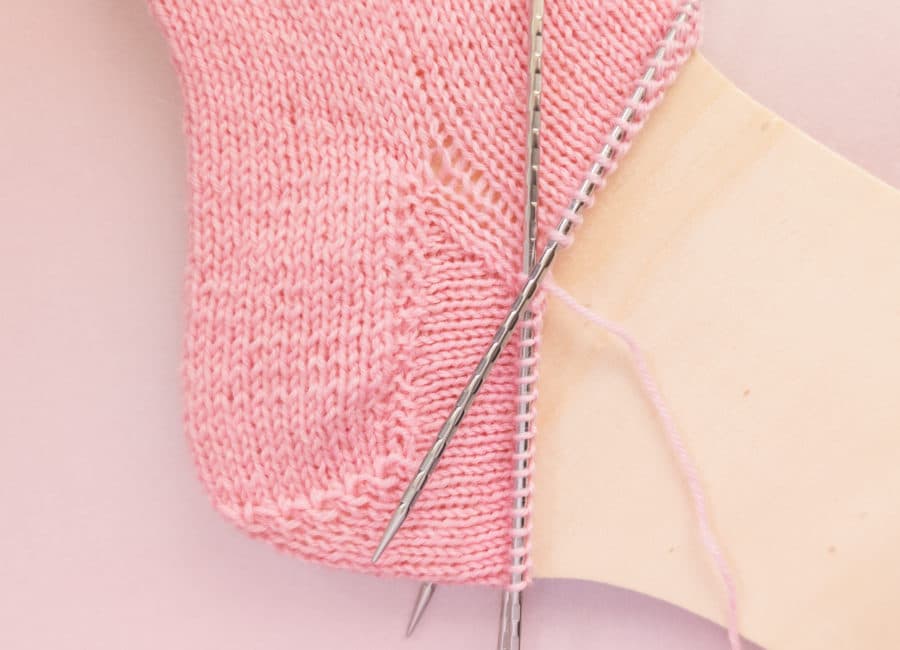
Die Ferse ist fertig. Nun kann der Fußteil gearbeitet werden.
Find out how in our sock knitting tutorial:
Tutorial video heart heel
The Video tutorial zeigt Slyvie Rascha auführlich, wie die Herzchenferse mit dem addiCraSyTrio gestrickt wird.
