


Tutorial: Binding off for beginners
Binding off is a crucial step in finishing a knitting project. Whether knit or purl stitches or mixed patterns – this tutorial explains a simple technique for binding off knitted pieces neatly.

Finishing your knitting:
What does binding off mean?
Binding off is the technique used to finish a knitting project securely so that the stitches do not unravel. It is done at the end of a knitted piece and forms a clean, elastic edge. Binding off can be done for different types of stitches such as knit, purl or mixed stitches and is essential for every knitting project.

Finishing your knitting:
What does binding off mean?
Binding off is the technique used to finish a knitting project securely so that the stitches do not unravel. It is done at the end of a knitted piece and forms a clean, elastic edge. Binding off can be done for different types of stitches such as knit, purl or mixed stitches and is essential for every knitting project.

Step by step:
Binding off by passing stitches over
Knit the stitches
With this simple bind-off method, nice knit V stitches are visible at the front of the edge and a bumpy edge on the back. If you bind off in a right-side row, the nice edge is visible at the front.
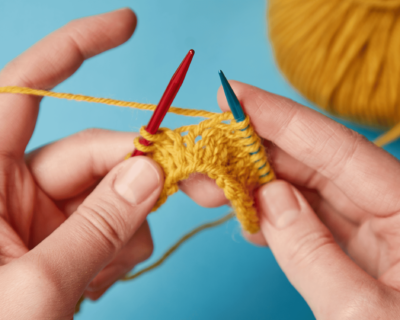
First, knit two stitches so that both stitches are on the right needle as usual.

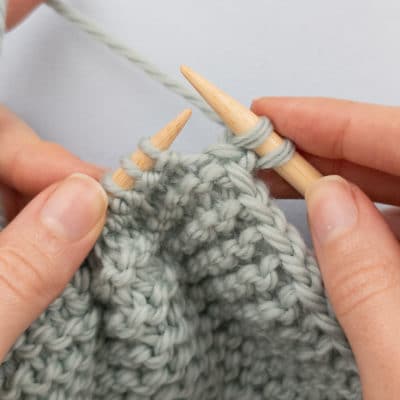
Knit the stitches
With this simple bind-off method, nice knit V stitches are visible at the front of the edge and a bumpy edge on the back. If you bind off in a right-side row, the nice edge is visible at the front.
First, knit two stitches so that both stitches are on the right needle as usual.


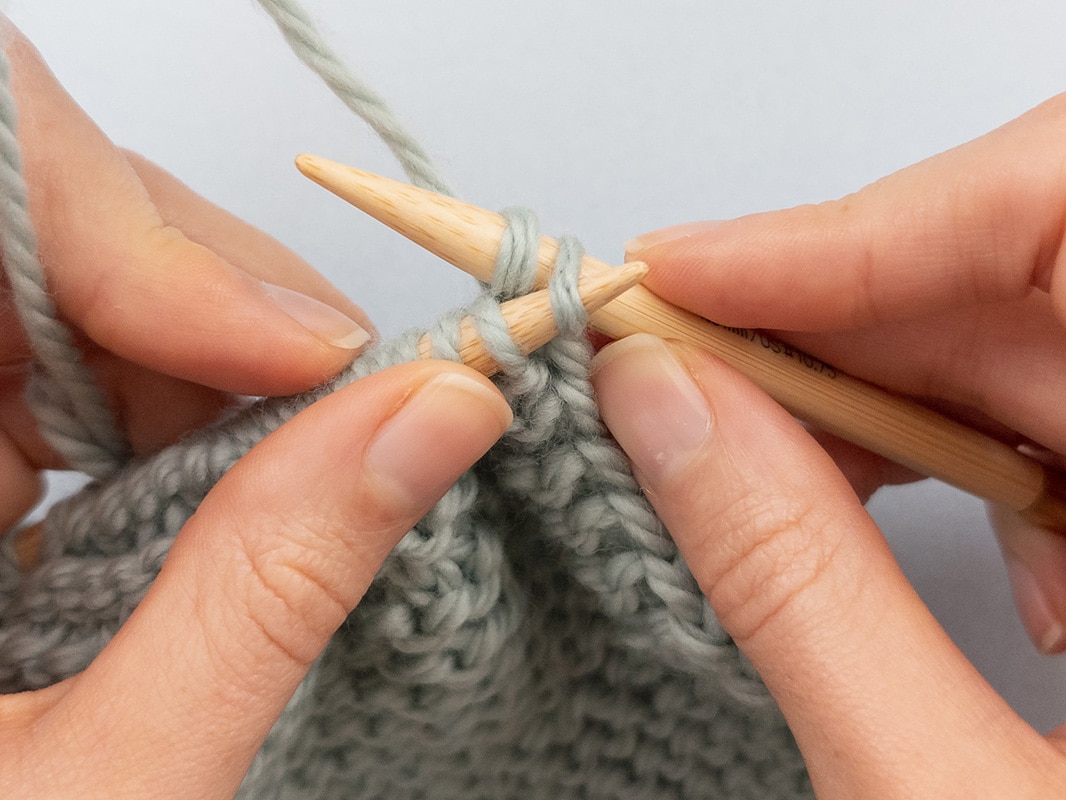
Pass the first stitch over
Now use the left needle to pick up the first knitted stitch on the right needle. This stitch is then lifted over the second knitted stitch and dropped off the needle. Now only one stitch remains on the right needle.

Pass the first stitch over
Now use the left needle to pick up the first knitted stitch on the right needle. This stitch is then lifted over the second knitted stitch and dropped off the needle. Now only one stitch remains on the right needle.
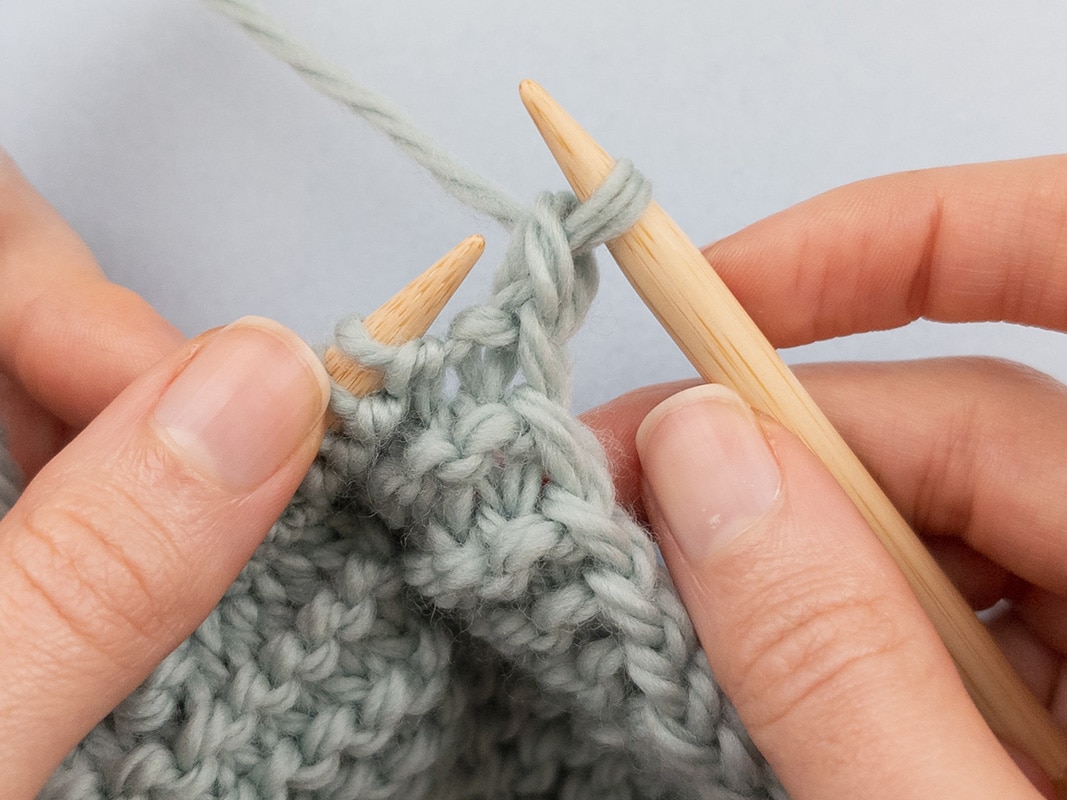
Bind off stitches to the end of the row
Now continue this process: knit another stitch and repeat the process until only one stitch remains.


Bind off stitches to the end of the row
Now continue this process: knit another stitch and repeat the process until only one stitch remains.

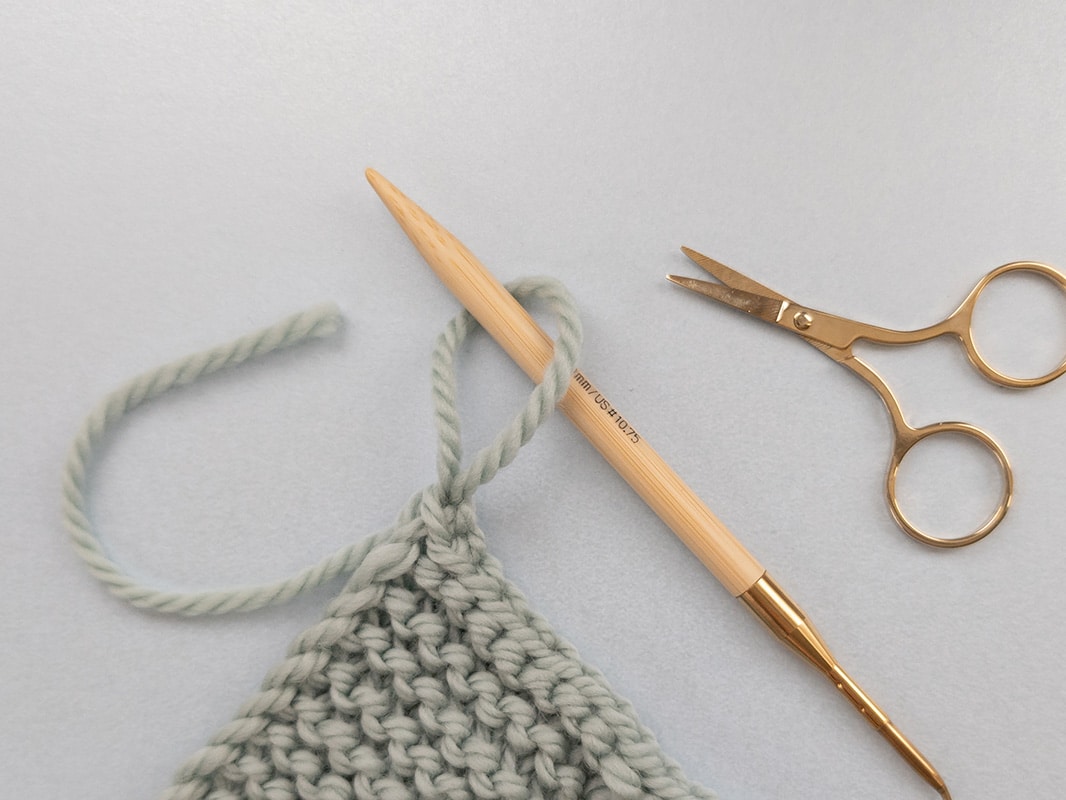
Secure the last stitch
When only one stitch remains on the right needle, pull the yarn out a little longer. Now cut the tail, leaving about 20 cm to weave in the knitted piece later. Thread the yarn through the last stitch and pull tight to finish the knitted piece securely.

Secure the last stitch
When only one stitch remains on the right needle, pull the yarn out a little longer. Now cut the tail, leaving about 20 cm to weave in the knitted piece later. Thread the yarn through the last stitch and pull tight to finish the knitted piece securely.
Binding off purl stitches
When binding off purl stitches, the process is the same as for knit stitches, but the stitches are purled:
- Two purl stitches are knitted.
- The first stitch is lifted over the second with the left needle and dropped off the needle.
- This process is repeated until all stitches have been bound off.
Binding off knit & purl stitches together
When knit and purl stitches are combined in one knitted piece, such as in rib or seed stitch patterns, each stitch is bound off as it appears:
- Knit stitches are knitted, purl stitches are purled.
- After knitting the second stitch, the first stitch is lifted over the second.
- This process is continued to the end of the row.


Binding off purl stitches
When binding off purl stitches, the process is the same as for knit stitches, but the stitches are purled:
- Two purl stitches are knitted.
- The first stitch is lifted over the second with the left needle and dropped off the needle.
- This process is repeated until all stitches have been bound off.
Binding off knit & purl stitches together
When knit and purl stitches are combined in one knitted piece, such as in rib or seed stitch patterns, each stitch is bound off as it appears:
- Knit stitches are knitted, purl stitches are purled.
- After knitting the second stitch, the first stitch is lifted over the second.
- This process is continued to the end of the row.


Stretchy bind-off for ribbing, socks or hats
A stretchy bind-off is particularly important for knitting projects where the edge has to remain very flexible and stretchy, such as the cuffs of socks, wrist warmers or hats. There are various techniques that are carried out similarly to the normal bind-off. Learn the variations with the video tutorial by Crasy Sylvie:

By loading the video you accept the privacy policy of YouTube.
Learn more
By loading the video you accept the privacy policy of YouTube.
Learn more
FAQ: Frequently asked questions about binding off
Why is my bound-off edge too tight?
An edge that is too tight may be because the stitches are pulled too tight when binding off. To avoid this, try loosening the yarn tension a little or use a needle about 1 mm larger when binding off.
What is a stretchy bind-off and when is it used?
A stretchy bind-off is used for knitting projects where the edge must remain flexible, such as socks, hats or ribbing. This technique creates a stretchy finish without the edge becoming too tight.
Can mistakes still be corrected after binding off?
Yes, it is possible to undo the bind-off if you discover a mistake. To do this, pull the yarn out of the last stitch and carefully put the bound-off stitches back on the needle.
When should you use a stretchy bind-off?
A stretchy bind-off is particularly important for projects that need a stretchy edge, such as ribbing, hats or socks. This technique ensures that the edge stays flexible and does not constrict.