
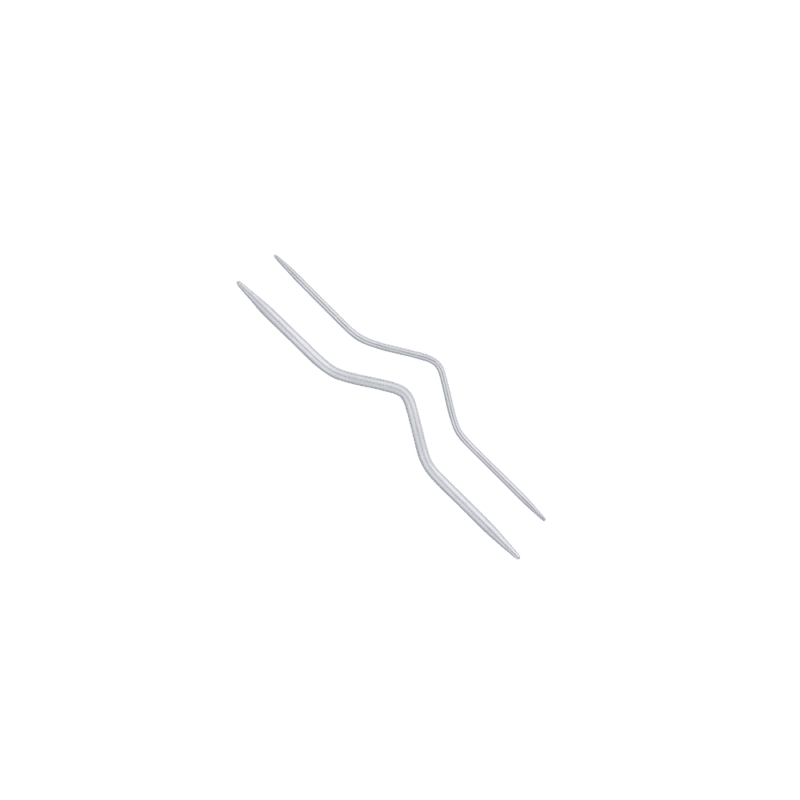

How to Knit a Raglan – Knitting a Raglan Jumper from the Top Down
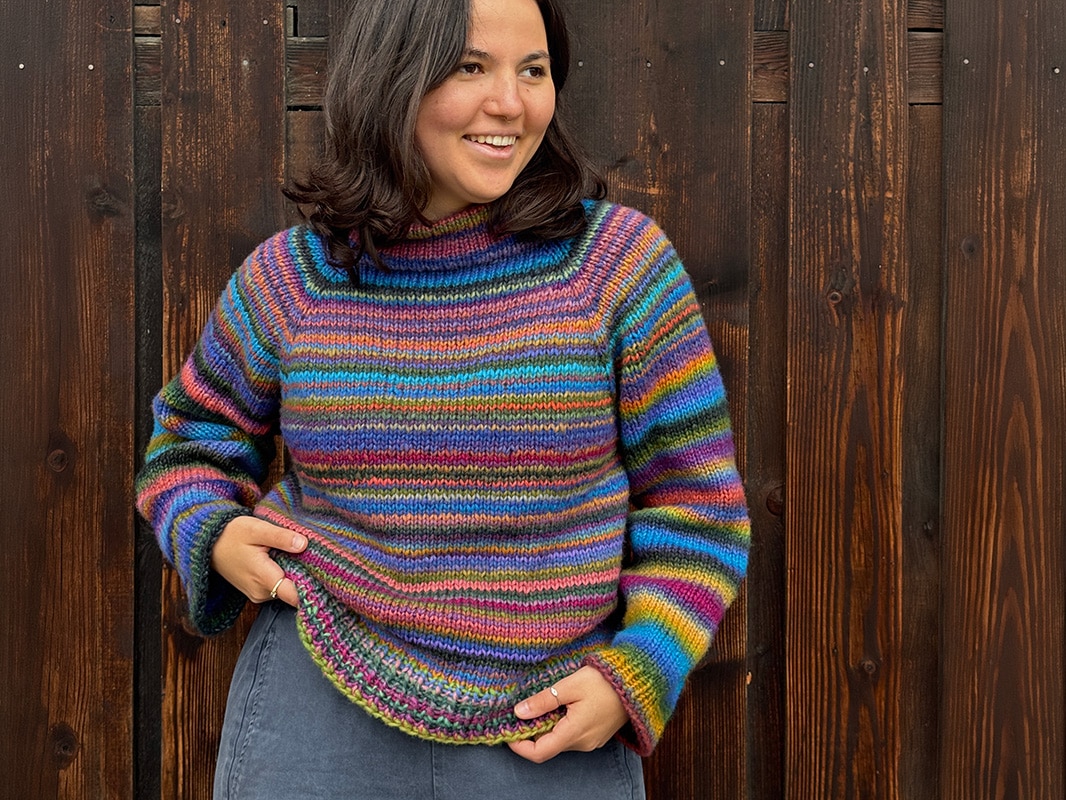
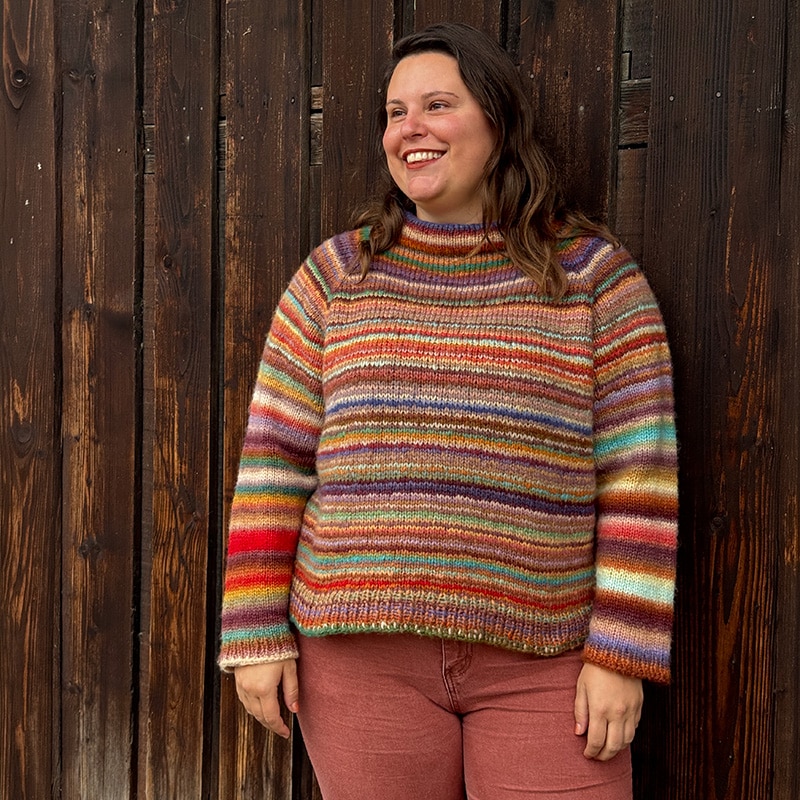
In this guide, you’ll find step-by-step instructions on how to knit a simple raglan jumper in one piece from the top down.
Knitted with thick yarn, and with plenty of tips, step-by-step tutorials and detailed explanations, it’s really easy and great fun to knit your jumper and watch it take shape quickly.
The great thing about the raglan is that you can try it on at any time to make sure it fits perfectly. Give it a go!
- Lang Yarns „Cloud“ or Wooladdicts „Promise“
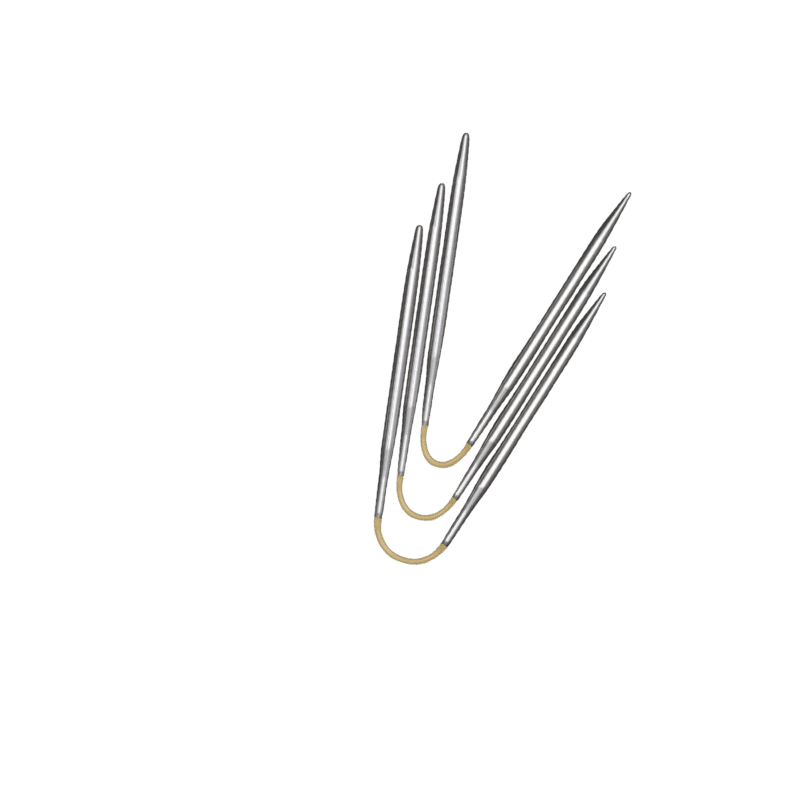
- circular knitting needles 6 mm (US 10)
- length for sizes A, B, C 80 cm (32") Length
- length for sizes D, E, F 100 cm (40") Length
- optional, in addition 40 cm (16") for all sizes
- circular knitting needles 5 mm (US 8)
- length for sizes A, B, C
- length for sizes D, E, F 100 cm (40") Length
- optional, in addition 40 cm (16") for all sizes
- 2 long waste yarn threads or a cords
- 9 stitch markers
- 2 One of the stitch markers should be in a contrasting colour to mark the beginning of the round.
- Scissors
- Wool needle
Sizes:
- A, B (C, D) E, F.
- 90, 100 (115, 130) 145, 160 cm around the bust.
Yarn consumption:
- 400, 400 (400, 500) 500, 600 g / 14, 15 (15, 18) 18, 22 oz
Gauge:
- Your gauge swatch should measure 15 sts x 22 r per 10x10 cm (4"x4").
Tip on the yarn: You can substitute with any yarn of a similar weight. What really matters is that your gauge swatch matches the stitch count given in the pattern.
A tip on knitting needles: If you’re working with 80 cm or 100 cm circular needles, you’ll need to use the Magic Loop technique. The video shows you how, but if you don’t find it comfortable, you can instead use an additional 40 cm circular needle in the same size.

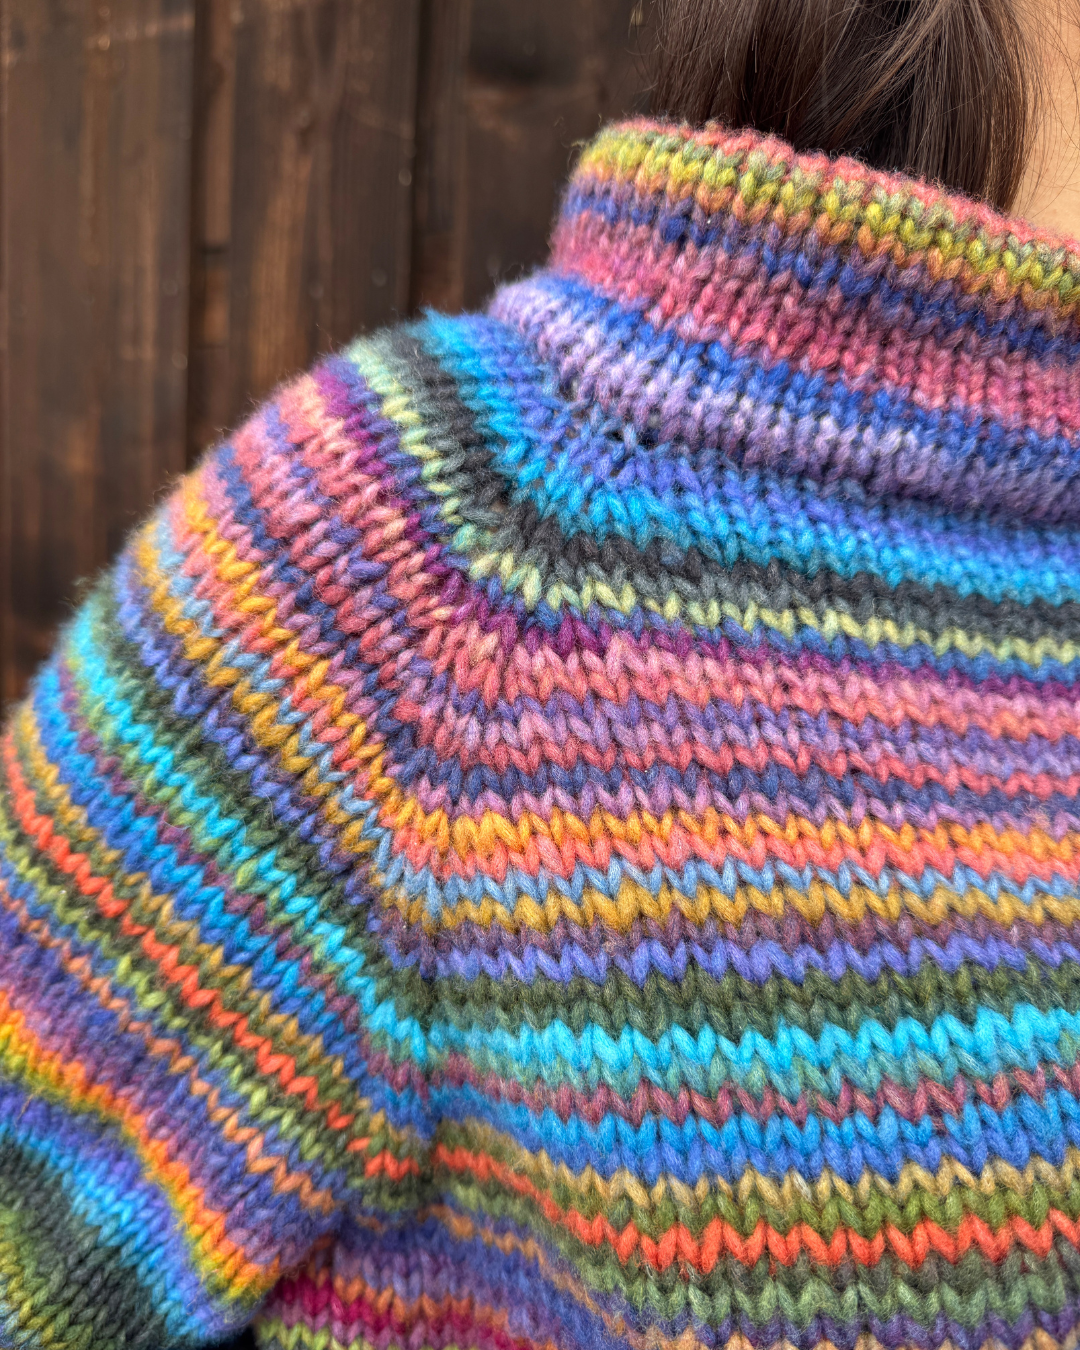
What is a raglan?
How it works
This sweater is worked from the top down in the round: you begin with the collar, continue with the yoke, then knit the body, and finish with the sleeves. Please read through the instructions carefully before you cast on.
Knitting needles: The entire sweater is knitted on circular nd. You will start with the Magic Loop technique, and once you have enough sts, you can knit comfortably in the round without using Magic Loop. The sleeves are also worked with Magic Loop. The technique is shown in the video, but if you find it uncomfortable, you can knit the tighter sections (collar, start of the yoke and sleeves) with shorter circular needles (40 cm length).
By loading the video you accept the privacy policy of YouTube.
Learn more
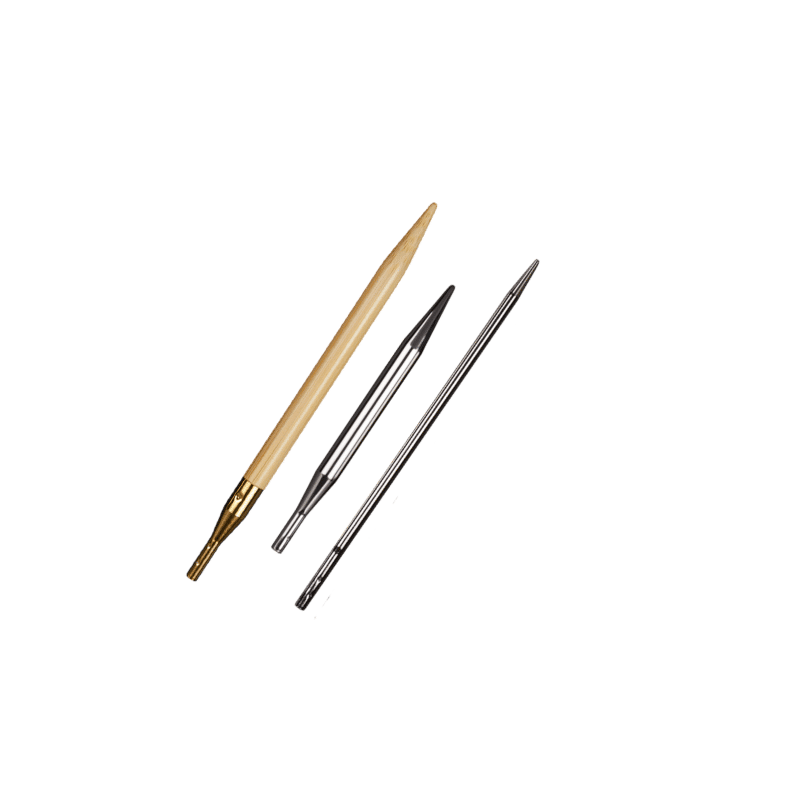
addiClick – interchangeable needles
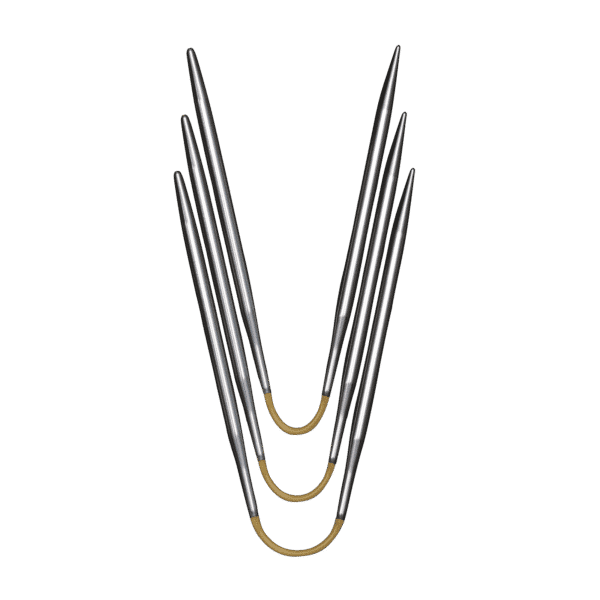
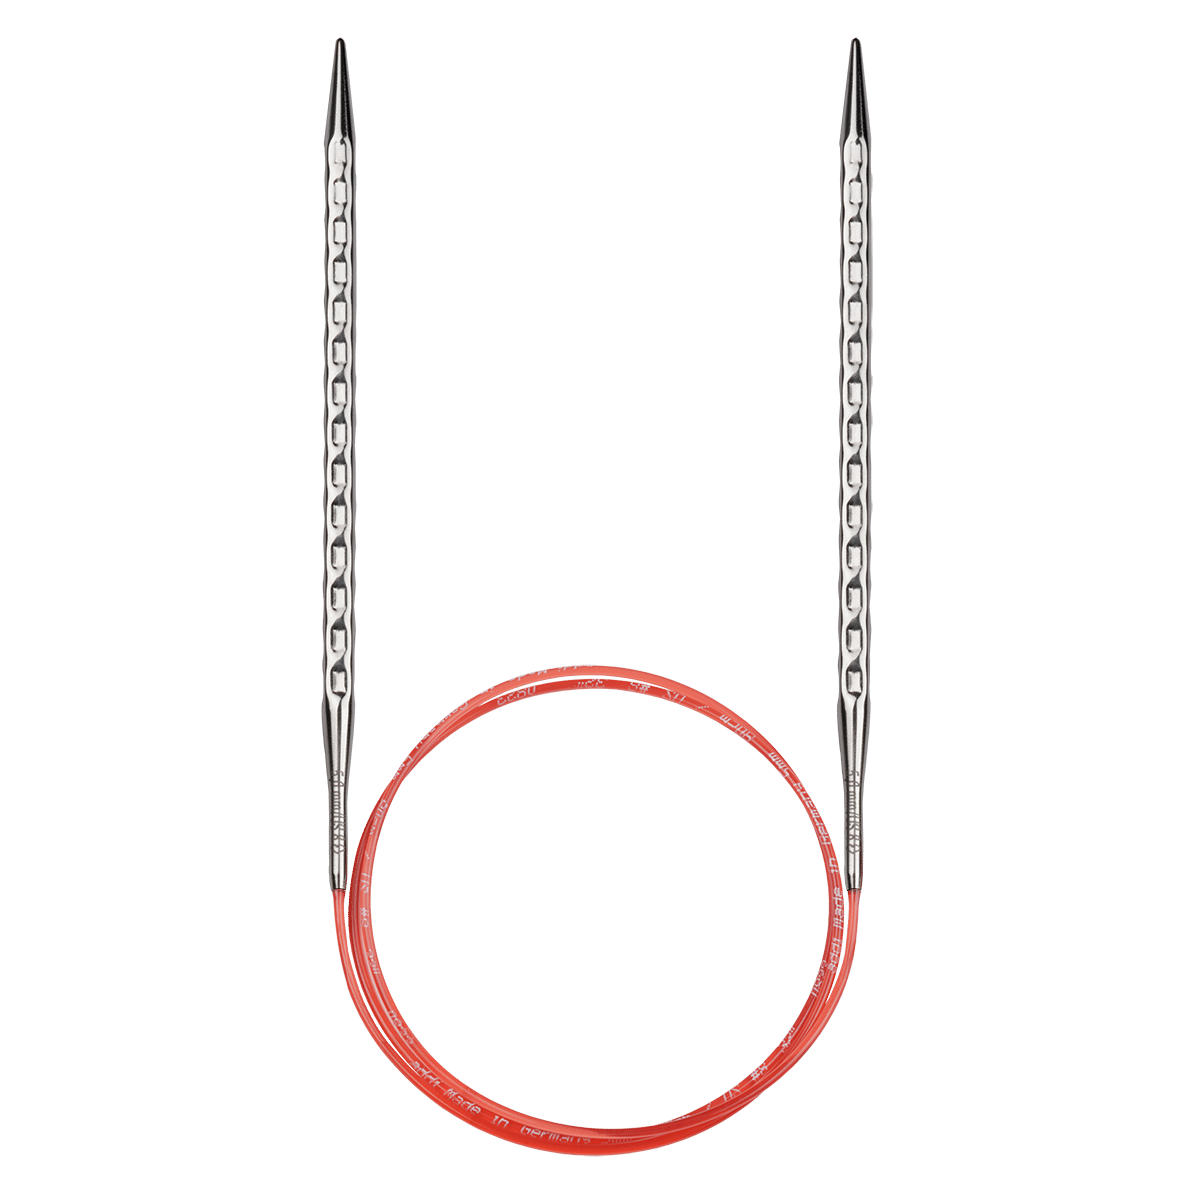
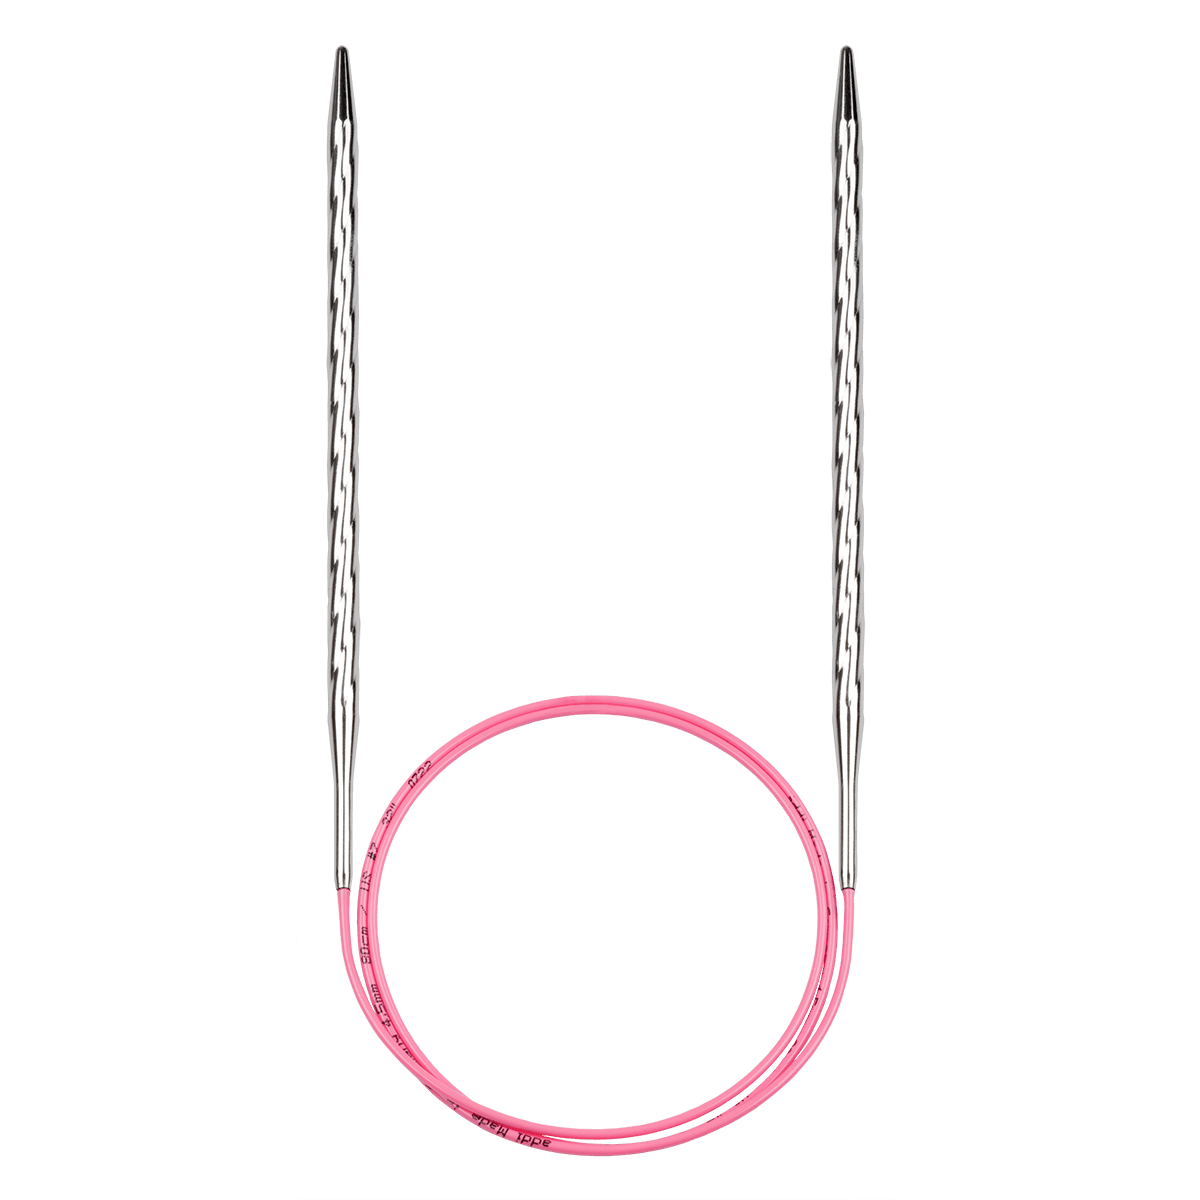
Instead of buying each knitting needle in every length and size individually, it’s also brilliant to use a complete set of knitting needle tips and cords in all lengths. This makes it even easier to put work on hold when knitting raglan sleeves, for example – simply transfer the stitches onto a cord, secure them with stoppers, and carry on knitting later without any hassle.
What makes our unique addiClick so special? The special feature of the addiClick system is that all cords and needle tips can be combined with each other. Without the need for tools such as screws or spanners, the tips and cords can be joined together simply by turning and clicking. The unique addiClick connection holds the tips securely on the cord after they have snapped into place - the typical "click" - and loosening during knitting is prevented.
We recommend trying out the addiClick Novel Starter Set. It includes needles in sizes 4.0, 5.0 and 6.0 mm (US 6, 8, 10), plus cords in 60 and 80 cm (24", 32"). You can buy any additional items when you need them:
Here’s what you’ll need for this guide:
- addiClick Novel Lace Long Starterset
- addiClick Novel Lace Short tips in 5 and 6 (US 8 and 10) mm
- addiClick lace cord in 2 x 40 cm (16")
- For sizes D–F, a addiClick lace cord 100 cm (40")
Finding the right size
Available sizes: A, B (C, D) E, F. To determine your size, measure your bust at the fullest point. The finished sweater will measure approx. 90, 100 (115, 130) 145, 160 around the bust. bust measurement + 10 to 20 cm = finished bust circumference. Pick the size closest to your total. Another option is to measure a favourite sweater you already own and use that as a guide.
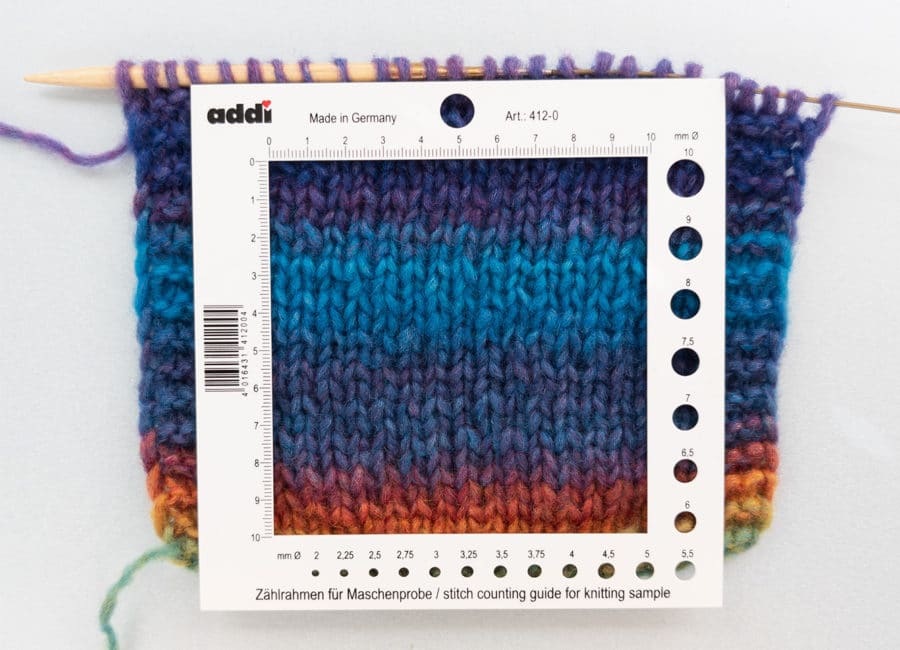
Make a gauge
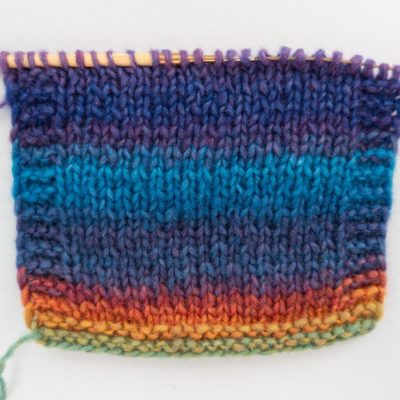
Your gauge swatch should measure 10 cm x 10 cm (4") Knit 15 sts x 22 r Always knit a gauge swatch before starting your project. To do this, co 25 sts and work in stst until your swatch measures about 12 cm in height.Then measure horizontally in the middle of the swatch to see how many sts you have per 10 cm; it should be 15 sts If you have more than 15, try a larger needle; if you have fewer, switch to a smaller needle. Vertically, you should have 22 r per 10 cm, but being slightly off here is not a problem as you can easily adjust the length as you knit.
Tip: For a more accurate swatch, co about 35 stitches and work stst in the rd until the “tube” measures about 12 cm in height. You’ll find more advice in our blog post Make a gauge.
You can also find all the information about the gauge swatch in the post Learning to knit: Gauge when knitting
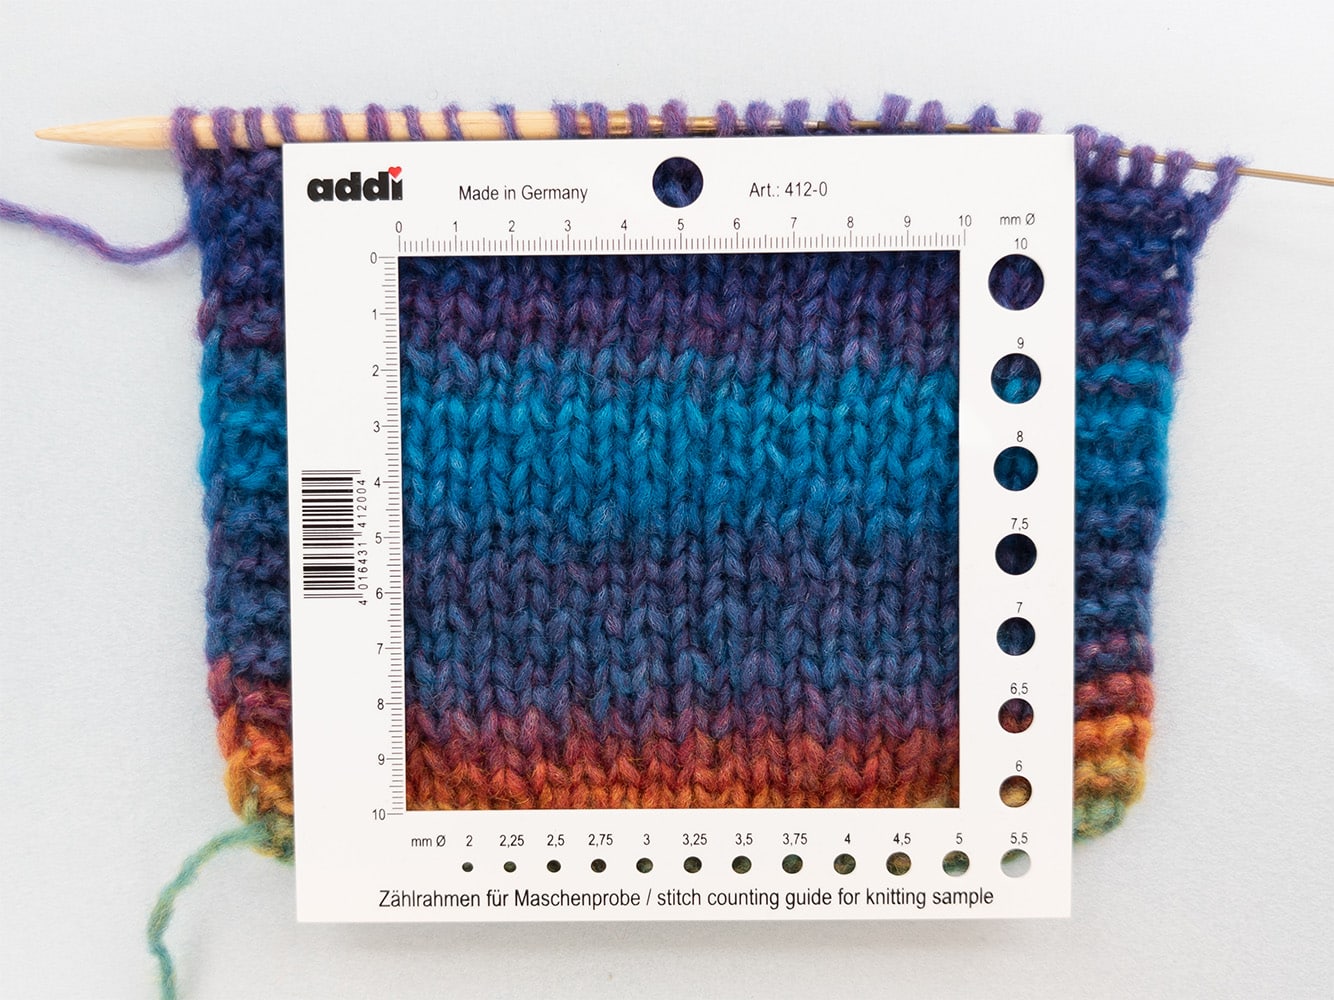
Make a gauge
Your gauge swatch should measure 10 cm x 10 cm (4") Knit 15 sts x 22 r Always knit a gauge swatch before starting your project. To do this, co 25 sts and work in stst until your swatch measures about 12 cm in height.Then measure horizontally in the middle of the swatch to see how many sts you have per 10 cm; it should be 15 sts If you have more than 15, try a larger needle; if you have fewer, switch to a smaller needle. Vertically, you should have 22 r per 10 cm, but being slightly off here is not a problem as you can easily adjust the length as you knit.
Tip: For a more accurate swatch, co about 35 stitches and work stst in the rd until the “tube” measures about 12 cm in height. You’ll find more advice in our blog post Make a gauge.
You can also find all the information about the gauge swatch in the post Learning to knit: Gauge when knitting



Here we go: knitting a collar
- Co 64, 72 (76, 80) 86, 92 sts pm for BOR and join to work in the round, being careful not to twist your cast-on edge. The placed stitch marker now indicates your BOR.
Note: work using the Magic Loop technique, or alternatively use shorter circular nd as mentioned earlier.
- K all sts until the piece measures approx. 14 cm (= 21 Rd) from the co edge. Slip the BOR marker onto your right nd.
- Now knit all the stitches on the left-hand needle (li) together with the stitches from the cast-on edge.
- Now k the live sts together with the co edge as follows: Insert the right nd as if to k into the first st on the left nd (but leave it there), then insert the right nd into the corresponding st of the co edge (in the same “column”) and k them together. Rep until all sts are joined to the co edge.
Note: If you prefer not to join the stitches now, simply knit one rd and sew the collar to the inside later using a tapestry nd when the sweater is finished.
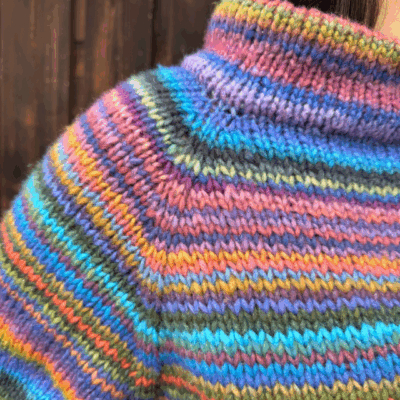
Knitting the yoke
You will now divide the sts for back, front, and sleeves in the following order:
first half of back, 2 raglan sts, right sleeve, 2 raglan sts, full front,
2 raglan sts, left sleeve, 2 raglan sts, second half of back.
Your BOR is at the centre back.
- Knit 9, 11 (13, 15) 17, 19 sts pm, k 2 pm, (= half of back).
- Knit 10, 10 (8, 6) 4, 4 sts, pm, k 2 sts, pm, (= right sleeve).
- Knit 10, 10 (8, 6) 4, 4 sts, pm, k 2 sts, pm, (= right sleeve).
- Knit 10, 10 (8, 6) 4, 4 sts, pm, k 2 sts, pm, (= right sleeve).
- Knit 9, 11 (13, 15) 18, 19 sts, pm, k 2 sts, pm, (= half of back).
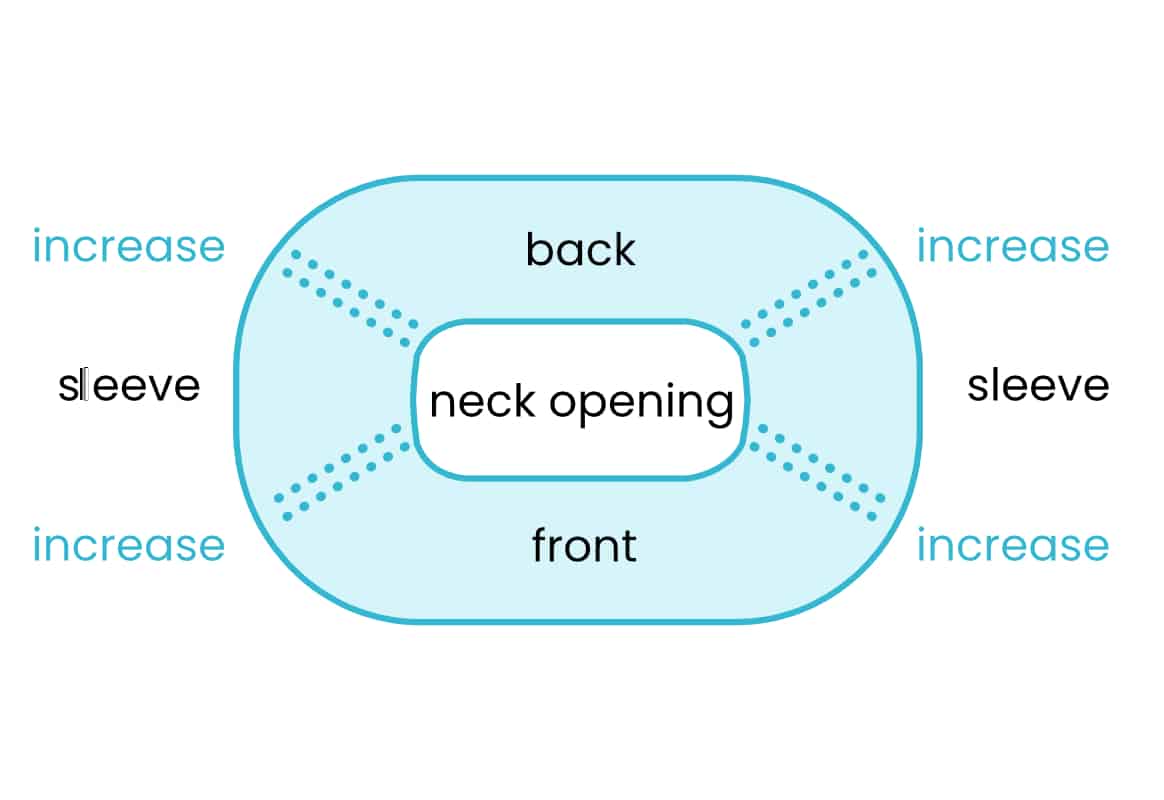
You are now back at the BOR. In the next step, you will work increases on both sides of each pair of raglan sts:
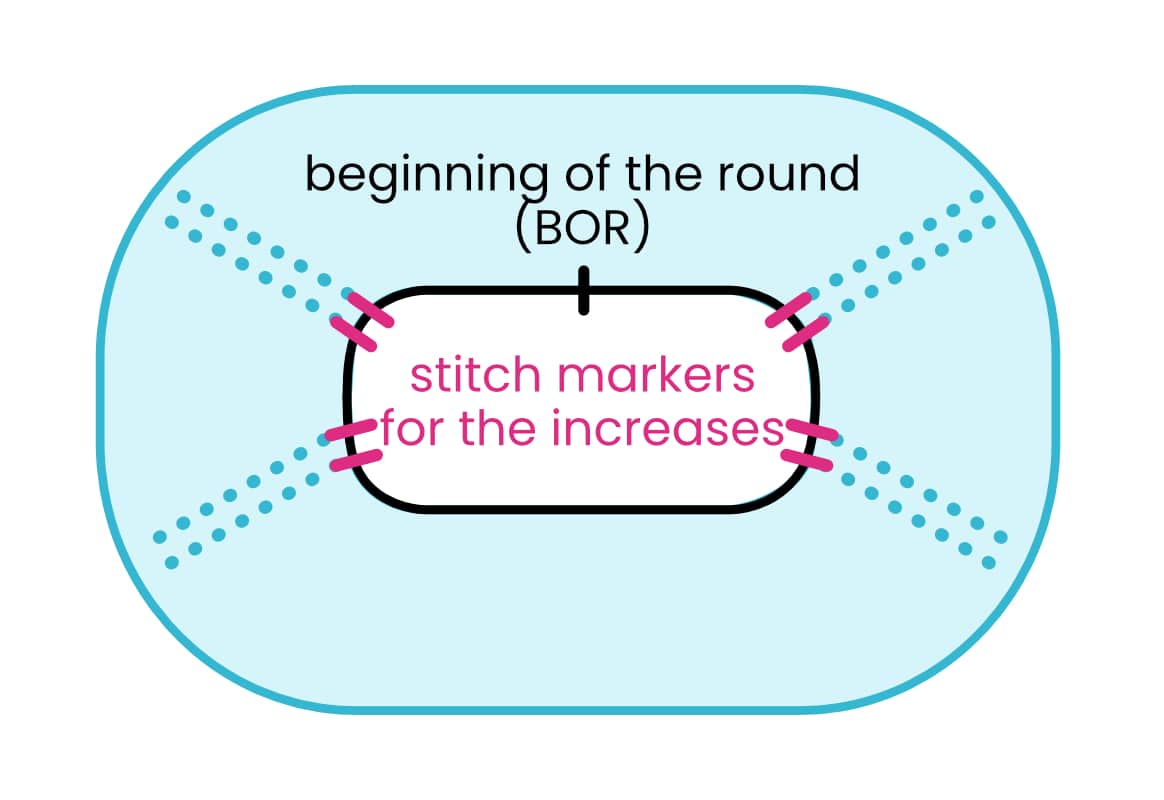

Knitting the yoke
You will now divide the sts for back, front, and sleeves in the following order:
first half of back, 2 raglan sts, right sleeve, 2 raglan sts, full front,
2 raglan sts, left sleeve, 2 raglan sts, second half of back.
Your BOR is at the centre back.
- Knit 9, 11 (13, 15) 17, 19 sts pm, k 2 pm, (= half of back).
- Knit 10, 10 (8, 6) 4, 4 sts, pm, k 2 sts, pm, (= right sleeve).
- Knit 10, 10 (8, 6) 4, 4 sts, pm, k 2 sts, pm, (= right sleeve).
- Knit 10, 10 (8, 6) 4, 4 sts, pm, k 2 sts, pm, (= right sleeve).
- Knit 9, 11 (13, 15) 18, 19 sts, pm, k 2 sts, pm, (= half of back).
You are now back at the BOR. In the next step, you will work increases on both sides of each pair of raglan sts:

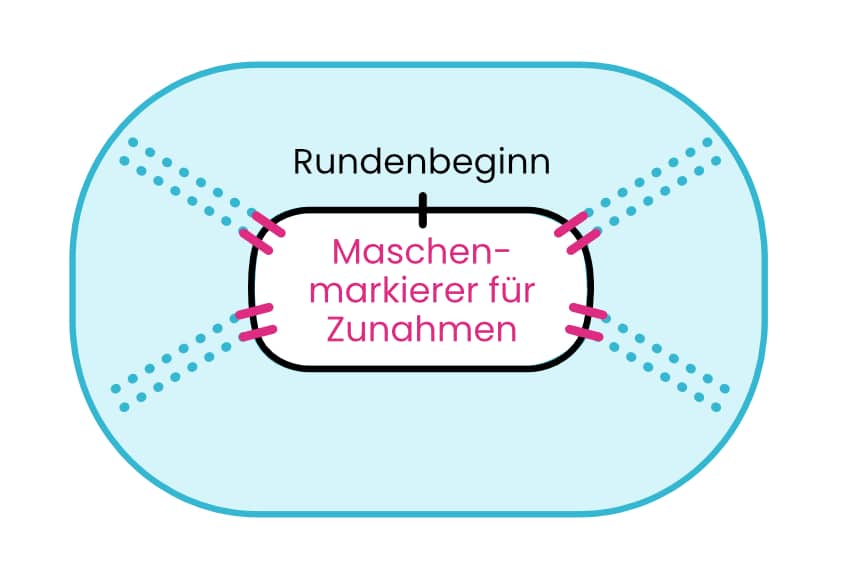
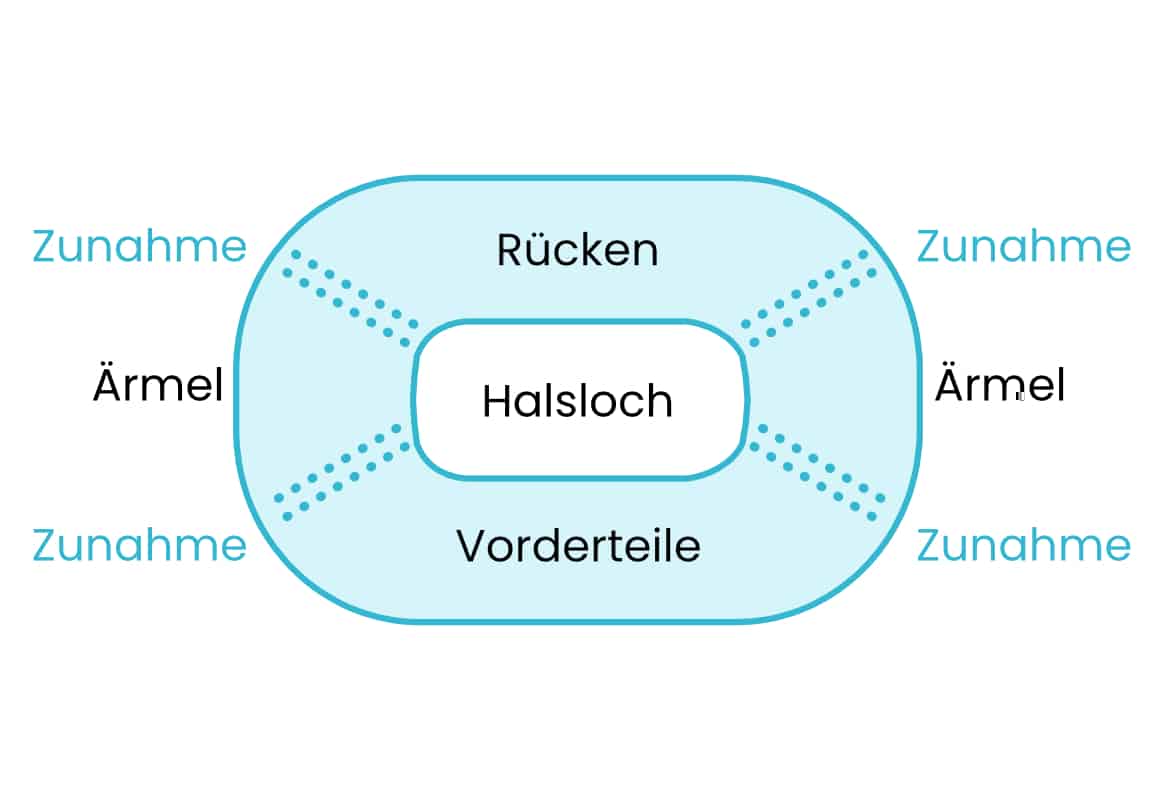
Increases for the raglan yoke
- Rd 1: **k all sts up to marker (but keep it on your left nd), M1Rsm, k 2 sts, sm, 1 Zun li gen*. Rep from * to * three more times,
- then knit to BOR – 8 M sts increased in total.
- Rd 2: K all sts.
Work Rd 1 and Rd 2 a total of 20, 22 (25, 28) 31, 34 times 40, 44 (50, 56) 62, 68 Rd You should then have approx. 18, 20 (23, 25) 28, 31 cm measured from the first yoke rd, and a total of 224, 248 (276, 304) 334, 364 M on your nd.
Note: The yoke is now complete – no further increases will follow. This is a good point to try the sweater on: slip sts onto a long scrap yarn or stitch cord and check the fit. If the yoke reaches just a bit below your underarms, it’s right. If it’s too short, work a few rounds in stst, without making any increases, until the correct length. Then, place sts back onto your nd.
Lengthen the back
Now, k flat to lengthen the back slightly:
- Right side: K all sts to next marker, rm, k2, leave the next marker on left nd, turn work.
Note: Turning means rotating your knitting so you can work back over the sts you just knit; after turning after a rs-r the inside of the sweater will face you and after turning after a ws-r, the outside of the sweater will face you again.
- Wrong side: P to BOR marker, rm, p to next marker, rm, p2, leave the next marker on left nd, turn work.
R1 (RS) K up to marker, turn work.
R2 (WS) P up to marker, turn work.
Repeat R 1 and R 2 once more (6 r in total). 1 Mal. Insgesamt hast du so 6 Reihen gestrickt.
Then k all sts up to the marker, rm, and do not turn.
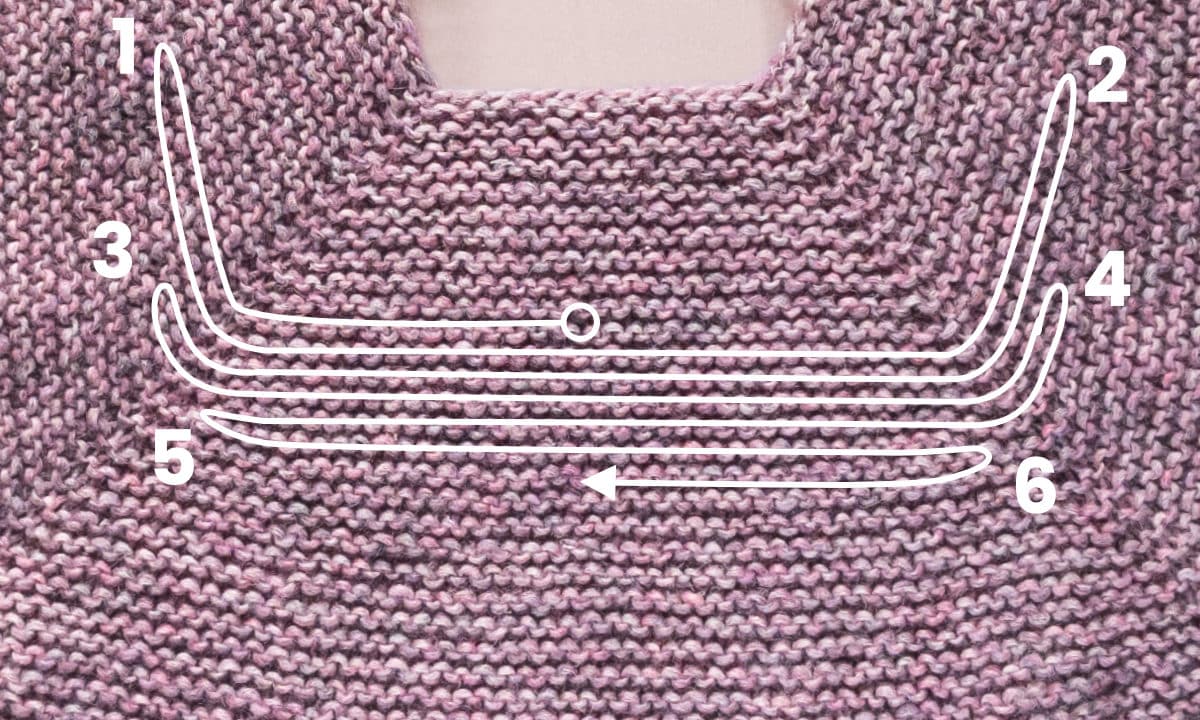
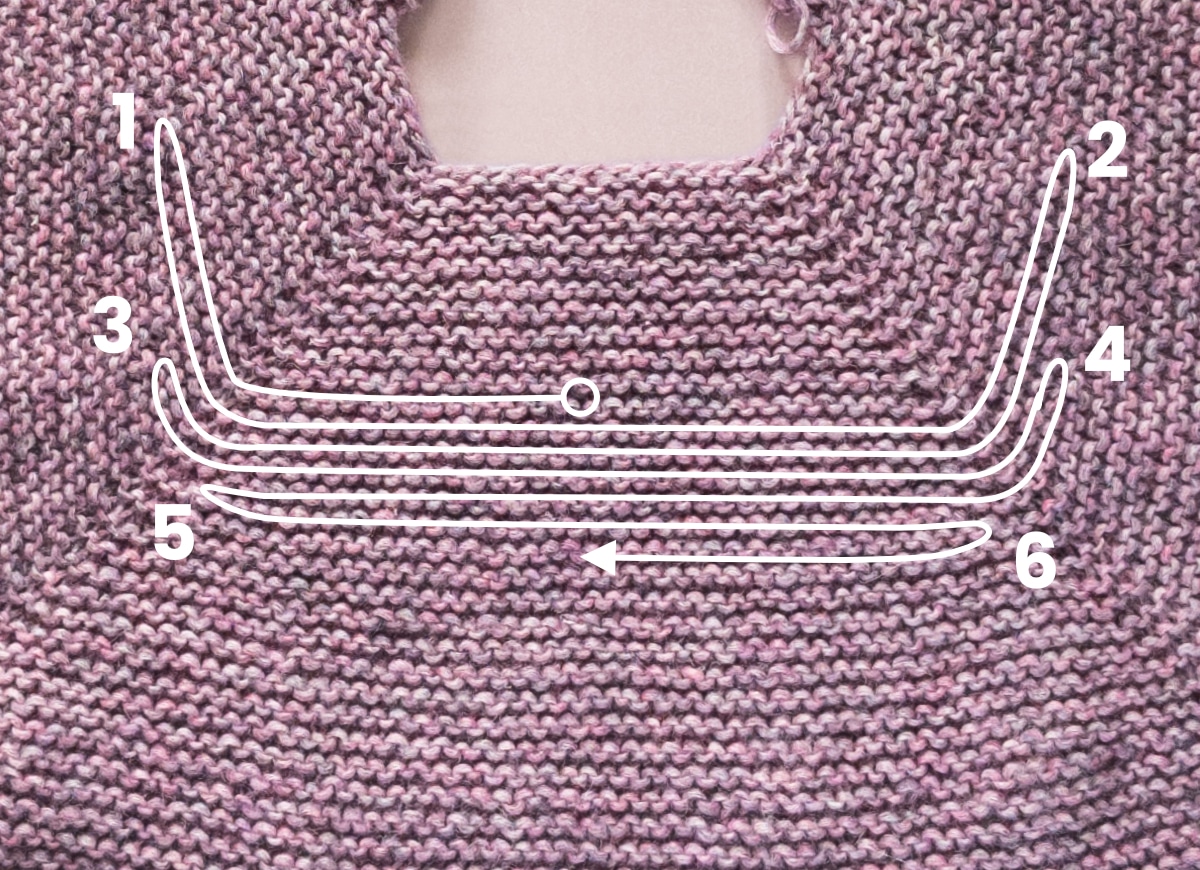
Pro tip: use german short rows instead of extra rows
For a perfect fit, you can also use ‘german short rows’ technique instead of the extra rows at the back.
- Work 3 turning stitches on each side (3 rows in each direction, turning at the end with a turning stitch).
-
The first turning stitch is worked in the centre of the sleeve (1) – this is where you turn for the first time, then work a row back to the other shoulder and turn again (2). Raglan increases continue to be worked in the right side rows.
-
In the next row and the following row, the turning stitch is worked about 8 stitches BEFORE the previous turning stitch (3 and 4).
-
Knit in rows back and forth until the turning stitches have reached the back section (here 6)
Knitting the body
Next, the sleeve sts are put on hold so you can continue working the body.
Tip: You’ll also co new sts for the underarms using the backward loop cast-on. Video how to cast on.
- Place all sts up to next marker onto scrap yarn or stitch cords.
- Co 6, 6 (6, 8) 8, 10 sts for the underarm.
- Rm, k2, rm, k all sts up to next marker, rm, k2, rm, place all sts up to next marker onto scrap yarn or stitch cords.
- Co 3, 3 (3, 4) 4, 5 sts for the underarm, pm for new BOR, co 3, 3 (3, 4) 4, 5 sts for the underarm,
- rm.
- You now have 136, 152 (172, 196) 218, 240 sts.
K in the rd until the body measures approx. 23, 24 (25, 26) 27, 28 cm (= 51, 53 (55, 57) 59, 62 Rd) from the underarm cast-on, or until 6 cm shorter than desired length.
Finish the body
Knitting the cuff
When the body has reached this length, at BOR, switch to 5 mm nd and work 12 rd (= 5.5 cm) in rib:
- *k1, p1*, rep from * to * until you’re back at your BOR.
Cast off all stitches loosely:
- Bind off loosely and elastically as follows: K1, p1, *sl both sts back onto left nd with yarn held behind work, k them together through the back loop, work next st as it appears*, rep from * to * until no sts remain.
- Draw yarn through last st on your right nd and weave in end.
Tip: To “work sts as they appear” means to k the sts that look like knit sts (= V-shaped) and p the ones that look like purl bumps.
Knit the sleeves
Work the left sleeve first:
- Sl the sts on hold for your left sleeve from the scrap yarn or stitch cord back onto your nd.
Then, pick up 6 sts along the flat rows at the end of the yoke, and 8, 8 (8, 10) 10, 12 sts along the underarm as follows:
- Pick up 3 sts through the selvedge sts from the flat r at the end of the yoke,
- pm,
- 3 pick up through the selvedge stitches from the flat r at the end of the yoke
- dann aus den für den Unterarm angeschlagenen M 3, 3 (3, 4) 4, 5 sts through the selvedge sts from the flat r at the end of the yoke,
- then through the sts from the underarm cast-on,
- pick up 3, 3 (3, 4) 4, 5 sts through the selvedge sts from the flat r at the end of the yoke,
- then pick up 2 from the gap between the underarm and the sleeve sts on your left nd.
Here’s how to pick up stitches:
Before you worked the body, at the end of the yoke, you had k 6 r flat and then you co 6 sts for the underarms. When picking up sts, insert right nd into the st (either a selvedge st from your flat r at the end of the yoke or a st from your underarm cast-on), yarn over as if to knit, pull loop through – you now have one picked-up st on your right nd.
Now work as follows:
- K up to 4 sts before first marker, skp, skp, rm, k up to 2, 2 (2, 3) 3, 4 sts past BOR, k2tog, k2tog, k up to BOR.
You now have 60, 64 (68, 74) 78, 86 sts.
Now, you will work the sleeve decreases. If you reach the given length of the sleeve before finishing all decrease rounds, count how many decreases remain and work them evenly in the next round.
Rep the following step 9, 12 (12, 14) 14, 17 times 81, 84 (84, 84) 84, 85 Rd rounds, = 36, 38 (38, 38) 38, 39 cm):
- K 8, 6 (6, 5) 5, 4 Rd in stst, then work 1 decrease rd as follows:
- K2tog, k up to 2 sts before BOR, skp.
You now have 42, 40 (44, 46) 50, 52 sts.
Switch to 5 mm nd and work 6 Rd (approx. 3 cm) as follows:
- *k1, p1*, rep from * to * until you’re back at your BOR.
Then, bind off loosely and elastically as follows:
- K1, p1, *sl both sts back onto left nd with yarn held behind work, k them together through the back loop, work next st as it appears*, rep from * to * until no sts remain. Draw yarn through last st on your right nd and weave in end.
- Draw yarn through last st on your right nd and weave in end.
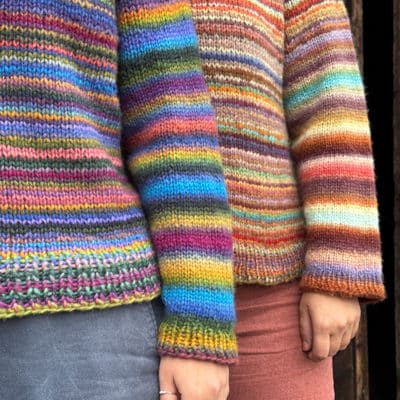
Work the right sleeve the same but mirrored:
Finish
If you chose to sew the collar edge down after knitting, do that now using a tapestry nd.
Weave in all ends neatly and make sure that all markers, scrap yarn, or stitch cords are removed from your sweater. Then, wash the sweater on a wool cycle (!) using wool detergent only. If still very wet, gently press out excess water using a towel – do not wring or stretch as it may felt or distort. (Please note: DO NOT wring, pull, etc., as this could cause it to lose its shape or become matted).
Lay flat to dry (e.g. on a towel), shaping it carefully to your desired measurements.
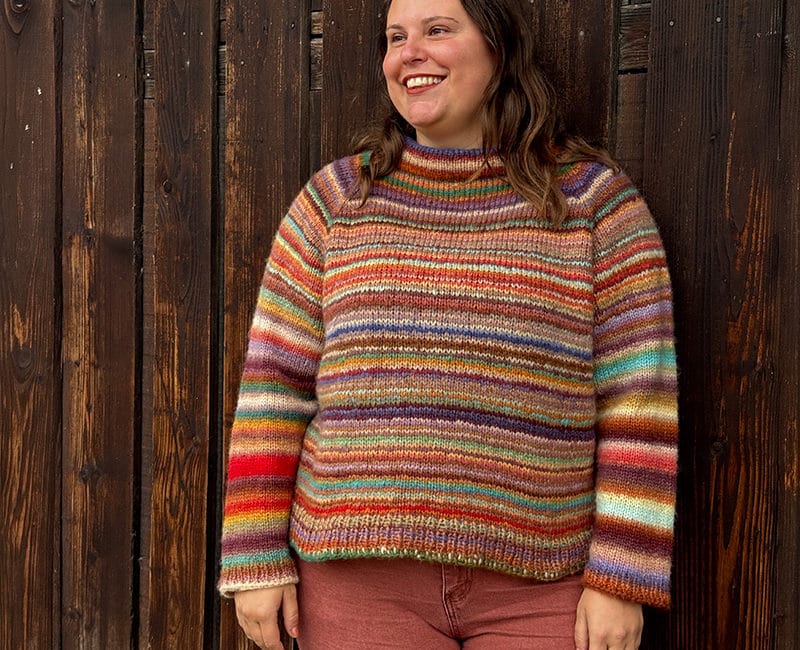
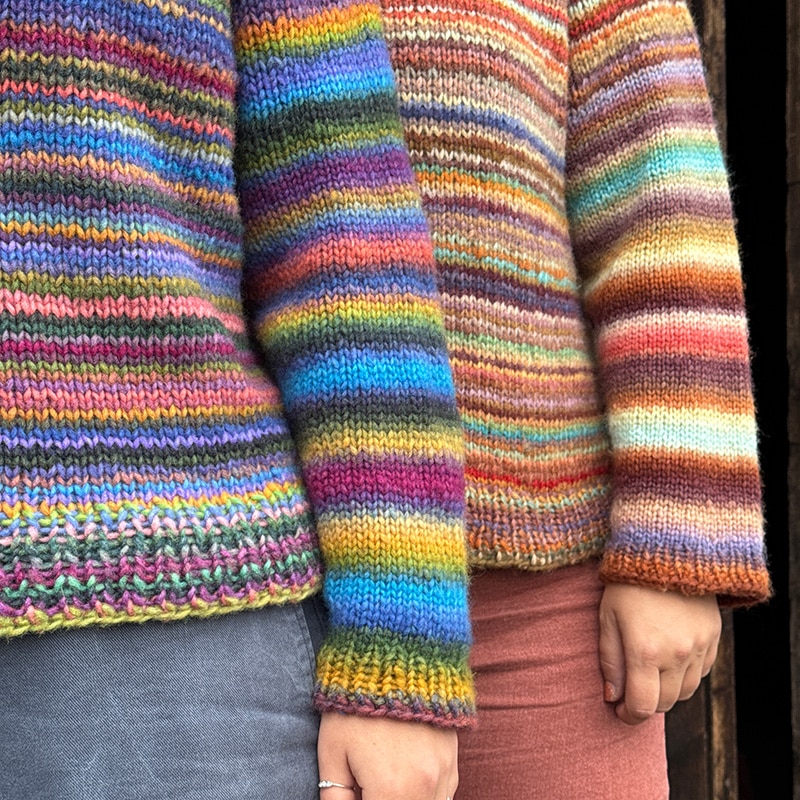
Congratulations – your HOW TO RAGLAN sweater is finished! If you share it on Instagram, please use the hashtag #letitbeHowToRaglan so others can admire your work.
Finish
If you chose to sew the collar edge down after knitting, do that now using a tapestry nd.
Weave in all ends neatly and make sure that all markers, scrap yarn, or stitch cords are removed from your sweater. Then, wash the sweater on a wool cycle (!) using wool detergent only. If still very wet, gently press out excess water using a towel – do not wring or stretch as it may felt or distort. (Please note: DO NOT wring, pull, etc., as this could cause it to lose its shape or become matted).
Lay flat to dry (e.g. on a towel), shaping it carefully to your desired measurements.
Congratulations – your HOW TO RAGLAN sweater is finished! If you share it on Instagram, please use the hashtag #letitbeHowToRaglan so others can admire your work.
Abbreviations
- CO = cast on / cast-on
- SI = slip / slipped stitch
- Inc = increase
- Dec = decrease
- RS row = right-side row
- Rück-R = wrong-side row
- sts = stitches
- sm = stitch marker
- gauge = gauge (tension)
- ndl = needle
- edge st = edge stitch (selvage stitch)
- r = row
- Rd = round/s
- BOR = beginning of round
- K1 = knit 1 stitch
- P1 = purl 1 stitch
- M1R = make 1 right: lift the strand between the stitches from back to front with the left needle and knit into the front of the lifted loop
- M1L = make 1 left: lift the strand between the stitches from front to back with the left needle and knit into the back of the lifted loop
- k2tog = knit 2 stitches together
- ssk = slip, slip, knit (slip 1 knitwise, slip 1 knitwise, knit the slipped stitches together through the back loops)
- rep = repeat / repeat(s)
Tutorial also available for download and in the addi2go app
You can find the written instructions to print out in GER, FR, NL, ENG and DK from our partner LANG YARNS.
You can also find the instructions digitally in our addi2go app. There you can save the instructions in a project with row counters and notes.
Finished your project? Then feel free to share your results with us on Instagram or Facebook @addi_by_selter, @langyarns_official using @letitbeknit.
If you share your work on Instagram, we’d love it if you used the hashtag #letitbeHowToRaglan use
A guide by Kim May Büchel (@letitbeknit)