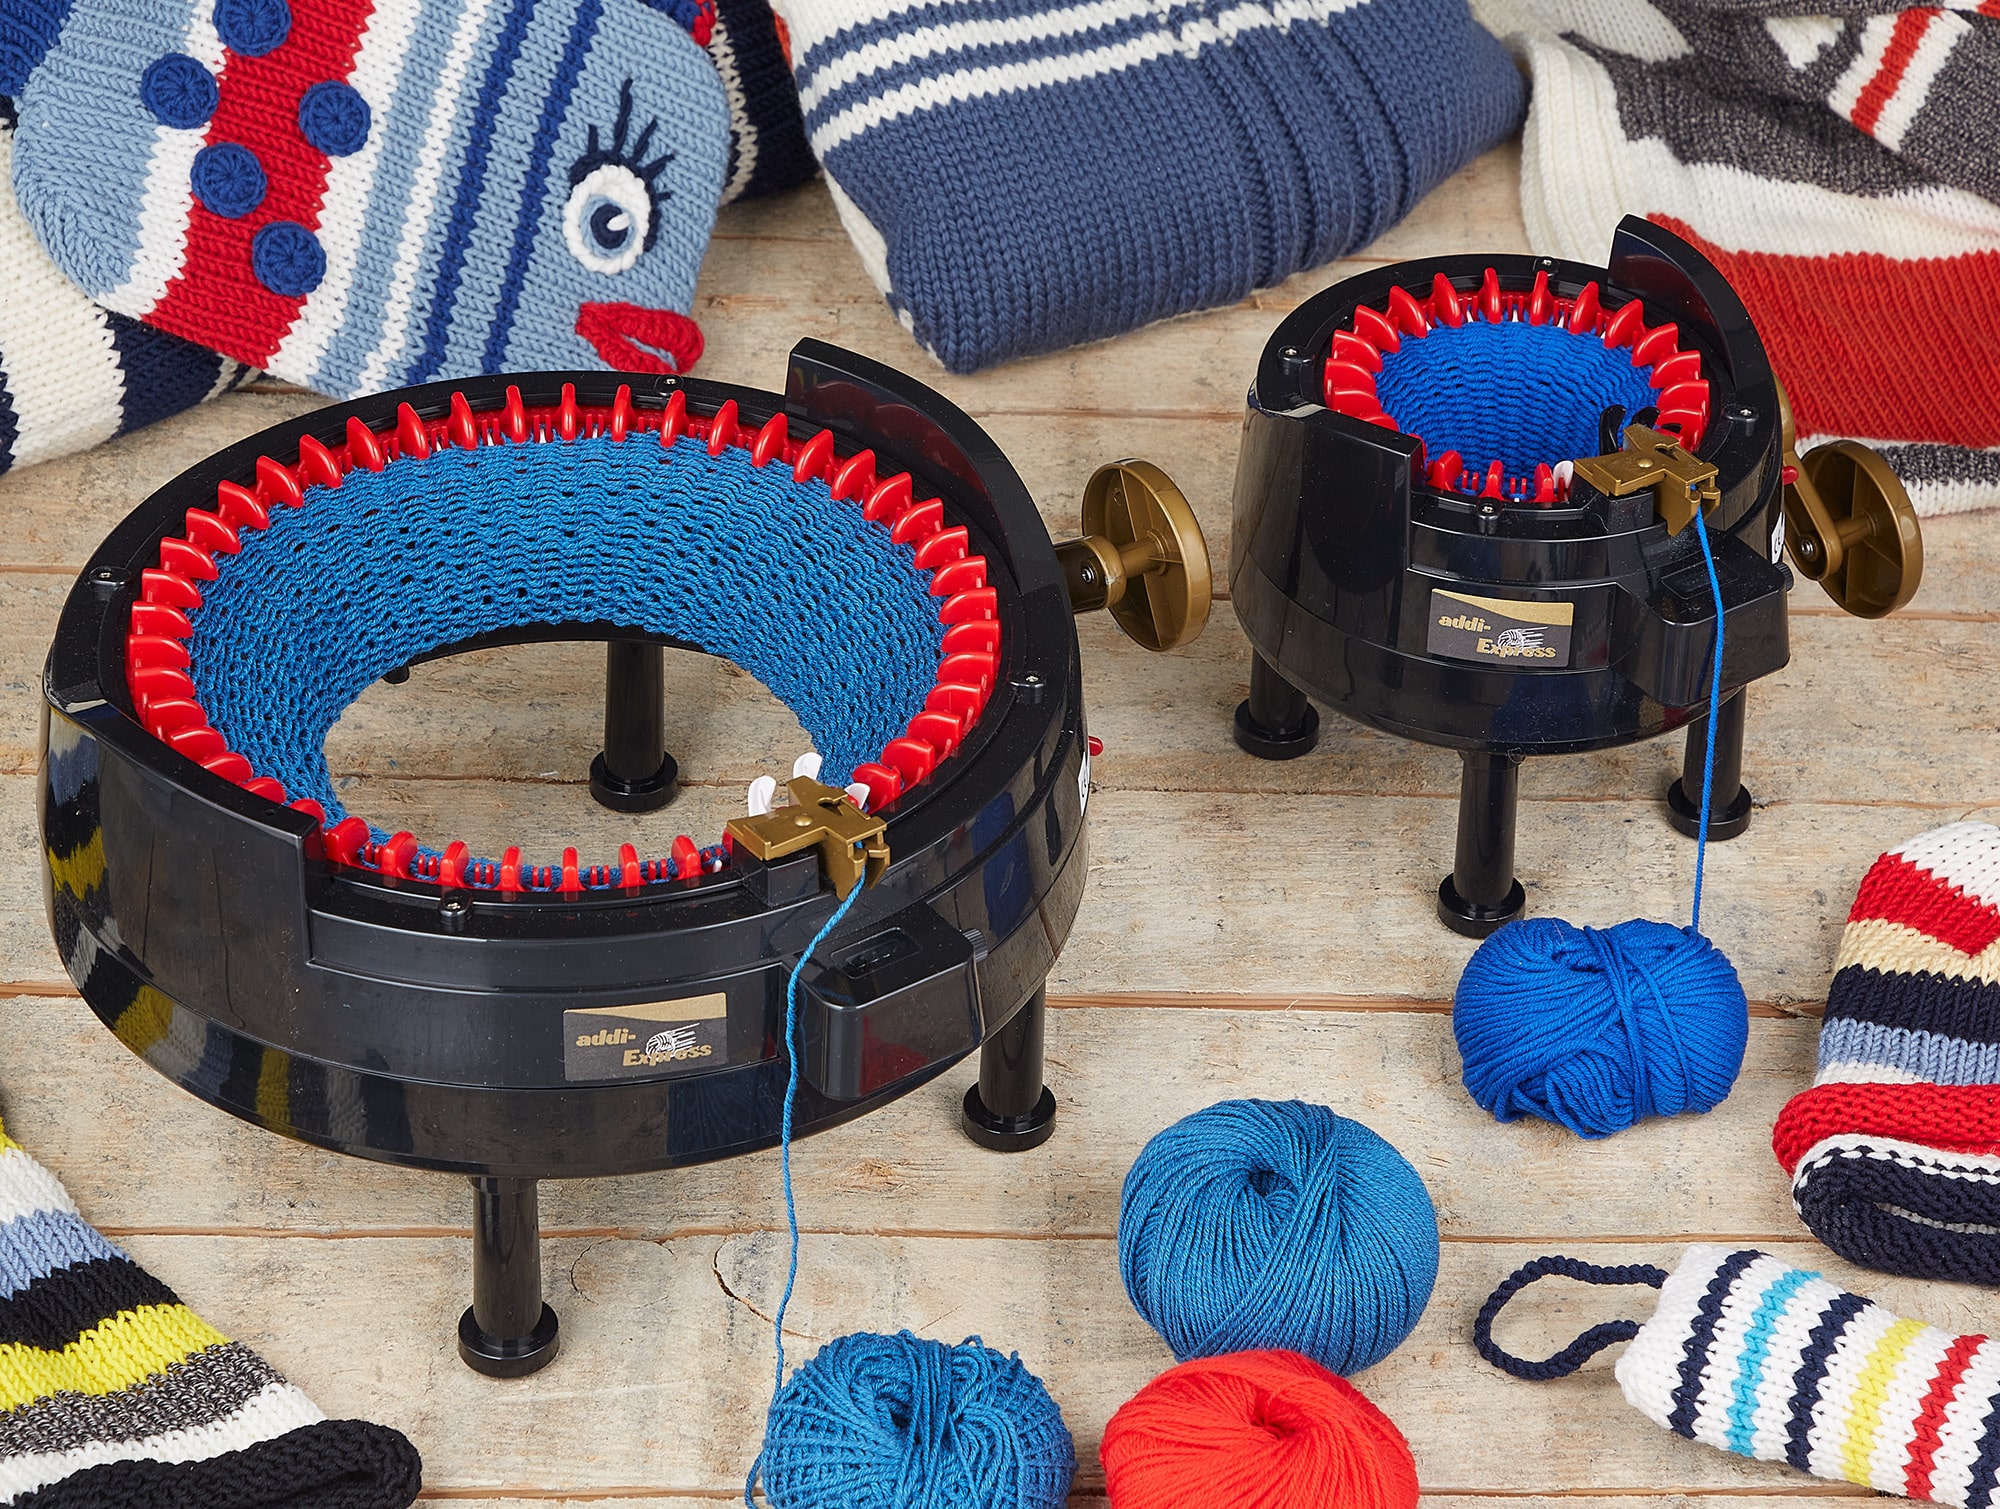
Winding a headband with twist with the addiExpress Kingsize knitting machine
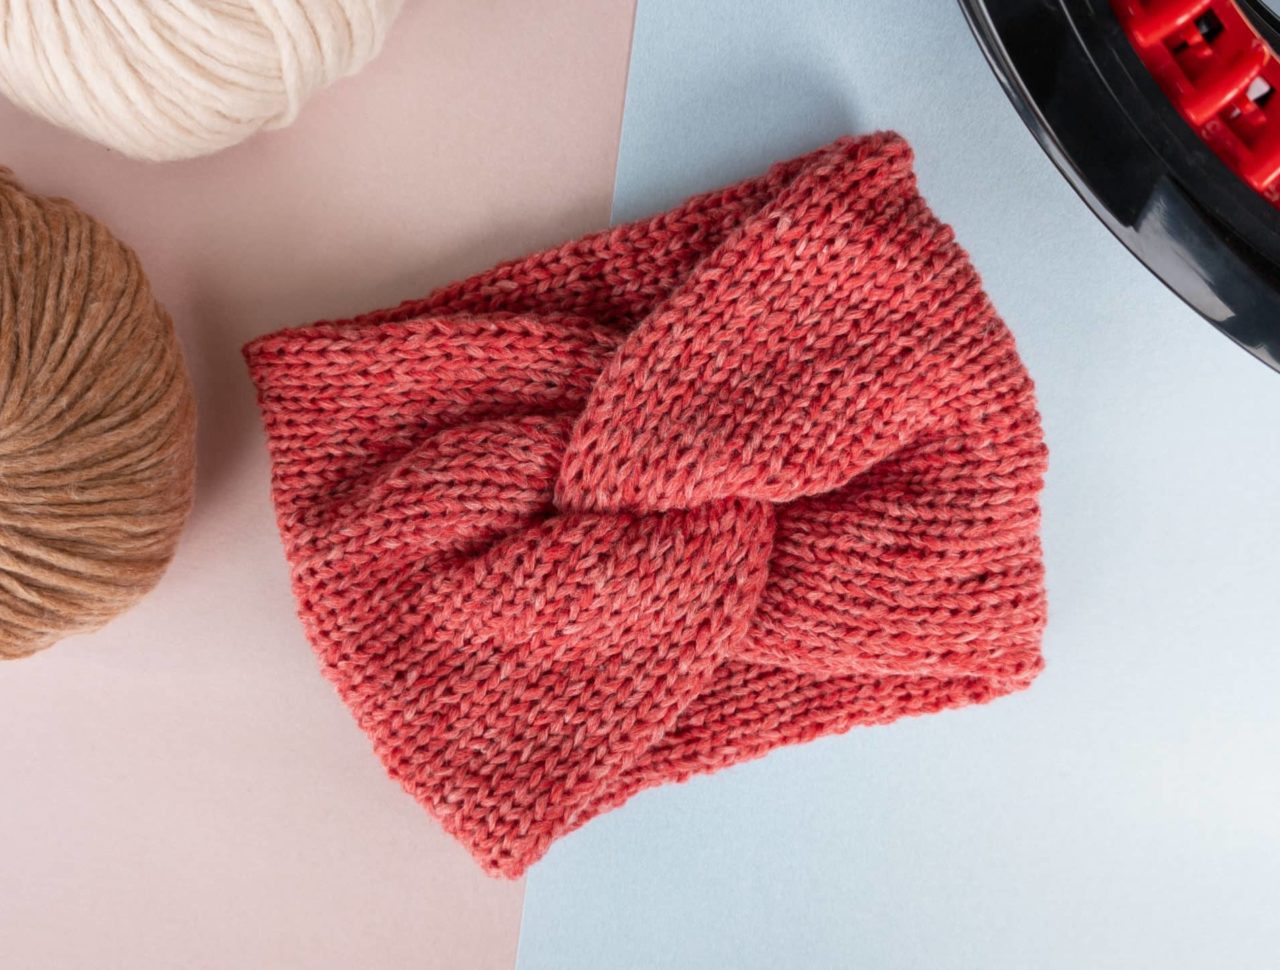
Simply wind it with the addiExpress Kingsize in the round, sewing it together and it's ready to wear - a simple big headband that even beginners can wind.
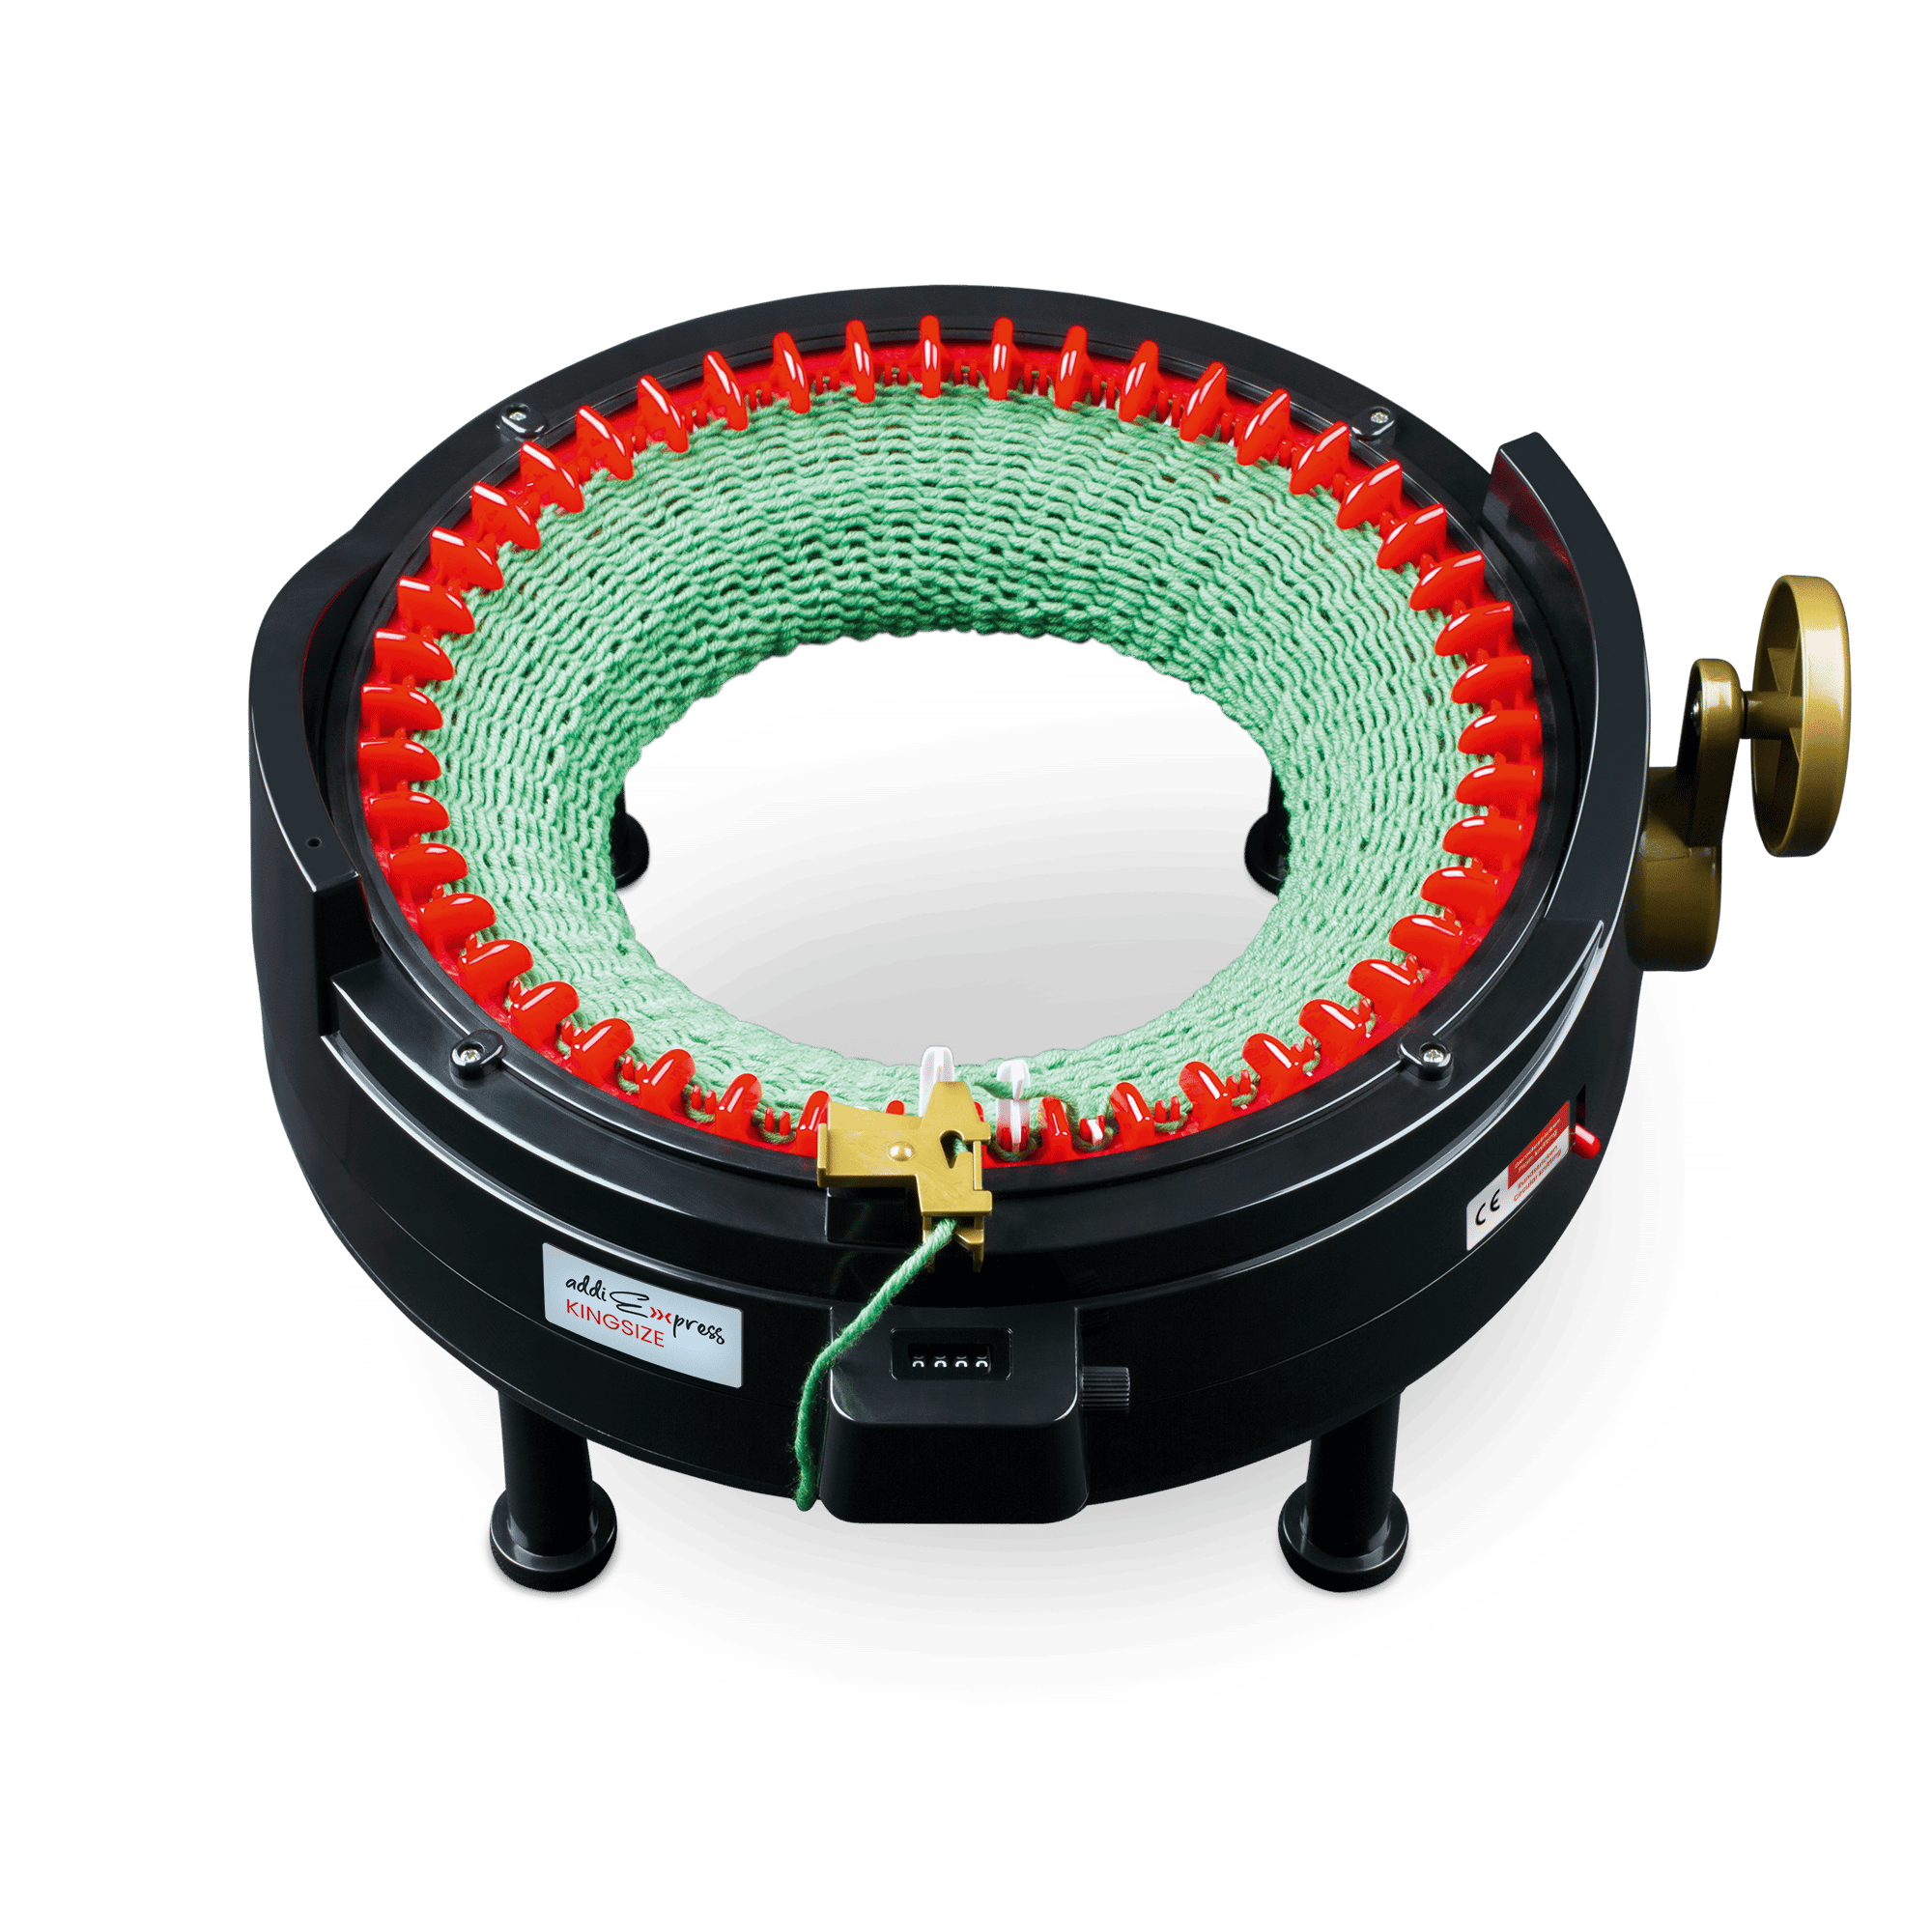
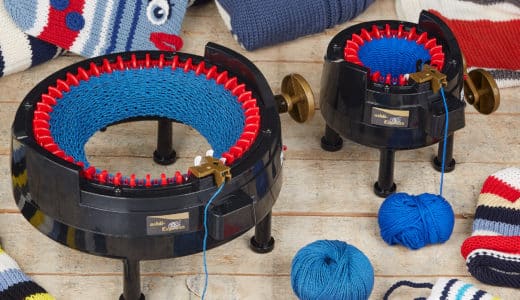
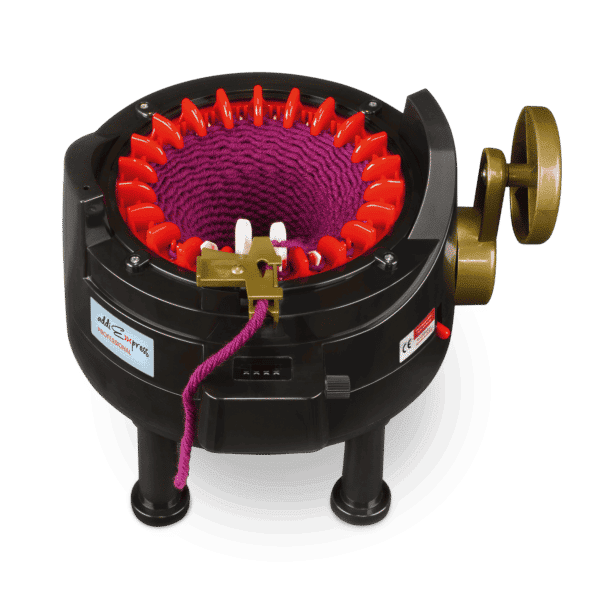
- addiExpress Kingsize knitting machine
- Soft yarn approx. 50-70 g (70-110 m/ 50 g)
- In unserem Beispiel verwenden wir 1 Knäuel WoollyHugs „Sheep“ (bis Größe S) oder 2 Knäuel
- alternatively e.g. 2 balls of Merino yarn 76 yd/ 1.8 oz (70 m/ 50 g)
- Contrasting yarn - a small piece of yarn in a contrasting color as an auxiliary yarn for casting on the stitches
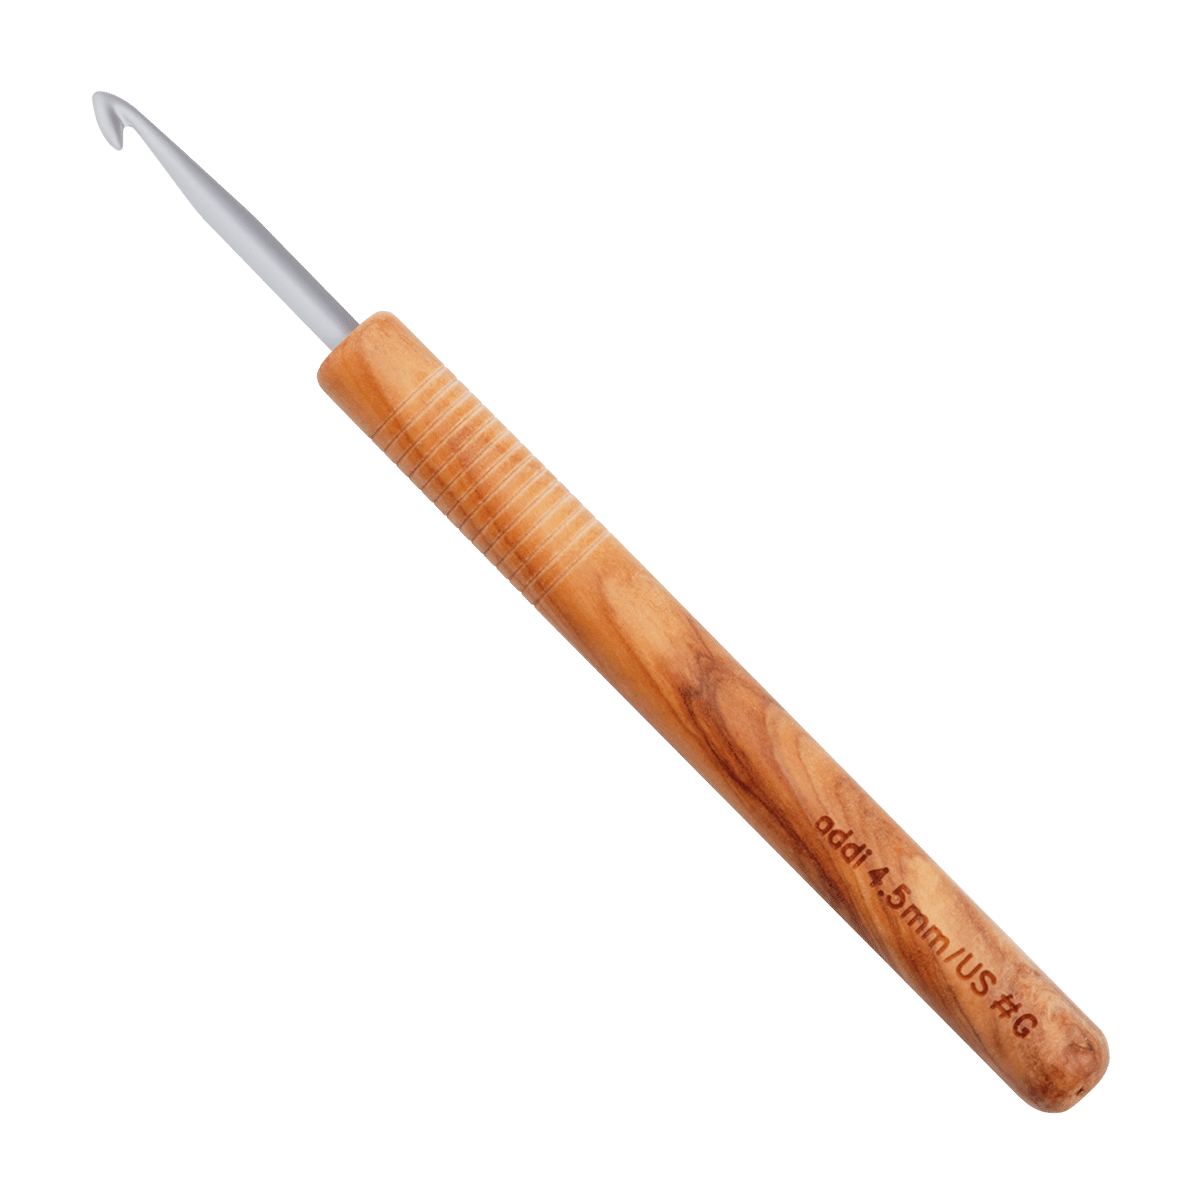
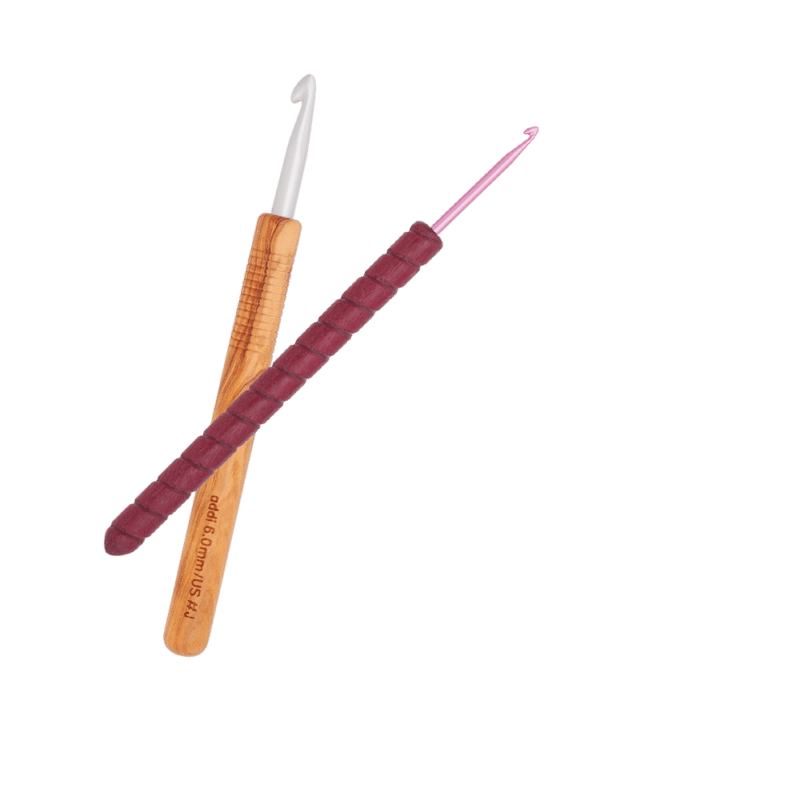
- Crochet hook approx. US #6 (4 mm)
- Wool needle e.g. addiLoop
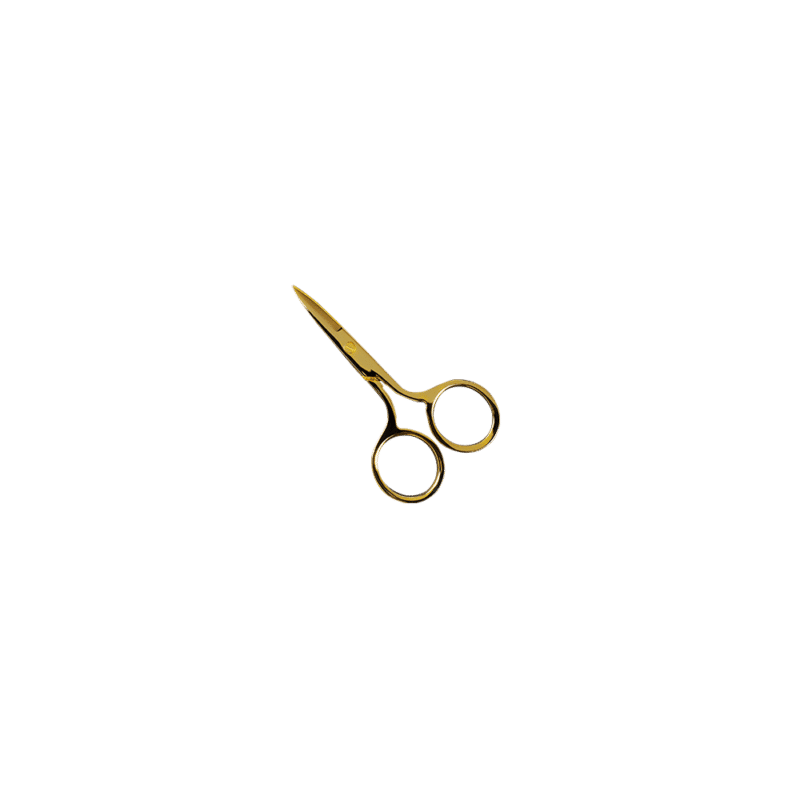
- Scissors e.g. addiGoldmarie
Size EU: The headband is very stretchy and fits every head. The size chart indicates the ideal number of rows depending on the head circumference.
Winding a headband with twist
The headband is wound in the round so that a double layer of knitted fabric keeps the ears warm when worn.
For your headband, choose a warming, rather thick yarn, e.g. with wool component, with a running length of between 70 and 110 m per 50 g ball. An overview of the yarns we have tested from our partners can be found here .
Is this your first knitting project with the addiExpress knitting machine? Then you will find here basic instructions with detailed explanations.
Cast on stitches
The headband is attached with an additional thread in a contrasting colour and finished so that the edges of the headband can then simply be crocheted together neatly. Small scraps of yarn are ideal for this.
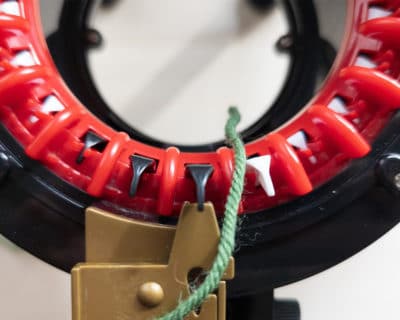
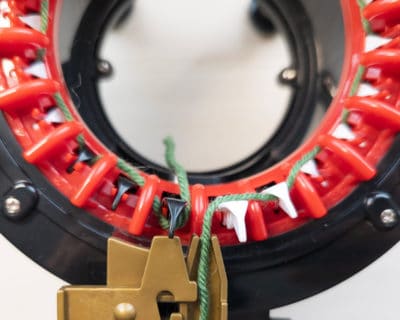
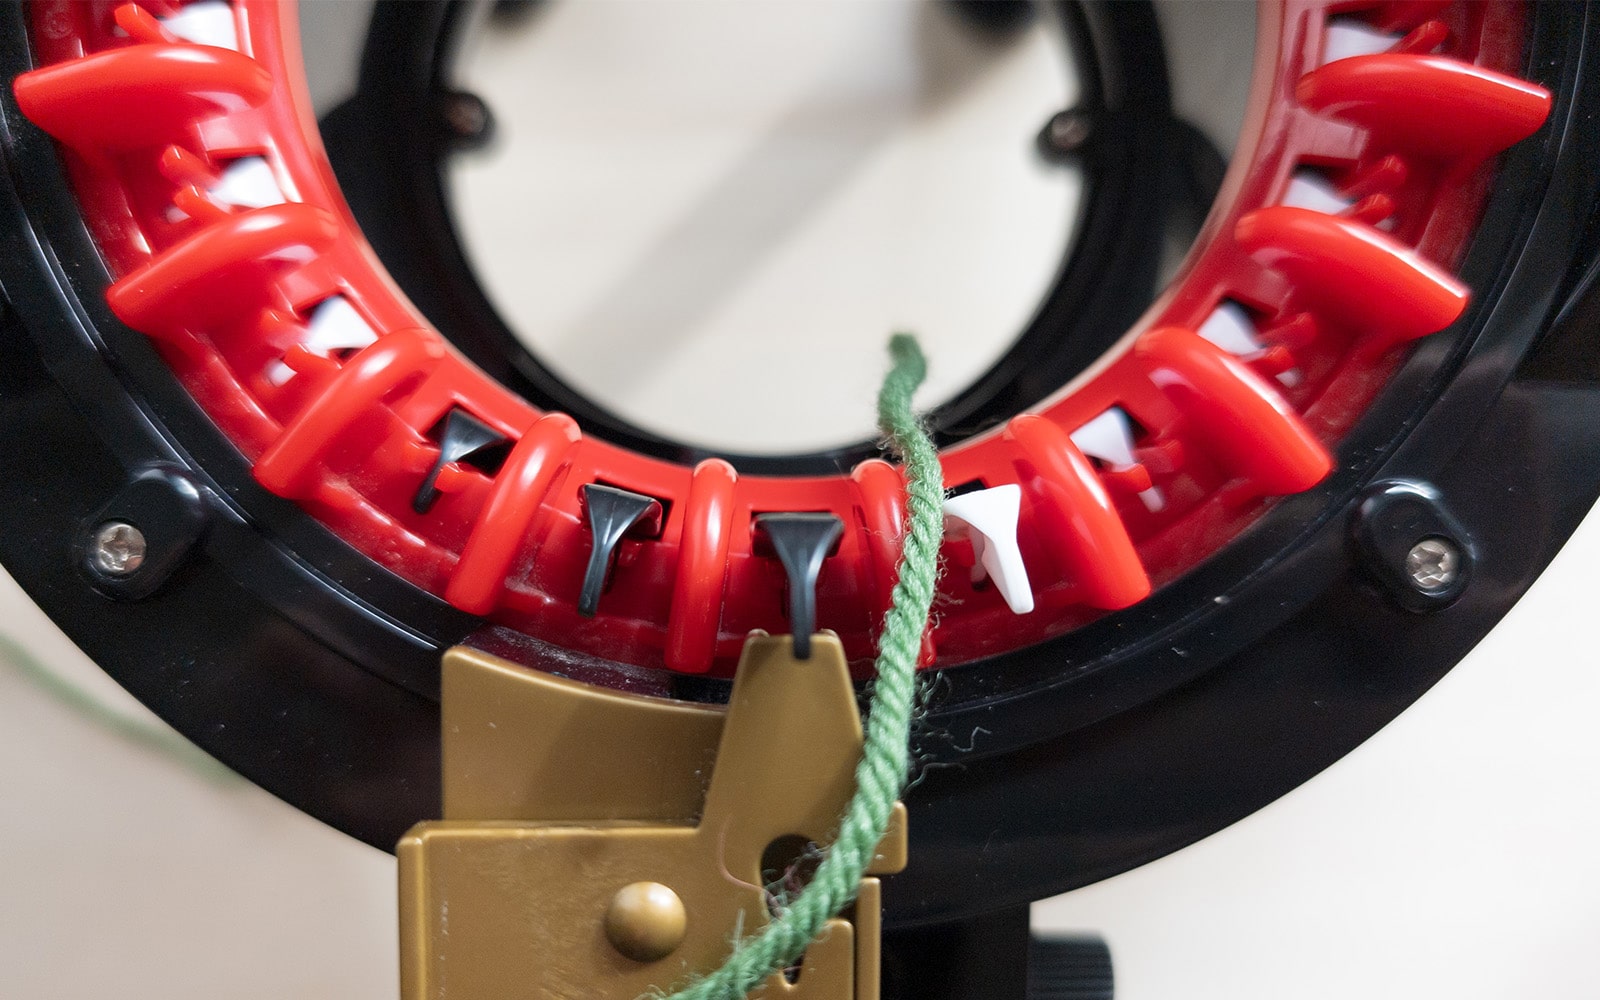
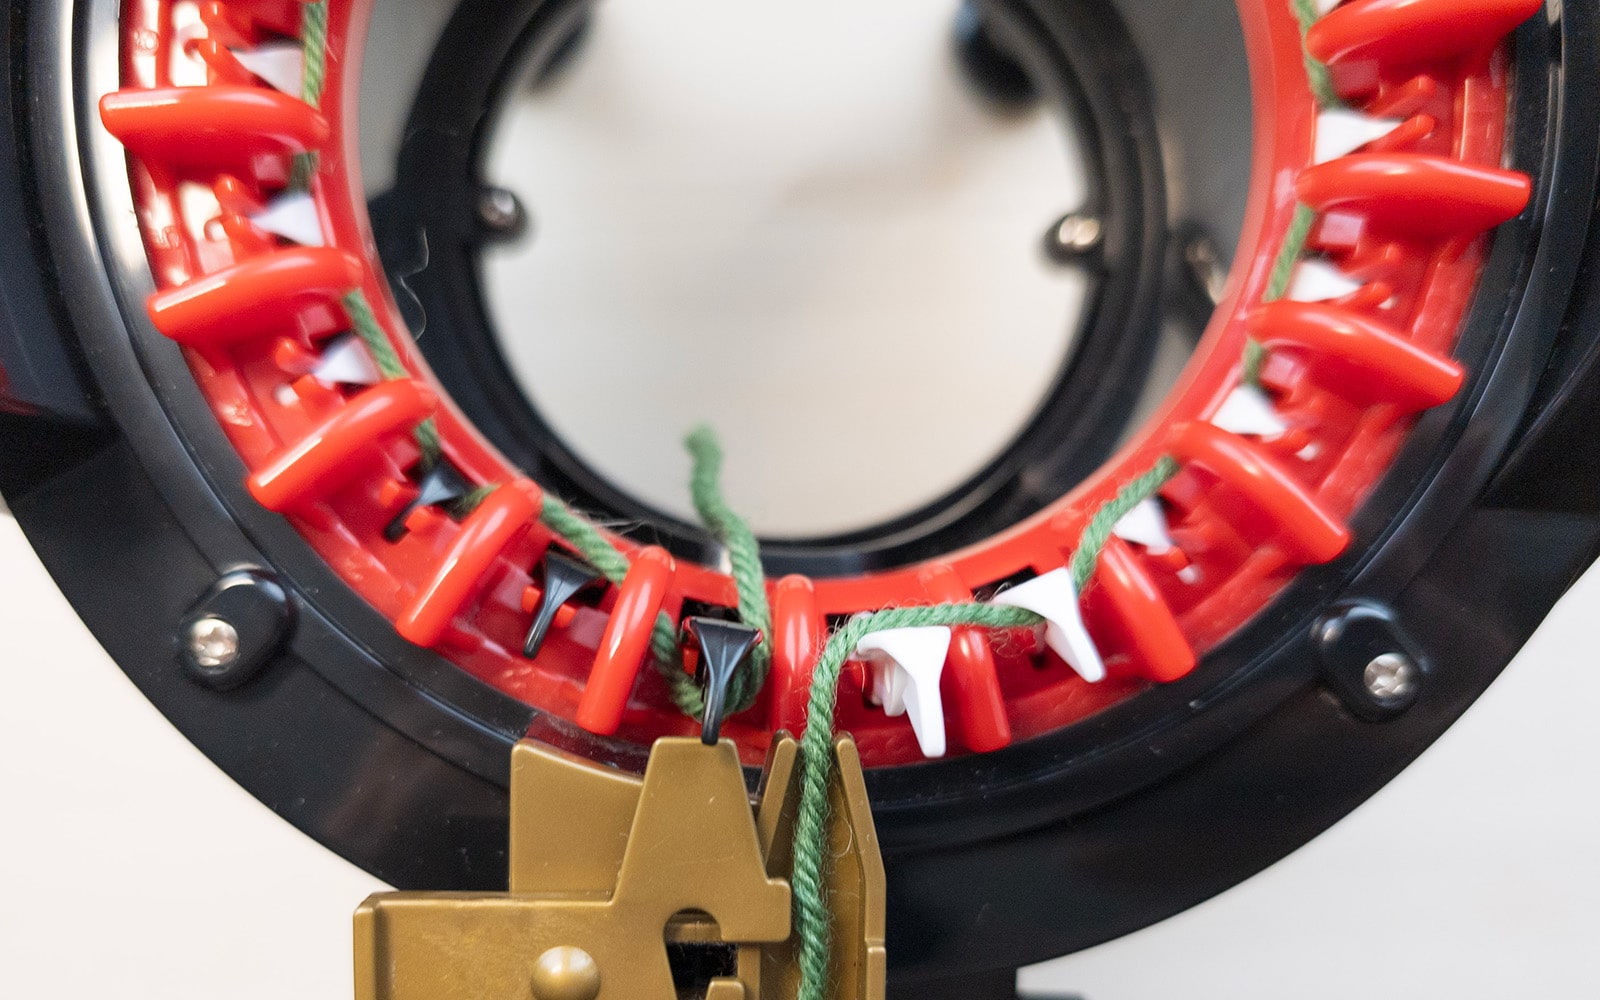
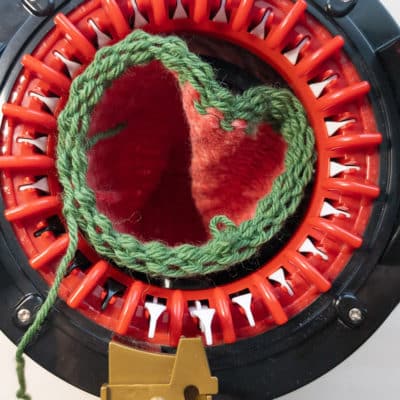
- Start the round when the first black needle is centred in front of the thread guide at the top. Leave the thread (auxiliary yarn in contrasting colour) hanging between needle 46 and 1 and in the middle.
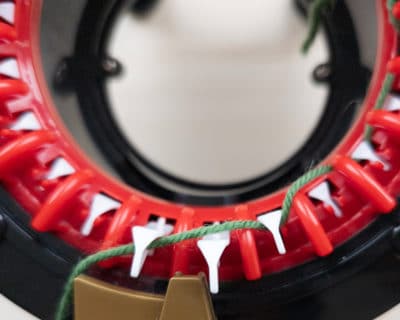
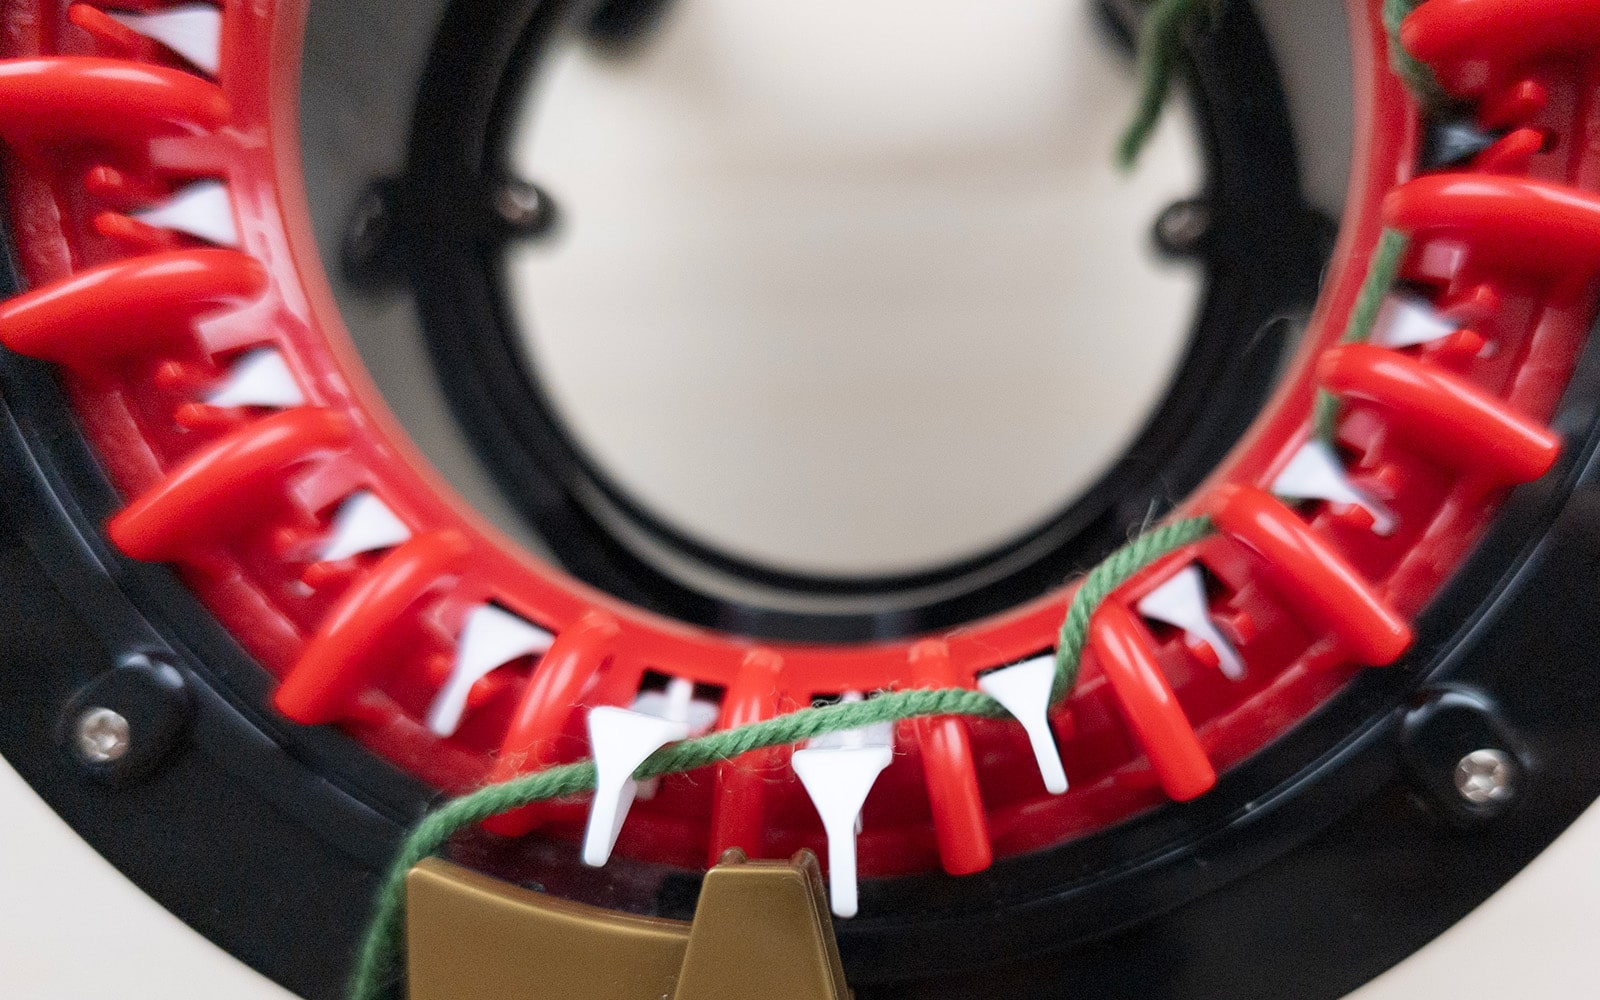
- Now cast on the stitches with your contrast yarn as usual in the round (alternate the yarn in front of and behind the needle for one round).
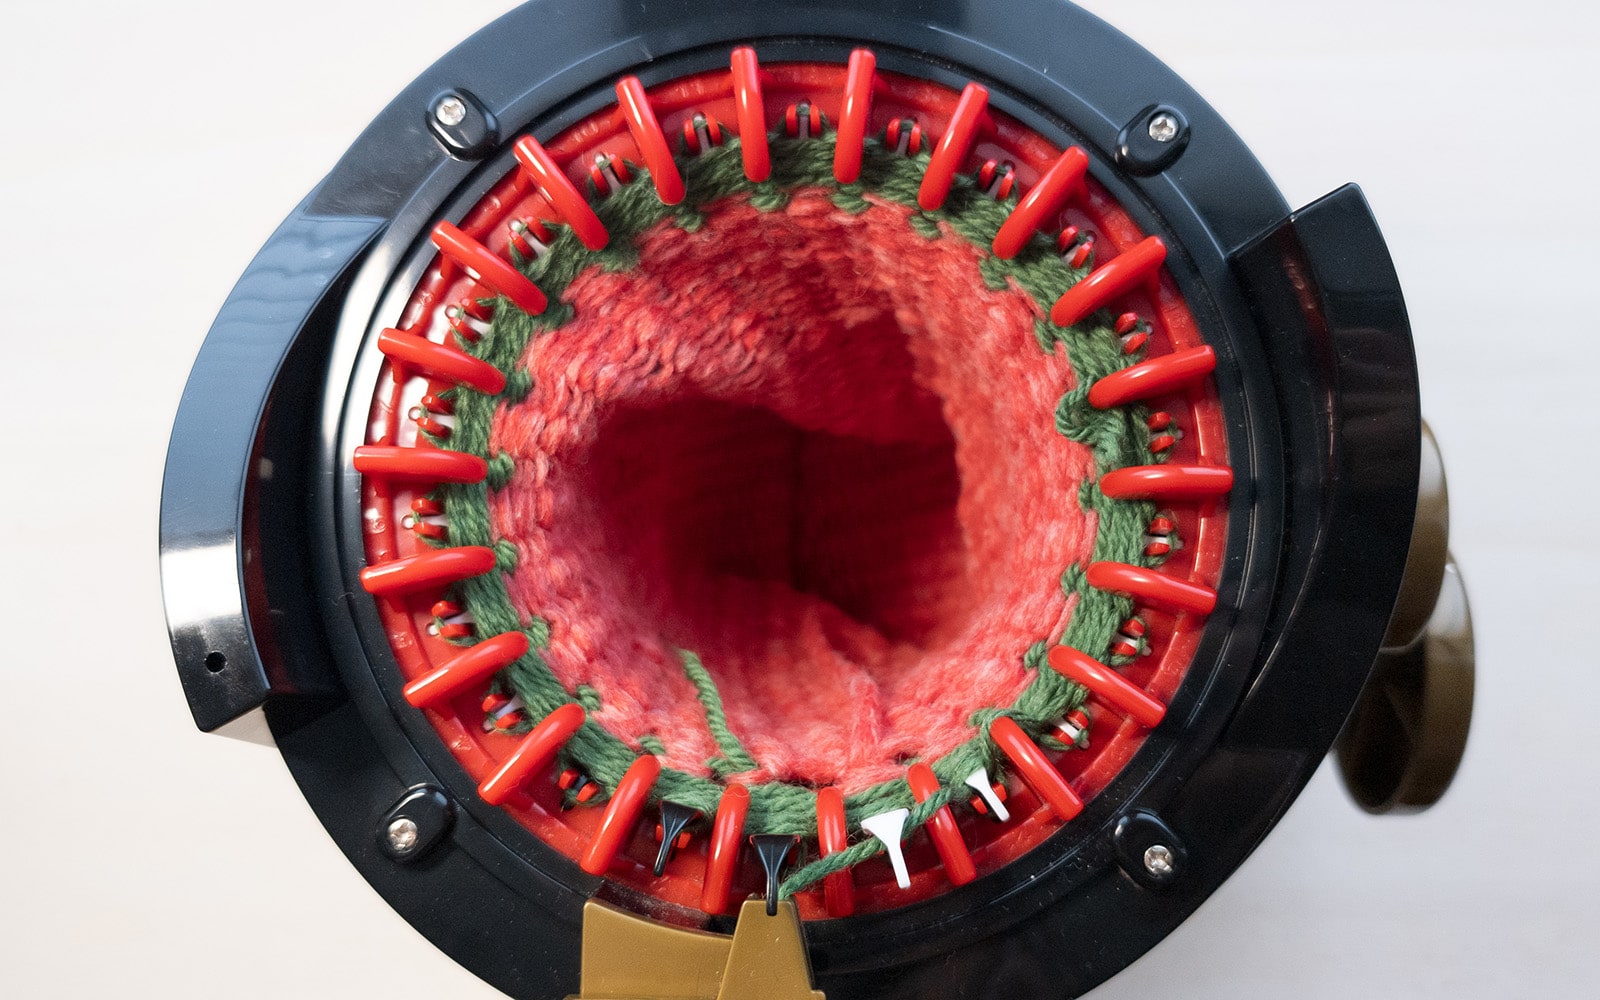
- Wind 5 rounds with the contrasting colour and end at the last white needle. The first black needle should now be at the top in front of the thread guide again.
- Cut the contrast thread and leave the end hanging in the centre (between needle 46 and 1).
- Set the counter to zero
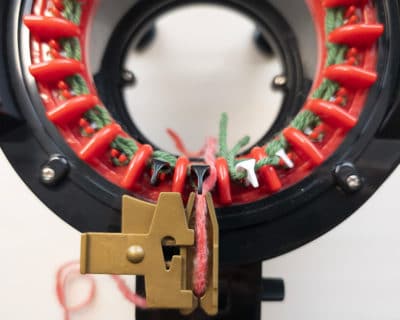
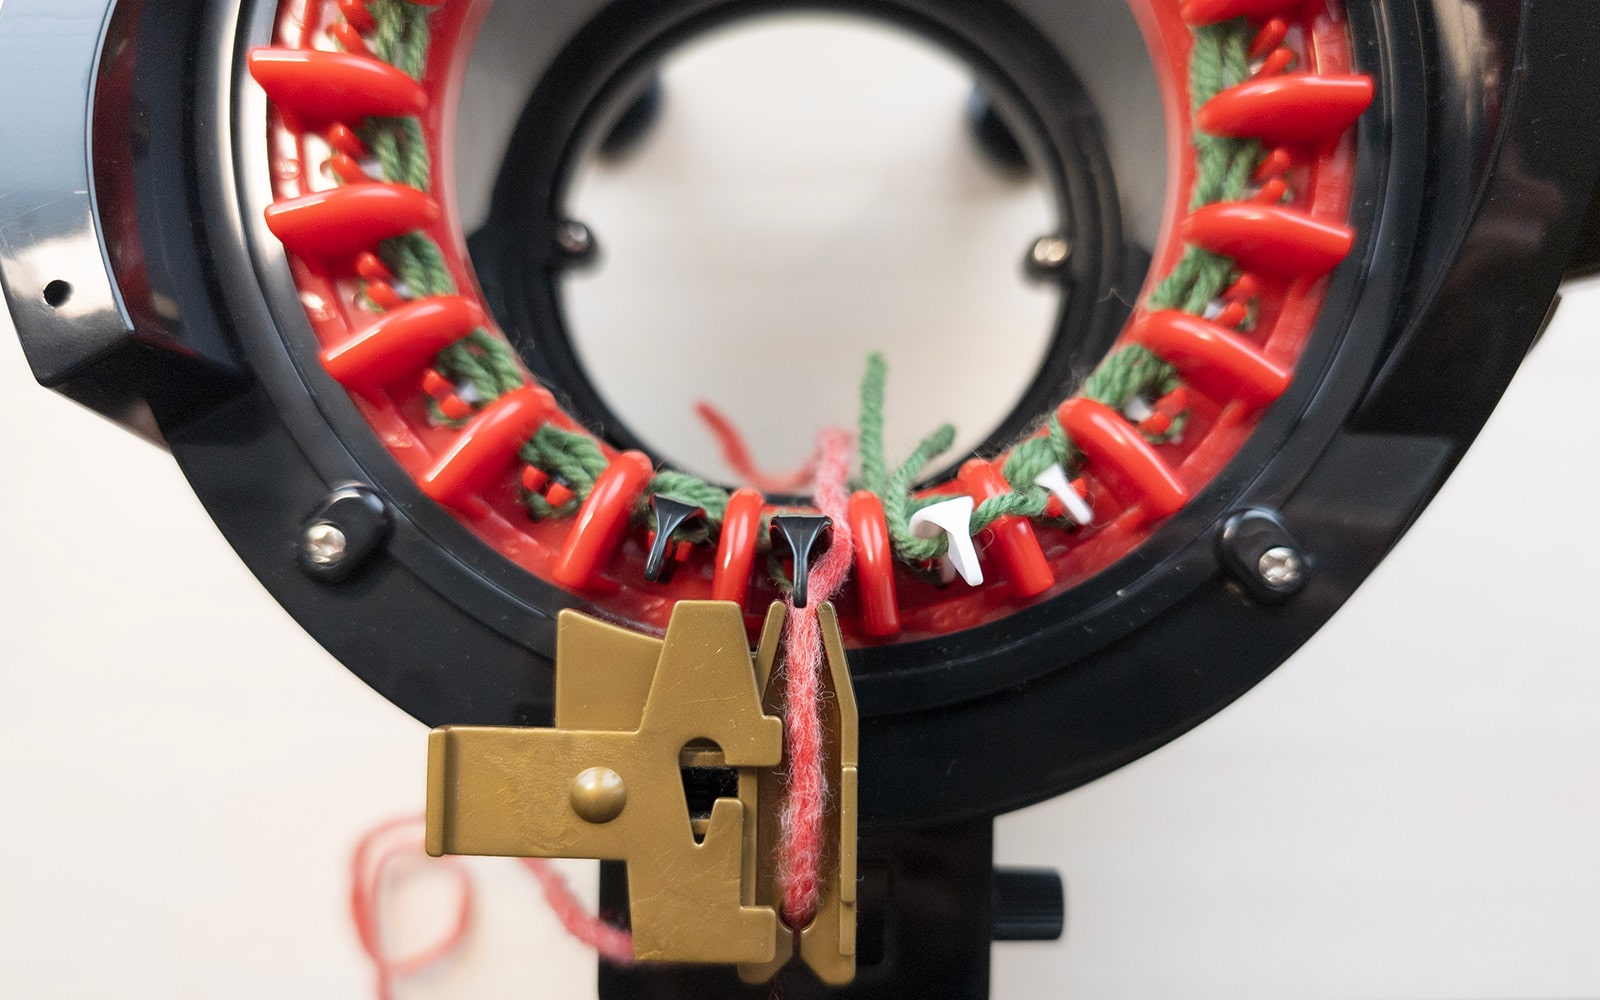
- Now insert your yarn for the headband into the thread guide and let the first thread hang a little in the machine (between needle 46 and 1) without knotting the threads.
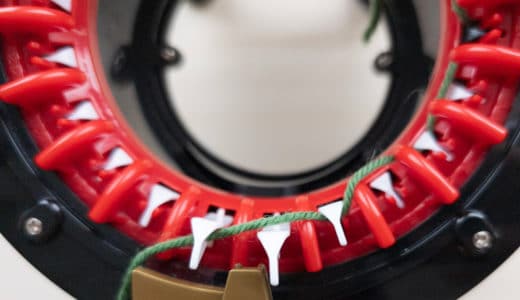
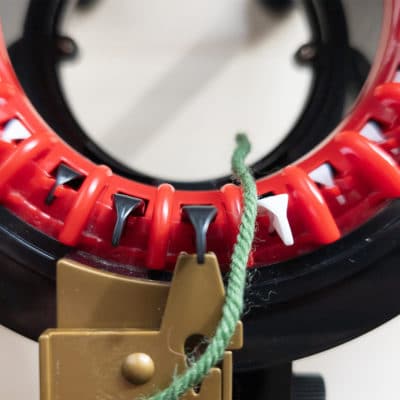
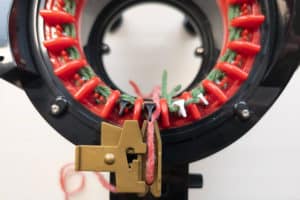
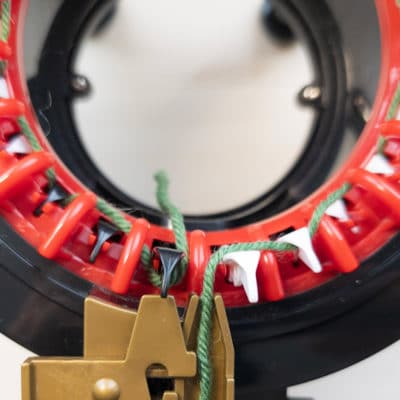
Choose the right size and corresponding number of rows (circumference in rows) depending on the head circumference.
Note: Our size chart is based on the stitch gauge and yarn specified above. The size of the headband may vary depending on the yarn tension and whether the yarn is thicker or thinner.
| Children's sizes | Adult sizes | ||||||||||
| Head circumference cm | 47-49 cm | 50-52 | 52-53 | 53-56 | 56-57 | 52-53 | 54-55 | 56-57 | 57-58 | 60-61 | 62-63 |
| Head circumference inch | 19″ |
20″ |
20.7″ |
21.5″ |
22.3″ |
20.7″ | 21.5″ |
22.3″ | 22.7″ |
24″ |
24.8″ |
| Hat size | 49 | 51 | 53 | 55 | 57 | XS | S | sts | L | XL | XXL |
| Age in years | Up to 2 years | 2 – 4 | 5 – 6 | 7 – 8 | 9 – 14 | ||||||
| Scope in rows | 70 | 75 | 80 | 85 | 90 | 80 | 85 | 90 | 95 | 100 | 105 |
Winding headband
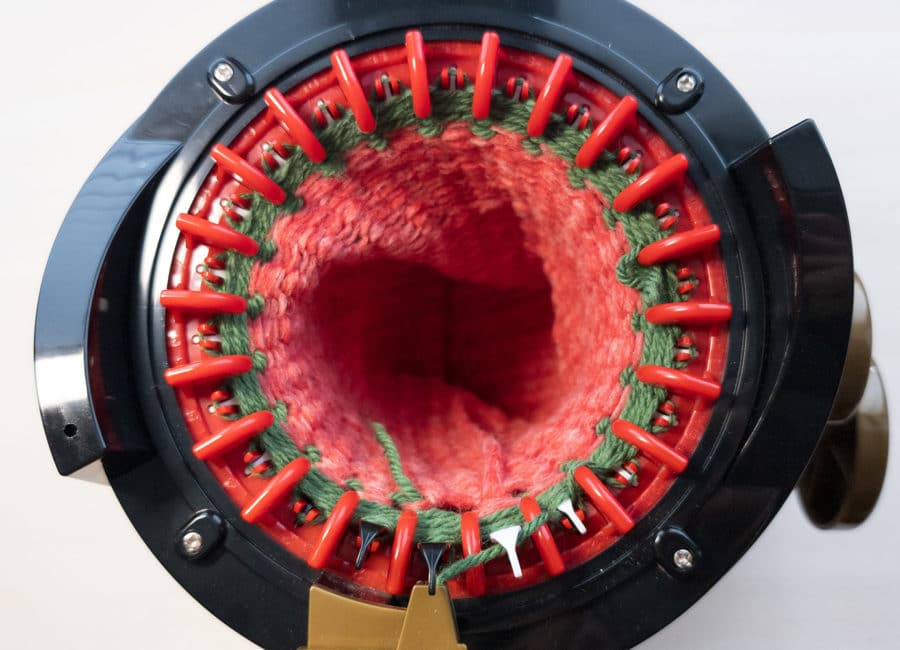
- Now start with the first black needle and simply crank your yarn for the headband in the round.
- Now wind your headband in rounds until you have reached the corresponding number of rounds for your head circumference (from the chart).
- Cut the yarn and leave a piece of yarn hanging in the middle behind the last white needle.
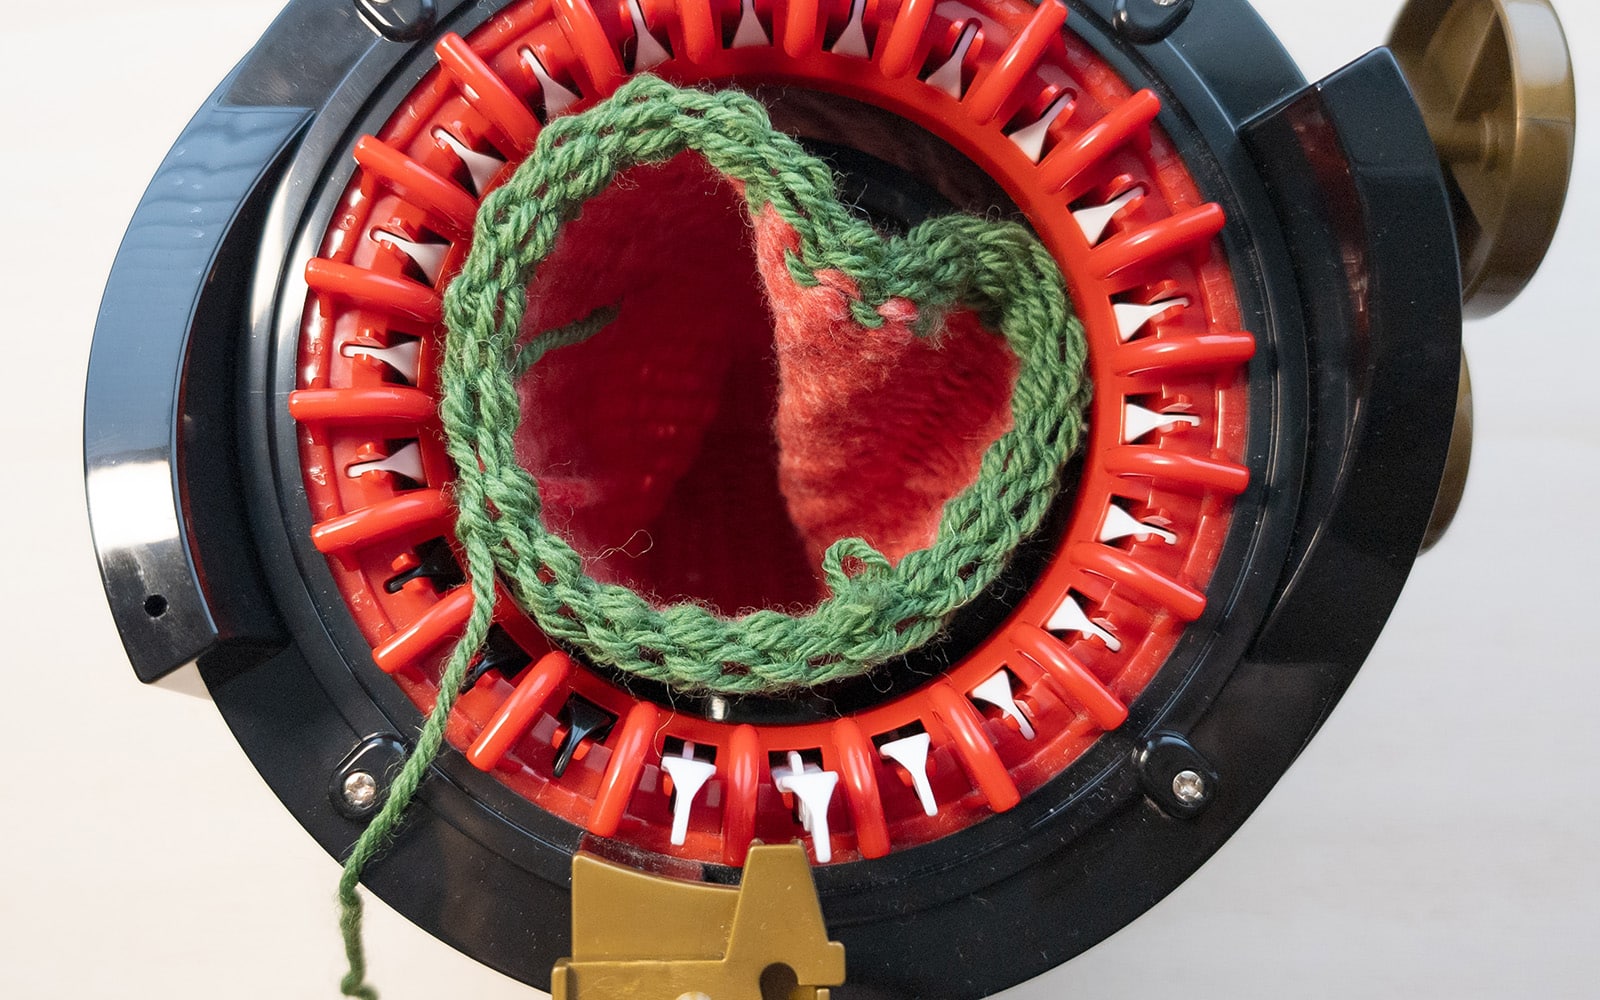
- To complete, wind 5 additional rounds with the contrasting yarn (do not knot the threads).
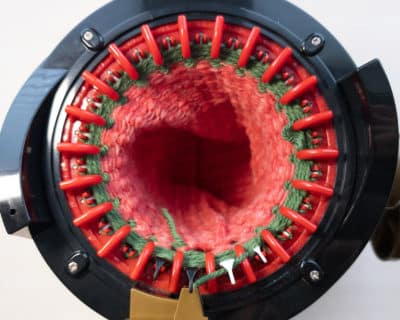
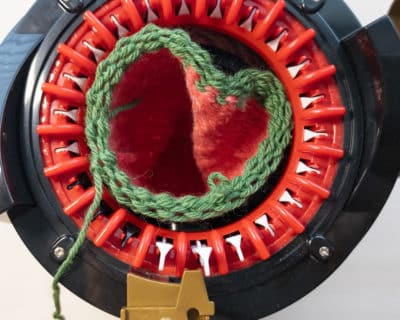
- Take the contrast yarn out of the yarn holder and crank two rounds without yarn. This will take the knitted fabric off the machine.
Finishing
Finally, close both ends of the wound tube by crocheting them to create two clean edges that can then be sewn together to form the headband with twist. We will show you how to do this in the next step.
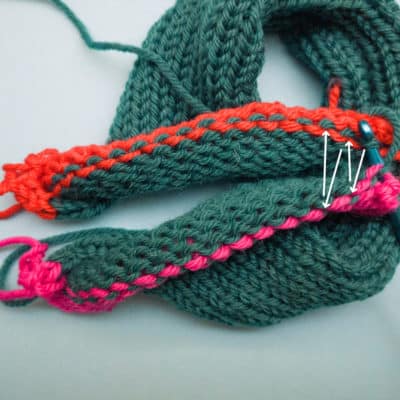
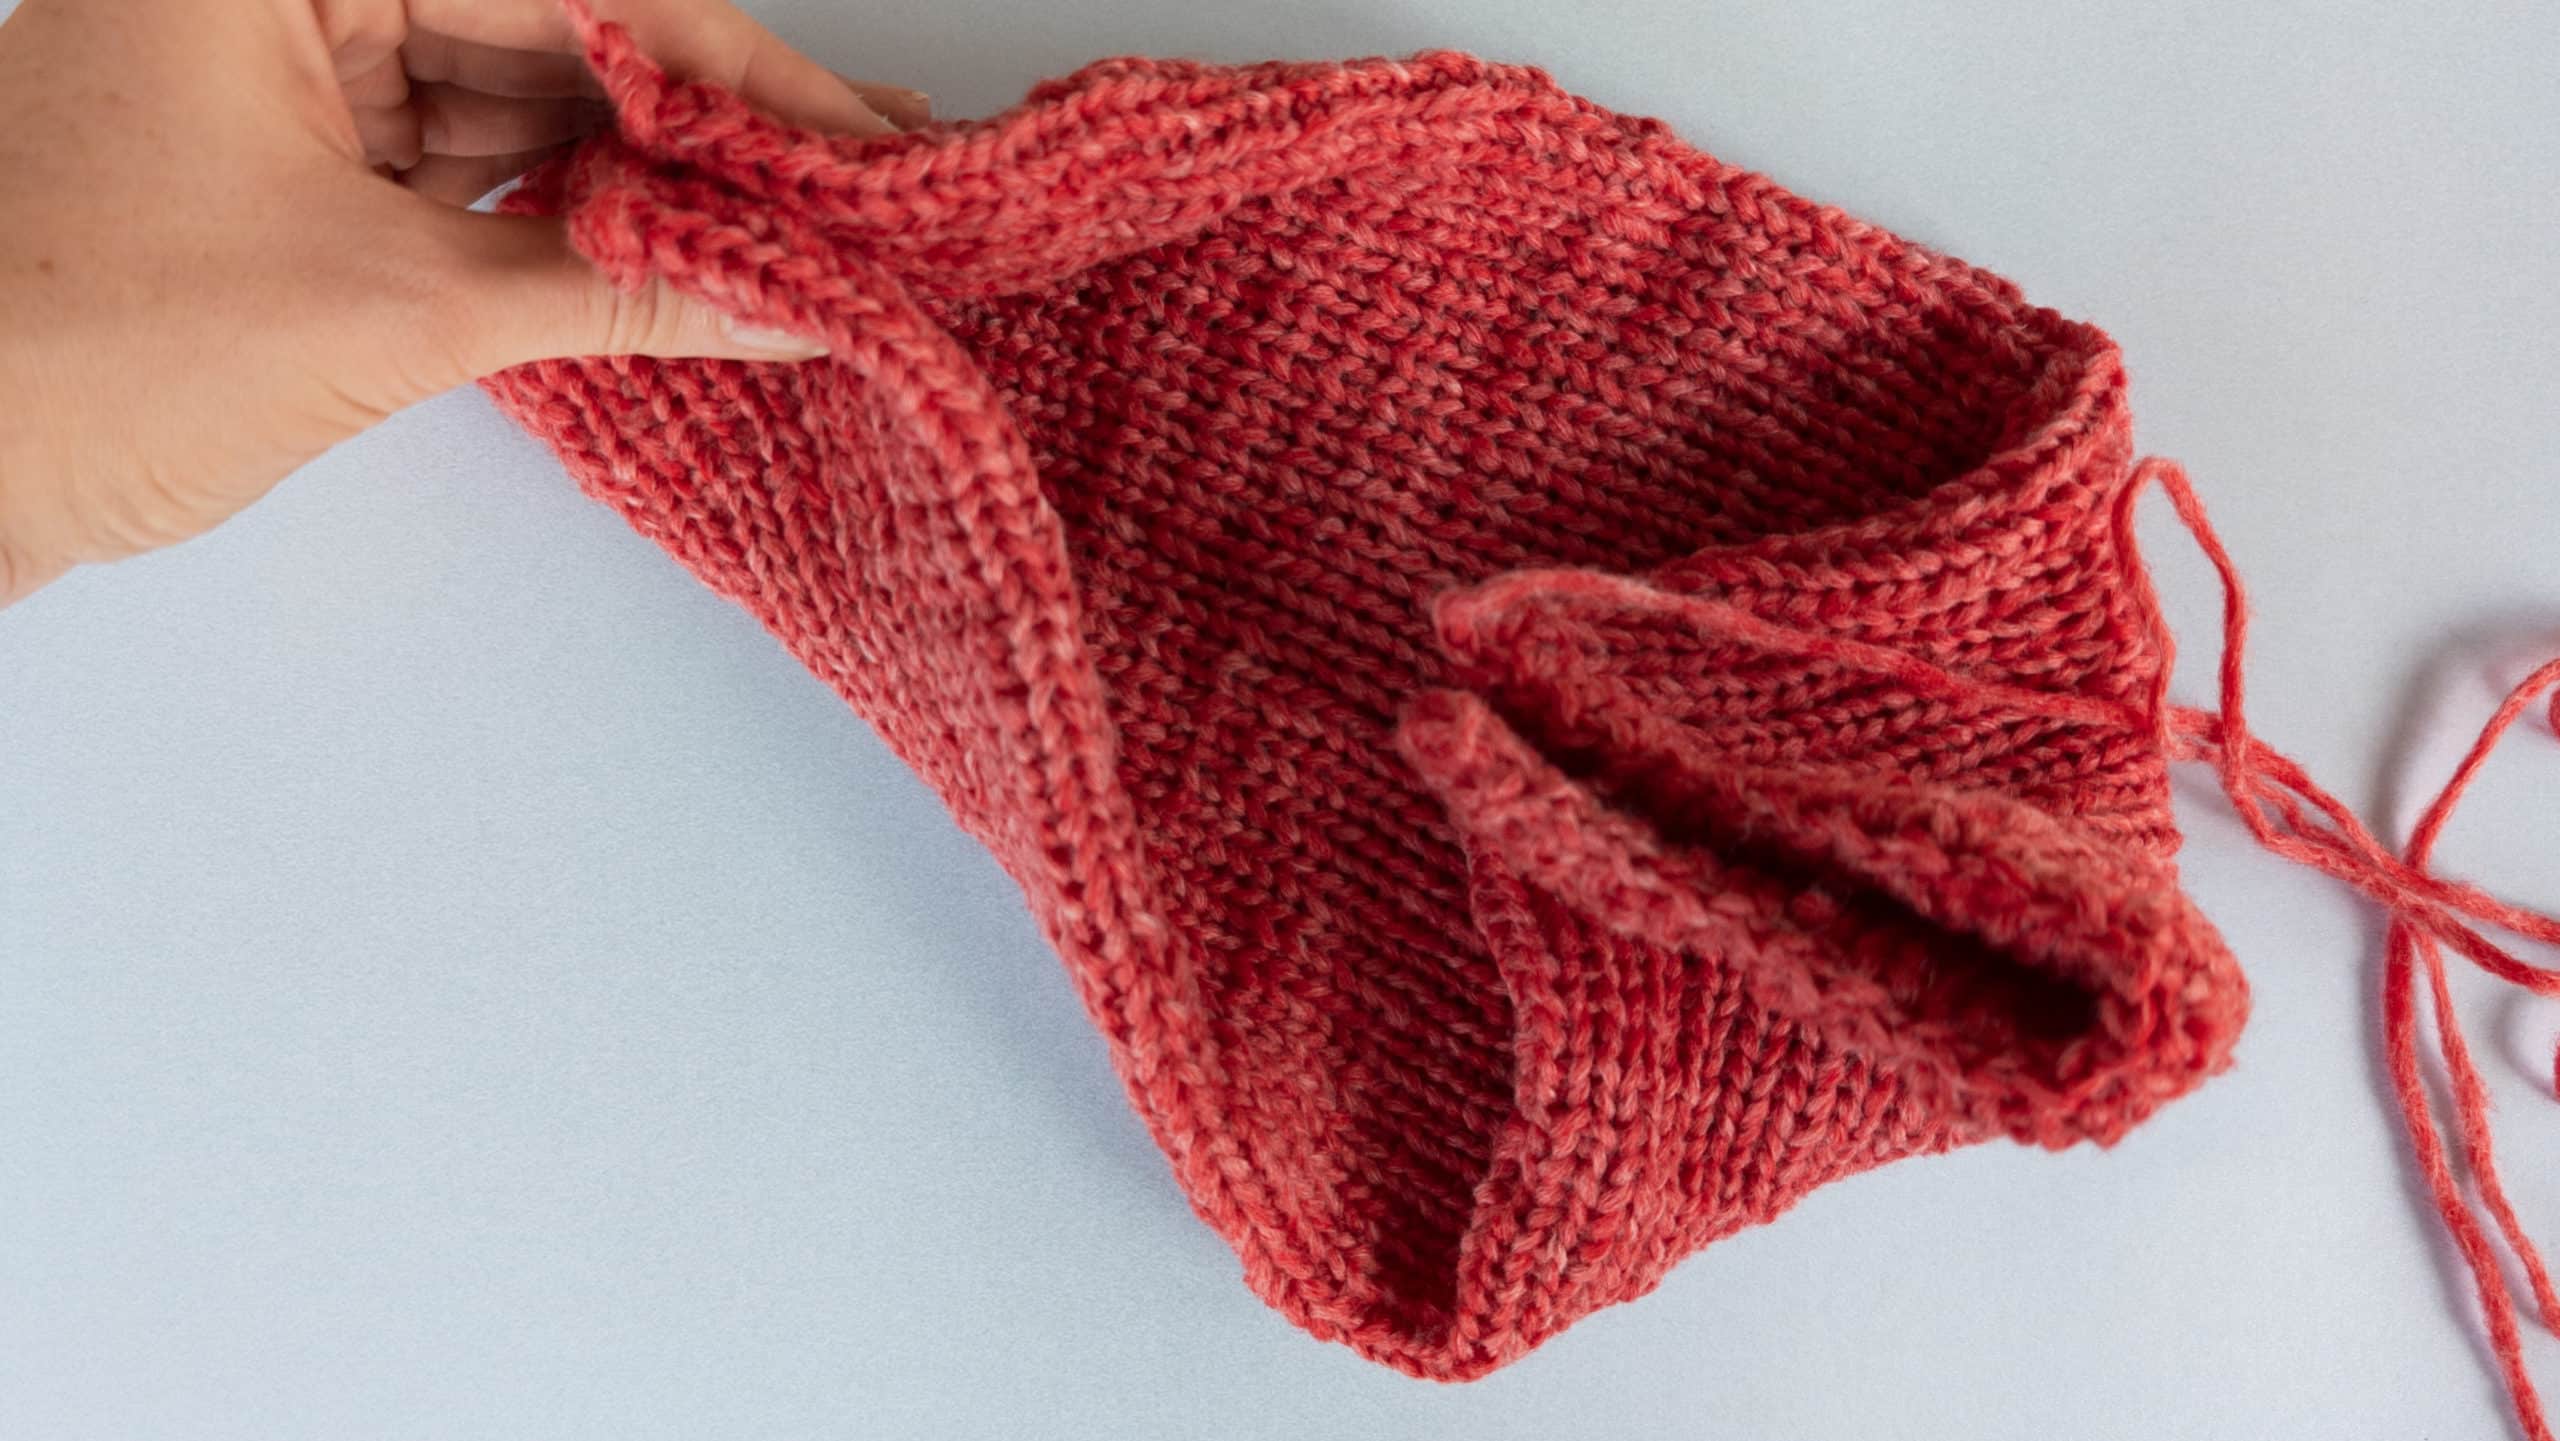
Tip: Fold the knitted tube evenly so that the start and end threads are exactly on one side of the tube. The tube must not be twisted.
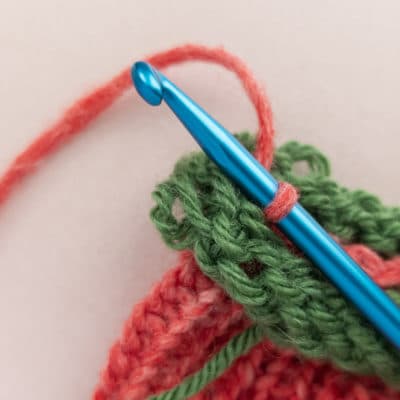
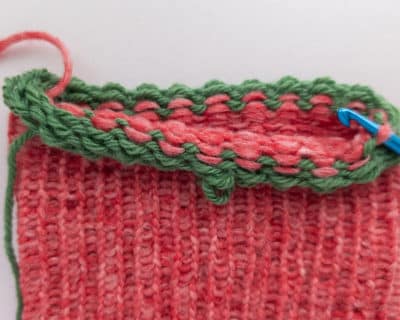
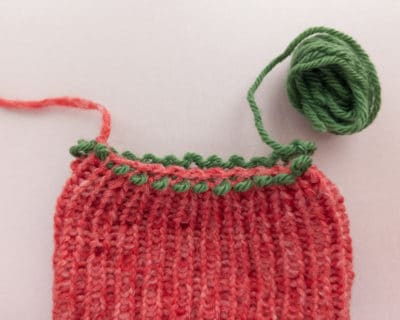
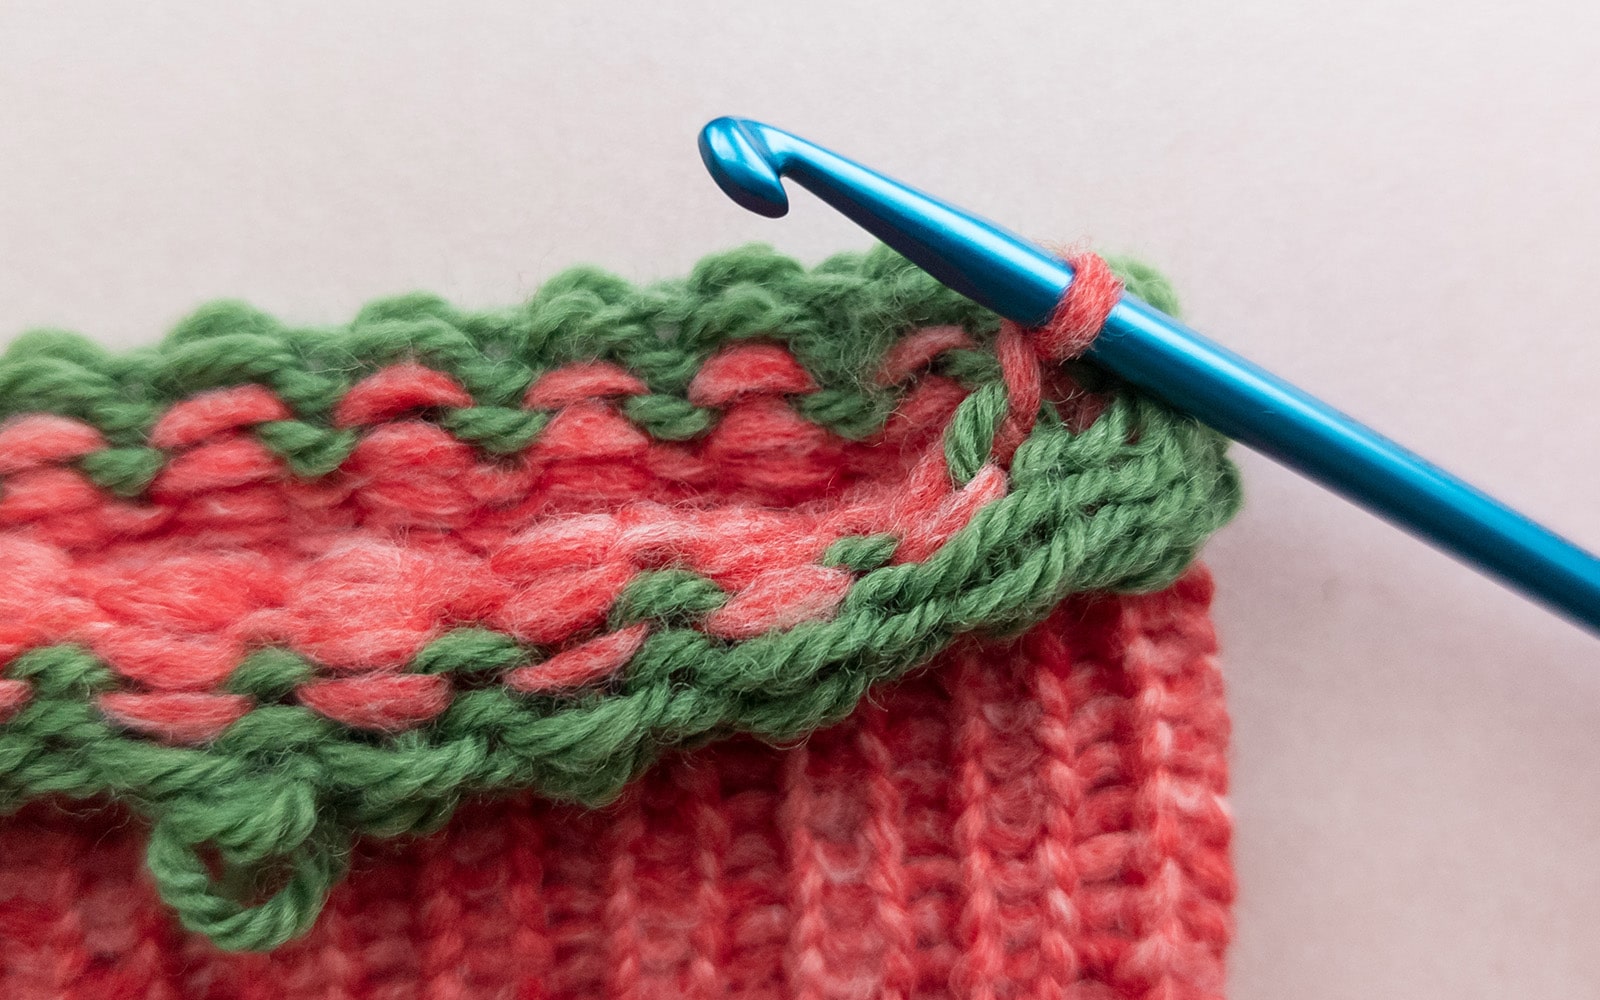
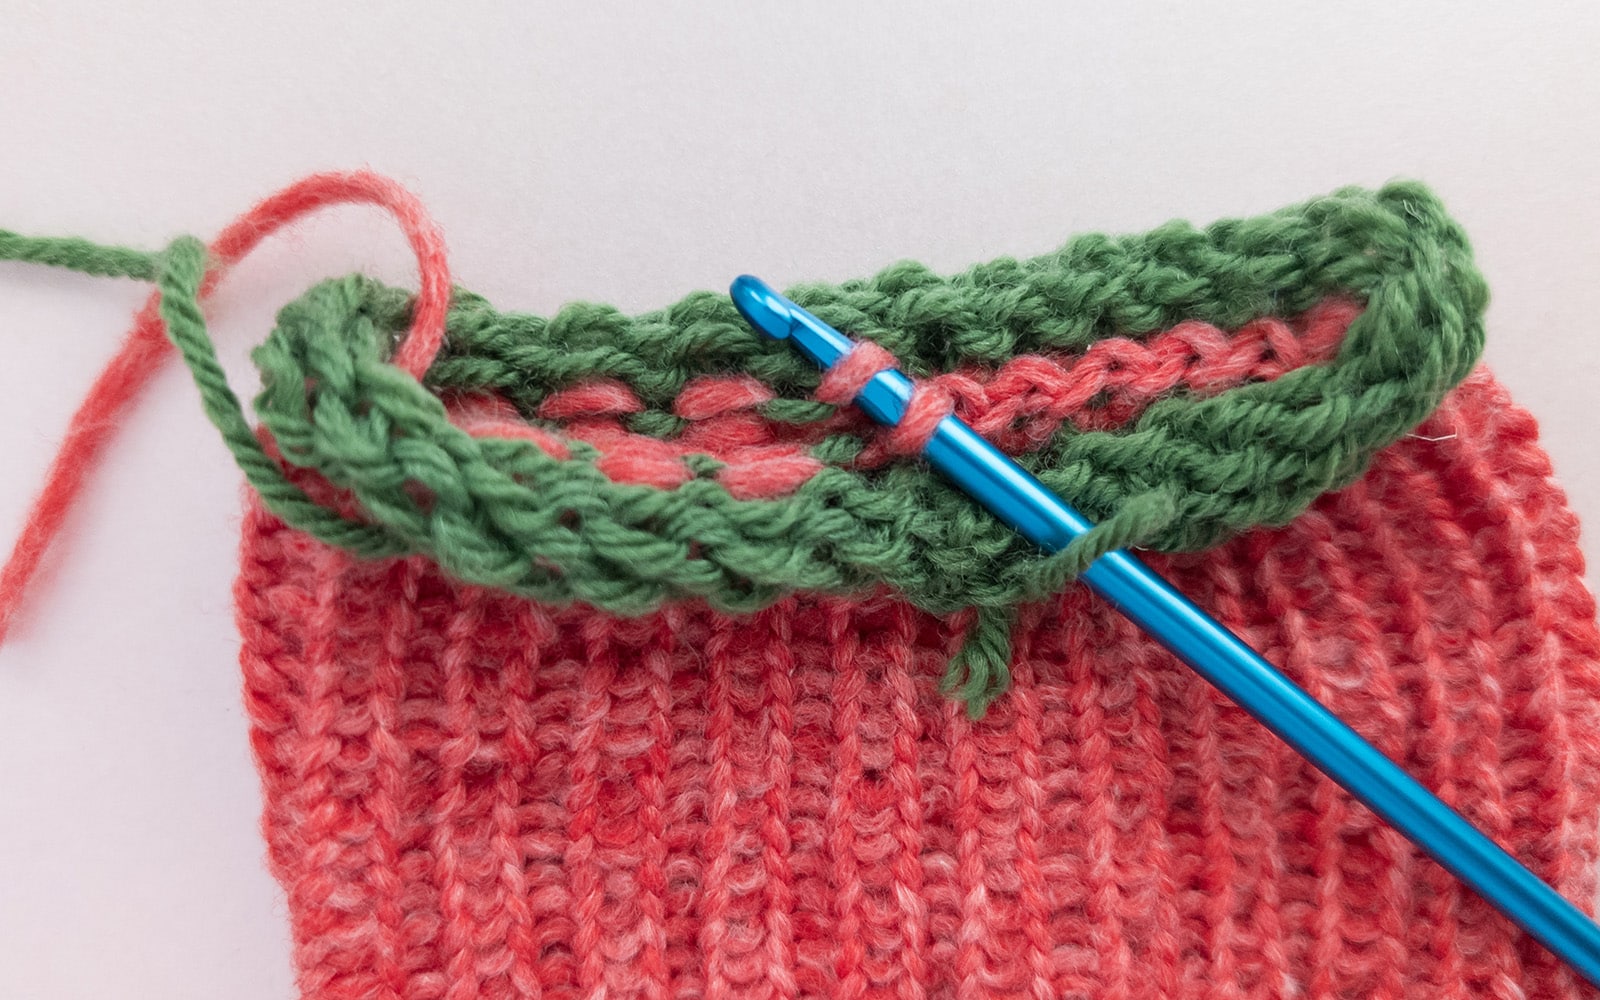
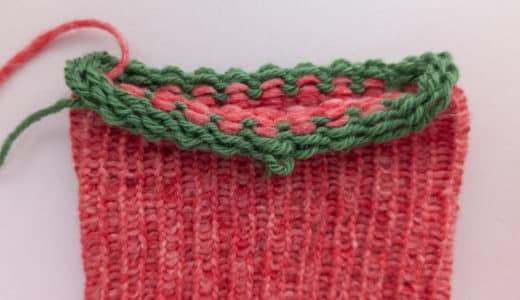
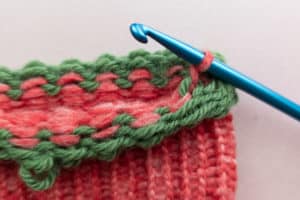
Place one of the open ends of the tube in front of you so that the thread at the end is on the left-hand side and roll the tube up slightly. You should now see the first stitches of the headband colour on the inside (green in the picture). These are crocheted together as follows:
Close ends by crocheting
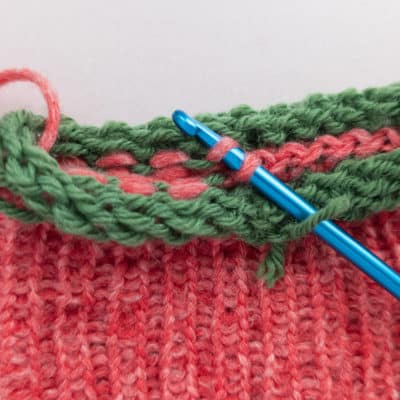
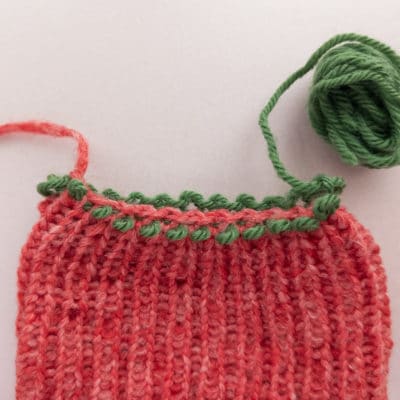
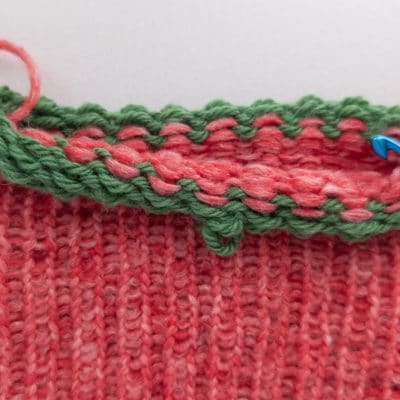
The purl stitches in the color of your hat (green in the first photo) are now crocheted together as follows:
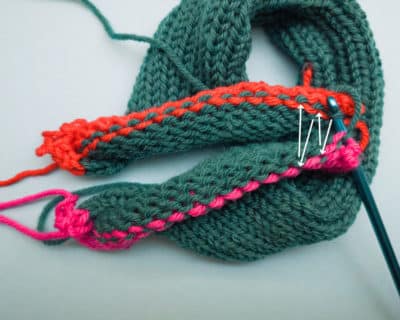
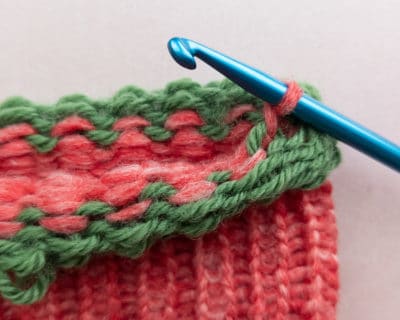
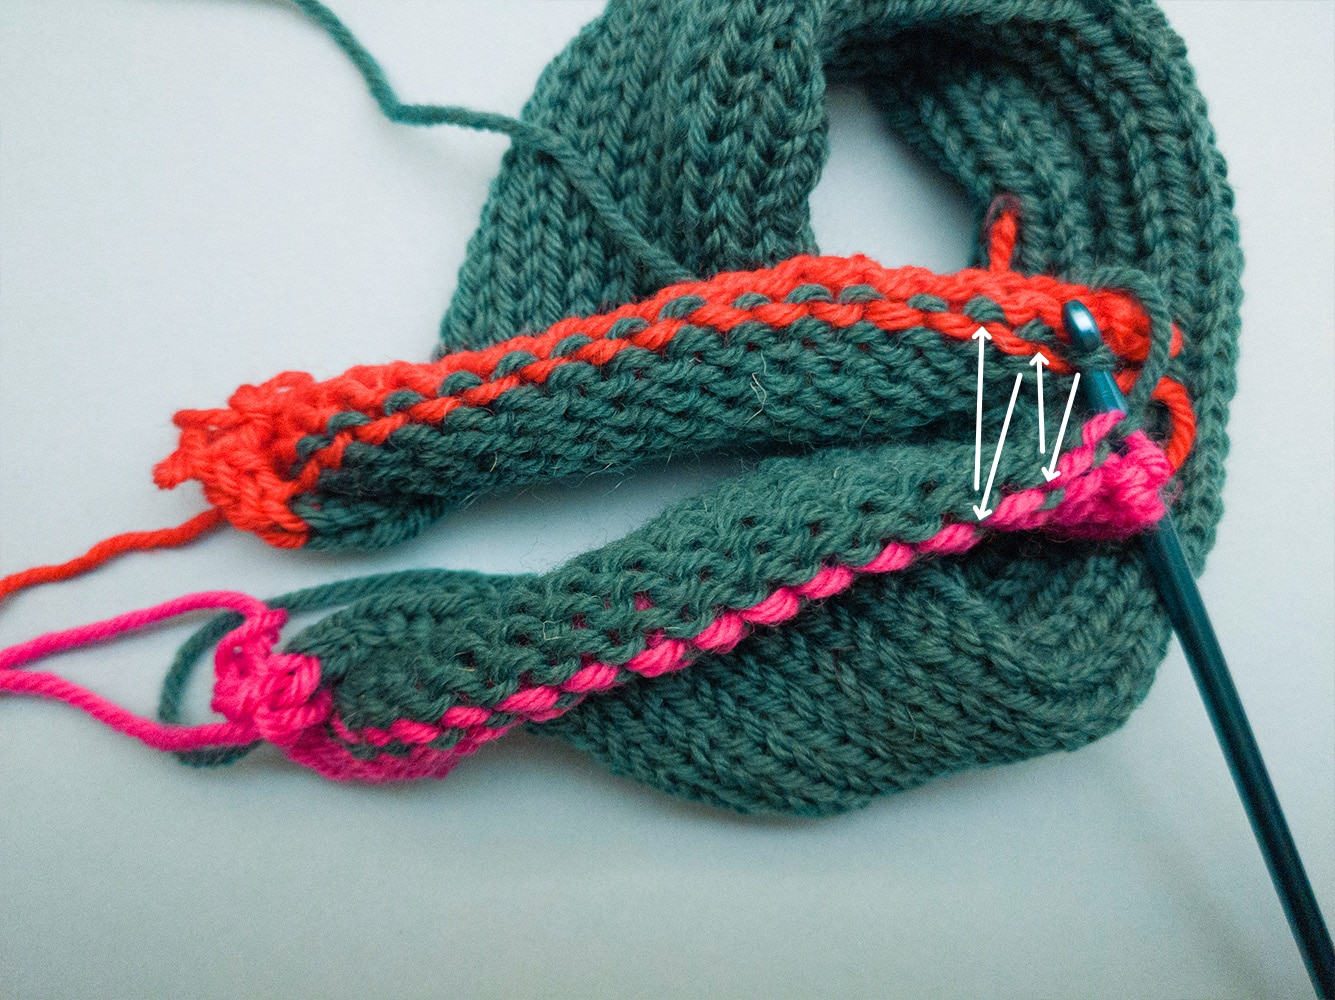
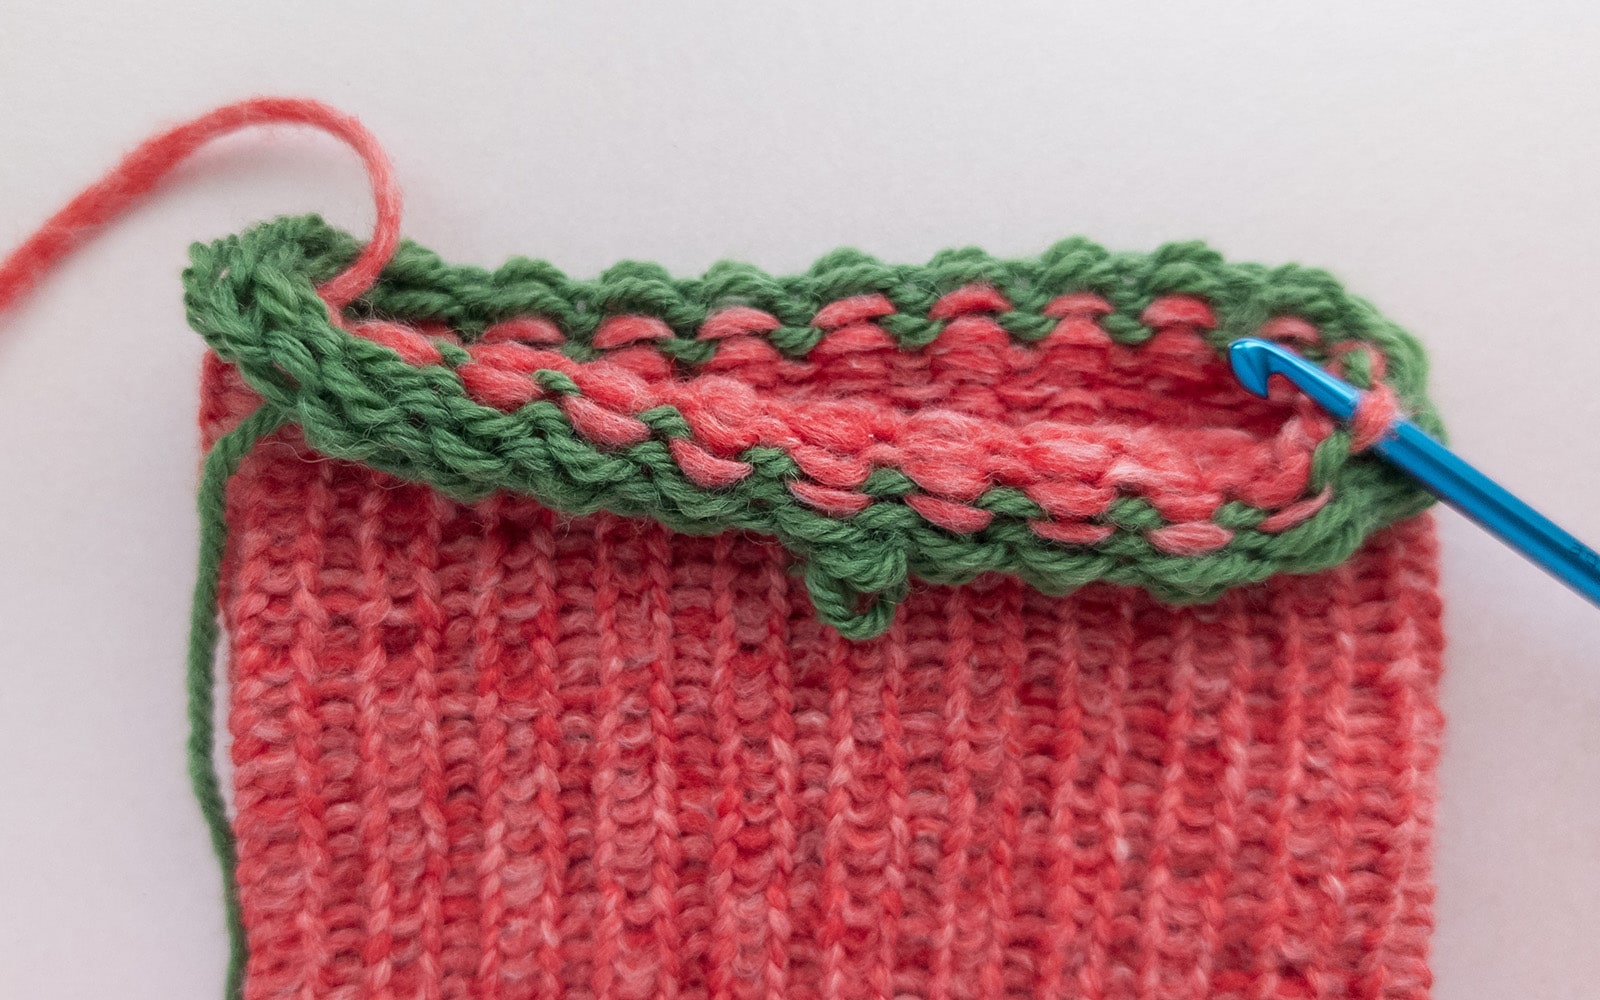
- Work in the first stitch in the color of your hat, then in the first stitch on the opposite side and pull the second stitch through the first.
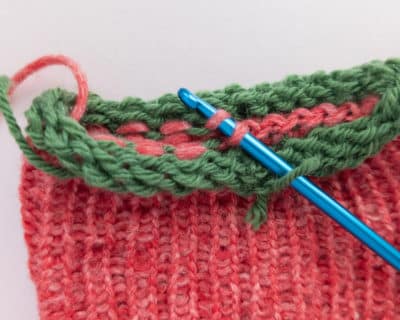
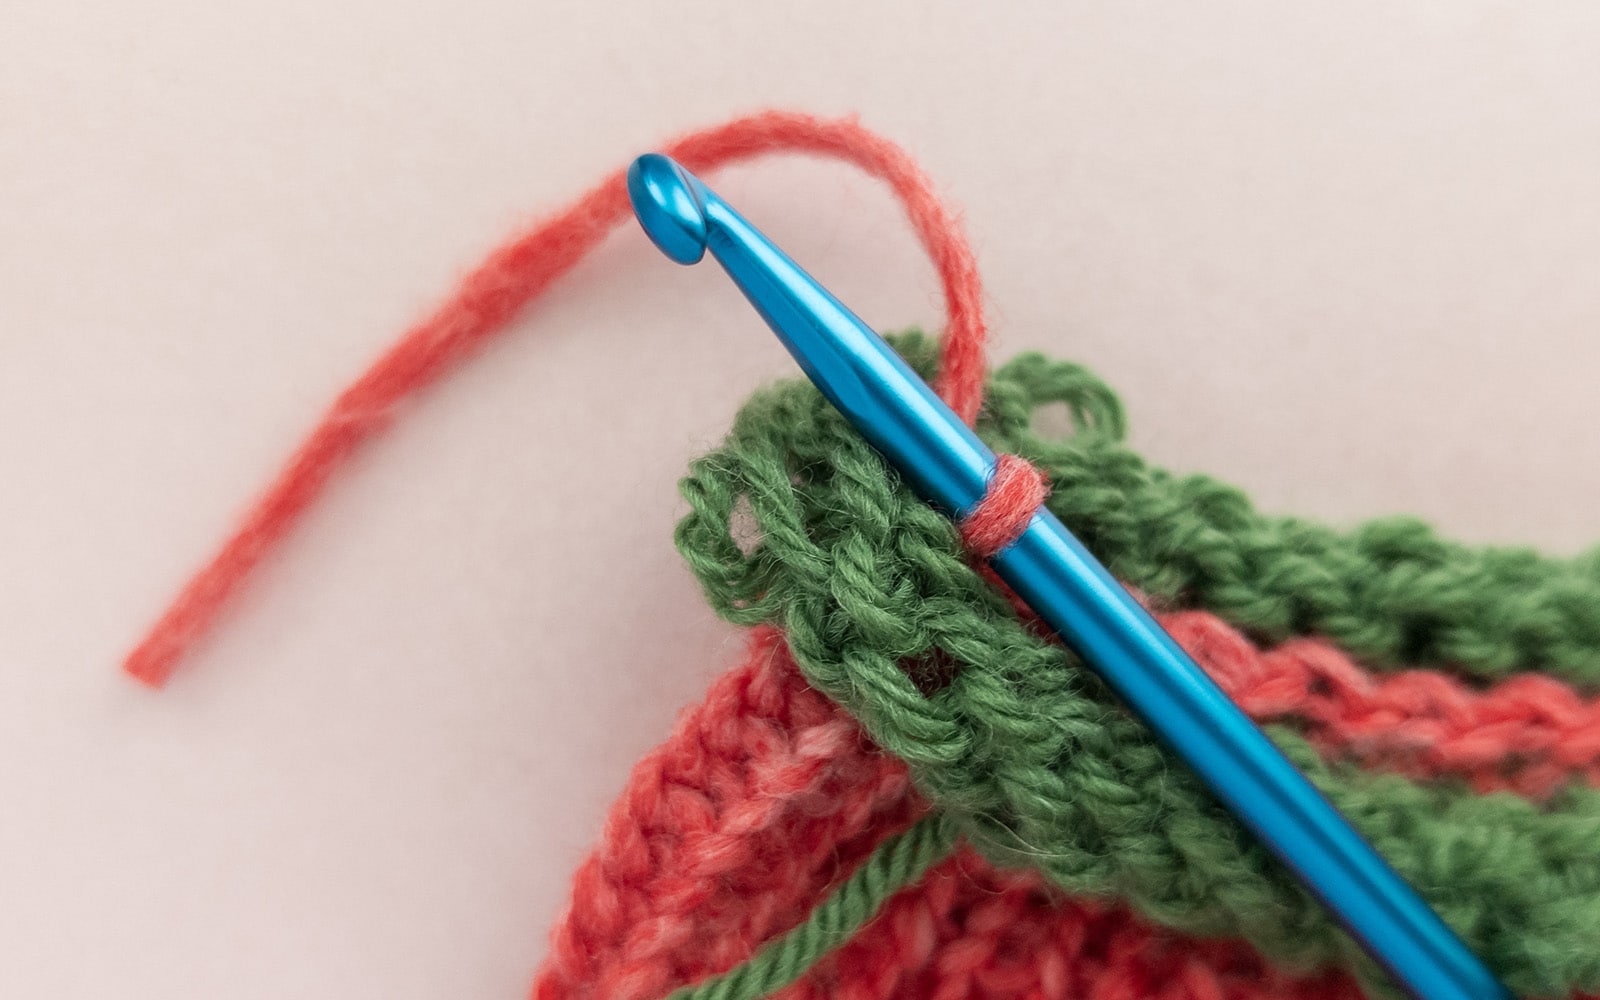
- Now alternately crochet one stitch of the top edge and one stitch of the bottom edge together until the edge is closed.
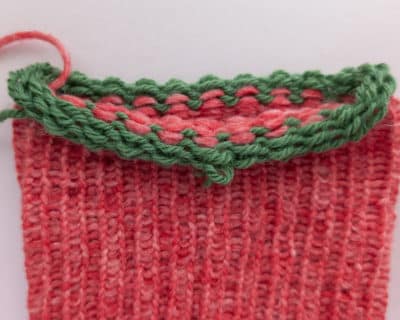
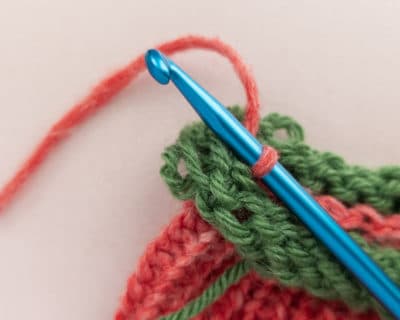
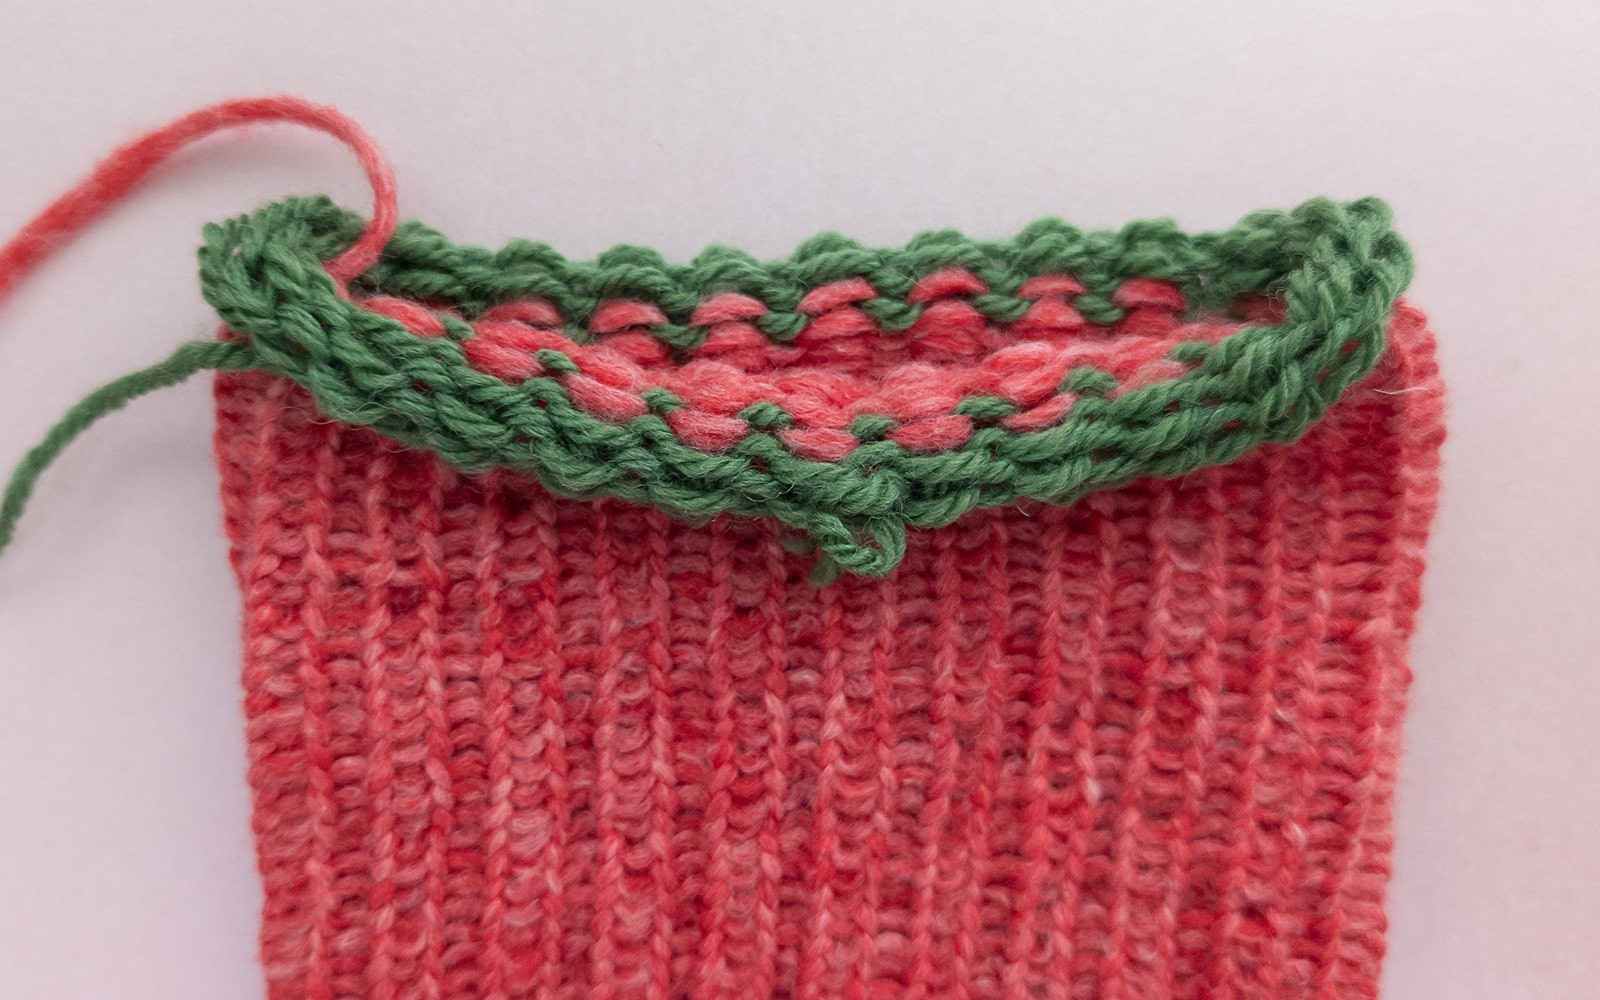
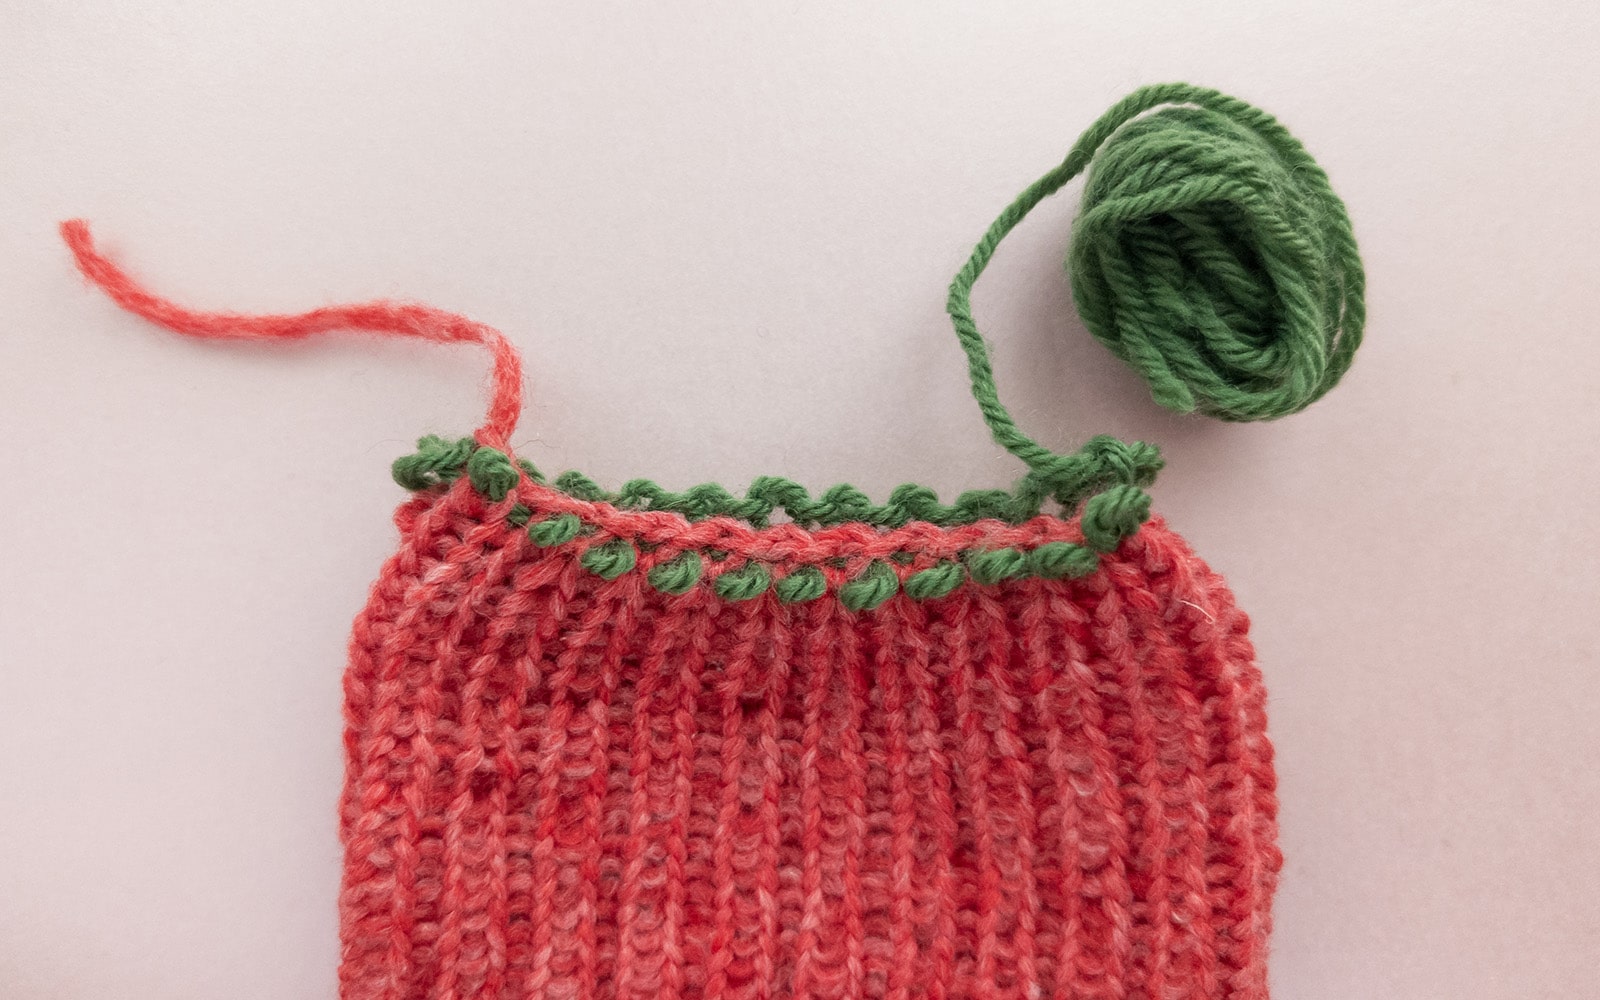
- Finish the edge by pulling the long end tail through the last stitch.
The supporting yarns are finally removed, leaving a closed edge.
Sew together headband with twist
The ends of the headband are sewn together at the end to create the decorative knot.
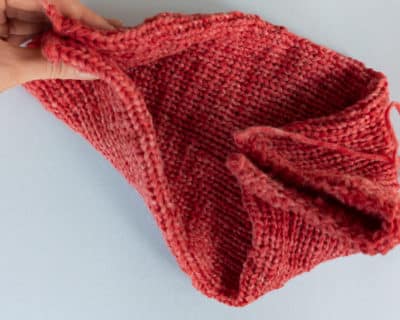
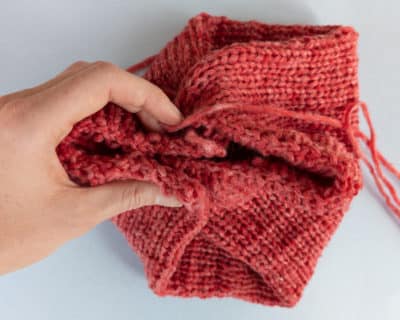
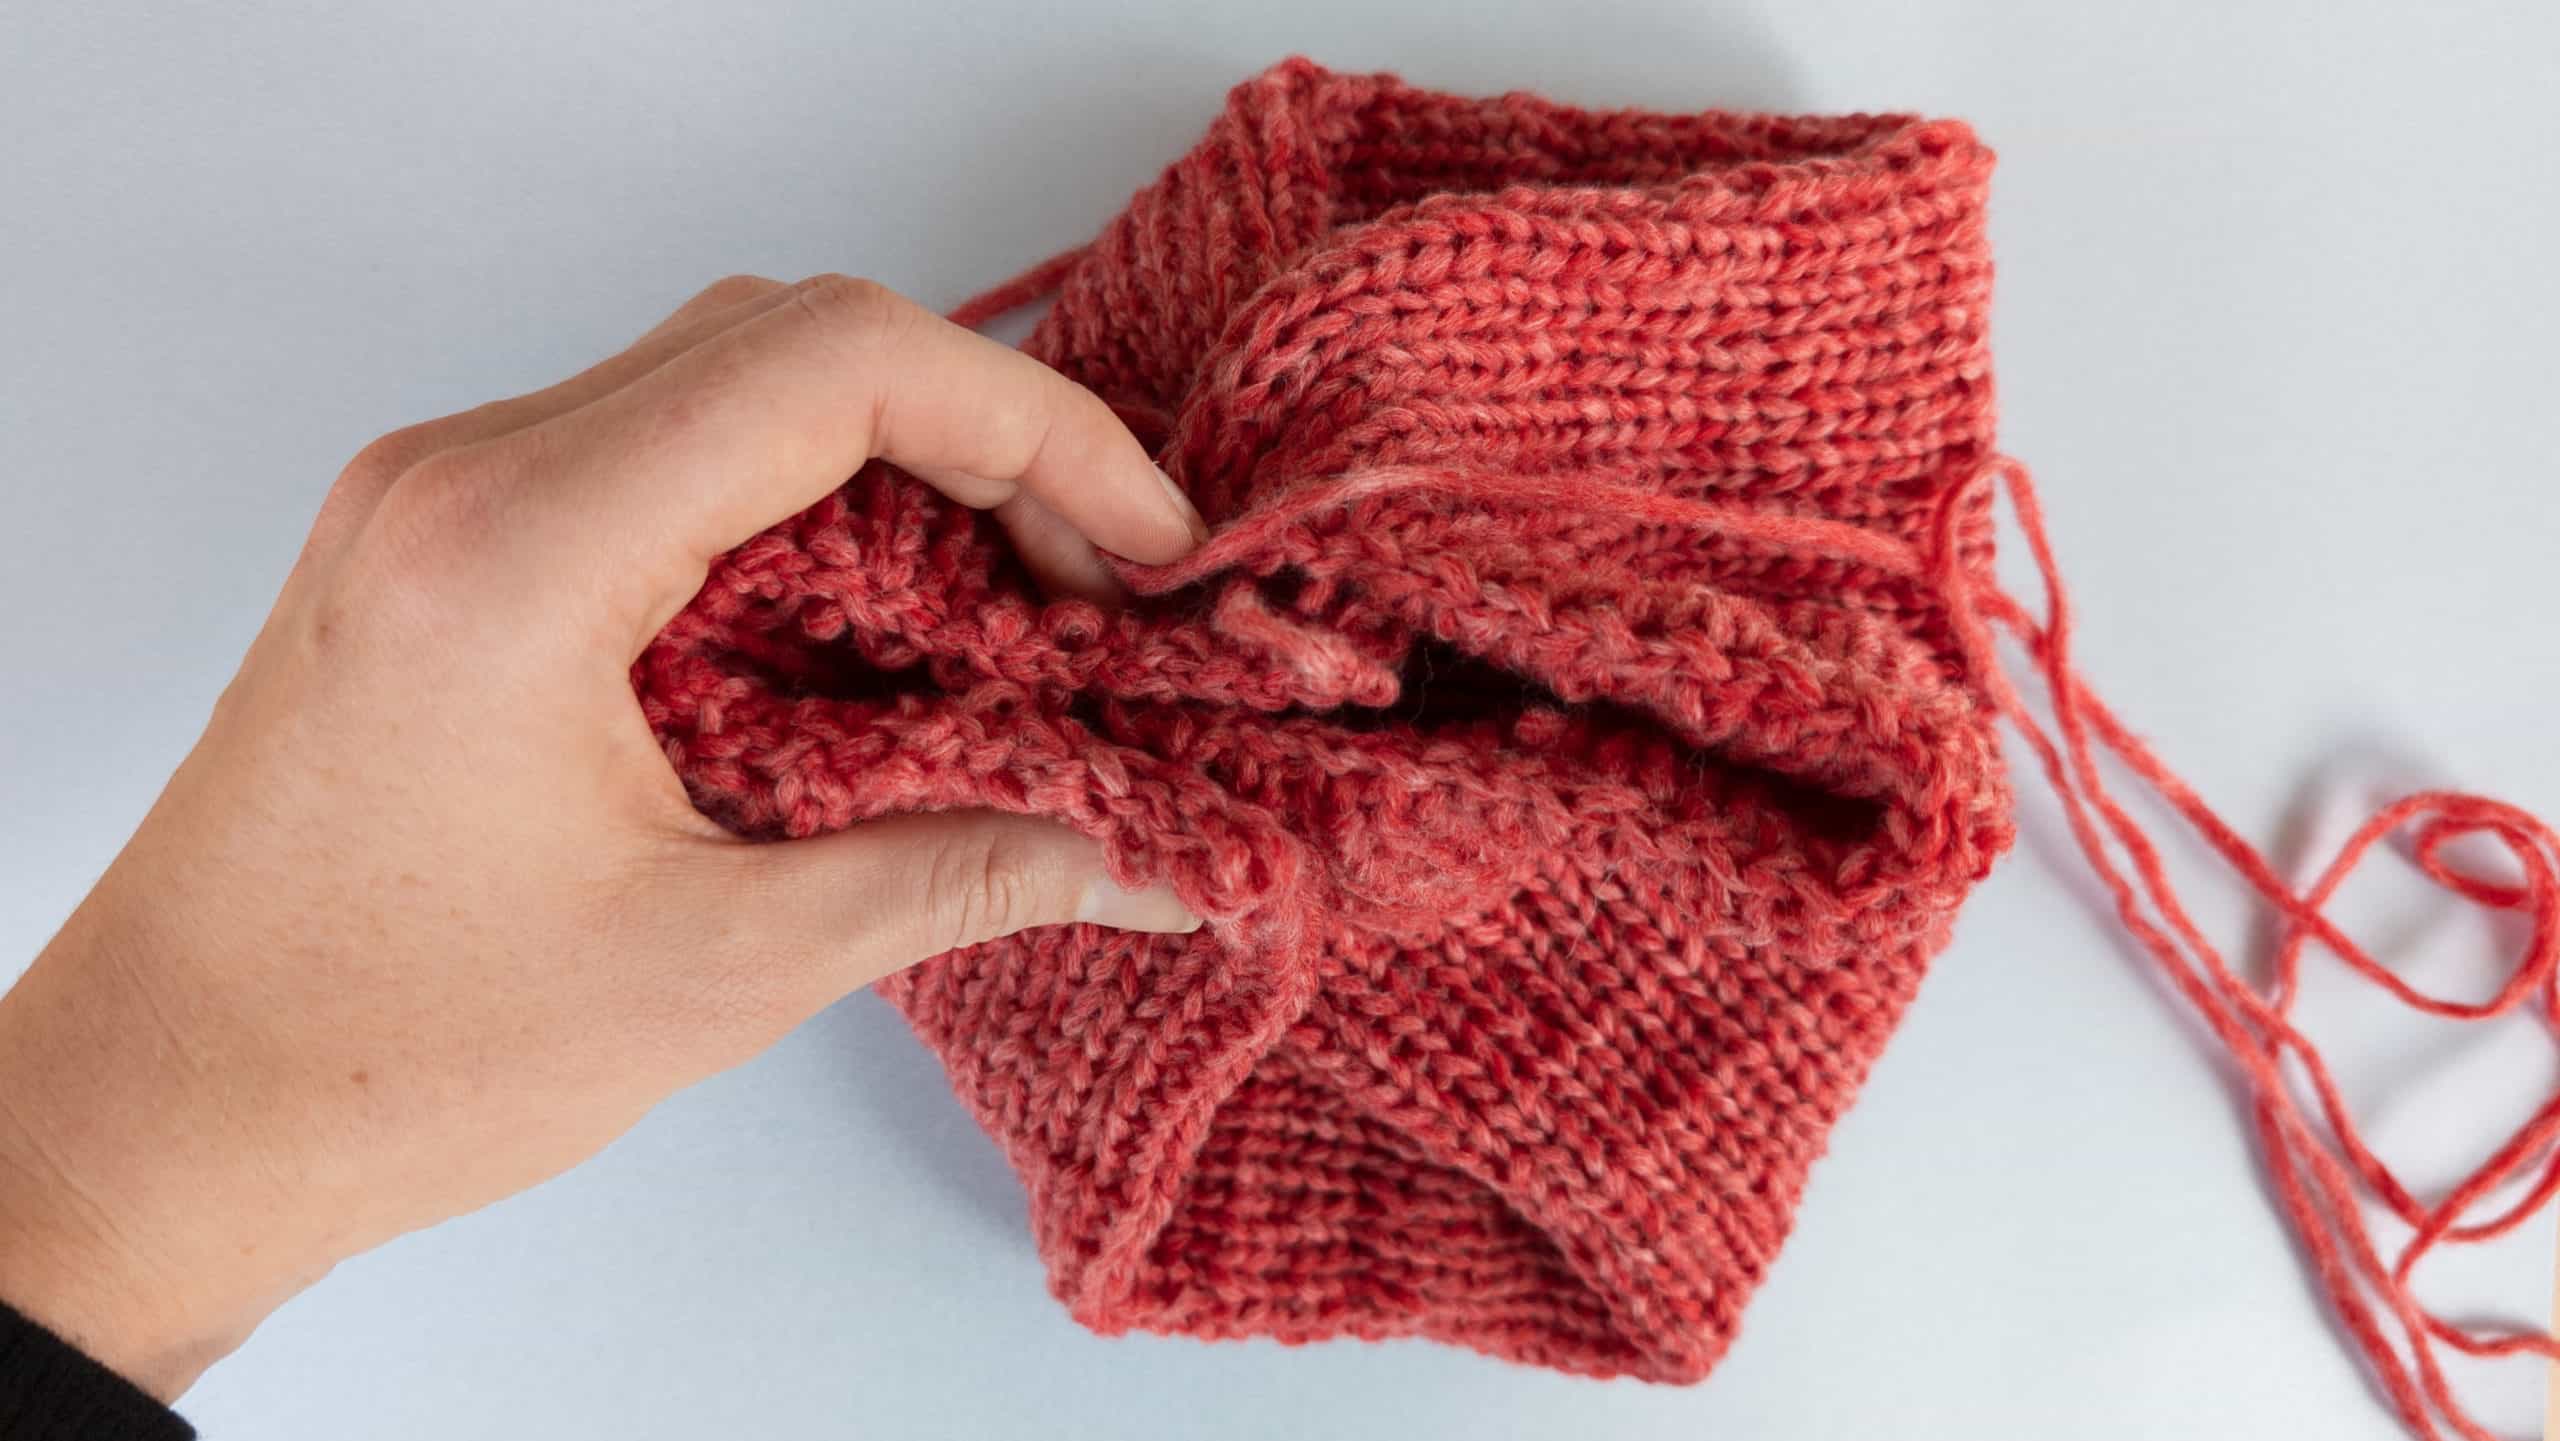
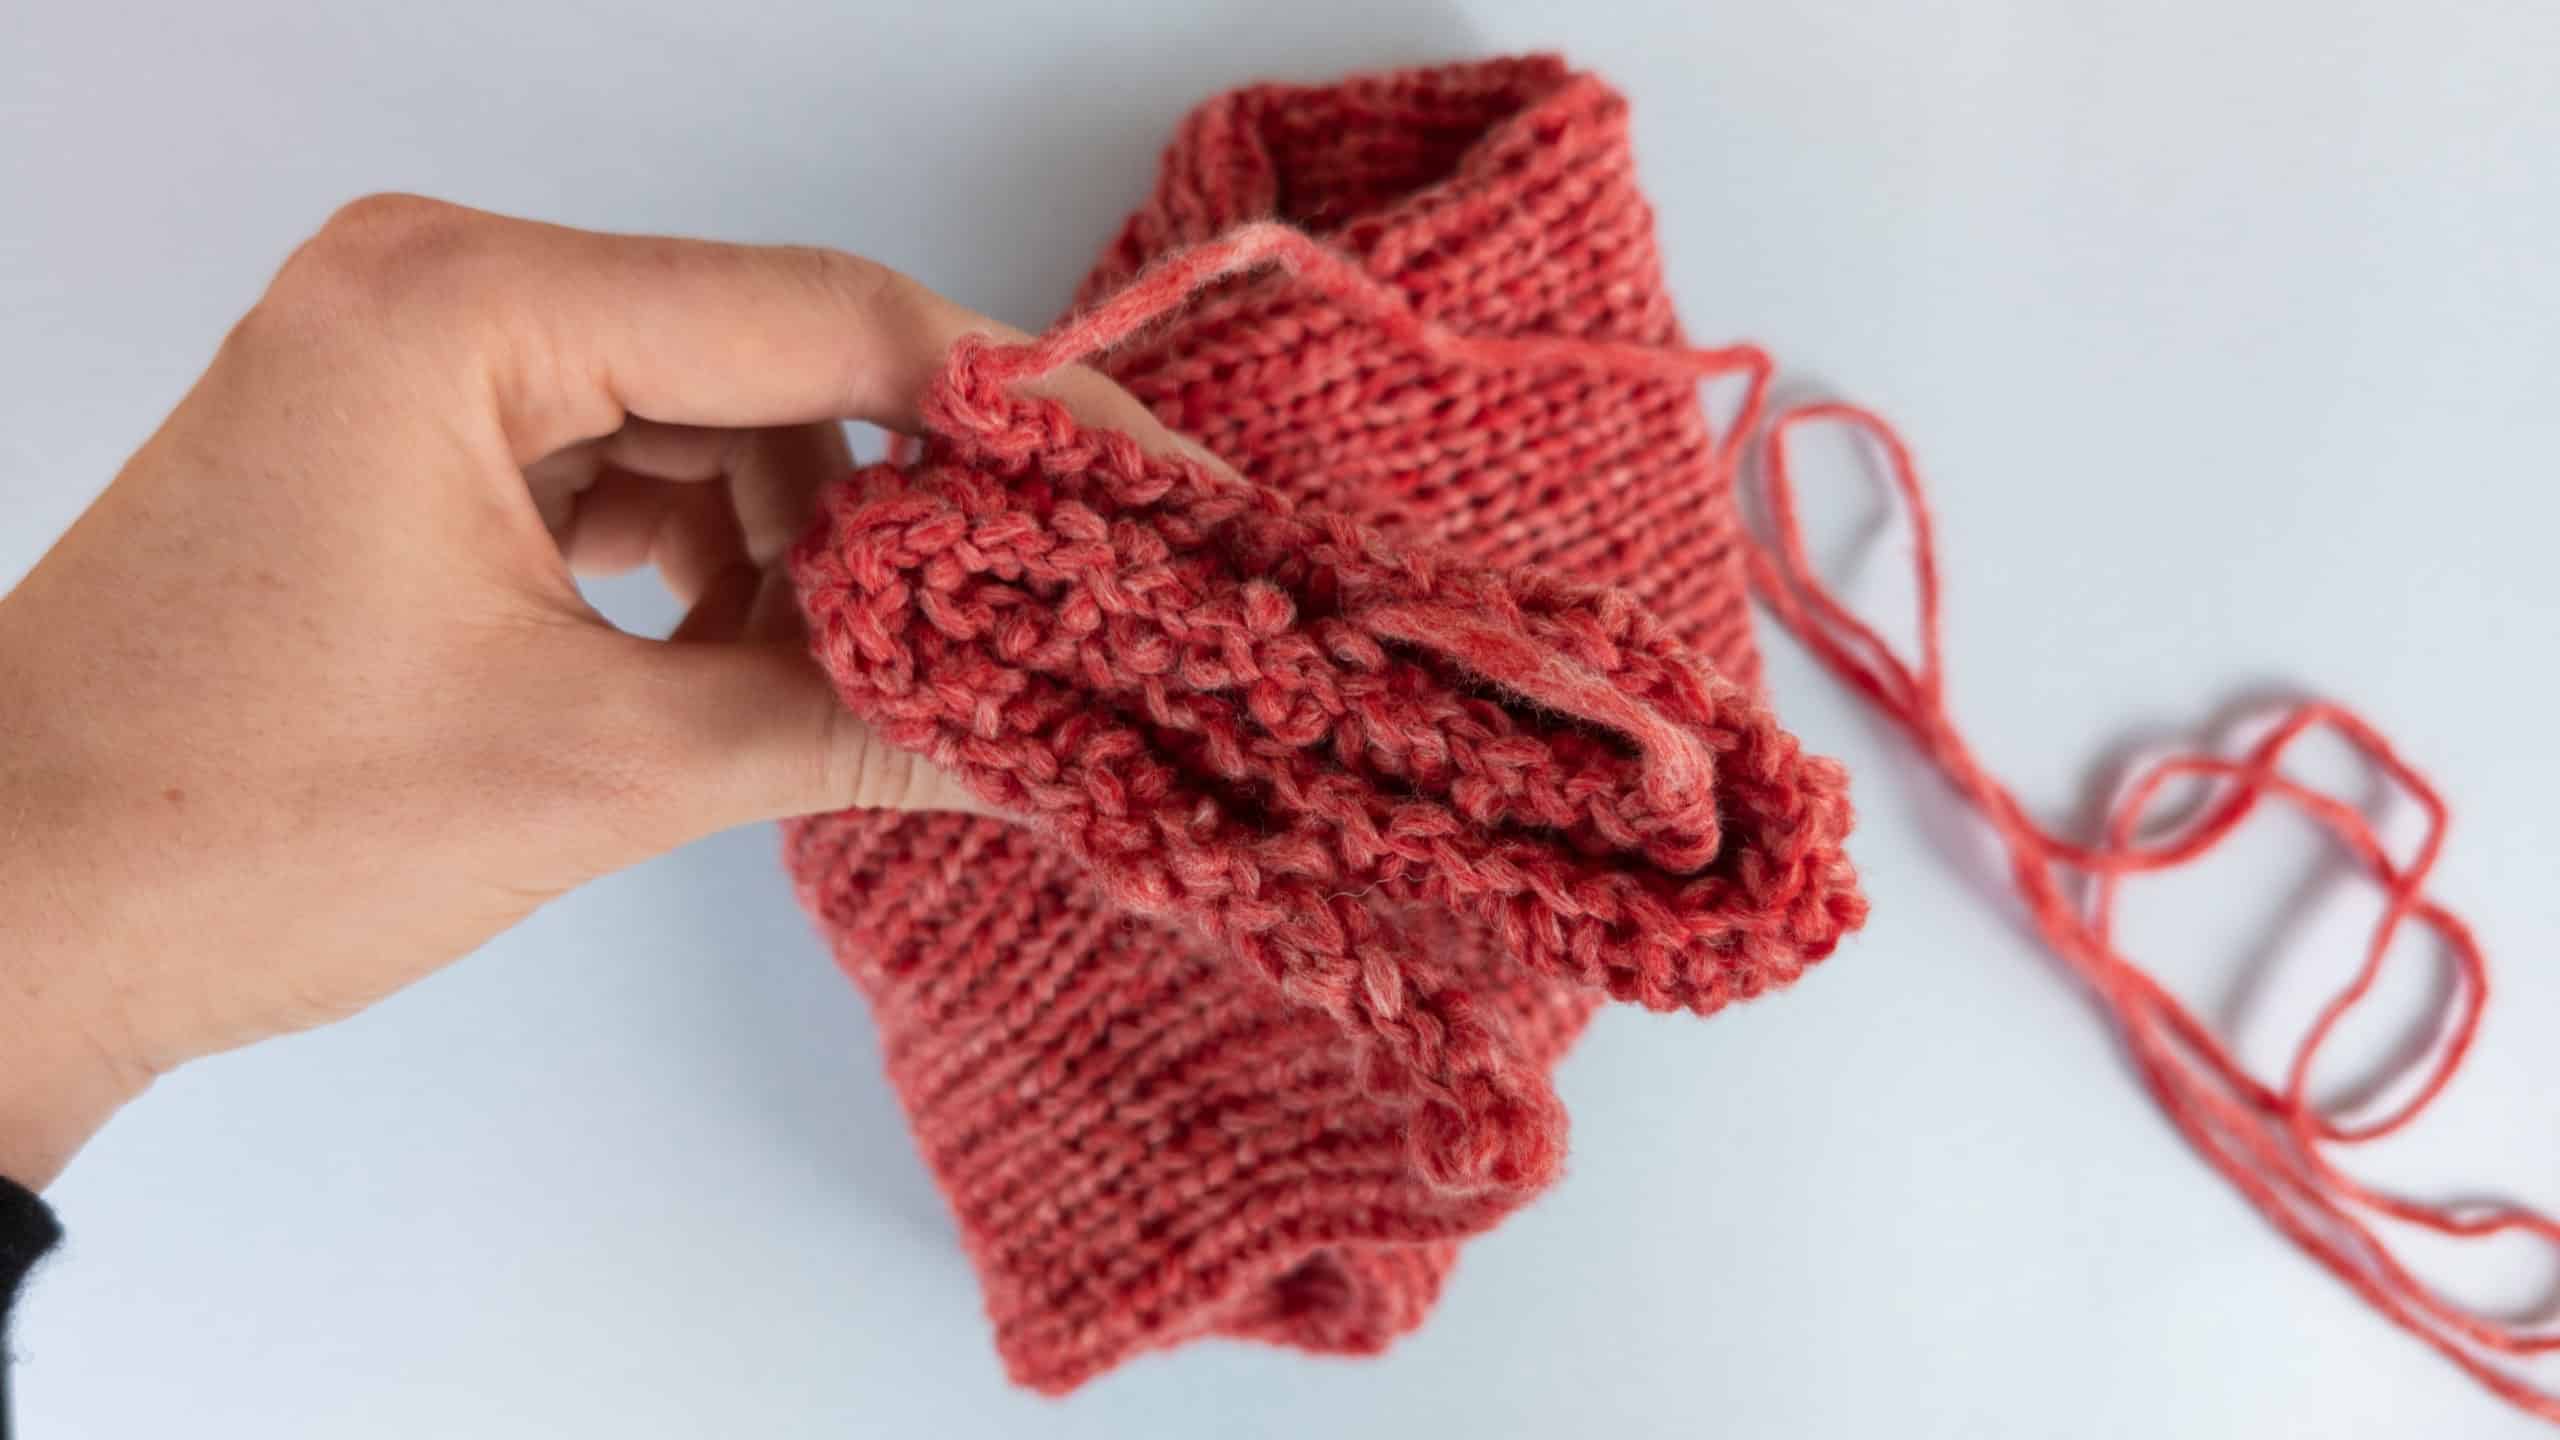
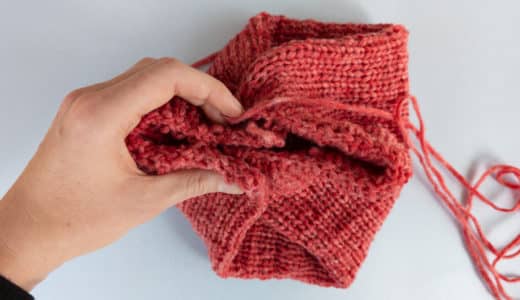
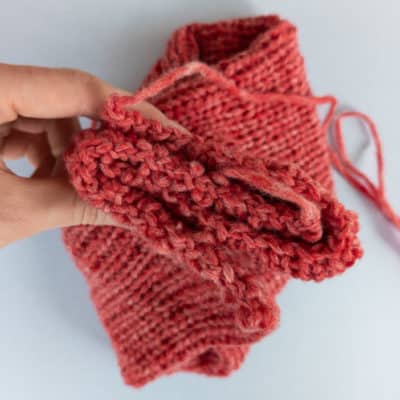
- To do this, fold the knitted tube in the middle so that the crocheted edges are folded on top of themselves.
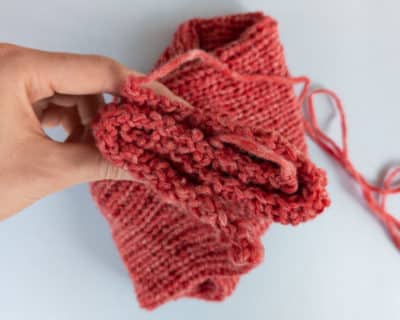
- The two folded ends are folded into each other, as shown in the photo.
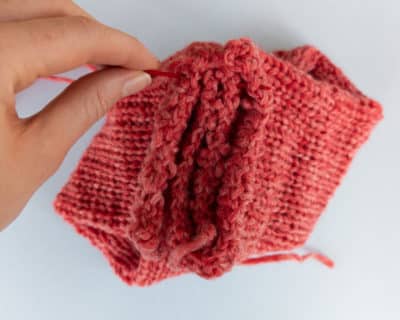
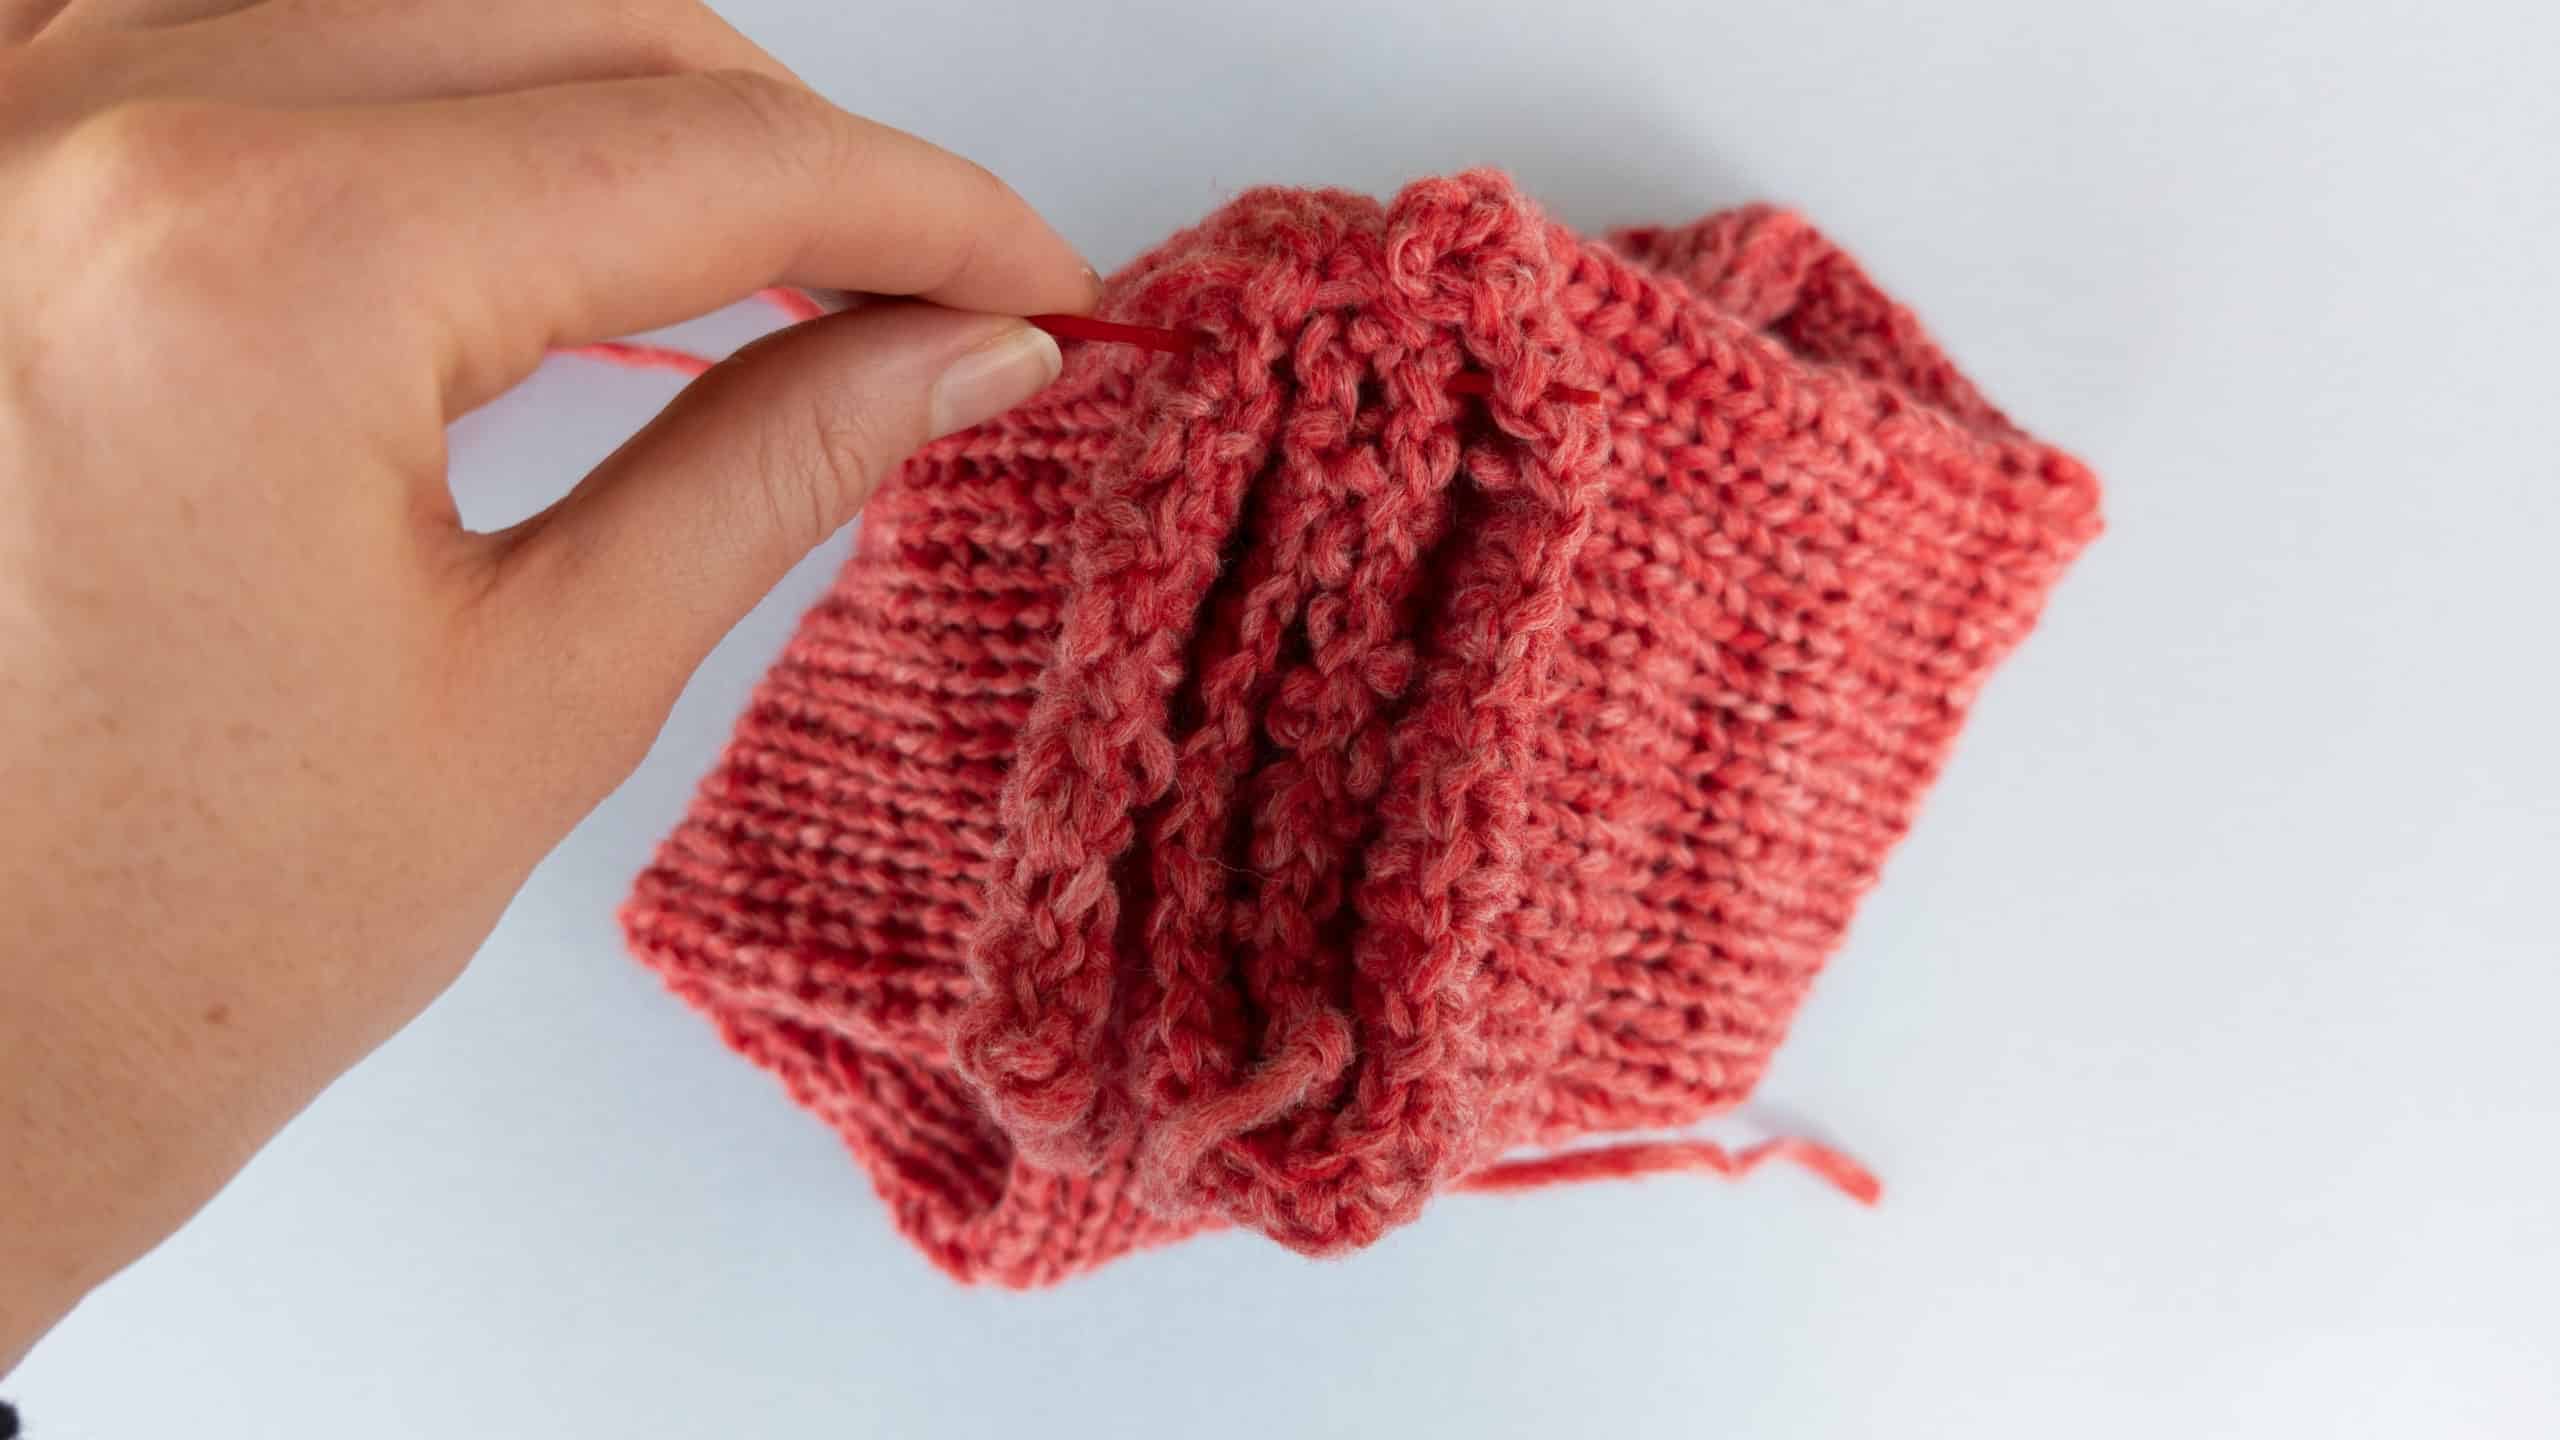
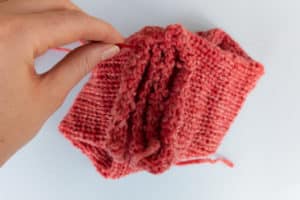
- Finish by sewing all the edges together. To do this, use the sewing needle to sew through all four folded edges.
- Finally, cut and sew the thread.
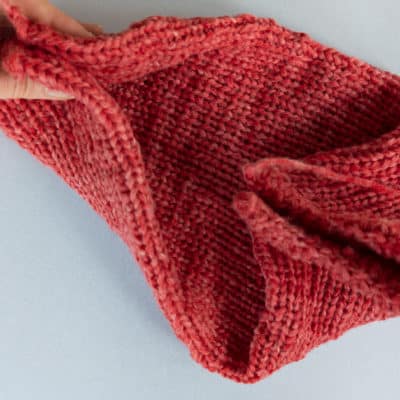
The seam is turned inwards - a decorative knot is now created on the outside.
