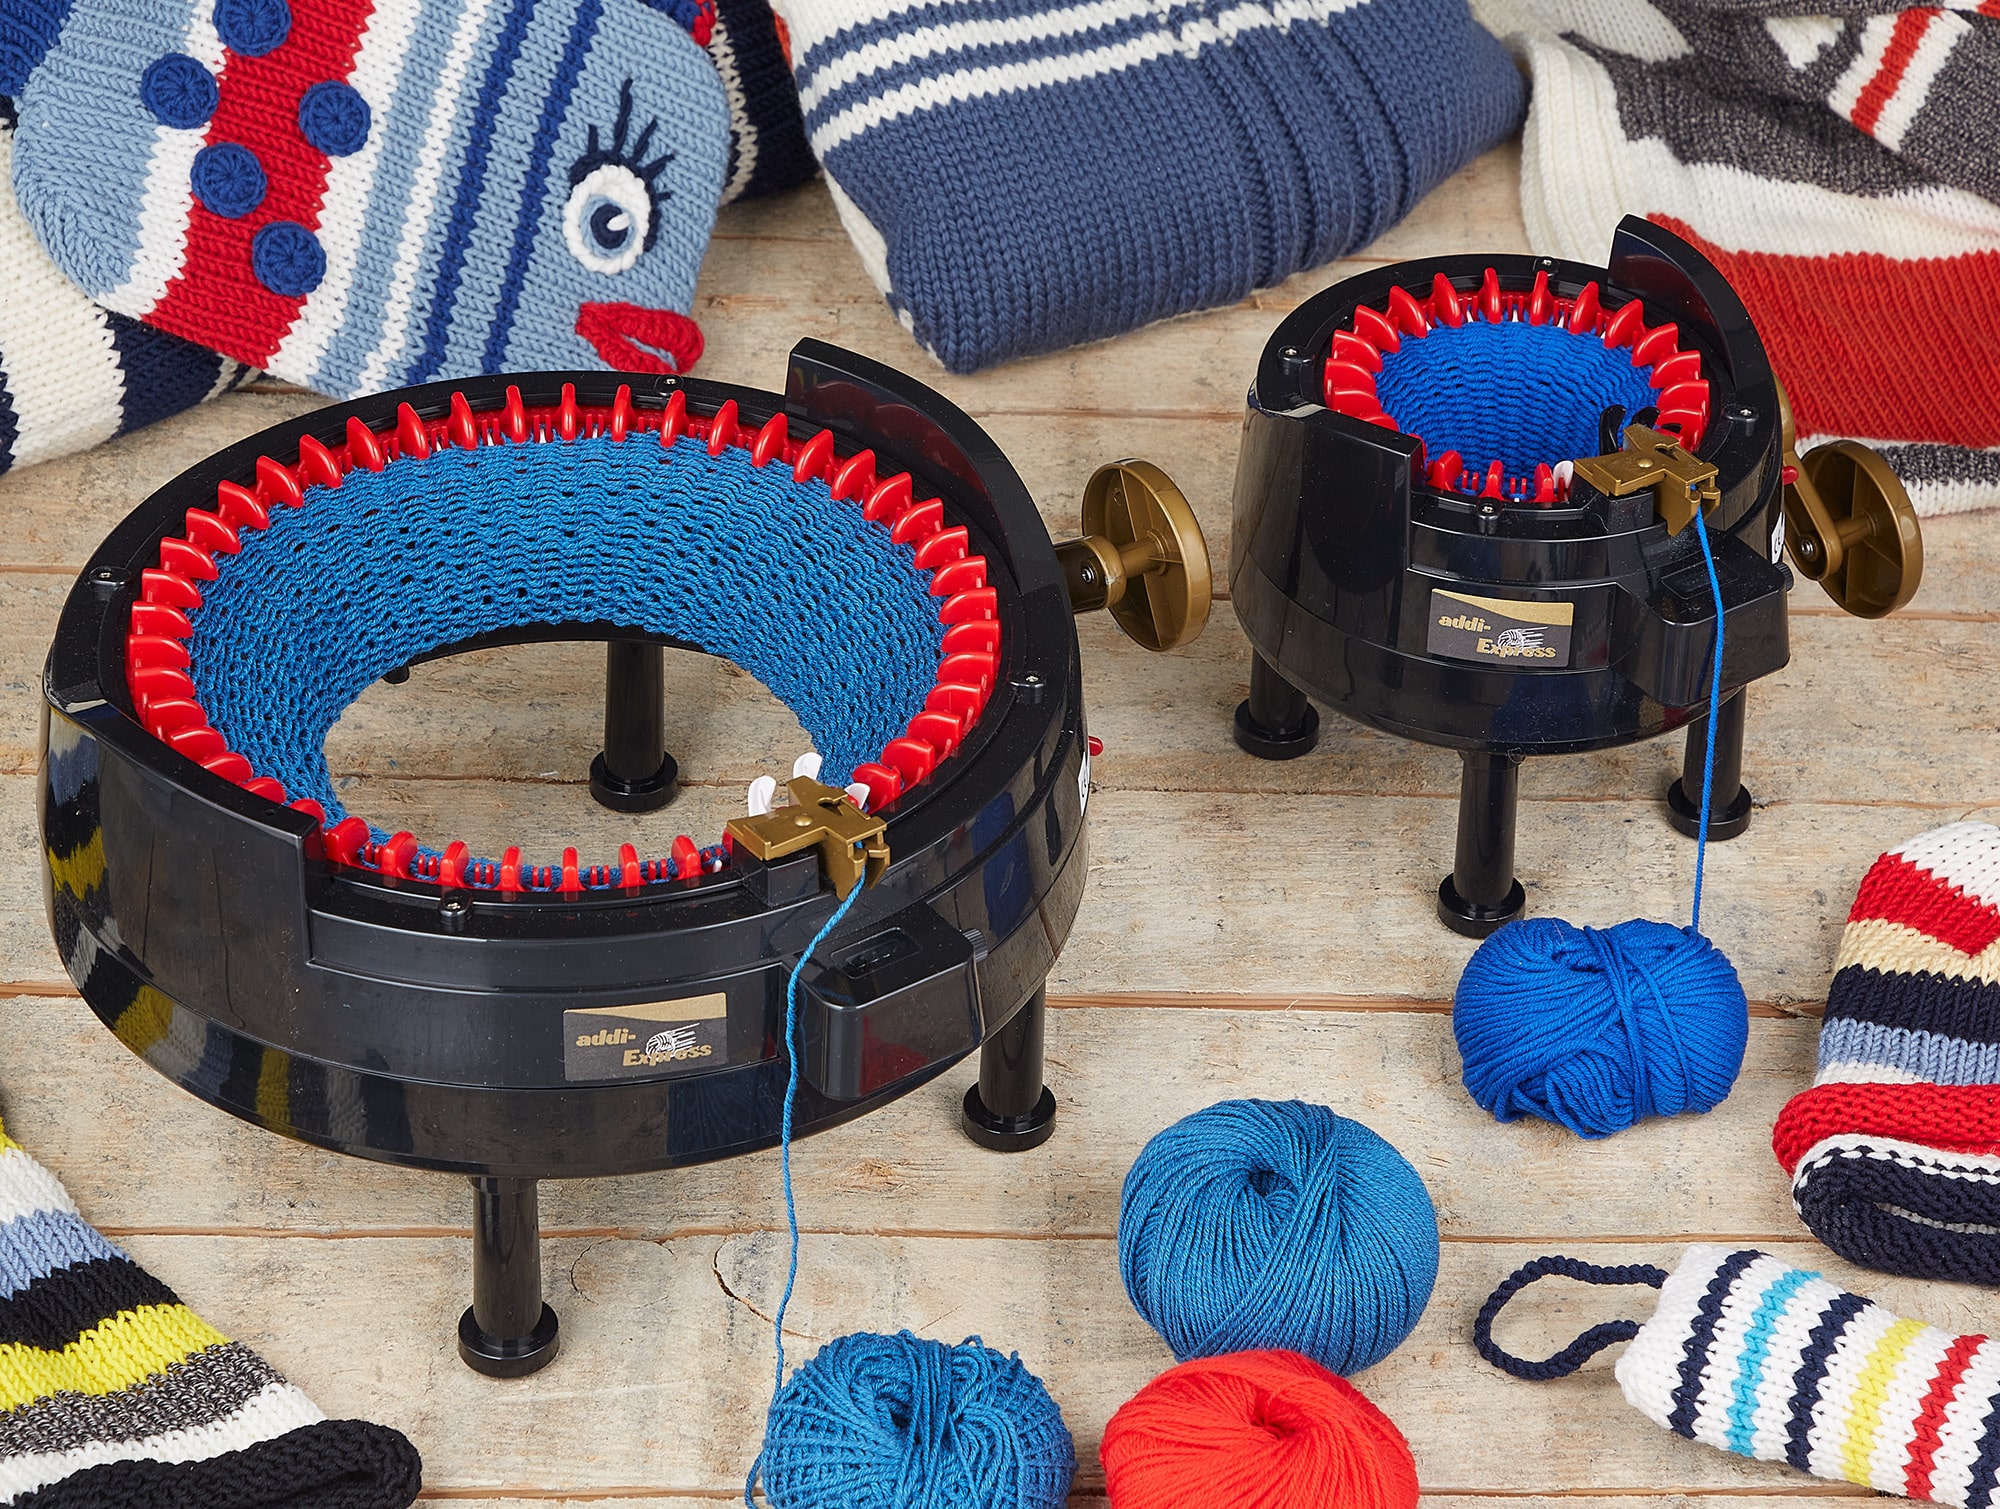
addiExpress instructions
addiExpress crank patchwork squares
Many small patches can be combined to create the most beautiful things - simply crank and arrange freely. This is how blankets, cushions and other accessories are made. We explain how to do it, with a video by Veronika Hug.
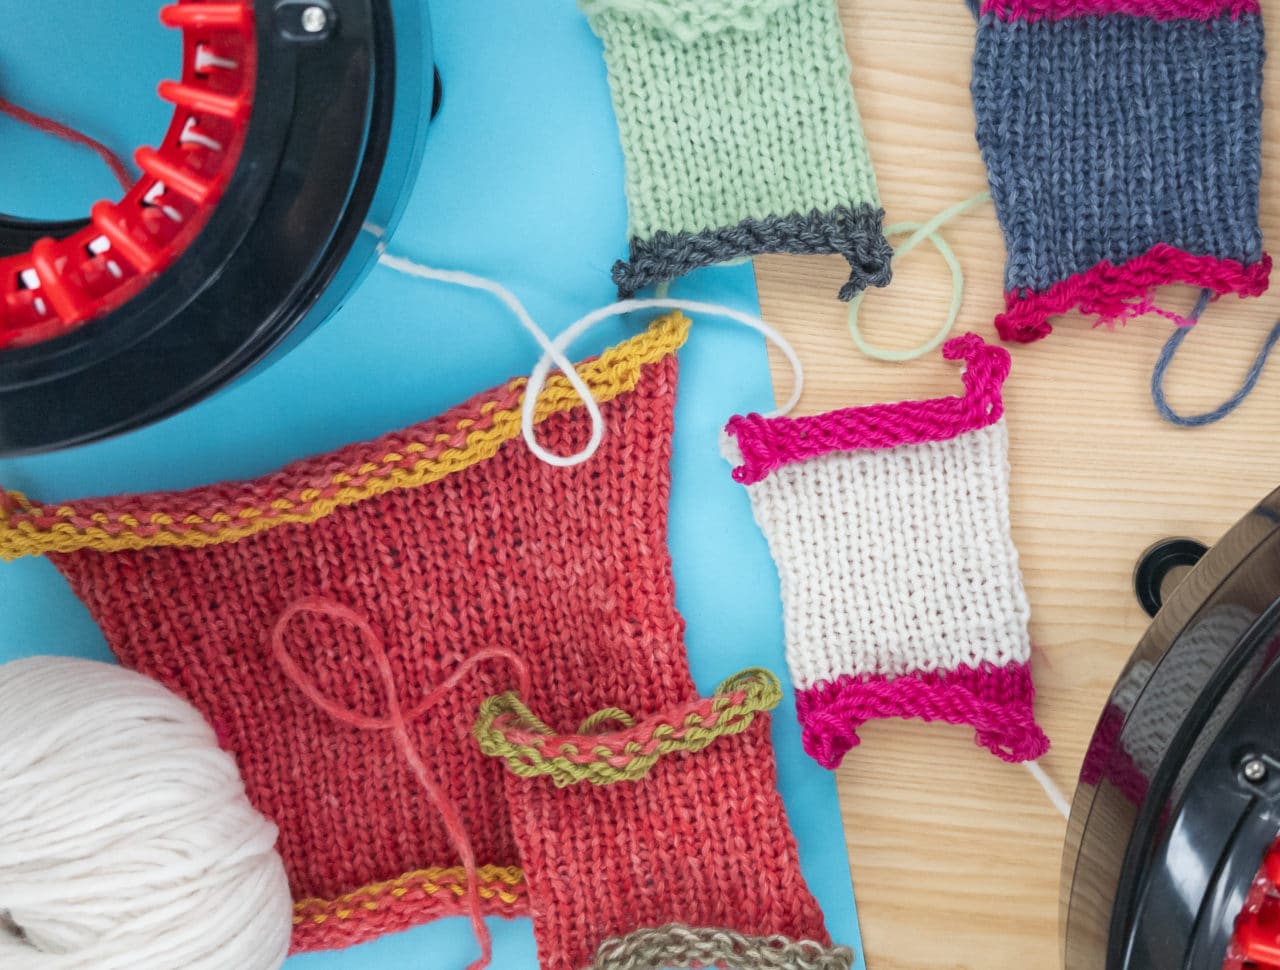
Table of contents
These instructions are not about a specific model. It explains how to crank the patches and join them together. A tutorial by Woolly Hugs.
The patchwork squares in different sizes can be used to create blankets, cushions, scarves, items of clothing or decorative accessories.
What you need:
- Leichtes Garn z.B. Woolly Hugs „Sheep“ 110 m/50 g
-
Alternatively, leftover yarns with a similar stitch gauge
-
approx. 10 g contrasting yarn (leftover yarn)
-
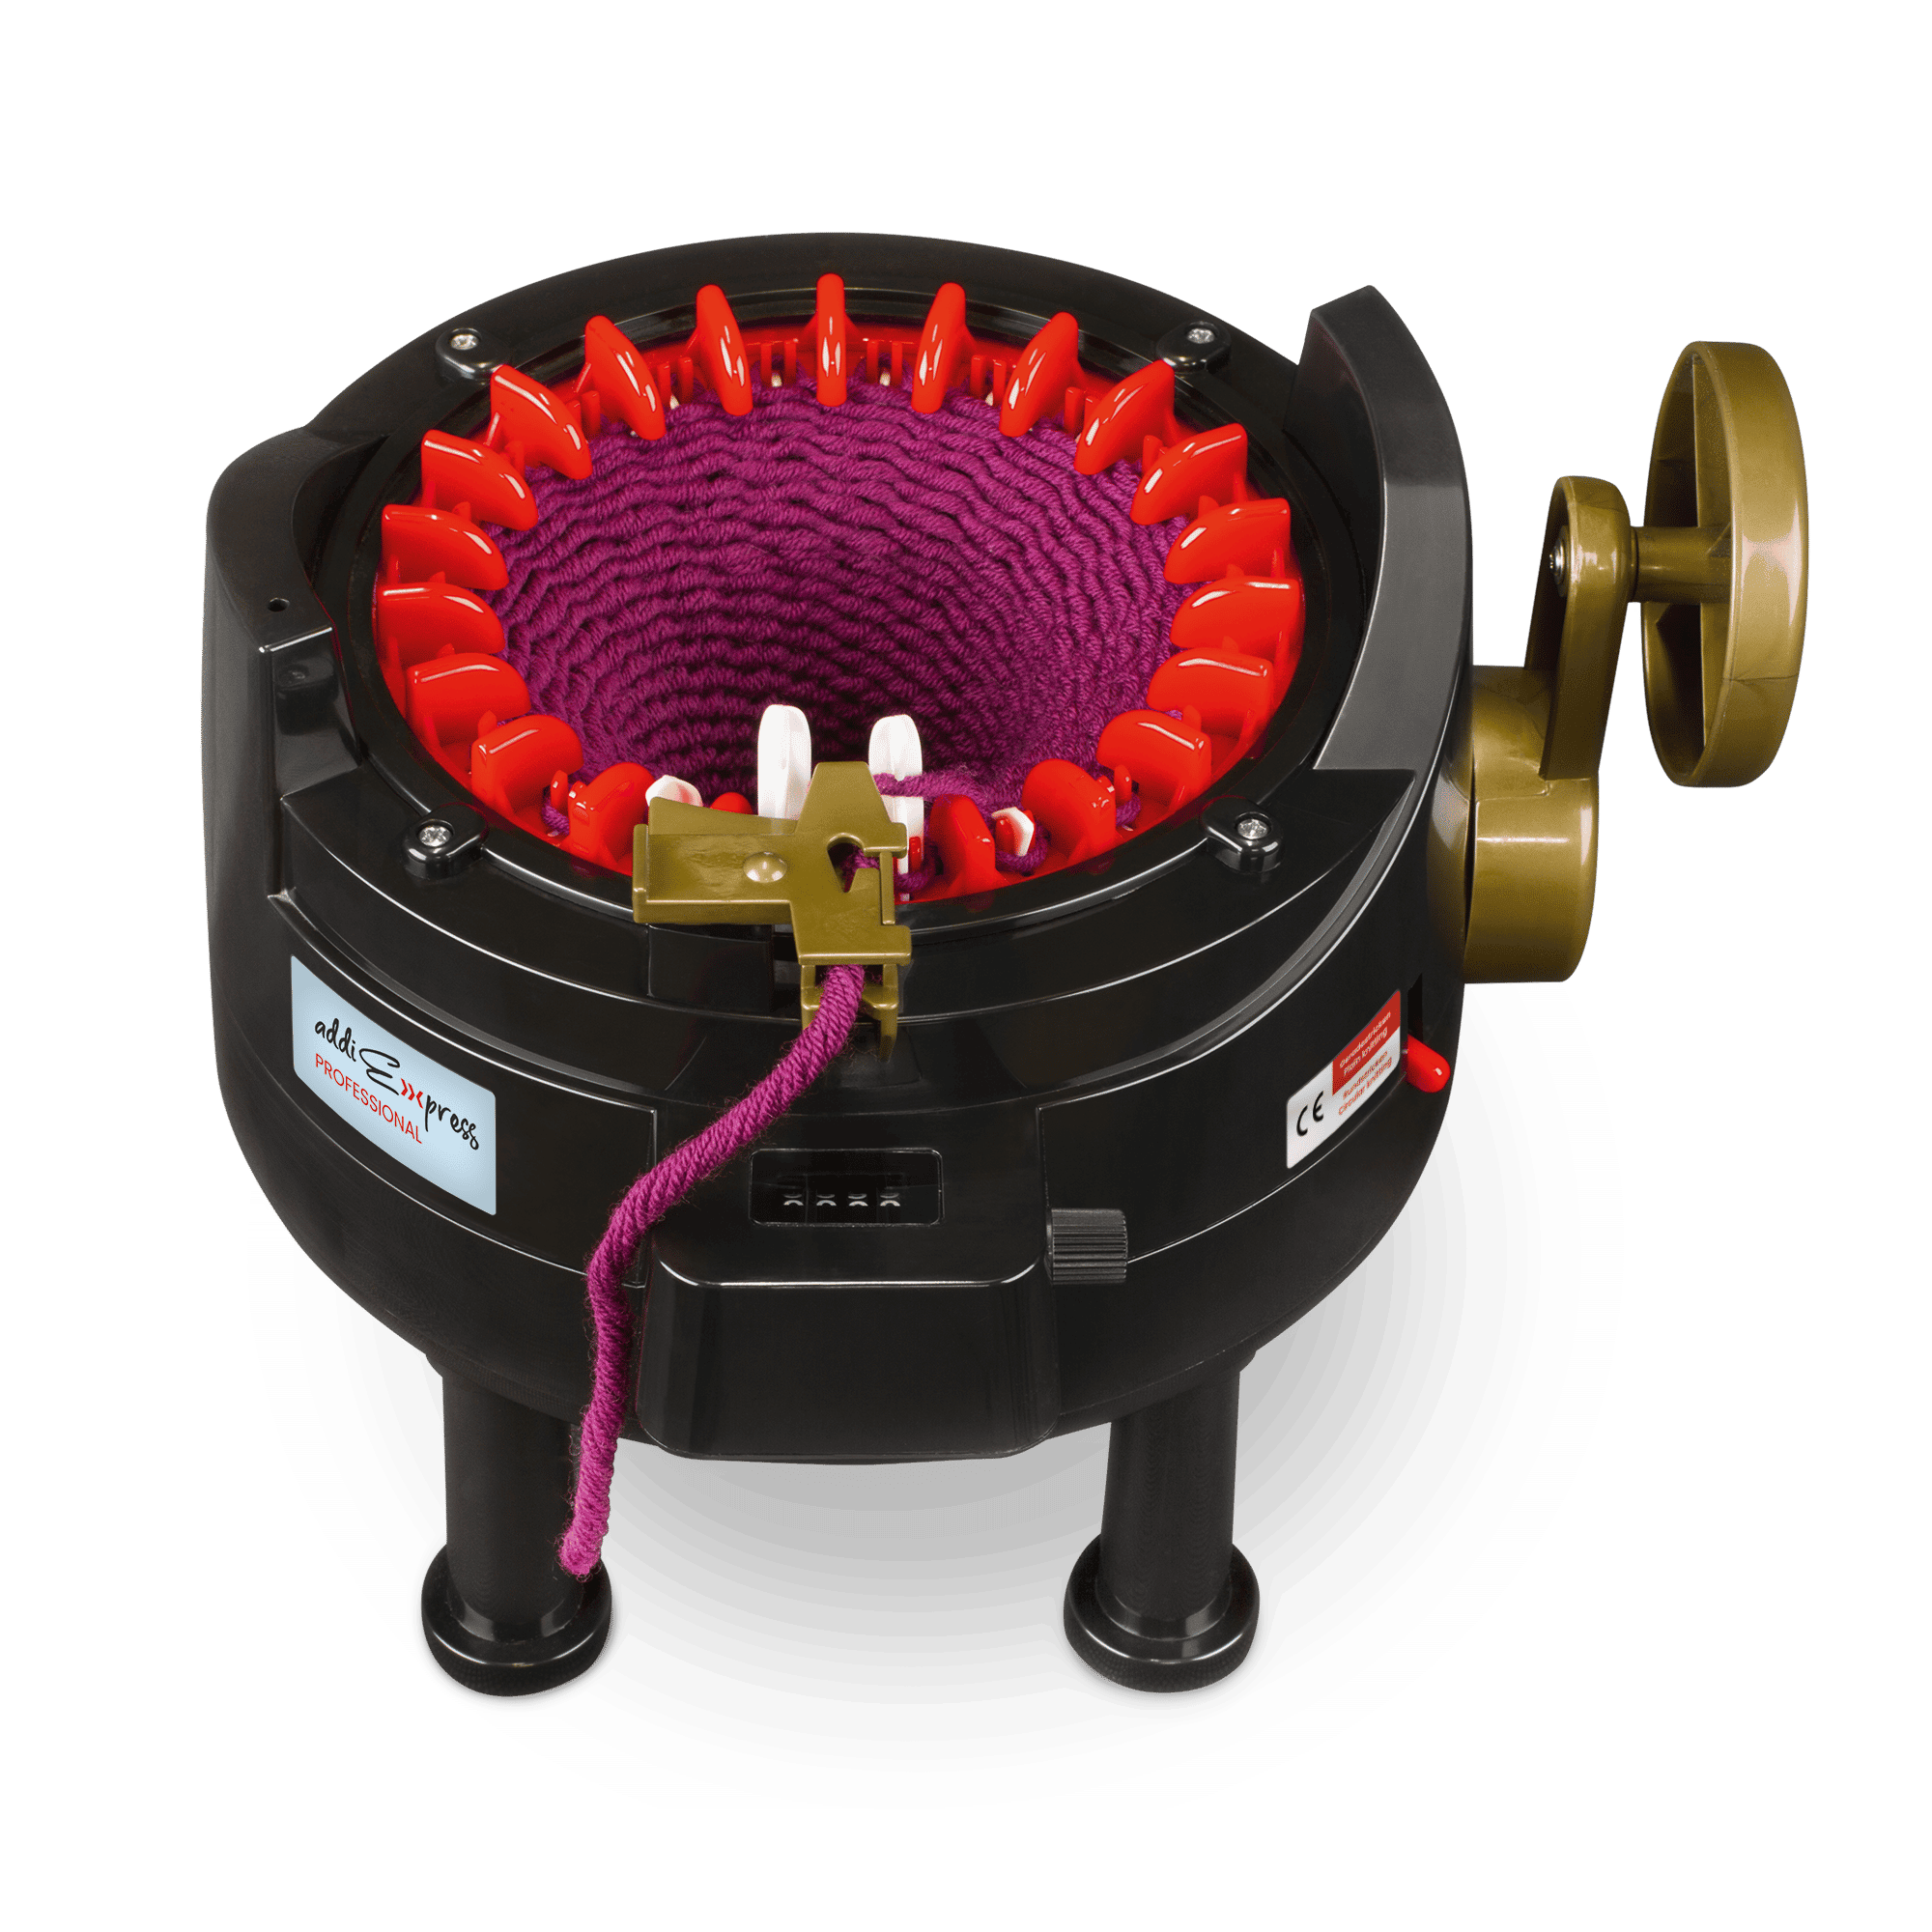
addiExpress Professional oder Kingsize
-
addiExpress Stopper
-
Pointed scissors
-
1 addi crochet hook for crocheting around the model (approx. 5.5-6.5 mm/ US 9-10)
Patch sizes:
There are 3 rows for every 2 stitches. It is important to have an uneven number of rows so that the starting thread and the end thread of each patch are on opposite sides.
Gauge: approx. 14 stitches and 22 rows make 10 x 10 cm (4"x4")
Tip: Up to 19 stitches can be worked in rows with the small addiExpress Professional knitting machine. Up to 43 stitches can be worked on the large king-size machine:
| Patch size approx. | Stitches | Rows |
| 5 x 5 cm | 7 | 11 |
| 7 x 7 cm | 10 | 15 |
| 8,5 x 8,5 cm | 12 | 17 |
| 10 x 10 cm | 14 | 23 |
| 12 x 12 cm | 17 | 25 |
| 13,5 x 13,5 cm | 19 | 29 |
| 15 x 15 cm | 21 | 31 |
| 18 x 18 cm | 25 | 37 |
| 20 x 20 cm | 27 | 41 |
| 24 x 24 cm | 31 | 47 |
| 26 x 26 cm | 35 | 54 |
| 28 x 28 cm |
39 | 59 |
| 30 x 30 cm |
41 | 63 |
Crank patches
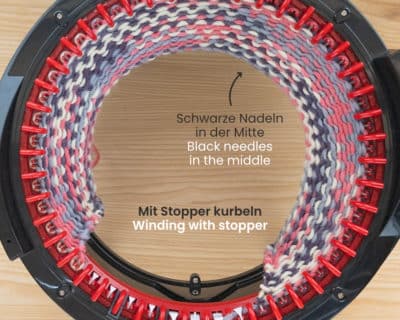
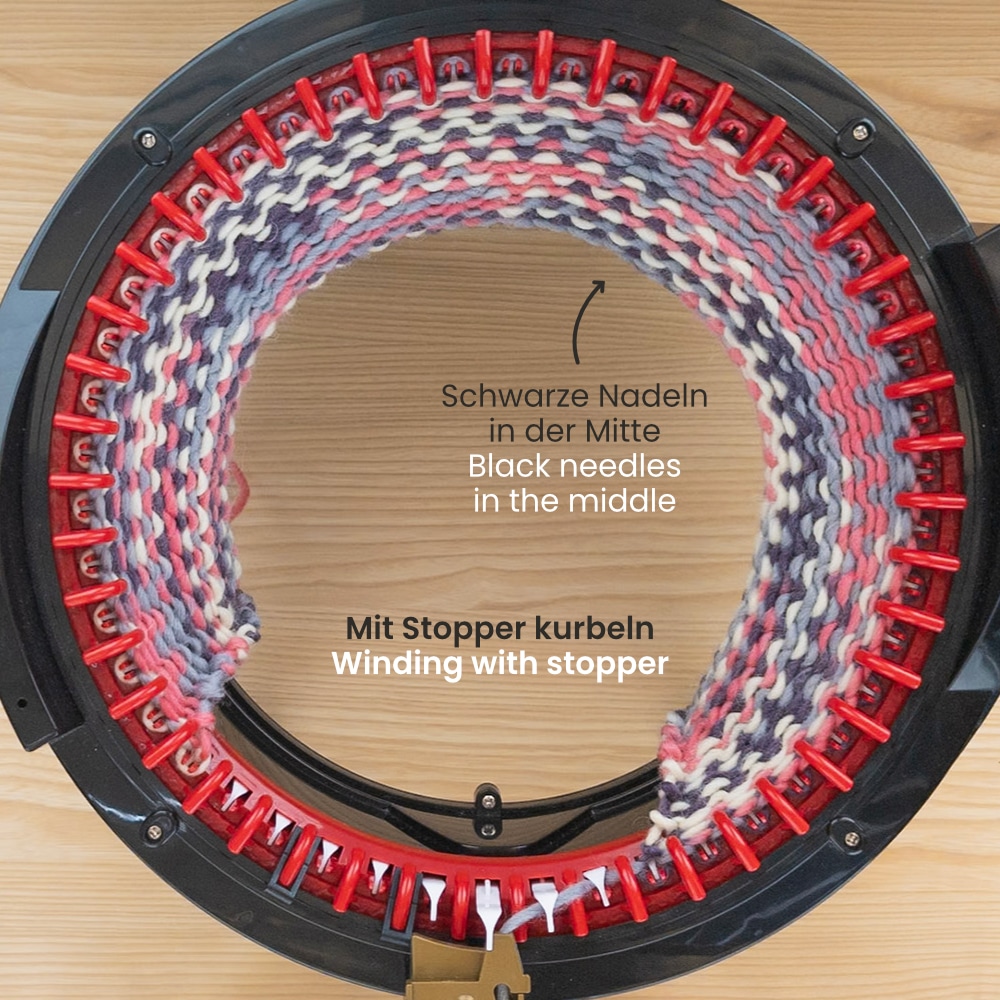
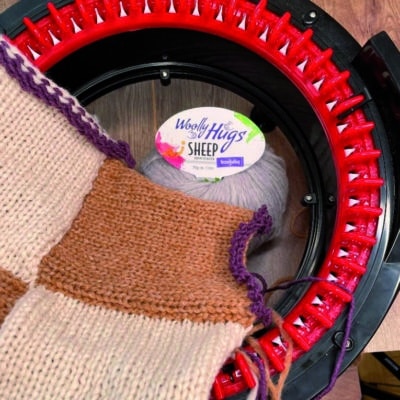
Insert the stitch stopper so that the black needles are in the centre of the patch. This way, the row counter counts the correct number of rows knitted.
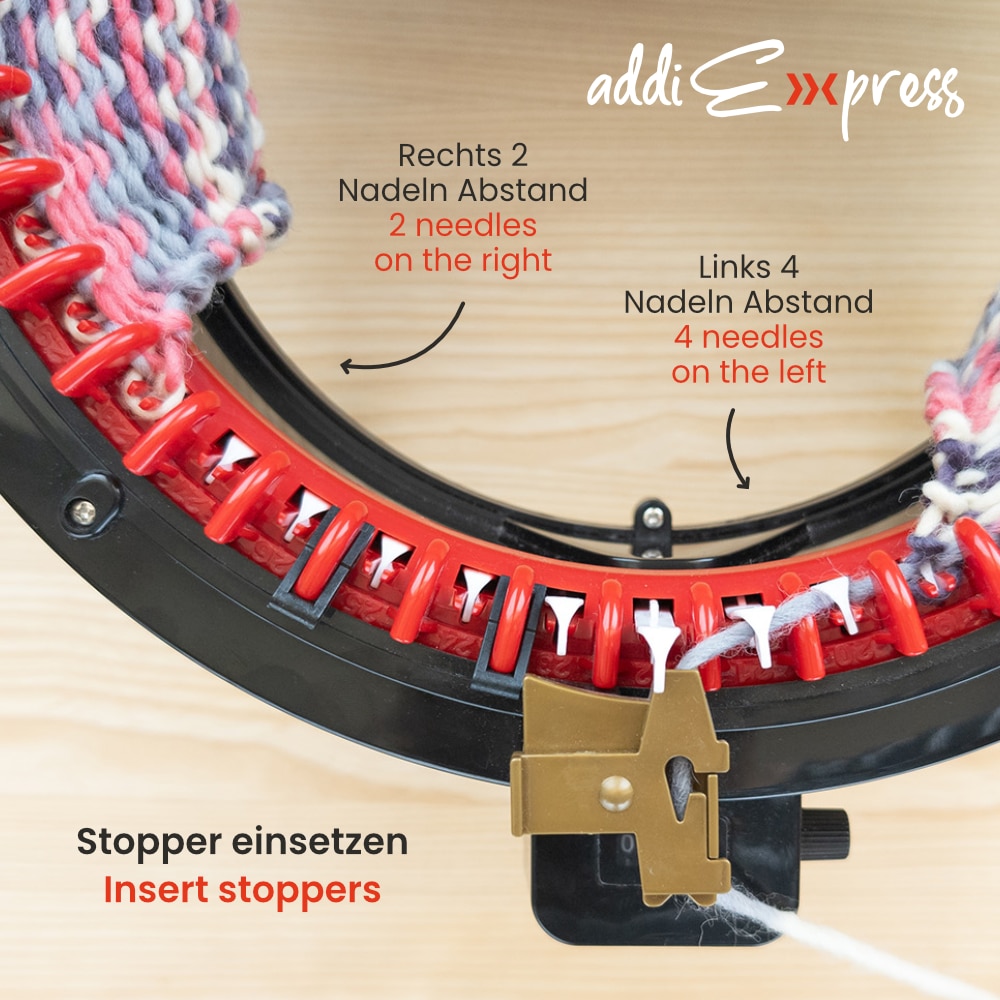
- e.g. for a 14 st x 23 R square with the small addiExpress Professional between needle 14/15 and 12/13.
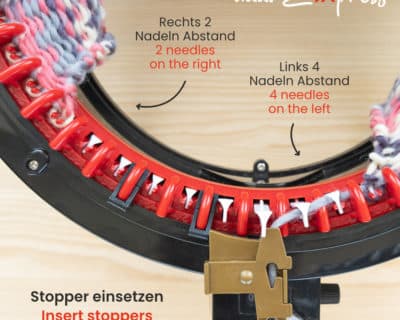
Note: 2 needles are not knitted on the right side before the stitch stopper and 4 needles are not knitted on the left side.
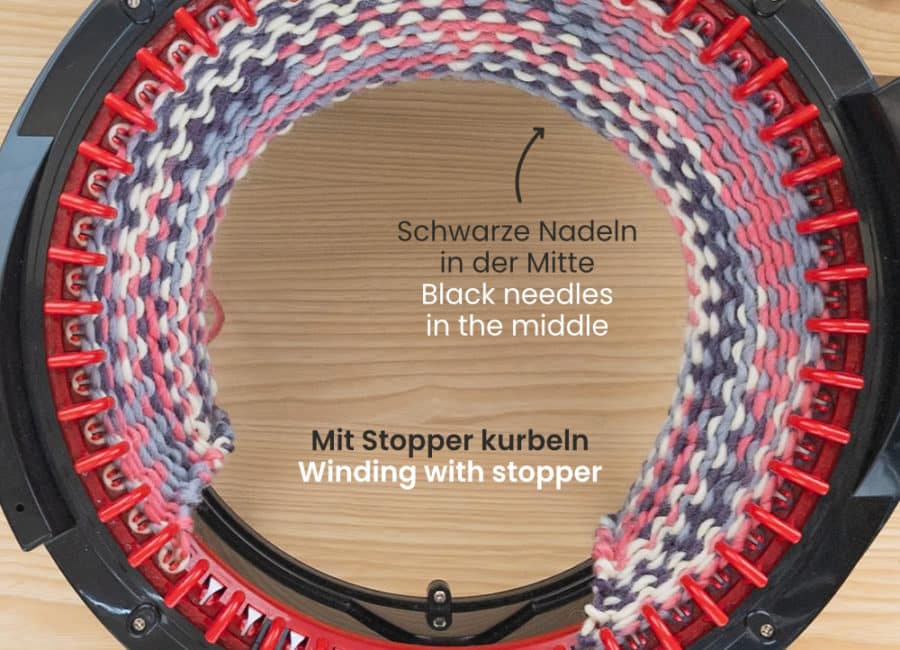
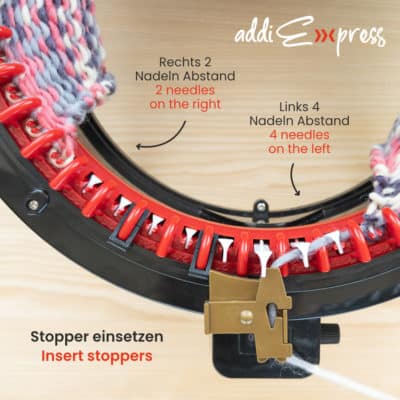
The patches are always started at the top left and finished at the bottom right so that the end threads are already in the right place for sewing.
- Mit Hilfsgarn im „Geradestricken“ Modus links beginnen und über die gewünschte Maschenzahl anschlagen und ca. 6 Reihen kurbeln (z.B. 14 M).
-
Change to the desired yarn for the patch (left side) and leave a starting thread hanging in the centre (approx. twice as long as the later edge length, e.g. 20 cm for a 10×10 patch).
-
Work the number of rows from the chart (e.g. 23 rows).
-
Important: Always end at the bottom right due to an odd number of rows.
To finish, leave the thread twice as long as the edge length for later sewing and hang it in the centre.
- Finally, work another 6 rows with contrasting yarn.
-
Then crank 2 rows without yarn to drop the patch.
These steps are repeated for each patch.
Combining patches
Due to the odd number of rows and the long start and end threads on the patches, they can now be easily sewn together.
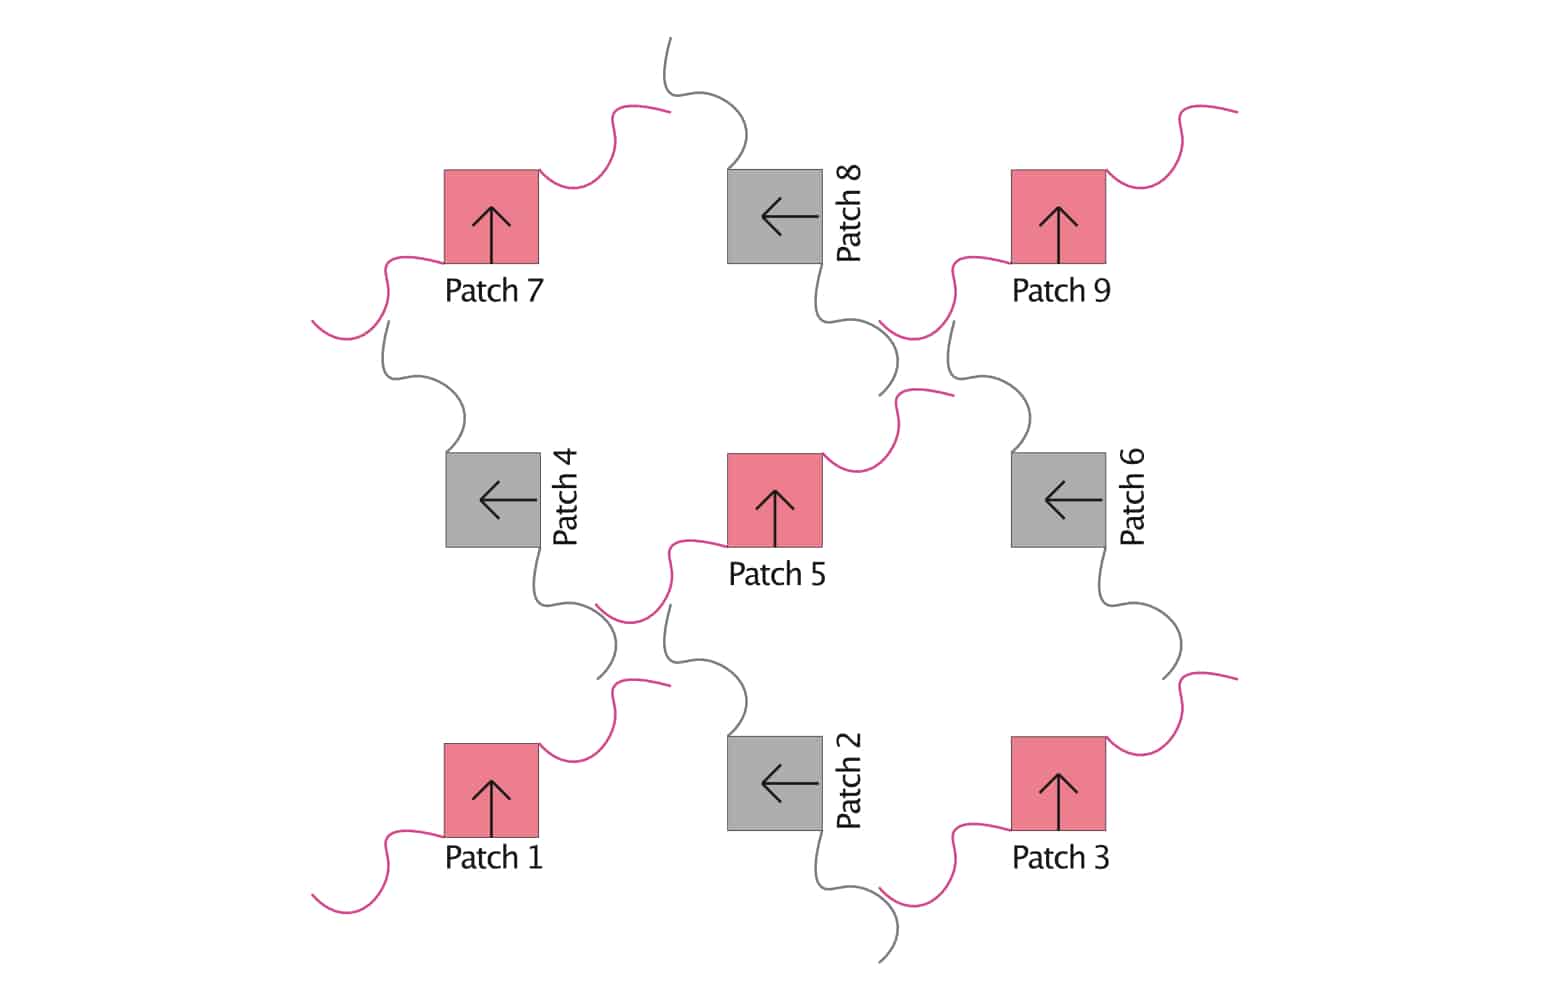
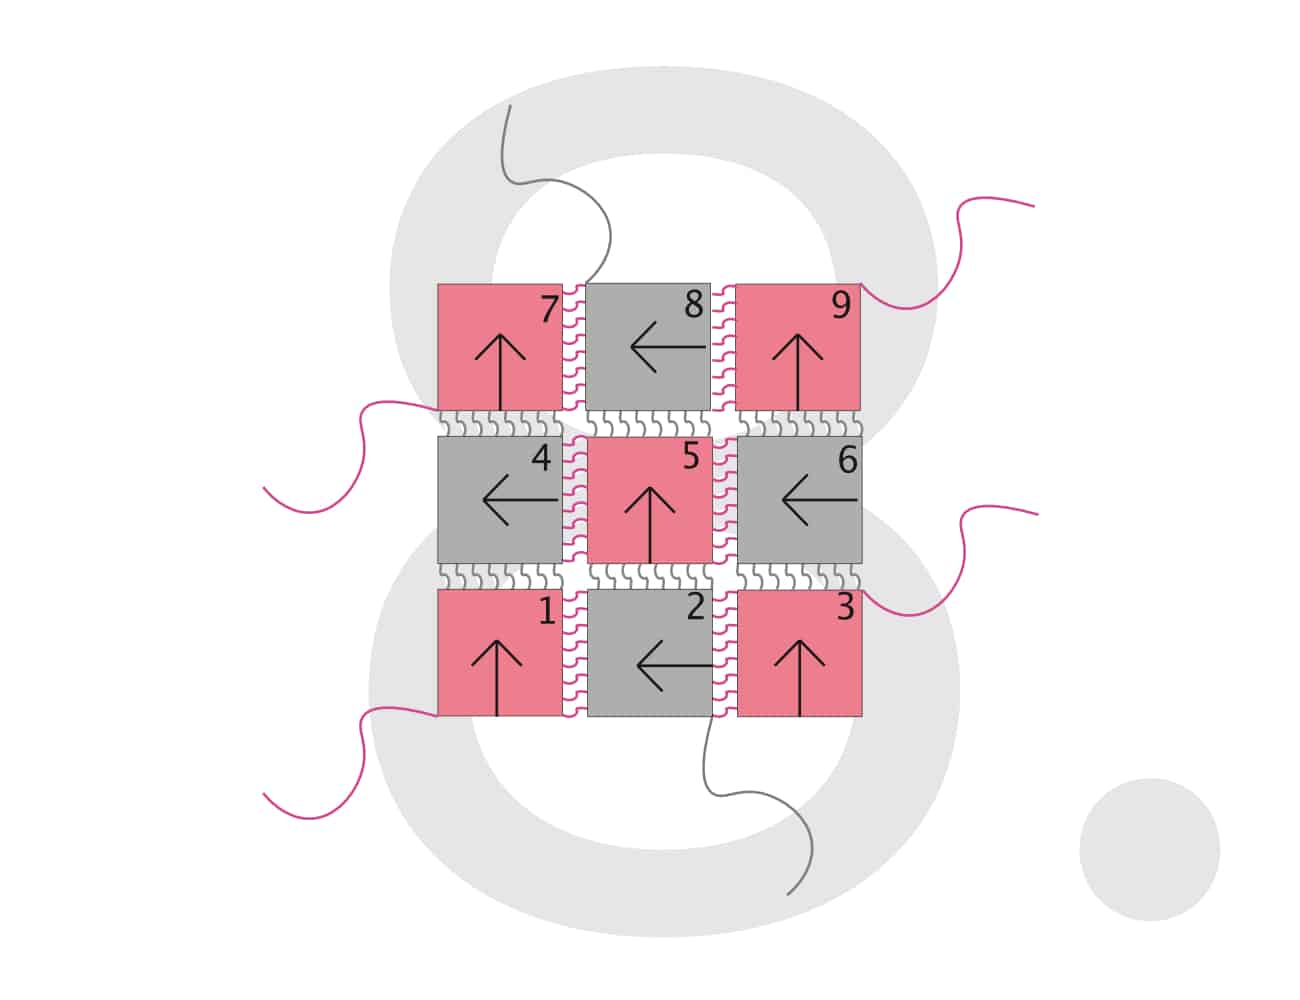
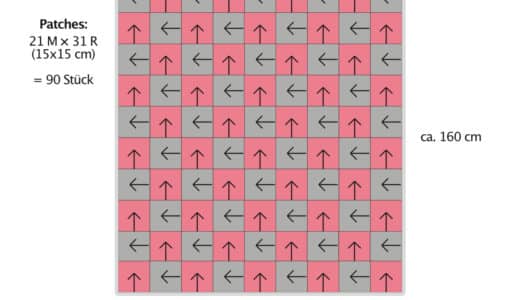
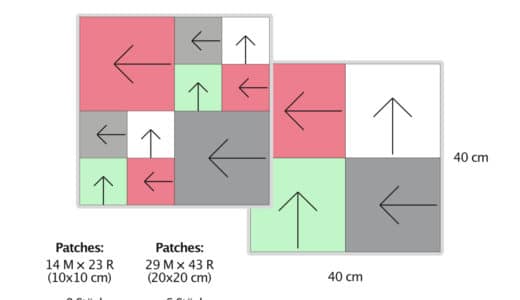
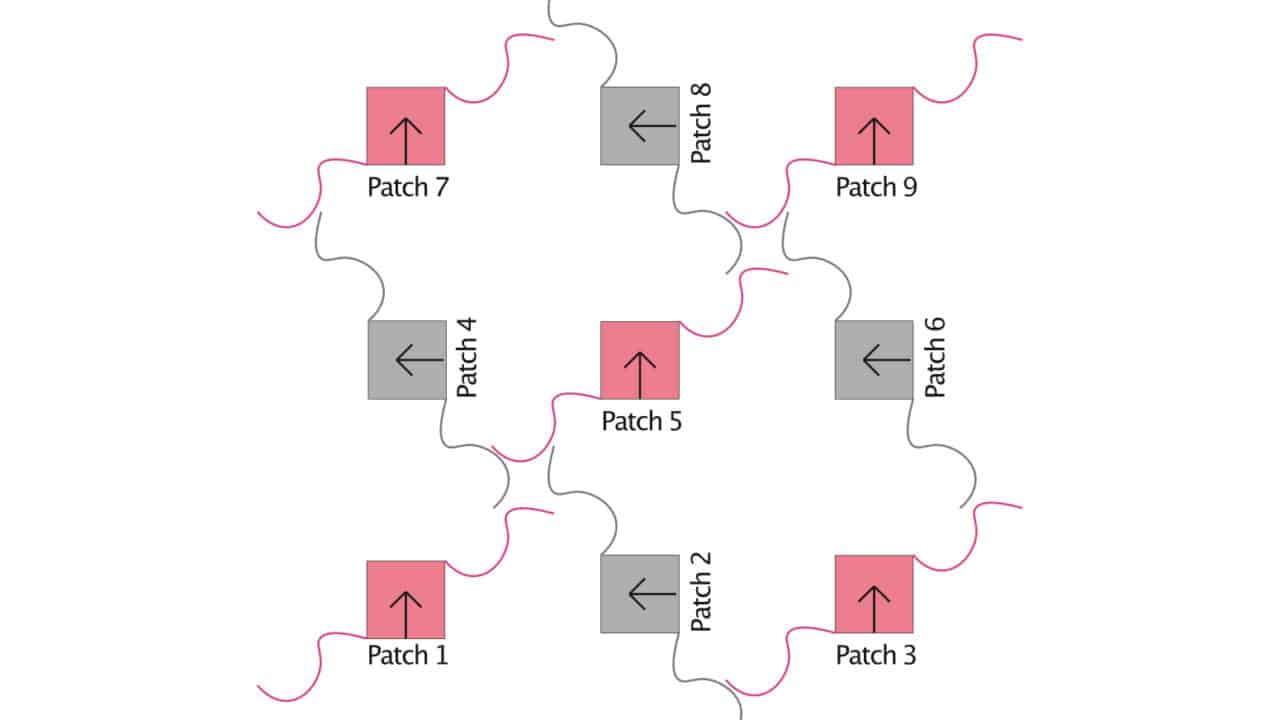
In the following example, we combine 9 patches in 2 colours to form a checkerboard pattern and explain what to look out for.
- The starter thread is at the bottom left, the end thread at the top right.
-
I would start by cranking all the patches at once. This does have the disadvantage that you need leftover yarn for each patch at the beginning and end, but if you are working a patchwork model like this for the first time, it remains clearer this way.
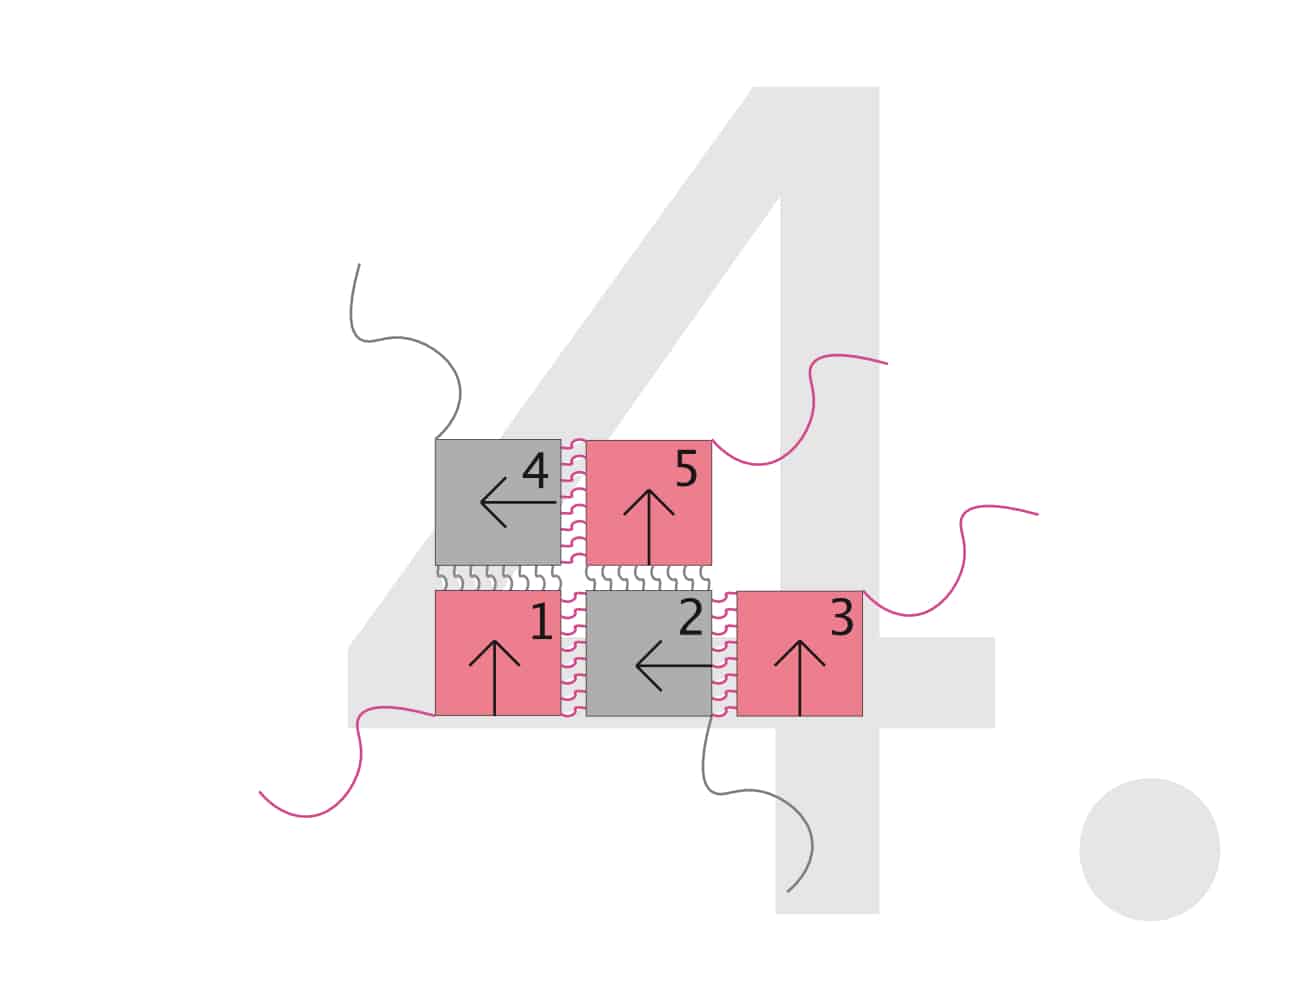
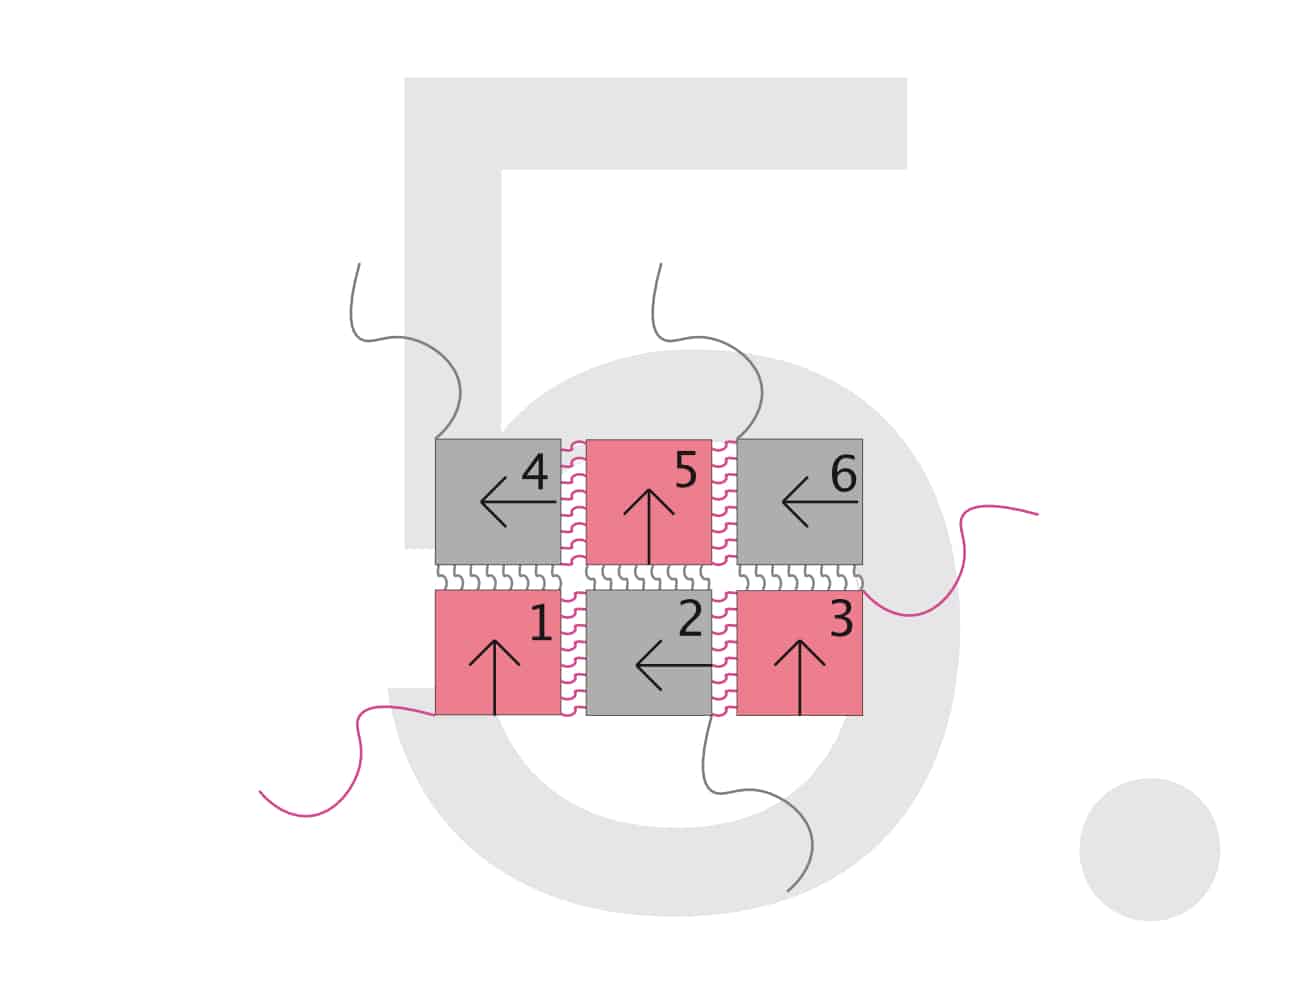
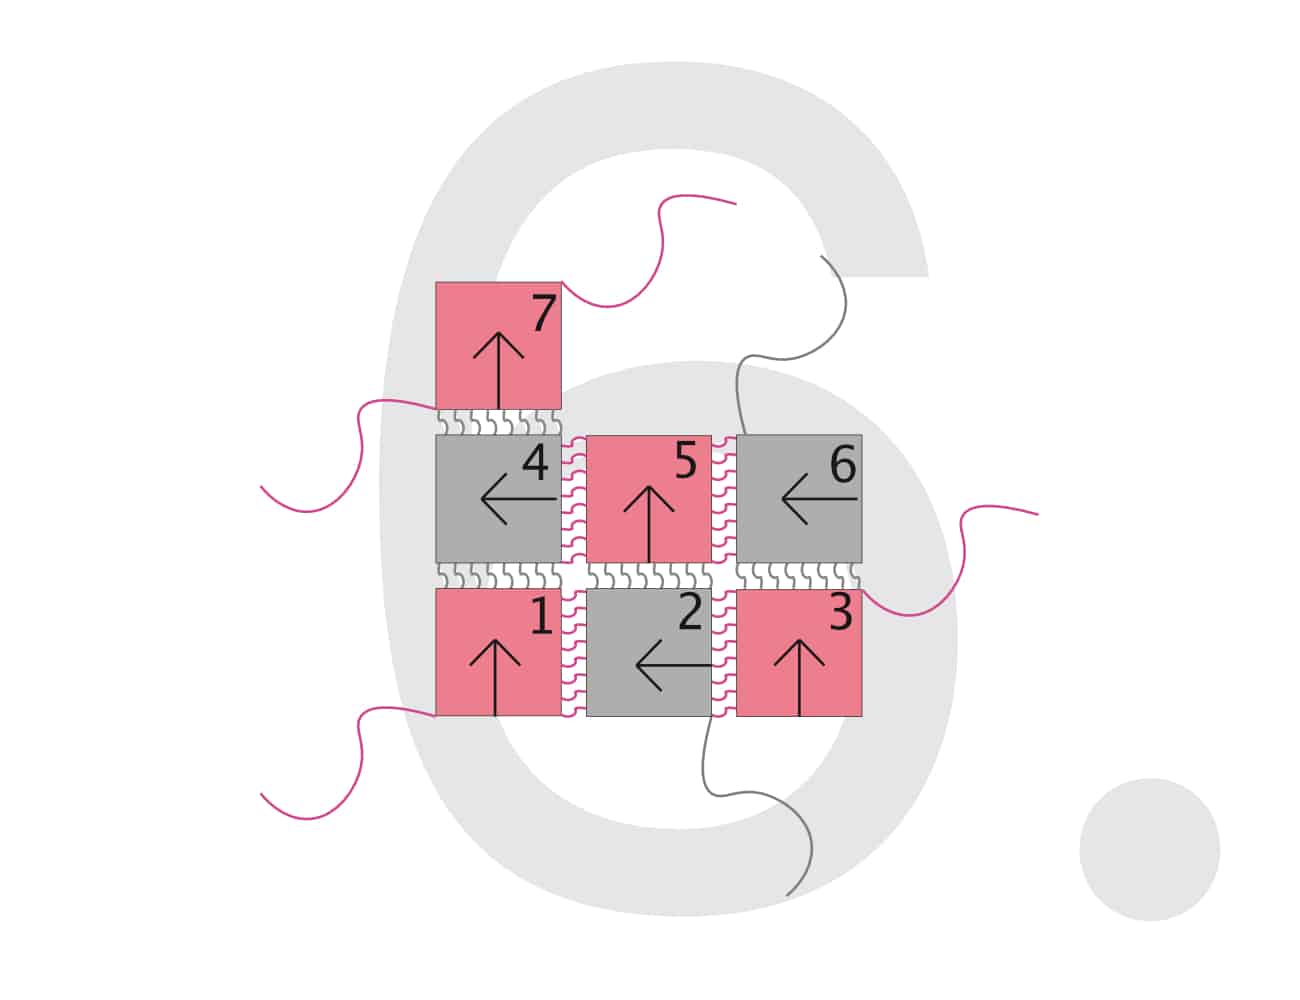
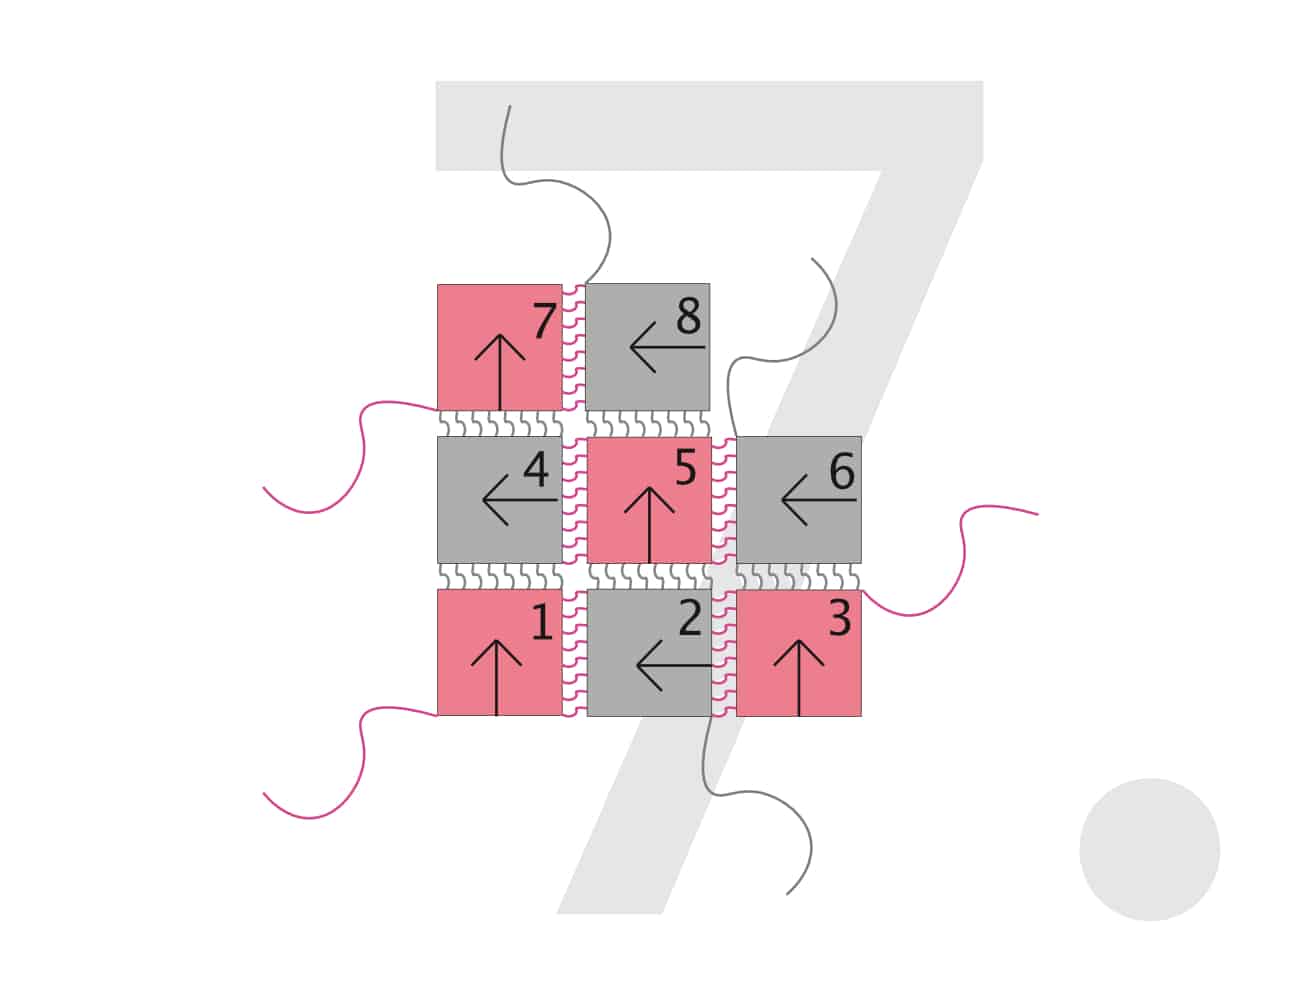
Place these 9 patches on the worktop as shown in this sketch and then join them together one by one. The following 8 steps show the working method.
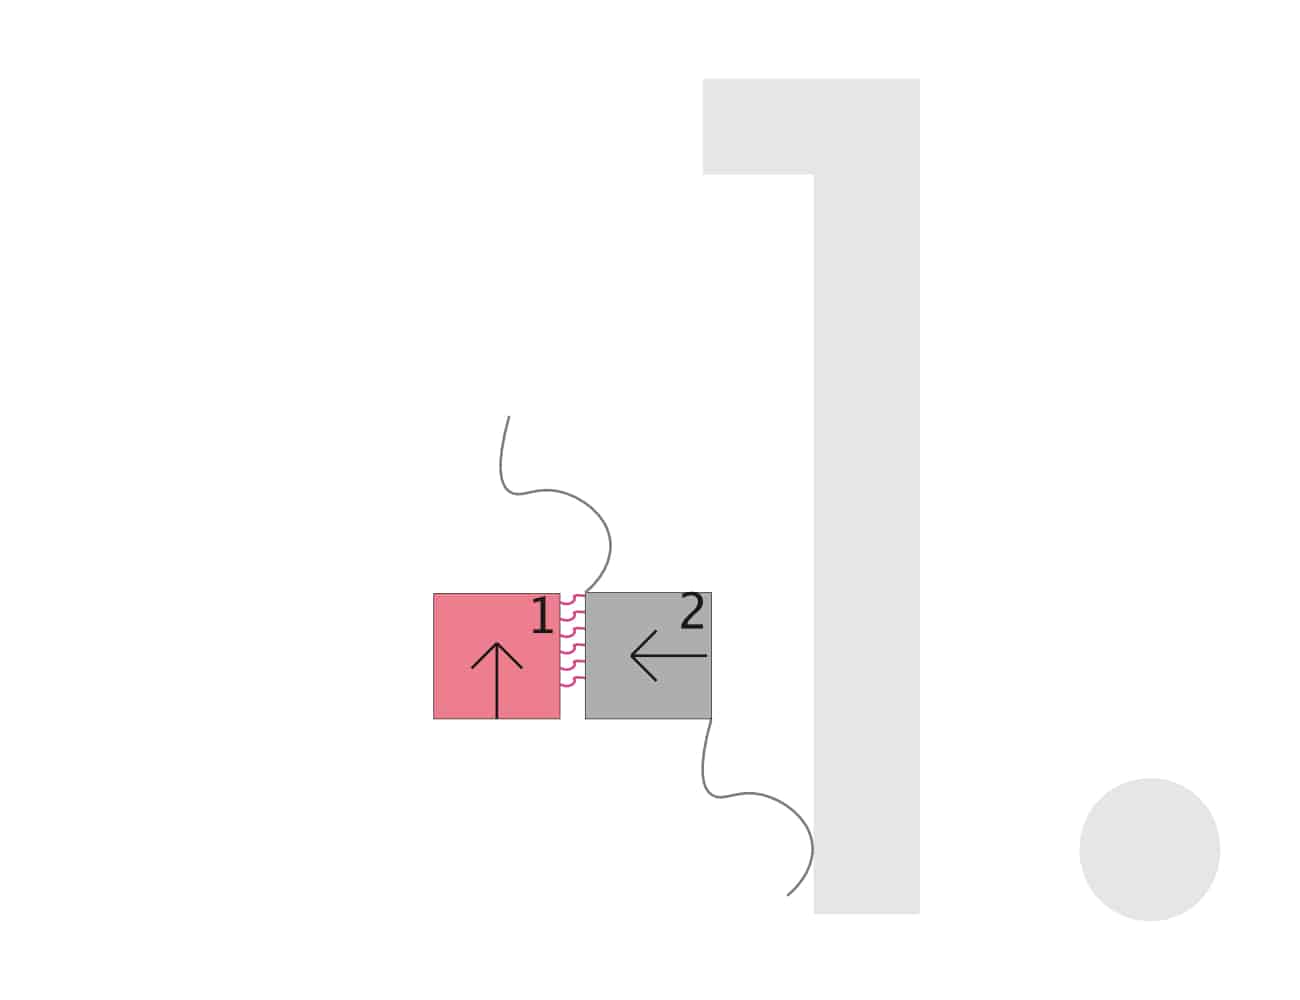
- Sew patch 2 to patch 1 using the thread from patch 1.
-
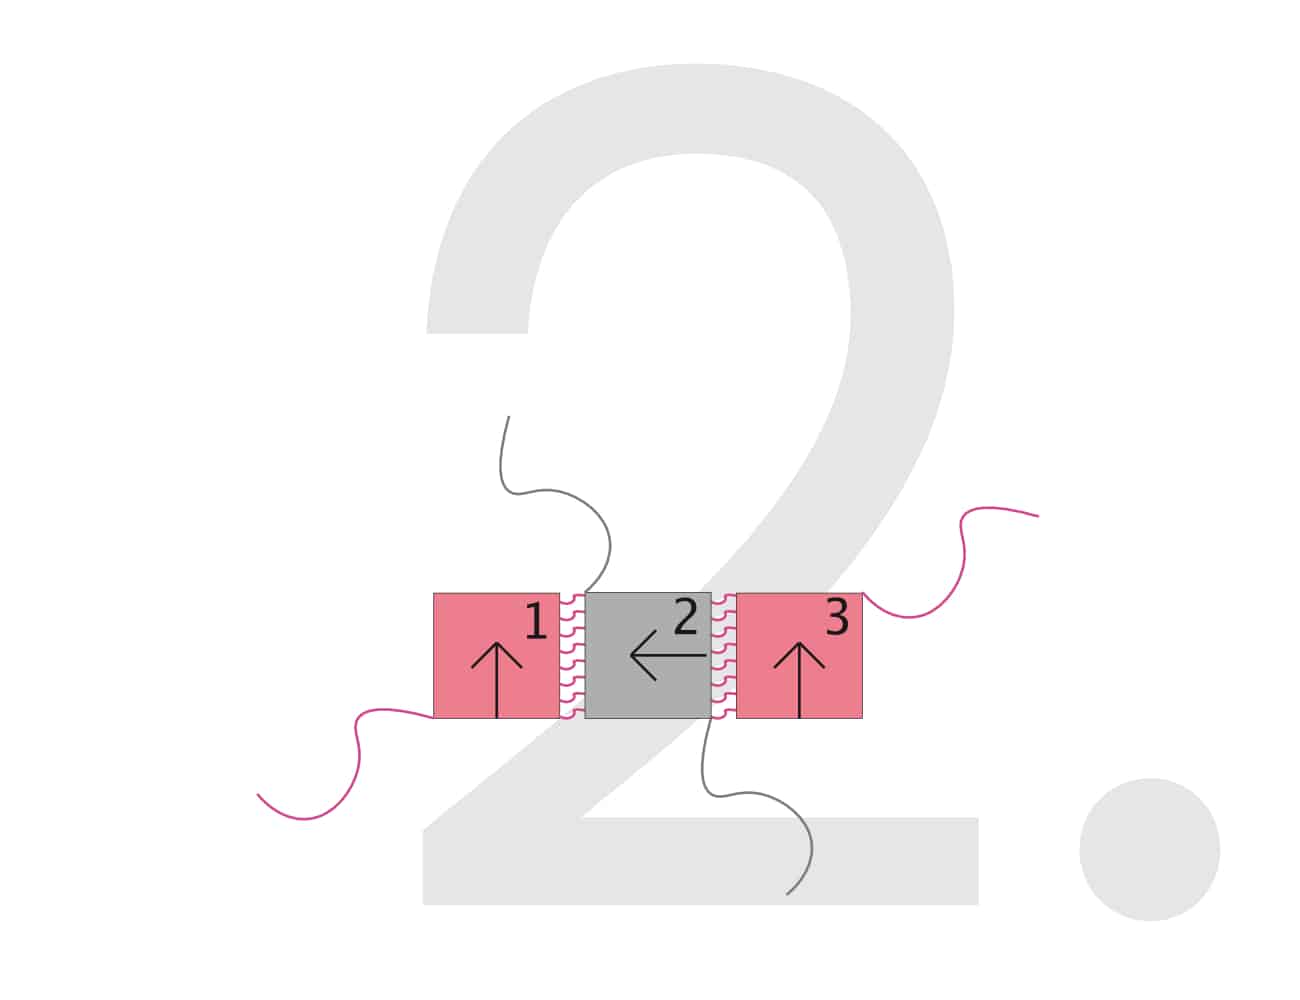
Sew patch 2 to patch 3 using the thread from patch 3.
-
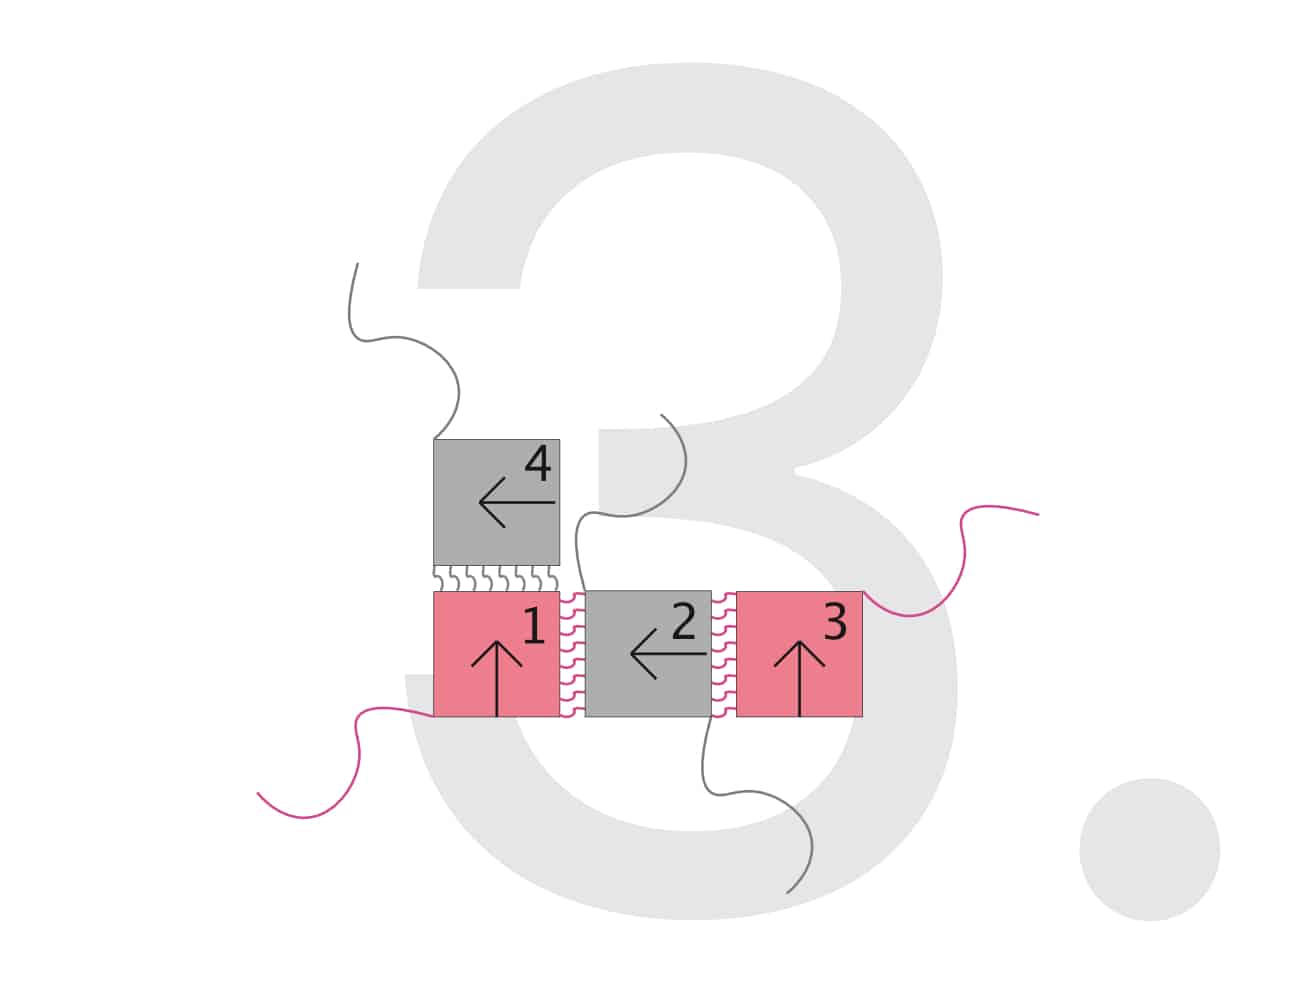
Sew patch 1 to patch 4 using the thread from patch 4.
-
Sew patch 4 to patch 5 with the thread at the beginning of patch 5 and sew patch 5 to patch 2 with the thread at the end of patch 2.
-
Sew patch 6 to patch 5 using the thread at the end of patch 5 and sew patch 3 to patch 6 using the thread at the beginning of patch 6.
-
Sew patch 7 to patch 6 using the end thread from patch 6.
-
Sew patch 5 to patch 8 using the thread at the beginning of patch 8 and sew patch 8 to patch 7 using the thread at the end of patch 7.
-
Sew patch 8 to patch 9 using the thread at the beginning of patch 9 and sew patch 9 to patch 6 using the thread at the end of patch 6.
Finally, crochet around the entire model as desired.
Sew together in knit stitch
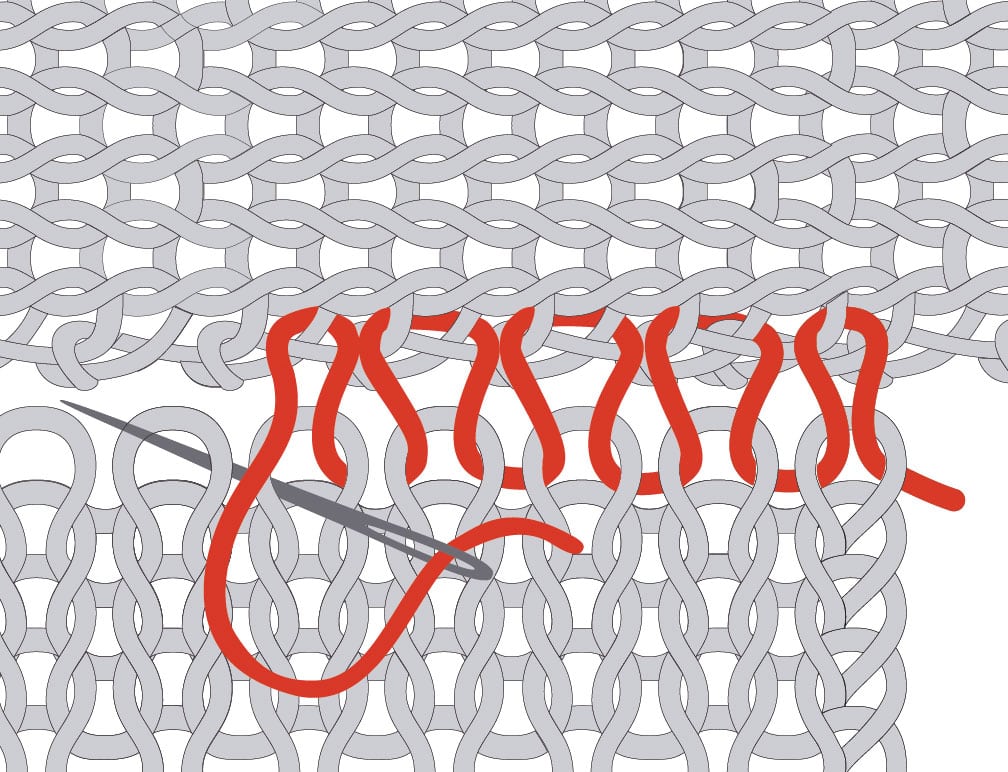
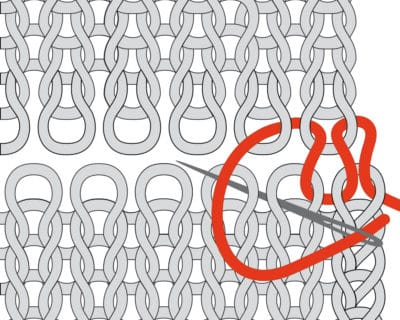
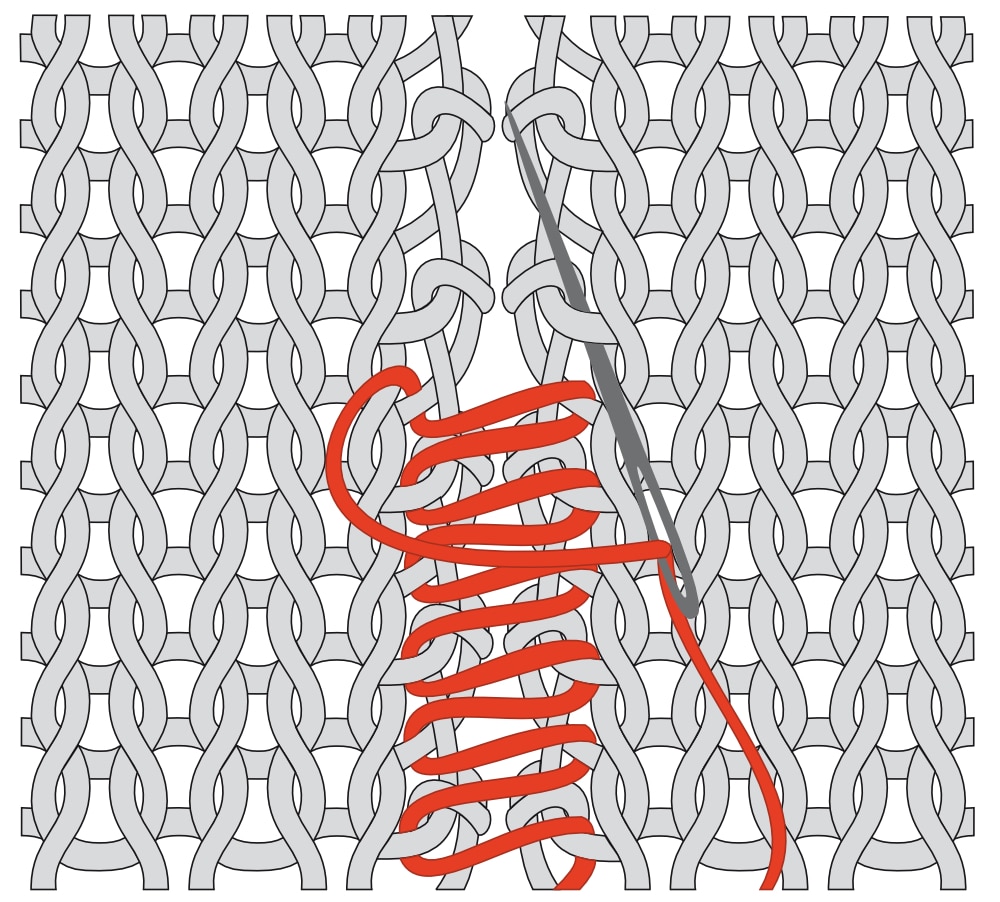
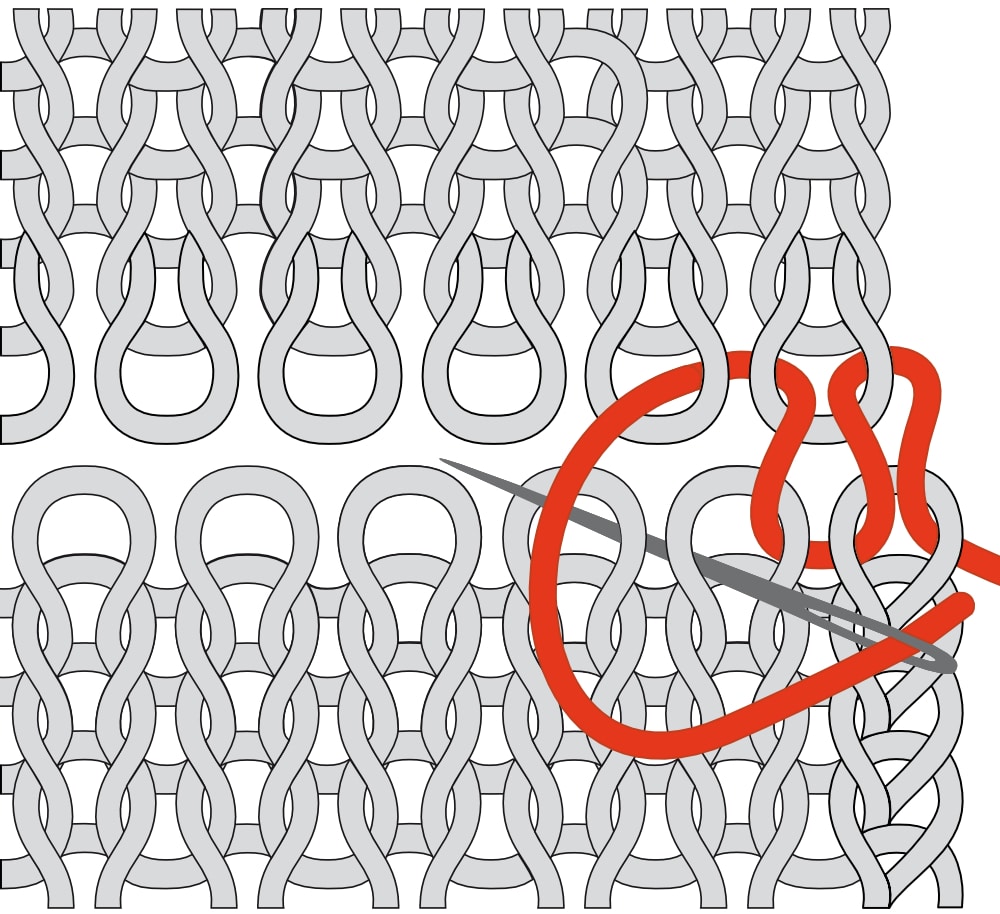
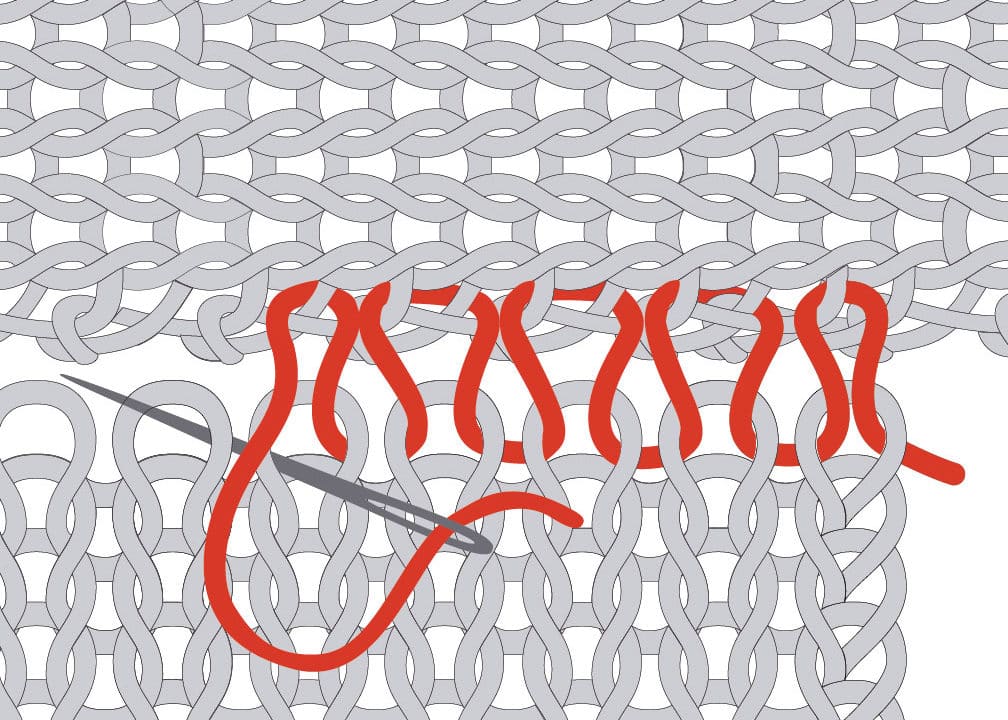
Sew together in knit stitch - one patch horizontal, one vertical
- Place the knitted pieces opposite each other - one patch crosswise, the other in portrait format.
-
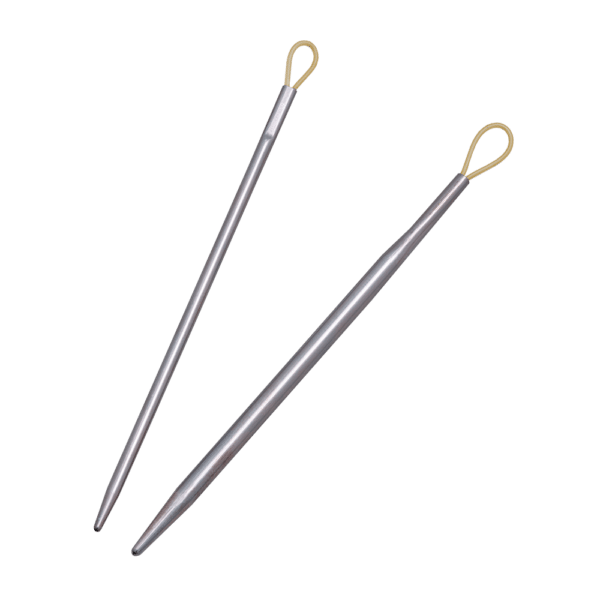
Insert the needle through the 1st stitch from below with the thread at the end of the vertical section, then pick up the cross thread with the thread in the upper horizontal section.
-
Then insert back into the 1st stitch from the top and stitch out through the 2nd stitch.
-
From the 2nd stitch then with the thread in the upper crosswise part pick up two cross threads .
Continue working in this way, making sure that the parts lie smoothly and neither expand nor contract.
To do this, alternately pick up two horizontal threads 2-3 times and one horizontal thread once.
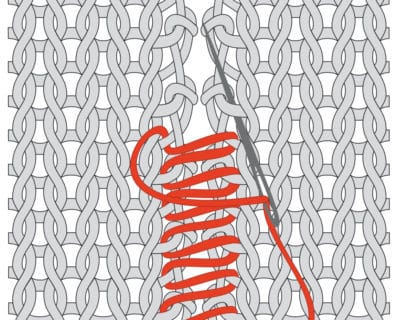
Sew together in mattress and kitchener stitch - two patches parallel
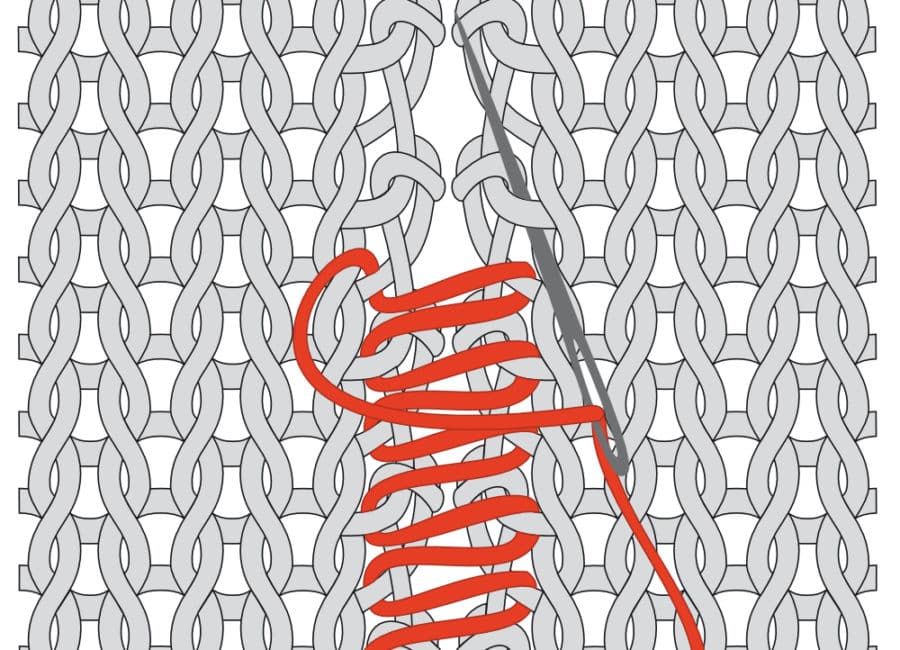
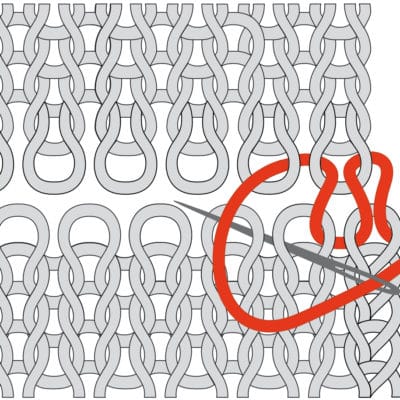
Sew together in mattress and kitchener stitch - two patches parallel
