


Tutorial: Casting on with the long-tail cast-on
The long-tail cast-on is one of the most popular methods for starting knitting projects. This technique provides an elastic and stable cast-on edge that is suitable for almost every knitting project. Here we explain step by step how the long-tail cast-on works and what to bear in mind.

What is the long-tail cast-on?
The long-tail cast-on, also known as the “classic cast-on” or “Kreuzanschlag”, is one of the most commonly used methods for starting knitting projects. This technique provides an elastic and stable cast-on edge that can be used for a wide variety of knitting projects. Whether for jackets, scarves, hats or socks – the long-tail cast-on is extremely versatile.

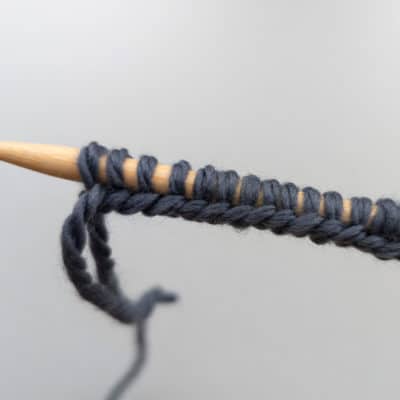


What is the long-tail cast-on?
The long-tail cast-on, also known as the “classic cast-on” or “Kreuzanschlag”, is one of the most commonly used methods for starting knitting projects. This technique provides an elastic and stable cast-on edge that can be used for a wide variety of knitting projects. Whether for jackets, scarves, hats or socks – the long-tail cast-on is extremely versatile.
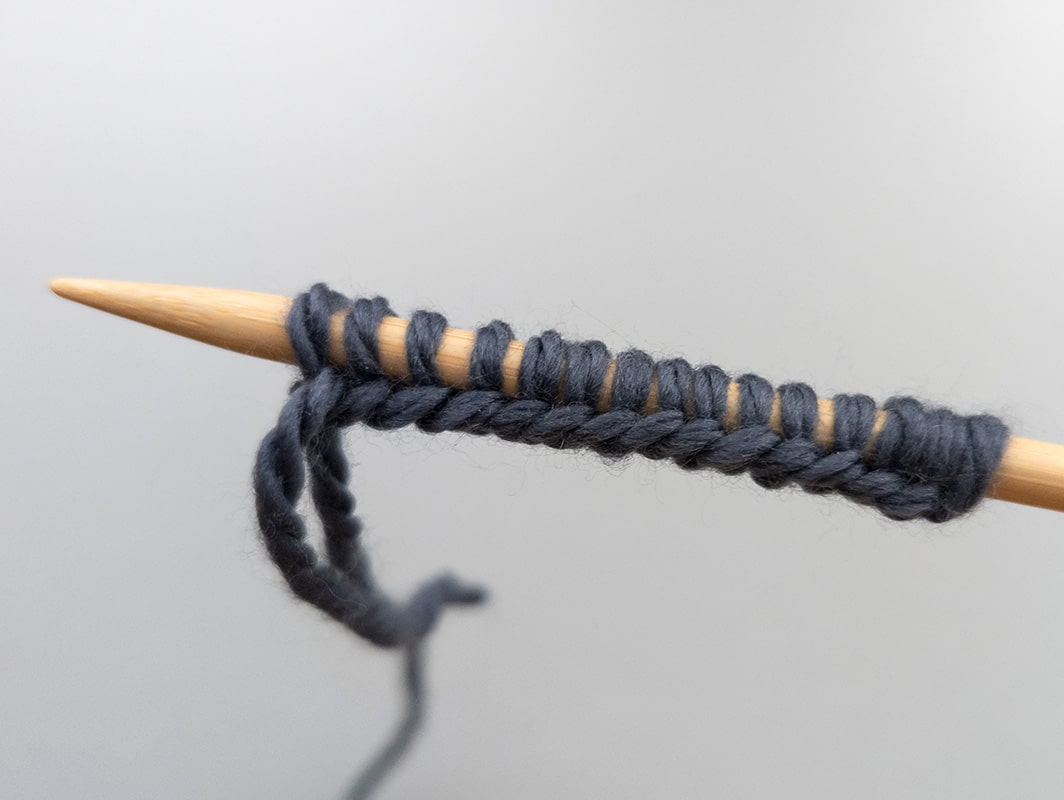


Casting on in knitting:
The long-tail cast-on explained simply
Measure the yarn and form the first loop
To start the long-tail cast-on, you first need to measure the yarn. A rule of thumb is to unwind a length of yarn three times the width of the finished piece.
Tip: If you want to determine the length exactly, wrap the yarn around both knitting needle tips (held parallel together) as many times as you want to cast on stitches.
After the measured length, start the long-tail cast-on and place the yarn in your hand. The tail end lies on the thumb side.

By loading the video you accept the privacy policy of YouTube.
Learn more
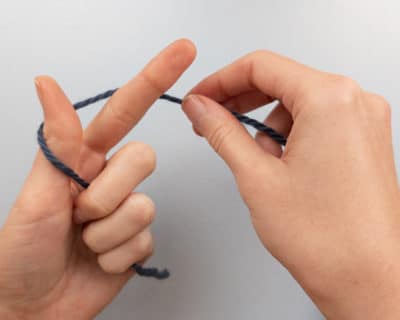

Holding the yarn correctly
Now position the yarn between your fingers:
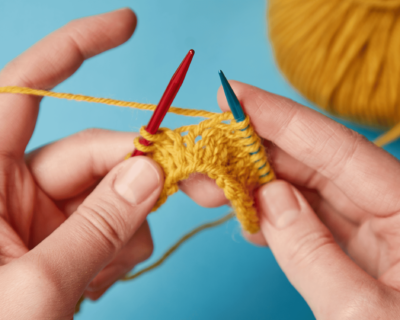
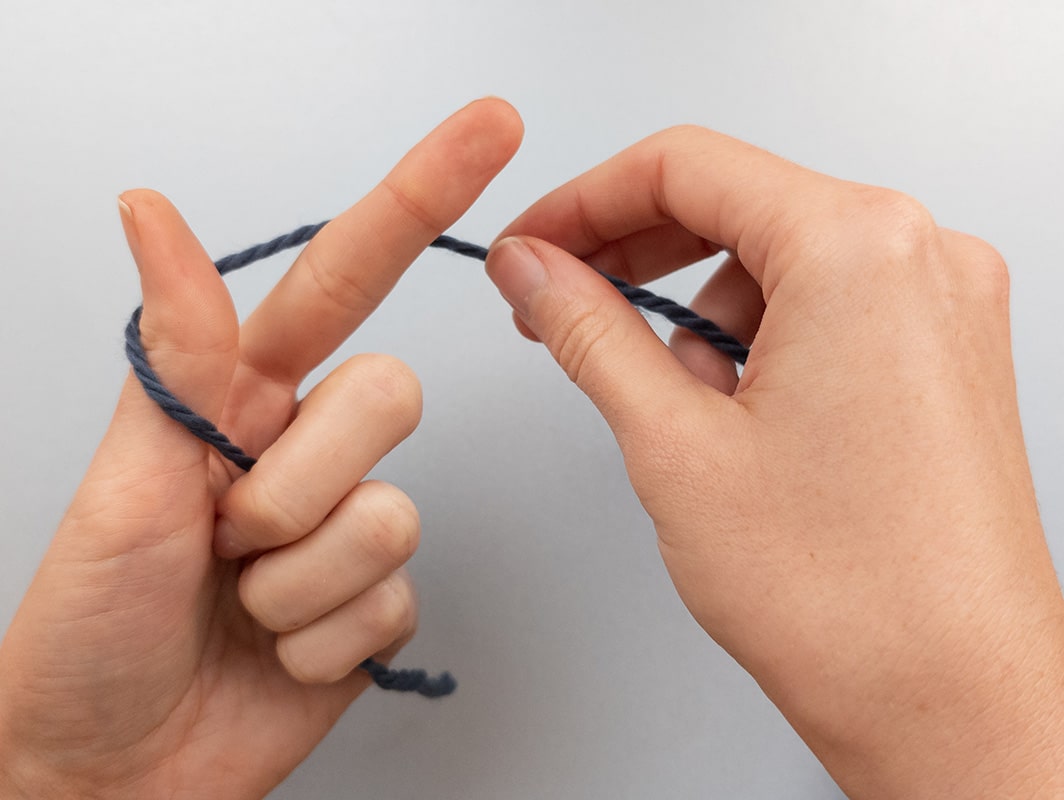
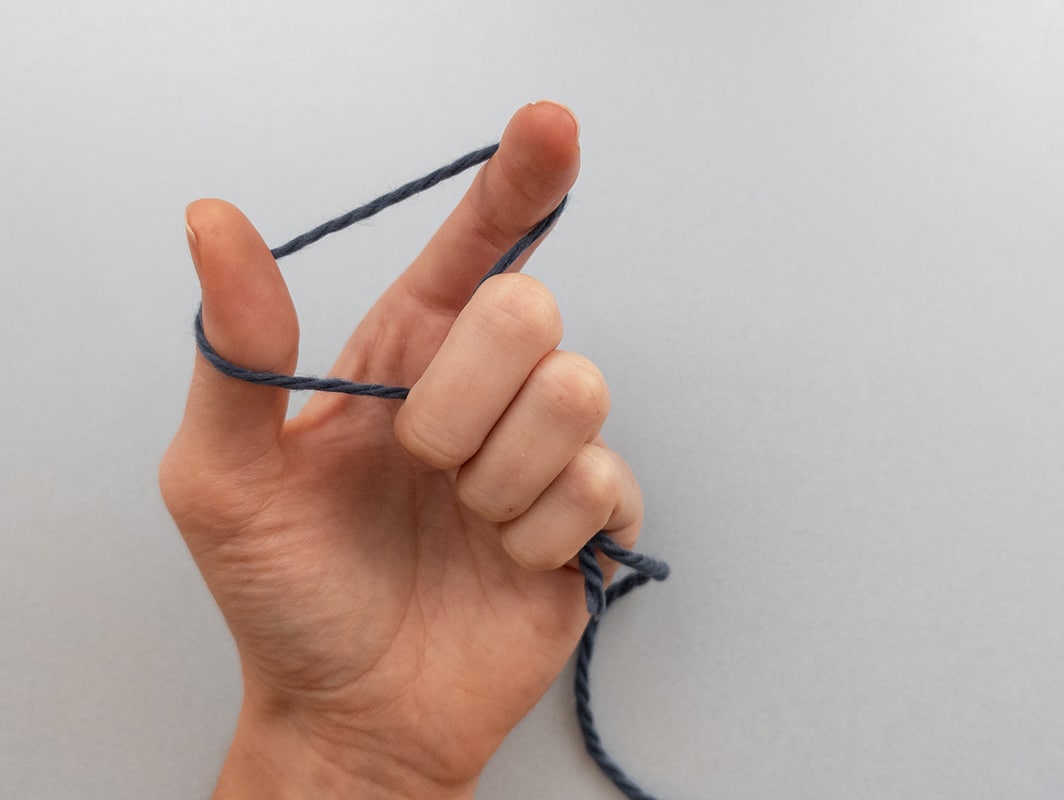
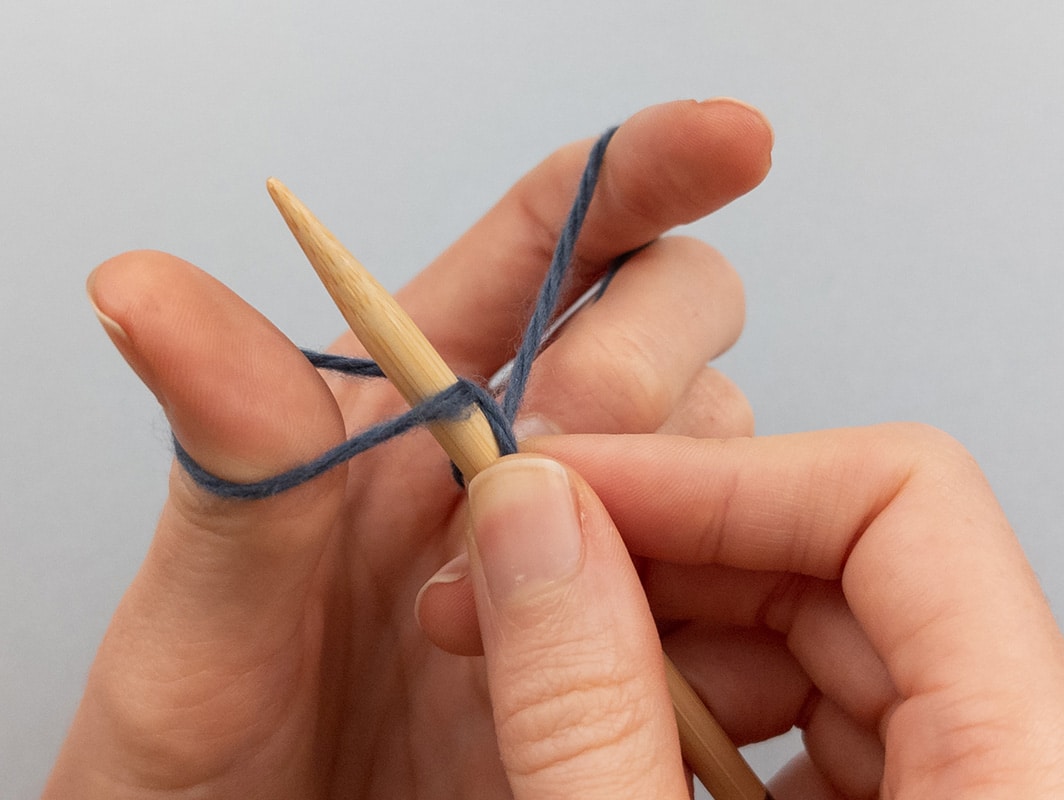
The tail end (the measured part) is guided over the thumb of the left hand, the working yarn (from the ball) over the index finger. Both strands are held in the palm and guided downwards so that the yarn is stretched over the thumb and index finger. The needle is held in the right hand.
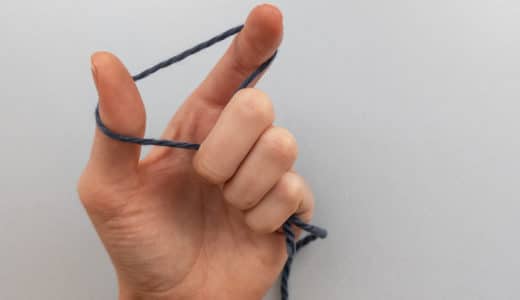
Holding the yarn correctly
Now position the yarn between your fingers:
The tail end (the measured part) is guided over the thumb of the left hand, the working yarn (from the ball) over the index finger. Both strands are held in the palm and guided downwards so that the yarn is stretched over the thumb and index finger. The needle is held in the right hand.

Casting on the first stitch
To cast on the first stitch, proceed as follows:
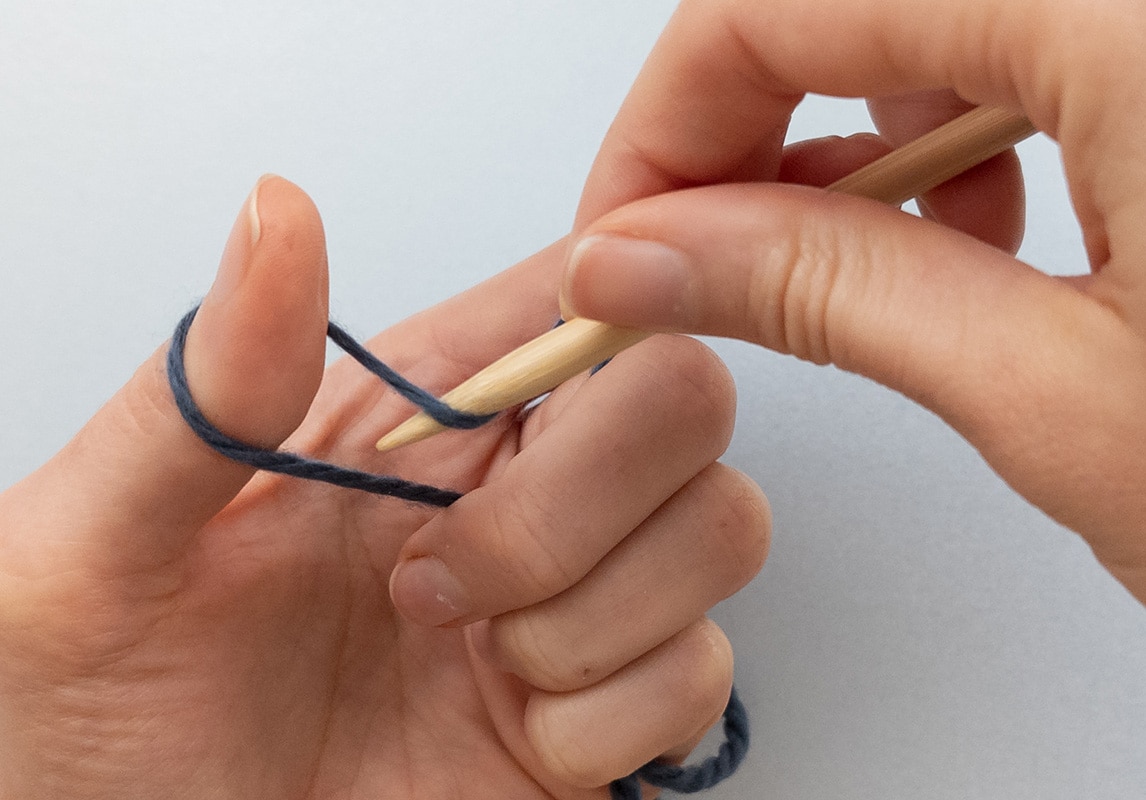
- Use the needle tip to press down the strand between thumb and index finger.
- The needle is inserted into the thumb loop from below.
- Then the working yarn lying over the index finger is picked up with the needle from back to front.
- The yarn is pulled back through the thumb loop, creating the first two stitches on the needle.
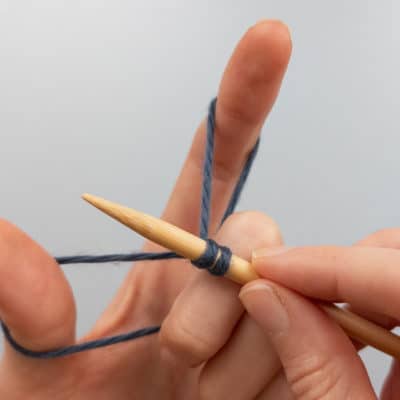
- Now the thumb is taken out of the loop and the stitch is tightened slightly so that it sits securely on the needle.



Casting on the first stitch
To cast on the first stitch, proceed as follows:
- Use the needle tip to press down the strand between thumb and index finger.
- The needle is inserted into the thumb loop from below.
- Then the working yarn lying over the index finger is picked up with the needle from back to front.
- The yarn is pulled back through the thumb loop, creating the first two stitches on the needle.
- Now the thumb is taken out of the loop and the stitch is tightened slightly so that it sits securely on the needle.



Casting on more stitches
To cast on more stitches, repeat the process described above until the desired number of stitches is on the needle. At the end of the row, it is a good idea to count the stitches to make sure the correct number has been cast on.


Casting on more stitches
To cast on more stitches, repeat the process described above until the desired number of stitches is on the needle. At the end of the row, it is a good idea to count the stitches to make sure the correct number has been cast on.


Tips for casting on
Control the yarn tension
It is important not to pull the stitches too tight on the needle, as a cast-on that is too tight can make knitting harder later on. A loose yarn tension creates an elastic cast-on edge that blends well into the knitted piece. If the stitches are too tight, it can help to hold the thumb more loosely while casting on and to tighten the yarn only slightly.
Measuring the right length of yarn
To make sure there is enough yarn for the entire cast-on, measure generously. It is always better to have a little more yarn available than too little at the end. Measuring again and repeating the cast-on can be frustrating, so it is worth measuring the yarn long enough, especially for larger projects.
Tip: The yarn can be wrapped around both knitting needles as many times as stitches will be needed later. Then it has the ideal length.
Alternatives to the long-tail cast-on
There are several alternatives to the classic long-tail cast-on that can be used depending on the project and the desired look. The Norwegian cast-on is created with the same hand position, is slightly stretchier and is well suited to very stretchy ribbing, for example for socks or gloves. The Italian cast-on is very stretchy and looks particularly attractive. However, it is only suitable for rib patterns (1 knit stitch, 1 purl stitch)
An interesting variation of the long-tail cast-on is the long-tail cast-on with a double thumb strand, in which the cast-on yarn is doubled. This results in a thicker and more durable cast-on edge that is particularly suitable for knitted pieces that get heavy wear. A creative option is the two-colour long-tail cast-on, in which two different colours are used. This technique is used, for example, in two-colour brioche stitch and gives the knitted piece a distinctive look.


Alternatives to the long-tail cast-on
There are several alternatives to the classic long-tail cast-on that can be used depending on the project and the desired look. The Norwegian cast-on is created with the same hand position, is slightly stretchier and is well suited to very stretchy ribbing, for example for socks or gloves. The Italian cast-on is very stretchy and looks particularly attractive. However, it is only suitable for rib patterns (1 knit stitch, 1 purl stitch)
An interesting variation of the long-tail cast-on is the long-tail cast-on with a double thumb strand, in which the cast-on yarn is doubled. This results in a thicker and more durable cast-on edge that is particularly suitable for knitted pieces that get heavy wear. A creative option is the two-colour long-tail cast-on, in which two different colours are used. This technique is used, for example, in two-colour brioche stitch and gives the knitted piece a distinctive look.


Video tutorial on the long-tail cast-on
In this video tutorial on the long-tail cast-on, Crasy Silvie shows you how casting on works in knitting. You also get tips and tricks on how to make it elastic and how to avoid a tail that is too long or too short.
By loading the video you accept the privacy policy of YouTube.
Learn more