
Instruction
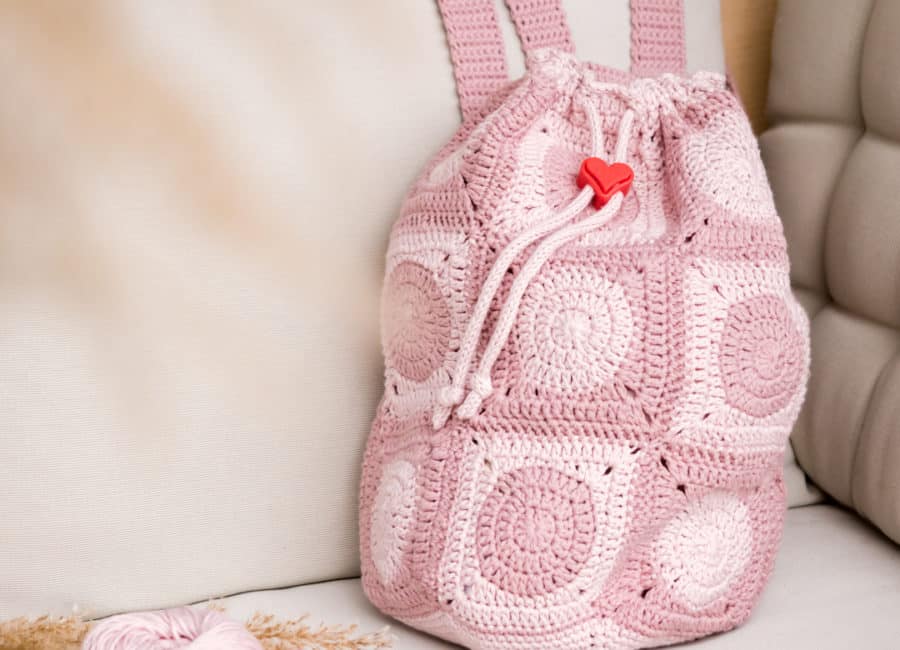
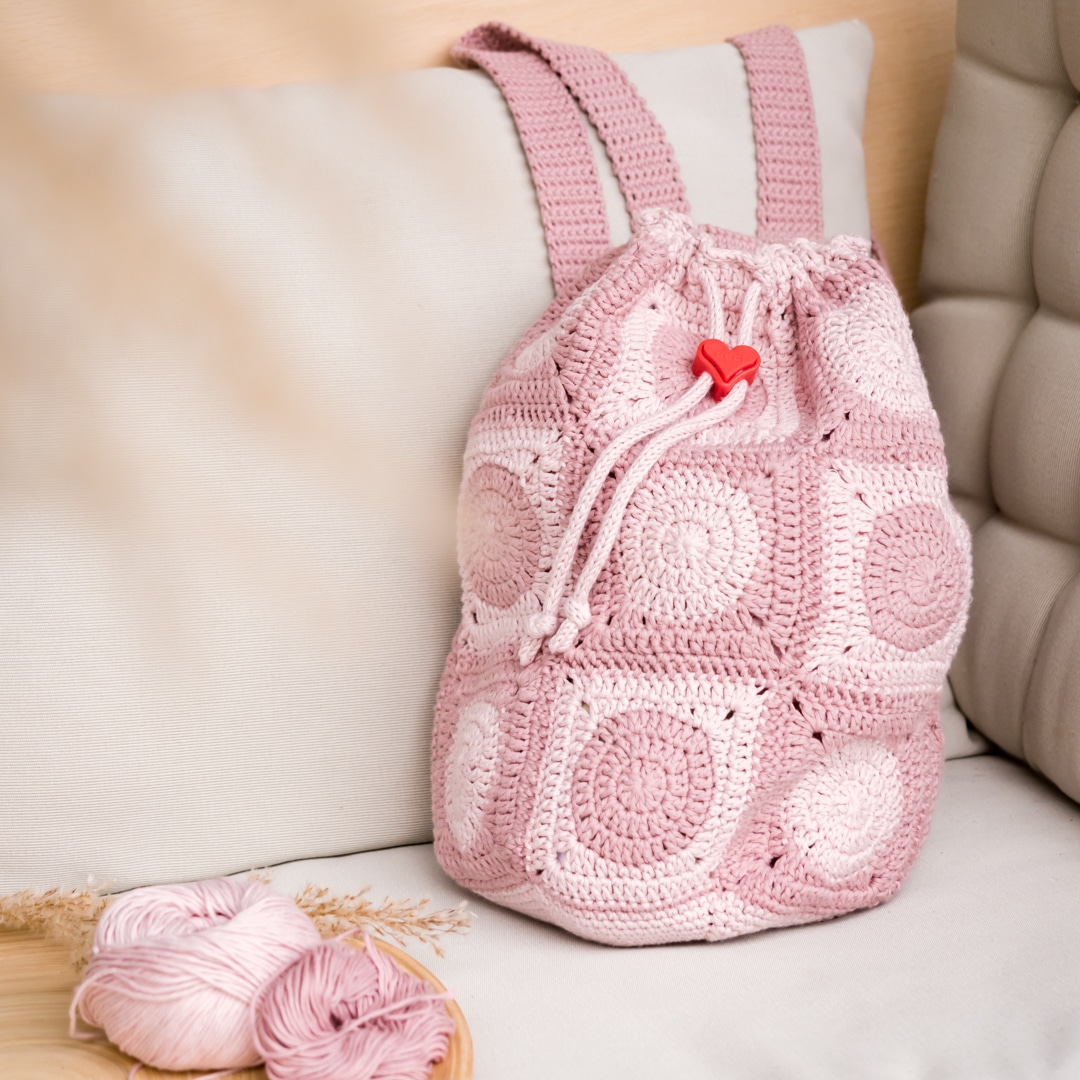
Granny Square backpack
Granny Square squares are simply versatile. They can be used to assemble accessories, items of clothing, decorations and much more.
This backpack is a wonderful summer project that offers enough space for your current crochet work. The basic instructions for Granny Squares can also be found on our website.
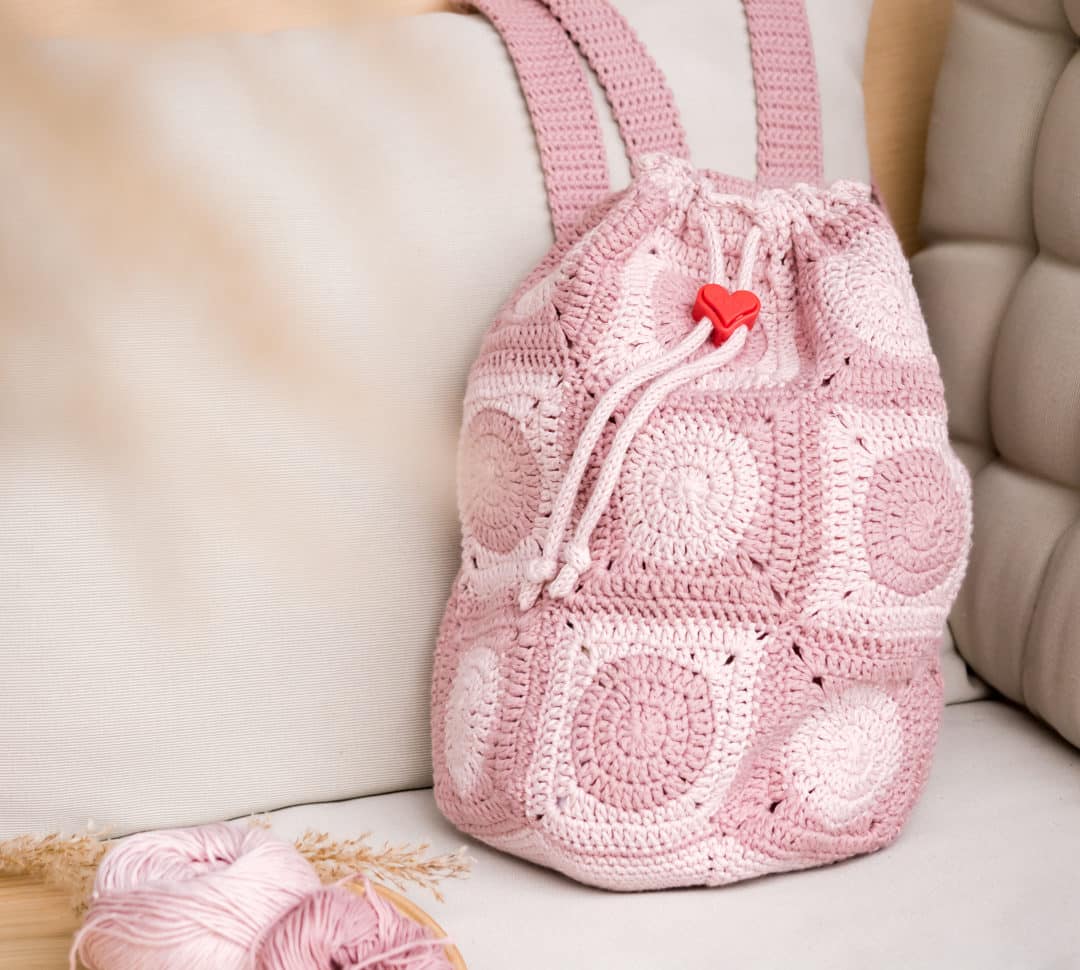
Table of contents
What you need:
- 300g yotton yarn (105m/50g – 115yd ) in 2 colors
- for example: essentials organic cotton dk by Rico Design (100% cotton)
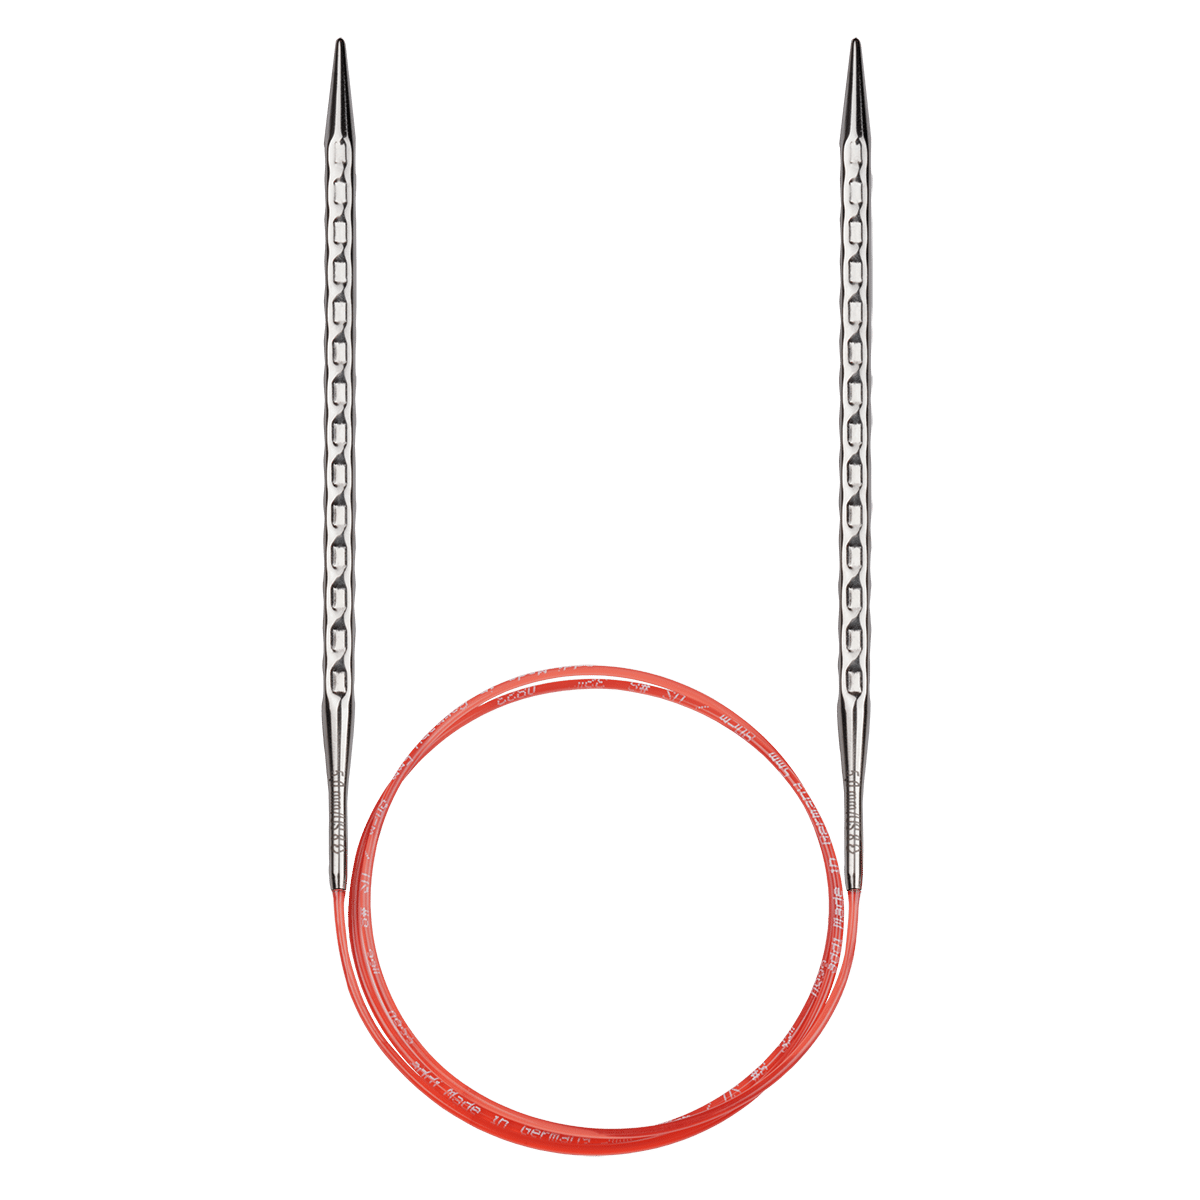
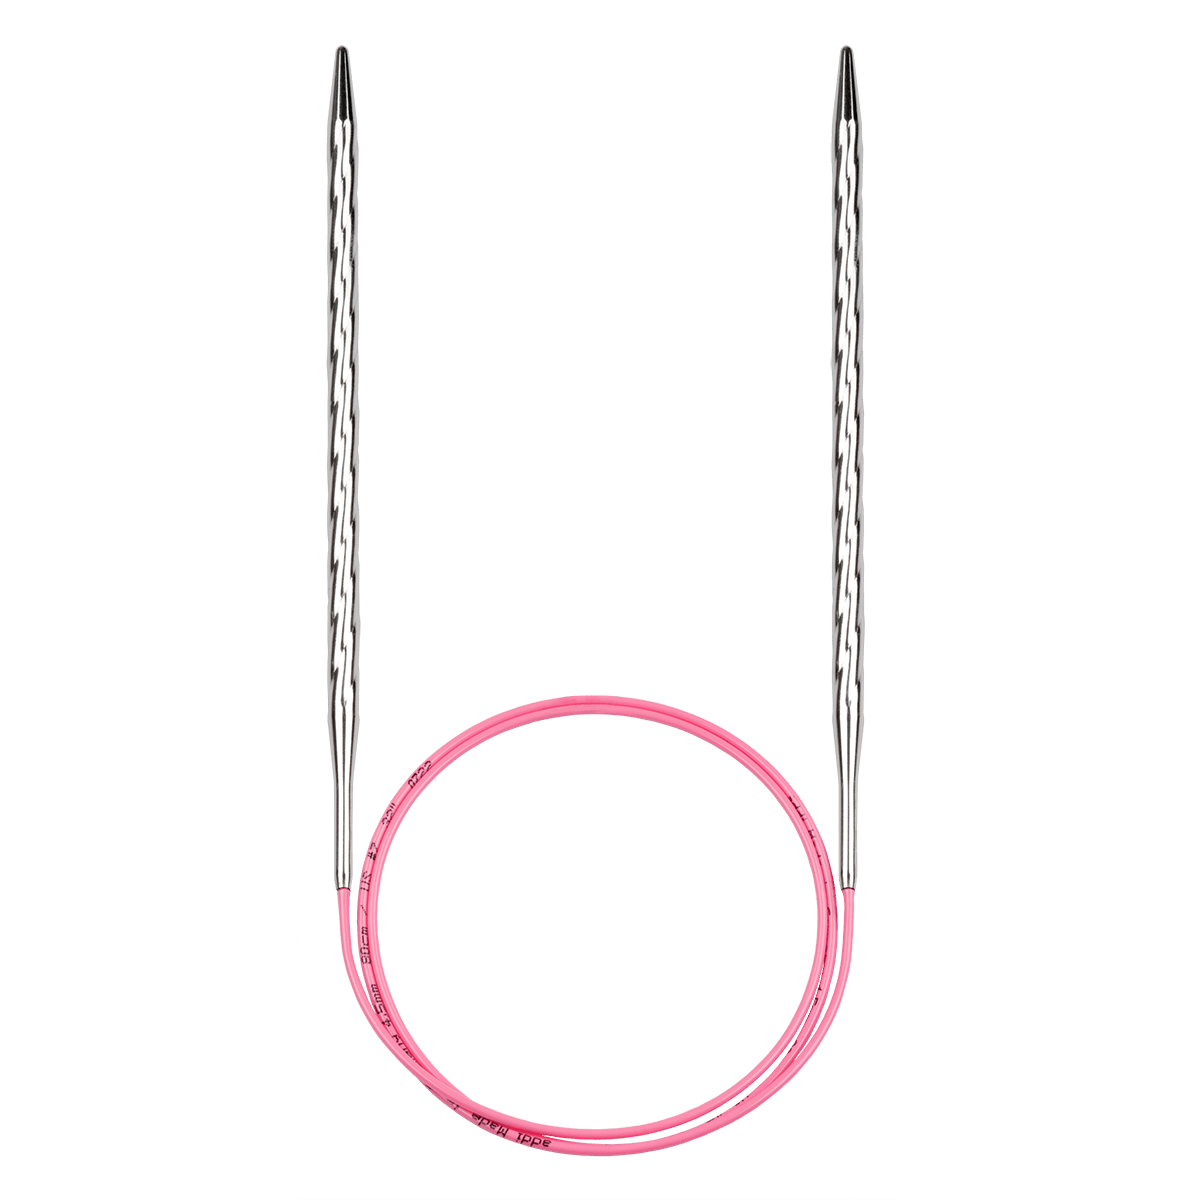
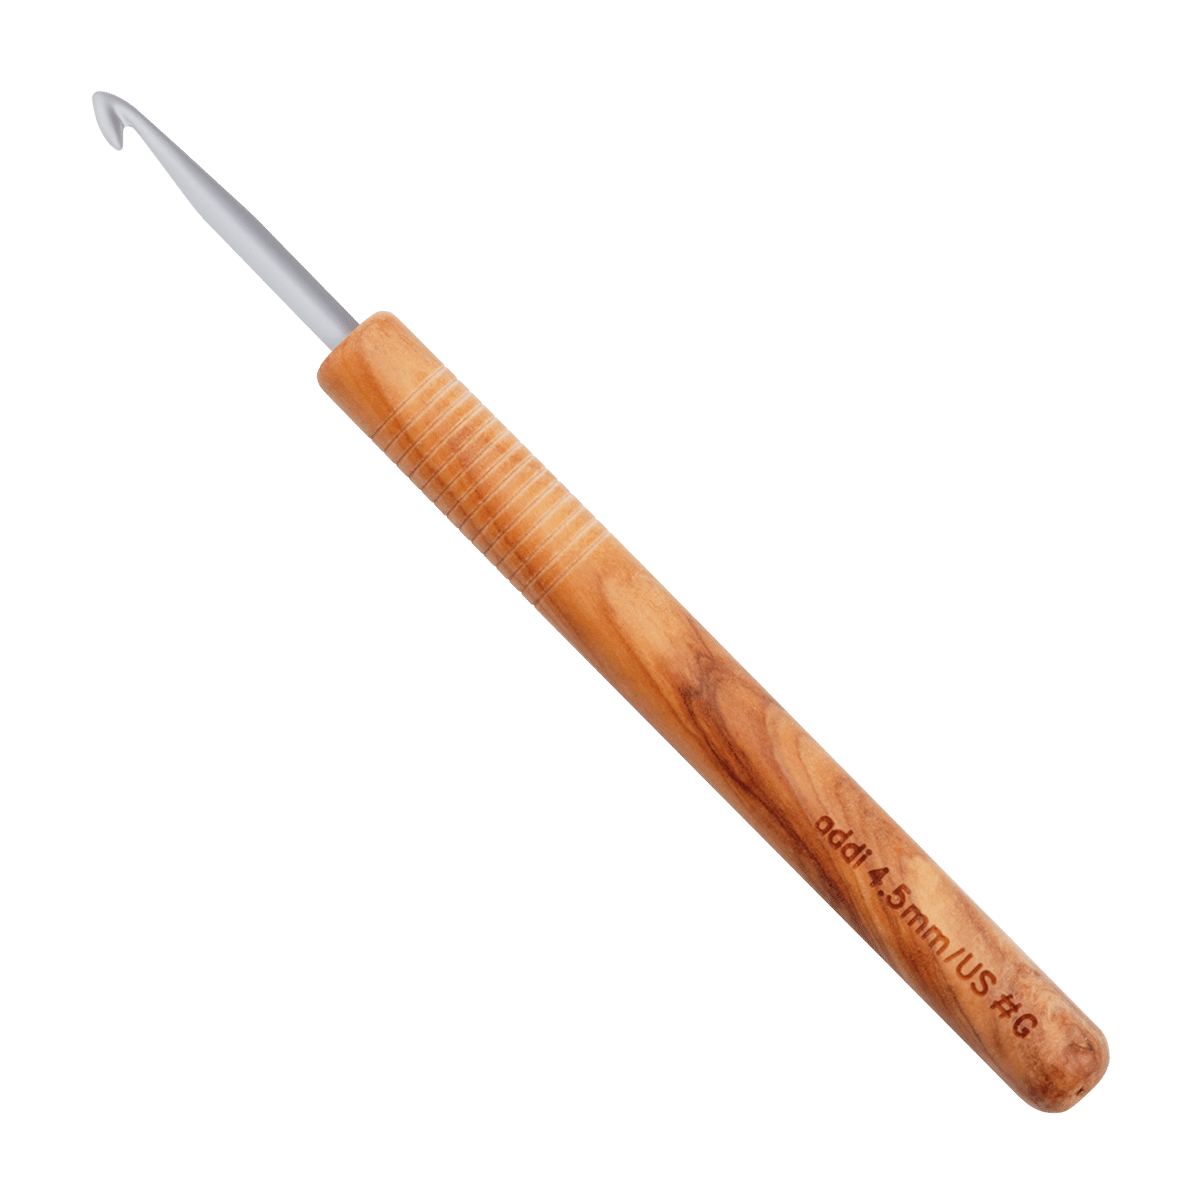
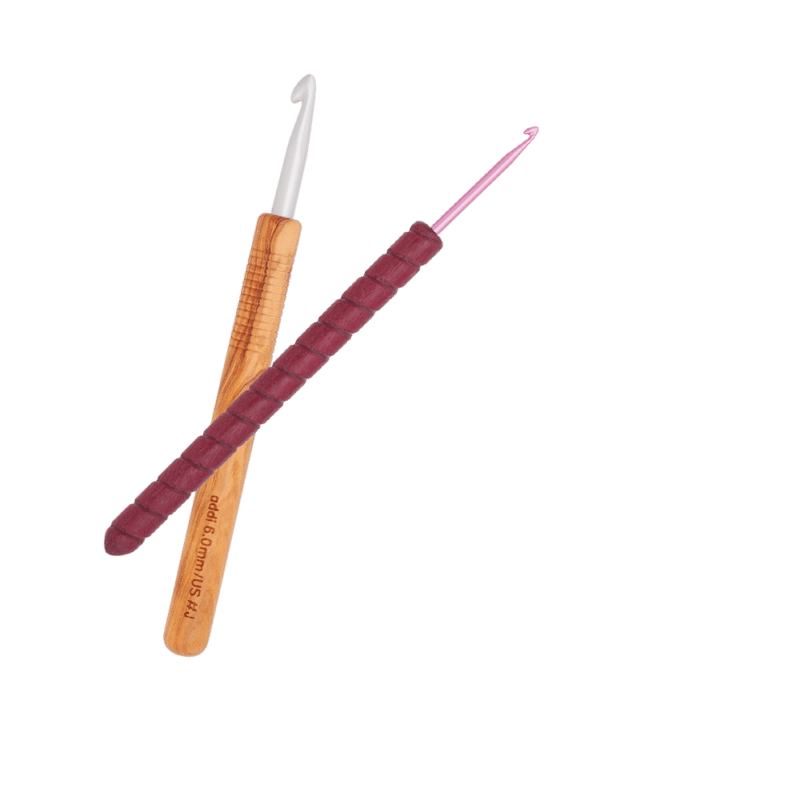
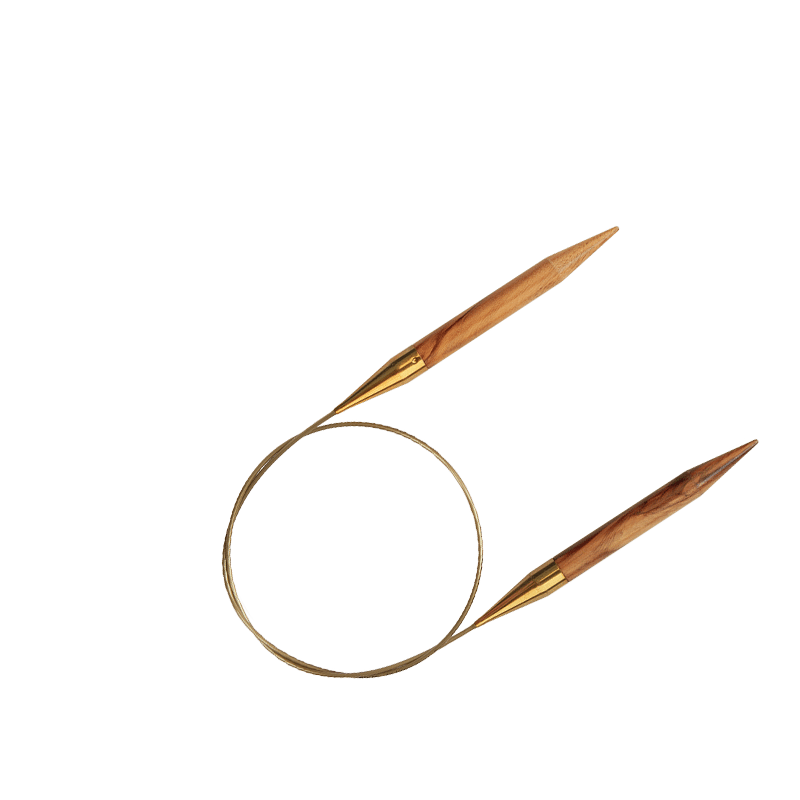
- addiNature olive wood crochet hook 3.5 mm
- 6 stitch marker
- 1 small addiToGo heart
- Wool needle
- Scissors
Abbreviations:
sc = single crochet
sl st = slip stitch
ch = chain
dc = double crochet
x-fM = solid stitch, where the thread is fetched from the top.
rep = repeat
Rd round(s)
sts = stitch(es)
Size EU:
The backpack comes with 9×9cm tall Grannys about 32 cm high.
Abbreviations:
sc = single crochet
sl st = slip stitch
ch = chain
dc = double crochet
x-fM = solid stitch, where the thread is fetched from the top.
rep = repeat
Rd round(s)
sts = stitch(es)
Size EU:
The backpack comes with 9×9cm tall Grannys about 32 cm high.
Crochet granny squares
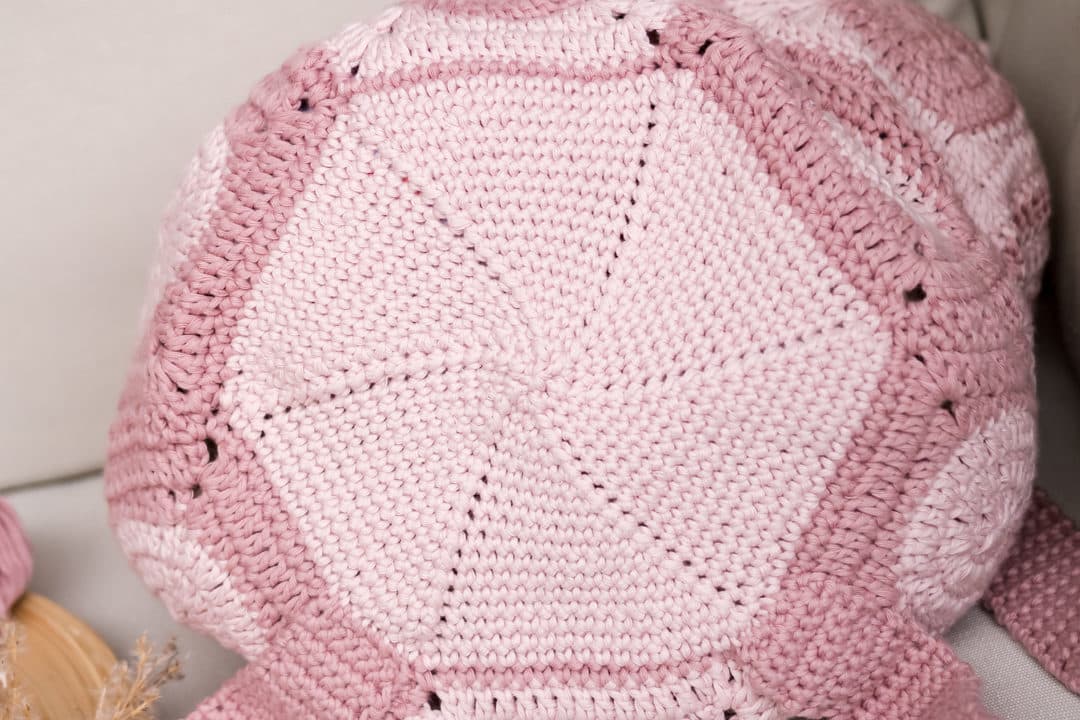
18 Granny Squares crochet
For the basic structure, 18 Granny Squares must first be crocheted. Basically, it doesn't matter which pattern you use to crochet the Grannys. The individual Granny should be about 9x9 cm. With smaller or larger squares, the overall size of the backpack changes.
You can also find the instructions for the Granny with the circle in the middle on the website or in our addi2go app.


Crochet granny squares
18 Granny Squares crochet
For the basic structure, 18 Granny Squares must first be crocheted. Basically, it doesn't matter which pattern you use to crochet the Grannys. The individual Granny should be about 9x9 cm. With smaller or larger squares, the overall size of the backpack changes.
You can also find the instructions for the Granny with the circle in the middle on the website or in our addi2go app.


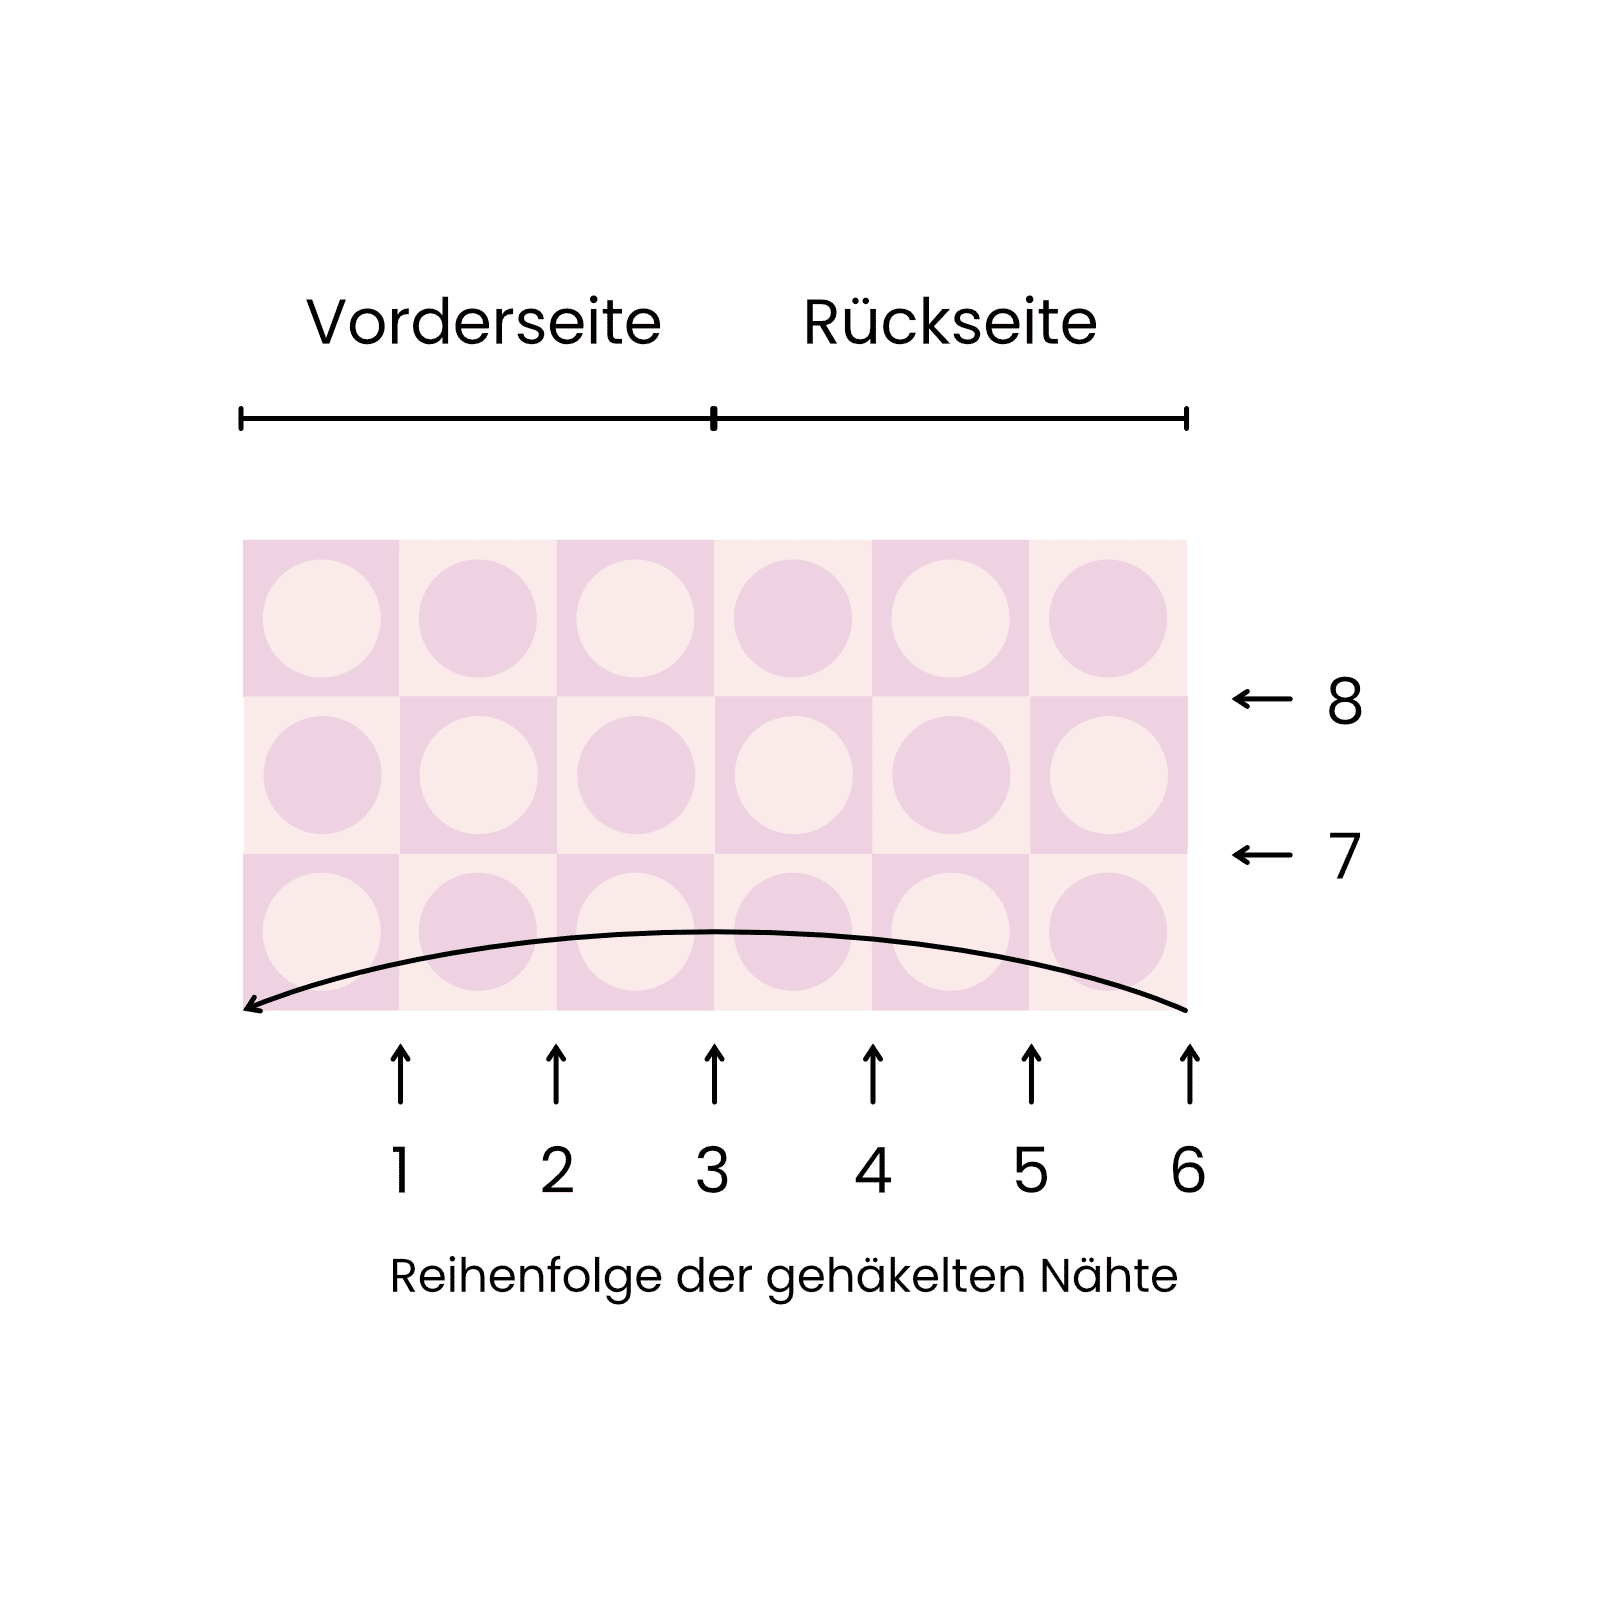
Join the squares
Now the squares are first joined together in the form of a cylinder that is open at the top and bottom. First, lay them out in the form of a rectangle with 3 (= height) x 9 (= width) Grannys. Now you first crochet the short seams one after the other. Then you crochet all the long seams (see graphic).
How it works:
Place the squares face to face. Restart the thread in the corner of a granny.
- 1 ch, 1 sl st in the corner of the opposite granny,
- 1 ch, 1 sl st in the next st of the front granny,
- 1 ch, 1 sl st in the next st of the back granny,
- 1 ch, etc.
In the end, continue with the next two Granny Squares.
Tip: Of course, you can also crochet the Grannys together using another method. The technique described above creates a fairly flat seam, which makes the Grannys a little larger overall.
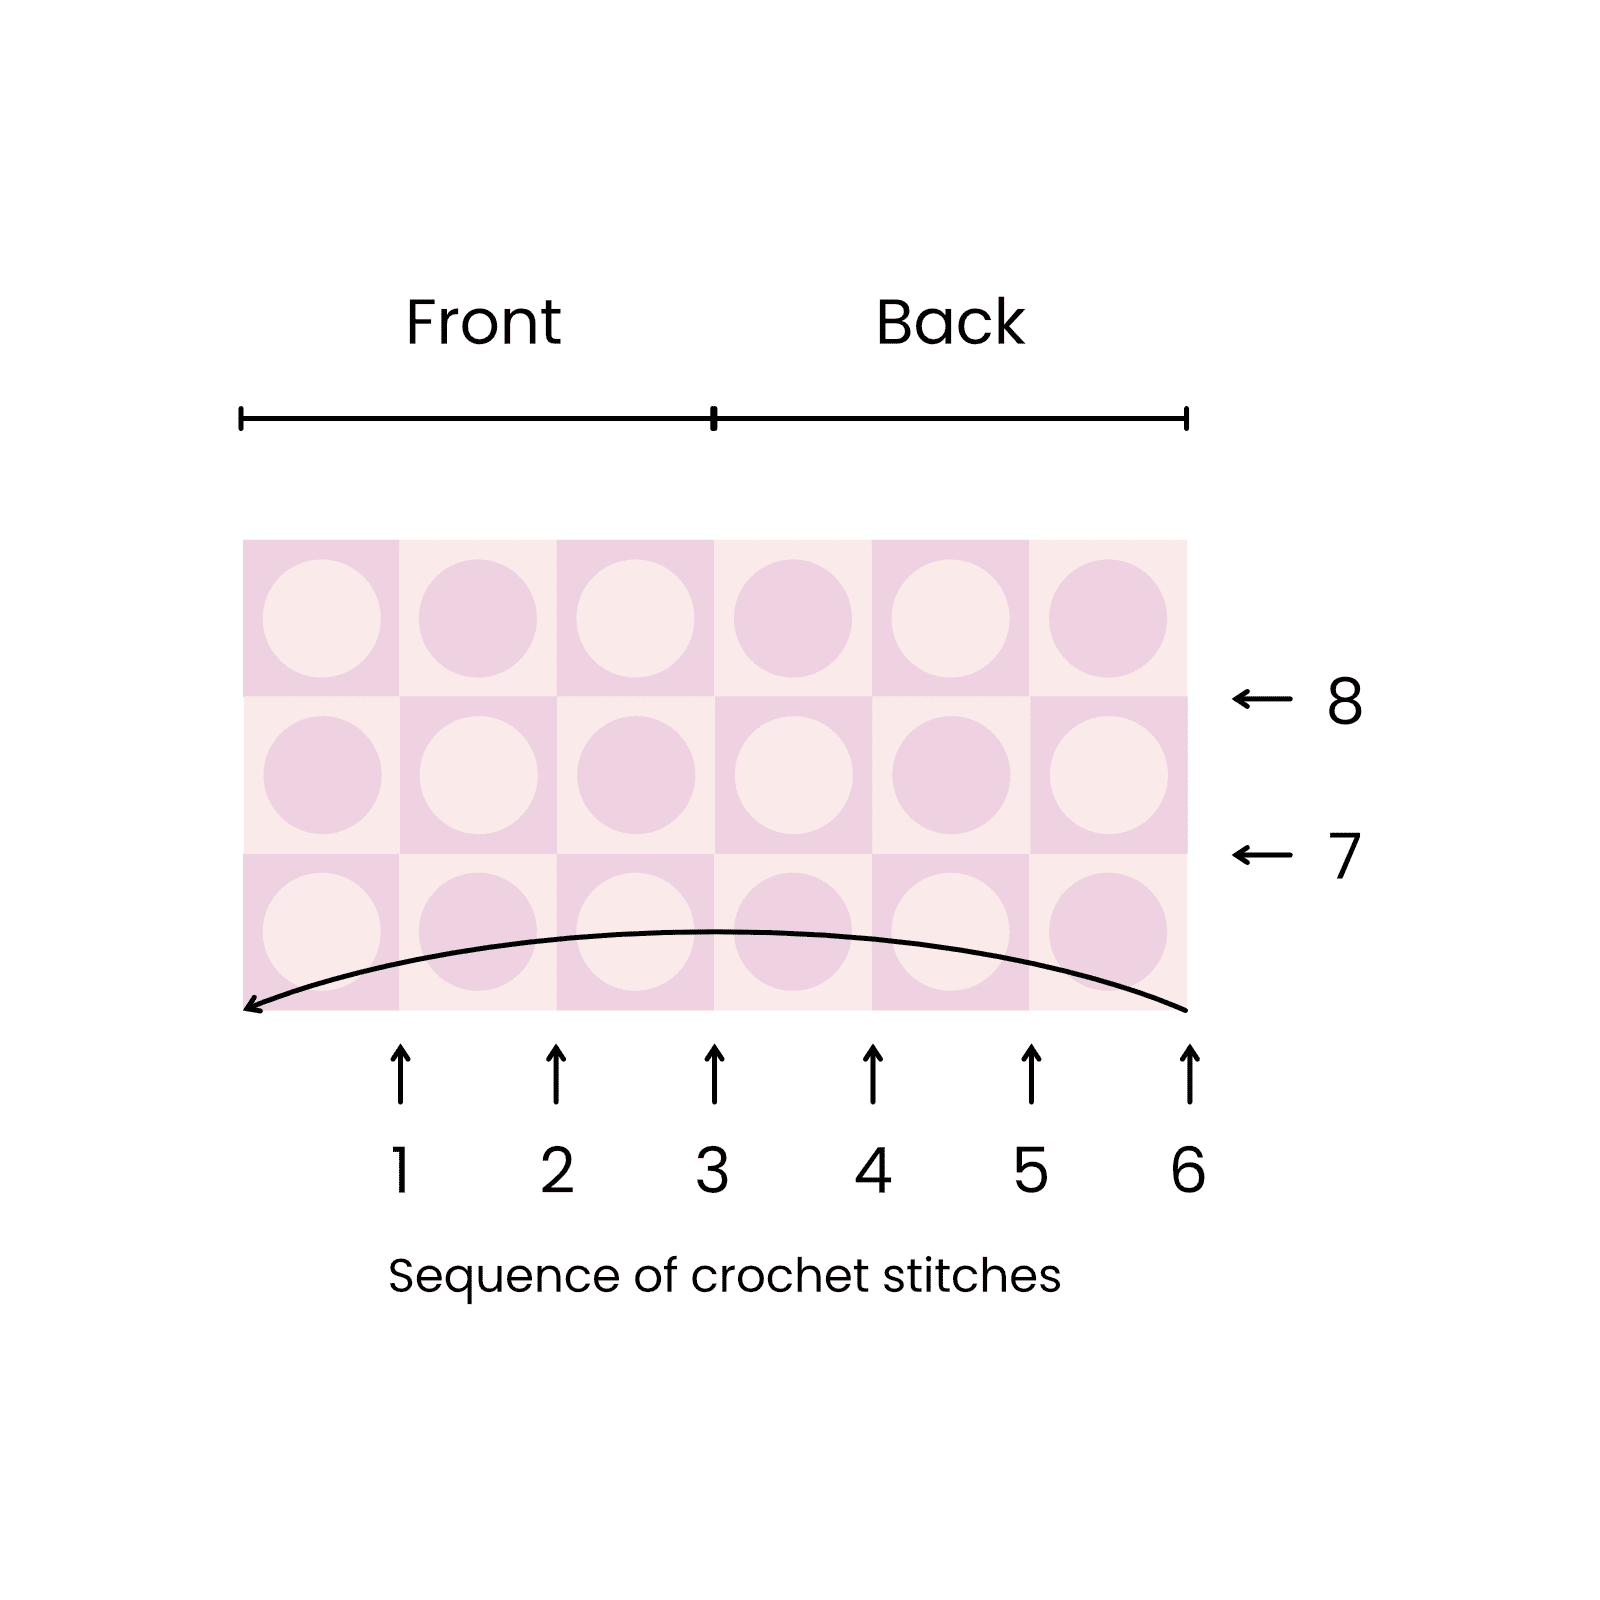

Bottom
The Granny Squares now form a tube that is closed in the next step for the bottom with a circle worked from the outside in. Arrange the work so that the outside of the work is facing you. Start the yarn in the next but one stitch to the left of a granny corner:
Round 1:
- 1 Lfm, 1 sc in the same place
- * 1 st in every st until the end of the Grannys
- 1 sc in every corner
- Skip seam
- 1 sc in every corner of the next Grannys
- Set mesh markers; rep. from * until the rnd end
- Sl st in the first st [= The number of stitches depends on the number of stitches on the sides of your grannys].
Round 2:
- Ch 1
- * 1 sc in each st to 2 sts bevor the next marker,
- 2 sc tog;
- rep from * to the end of the rnd [= 12 M abgenommen].
Rep rnd 2, until 6 sts are left. Cut the yarn and pull it through a darning needle. Pull the yarn through the remaining stitches and pull tight. Weave in the end on the inside.


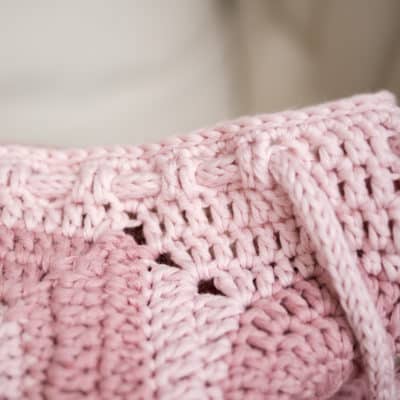
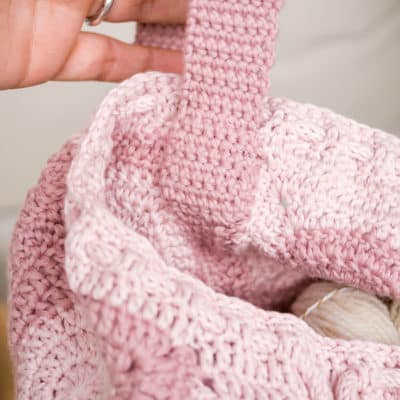
Crochet upper border
Now you'll work a nice border on the upper open edge of the tube. This is where the cord will be threaded later.
Place the thread anywhere you like, making sure the front of your backpack is facing you. The border is crocheted in rounds, each finished with a sl st in the first st of the round.
Round 1:
Ch 3, dc 1 in every st and every 2-ch-corner of every Granny Square, while skipping the seams between the squares, 1 sl st in the first st.
Round 2:
Ch 3, dc 1 in every st of the rnd, sl st in the first st.
Round 3:
Ch 1, 1 sc in every st of the rnd, sl st in the first st.
Round 4
1 sl st in every st of the rnd - keep a loose tension!
Cut the yarn and join the last stitches invisibly. Weave in all ends.


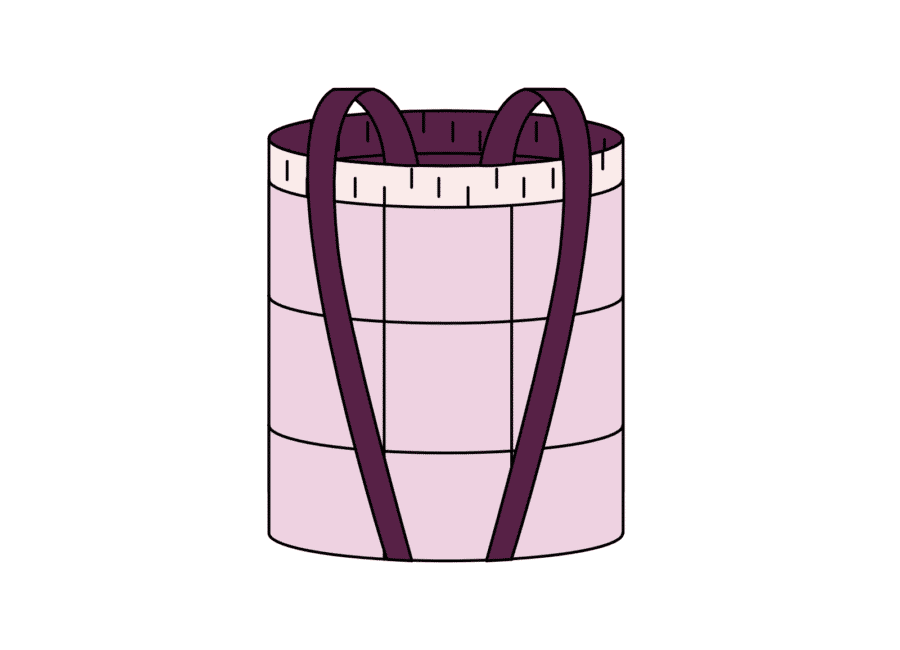
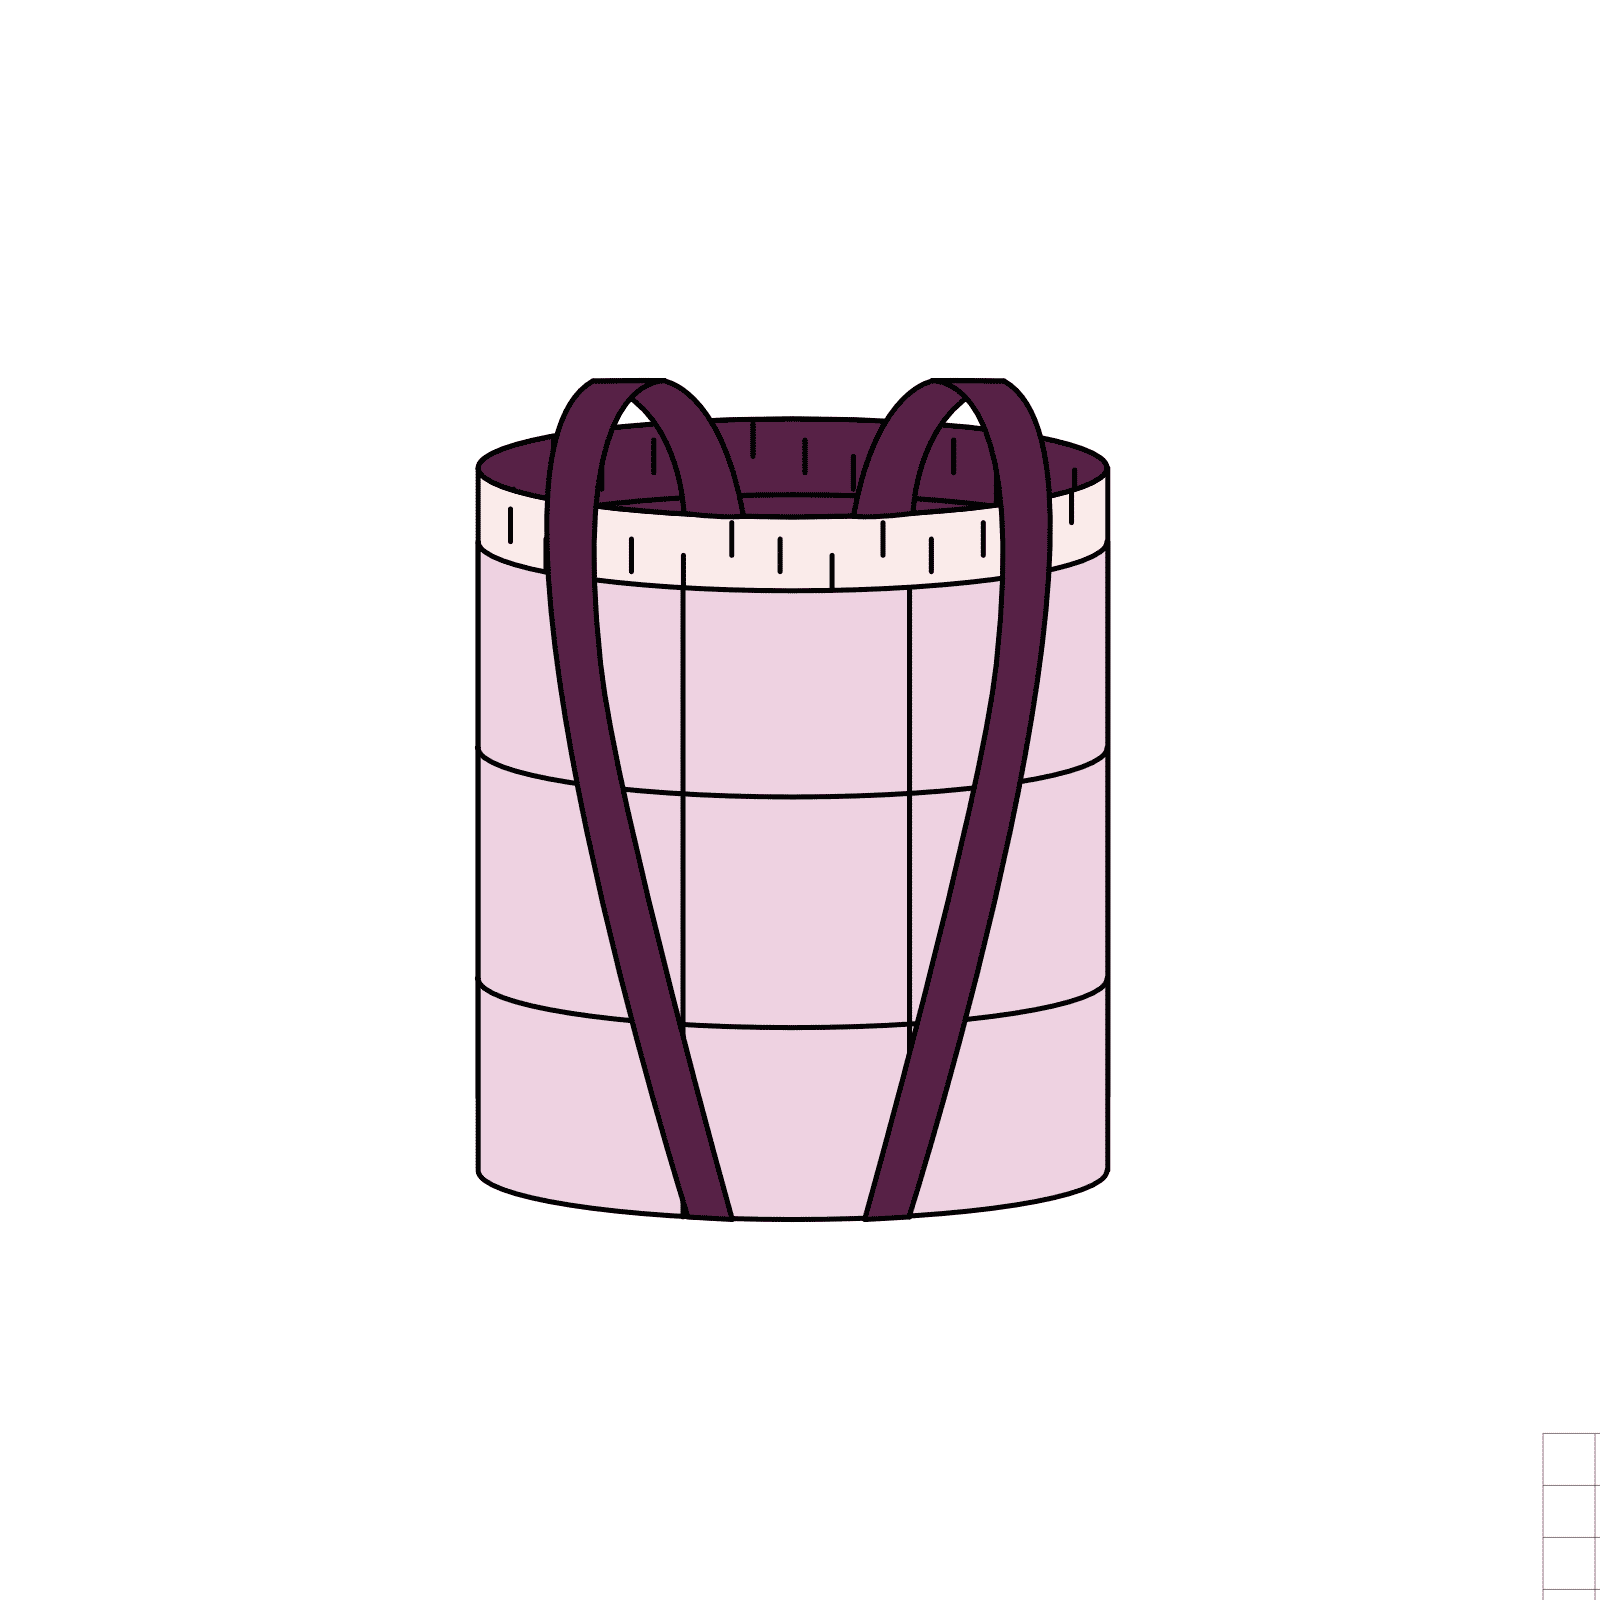
Crochet and attach strap
The straps are crocheted separately in rows and sewn to the backpack at the end. For this you crochet two separate straps as follows:
- Ch 8.
- * x-sc 1 in every st
- turn
- ch 1
- repeat from * until the strap measures 85 cm - with a bit of tension.
Cut the yarn and leave a 30 cm long end for sewing the strap onto the backpack. Sew the straps firmly in place: one end of each strap on either side of the center square on the bottom of the back - the other end of each strap to the corresponding side of the center square on top of the back, inside the top border.


Crochet, knit, or braid cord
The cord can be worked with different handicraft techniques in your desired length.
For crocheting, there are e.g. the following options:
chain stitches, chain stitches with a row of slip stitches or single crochet stitches, and crocheted i-cord.
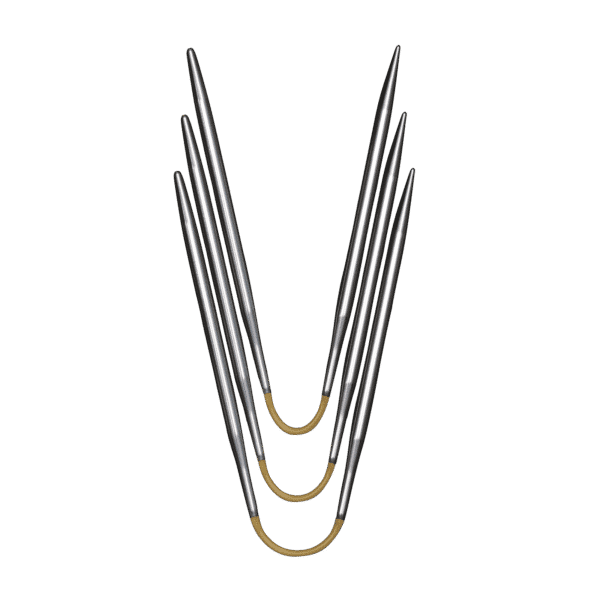
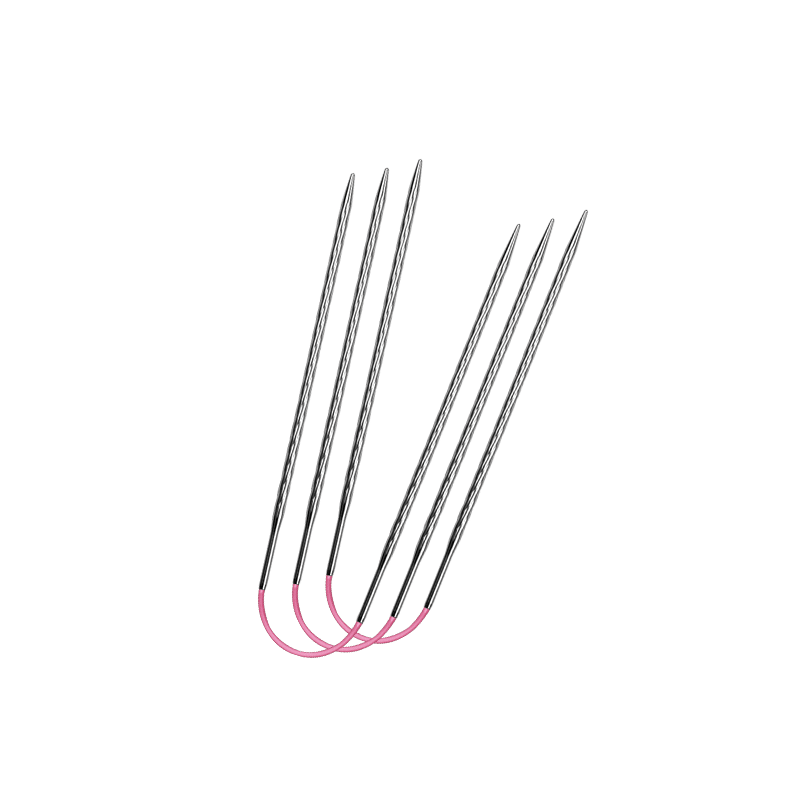
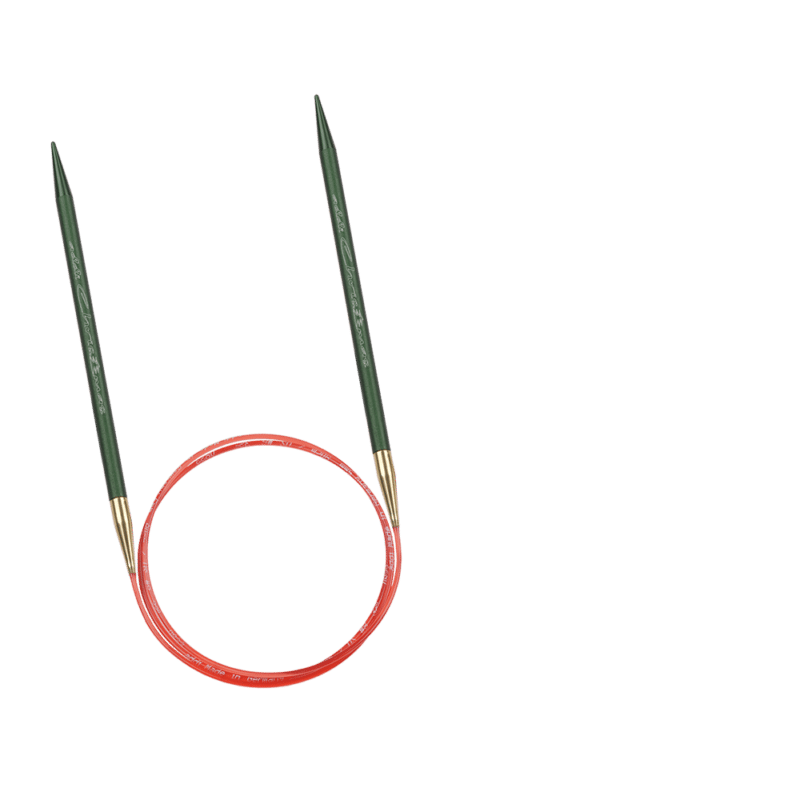
The cord can be knitted either with two needles of double pointed needles or with an addiEi.
For the variant with double pointed needles, cast on 4 sts, knit all, slide the sts on the needle to the right and knit again. Repeat this process until you have the required length of cord.
Of course, you can also braid the cord or make it using another technique you are familiar with.
Thread the cord at the end through the 2nd dc round of the top border of the backpack - over 2, under 2 etc. - so that the two ends are sticking out on the front. Here they can be knotted or closed with an addiToGo heart.
Crochet, knit, or braid cord
The cord can be worked with different handicraft techniques in your desired length.
For crocheting, there are e.g. the following options:
chain stitches, chain stitches with a row of slip stitches or single crochet stitches, and crocheted i-cord.
The cord can be knitted either with two needles of double pointed needles or with an addiEi.
For the variant with double pointed needles, cast on 4 sts, knit all, slide the sts on the needle to the right and knit again. Repeat this process until you have the required length of cord.
Of course, you can also braid the cord or make it using another technique you are familiar with.
Thread the cord at the end through the 2nd dc round of the top border of the backpack - over 2, under 2 etc. - so that the two ends are sticking out on the front. Here they can be knotted or closed with an addiToGo heart.


