Basic instruction knitting beanie
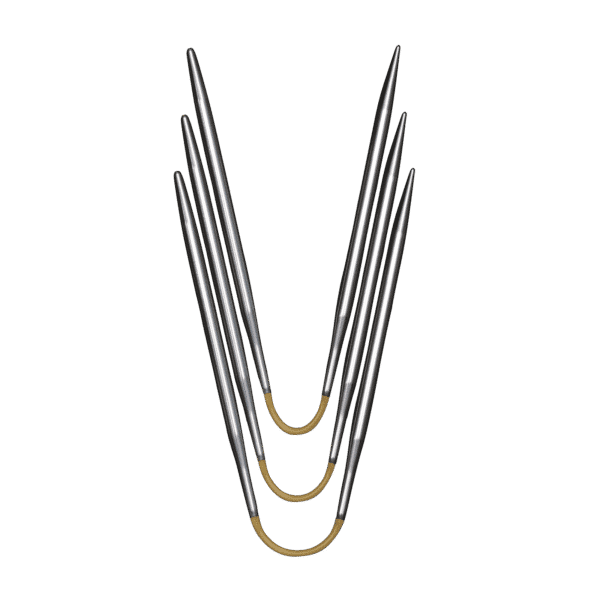
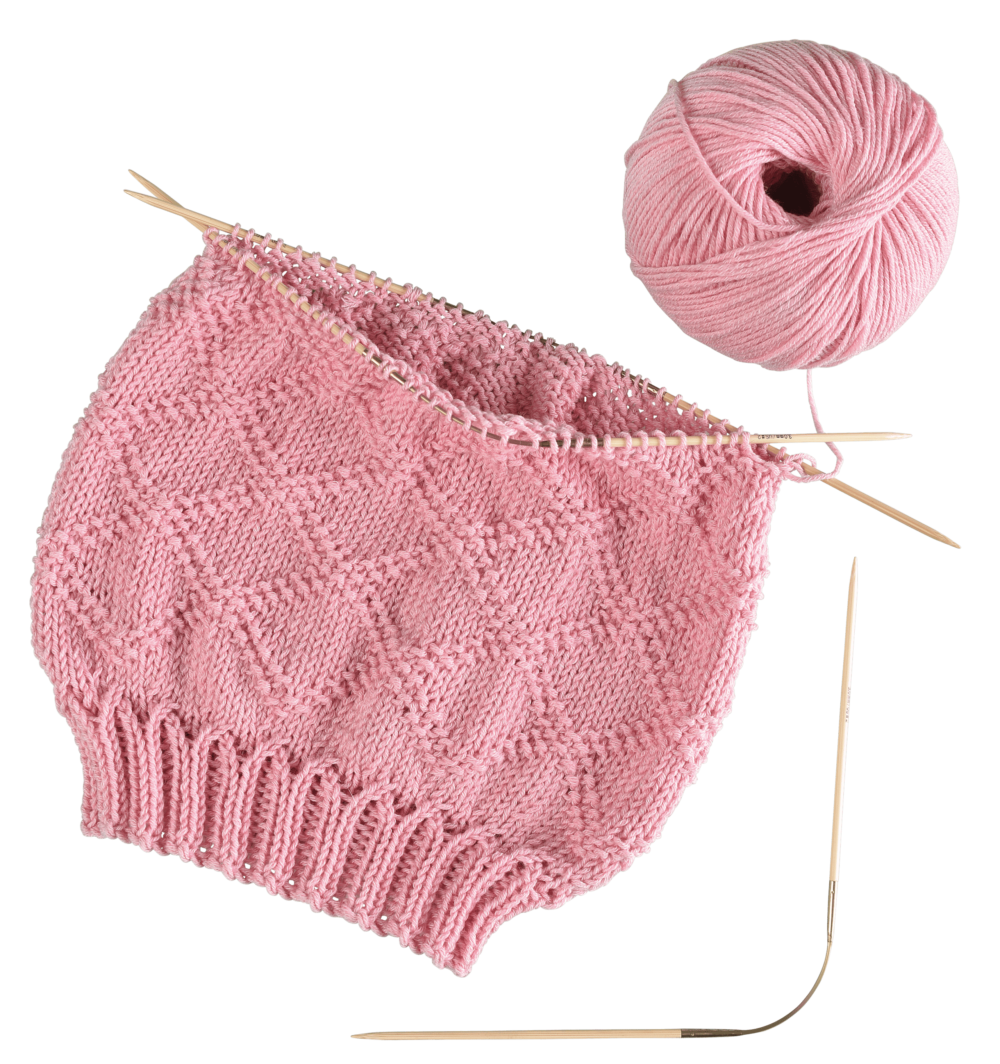
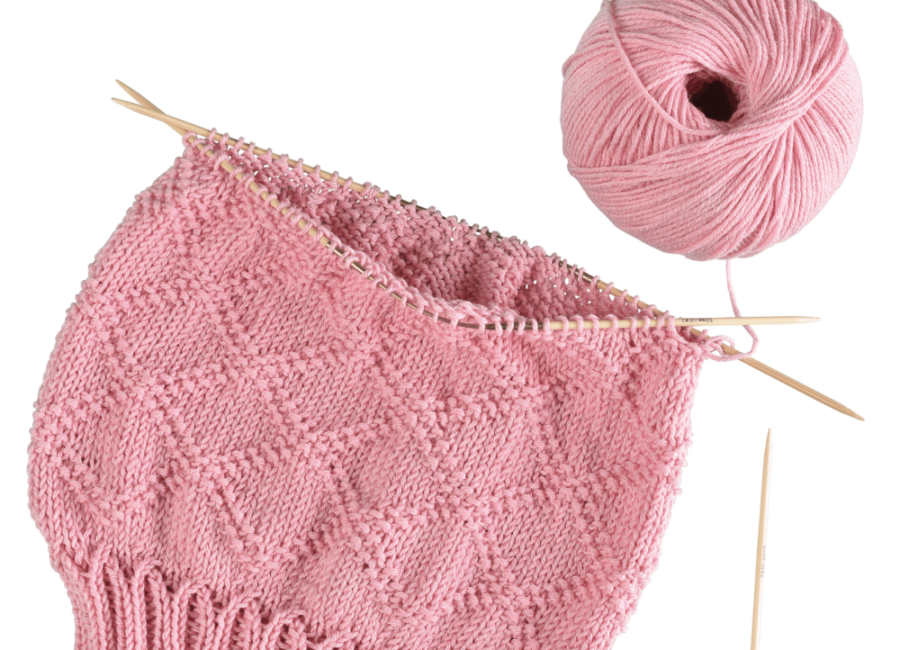
A basic tutorial for a super simple knitted beanie cap with the addiCraSyTrio Long.
The beanie is variable in length and thanks to cap table for each wool perfectly adaptable. Just start knitting for warm ears.

- Yarn of your choice
-
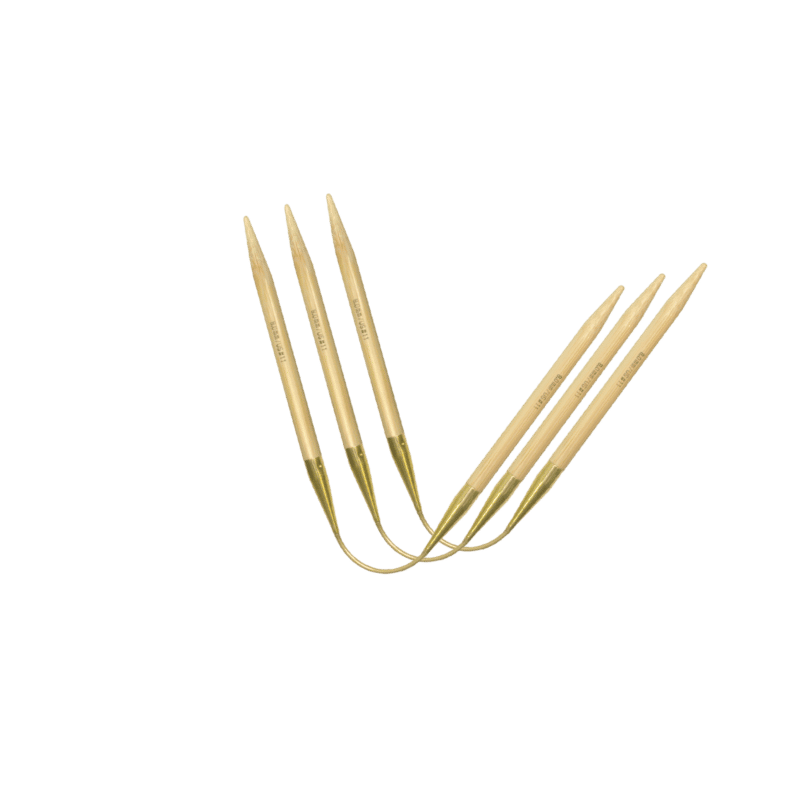
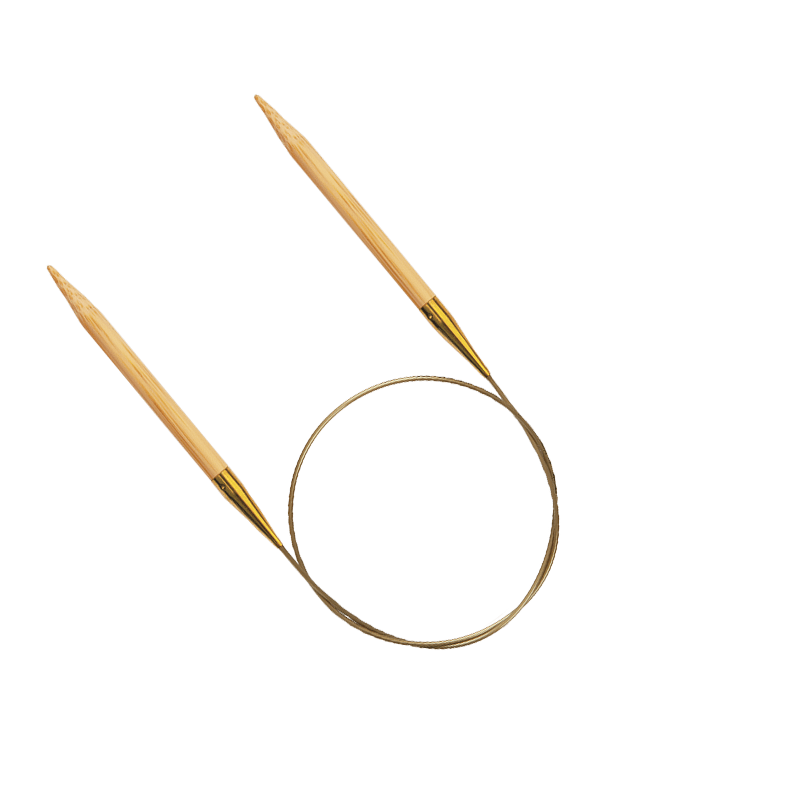
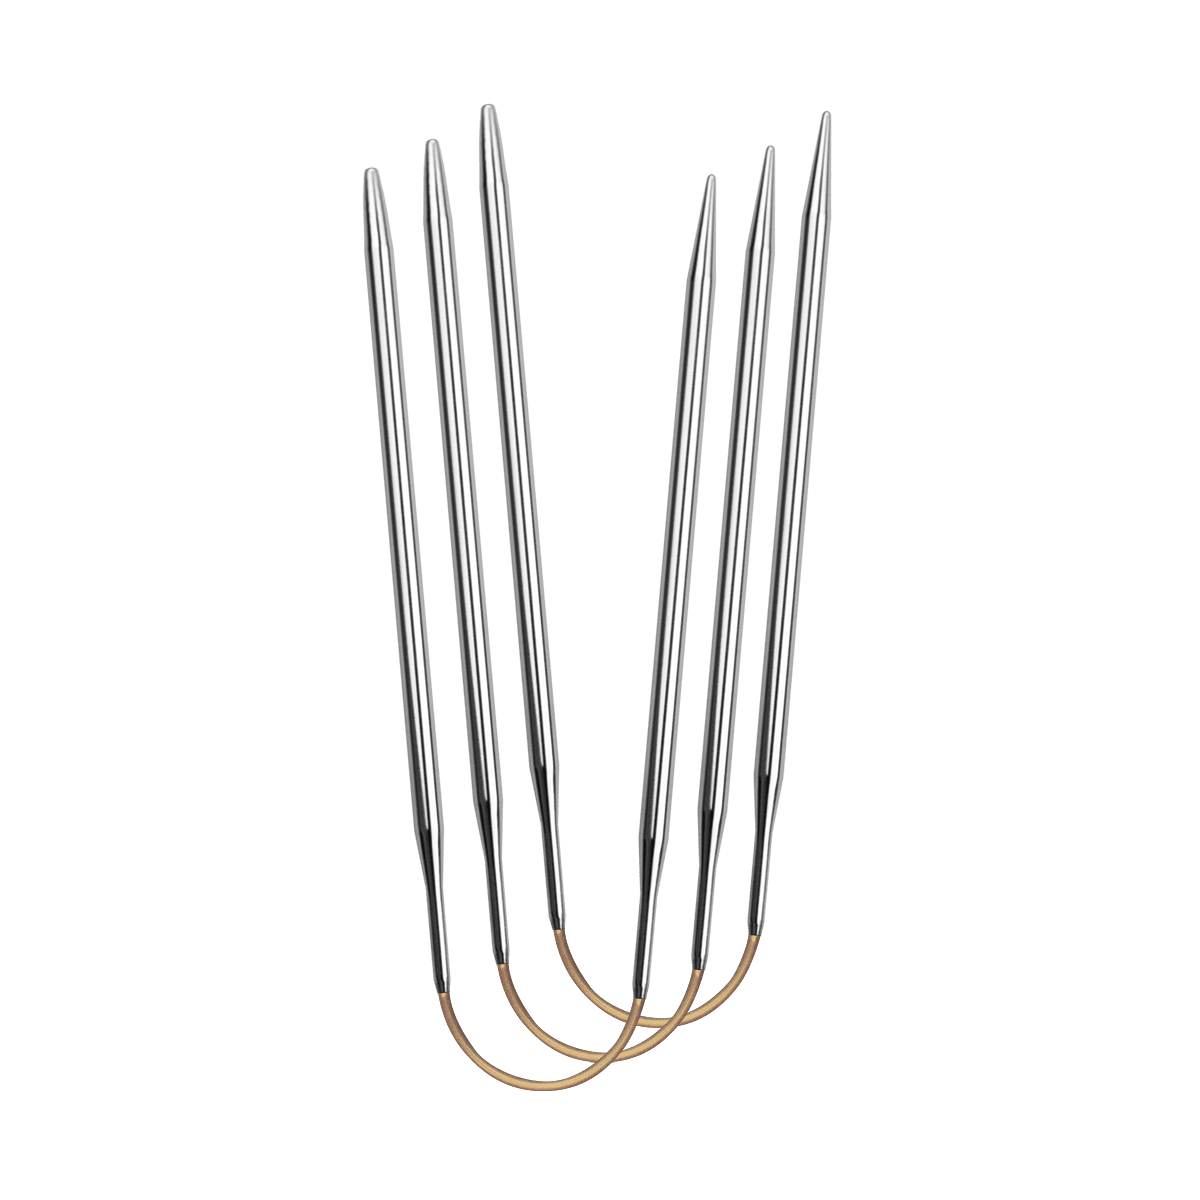
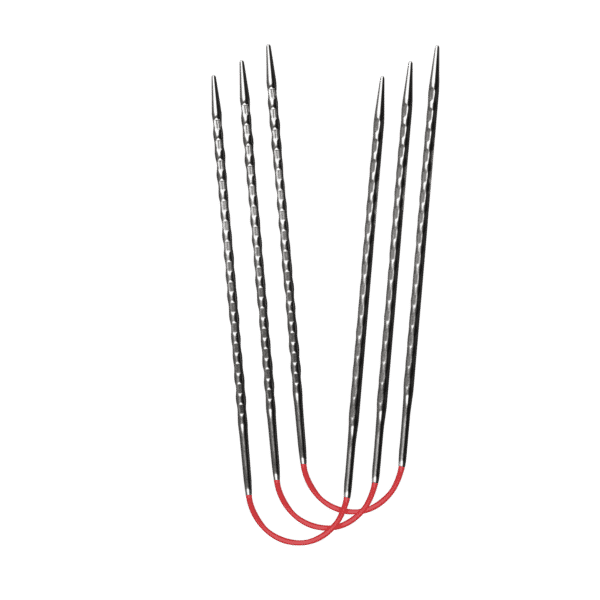
addiCraSyTrio LONG – diameter depending on yarn
-
Wool needle
-
Scissors
- knit stitch (k)
-
purl stitch (p)
- knit 2 st together (k2tog)
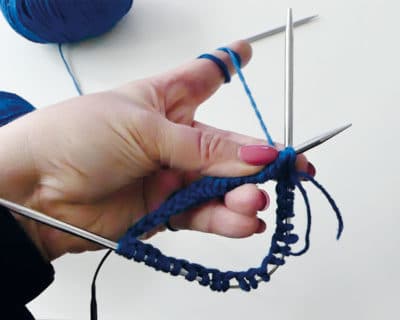
Knitting beanie – cast on with addiCraSyTrio
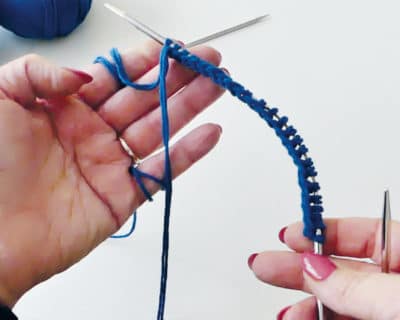
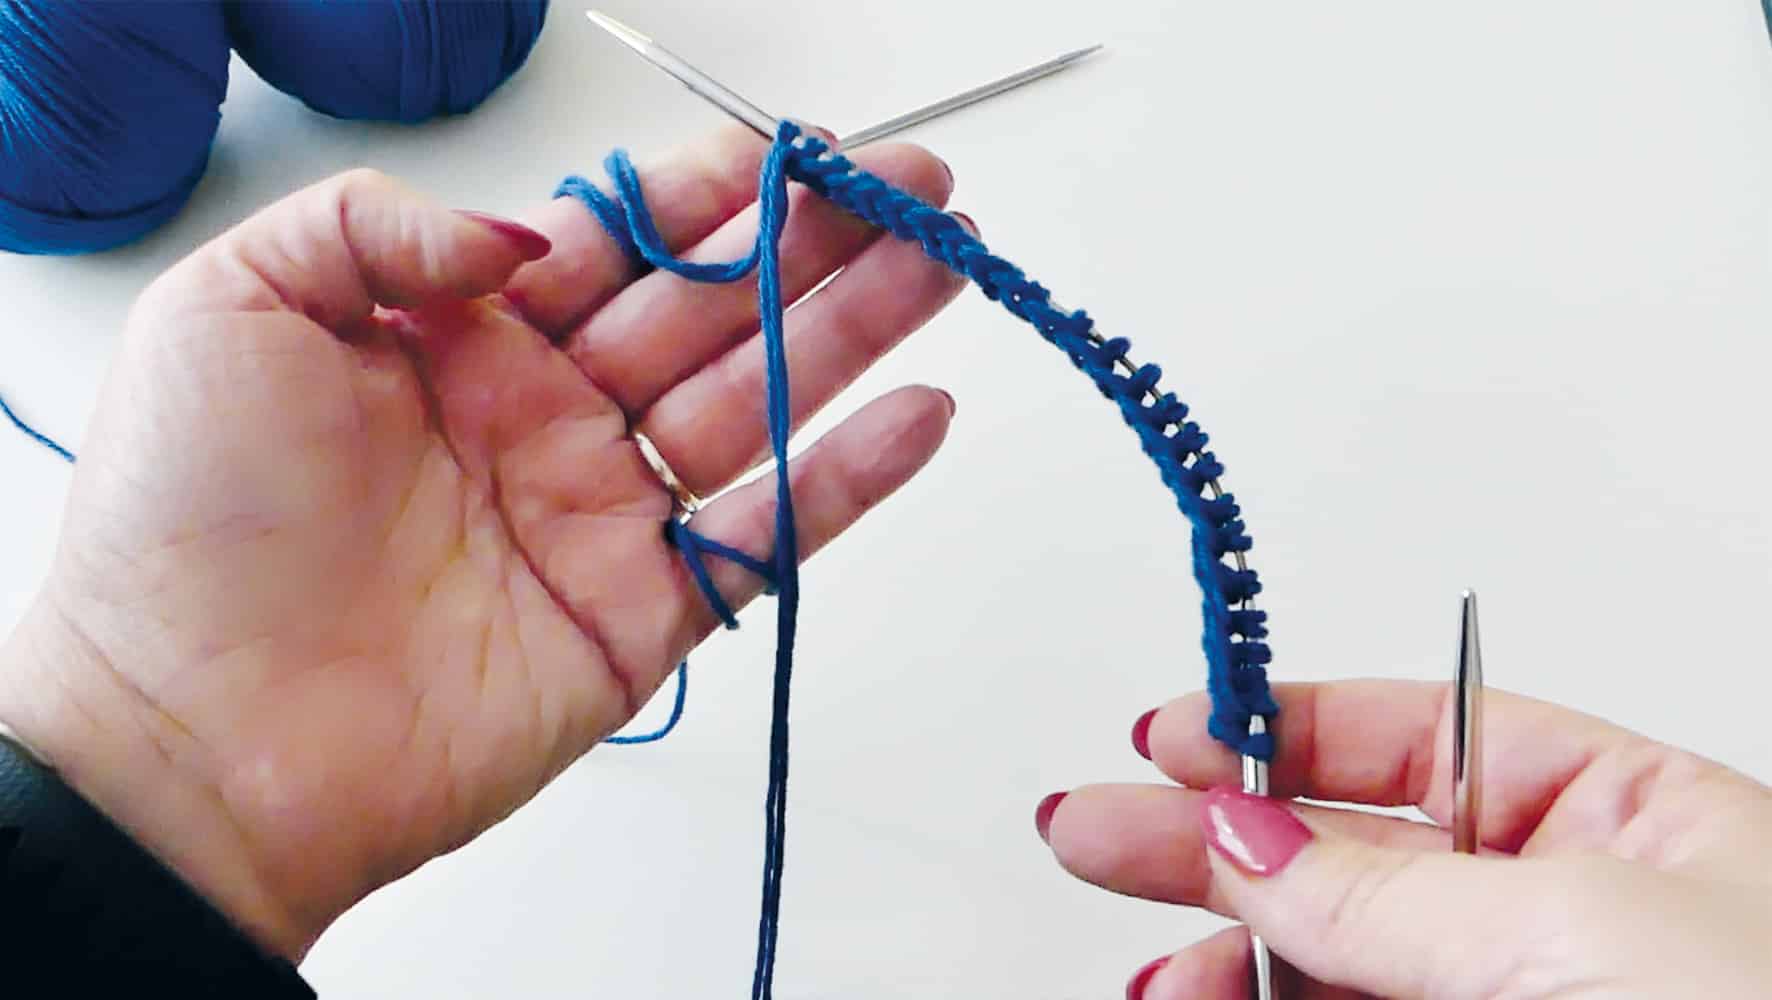
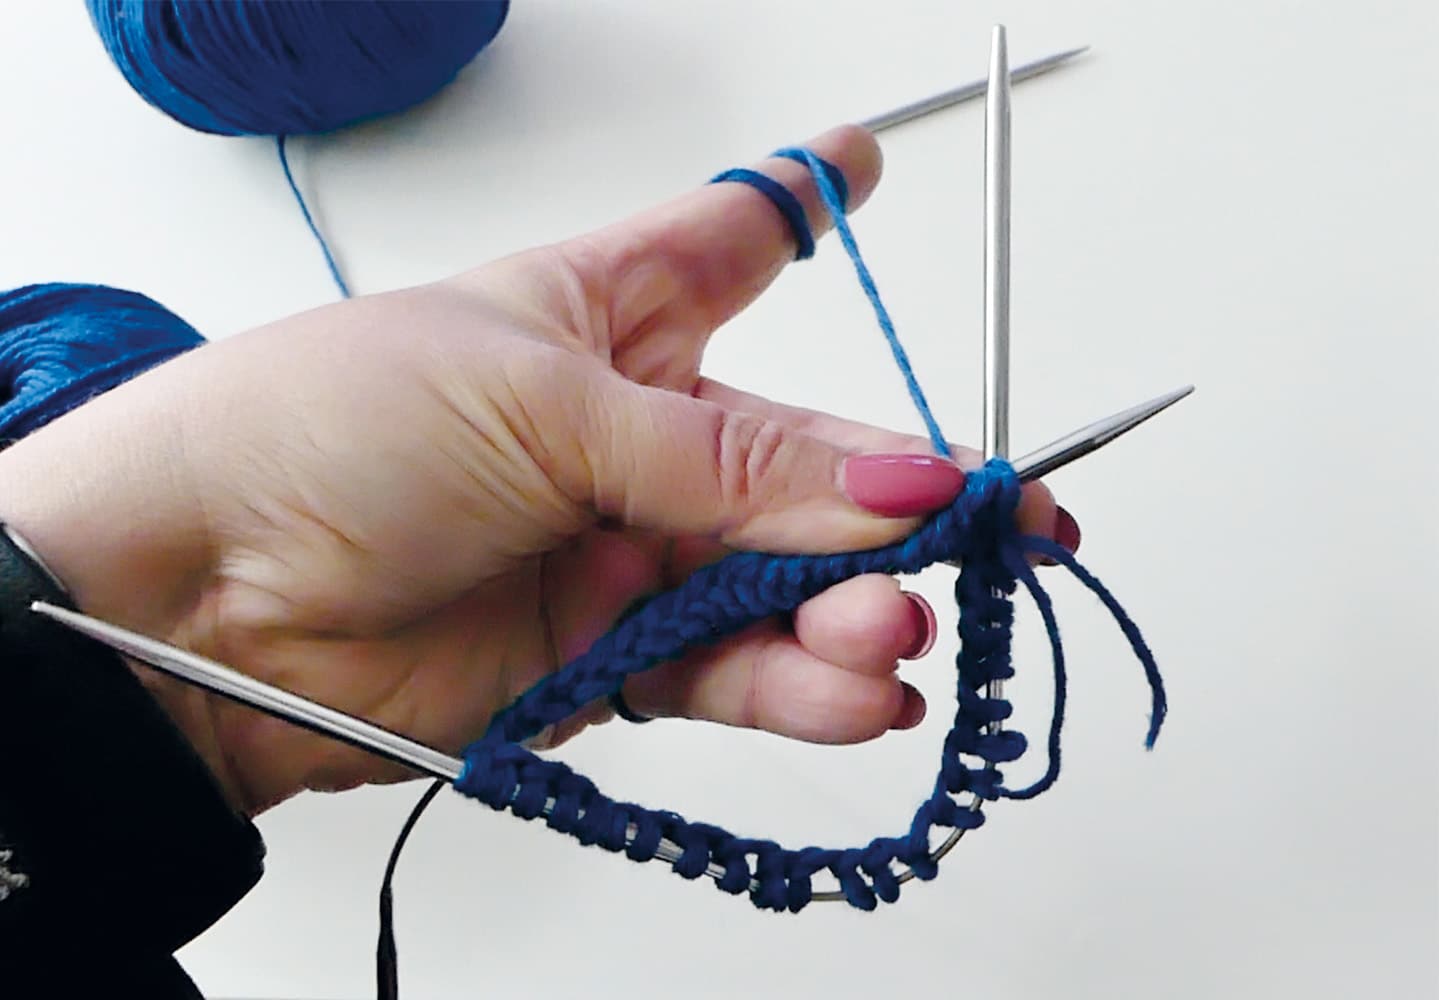
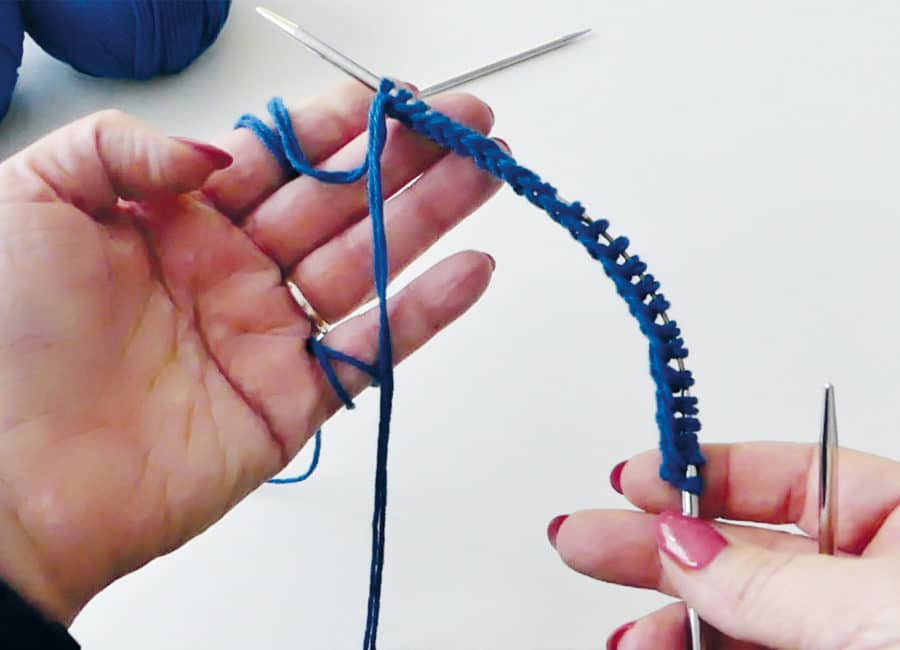
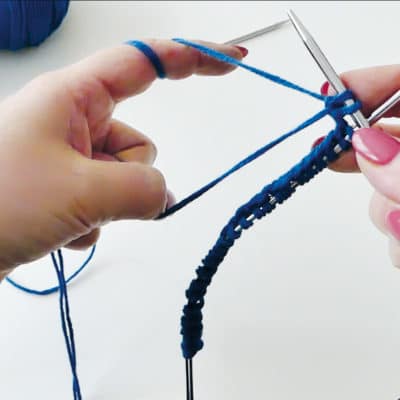
- Cast on half of the required stitches according to the chart or pattern onto one needle.
-
Slide all stitches to the middle of the needle.
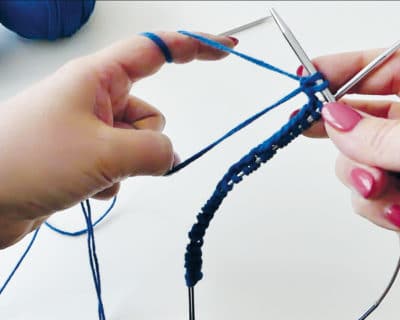
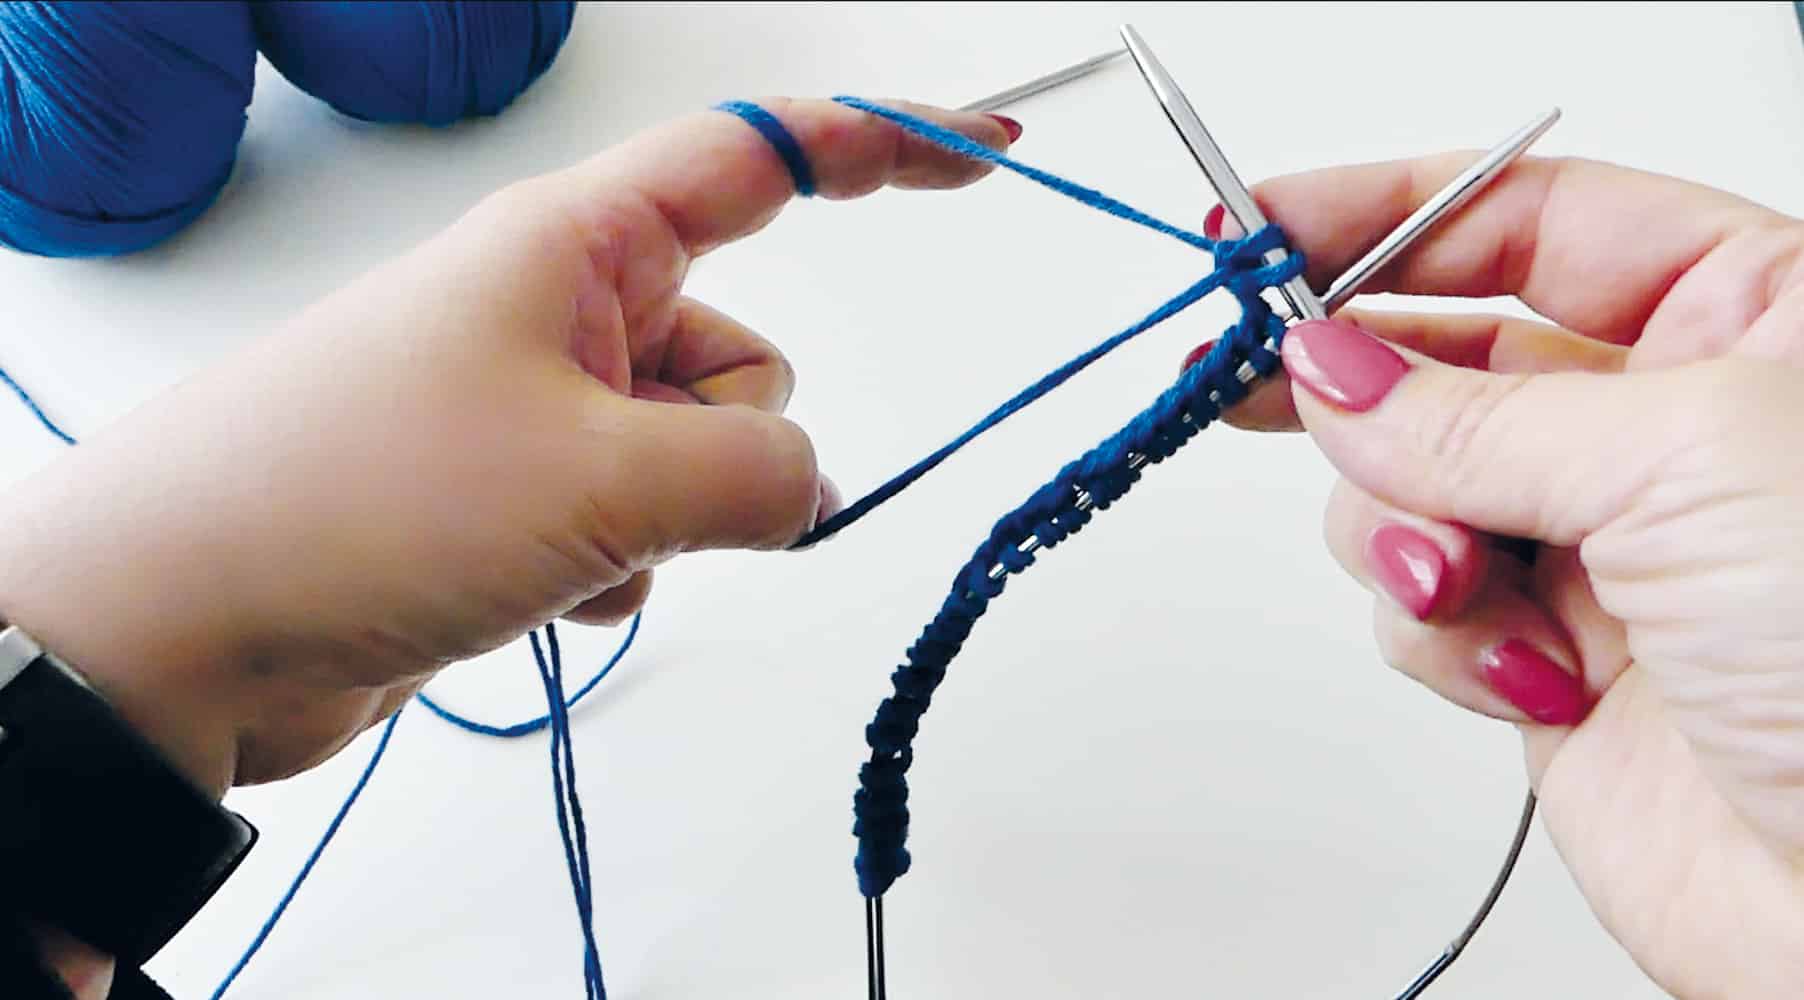
- Now take the second needle and hold it at a right angle or over the corner of the first needle and cast on the second half of the stitches.
-
Pull the first stitch tight so it won’t gap.
Knitting beanie – Beanie table
How many stitches you need to cast on for the hat depends on the wool and needle size you use. If the gauge of your wool is e.g. 10 stitches per 10 cm, choose the first column of the table with the needle size indicated on the band.
| Gauge 10 cm / 4" | 10 M |
12 M | 14 M | 16 M | 18 M | 20 M | 22 M | 24 M | 26 M | 28 M | 30 M | 32 M |
| Sts CO for size XXS-XS (50-54 cm)
/ per needle |
52/
26 |
60/
30 |
68/
34 |
76/
38 |
88/
44 |
96/
48 |
104/
52 |
112/
56 |
120/
60 |
128/
64 |
136/
68 |
144/
72 |
| Sts marker distribution (BEFORE the dec) |
6/7 | 7/8 | 8/9 | 9/10 | 11/11 | 12/12 | 13/13 | 14/14 | 15/15 | 16/16 | 17/17 | 18/18 |
| Sts CO for size S-M (55-58 cm)
/ per needle |
56/
28 |
64/
32 |
72/
36 |
80/
40 |
96/
48 |
104/
52 |
112/
56 |
120/
60 |
136/
68 |
144/
72 |
152/
76 |
160/
80 |
| Sts marker distribution (BEFORE the dec) | 7/7 | 8/8 | 9/9 | 10/10 | 12/12 | 13/13 | 14/14 | 15/15 | 17/17 | 19/18 | 19/19 | 20/20 |
| Sts CO for size L-XL (59-61 cm)
/ per needle |
60/
30 |
68/
34 |
76/
38 |
84/
42 |
104/
52 |
112/
56 |
120/
60 |
128/
64 |
144/
72 |
152/
76 |
160/
80 |
168/
84 |
| Sts marker distribution (BEFORE the dec) | 6/7 | 8/9 | 9/10 | 10/11 | 13/13 | 14/14 | 15/15 | 16/16 | 18/18 | 19/19 | 20/20 | 21/21 |
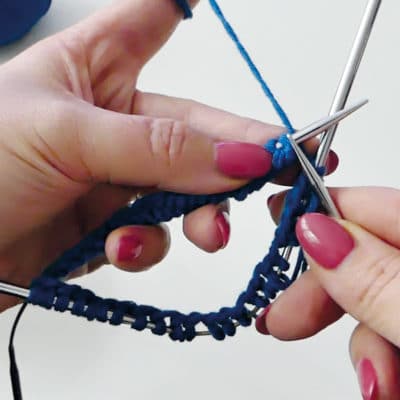
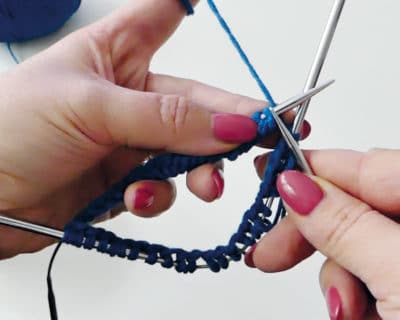
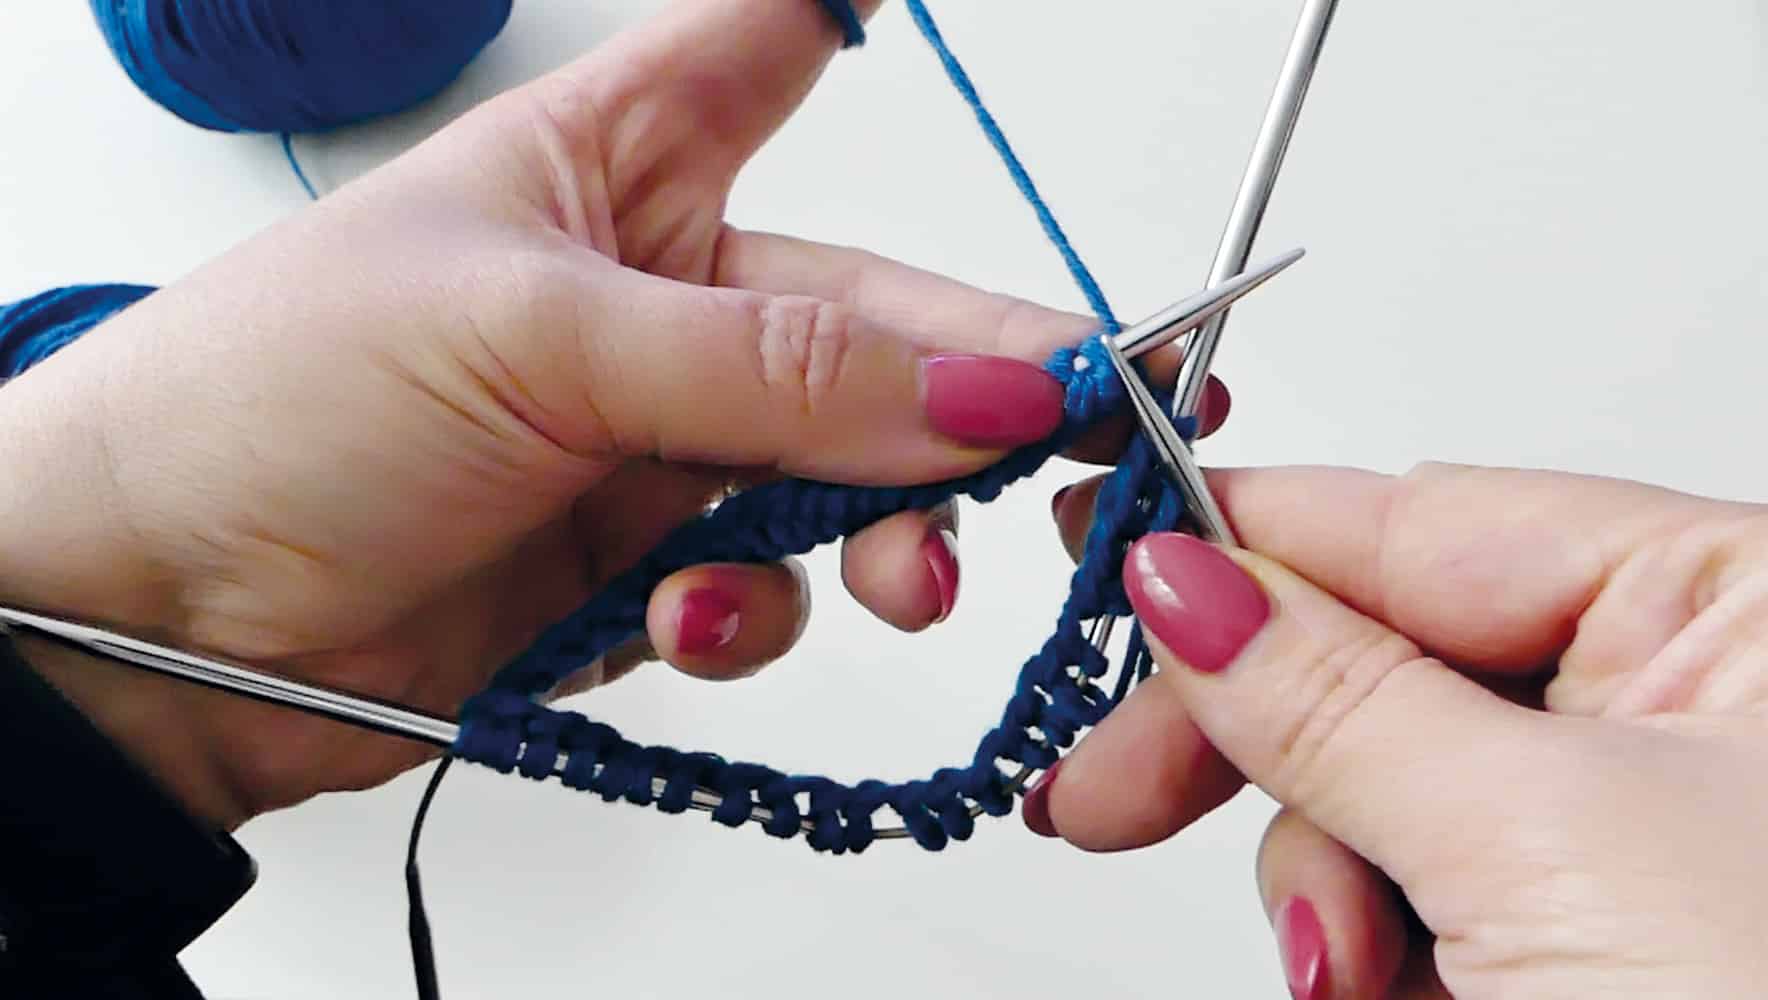
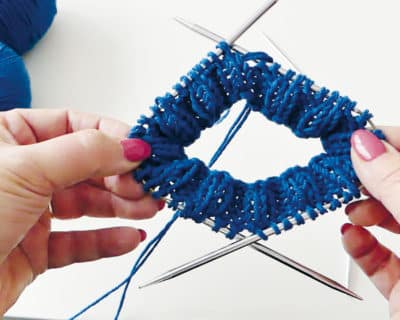
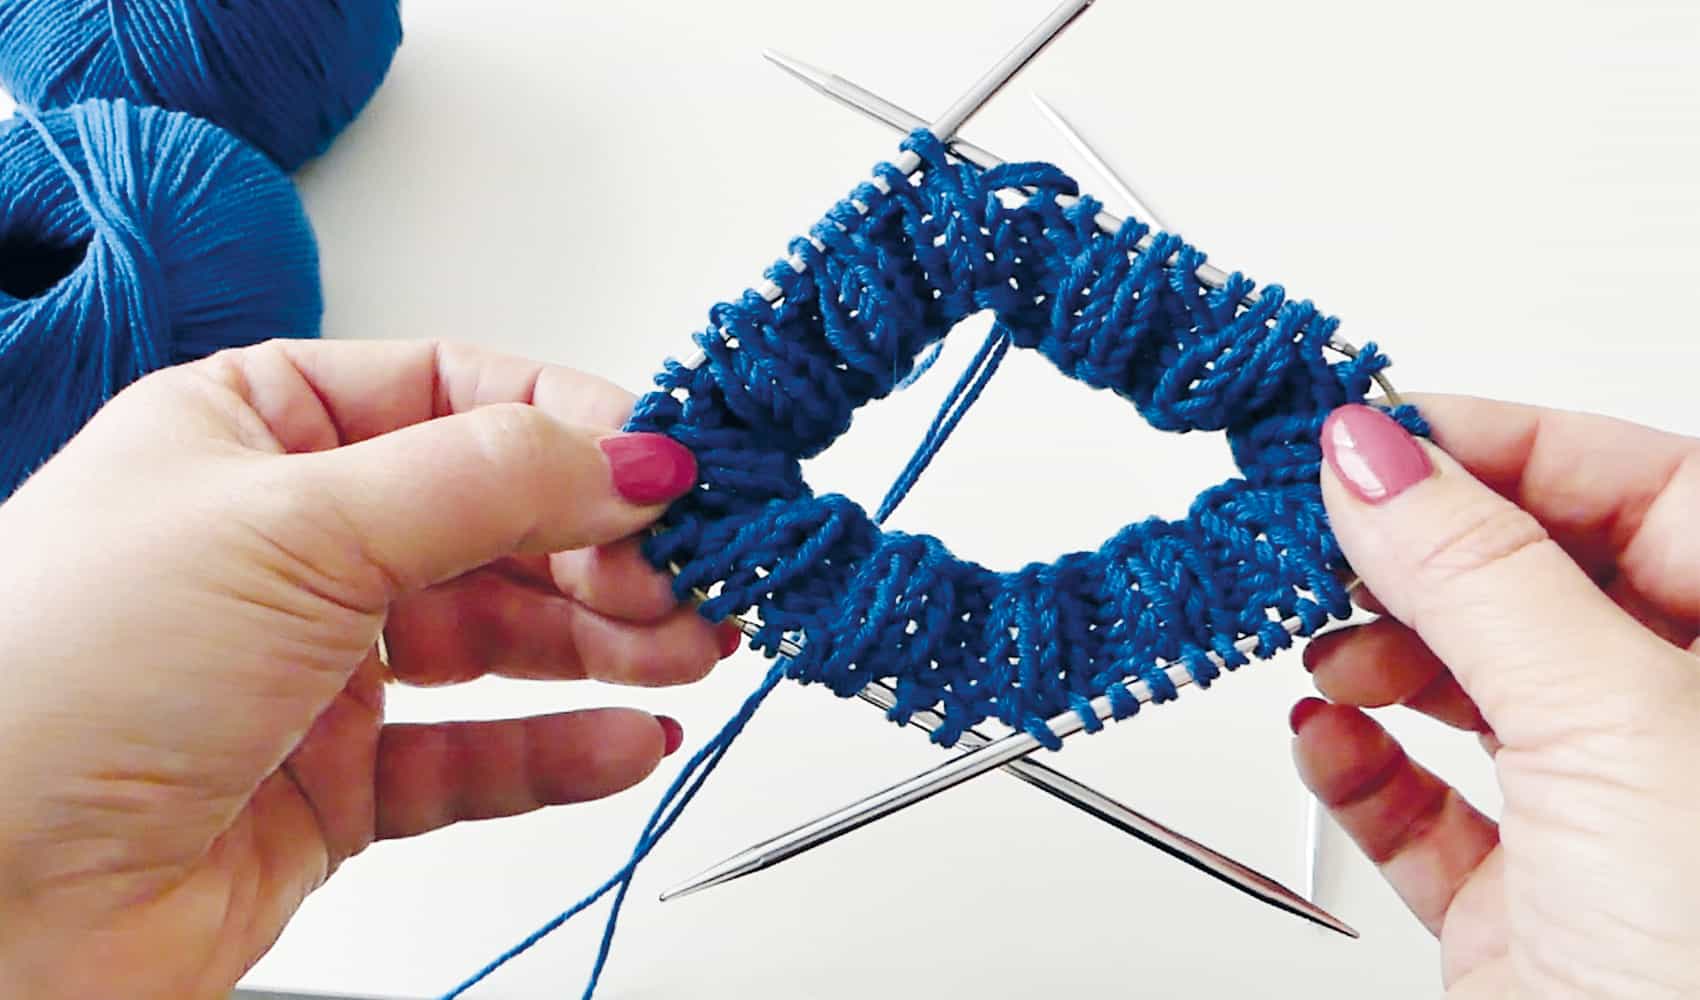
- When all stitches are cast on, be careful that the stitches are not twisted and then push them to the middle of the needle.
-
Now lay the needles together in such a way that the working thread lies on the back needle.
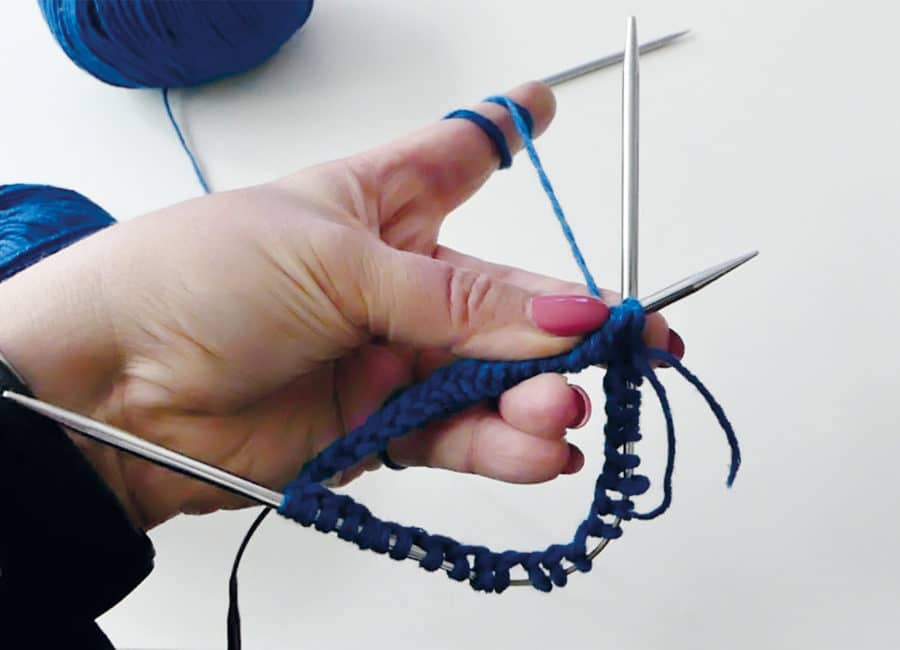
- Push the stitches on the first needle into working position while folding the second needle together so that you can comfortably knit all the stitches on the first needle.
Knitting beanie – cuff
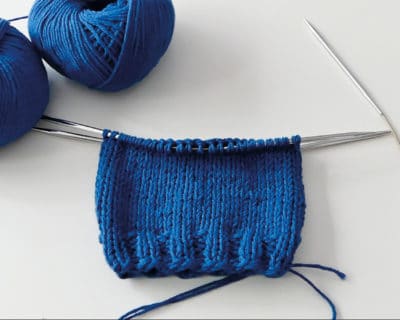
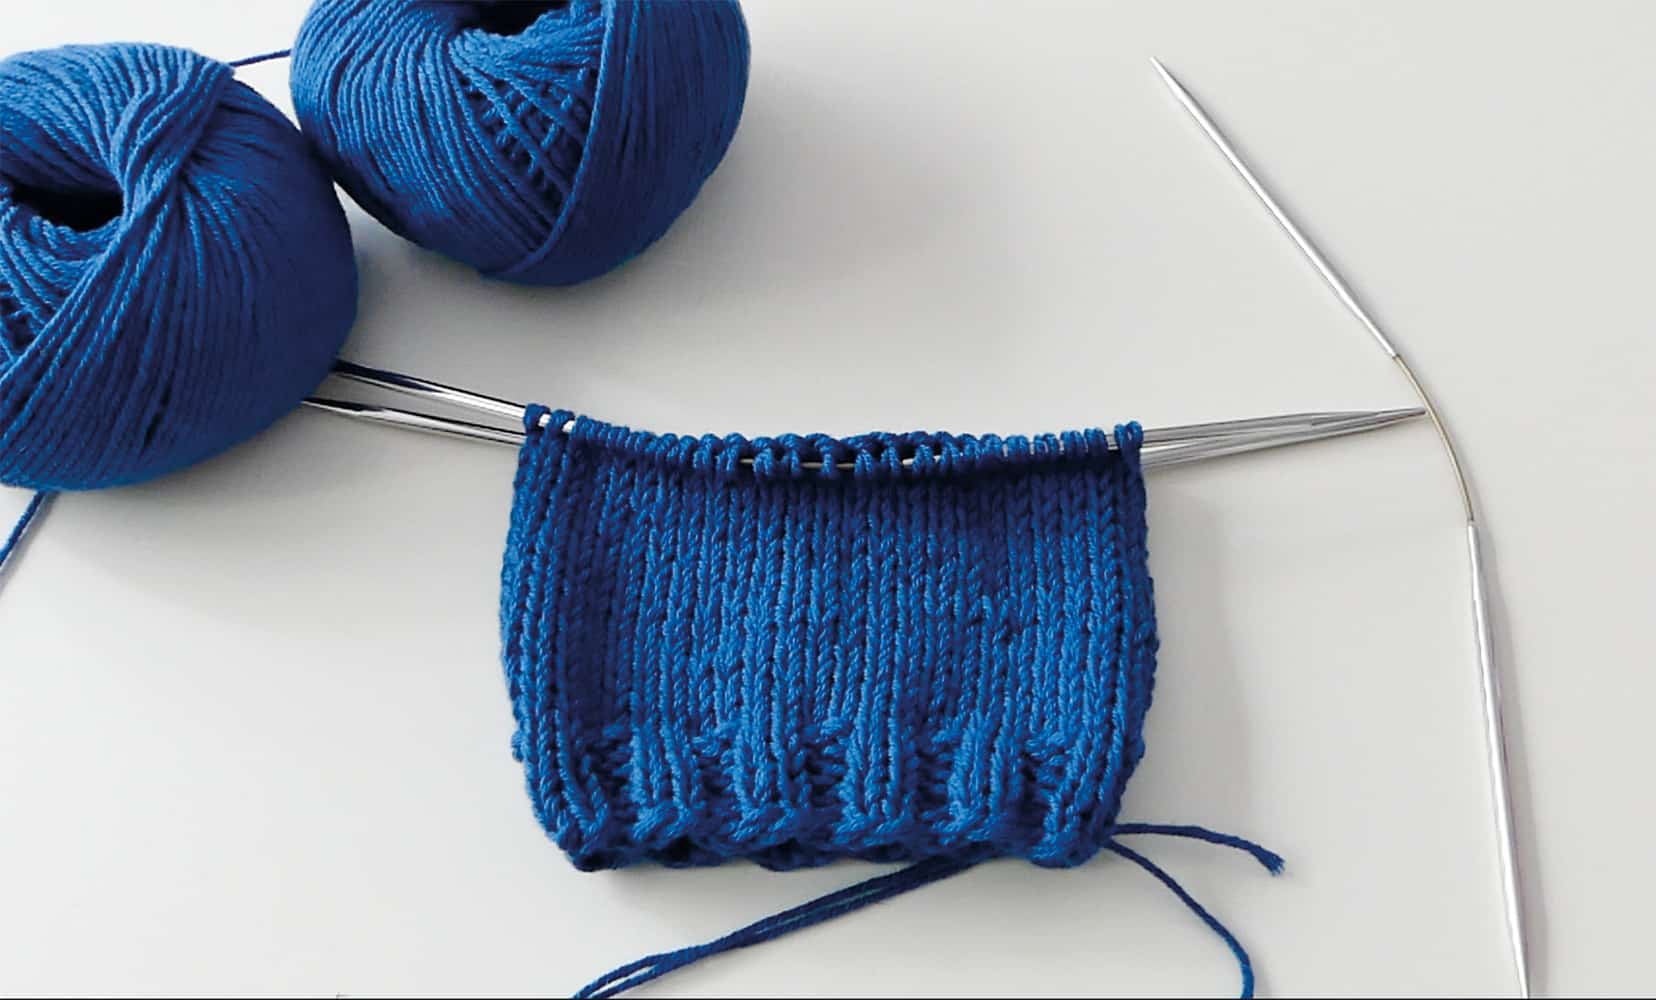
Now knit the cuff of your beanie.
- Simple cuff – a small cuff with a height of about 3-4 cm knitted in the cuff pattern.
- Double cuff – which will be folded to keep the ears twice warm – knitted with approx. 7 cm height (after 7 cm knit a round of purl stitches for a nice edge to fold over)

For cuffs and the entire cap:
- k1, p1
- k2, p2
For entire cap:
- Staggered rib pattern *k2, p2, stagger every 6 rows *2re, 2 purl, stagger all 6 rows
- horizontal rib of *k1 round,p1 round
- Stair pattern *k2
- p2 stagger every X rounds
- Fishermans rib *k1, yo, sl 1 pw
Tip: The pattern can be worked over the entire length of the hat or only over the cuff.
If the pattern is knitted over the entire length, make sure that the stitch markers are evenly distributed in the knitting pattern during the decreases – e.g. always place the marker before 2 right sts.
Knitting beanie – body
Step 6:
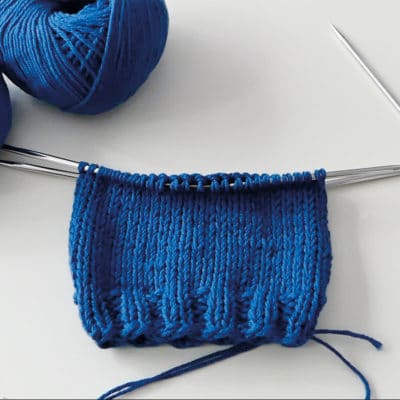
When the cuff is done continue to knit or use your favourite pattern for a total length of 20 cm. Of course, you can make it longer if you desire a longer smurfier beanie.
Guidelines for the length of the cap:
- XXS - XS approx. 18 cm
- S - M approx. 20 cm
- L - XL approx. 22 xm
Of course, you can also knit longer. The longer you knit, the "smurfier" your hat will hang down later.
Beanie Hat - Knit decreases
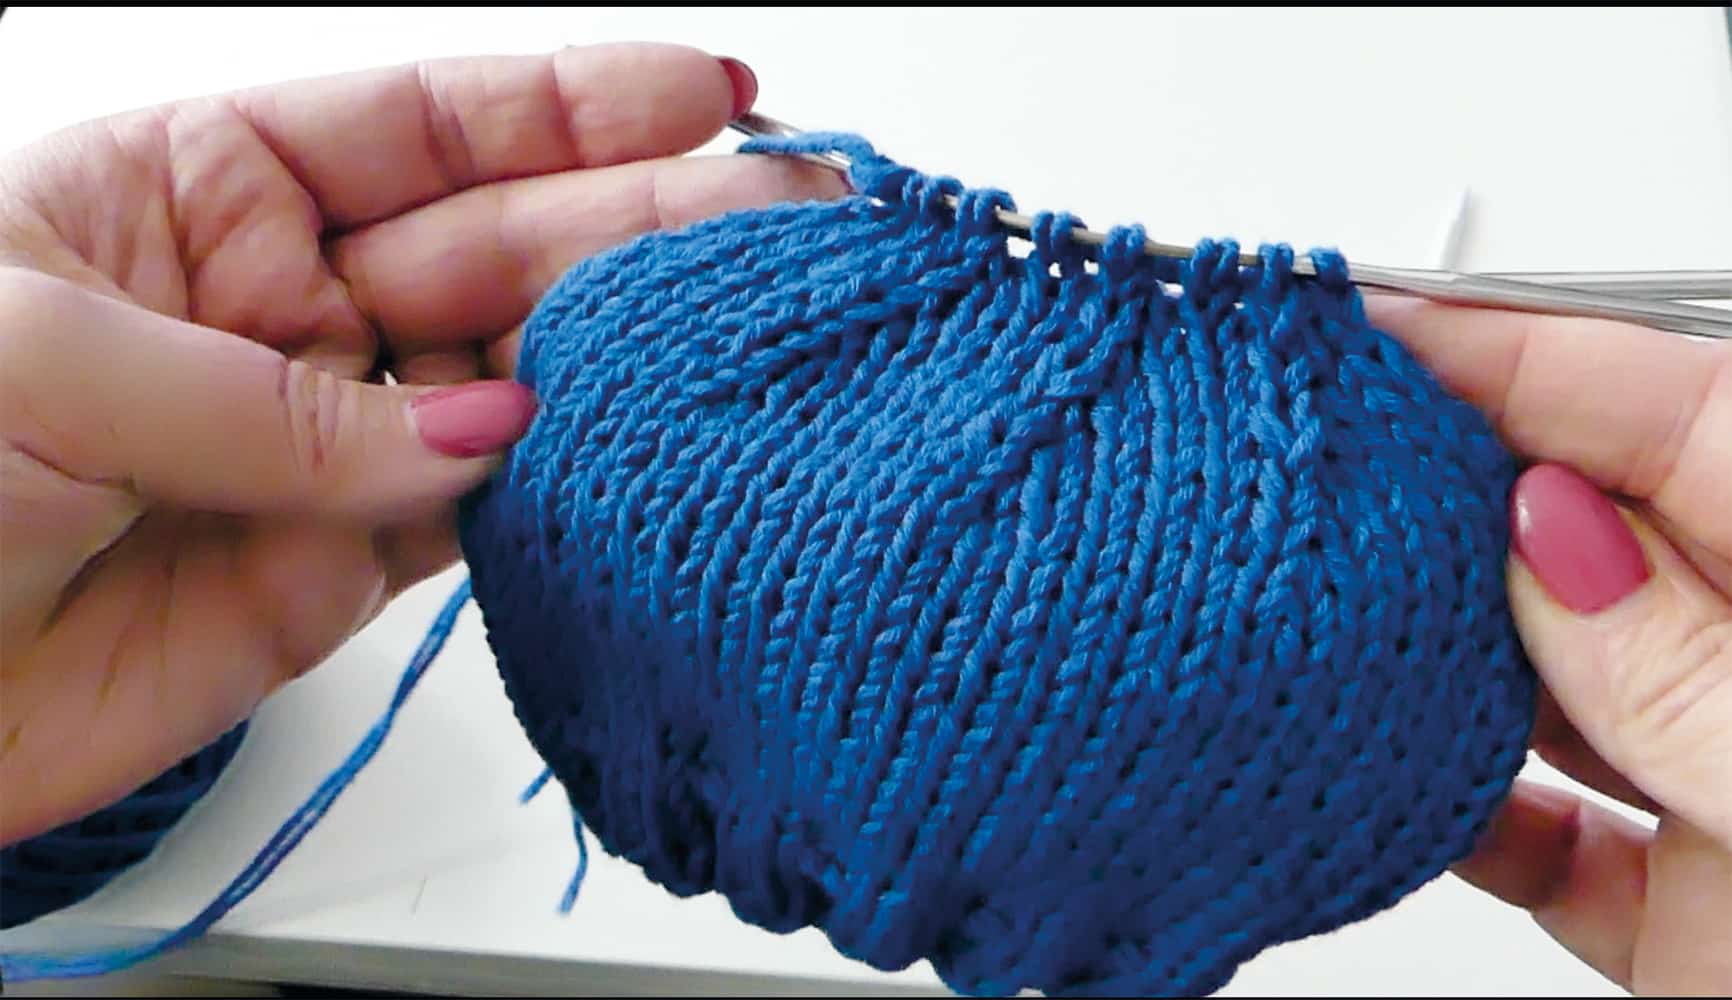
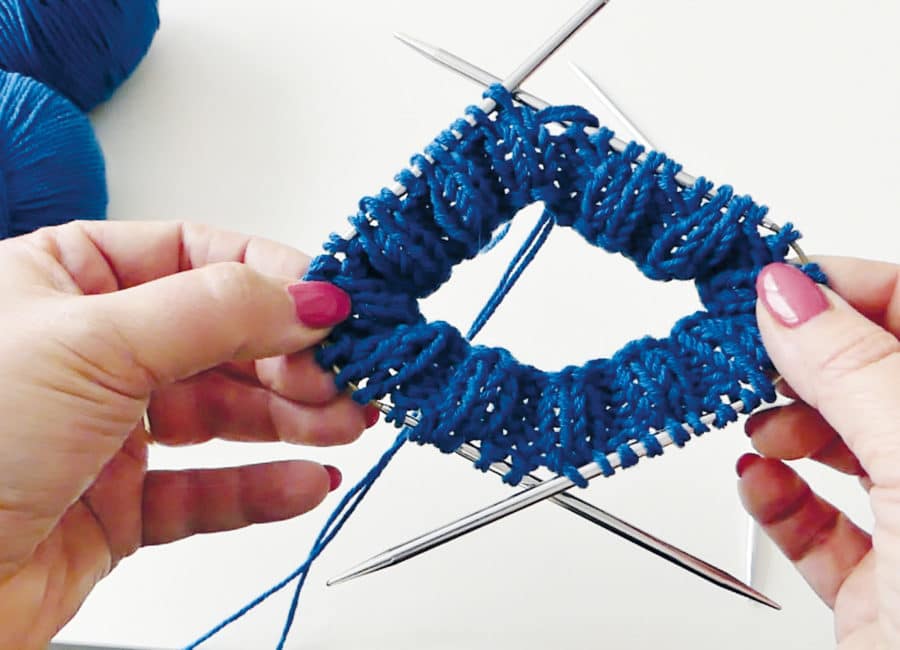
Now start the decreases. Divide the number of stitches per needle by 4 and place a stitch marker after each quarter (= 3 markers per needle).
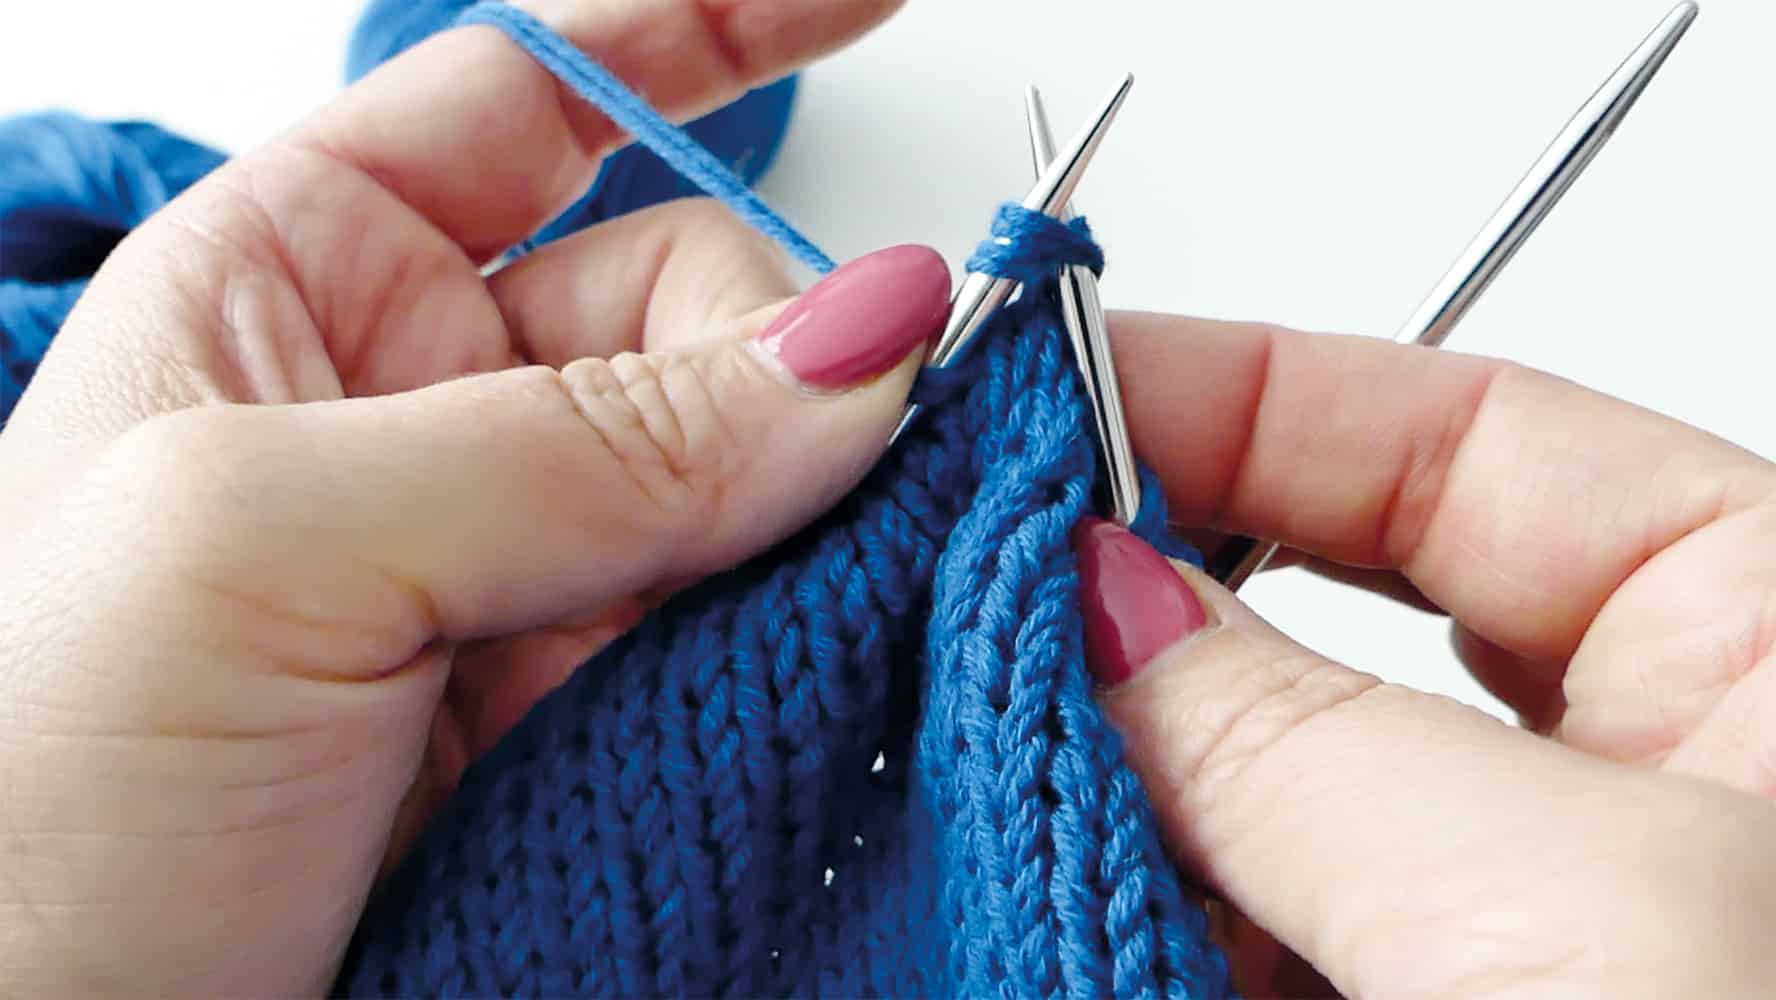
- *knit to 2 stitches before marker, knit 2 together*
-
Repeat these two rounds until 16 stitches remain on each needle.
-
Repeat these 2 rounds until you have 16 stitches left on each needle.
Step 8:
From now on you will decrease in each round as follows:
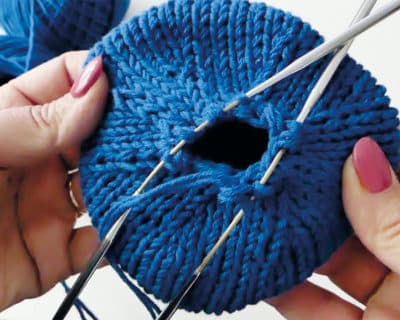
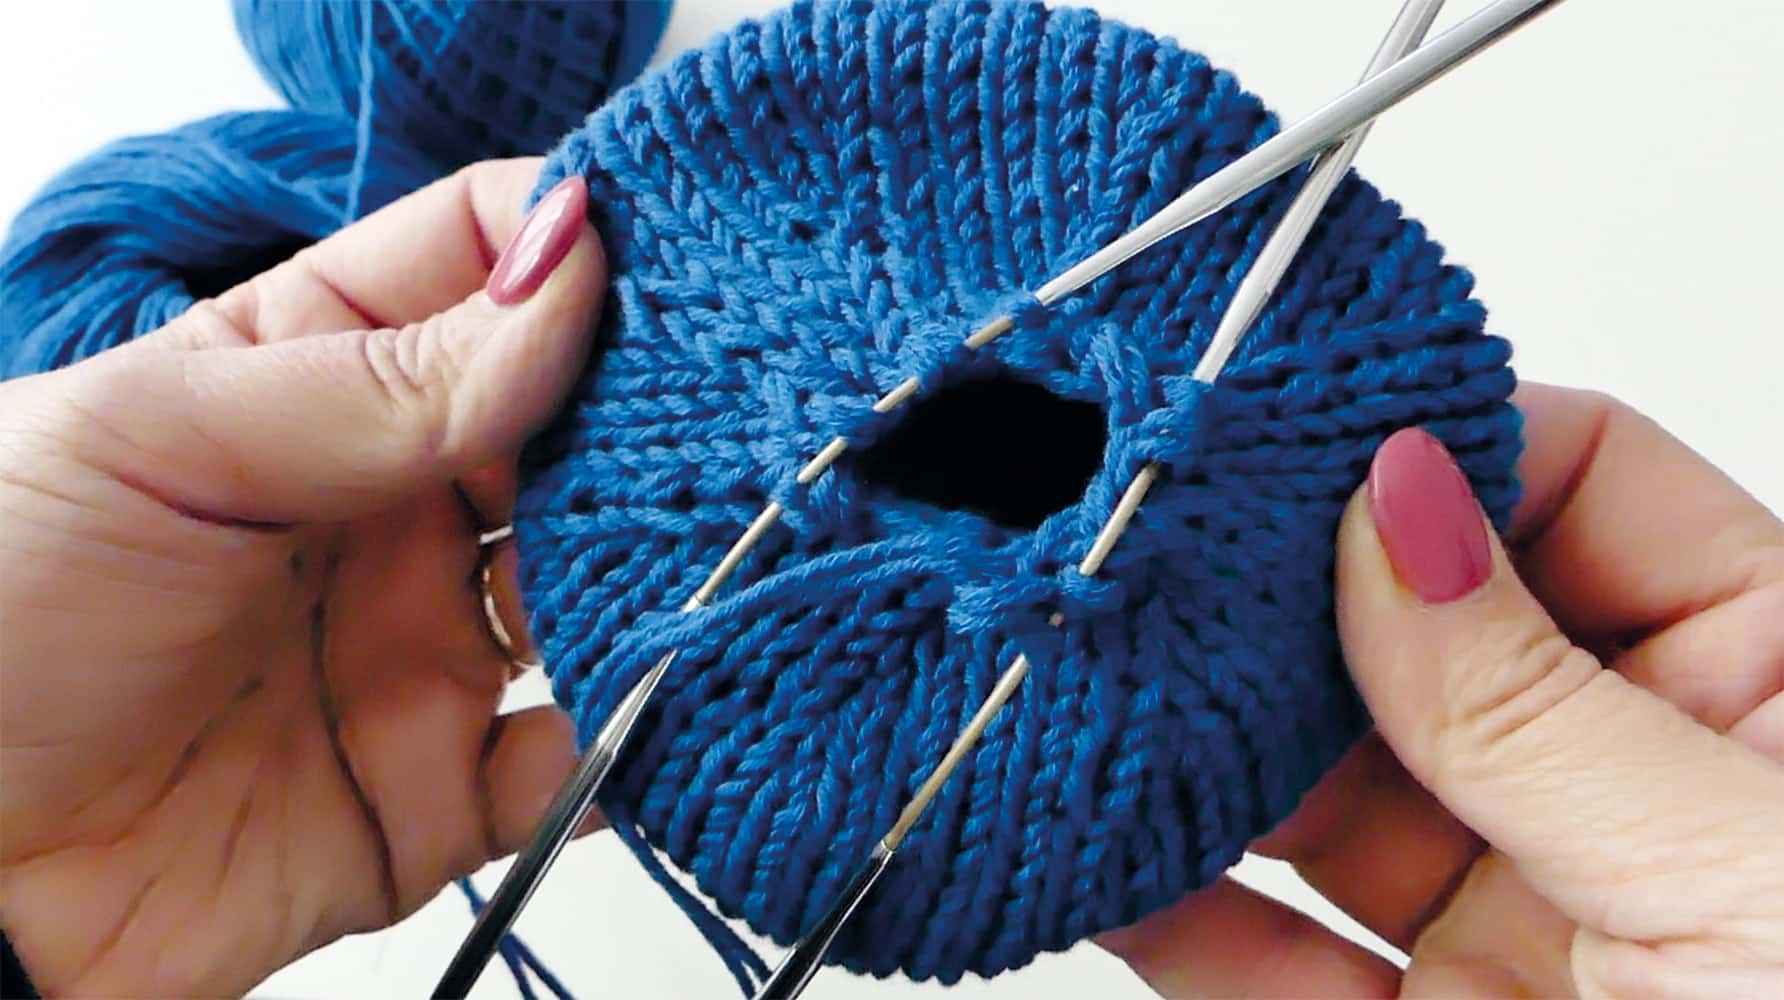
- *Knit to 2 stitches before the marker, knit 2 together* Repeat from * to * until you have 4 stitches left on each needle.
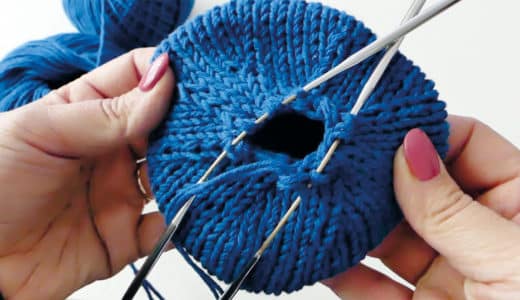
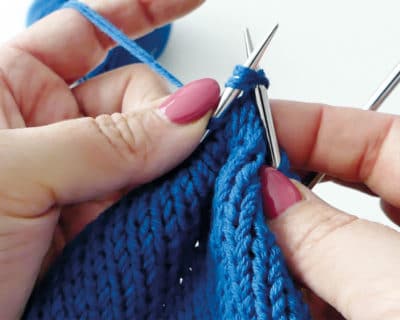
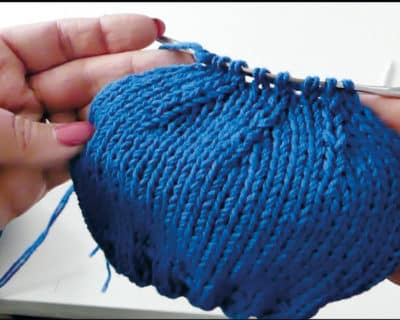
Step 8:
From now on you will decrease in each round as follows:
- *Knit to 2 stitches before the marker, knit 2 together* Repeat from * to * until you have 4 stitches left on each needle.
Knitting beanie – finishing
Step 9:
- Cut the thread and leave a 20 cm tail.
-
Thread it onto a darning needle and pull through all stitches twice in a circle.
Knitting beanie – finishing
Step 9:
- Cut the thread and leave a 20 cm tail.
-
Thread it onto a darning needle and pull through all stitches twice in a circle.
Beanie Hat Knitting - Instruction Video
Instruction video for knitting a beanie hat with the addiCraSyTrio. In this video Sylvie Rasch explains in detail how it works.
