Knitting
Boomerang Heel
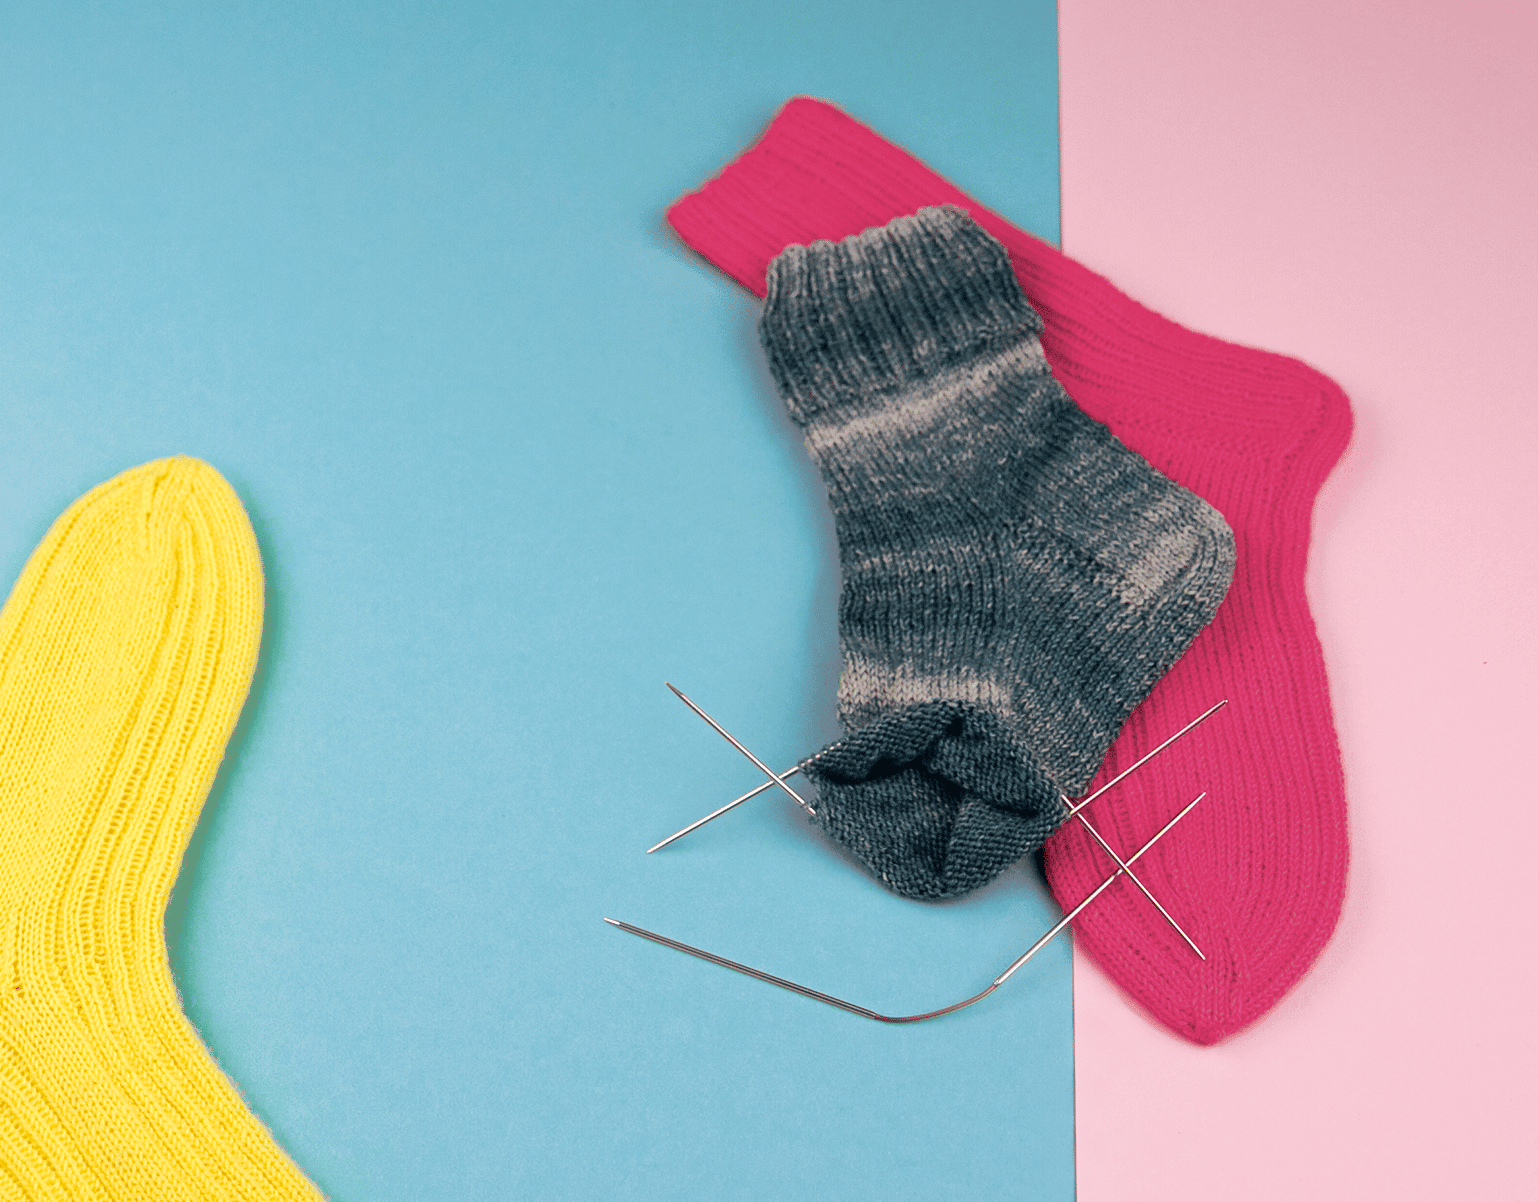
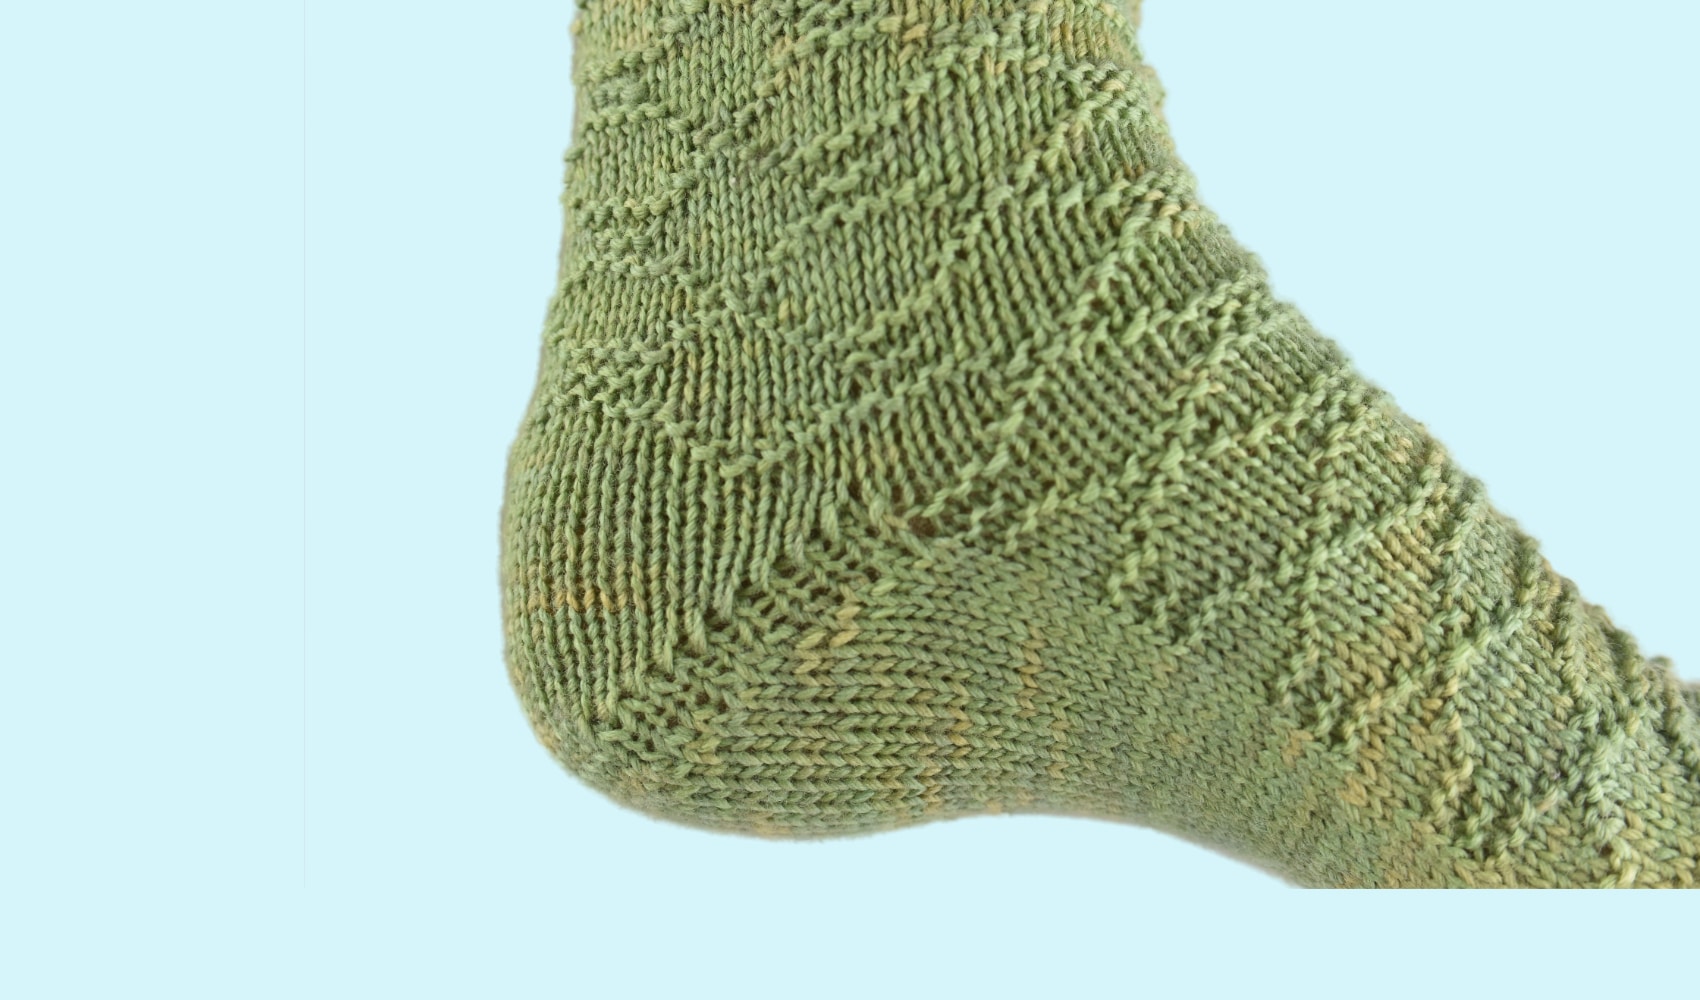
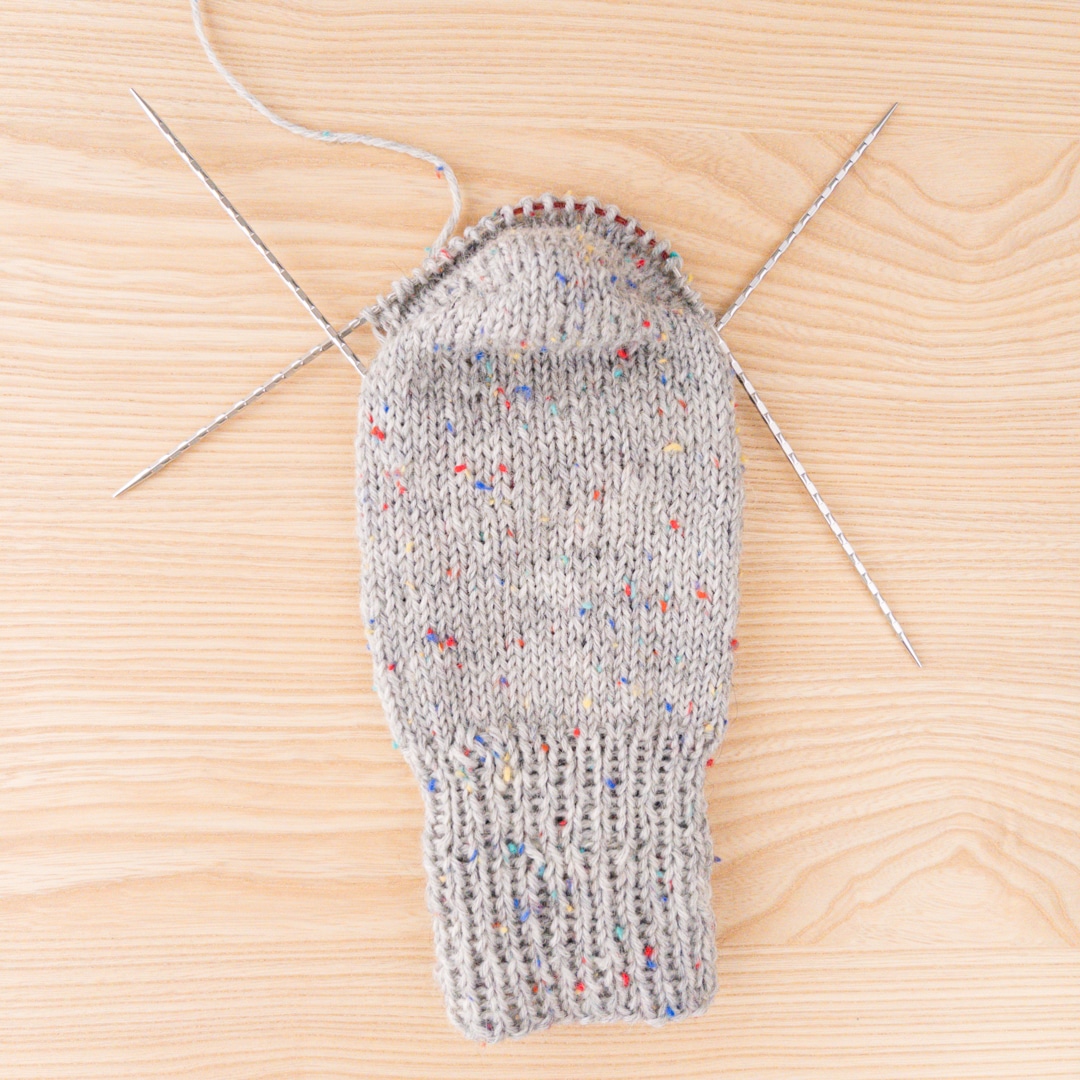
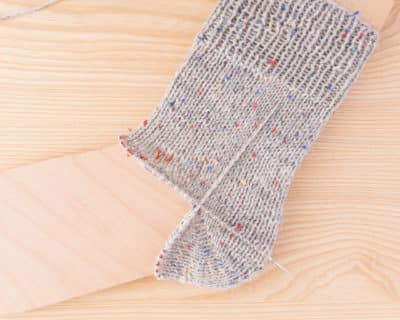
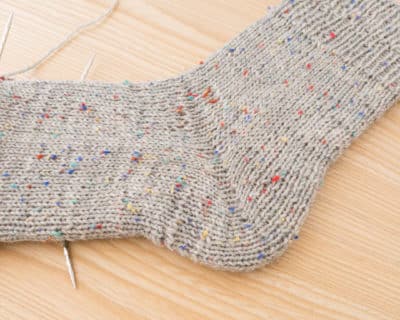
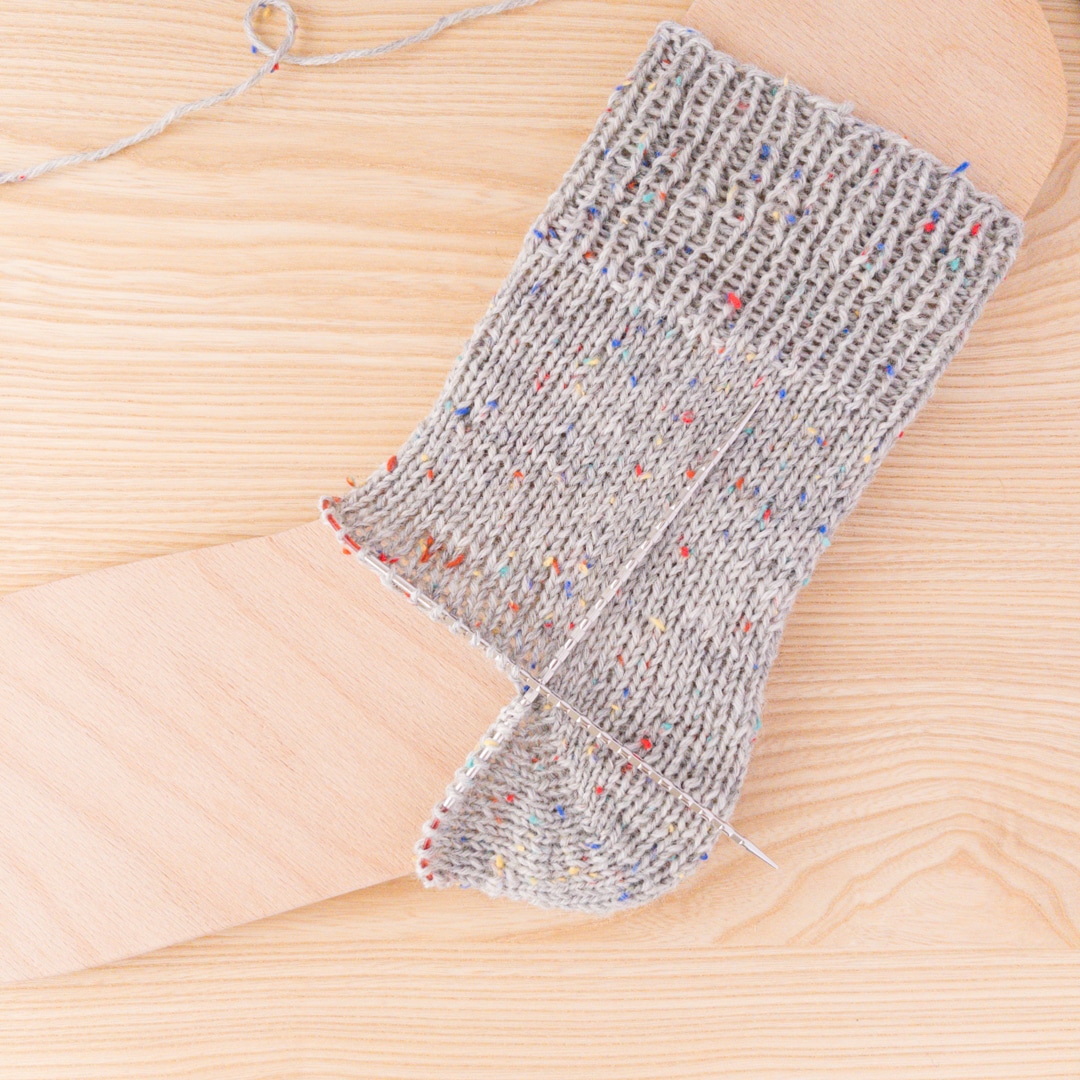
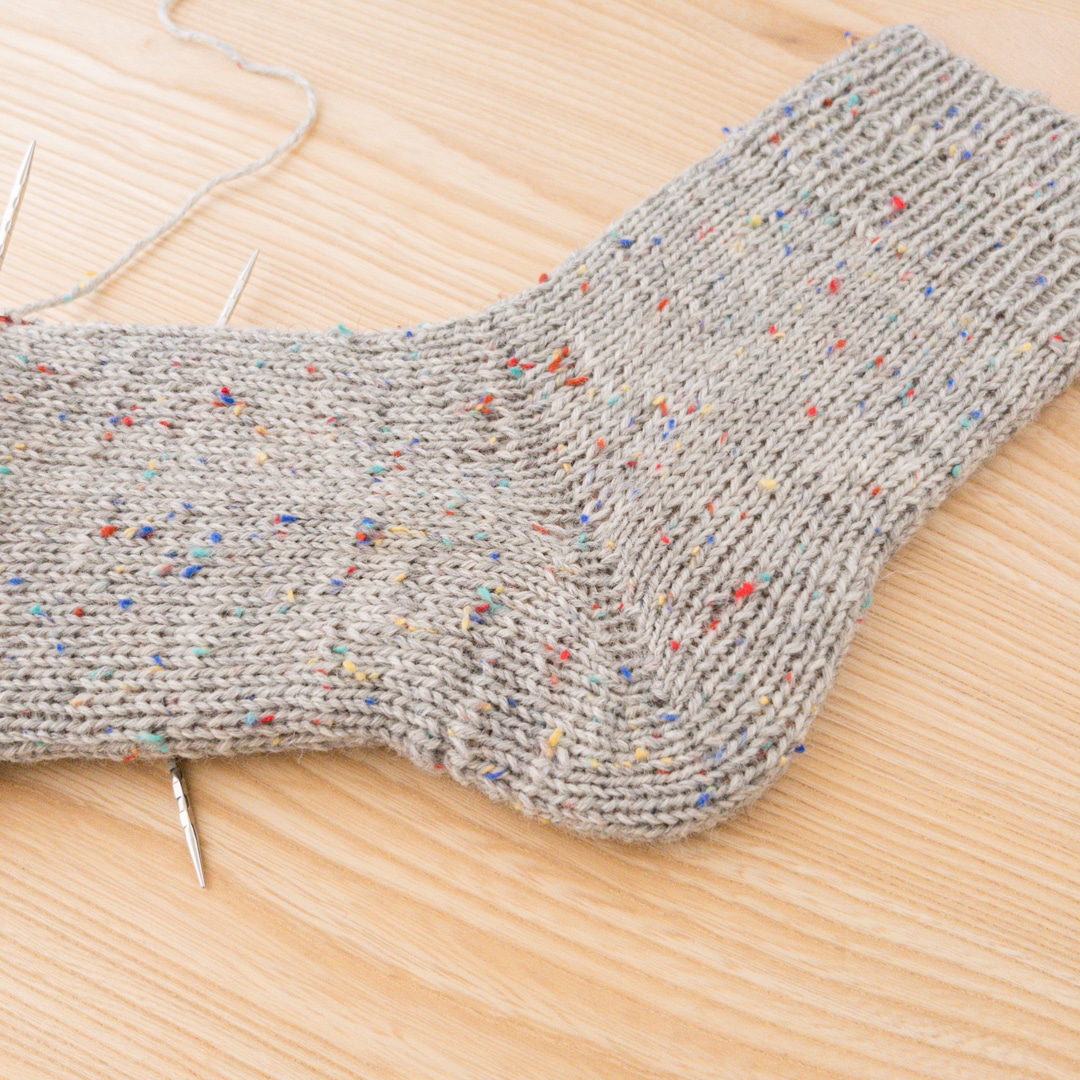
The boomerang heel (also known as the yoyo heel) is particularly simple and suitable for beginners. It is created by german short rows. The heel is formed by knitting two trapezoids.
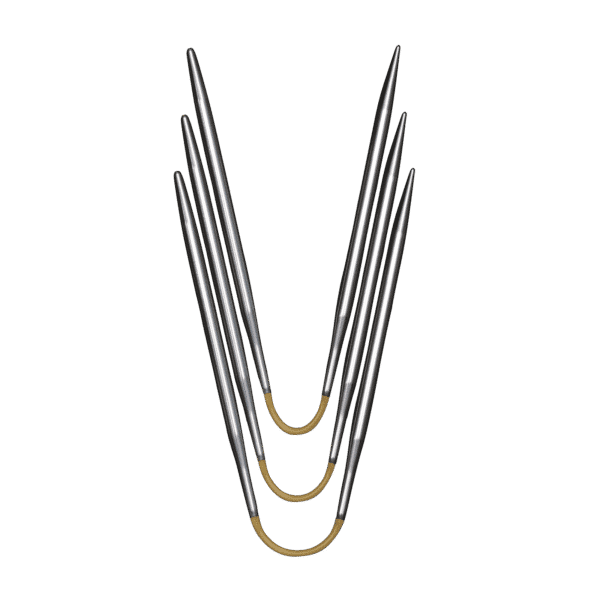
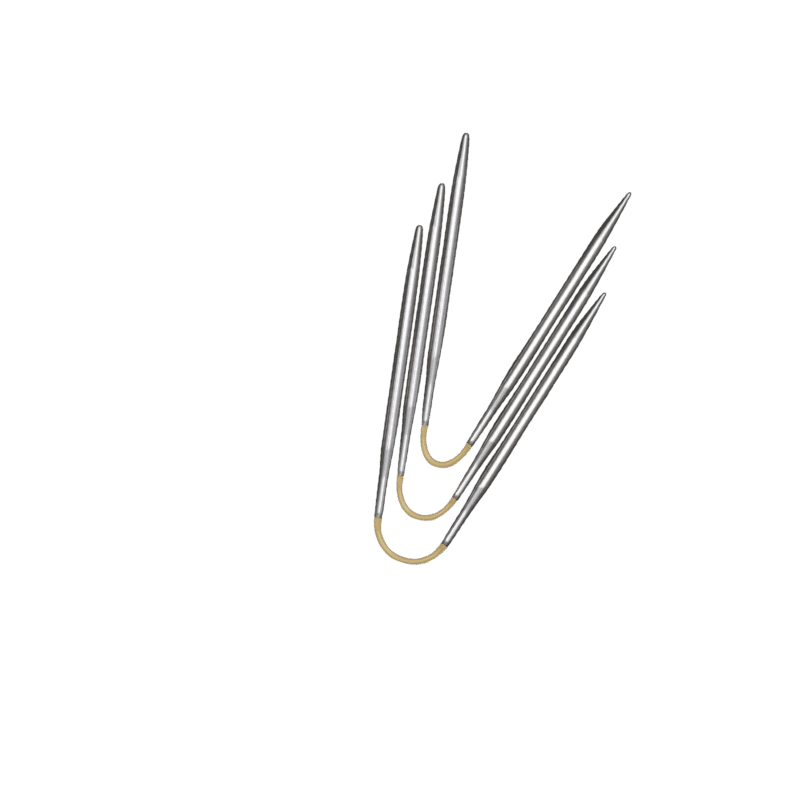
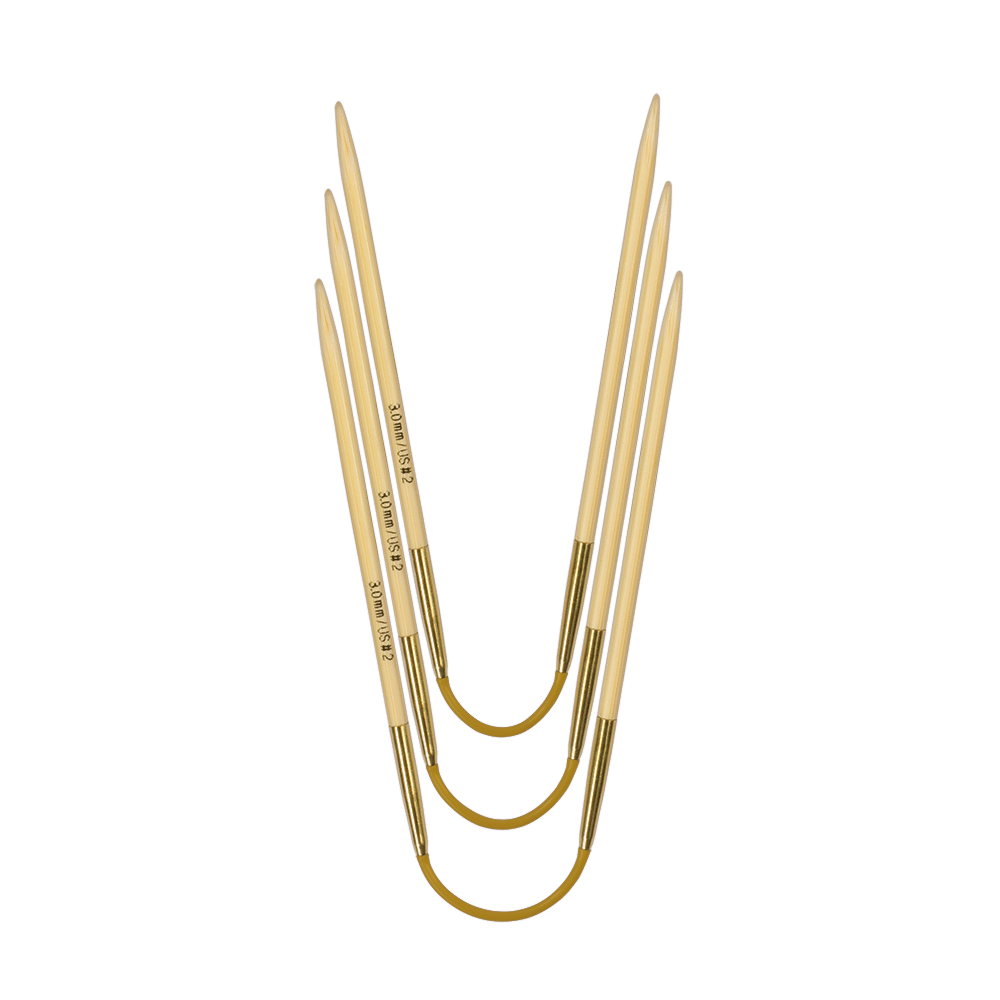
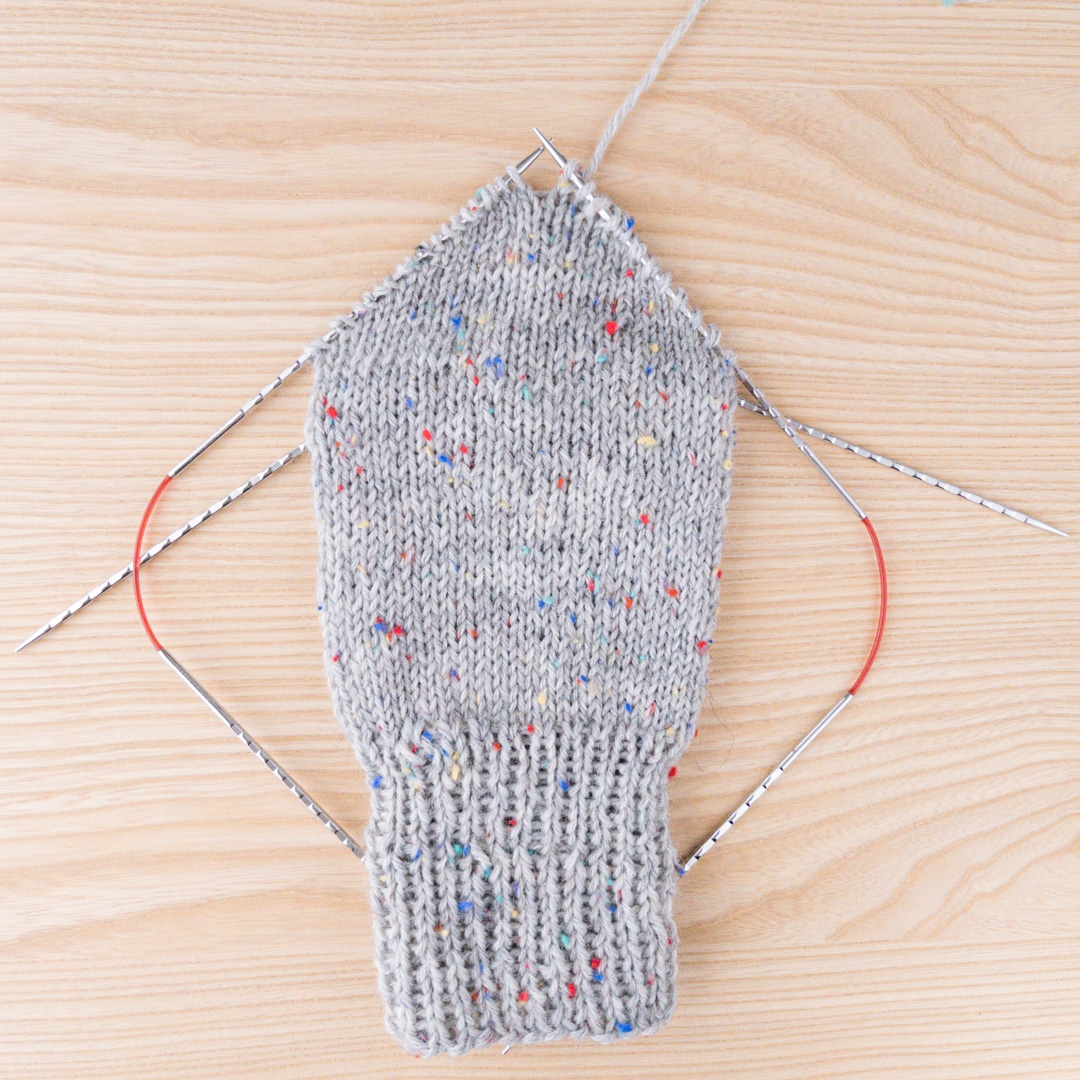
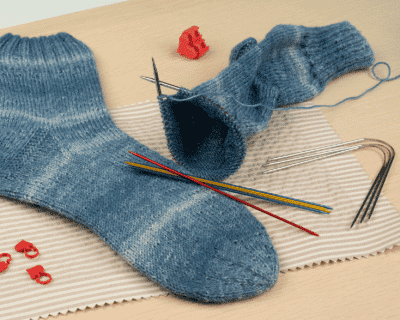
In this tutorial we describe step by step how to knit the boomerang heel with short rows – with addiCraSyTrio, DPN or Sockwonder.
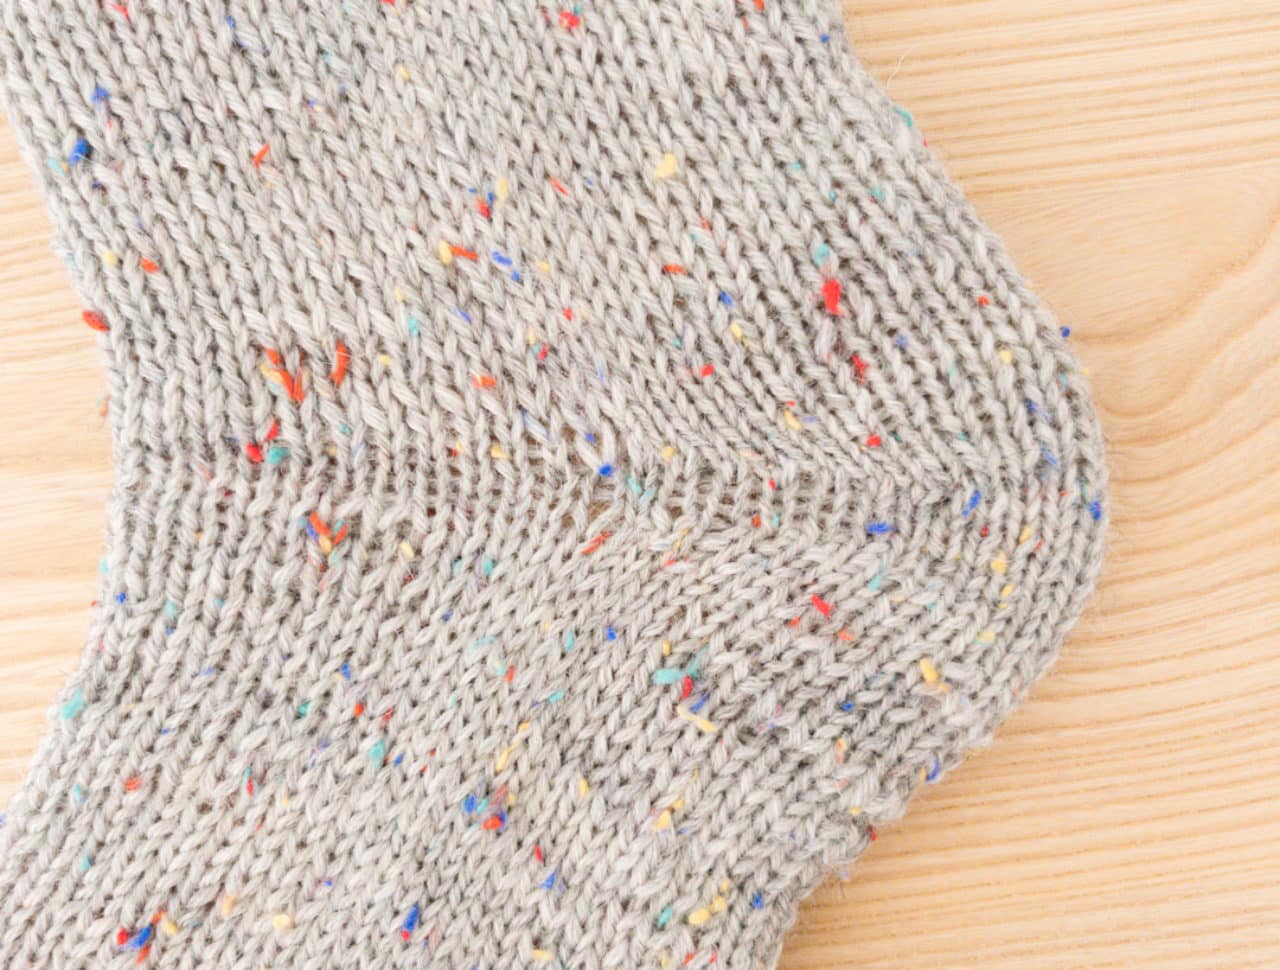
Characteristics of the boomerang heel:
Foot instep height: ♥♡♡♡♡
Wide heel: ♥♥♡♡♡
Yarn consumption: Low
Technique: ↑ Toe-Up und ↓ Top-Down
Customizability: Difficult due to shortened rows of existing stitches. Alternatives for a higher instep are shadow wrap heel, round boomerang heel or round hybrid heel.
Usage: For color-contrasting heels with color gap in the round and for Fair Isle socks
Sock chart Top-Down
(from the cuff to the toe)
Sock chart Top-Down 4-ply:
- Sock wool 4‐ply (420m, 100g) (384 yd, 3.5 oz)
- Gauge: 30 stitches/ 42 rows = 4″x4″ (10×10 cm)
| Shoe size EU | 17/18 | 19/20 | 20/21 | 22/23 | 24/25 | 26/27 | 28/29 | 30/31 | 32/33 | 34/35 | 36/37 | 38/39 | 40/41 | 42/43 | 44/45 | 46/47 | 48/49 |
| Stitches total CO | 36 | 36 | 40 | 40 | 44 | 48 | 48 | 52 | 52 | 56 | 56 | 60 | 60 | 64 | 68 | 72 | 76 |
| Sts per needle addiCraSyTrio | 18 | 18 | 20 | 20 | 22 | 24 | 24 | 26 | 26 | 28 | 28 | 30 | 30 | 32 | 34 | 36 | 38 |
| Sts per needle dpn | 9 | 9 | 10 | 10 | 11 | 12 | 12 | 13 | 13 | 14 | 14 | 15 | 15 | 16 | 17 | 18 | 19 |
| Sts for heel | 18 | 18 | 20 | 20 | 22 | 24 | 24 | 26 | 26 | 28 | 28 | 30 | 30 | 32 | 34 | 36 | 38 |
| Heels: | |||||||||||||||||
| Spreading sts for Boomerang + Classic heel |
6/6/6 | 6/6/6 | 7/6/7 | 7/6/7 | 7/8/7 | 8/8/8 | 8/8/8 | 9/8/9 | 9/8/9 | 9/10/9 | 9/10/9 | 10/10/10 | 10/10/10 | 11/10/11 | 11/12/11 | 12/12/12 | 12/14/12 |
Sock chart Top-Down 6-ply:
- Sock wool 6‐ply (380m, 150g) (347 yd, 5.3 oz)
- Gauge: 22 stitches/ 30 rows = 4″x4″ (10×10 cm)
| Shoe size EU | 17/18 | 19/20 | 20/21 | 22/23 | 24/25 | 26/27 | 28/29 | 30/31 | 32/33 | 34/35 | 36/37 | 38/39 | 40/41 | 42/43 | 44/45 | 46/47 | 48/49 |
| Stitches total CO | 28 | 28 | 32 | 32 | 36 | 36 | 40 | 40 | 44 | 44 | 48 | 48 | 52 | 52 | 56 | 56 | 60 |
| Sts per needle addiCraSyTrio | 14 | 14 | 16 | 16 | 18 | 18 | 20 | 20 | 22 | 22 | 24 | 24 | 26 | 26 | 28 | 28 | 30 |
| Sts per needle dpn | 7 | 7 | 8 | 8 | 9 | 9 | 10 | 10 | 11 | 11 | 12 | 12 | 13 | 13 | 14 | 14 | 15 |
| Sts for heel | 14 | 14 | 16 | 16 | 18 | 18 | 20 | 20 | 22 | 22 | 24 | 24 | 26 | 26 | 28 | 36 | 38 |
| Heels: | |||||||||||||||||
| Spreading sts for Boomerang + Classic heel |
4/6/4 | 4/6/4 | 5/6/5 | 7/6/7 | 7/8/7 | 8/8/8 | 8/8/8 | 9/8/9 | 9/8/9 | 9/10/9 | 9/10/9 | 10/10/10 | 10/10/10 | 11/10/11 | 11/12/11 | 12/12/12 | 12/14/12 |
Sock chart Top-Down 8-ply:
- Sock wool 8‐ply (300m, 150g) (274 yd, 5.3 oz)
- Gauge: 20 stitches/ 28 rows = 4″x4″ (10×10 cm)
| Shoe size EU | 17/18 | 19/20 | 20/21 | 22/23 | 24/25 | 26/27 | 28/29 | 30/31 | 32/33 | 34/35 | 36/37 | 38/39 | 40/41 | 42/43 | 44/45 | 46/47 | 48/49 |
| Stitches total CO | 24 | 24 | 28 | 28 | 32 | 32 | 36 | 36 | 40 | 40 | 44 | 44 | 48 | 48 | 52 | 52 | 56 |
| Sts per needle addiCraSyTrio | 12 | 12 | 14 | 14 | 16 | 16 | 18 | 18 | 20 | 20 | 22 | 22 | 24 | 24 | 26 | 26 | 28 |
| Sts per needle dpn | 6 | 6 | 7 | 7 | 8 | 8 | 9 | 9 | 10 | 10 | 11 | 11 | 12 | 12 | 13 | 13 | 14 |
| Sts for heel | 12 | 12 | 14 | 14 | 16 | 16 | 18 | 18 | 20 | 20 | 22 | 22 | 24 | 24 | 26 | 26 | 28 |
| Heels: | |||||||||||||||||
| Spreading sts for Boomerang + Classic heel |
4/4/4 | 4/4/4 | 4/6/4 | 4/6/4 | 5/6/5 | 5/6/5 | 6/6/6 | 6/6/6 | 6/8/6 | 6/8/6 | 7/8/7 | 7/8/7 | 8/8/8 | 8/8/8 | 8/10/8 | 8/10/8 | 9/10/9 |
Knitting socks: The Boomerang Heel

Knitting socks: The Boomerang Heel
Knitting a boomerang heel - the beginning
The technique of the short rows is up to you. The technique of the German shortened rows is described here.
- Row 1: Knit all stitches to the end of your needle.
- Round 2: turn the work and place the thread to the front and pull it firmly to the back so that the first stitch becomes a double stitch. This double stitch is now slipped and the rest of the stitches are purled.
- Round 3: Turn the work and place the thread to the front, pull it firmly to the back to form another double stitch, which is now slipped. Knit stitches until BEFORE the last double stitch.
- Row 4: Turn the work over and place the thread to the front and pull it firmly to the back so that a double stitch is formed. This double stitch is now slipped. Purl until the the last double stitch.
Repeat rows 3 and 4 of the boomerang heel until 1/3 of the stitches on the right and 1/3 on the left have been worked into double stitches, leaving a smooth right middle section. The rows become shorter and shorter and you have now formed a trapezoid that is wide at the bottom and narrow at the top.
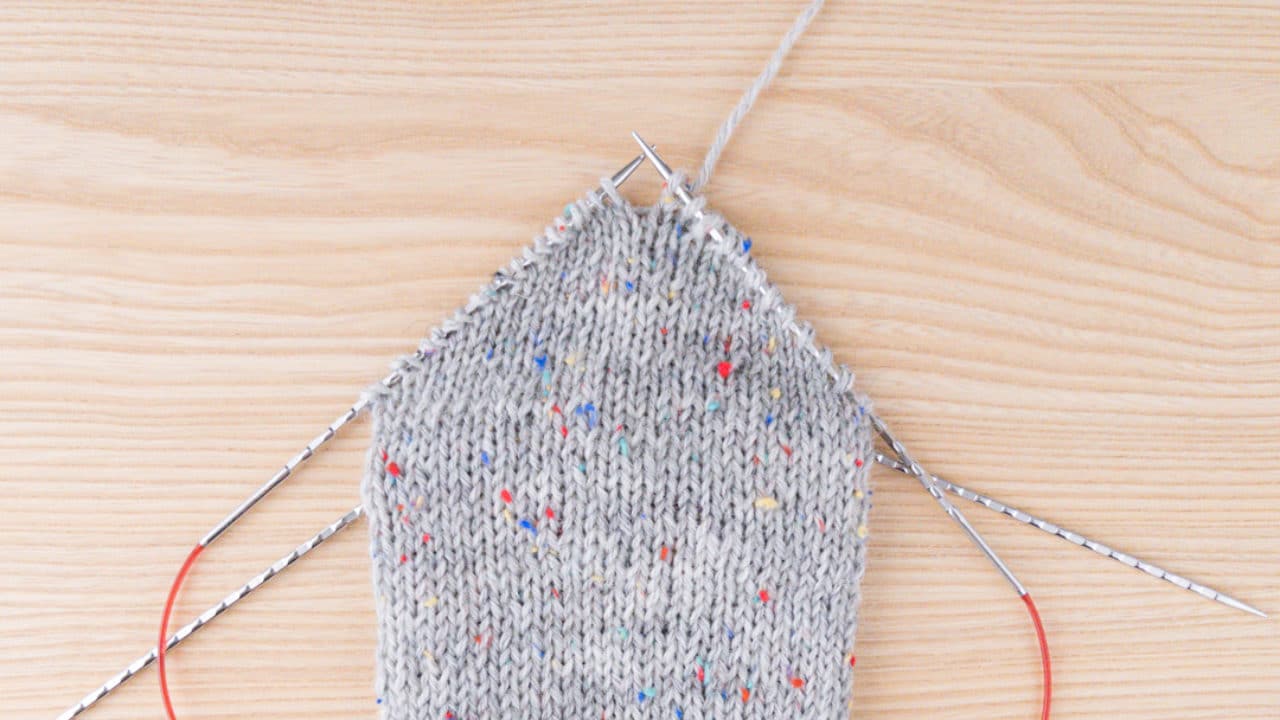
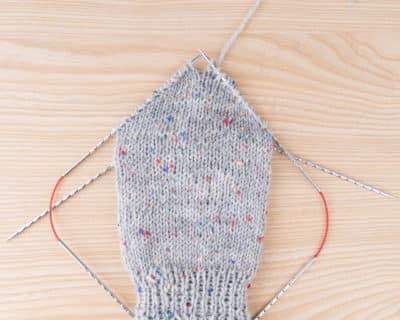
Knitting a boomerang heel - the centre part
Here you knit in rounds over all the stitches. To do this, the stitches of the middle section of the heel are now knitted. Work all the double stitches by knitting. The number of stitches does not change.
- Then continue knitting the stitches of the second needle in a pattern or stockinette, if the foot part is also to be patterned.
- Now also work the double stitches on the right side of the heel half by knitting them. Knit another 2 rounds over all stitches.
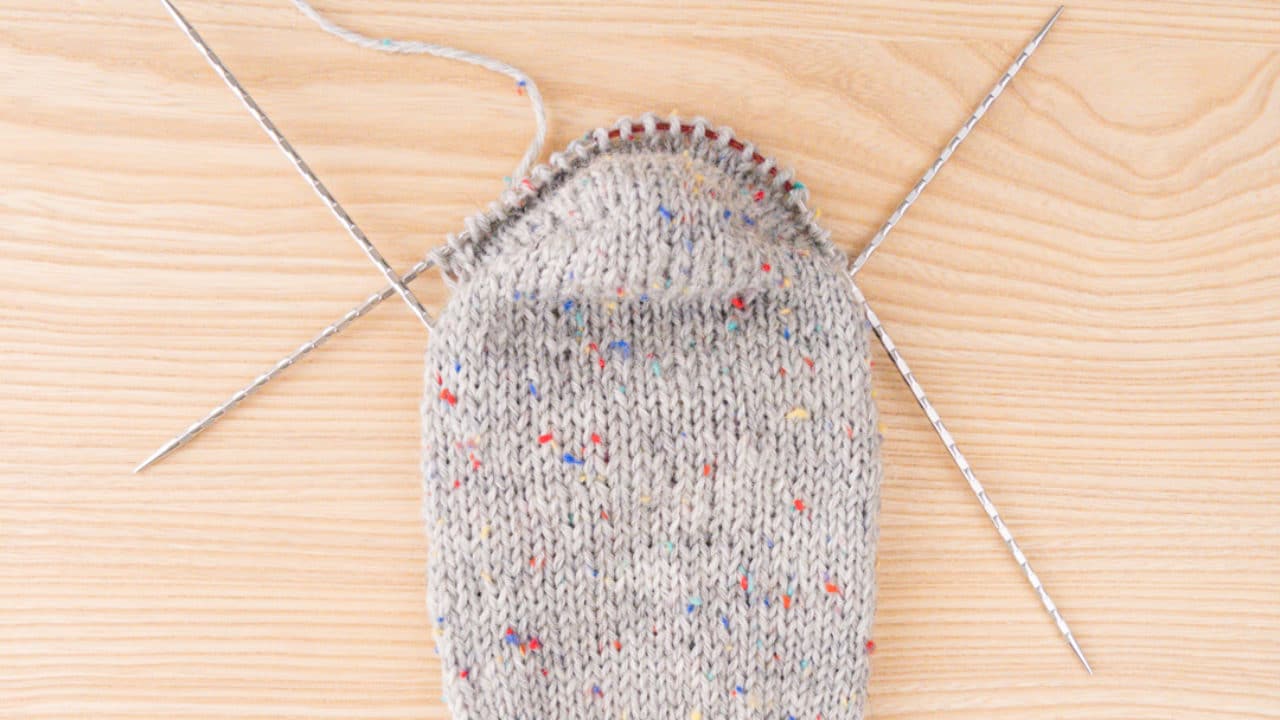
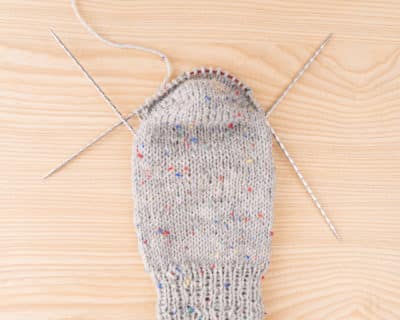
Knit boomerang heel - final part
Now you have to work a trapezoid again, but this time it is the mirror image of part 1. For this, work again in plain right in rows over the heel stitches only.
- Row 1: Knit the stitches of the right heel half and the stitches of the centre part. Knit one stitch.
- Round 2: Turn the work over and place the thread to the front and pull it firmly to the back so that a double stitch is formed. Now slipp this double stitch and knit the stitches of the middle part of the heel. Purl one.
- Round 3: Turn the work and place the thread to the front, pull it firmly to the back to form a double stitch again, which is now slipped. Knit stitches up to the double stitch, knit the double stitch. Knit one.
- Row 4: Turn the work over and place the thread to the front and pull it firmly to the back so that a double stitch is formed. This double stitch is now slippe. Then purl stitches up to the double stitch. The double stitch is purled. Purl one.
Repeat rows 3 and 4 until there is a double stitch on the right and left. The rows become longer and longer and you have now formed a trapezoid that is narrow at the bottom and wide at the top.
In the last outward row you no longer turn, but knit directly in rounds, by knitting the last double stitch and now working over the stitches on needle 2. At the beginning of needle 1 the double stitch is now also knitted.
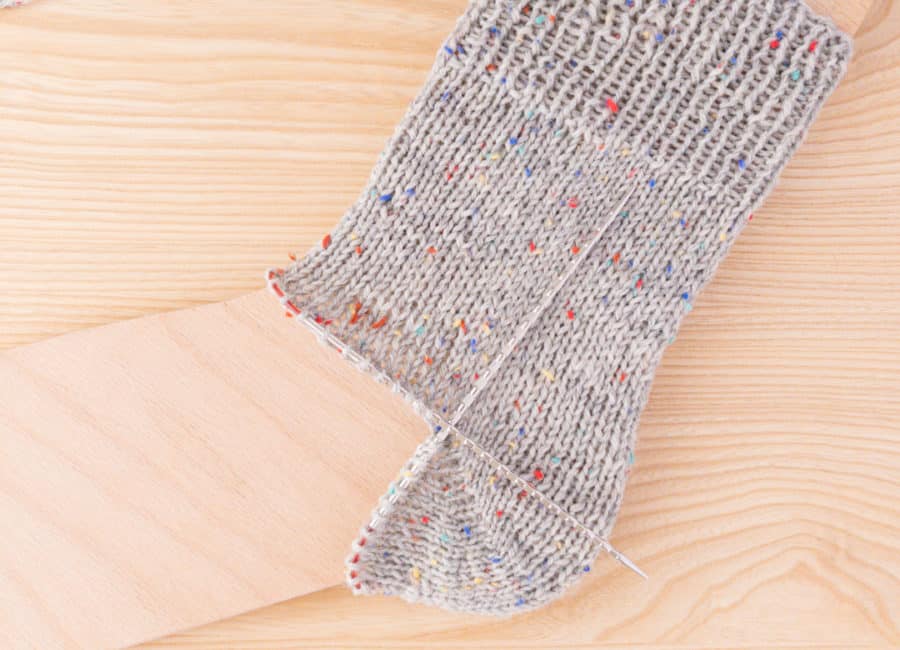
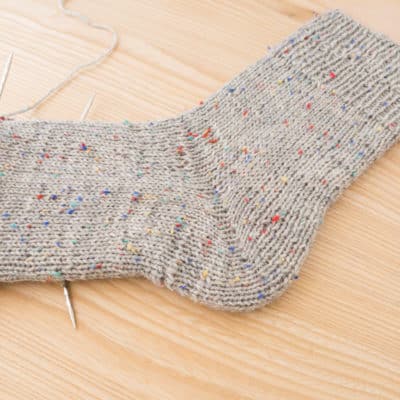
Once you have done this, your heel is finished and you can work the foot part.
Find out how to do it in our sock knitting tutorial:
Instruction video - Knit reinforced boomerang heel
The boomerang heel can also be knitted reinforced for more stability. You can find out how to do this in the Video tutorial by Sylvie Rasch - knitted with the addiCraSyTrio needles:
No matter how the boomerang heel is knitted, it can be reinforced in the following way in the comb pattern over half of the stitches:
- Right Side (row 1): alternating *k1, slip one purlwise* knit the last st for double stitch
- Wrong side: Work a double stitch, purl all sts, knit the last st for double stitch
- Right Side 2: Work a double stitch, alternating *slip one purlwise, k1*, knit the last st for double stitch
Repeat the Right Side 2 and Wrong Side according to the instructions above. The sliped stitches are always staggered to create the comb pattern.
