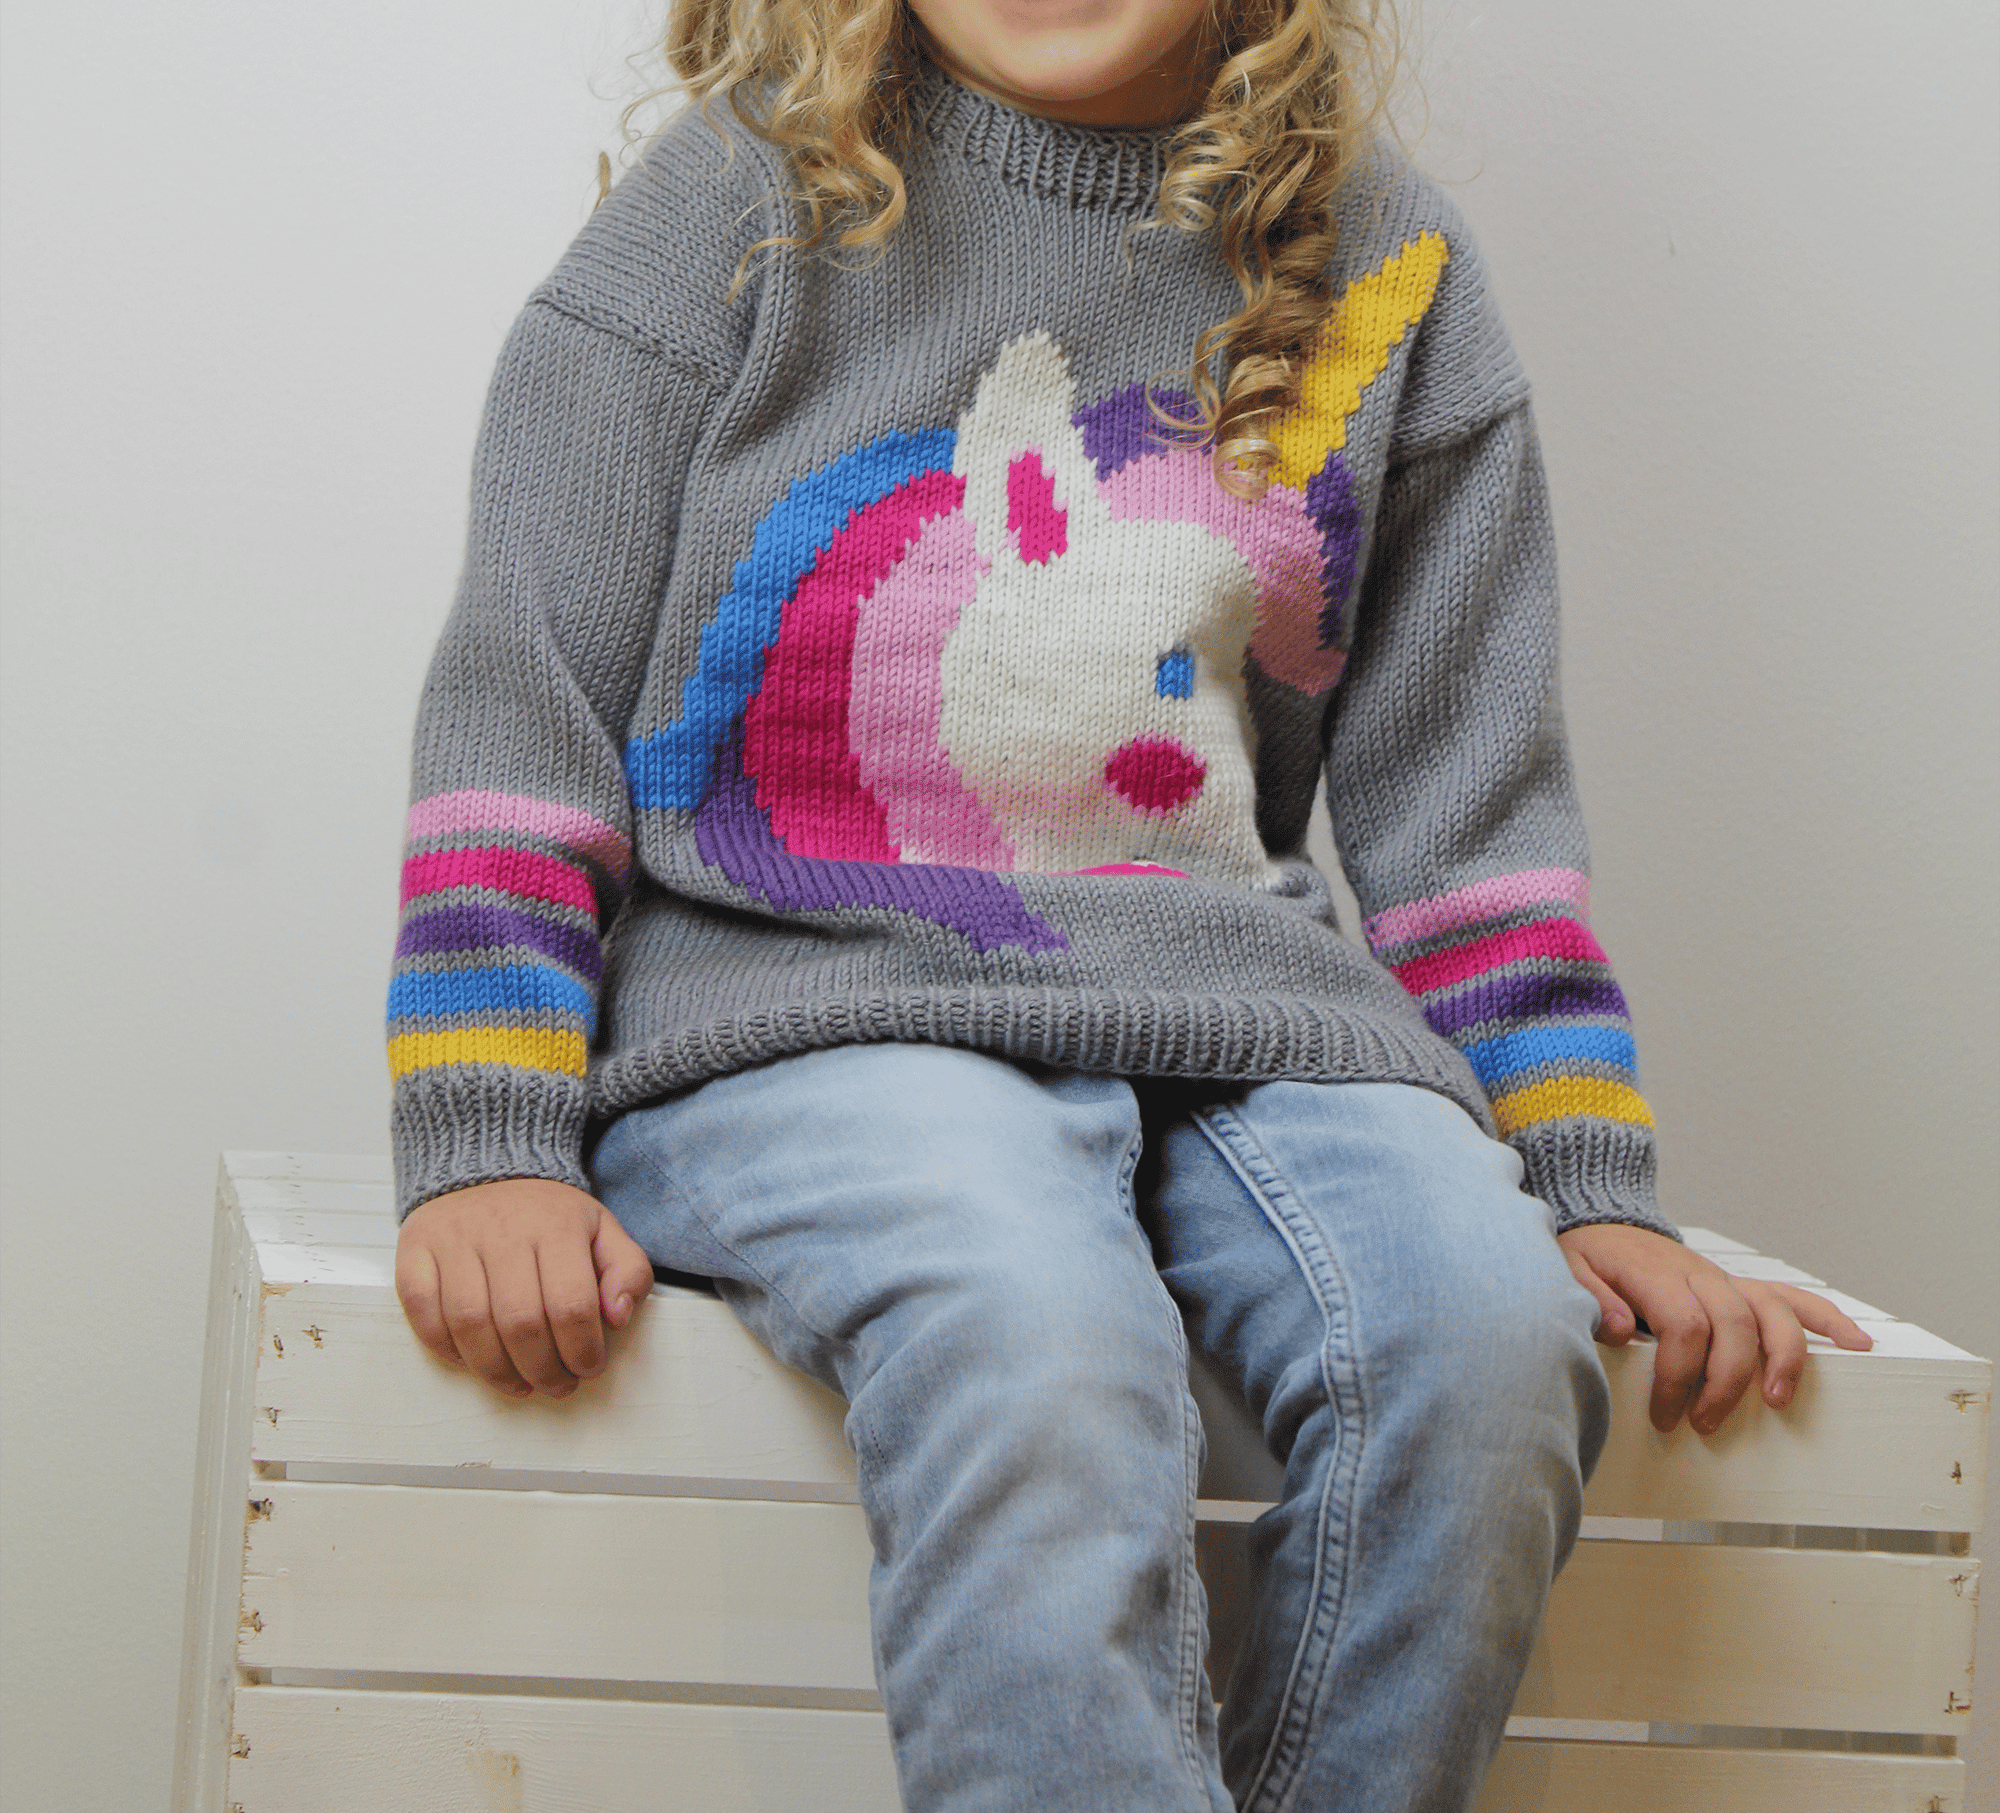
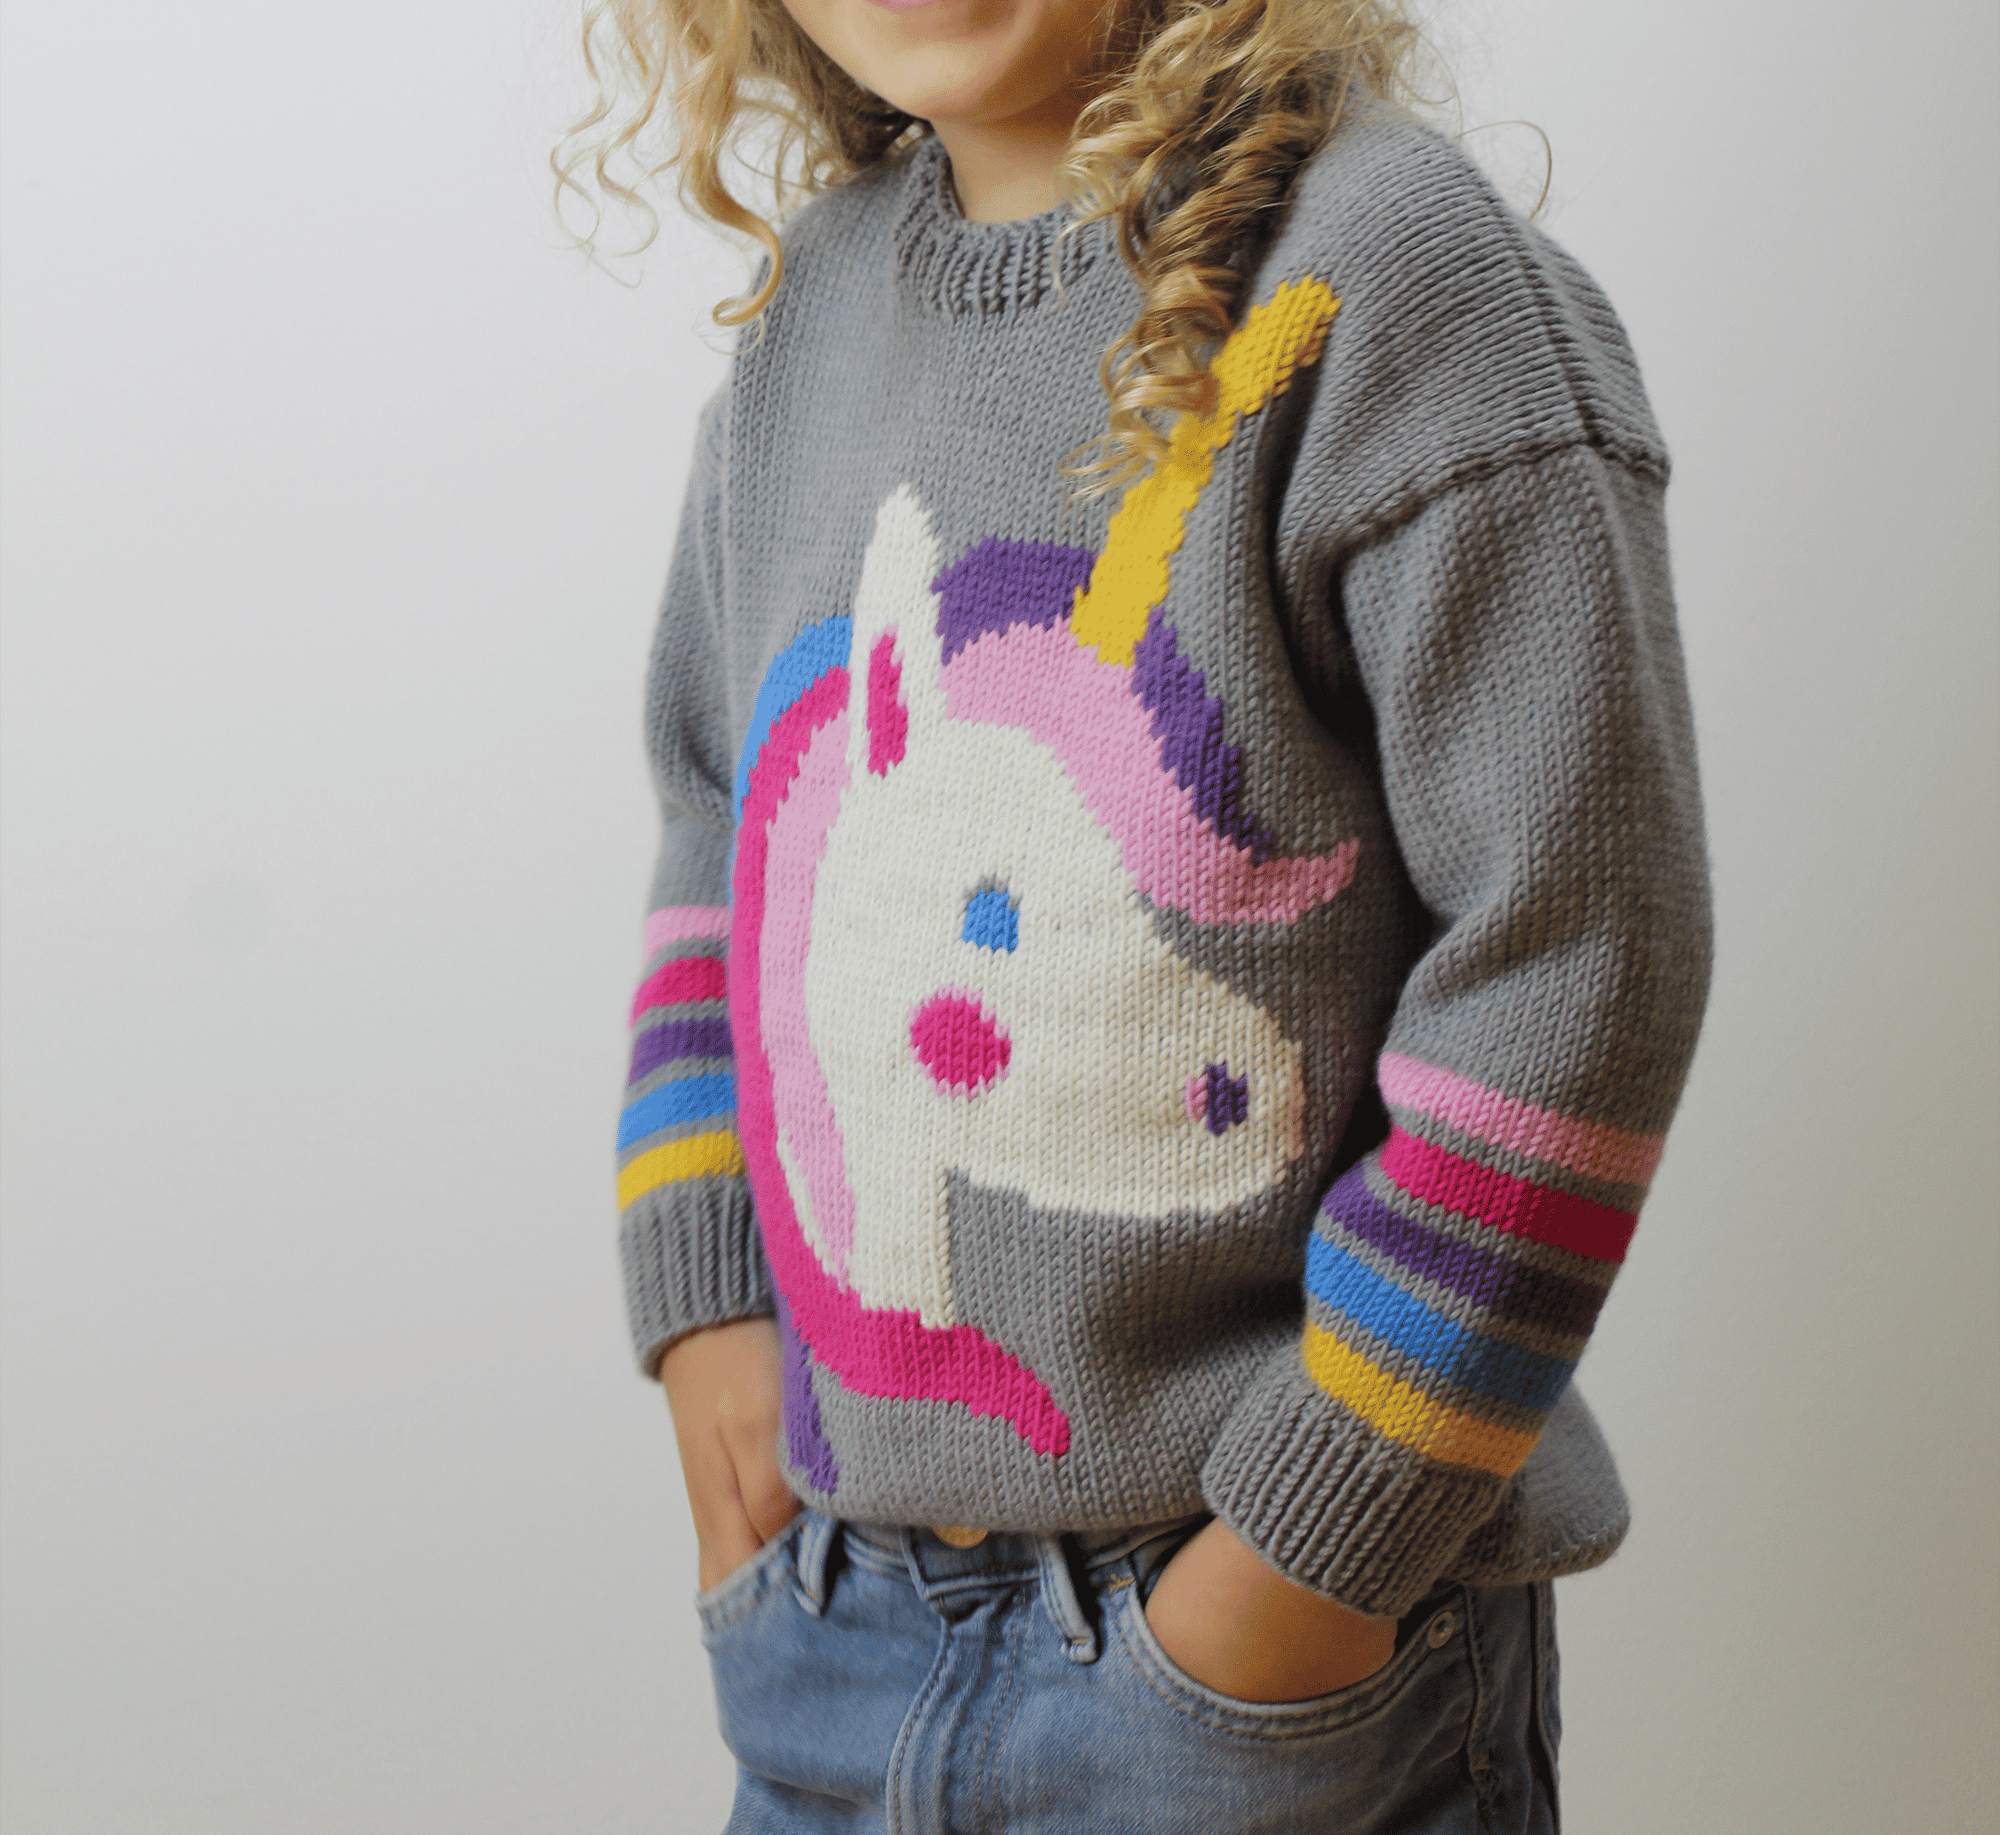
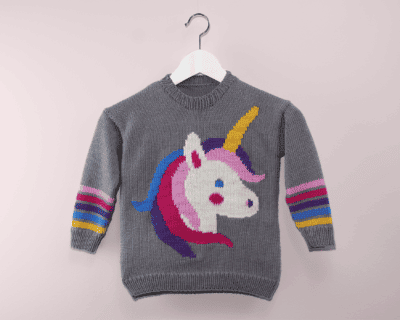
Magic kids sweater
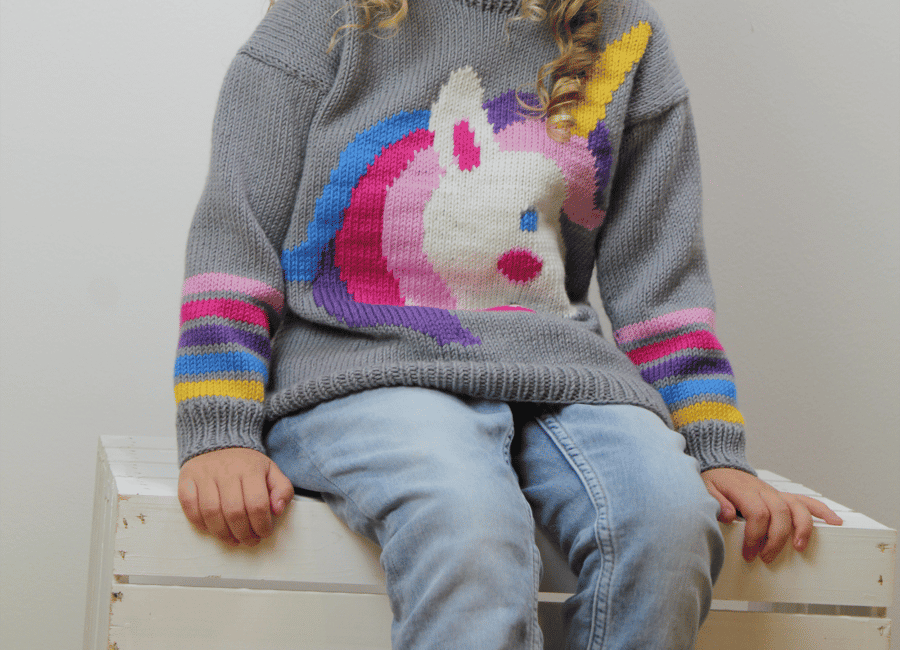
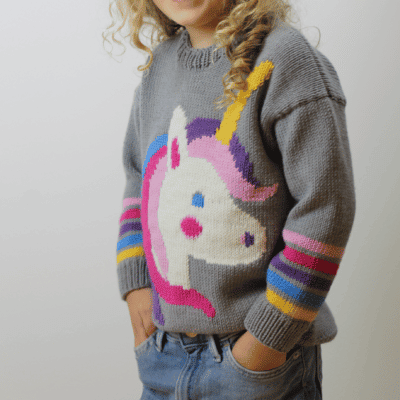
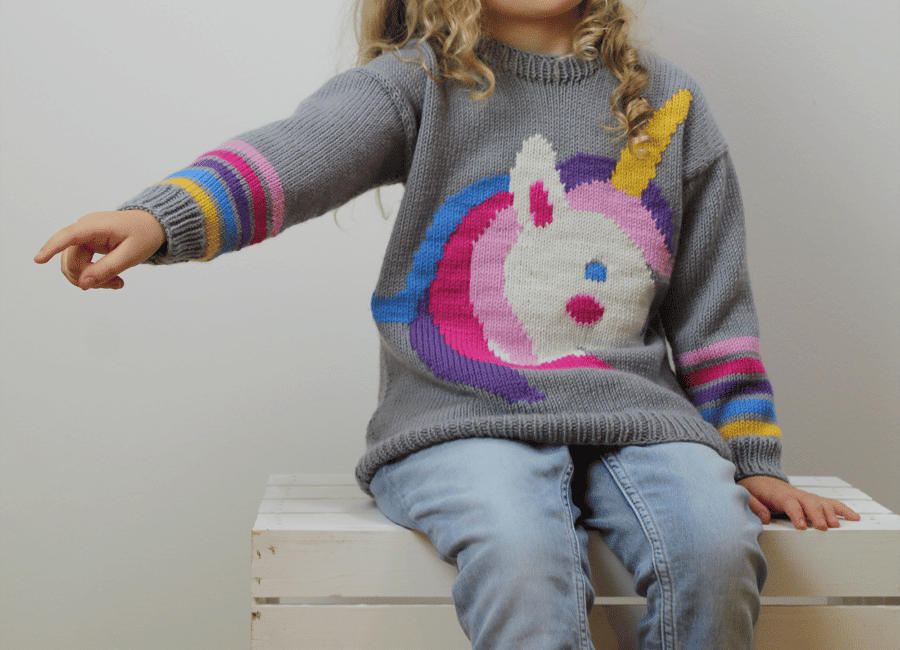
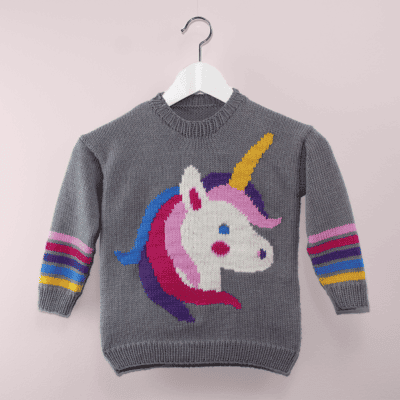
‘Unicorn’
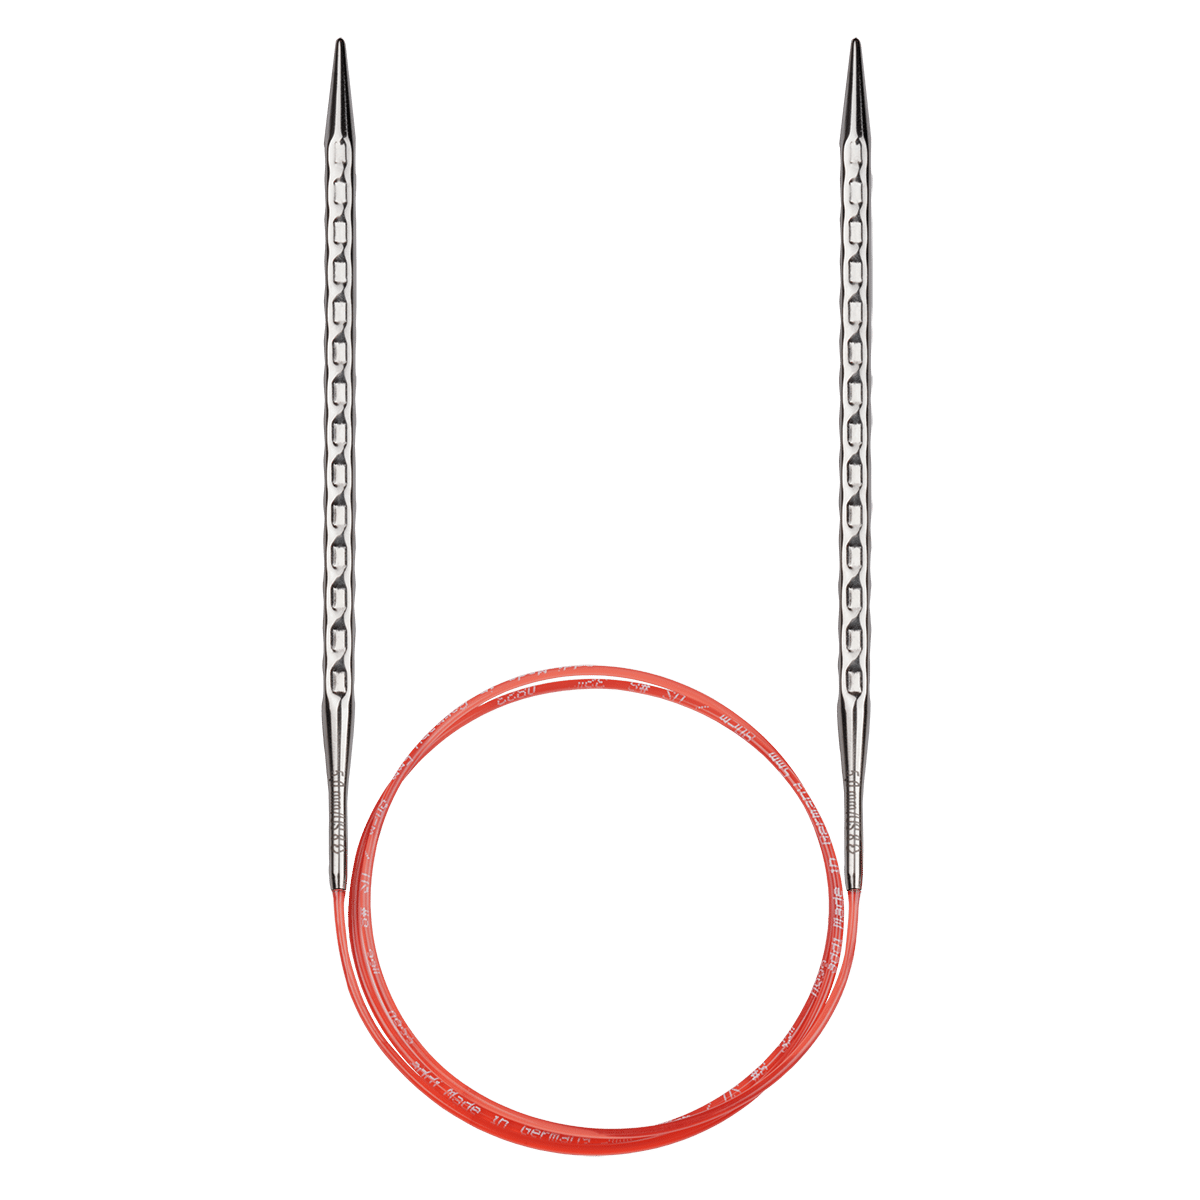
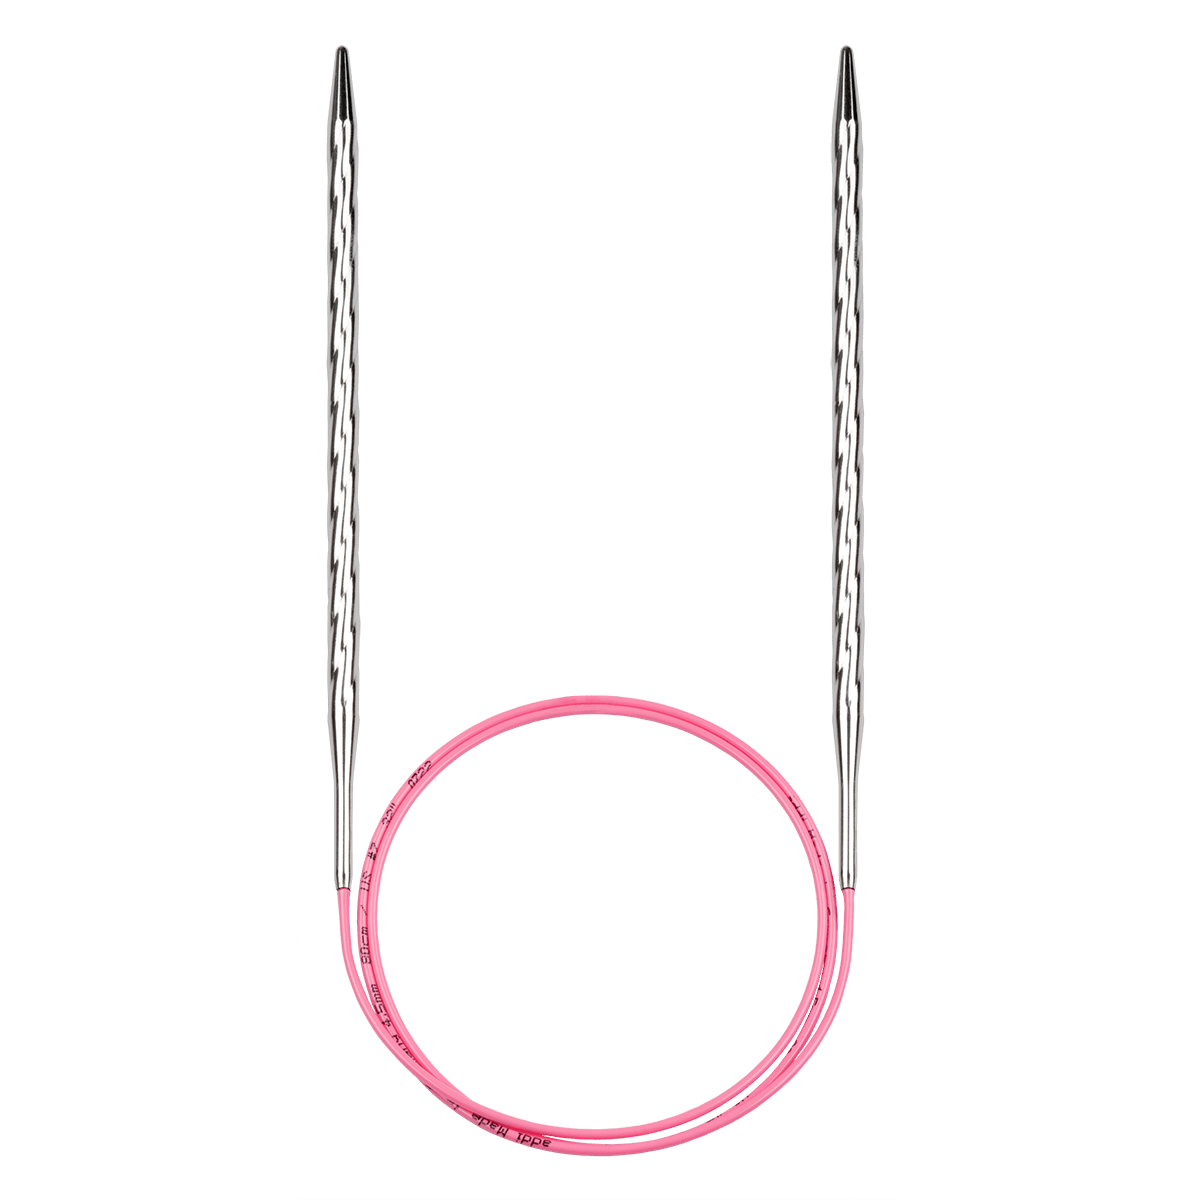
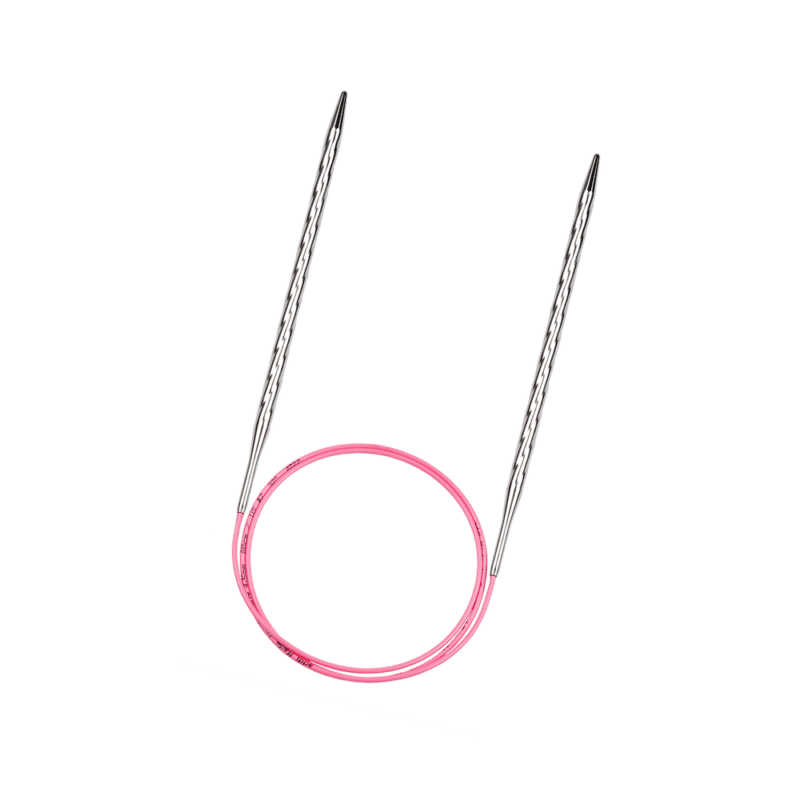
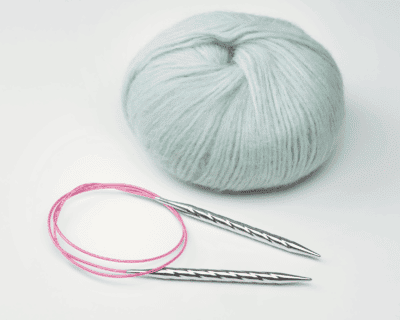
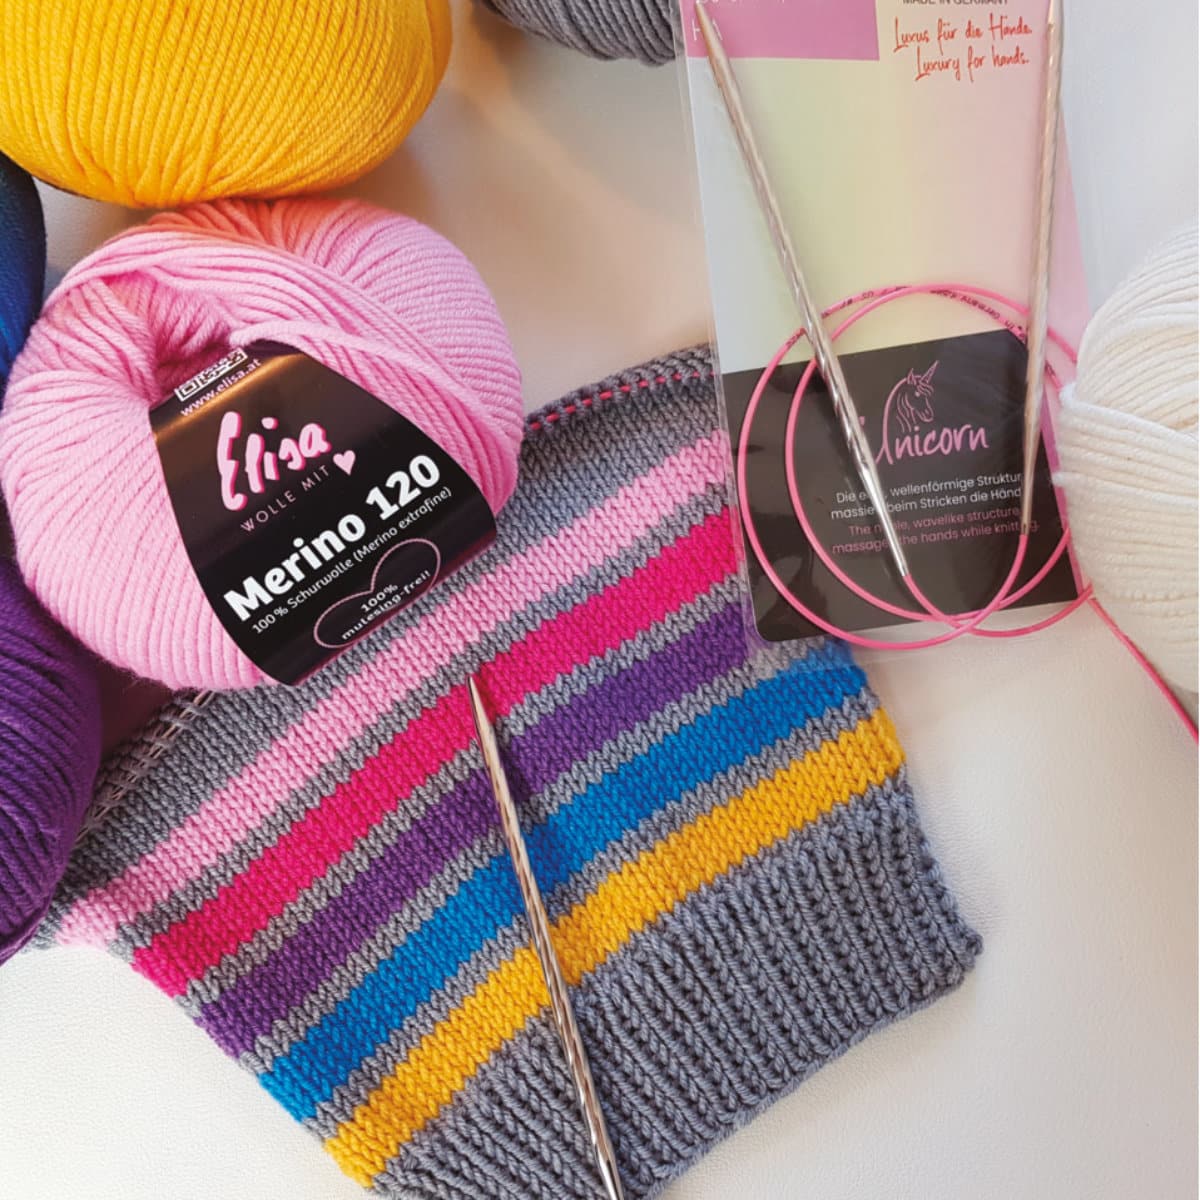
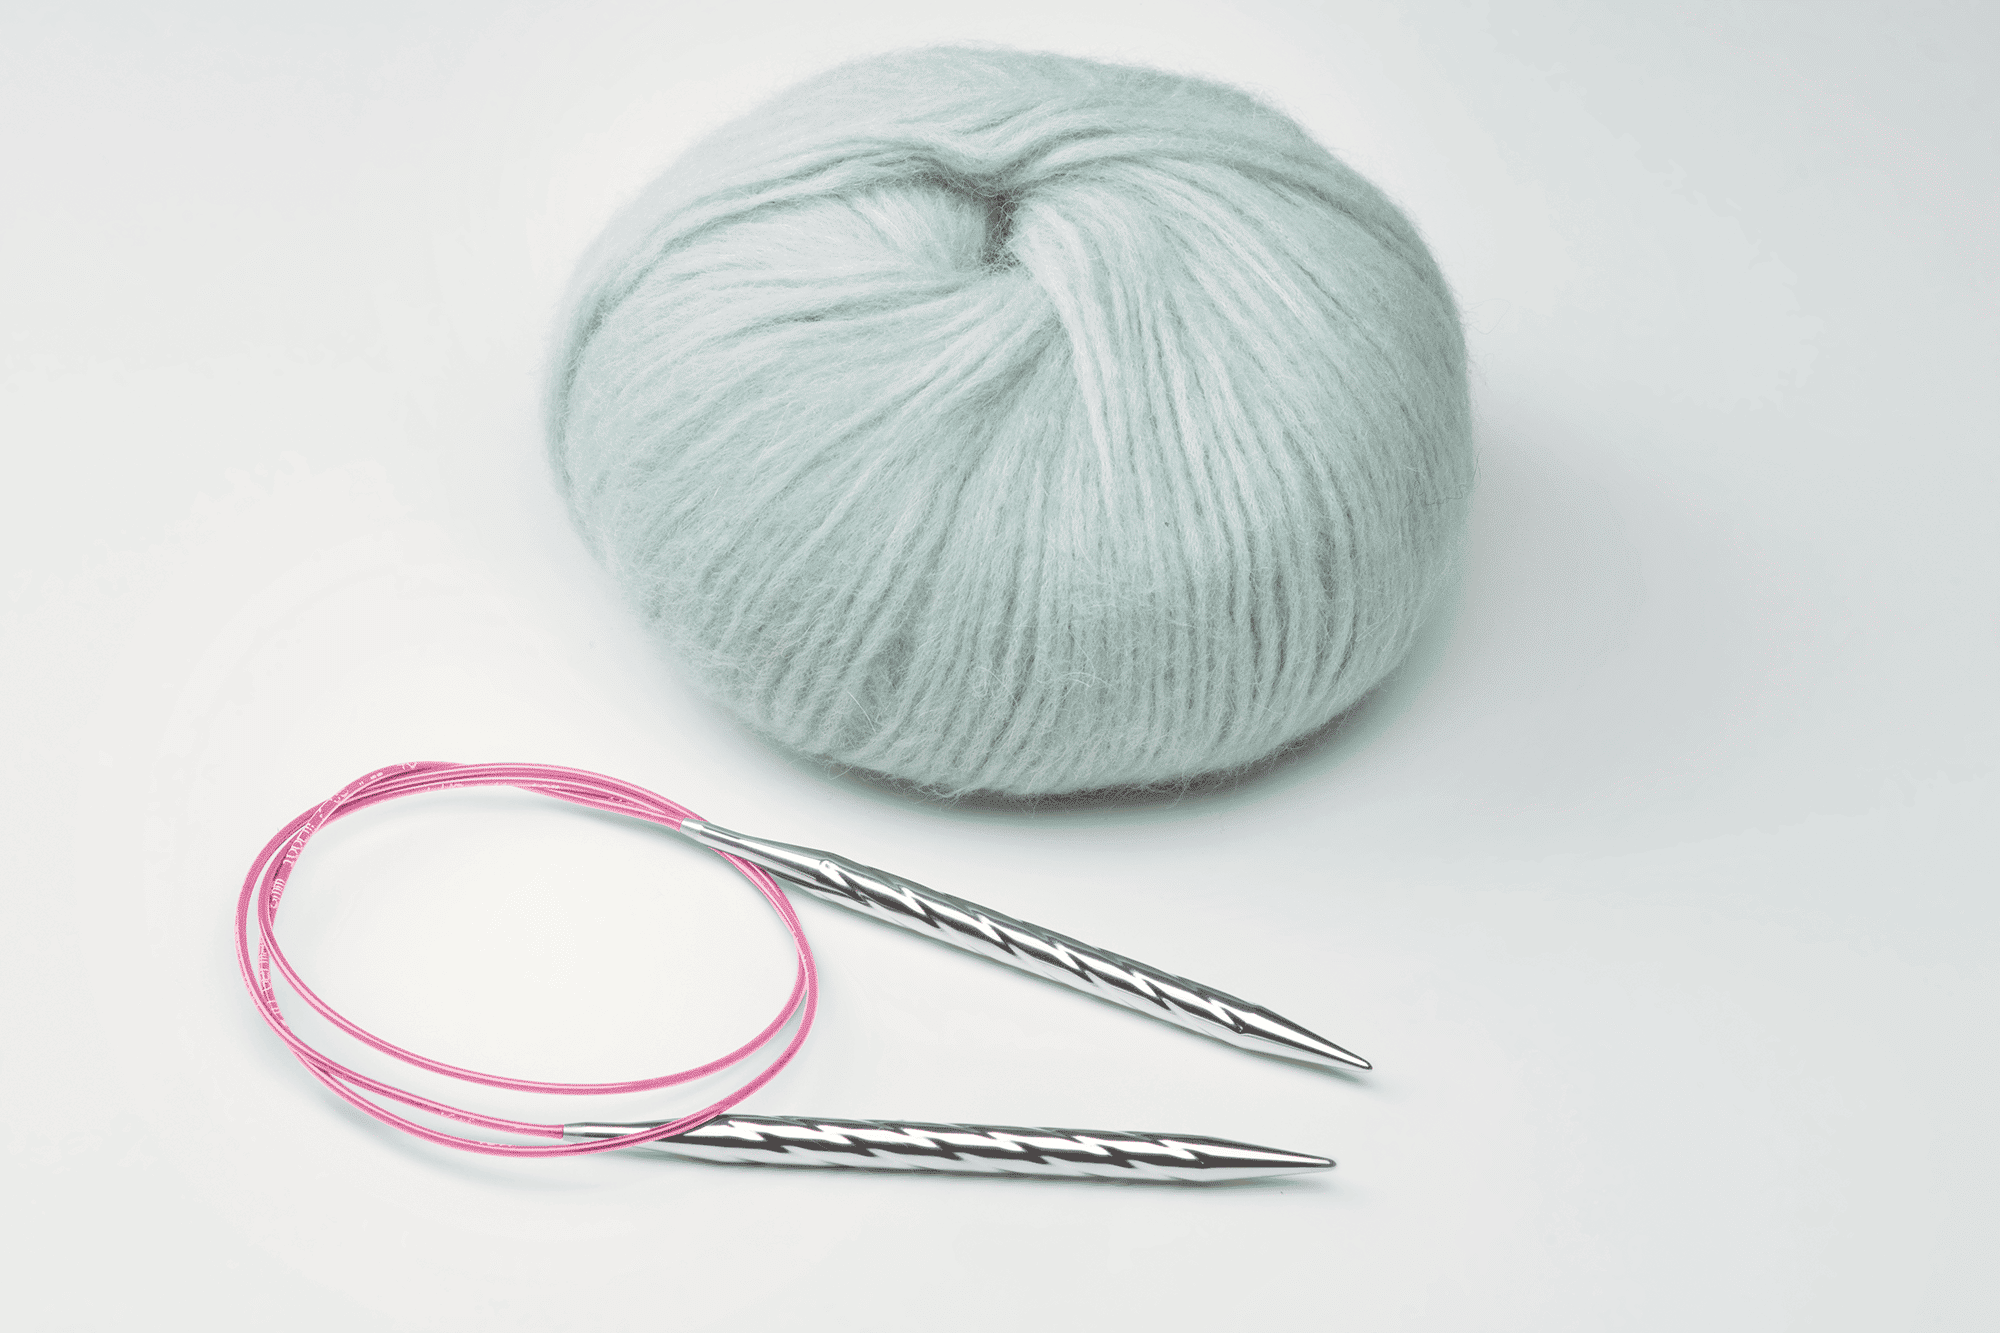
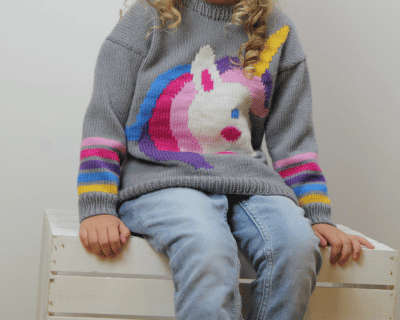
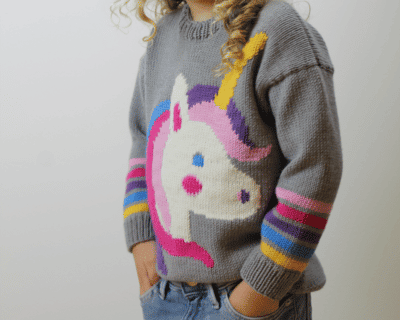
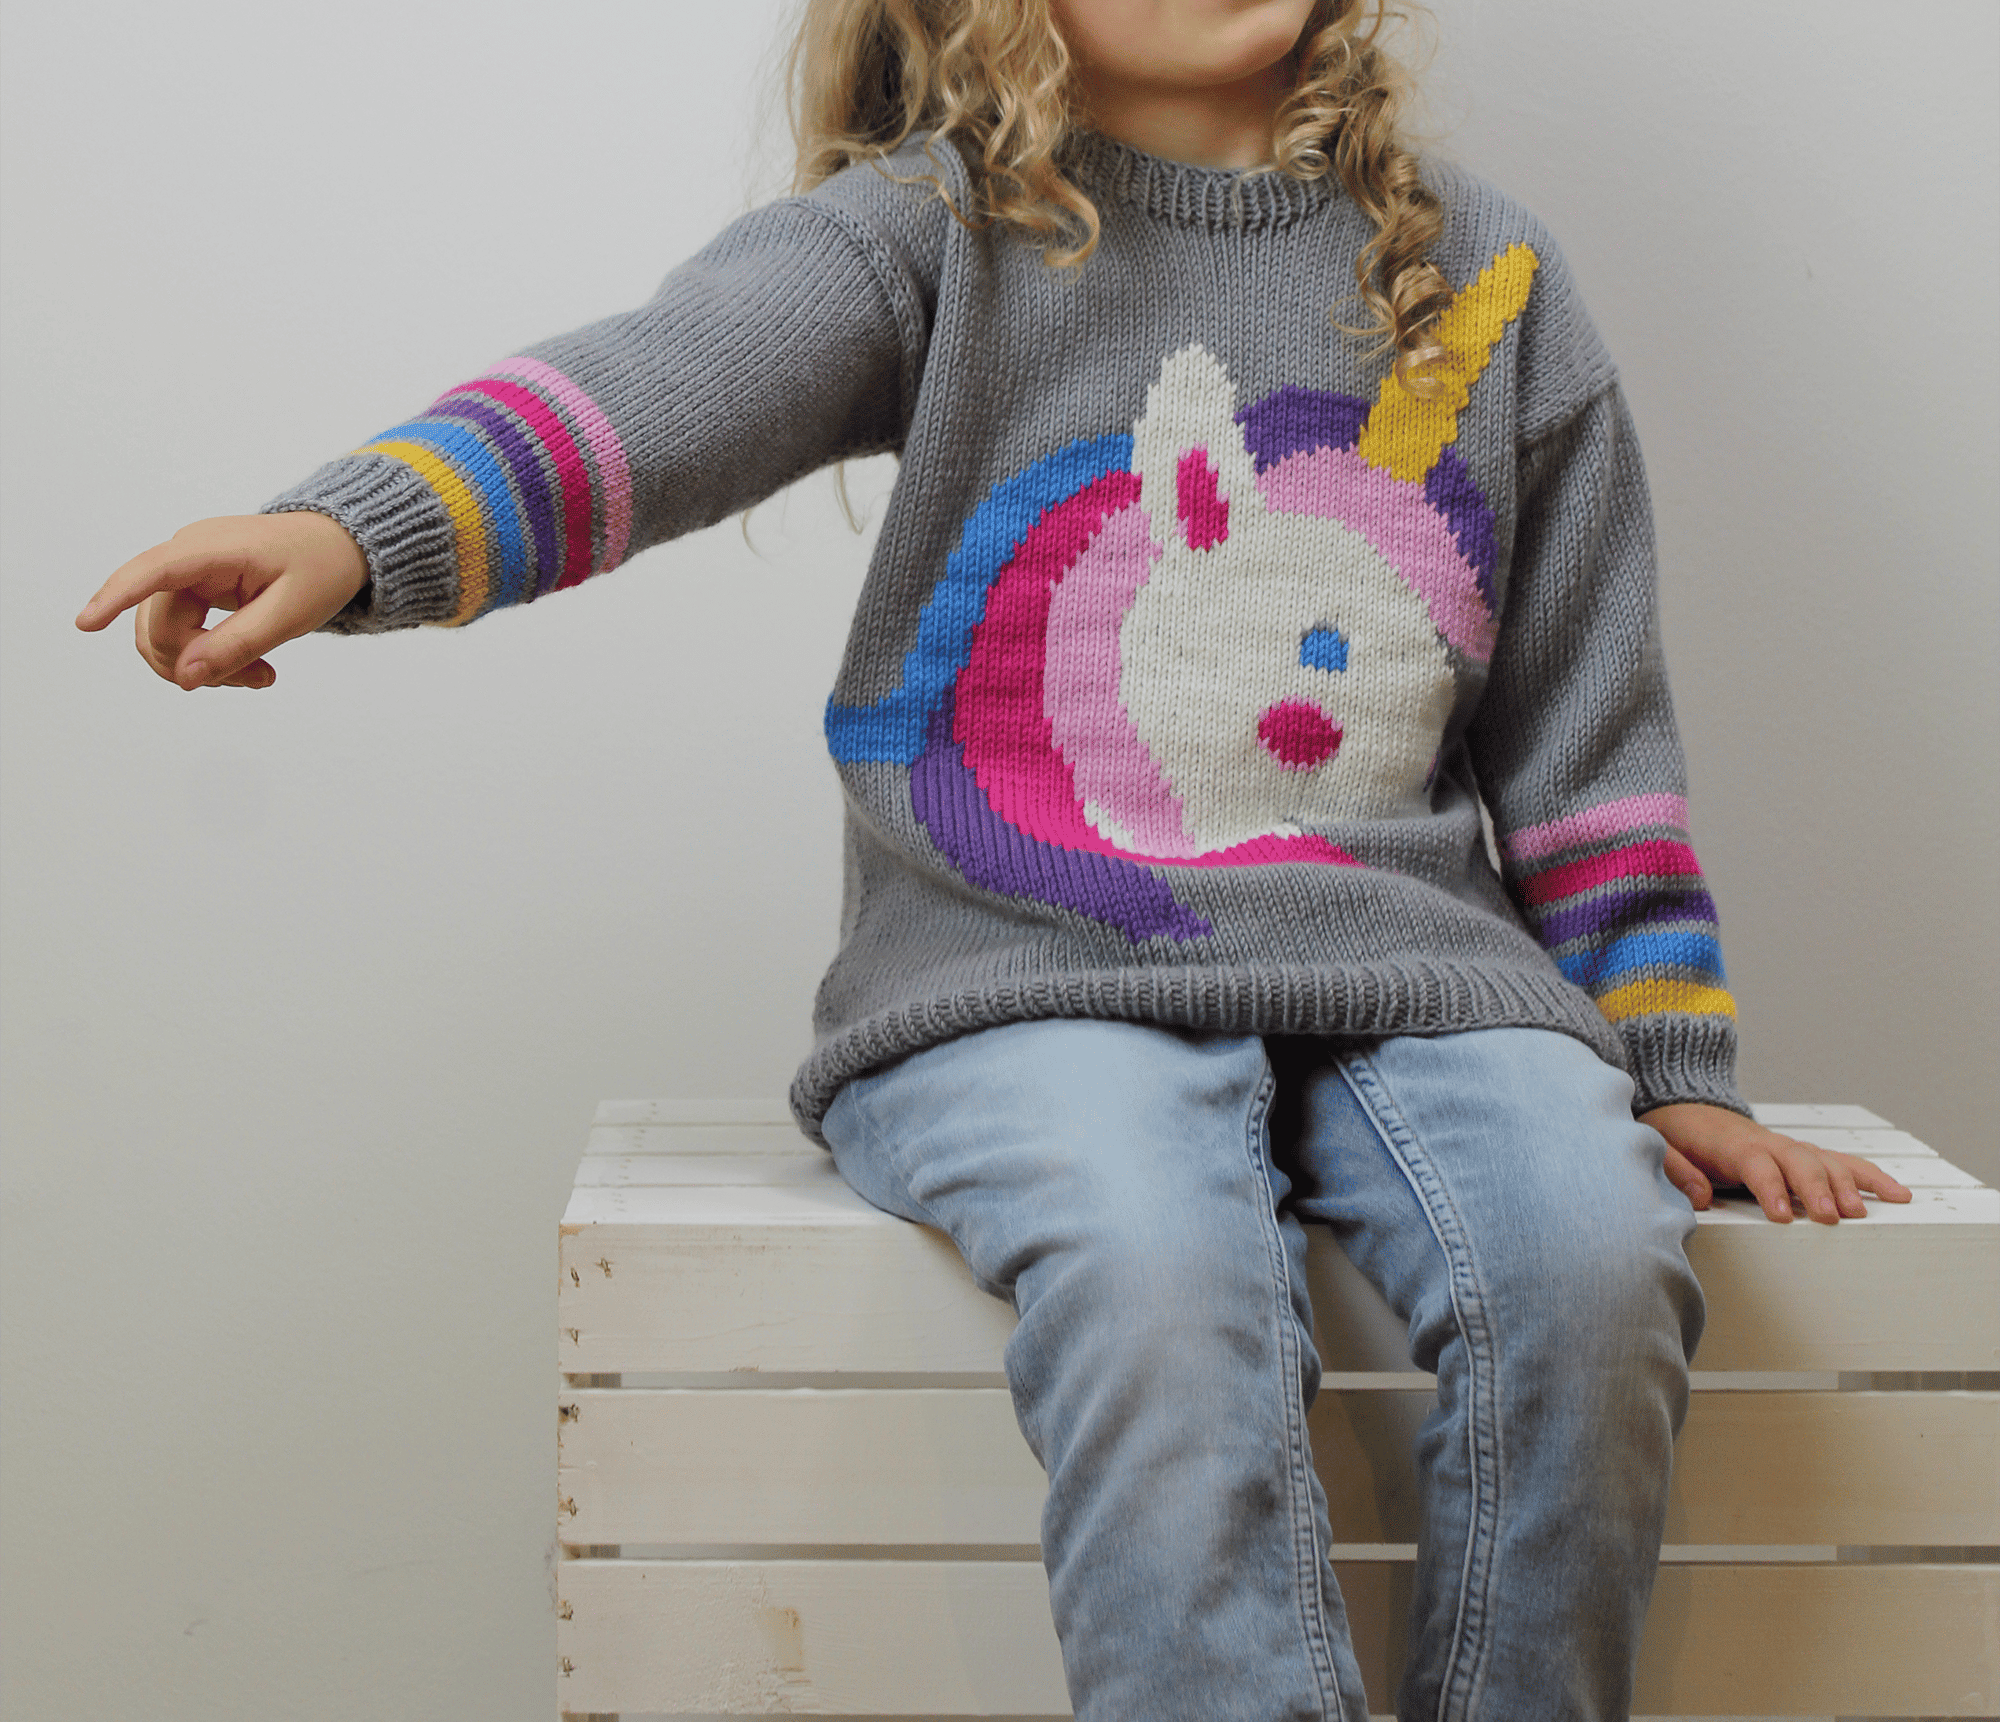
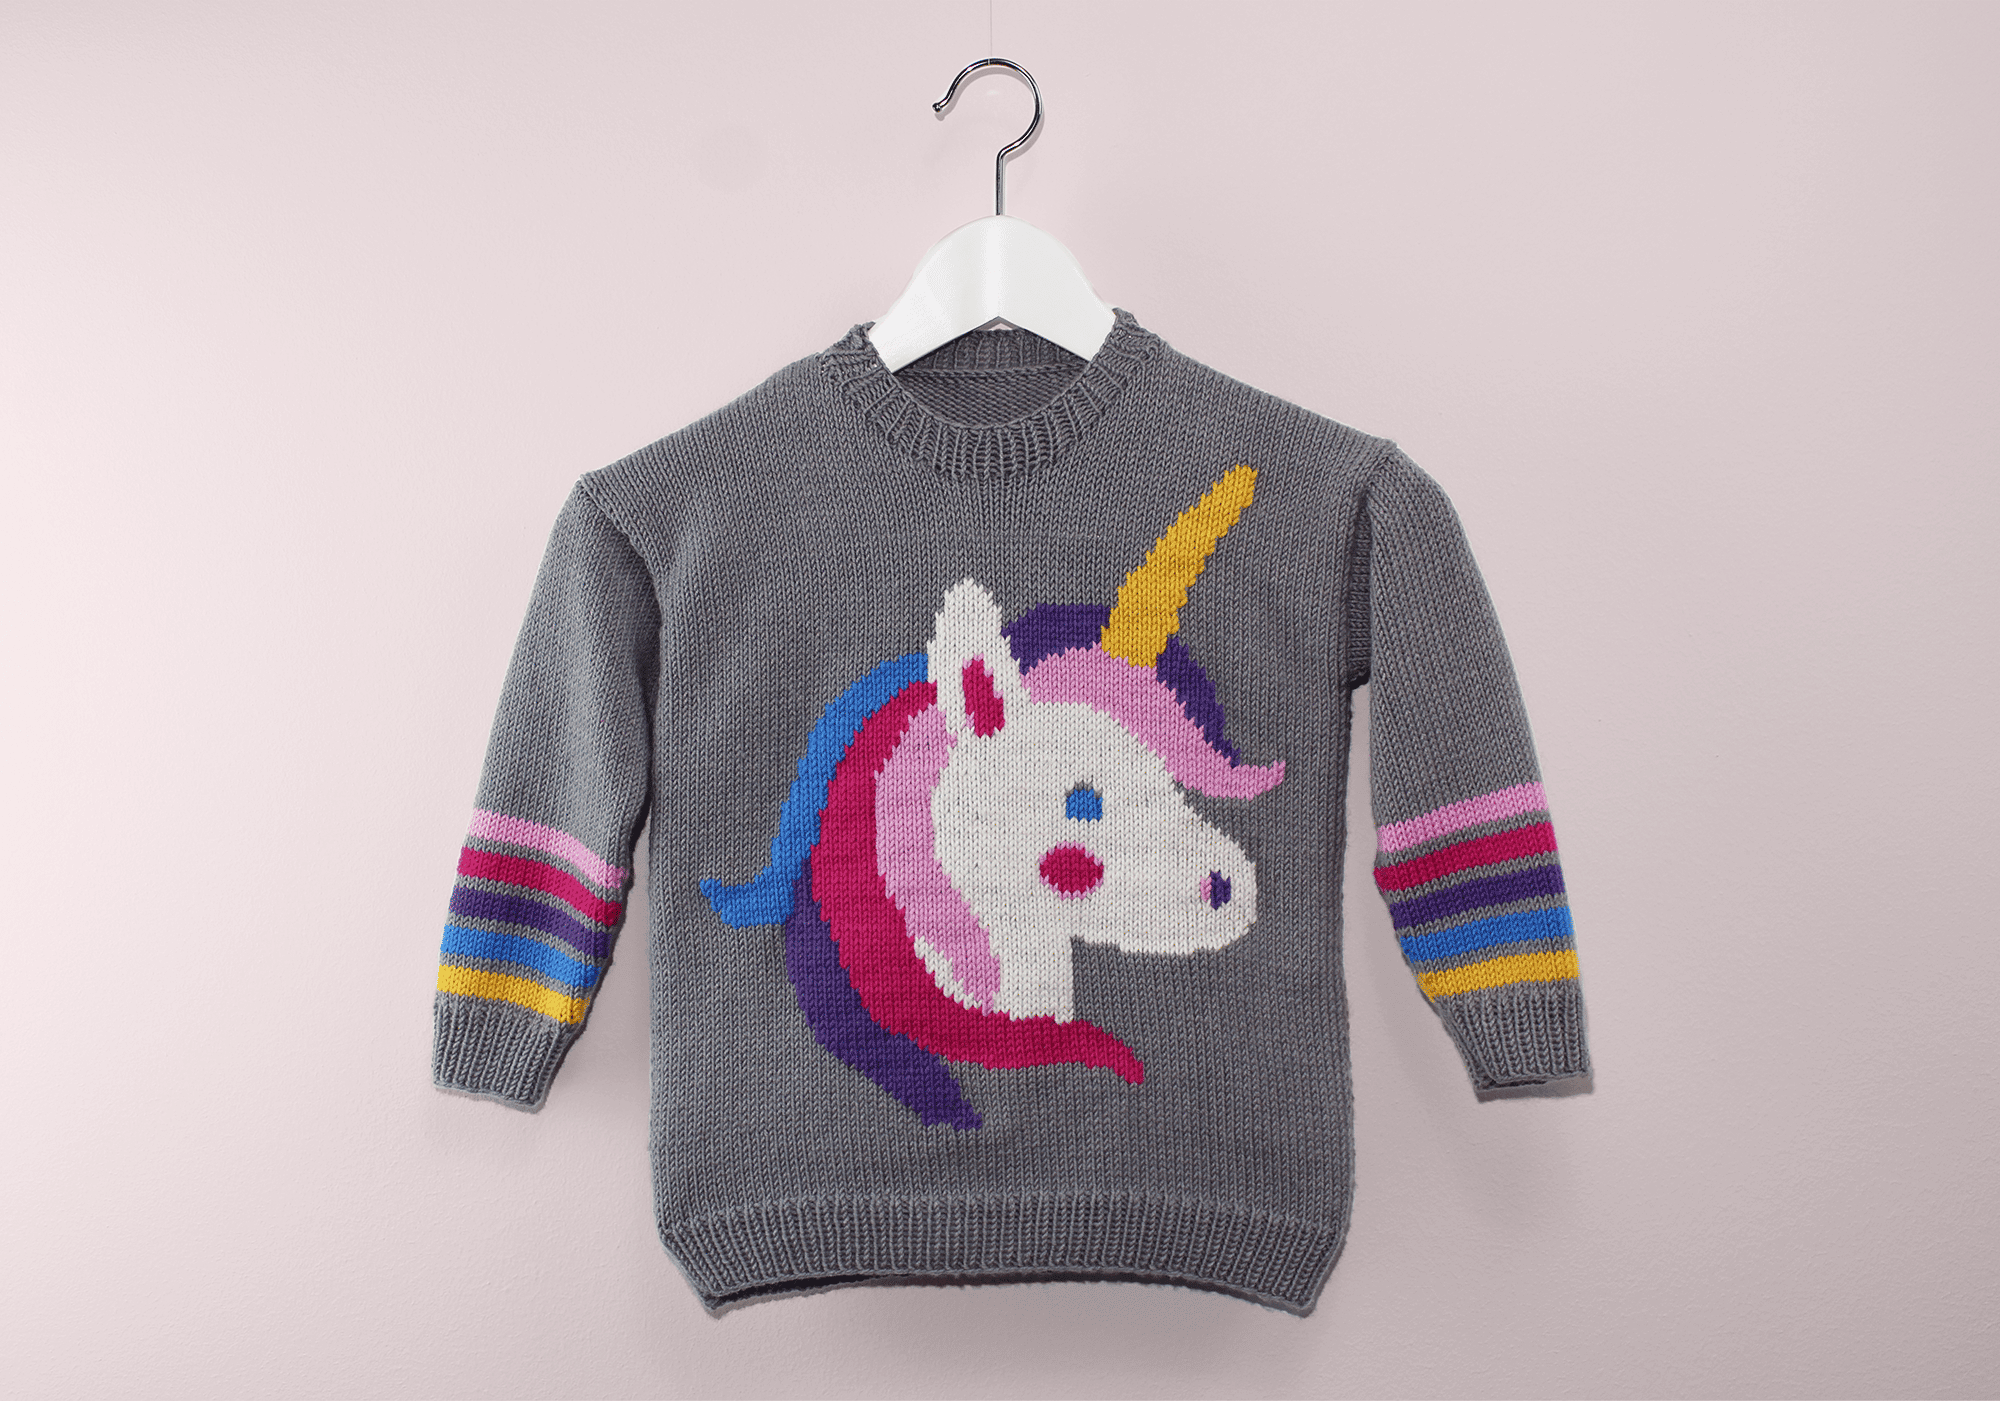
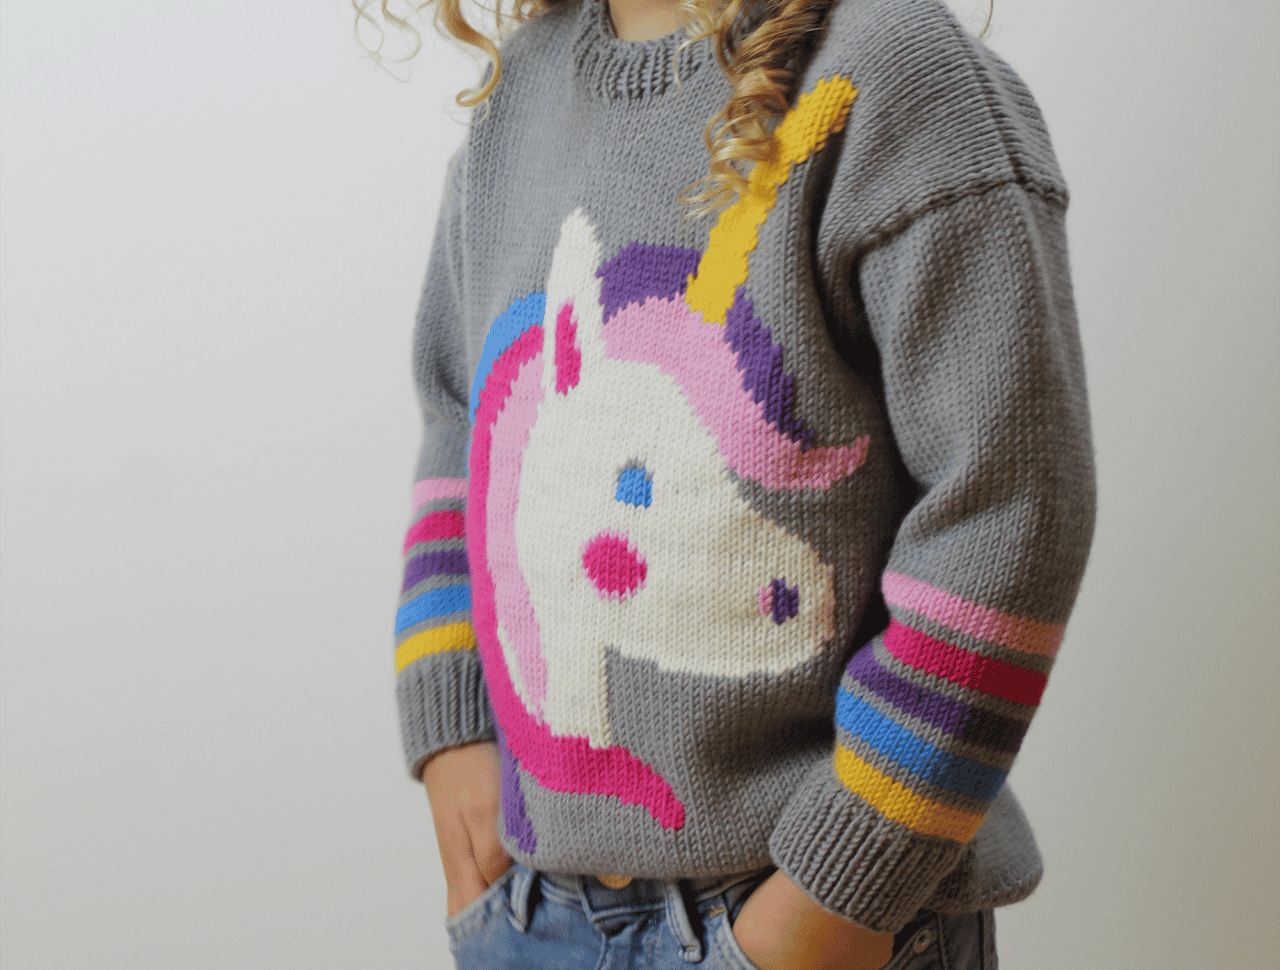
Now it becomes magical – when a unicorn sweater is needled on with the addiUnicorn circular knitting needle, the unicorn happiness is perfect!
The result is a cuddly sweater that makes the hearts of every little unicorn fan beat faster. A tutorial in cooperation with Elisa
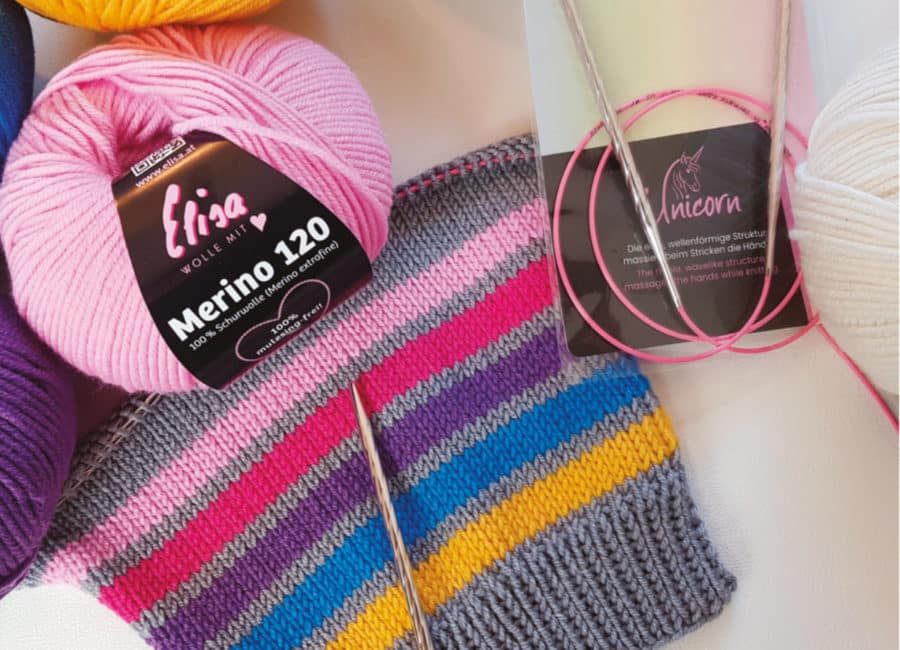
- 10-12 balls of “Elisa Merino 120” = 110 yd/ 1.76 oz (120m/50g)
-
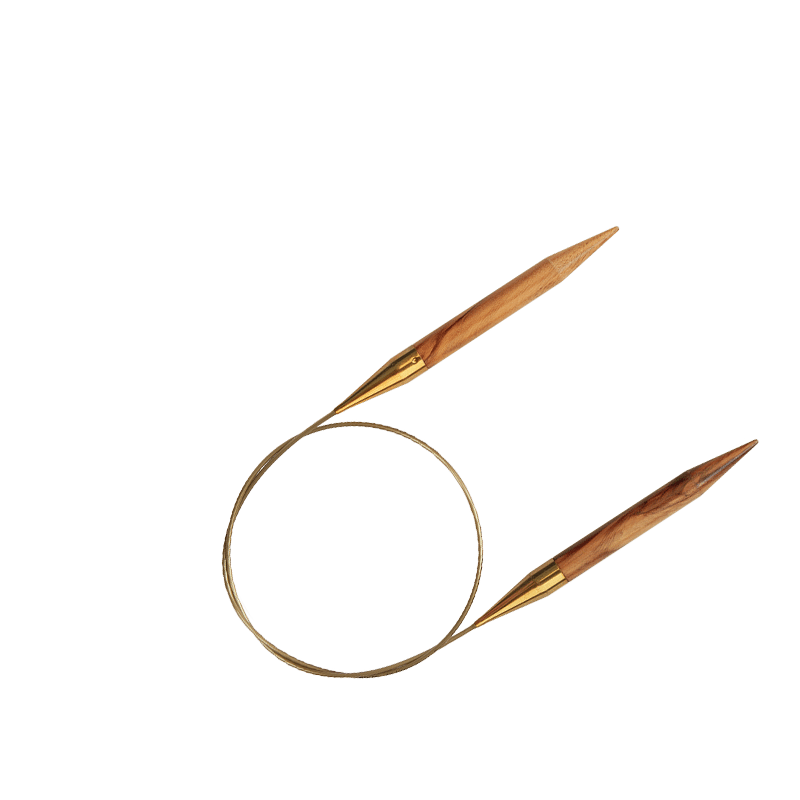
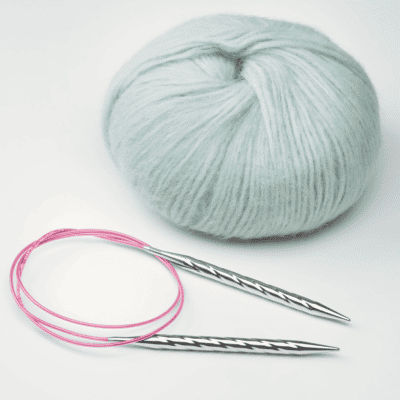
addiUnicorn Circular knitting neelde US 7 (4,5 mm)
-
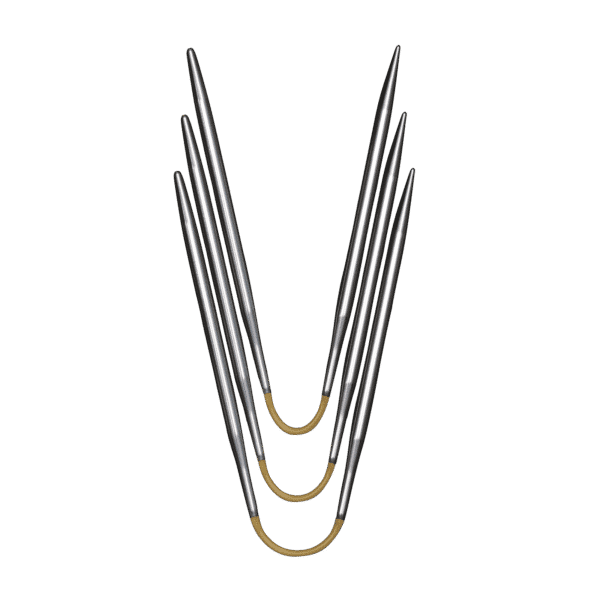
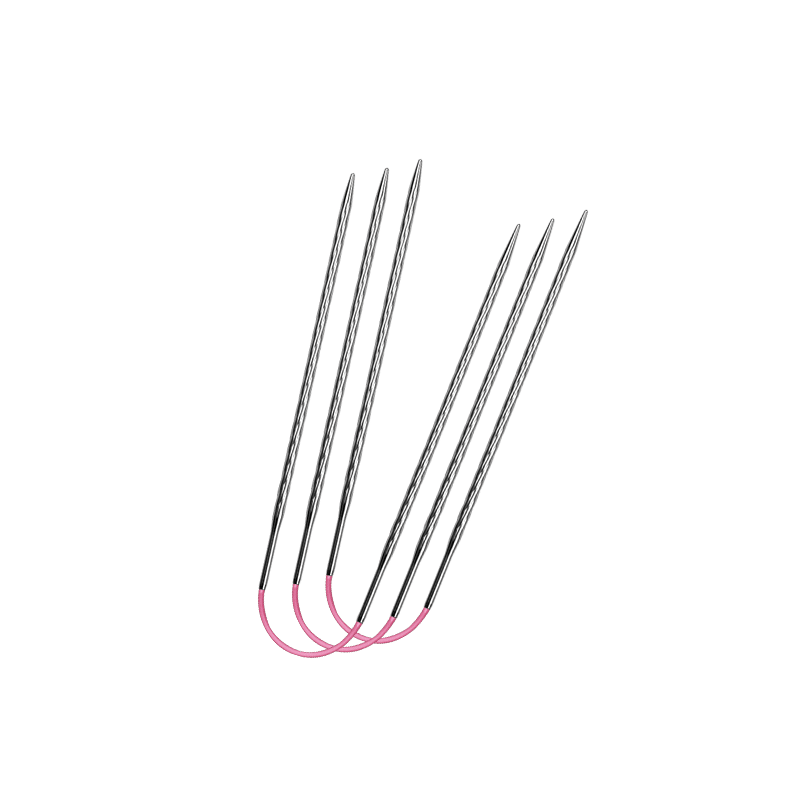
addiCraSyTrio Long or DPN (4,5 mm)
500-600 g
k = knit
CO = cast on
st/s = stitch/es
k = knit
CO = cast on
st/s = stitch/es
Pattern
- Row 1 (ws): edg st, [k1, p1], edg st.
-
Row 2 (rs): edg st, [k1, p1], edg st.
- Round 1: [ 1 k, 1 p ]
- Row 1 (ws): edg st, p all sts, edg st.
-
Row 2 (rs): edg st, k all sts, edg st.
Pattern
- Row 1 (ws): edg st, [k1, p1], edg st.
-
Row 2 (rs): edg st, [k1, p1], edg st.
- Round 1: [ 1 k, 1 p ]
- Row 1 (ws): edg st, p all sts, edg st.
-
Row 2 (rs): edg st, k all sts, edg st.
Knitt Magic kids sweater “Unicorn"
Work the sweater in 4 parts: back, front and arms.
After closing the side and shoulder seams, the sleeves are inserted. The collar is worked last.
- You’ll work 1 edge stitch (= edg st) at the beginning and 1 edge stitch at the end of each row. Work a knotted edge.
- Specifications for the sizes are described in the following breakdown: 92-98/104-110/116 (US-sizes: 2-3 T/3-5 T/5-6).
- If only one information is given, it applies to all sizes.
- Repeat stitches [in brackets].


Back
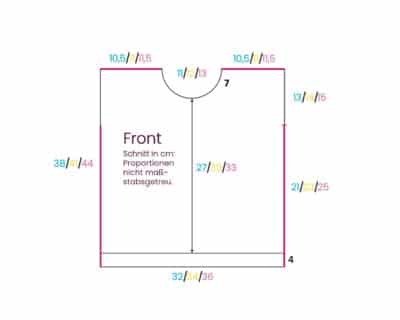
CO: 70/76/82 sts (including 2 edg sts) with grey yarn and needle 4,5 mm (US 7).
- Start with the 1/1-Ribbing – Pattern A1.
- After 1.6″/4 cm (= 12 rows) from CO change to stockinette stitch – Pattern B.
- After another 13.4/14.6/15.7″ – 34/37/40 cm (= 108/118/128 rows) bind off all stitches loosely.
Front
CO: 70/76/82 sts (including 2 edg sts) with grey yarn and needle 4,5 mm (US 7).
- Start with the 1/1-Ribbing – Pattern A1.
- After 1.6″/4 cm (= 12 rows) from CO change to stockinette stitch – Pattern B.
- Now, choose one of the following techniques:
Technique 1: Jacquard
This means that you work the chart with all colors and carry the respective threads behind the work.
Technique 2: Duplicate stitch
Here the front part is worked completely in gray and the chart pattern will be embroidered in duplicate stitch afterward:
- Poke the embroidery thread out in the middle of the stitch below, pass the needle under the stitch above from right to left and poke back into the stitched area.


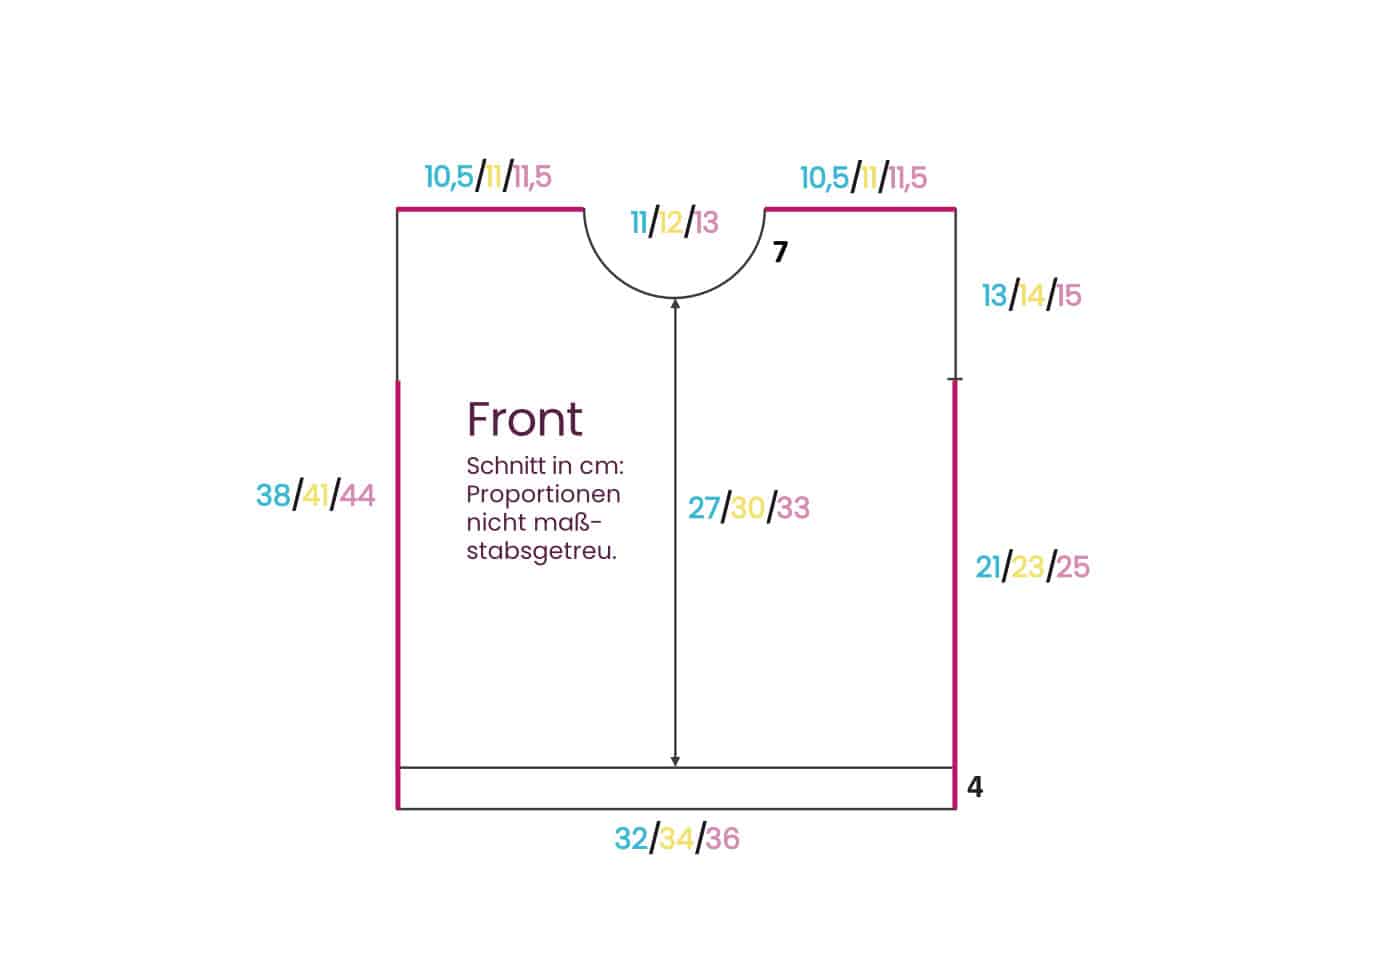
- In both versions, bind off 4/6/8 sts in the middle for the collar after you have worked 10.6/11.8/13″ – 27/30/33 cm high (= 86/96/106 rows) from ribbing.
- From now on, the shoulders are worked separately.
- In every 2nd row, 10×1 sts are decreased at the inner edge for the neckline.
- The work is finished after 2.8″/7 cm (= 22 rows). Bind off the remaining sts loosely.
Sleeves
CO: 38/40/42 sts (including 2 edg sts) with grey yarn and needle 4,5 mm (US 7).
- Start with the 1/1-Ribbing – Pattern A1.
- After 1.6″/4 cm (= 12 rows) from CO change to stockinette stitch – Pattern B. Work a back row.
- While knitting in pattern B, you will work stripes and increases. Read the instruction before you start!:
- Increase 1 st at the beginning and end of the next row,
- then in every 4th row increase 1 st at the beginning and end of the row 7/6/5 times.
- and in every 8th row increase 1 st at the beginning and end of the row 2/4/6 times (= 58/62/66 sts).
Work the stripes in the following order while increasing as described above:
| 4 rows | YELLOW |
| 2 rows | GREY |
| 4 rows | BLUE |
| 2 rows | GREY |
| 4 rows | VIOLET |
| 2 rows | GREY |
| 4 rows | PINK |
| 2 rows | GREY |
| 4 rows | LIGHT PINK |
Work the stripes in the following order while increasing as described above:
| 4 rows | YELLOW |
| 2 rows | GREY |
| 4 rows | BLUE |
| 2 rows | GREY |
| 4 rows | VIOLET |
| 2 rows | GREY |
| 4 rows | PINK |
| 2 rows | GREY |
| 4 rows | LIGHT PINK |
- Change color and work with GREY yarn again.
- At the height of 7.5/8.7/9.8″ – 19/22/25 cm (from the end of the cuff), loosely bind off all sts.
- Repeat the instructions for the 2nd sleeve.
- Change color and work with GREY yarn again.
- At the height of 7.5/8.7/9.8″ – 19/22/25 cm (from the end of the cuff), loosely bind off all sts.
- Repeat the instructions for the 2nd sleeve.
Finishing
- Block the pieces wet.
- Close the side and shoulder seams (observe the pattern – the pink lines show the relevant seam).
- Insert sleeves.
Now the collar is worked
- With addiCraSyTrio Long or dpn’s knit 56/60/64 sts out of the collar and stark working in 1/1 Ribbing in the round – Pattern A2.
- After 1.2″/3 cm bind off loosely.
- Weave in all ends.
A pattern in cooperations with Elisa (DE).
