Crochet tutorial
Halloween upcycling ‘Frankenstein’ crochet
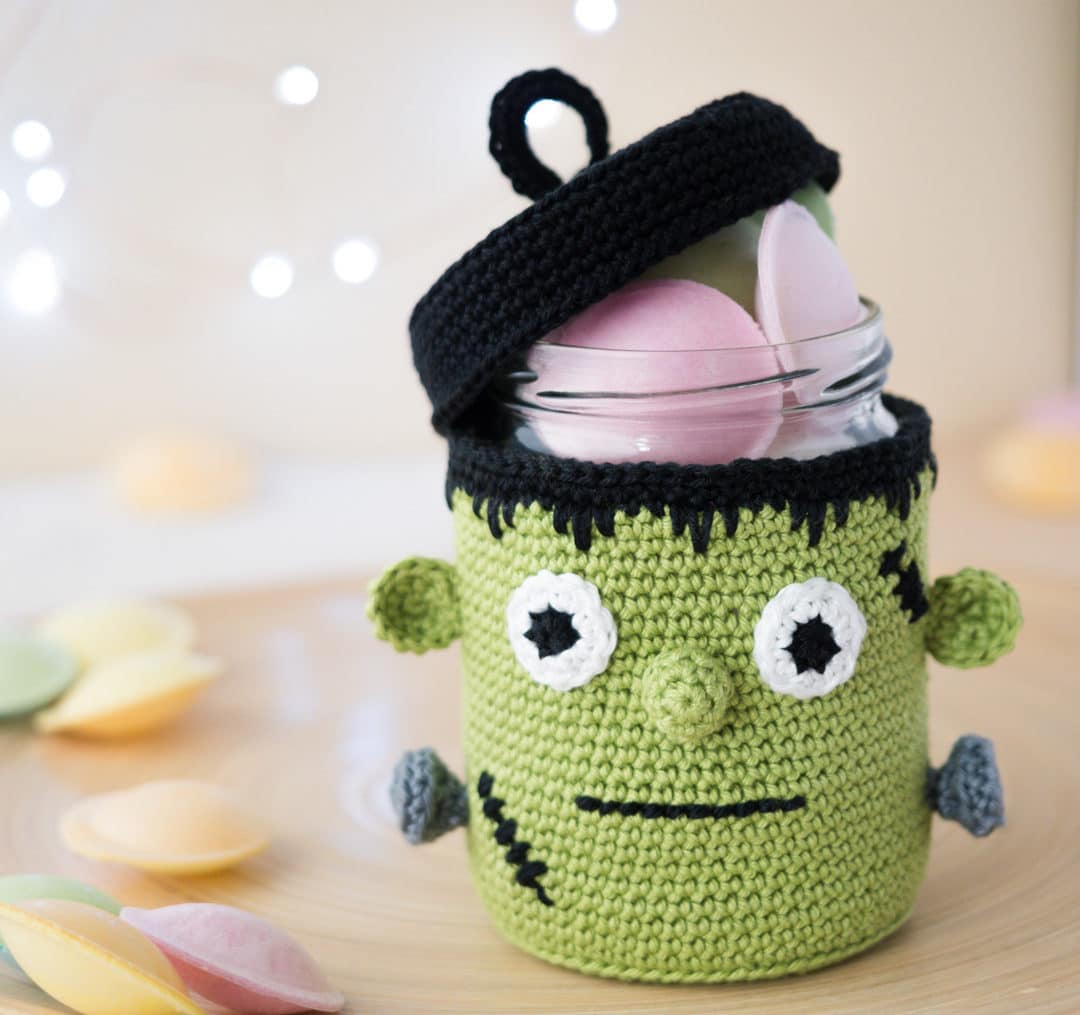
Get into the Halloween spirit with this quick project. Frankenstein is great for upcycling jars and tins and stores small sweets, pens or crochet hooks.
A quick little project that you can crochet for little and big scary friends for Halloween.
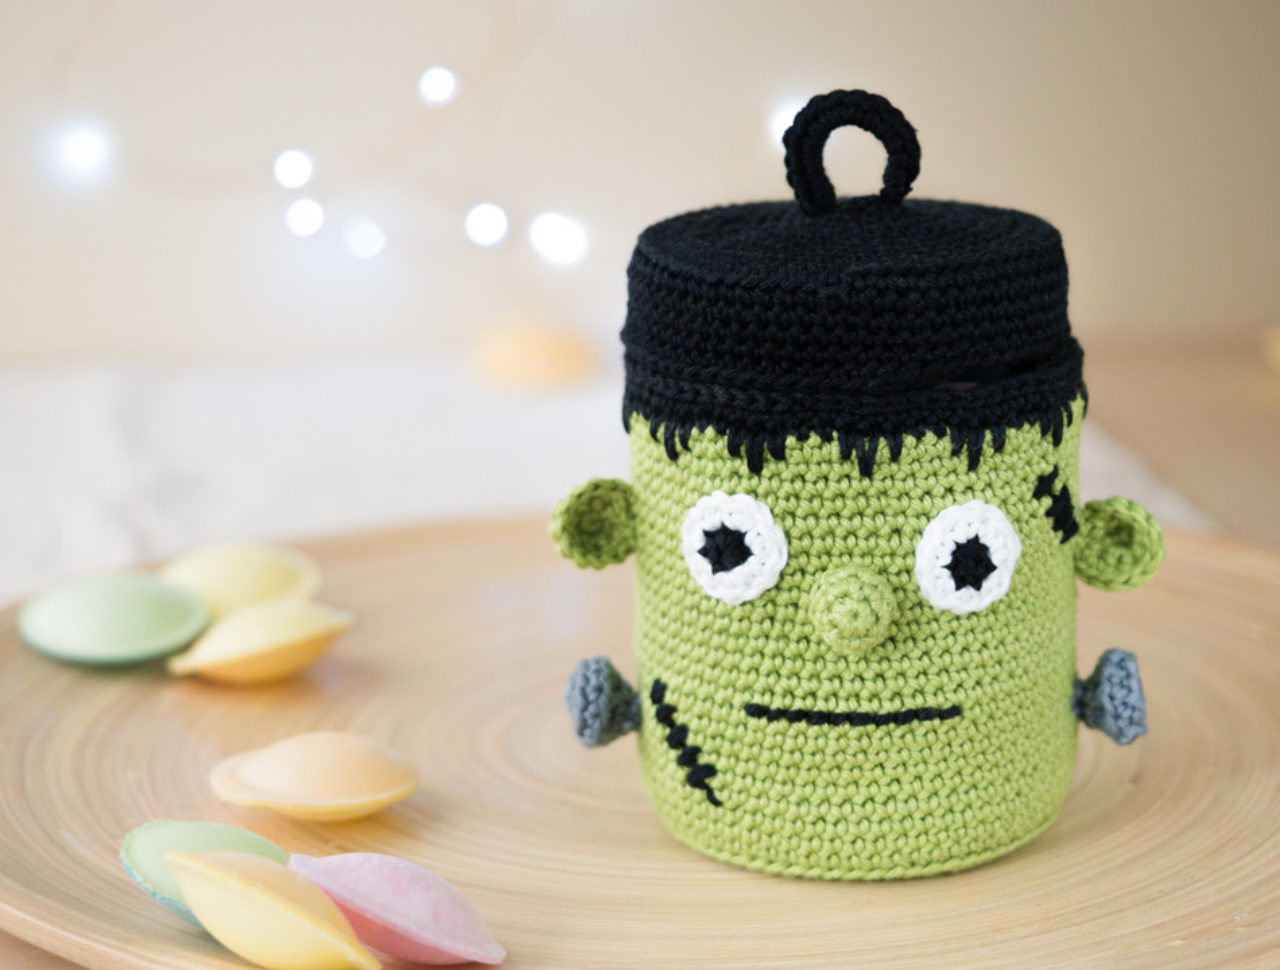
Table of contents
What you need:
- Cotton yarn with 125 m/ 50 g
- e.g. Catania by Schachenmayr in the colours 205 (green, 1 ball), 242 (grey, rest), 106 (white, rest) and 110 (black, 1 ball)
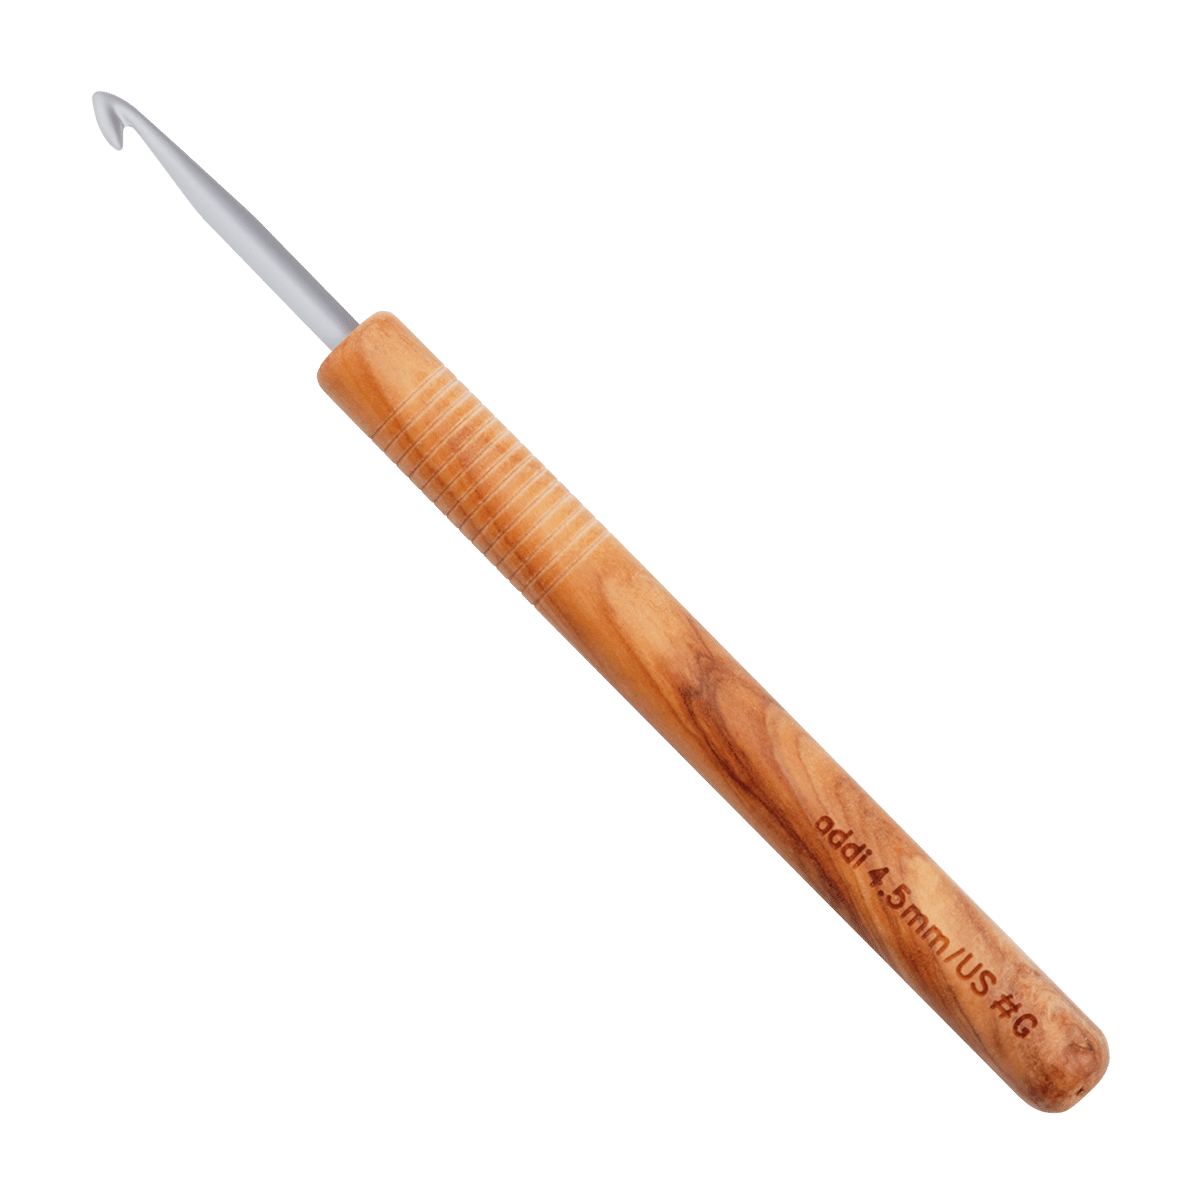
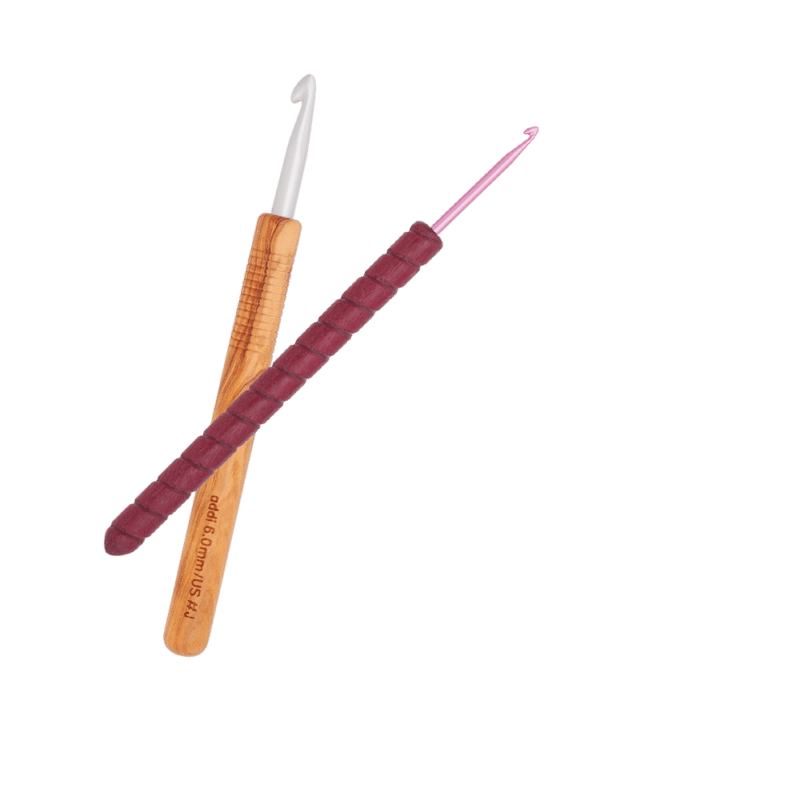
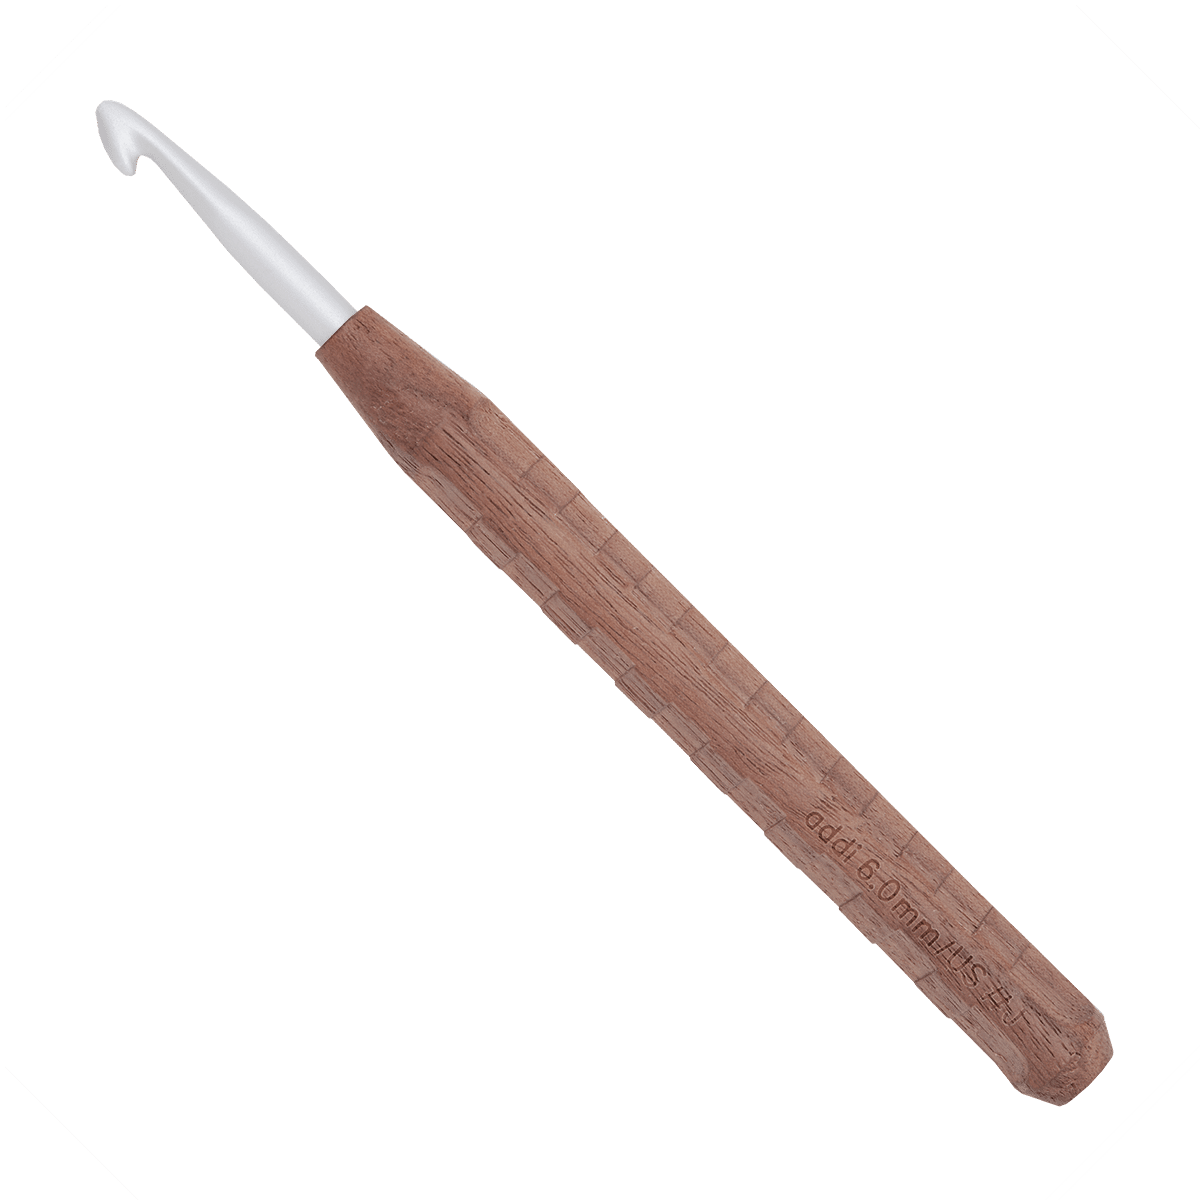
- addiNature Walnut Crochet Hook 2,5 mm
- an empty jar with a straight opening, we used a 350g peanut butter jar - but cardboard twisted into a roll will work just as well
- Mesh markers (optional)
- Wool needle
- Scissors
Gauge: 26 dc × 32 rnd = 10 x 10 cm
Size EU: With lid approx. 11 cm high and 8.5 cm diameter.
Abbreviations:
sc = single crochet
success = the following.
sl st = slip stitch
ch = chain
sts = stitch(es)
MR = Magic ring
r = row/s
Rd round(s)
rep = repeat
Halloween Upcycling
How it works
- Rounds are always crocheted in spirals, without ending chain stitches. If necessary, use a stitch marker to mark the beginning of the round.
- An invisible round finish is ideal at the end of the pieces crocheted in rounds. Alternatively, a chain stitch can be worked.
- If you want to crochet around a jar or can, check the fit every now and then. You can easily adjust the diameter with fewer or more rounds of increasing stitches and the height with fewer or more rounds of decreasing stitches.
- You can also use the cover without the glass. Crocheted with a small needle size, it has quite a lot of stability. A thin, rolled cardboard also works well (= about 8.5 x 24 cm).
- Frankenstein also works as a soft toy. Just stuff it and sew on the lid.
Cover
1 x crochet with green and black
| Rd 1: | (1 ch, 6 dc) into a sc [= 6 sts]. |
| Rd 2: | 2 dc in each dc [= 12 sts]. |
| Rd 3: | * 1 dc, 2 dc in next st; repeat from * to end of round [= 18 sts]. |
| Rd 4: | * 2 dc, 2 dc in next st; repeat from * to end of round [= 24 sts]. |
| Rd 5: | 1 dc, * 2 dc in next st, 3 dc; repeat from * to 3 sts before end of round, 2 dc in next st, 2 dc [= 30 sts]. |
| Rd 6: | * 4 dc, 2 dc in next st; repeat from * to end of round [= 36 sts]. |
| Rd 7: | 1 dc, * 2 dc in next st, 5 dc; repeat from * to 5 sts before end of round, 2 dc in next st, 4 dc [= 42 sts]. |
| Rd 8: | * 6 dc, 2 dc in next st; repeat from * to end of round [= 48 sts]. |
| Rd 9: | 3 dc, * 2 dc in next st, 7 dc; repeat from * to 5 sts before end of round, 2 dc in next st, 4 dc [= 54 sts]. |
| Rd 10: | * 8 dc, 2 dc in next st; repeat from * to end of round [= 60 sts]. |
| Rd 11: | 3 dc, * 2 dc in next st, 9 dc; repeat from * to 7 sts before end of round, 2 dc in next st, 6 dc, omit 1 st, 1 ch [= 65 sts]. |
| Rd 12: | 1 ch, 1 dc in back stitch member of each st in round, continue without ch at end of round [= 65 sts]. |
| Rd 13-35: | 1 dc in each st [= 65 sts]. |
| Rd 36: | 1 dc in each st to 2 sts before end of round, crochet 2 dc tog [= 65 sts]. |
| Rd 37: | Change to black: *2 dc, 1 dc deeper stitch in corresponding dc of rnd 35, 1 dc deeper stitch in corresponding dc of rnd 34, 1 dc deeper stitch in corresponding dc of rnd 35; repeat from * to end of rnd [= 65 sts]. |
| Rd 38: | 1 dc in each st [= 65 sts]. |
| Rd 39: | 1 km into each M [= 65 M]. |
Screws
2 x crochet in grey
| Rd 1: | (1 ch and 6 dc) in sc [= 6 sts]. |
| Rd 2: | 2 dc in each st [= 12 sts]. |
| Rd 3: | 1 dc in the back stitch member of each st in the round [= 12 sts]. |
| Rd 4: | 2 dc crochet together in each of the back sts of the round [= 6 sts]. |
| Rd 5: | 1 dc in each st [= 6 sts]. |
Nose
1 x crochet in green
| Rd 1: | (1 ch and 6 dc) in sc [= 6 sts]. |
| Rd 2: | * 2 dc in next st, 1 dc; repeat from * to end of round [= 9 sts]. |
| Rd 3: | 1 dc in each st [= 9 sts]. |
Nose
1 x crochet in green
| Rd 1: | (1 ch and 6 dc) in sc [= 6 sts]. |
| Rd 2: | * 2 dc in next st, 1 dc; repeat from * to end of round [= 9 sts]. |
| Rd 3: | 1 dc in each st [= 9 sts]. |
Ears
2 x crochet in green
The ears are crocheted in rows:
| R 1: | (1 ch, 4 dc) in sc [= 4 sts], turn. |
| R 2: | 1 ch, 2 dc in each st [= 8 sts], turn |
| R 3: | 1 ch, 2 dc in each following 2 sts, 4 dc, 2 dc in each following 2 sts [= 12 sts]. |
Ears
2 x crochet in green
The ears are crocheted in rows:
| R 1: | (1 ch, 4 dc) in sc [= 4 sts], turn. |
| R 2: | 1 ch, 2 dc in each st [= 8 sts], turn |
| R 3: | 1 ch, 2 dc in each following 2 sts, 4 dc, 2 dc in each following 2 sts [= 12 sts]. |
Eyes
2 x crochet with black and white
| Rd 1: | Crochet 6 dc in MR with black |
| Rd 2: | Change to white: ch in 1st st, 2 dc in each st, 2 dc in ch [= 14 sts]. |
Eyes
2 x crochet with black and white
| Rd 1: | Crochet 6 dc in MR with black |
| Rd 2: | Change to white: ch in 1st st, 2 dc in each st, 2 dc in ch [= 14 sts]. |
Lid (optional)
1 x crochet with black
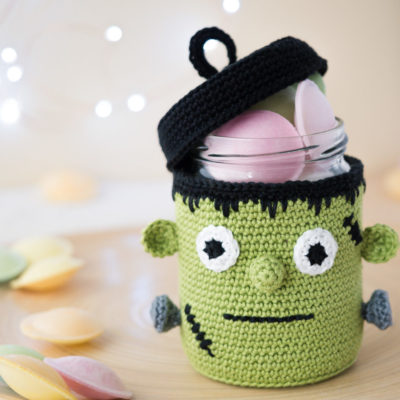
- The lid is optional. You can also simply leave it off and use your Frankenstein open, e.g. as decorative storage for crochet or knitting needles, pens or the like.
- For the cover, repeat the cover up to rnd 16 with black thread. End the last rnd invisible or with a ch.
- Sew a chain of 10 ch on the cover and crochet around with 15 dc.

The finishing touch
Lid (optional)
1 x crochet with black
- The lid is optional. You can also simply leave it off and use your Frankenstein open, e.g. as decorative storage for crochet or knitting needles, pens or the like.
- For the cover, repeat the cover up to rnd 16 with black thread. End the last rnd invisible or with a ch.
- Sew a chain of 10 ch on the cover and crochet around with 15 dc.
The finishing touch
Finishing
- Finally, sew all the threads on the inside.
- Sew on the nose, eyes, ears and screws according to the photo.
- With double black thread, embroider the mouth and the scars according to the photo.
Finishing
- Finally, sew all the threads on the inside.
- Sew on the nose, eyes, ears and screws according to the photo.
- With double black thread, embroider the mouth and the scars according to the photo.
