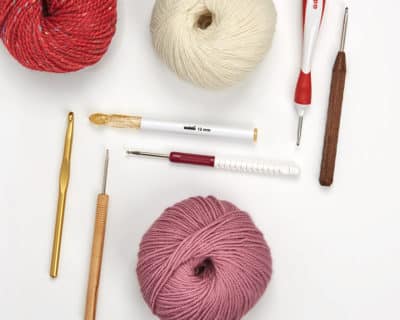
Crochet insole ‘Fleet sole’
Cold feet? Wool scraps in the cupboard? Then grab the crochet hook and get going!
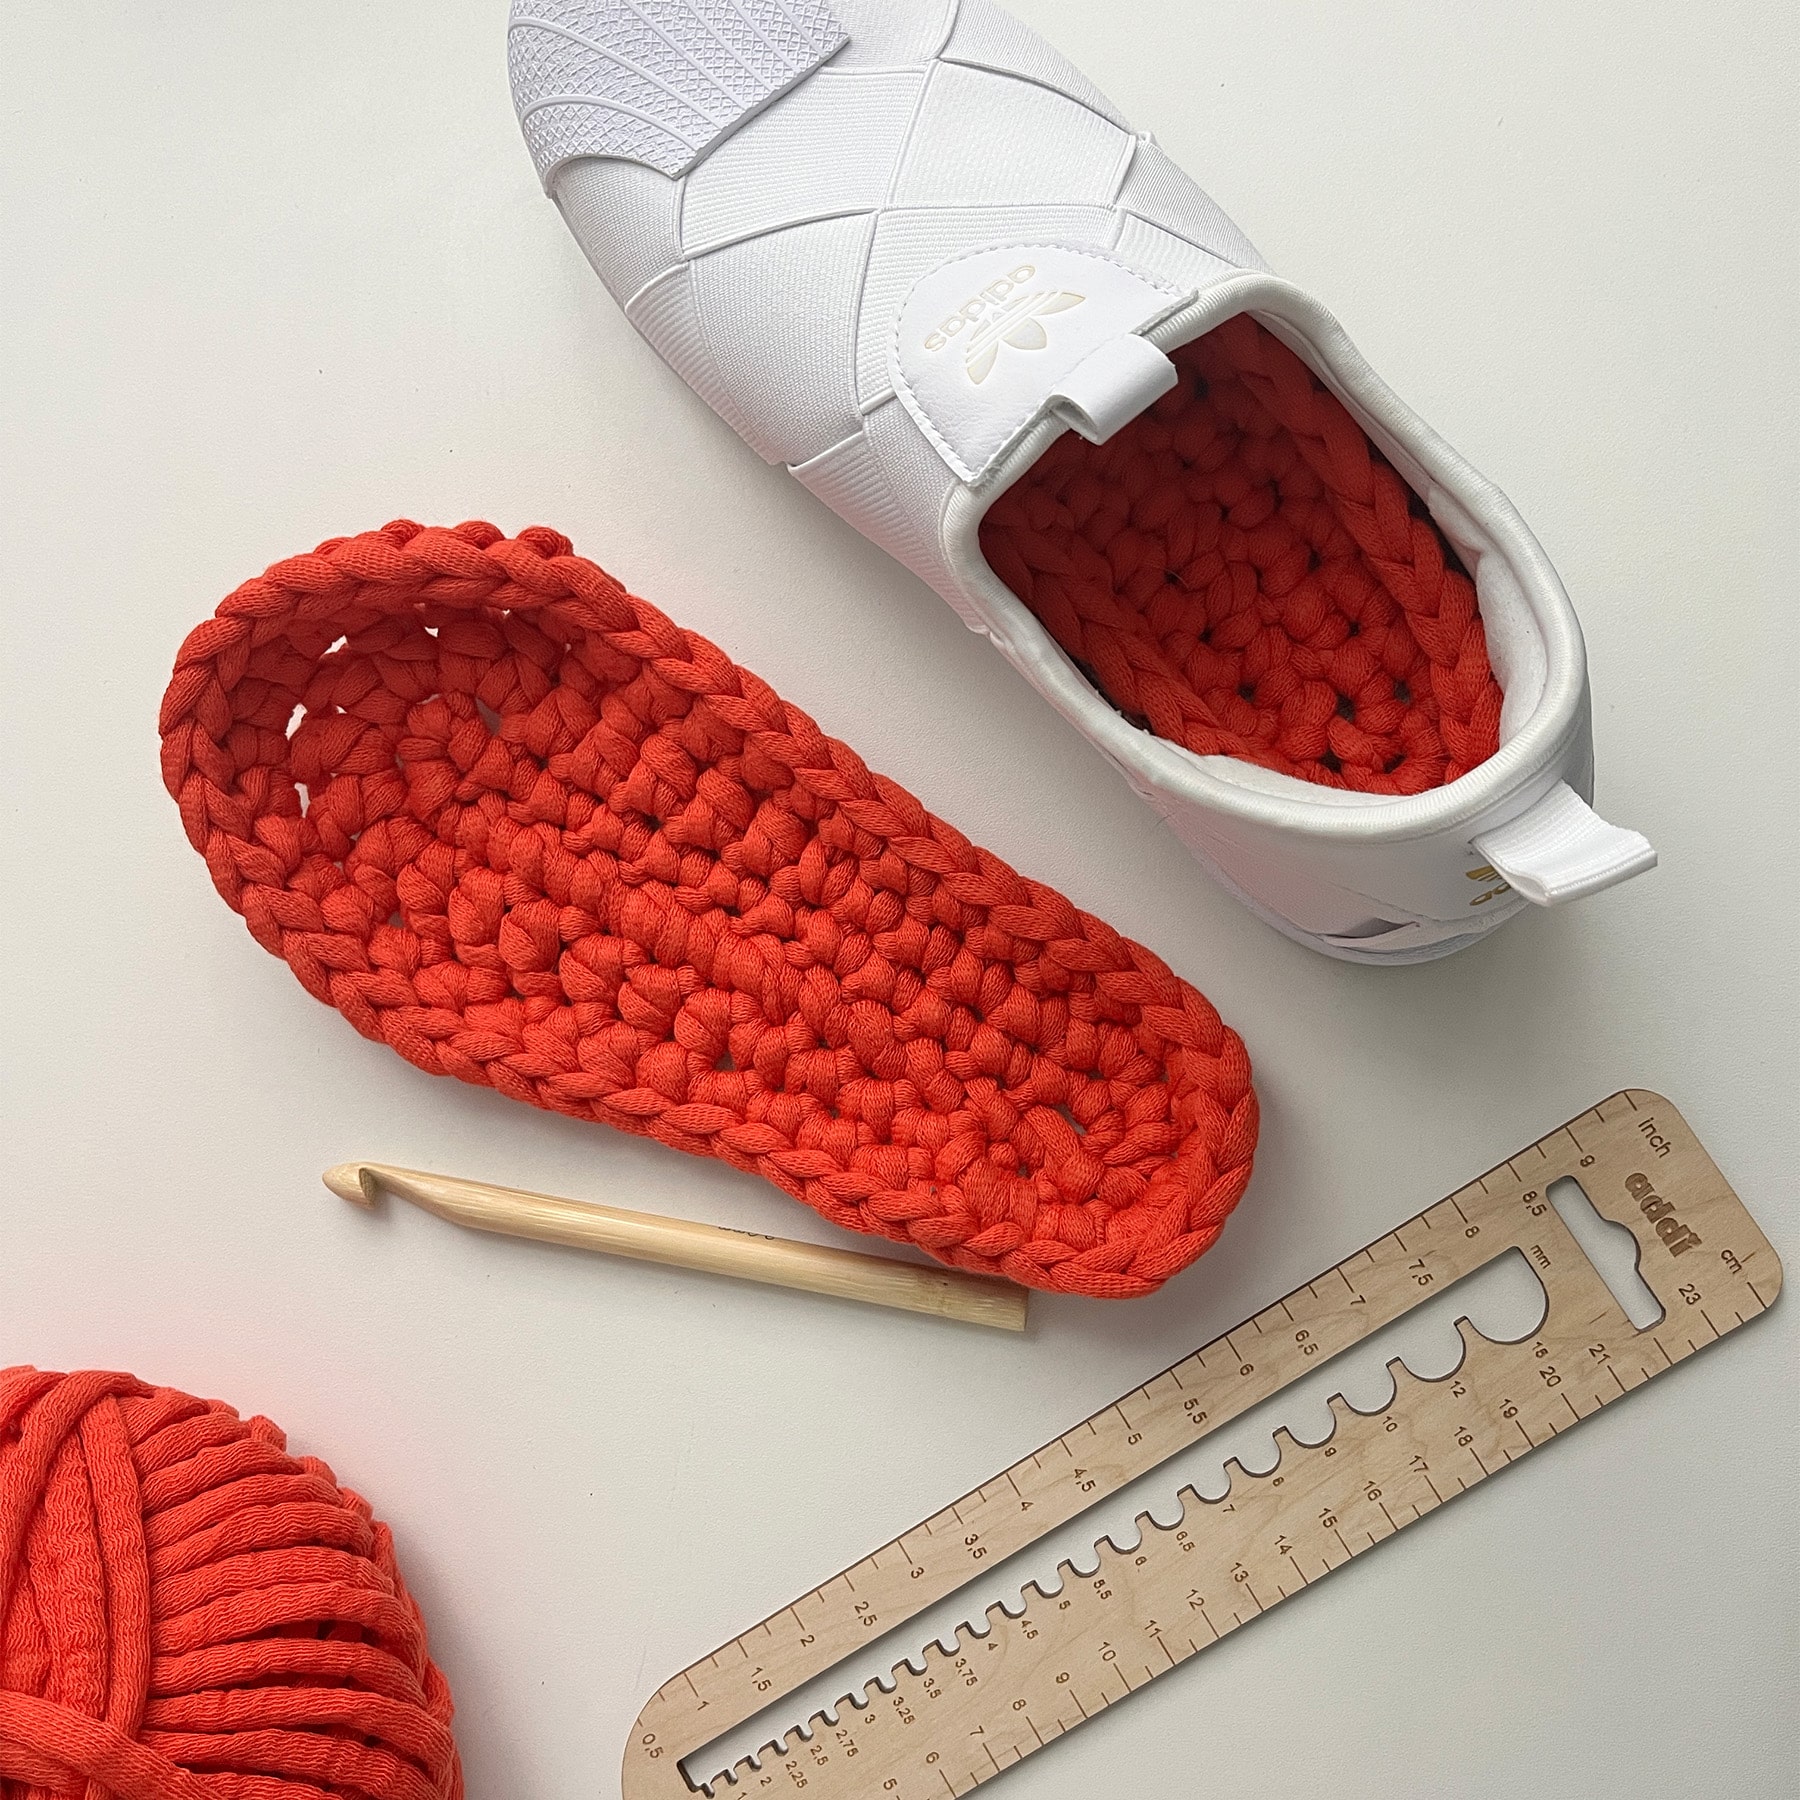
With these super simple insoles, the feet are warm and the leftovers drawer empty. The instruction is crochet in no time and can be easily adjusted depending on the thickness of the yarn and shoe size.
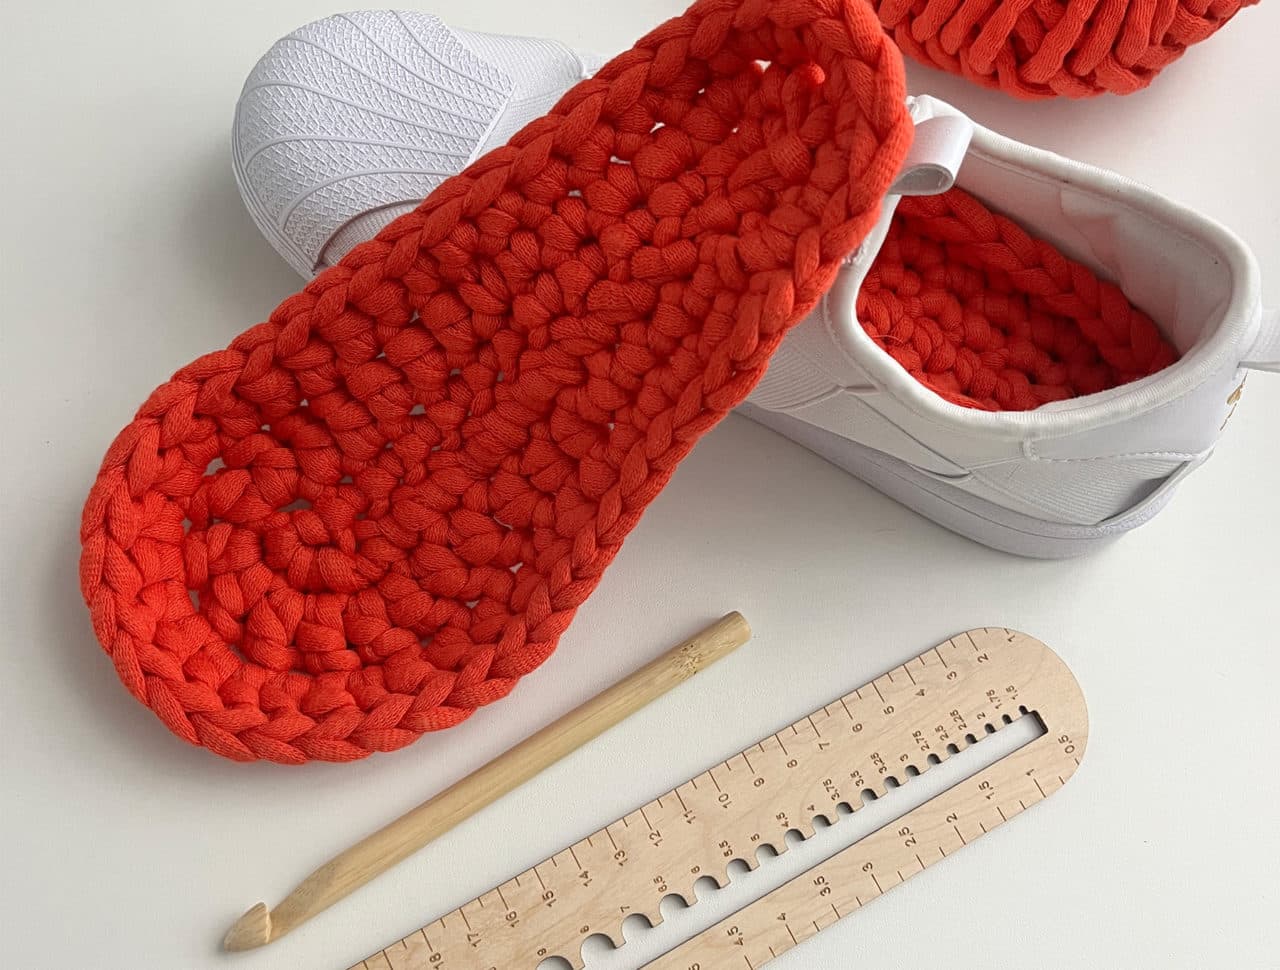
- Wool or yarn of any strength
- e.g. sock yarn in 6- or 8-ply or tube yarn – nice and thick and can be washed hot
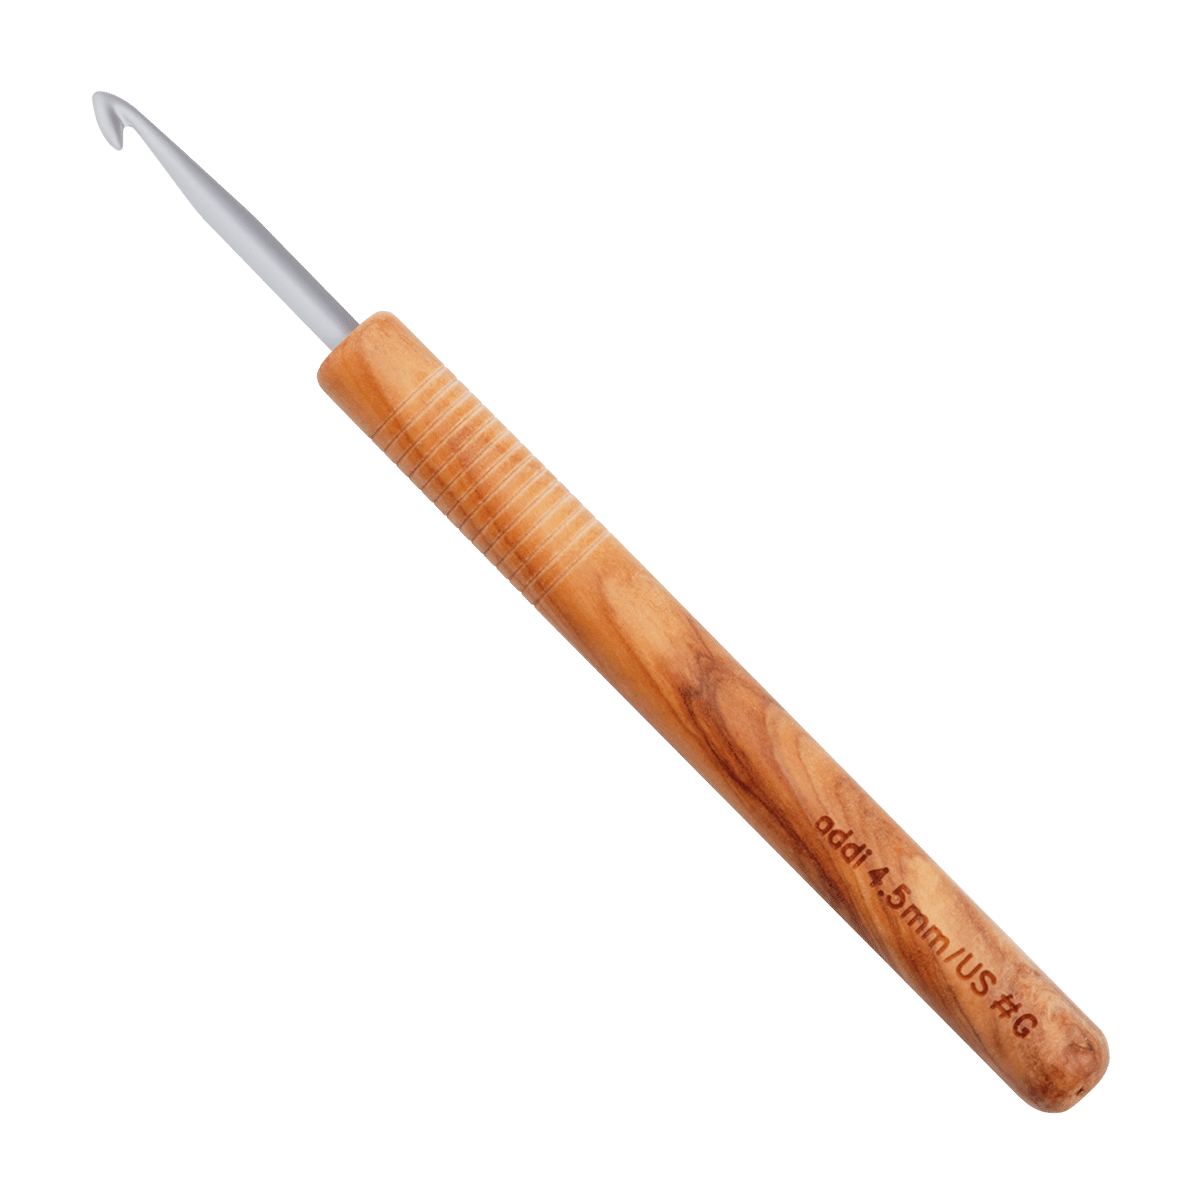
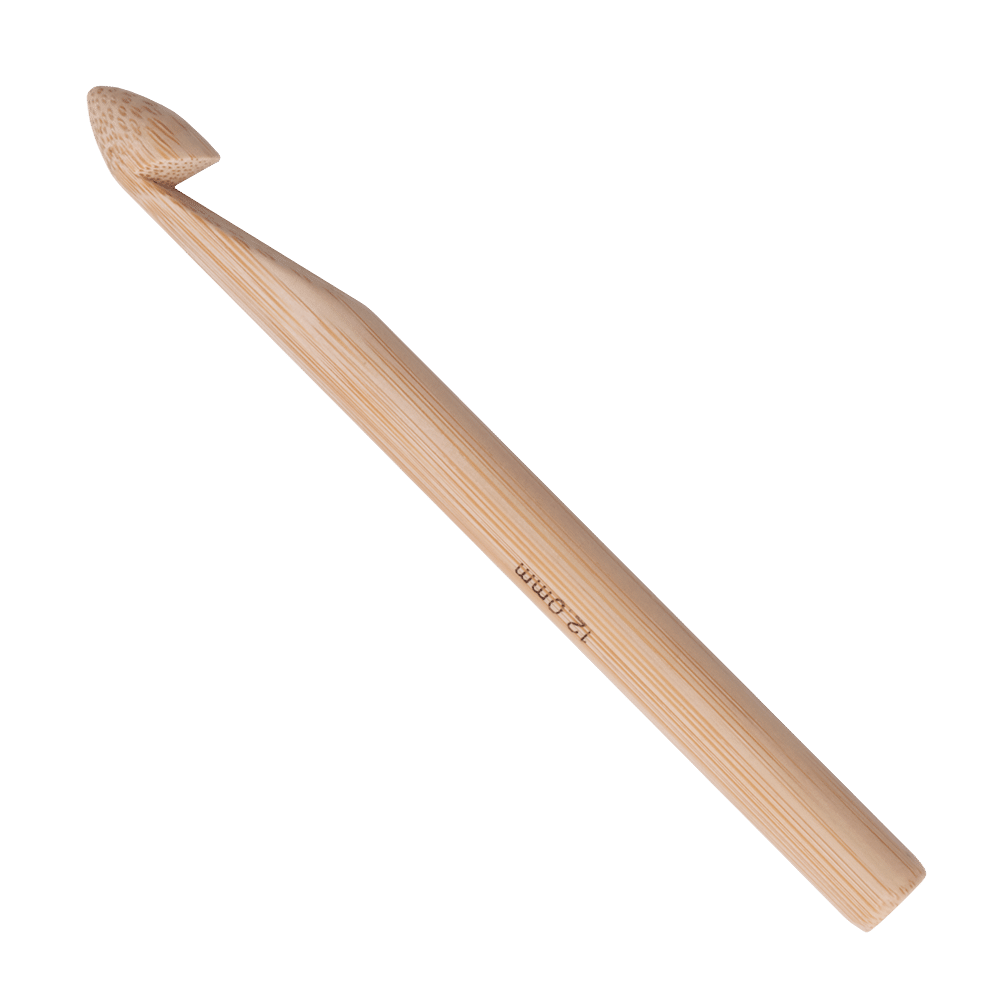
- addi crochet hook in suitable strength
- 2 addi Love stitch marker
You should be able to:
- single crochet (sc)
- half double crochet (hdc)
- dc = double crochet
- sl st = slip stitch
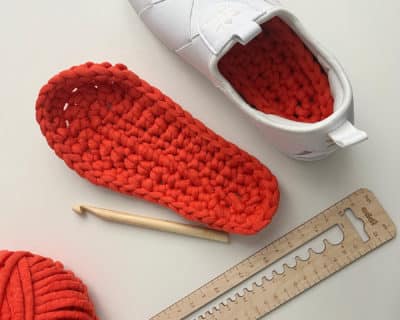
That’s how it fits you:
You can use any yarn of your choice. Depending on the thickness of the yarn, you just crochet more or less rounds. It all depends on the beginning from the middle.
That’s how it fits you:
You can use any yarn of your choice. Depending on the thickness of the yarn, you just crochet more or less rounds. It all depends on the beginning from the middle.
Start
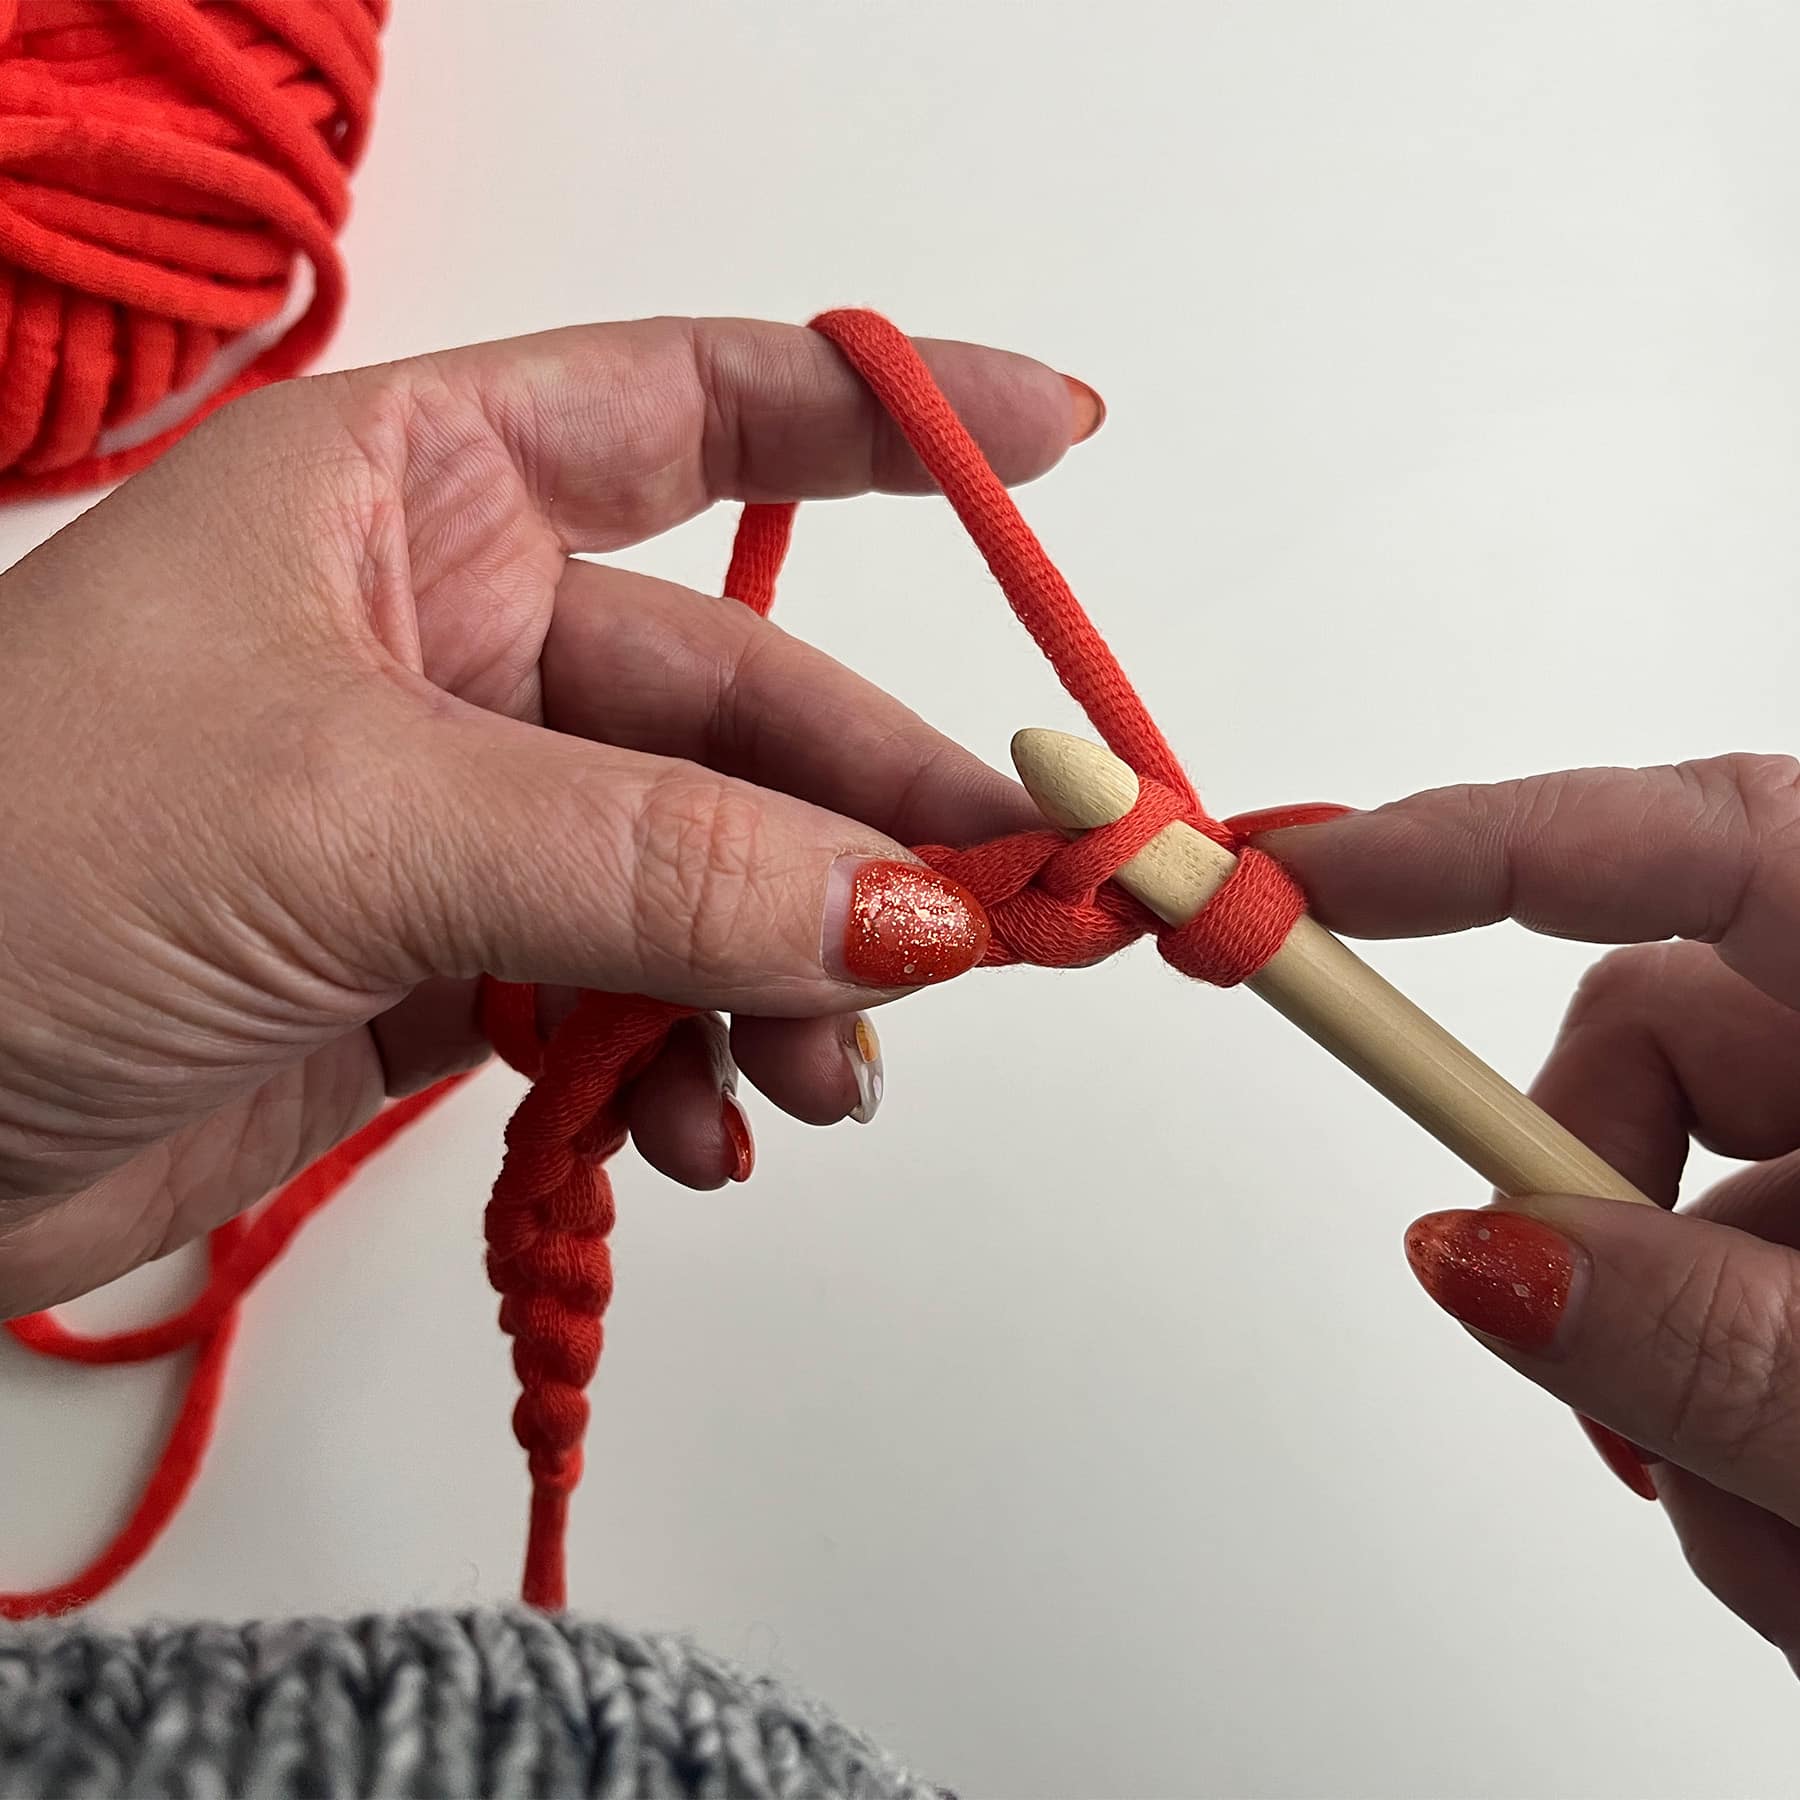
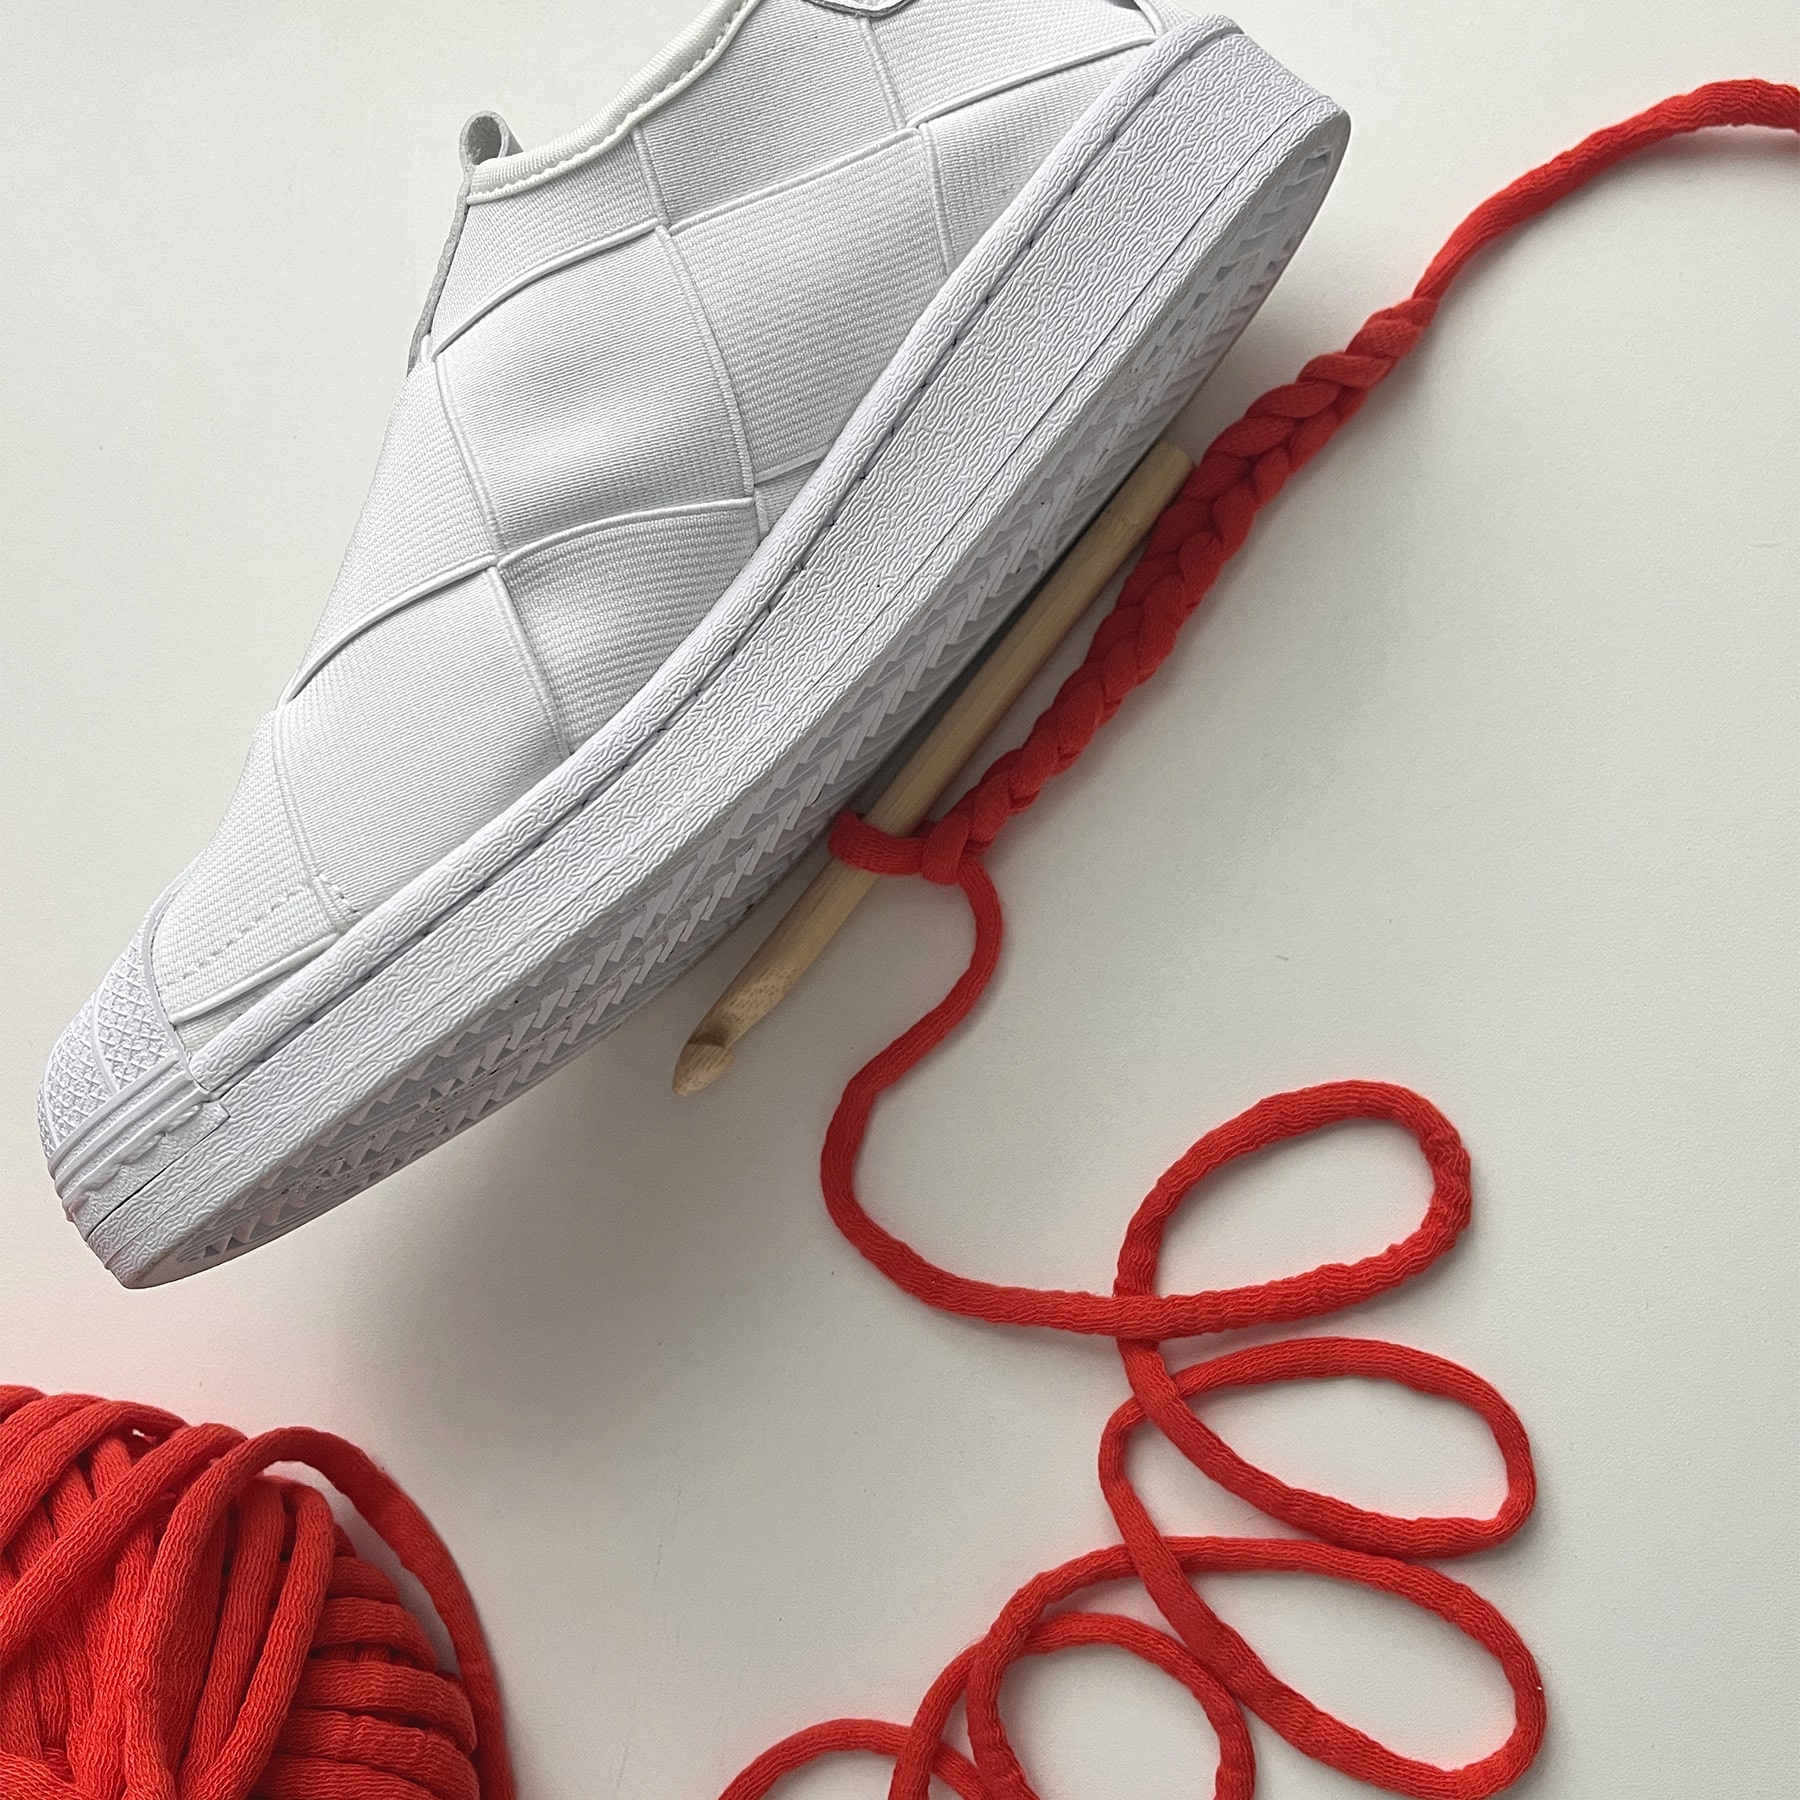
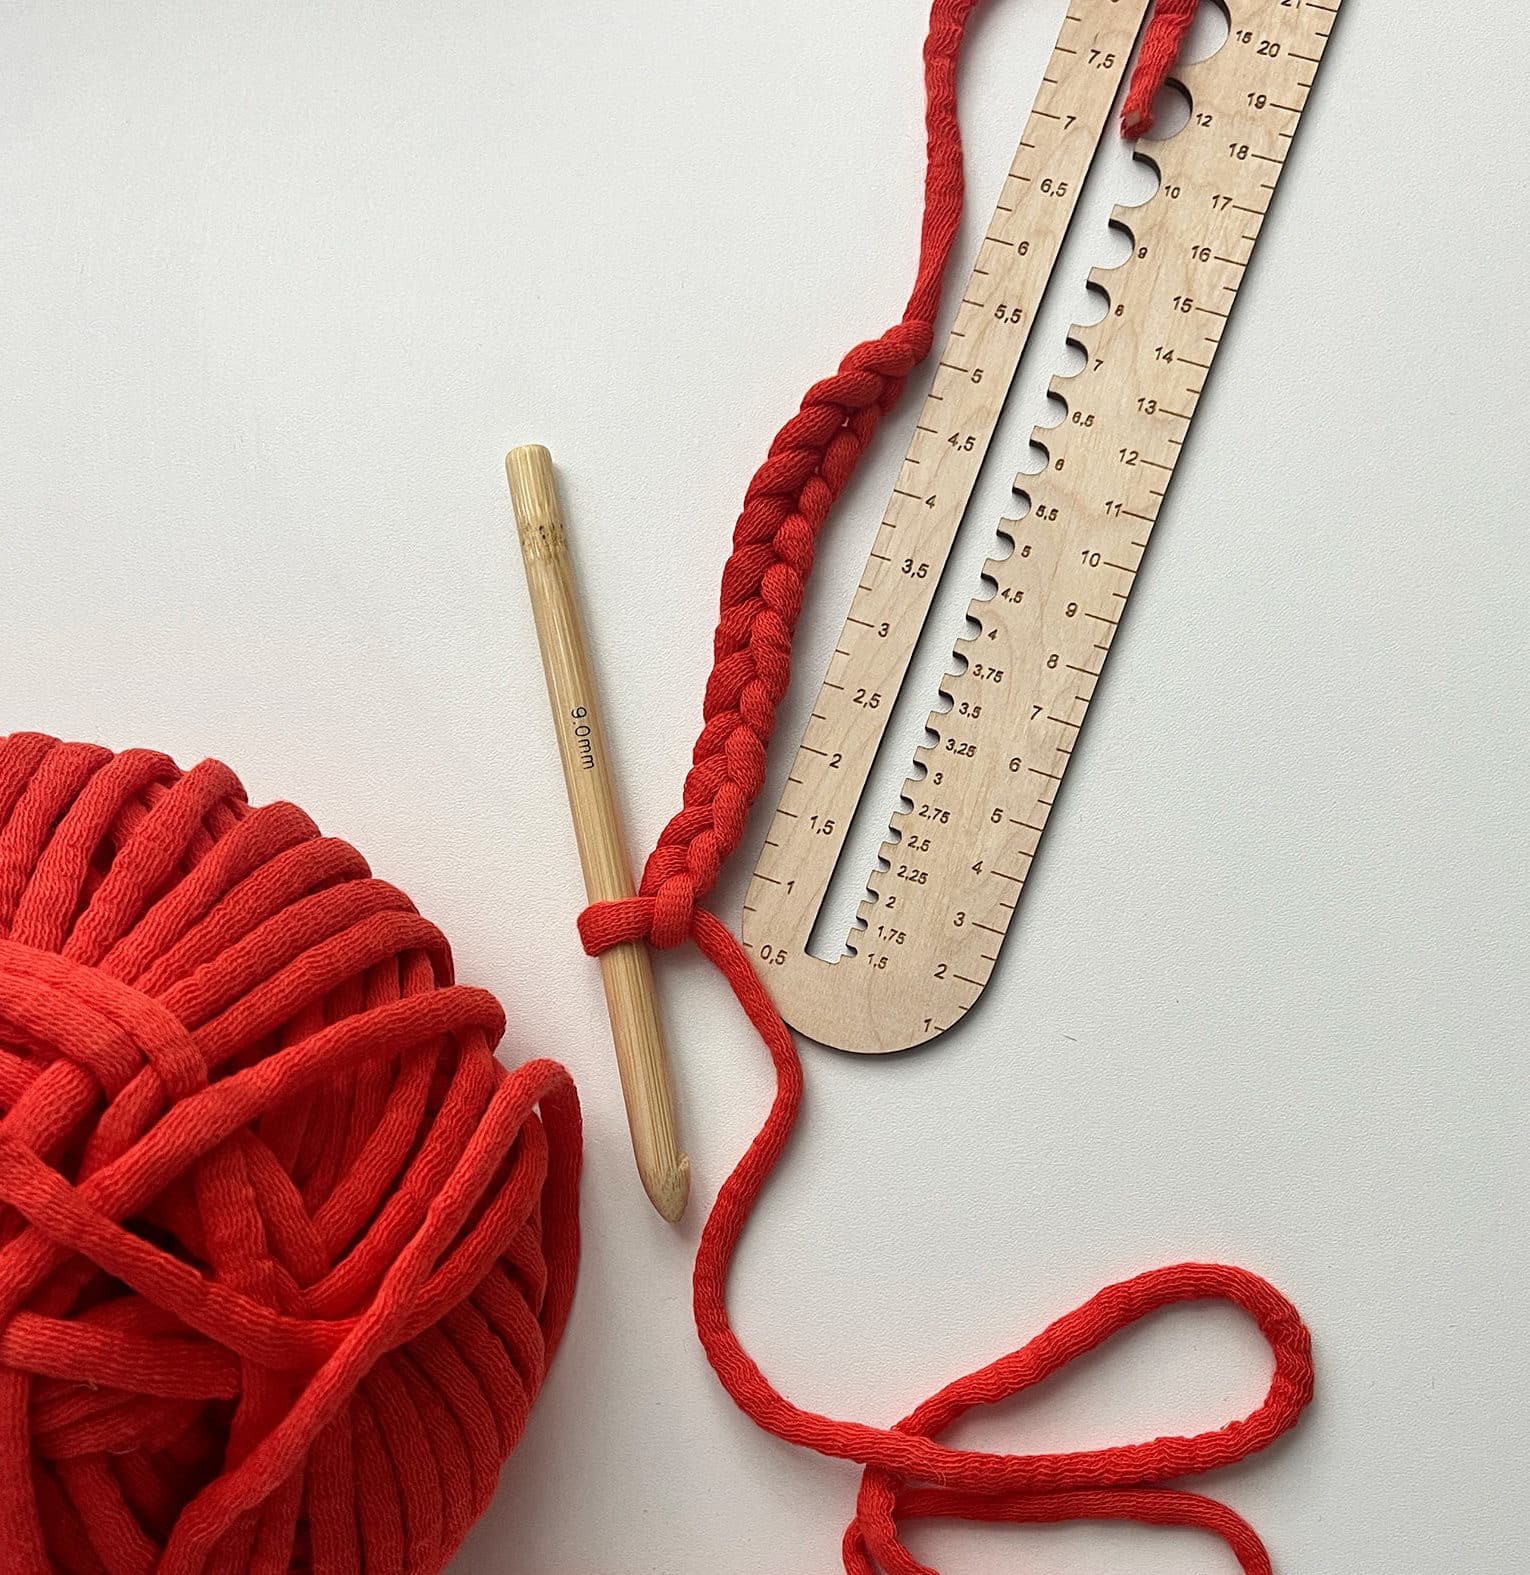
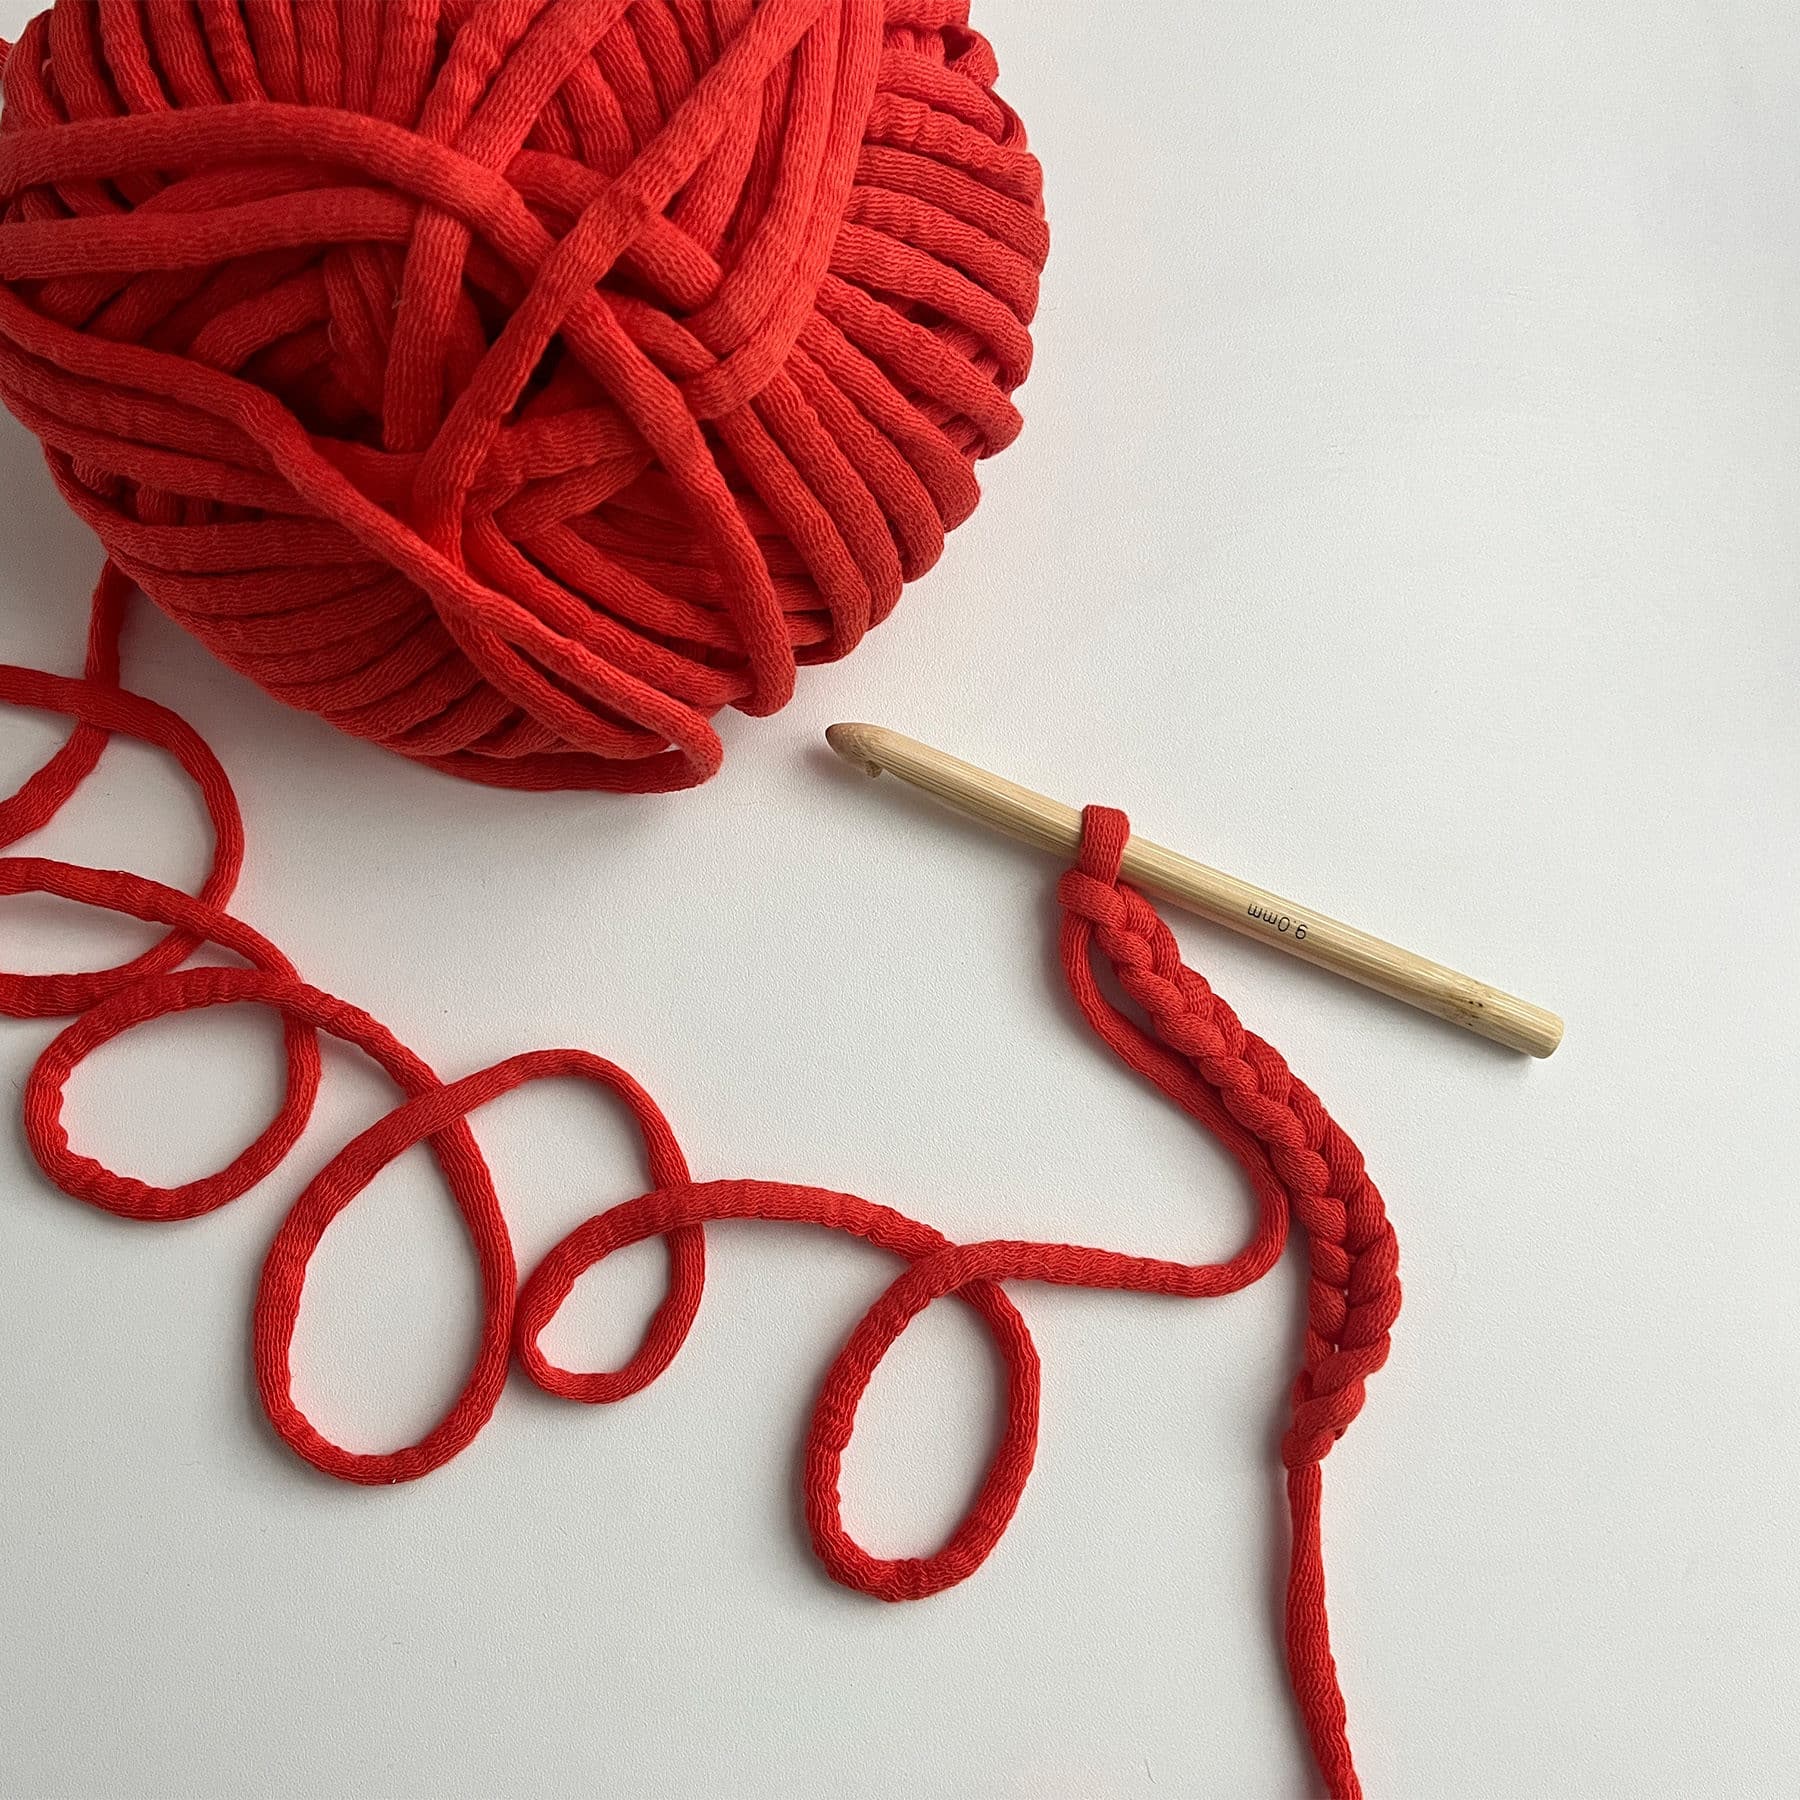
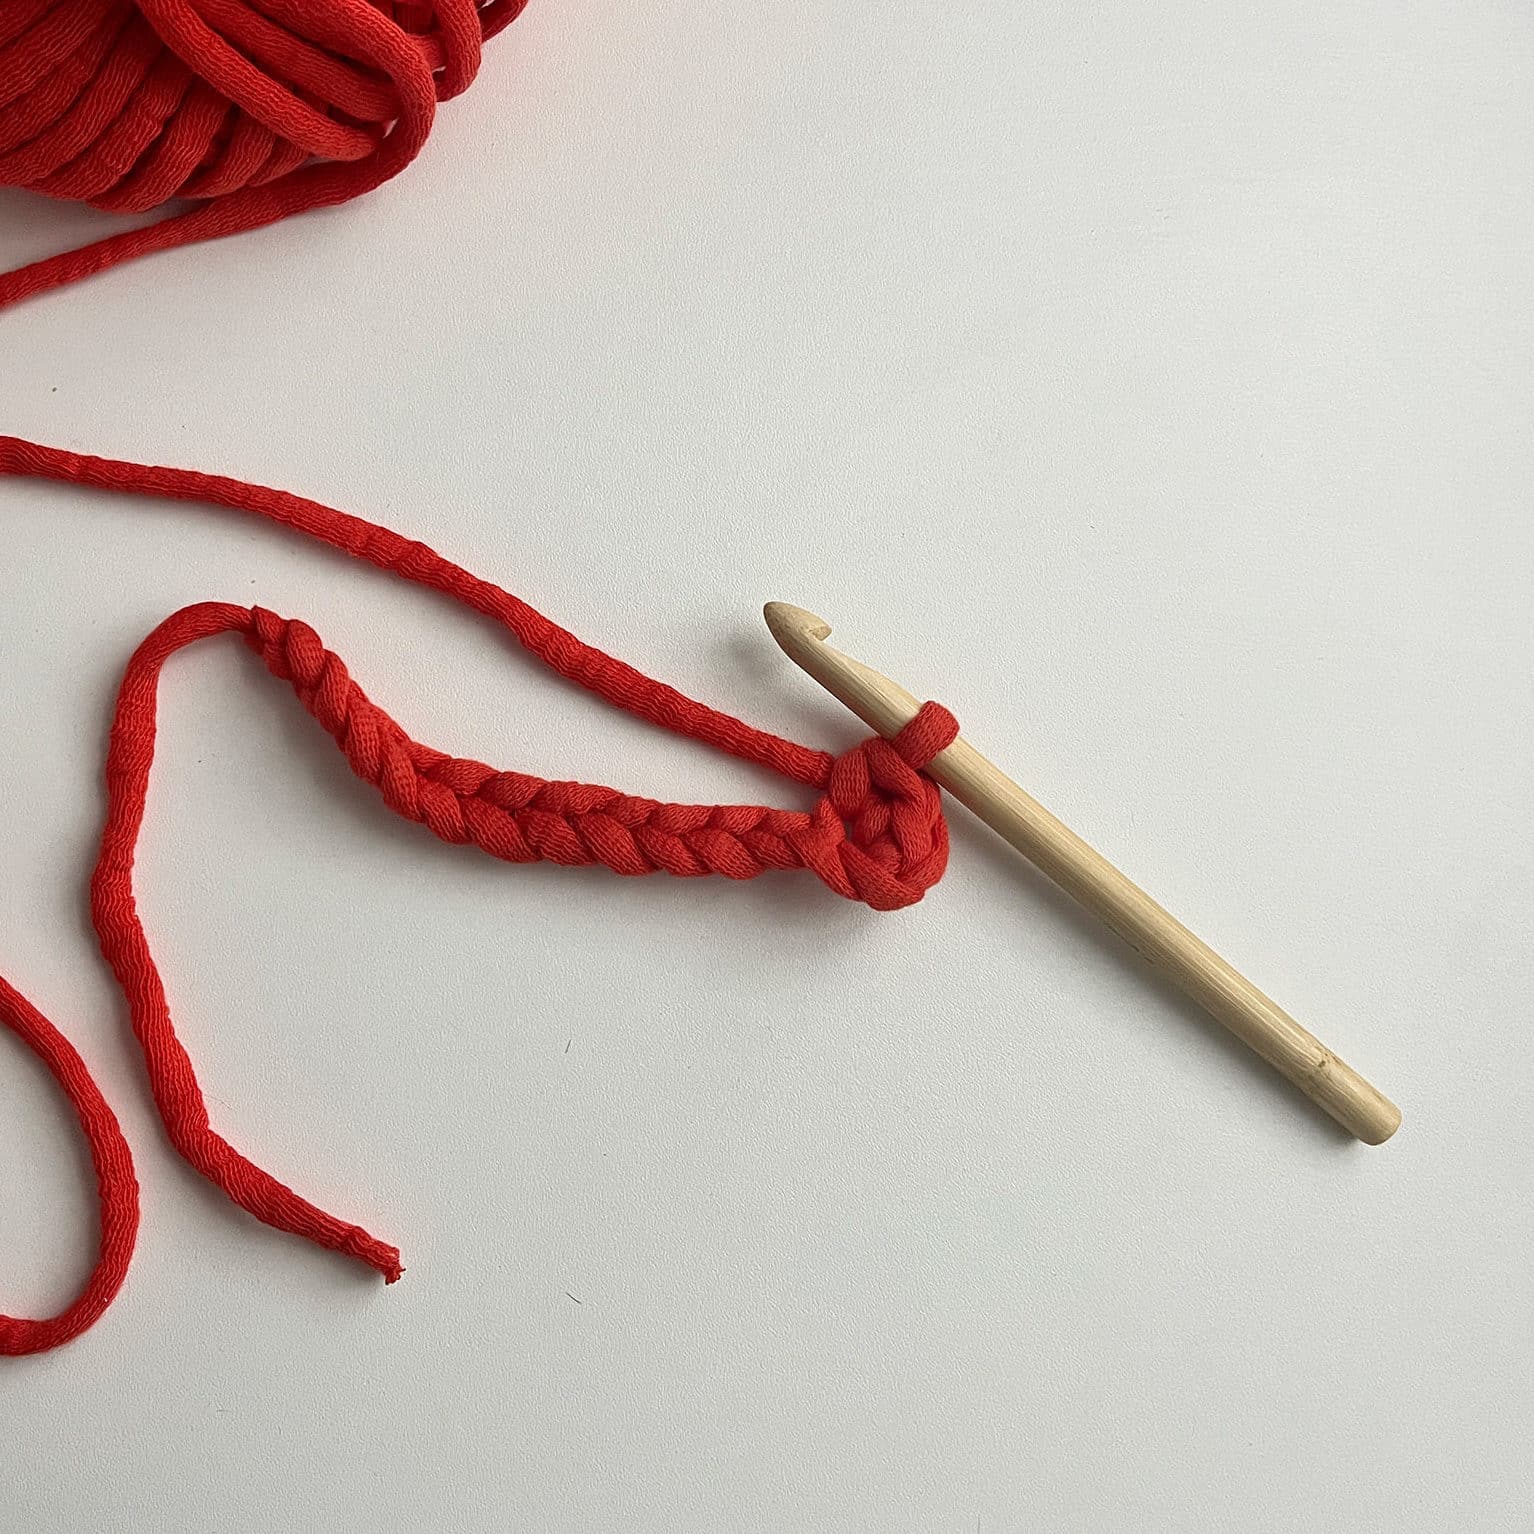
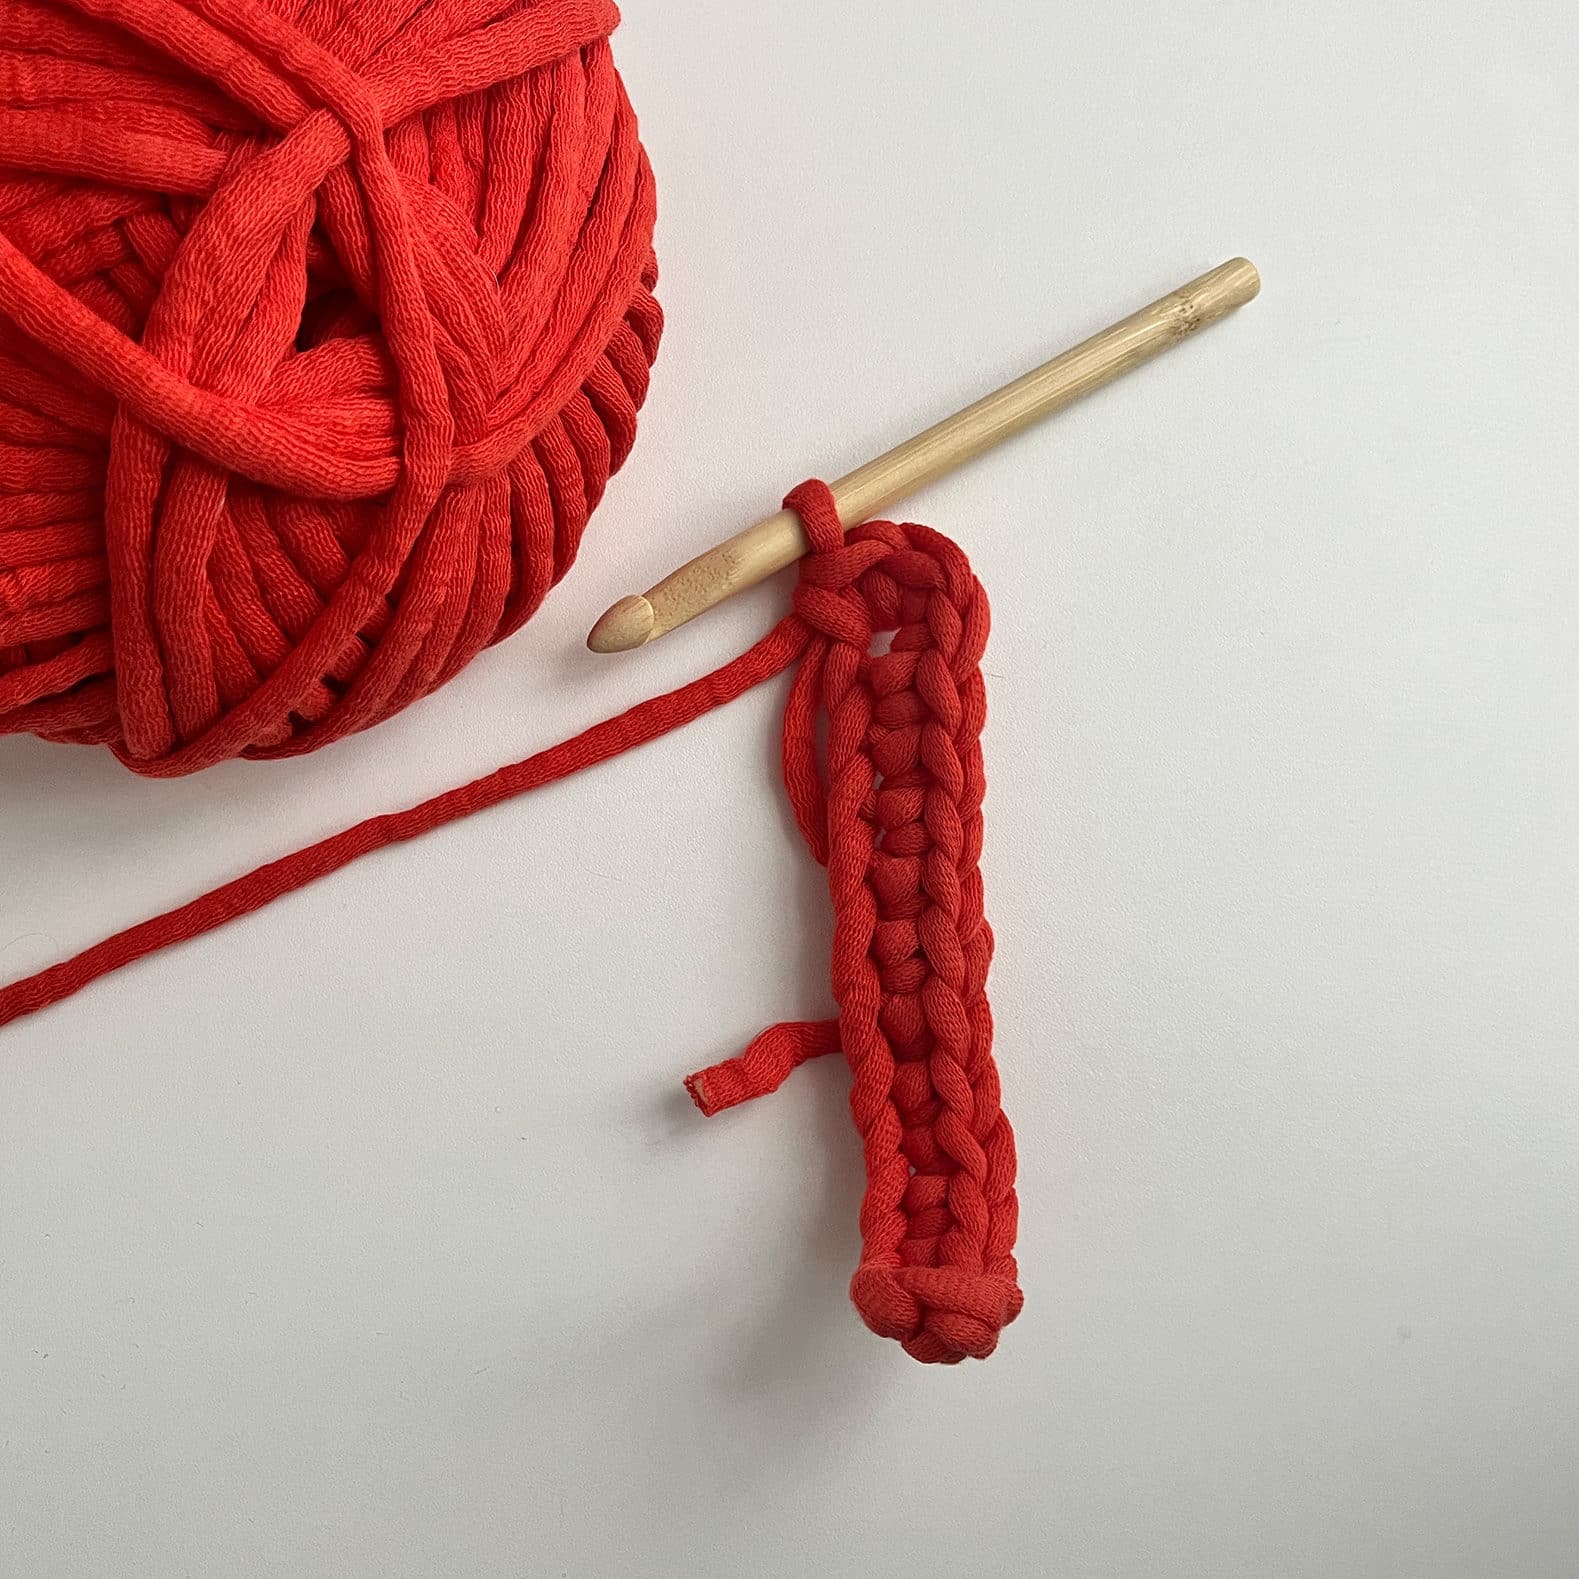
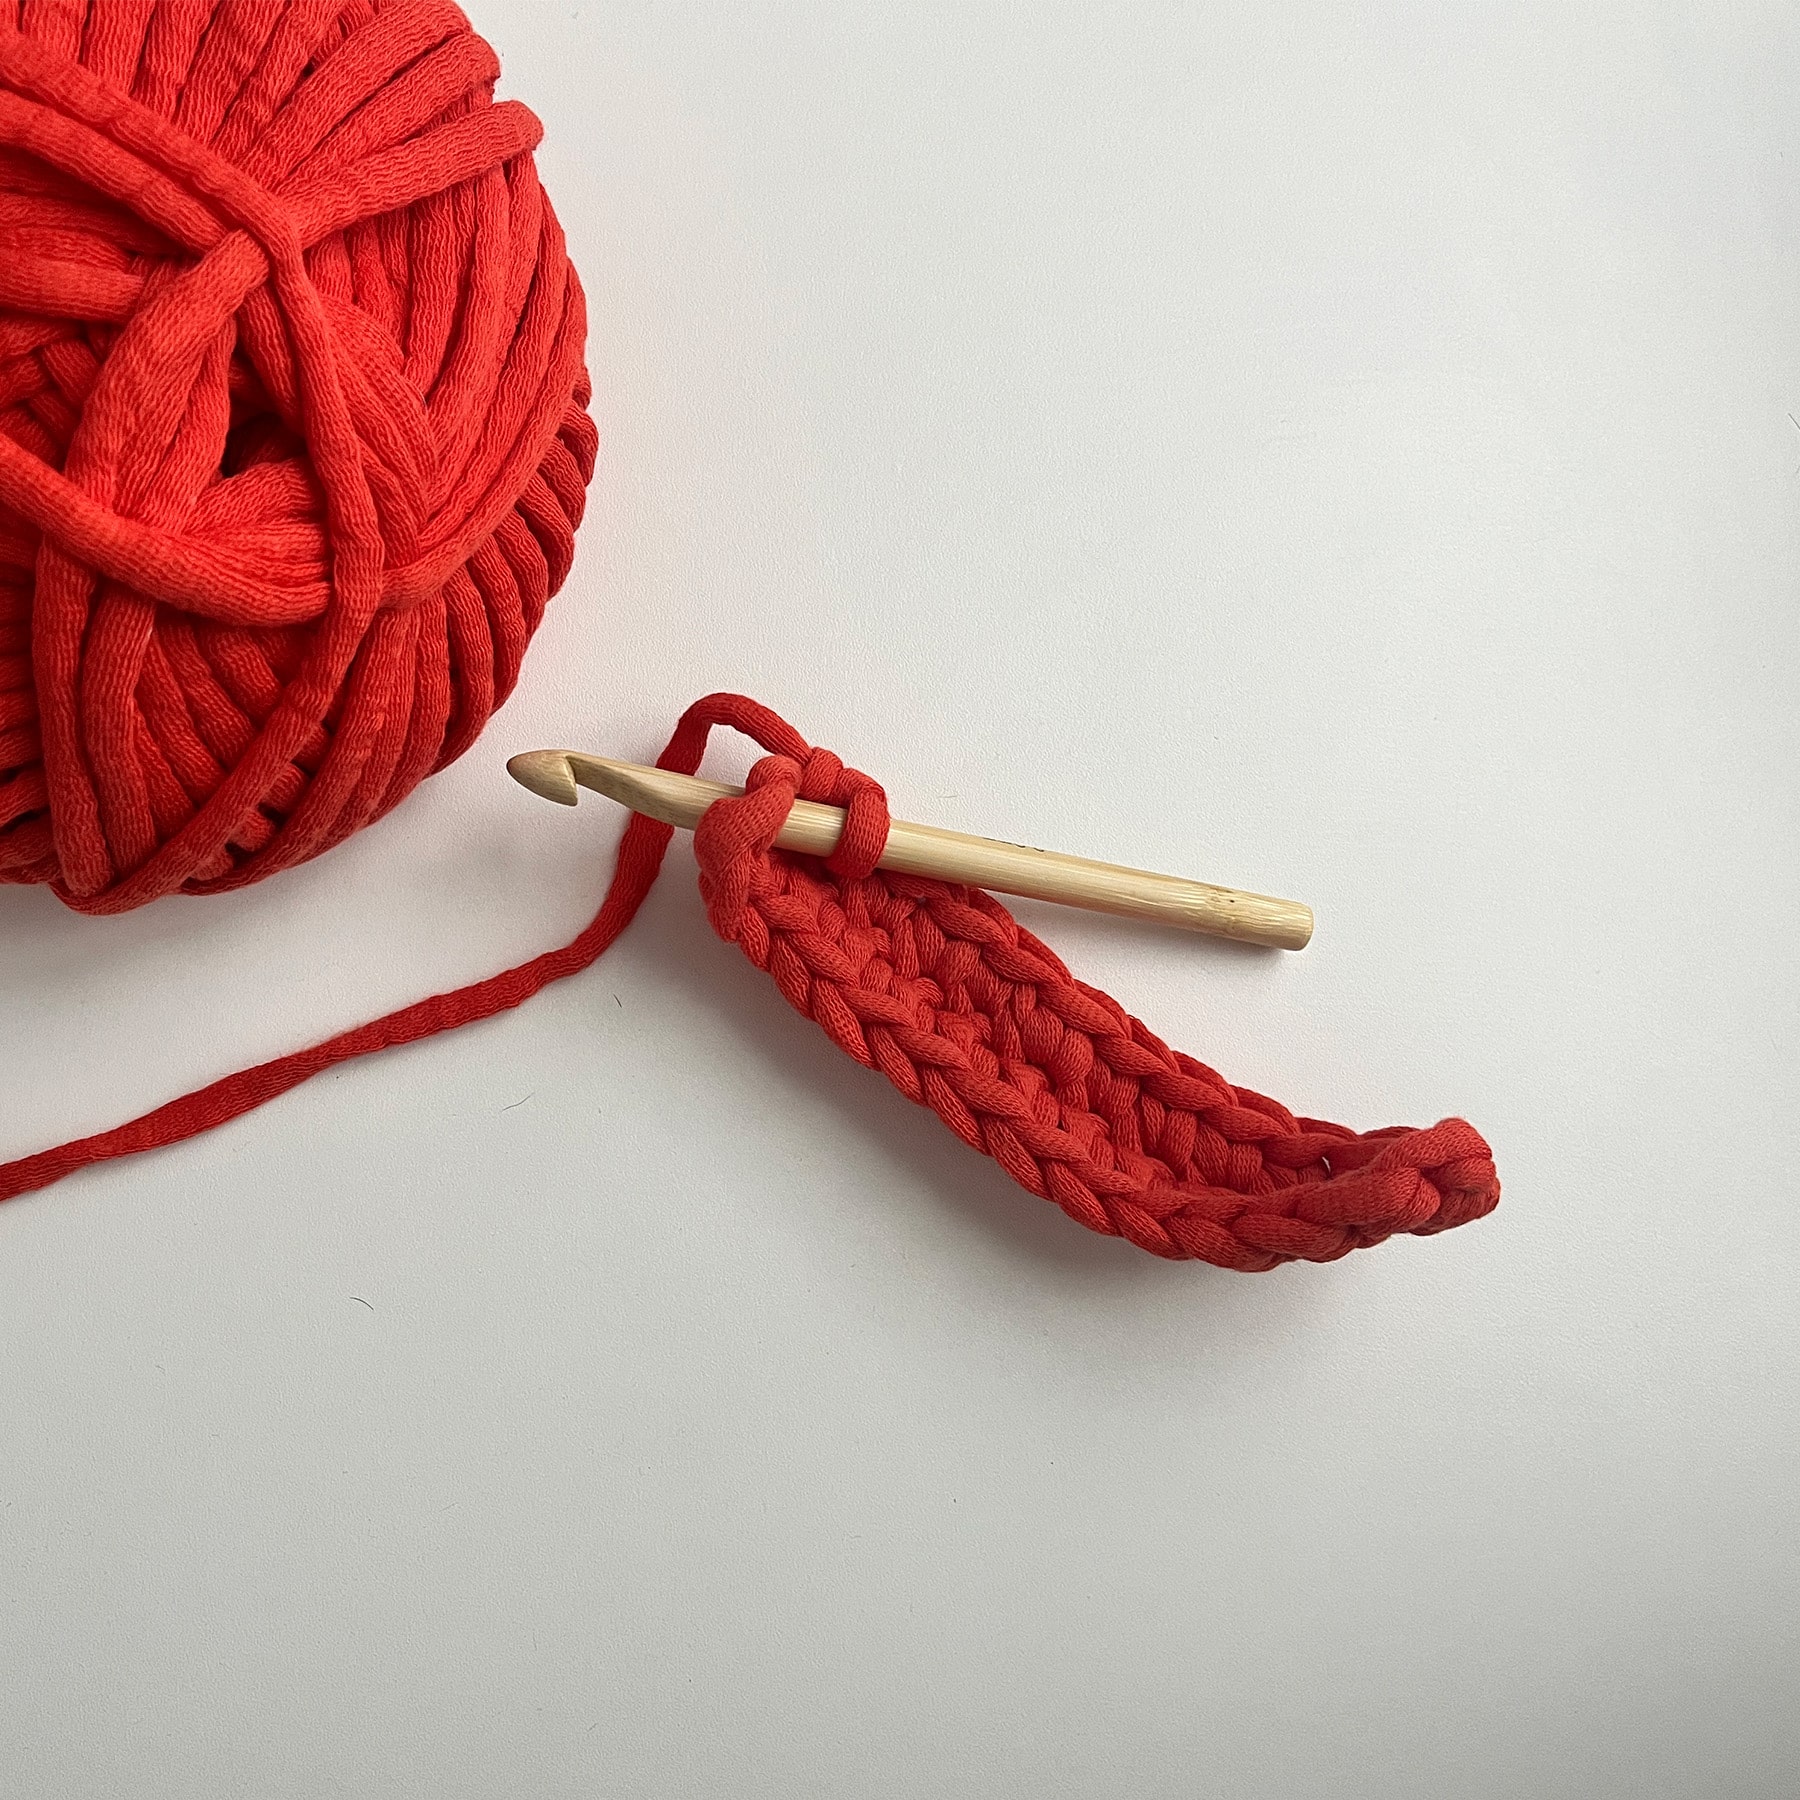
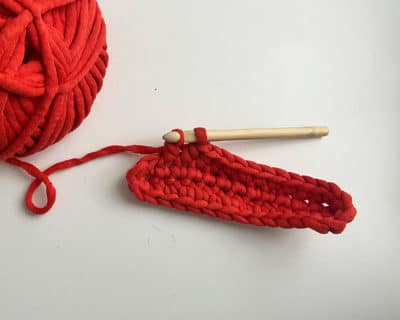
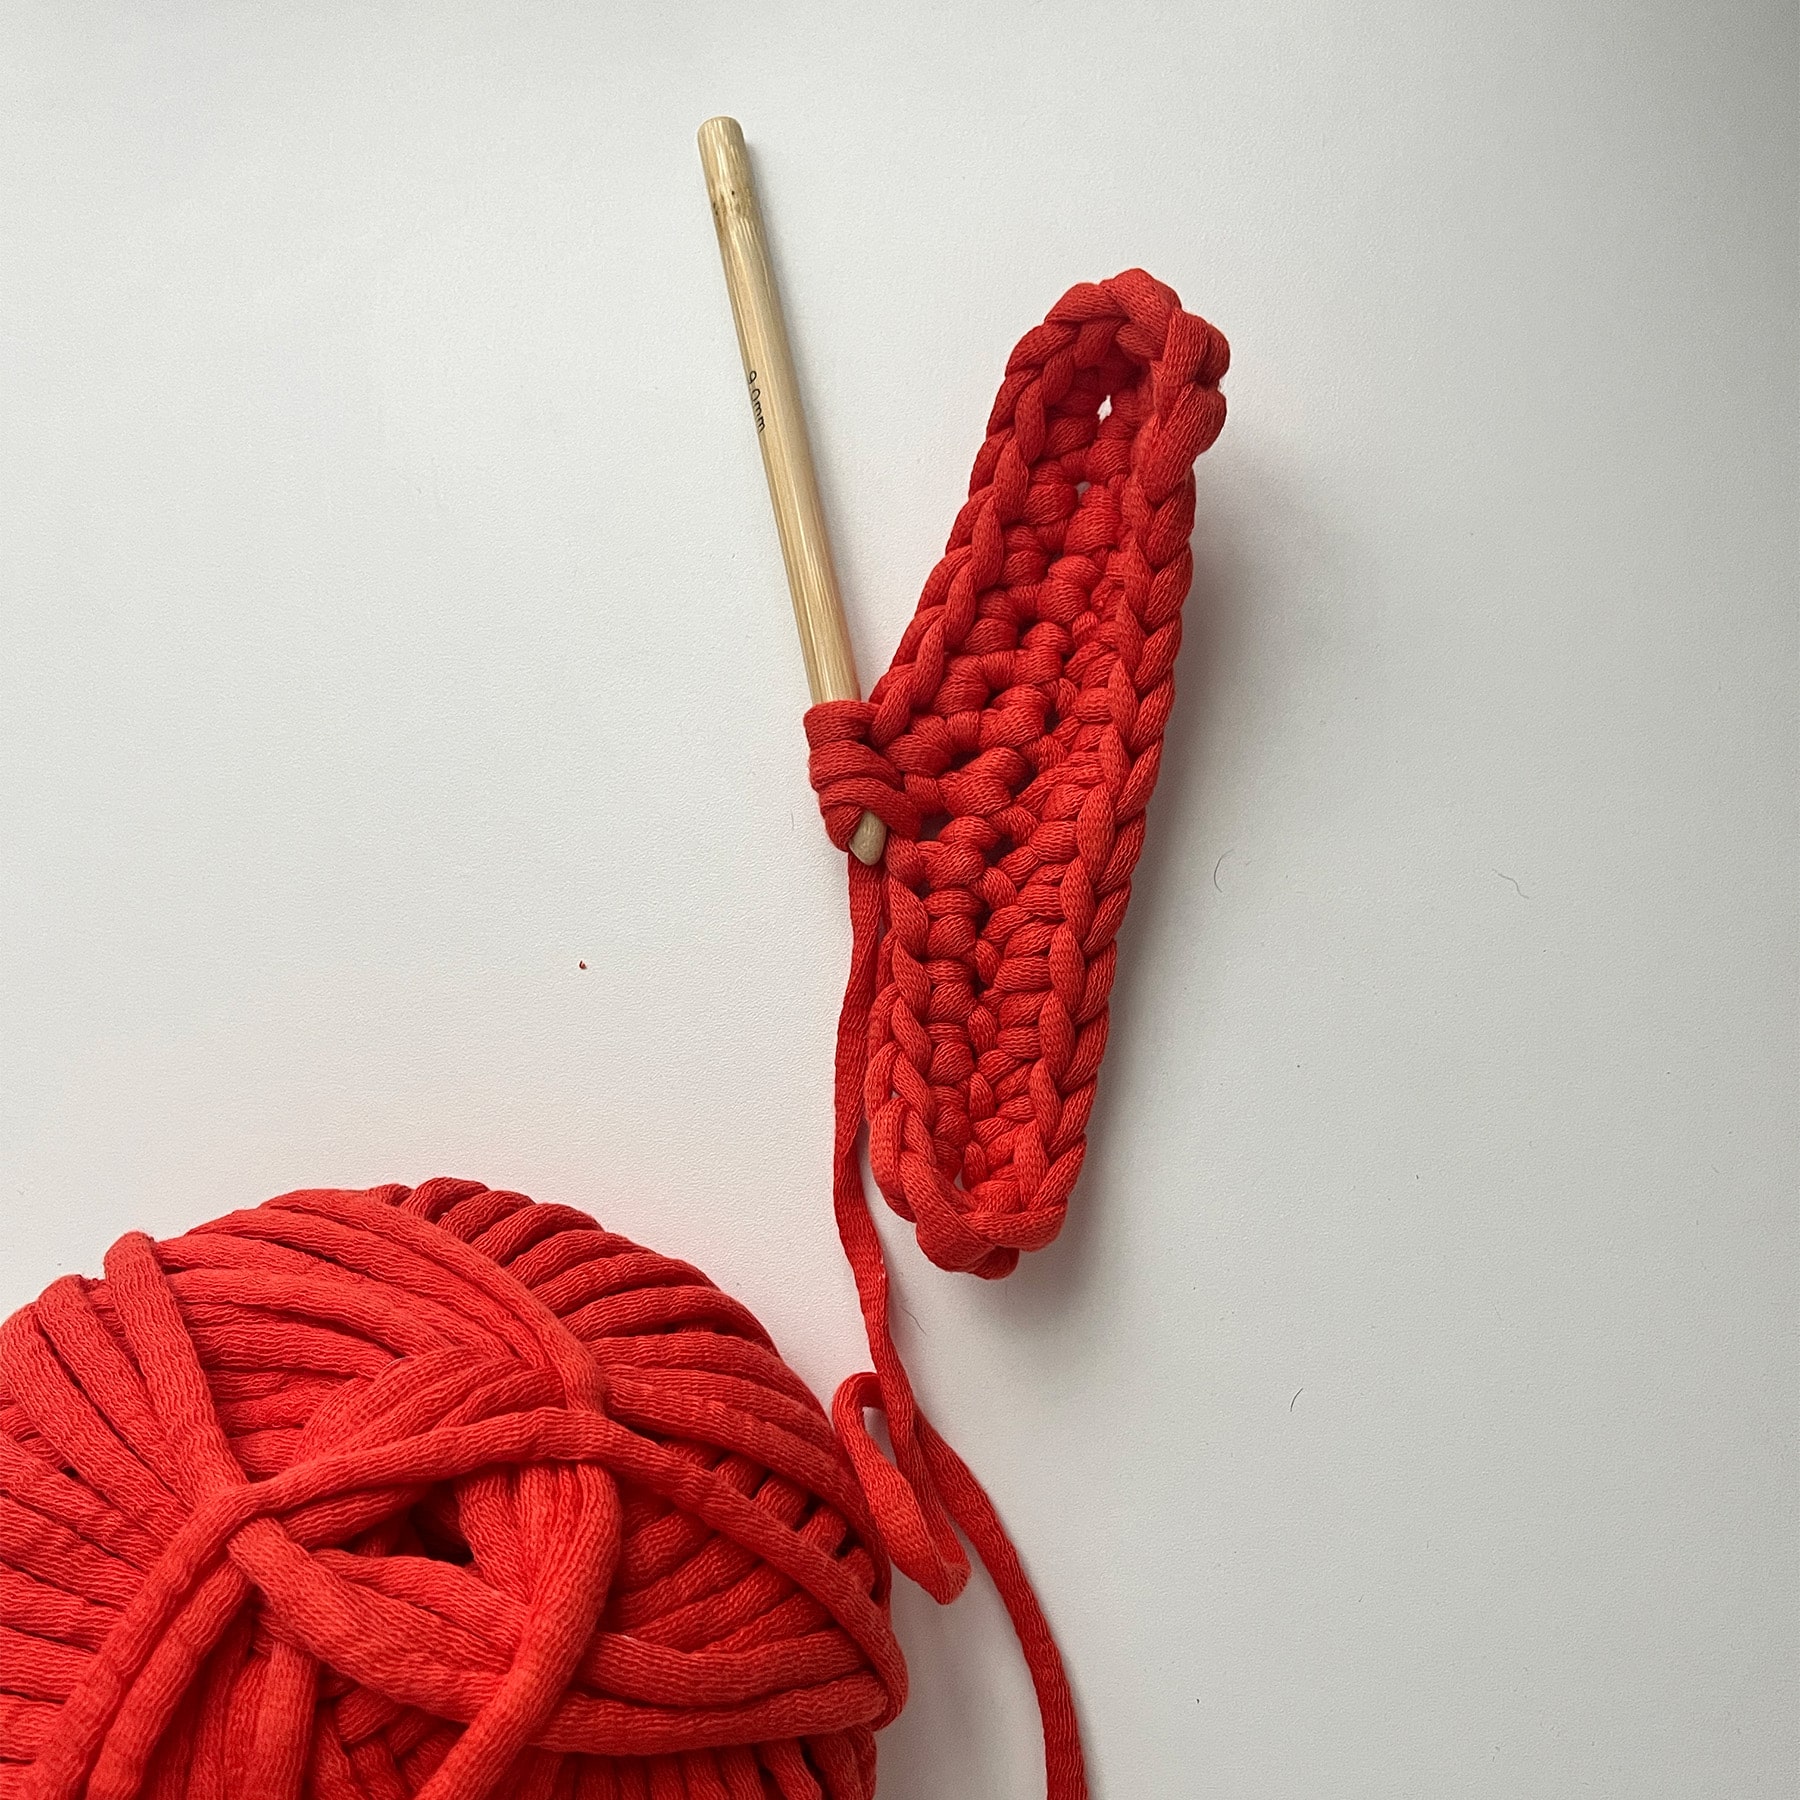
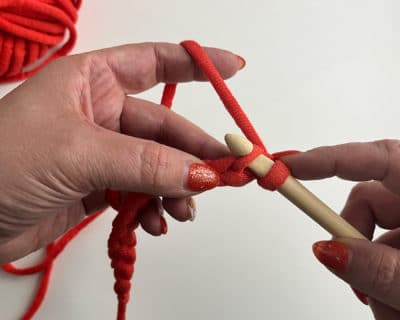
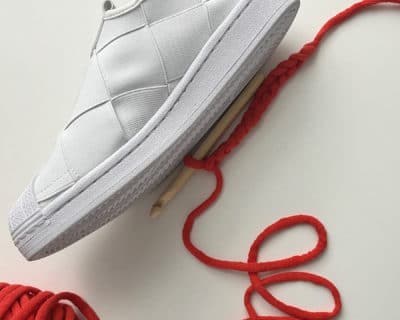
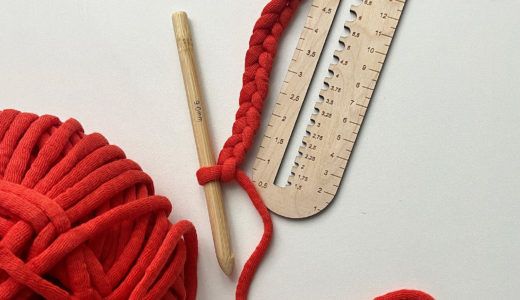
Begin with chain stitches, half as long as your foot length. You can measure this directly on the shoe or foot, or you can use the foot length for your shoe size in the table or in the addi sock calculator in the addi2go app.
Start
Begin with chain stitches, half as long as your foot length. You can measure this directly on the shoe or foot, or you can use the foot length for your shoe size in the table or in the addi sock calculator in the addi2go app.
| Shoe size EU | 22/23 | 24/25 | 26/27 | 28/29 | 30/31 | 32/33 | 34/35 | 36/37 | 38/39 | 40/41 | 42/43 | 44/45 |
| Foot length (in cm) | 14 | 14,5 | 15,5 | 17 | 18 | 19,5 | 21 | 22 | 23,5 | 25 | 26,5 | 27,5 |
| Shoe size EU | 22/23 | 24/25 | 26/27 | 28/29 | 30/31 | 32/33 | 34/35 | 36/37 | 38/39 | 40/41 | 42/43 | 44/45 |
| Foot length (in cm) | 14 | 14,5 | 15,5 | 17 | 18 | 19,5 | 21 | 22 | 23,5 | 25 | 26,5 | 27,5 |
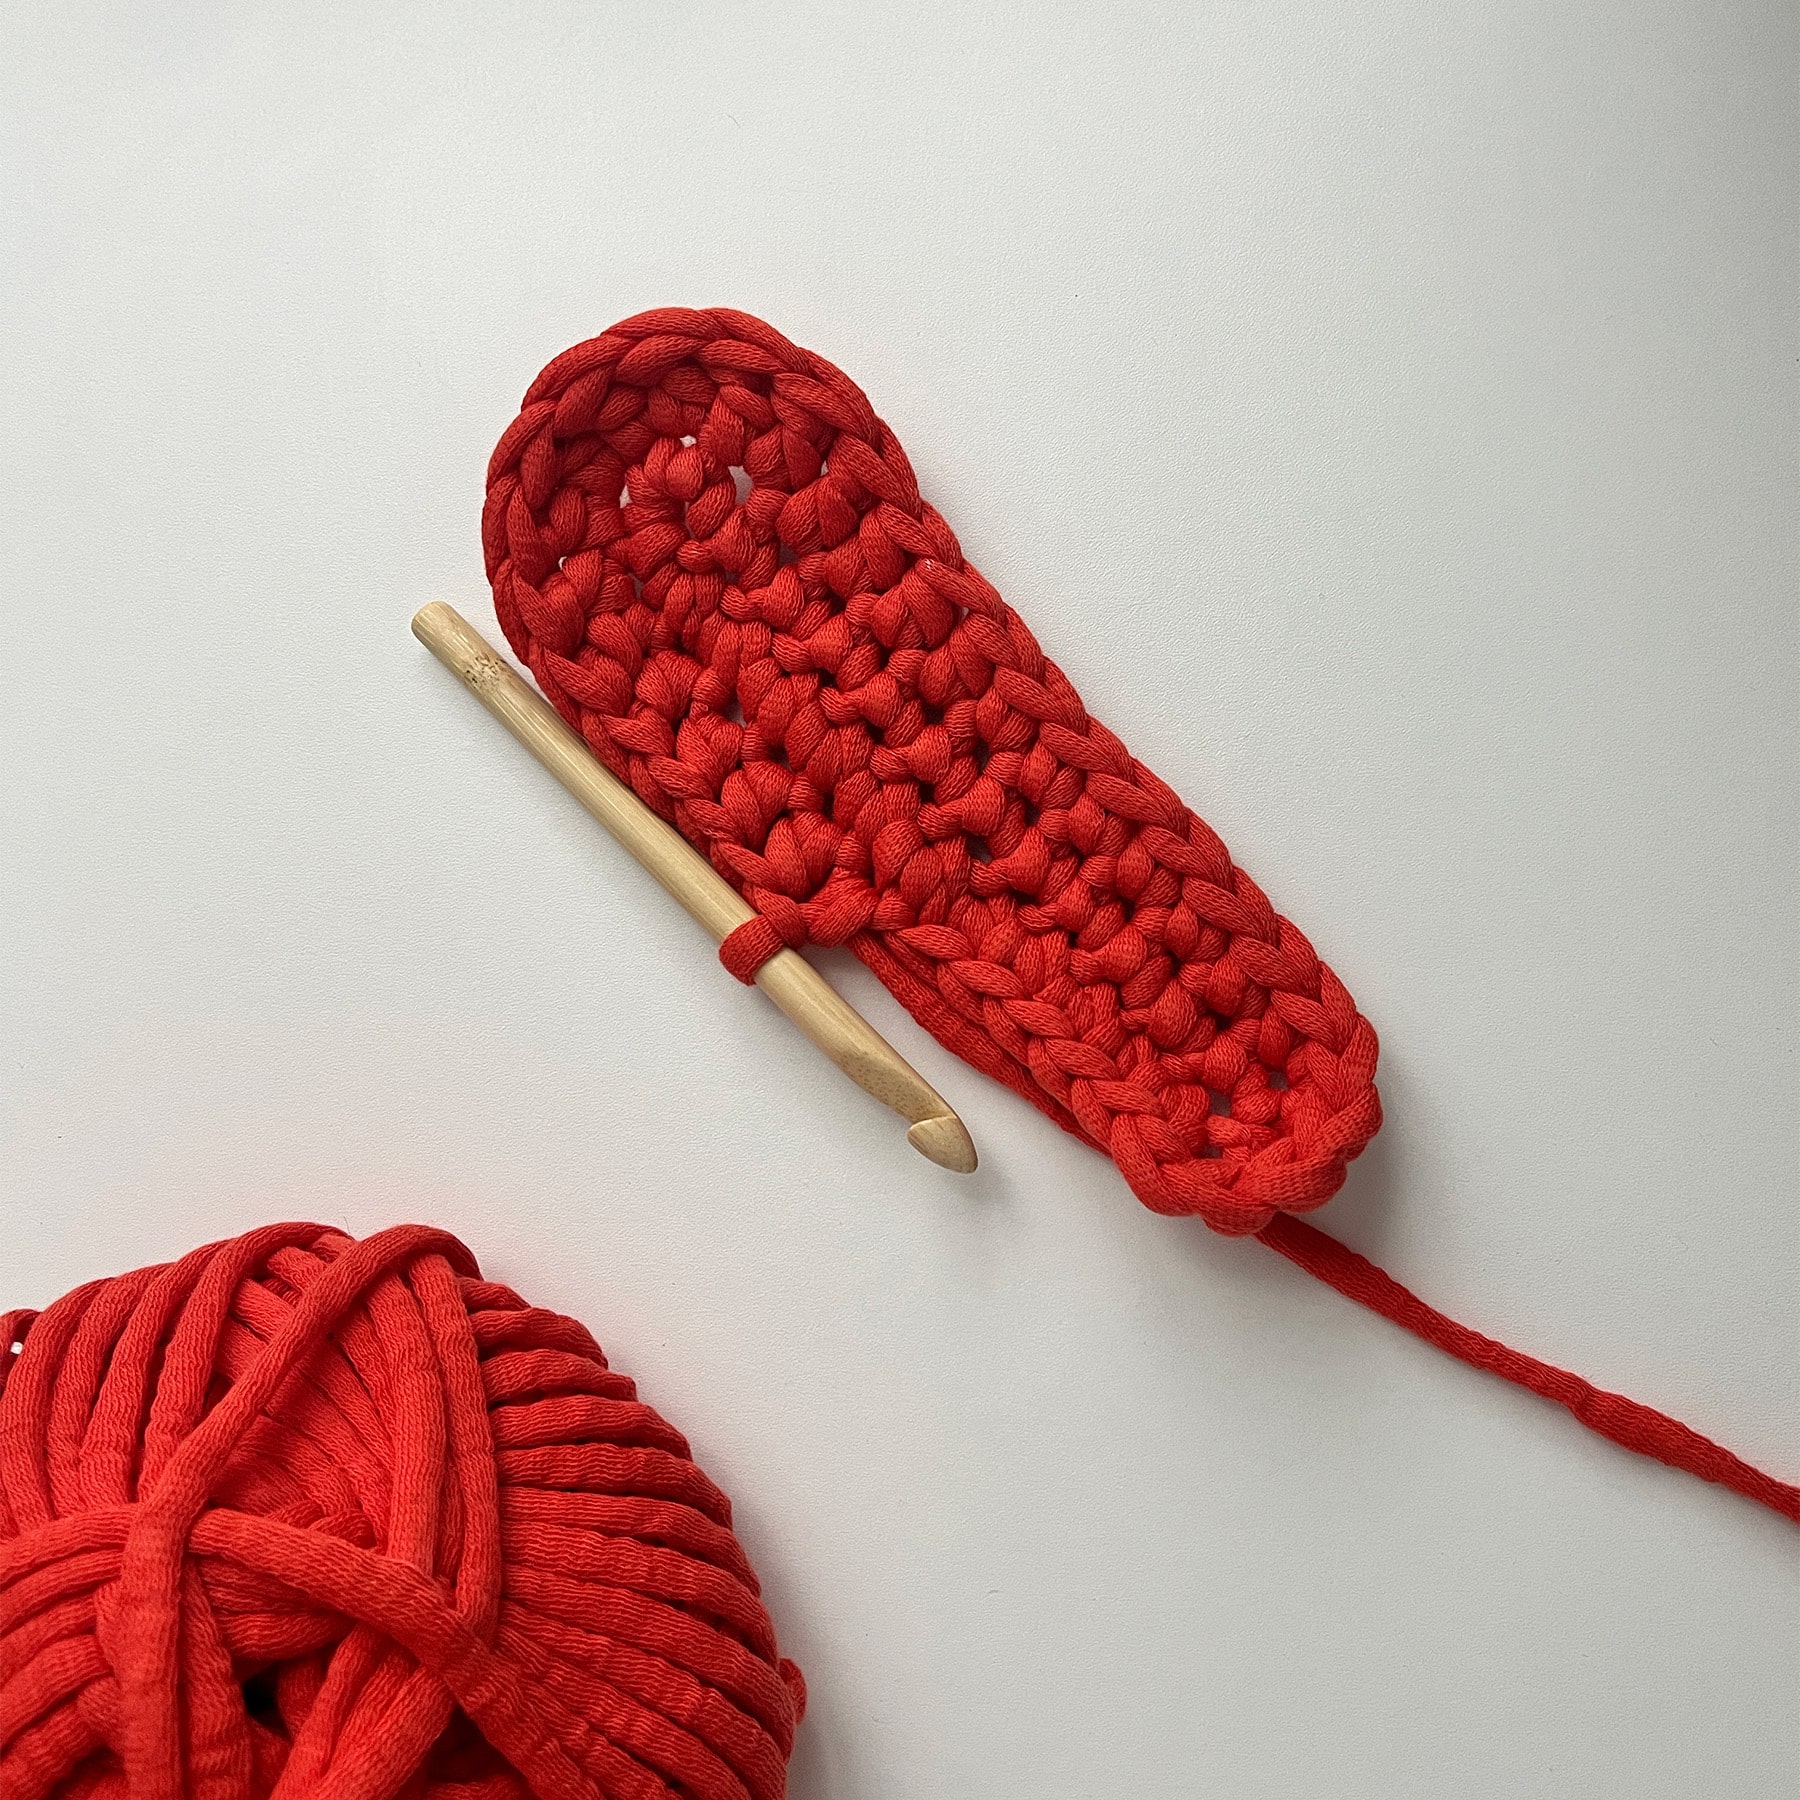
Round 1
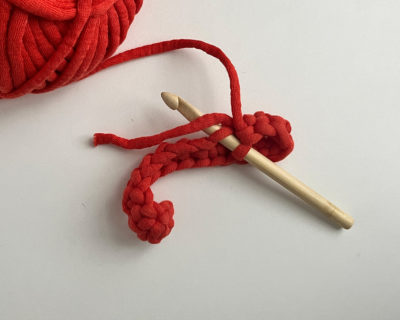
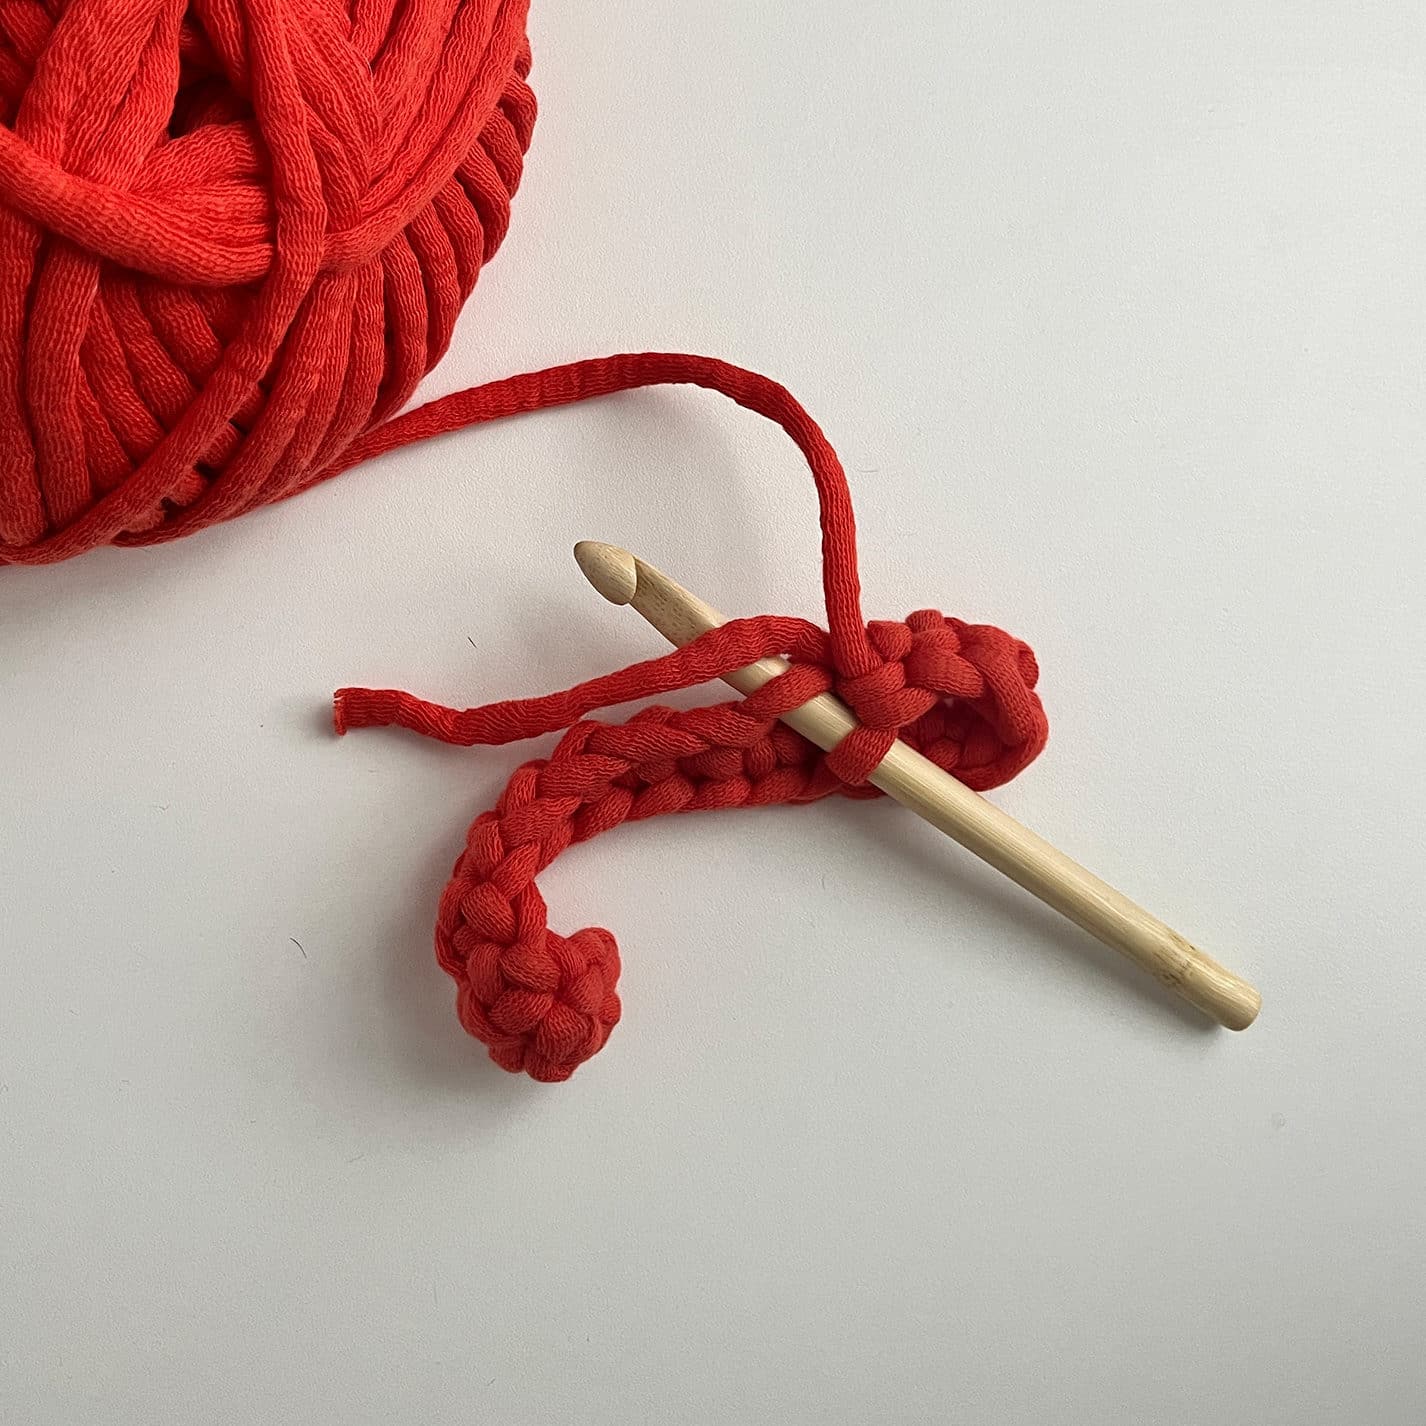
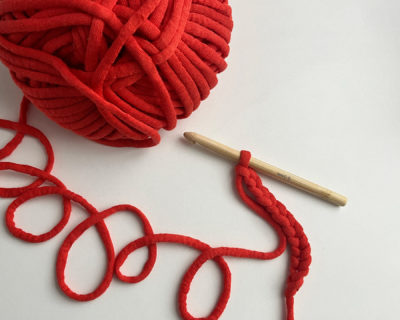
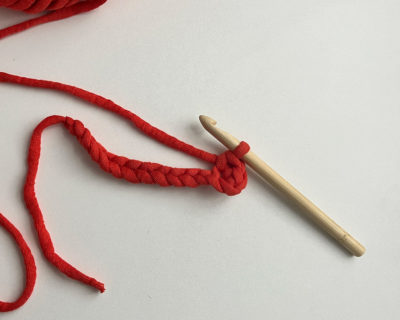
- Crochet 2 chain stitches into the 1st chain stitch from the needle.
- Then continue 1 chain stitch in each air stitch to the end of the row.
Round 1
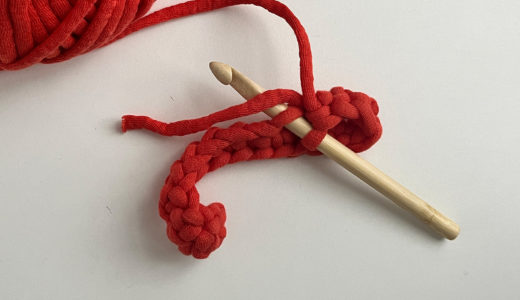
- Crochet 2 chain stitches into the 1st chain stitch from the needle.
- Then continue 1 chain stitch in each air stitch to the end of the row.
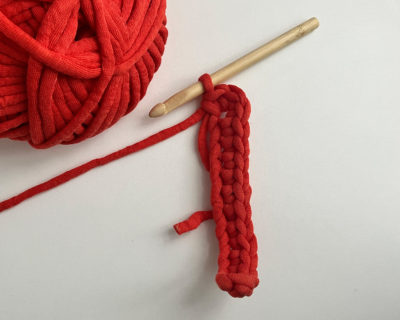
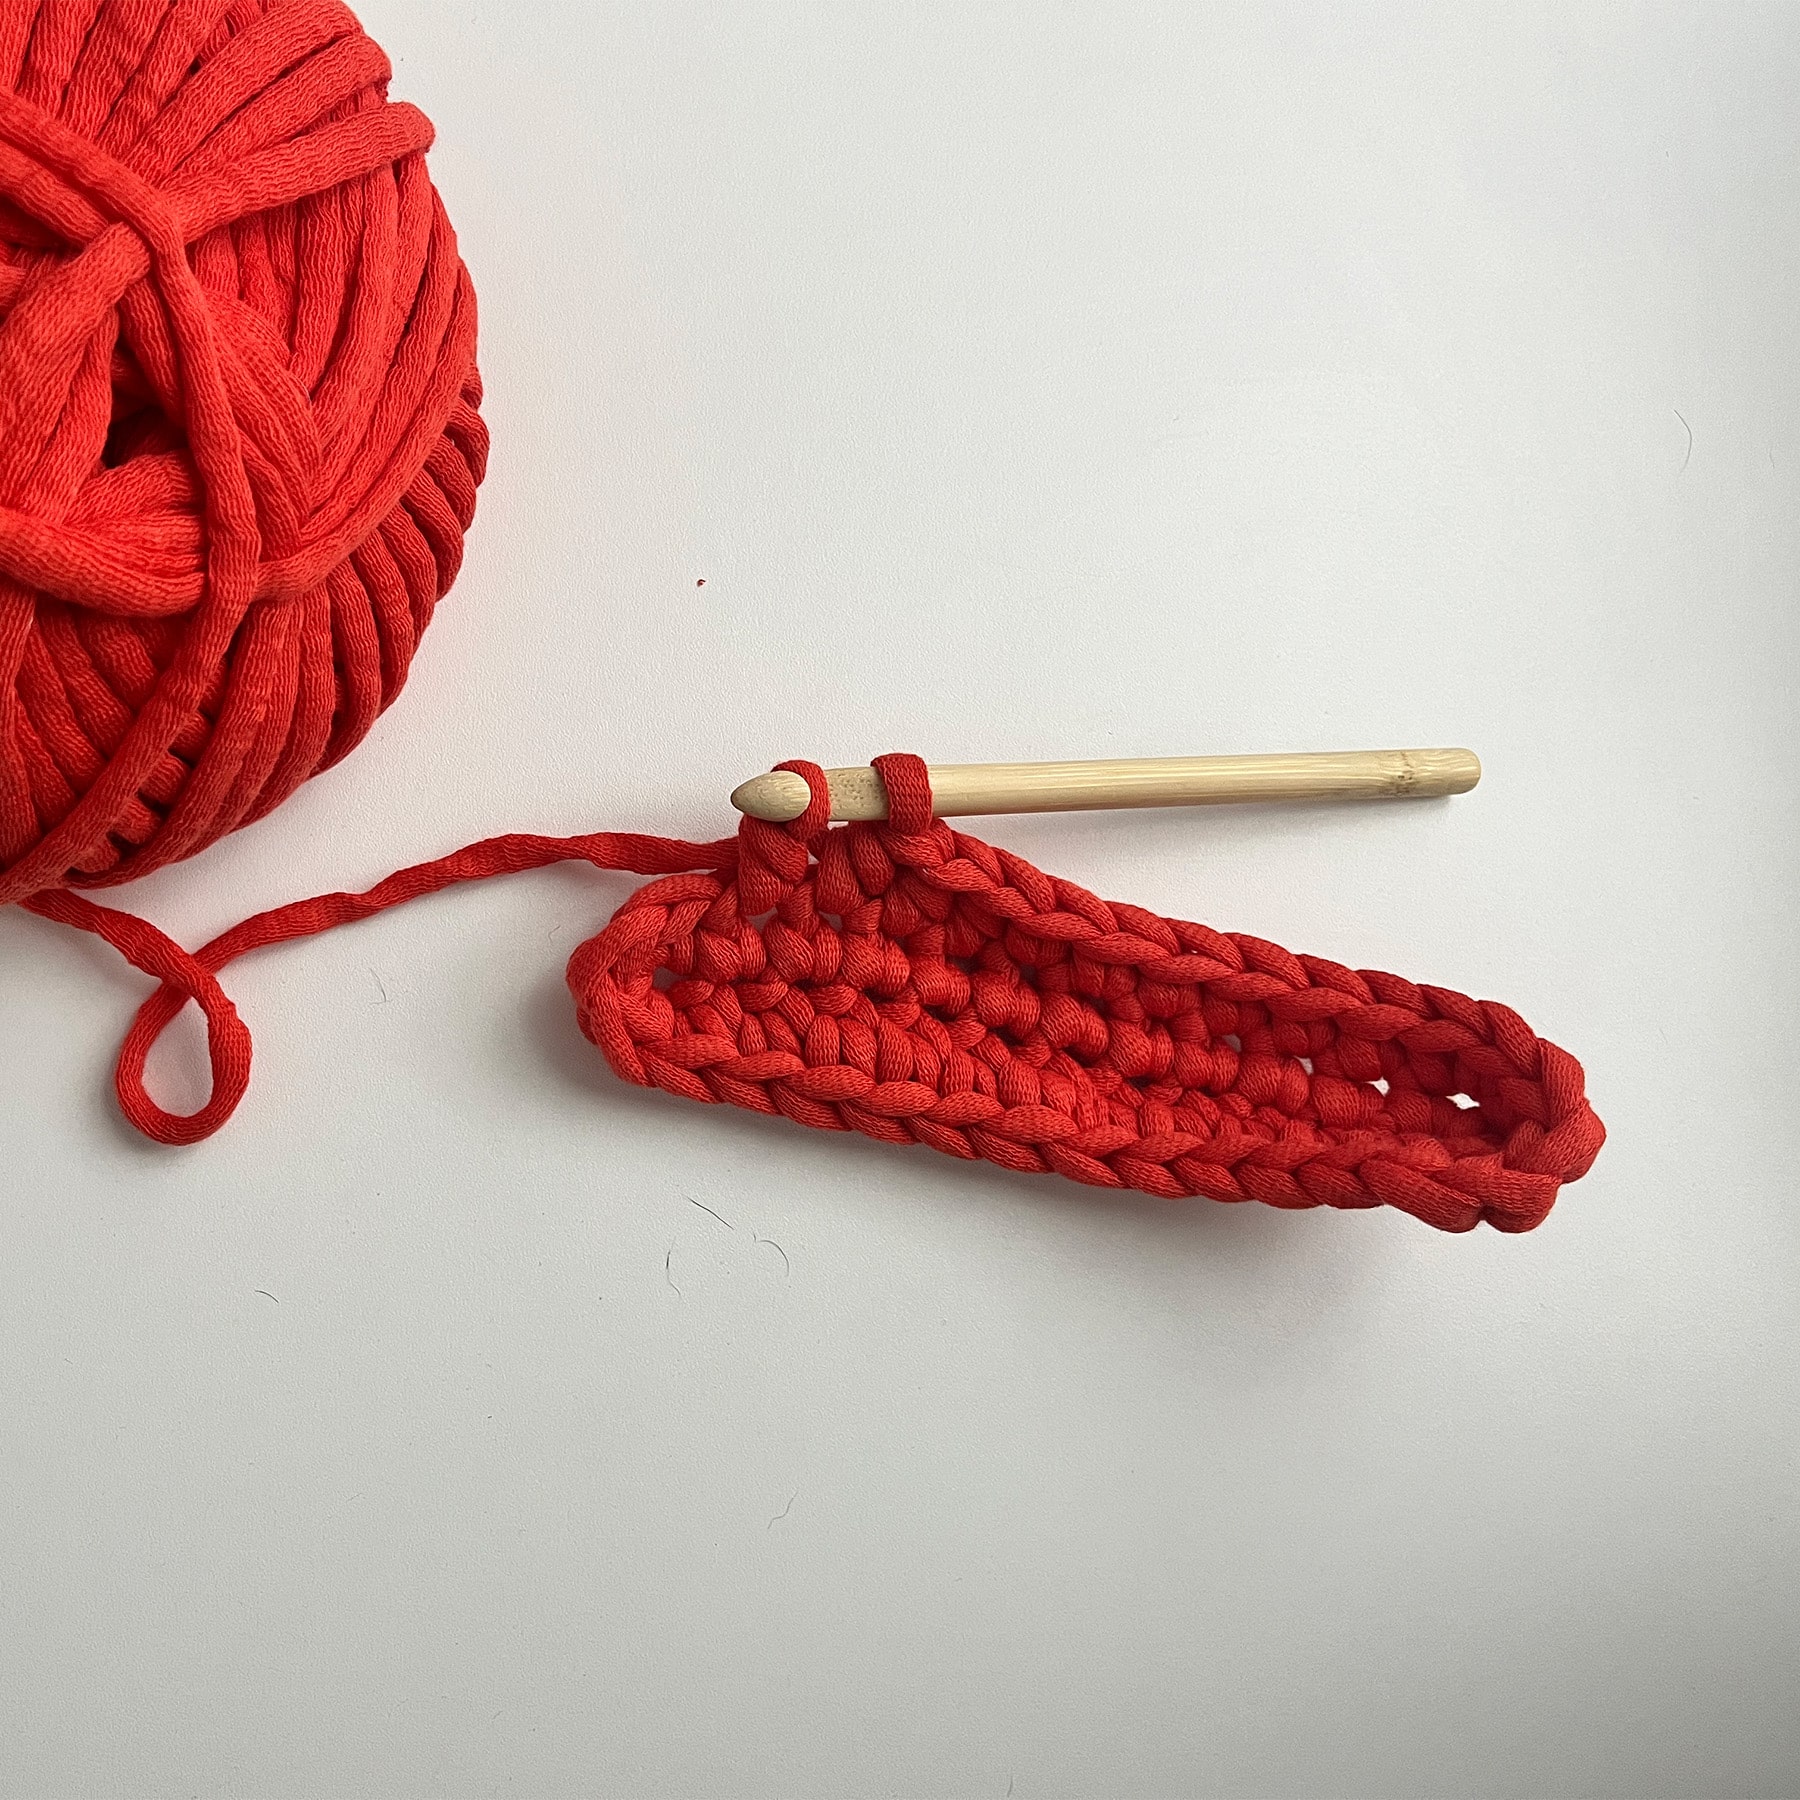
- Work 3 sc in the last ch, continue working in the round
- On the other side of the ch work 1 sc in every ch also. You can crochet in the initial thread at the same time.
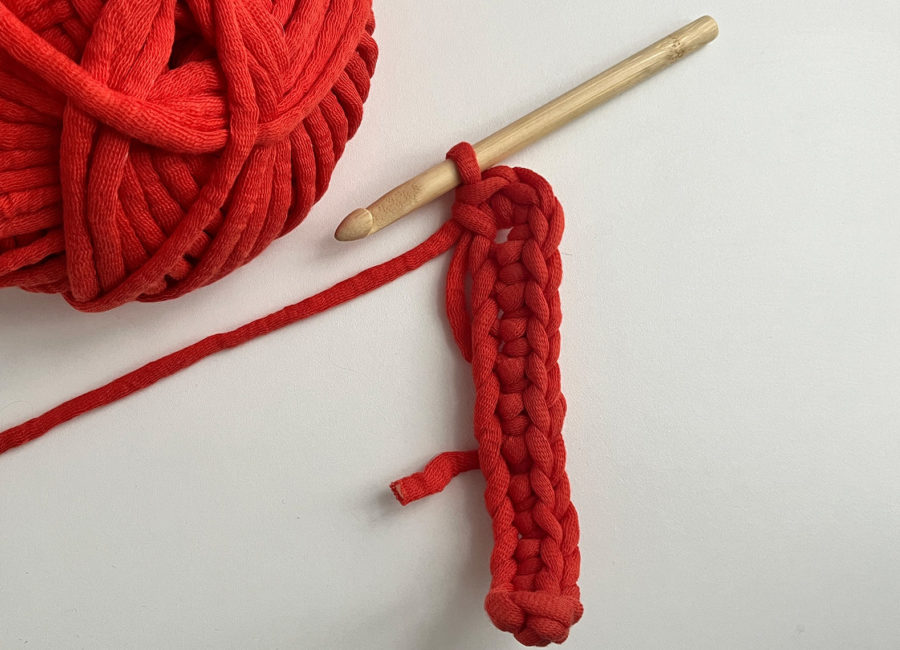
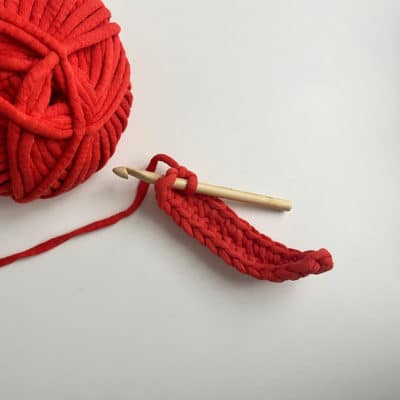
- Work 3 sc in the last ch, continue working in the round
- On the other side of the ch work 1 sc in every ch also. You can crochet in the initial thread at the same time.
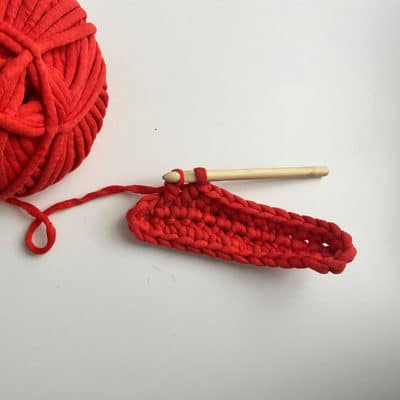
Round 2:
- Place a stitch marker at the beginning of the round.
- 2 sc in the next 2 sc, work 1 sc in each sc to the center of the side.
- From here you crochet for the next 1/4 hdc, to make your insole wider at the front than at the heel.
Crochet dc to 2 sts before center and place a stitch marker.
- 2 dc in each of the next 4 sts of the center.
- Now dc as many as you made in the previous row from the middle.
- Work hdc half the round to the middle of the other side. Again, that’s just as many hdc as before on the other side.
Crochet 1 sc until one stitch before the stitch marker.
- 2 sc in the last st before the stitch marker.
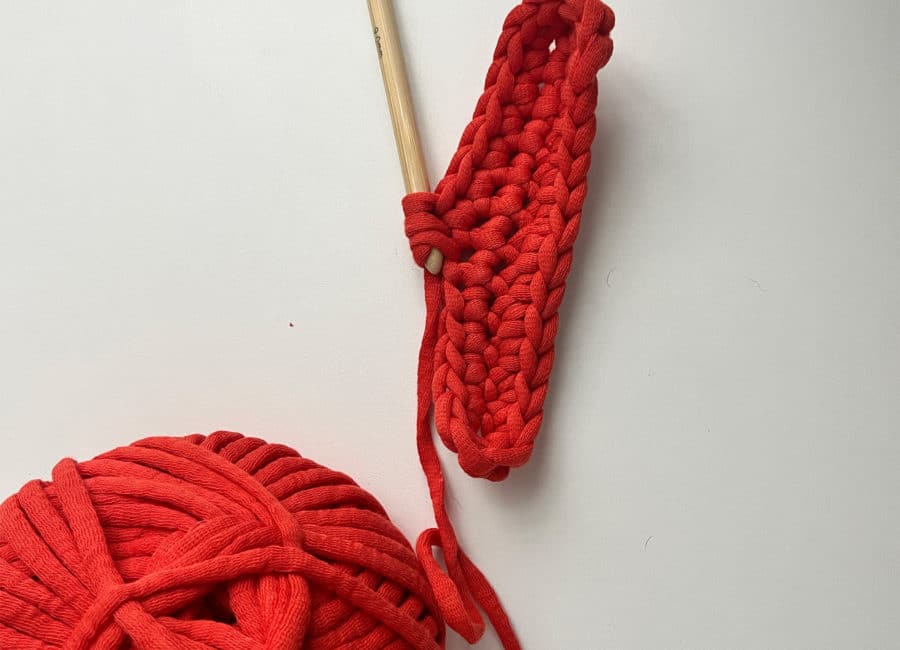
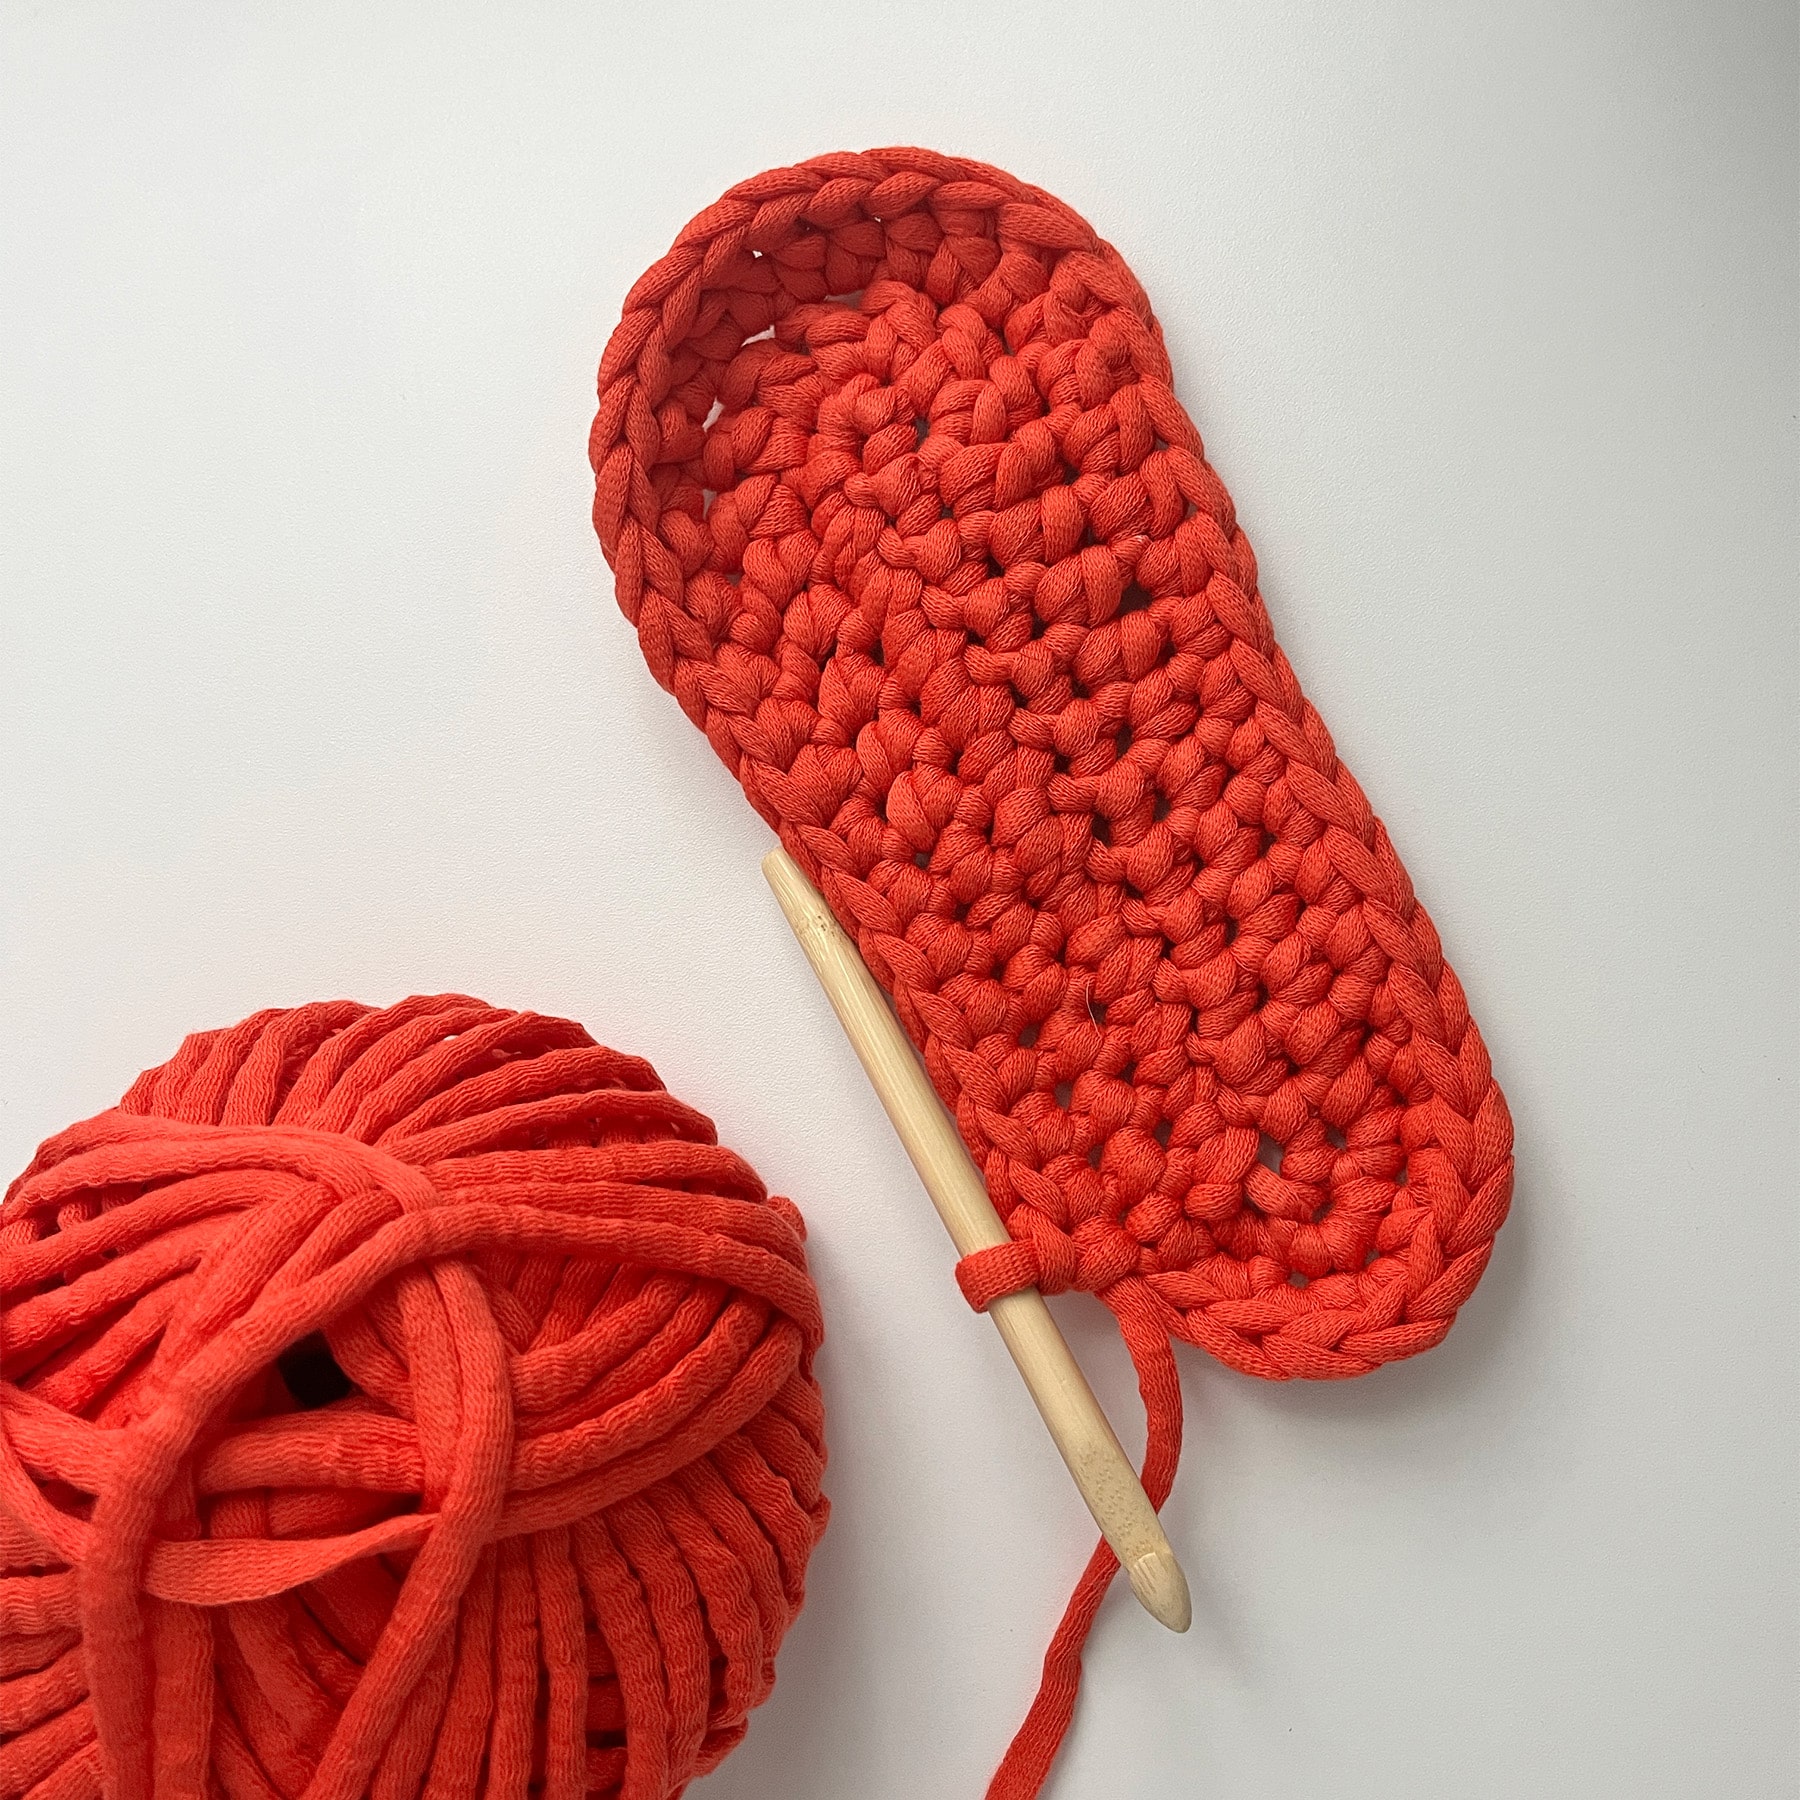
Round 3:
- 2 sc in next 2 sc, work 1 sc in each sc to first hdc and 1 sc on the first hdc.
- 1 hdc in each hdc and the first dc.
- 1 dc in each dc to stitch marker.
After stitch marker: 1 dc in the next dc, now move the stitch marker into this dc.
- 2 dc in next 6 dc (for child soles only 4 dc).
- Work again 1 dc in each dc before the last dc.
- Now 1 hdc in the last dc and each hdc before the last hdc.
- 1 sc in the last hdc and the sc to the last st and 2 sc in the last st.
If you work with tube yarn, then you already finished your insole in size UK 5-7 (EU 38-40) and you can cut off your yarn.
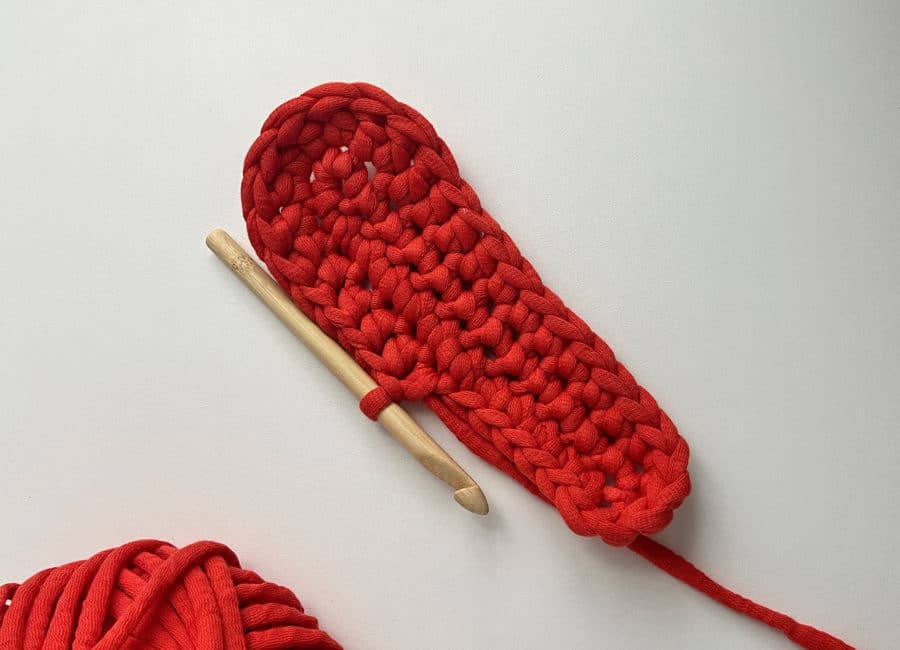
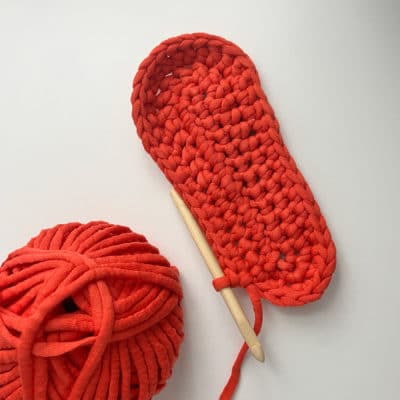
All other rounds
- Start with 1 sc in the first st after stitch marker.
- 2 sc in the next st.
- Again 1 sc in the next st and 2 sc in the following st.
In the following round: 2 sc between increases, in the next round crochet 3 sc and so on.
- Work 1 sc in each sc and the first 2 hdc.
- 1 hdc in every hdc and the first 2 dc.
- Now 1 dc in each dc to the stitch marker and now work 6 times [2 dc in 1 dc, 1 dc].
In each repetition of this round, crochet 1 more dc between the 6 increases.
1 dc in each dc until 2 dc are left, then 1 hdc in each dc and hdc until 2 dc are left. You follow this principle until your insole has the desired length and width.
If you have a narrow foot, you can also continuously crochet half stitches instead of stitches.
If you have a narrow foot, you can also continuously crochet half stitches instead of stitches.
- To finish the round you crochet 1 sc in each hdc and each sc to 1 st before the stitch marker and 2 sc in the last st.
If you have the width you want, but the length is still lacking, crochet the sides only with slip stitch and at the beginning of the round and in the upper middle with single crochet or double crochet.
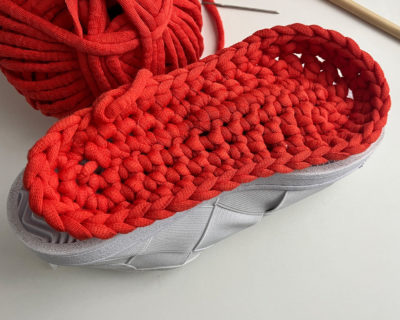
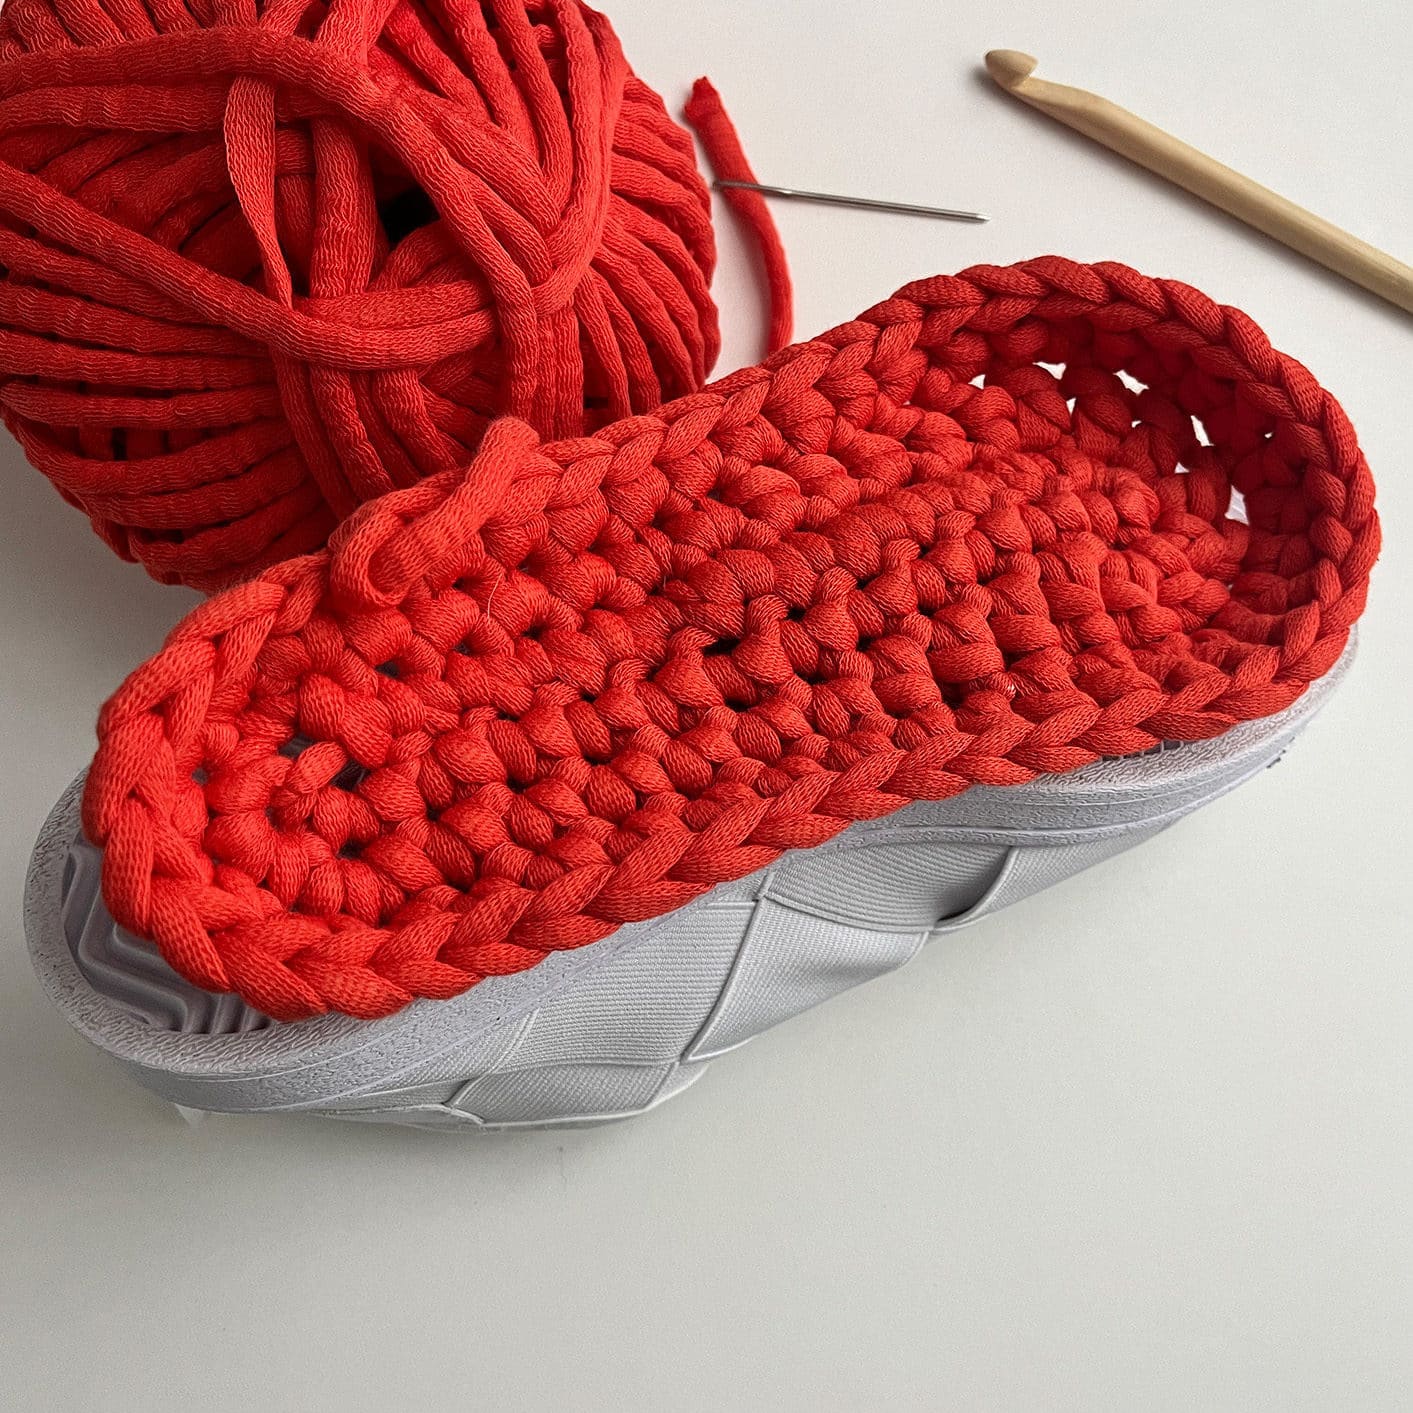
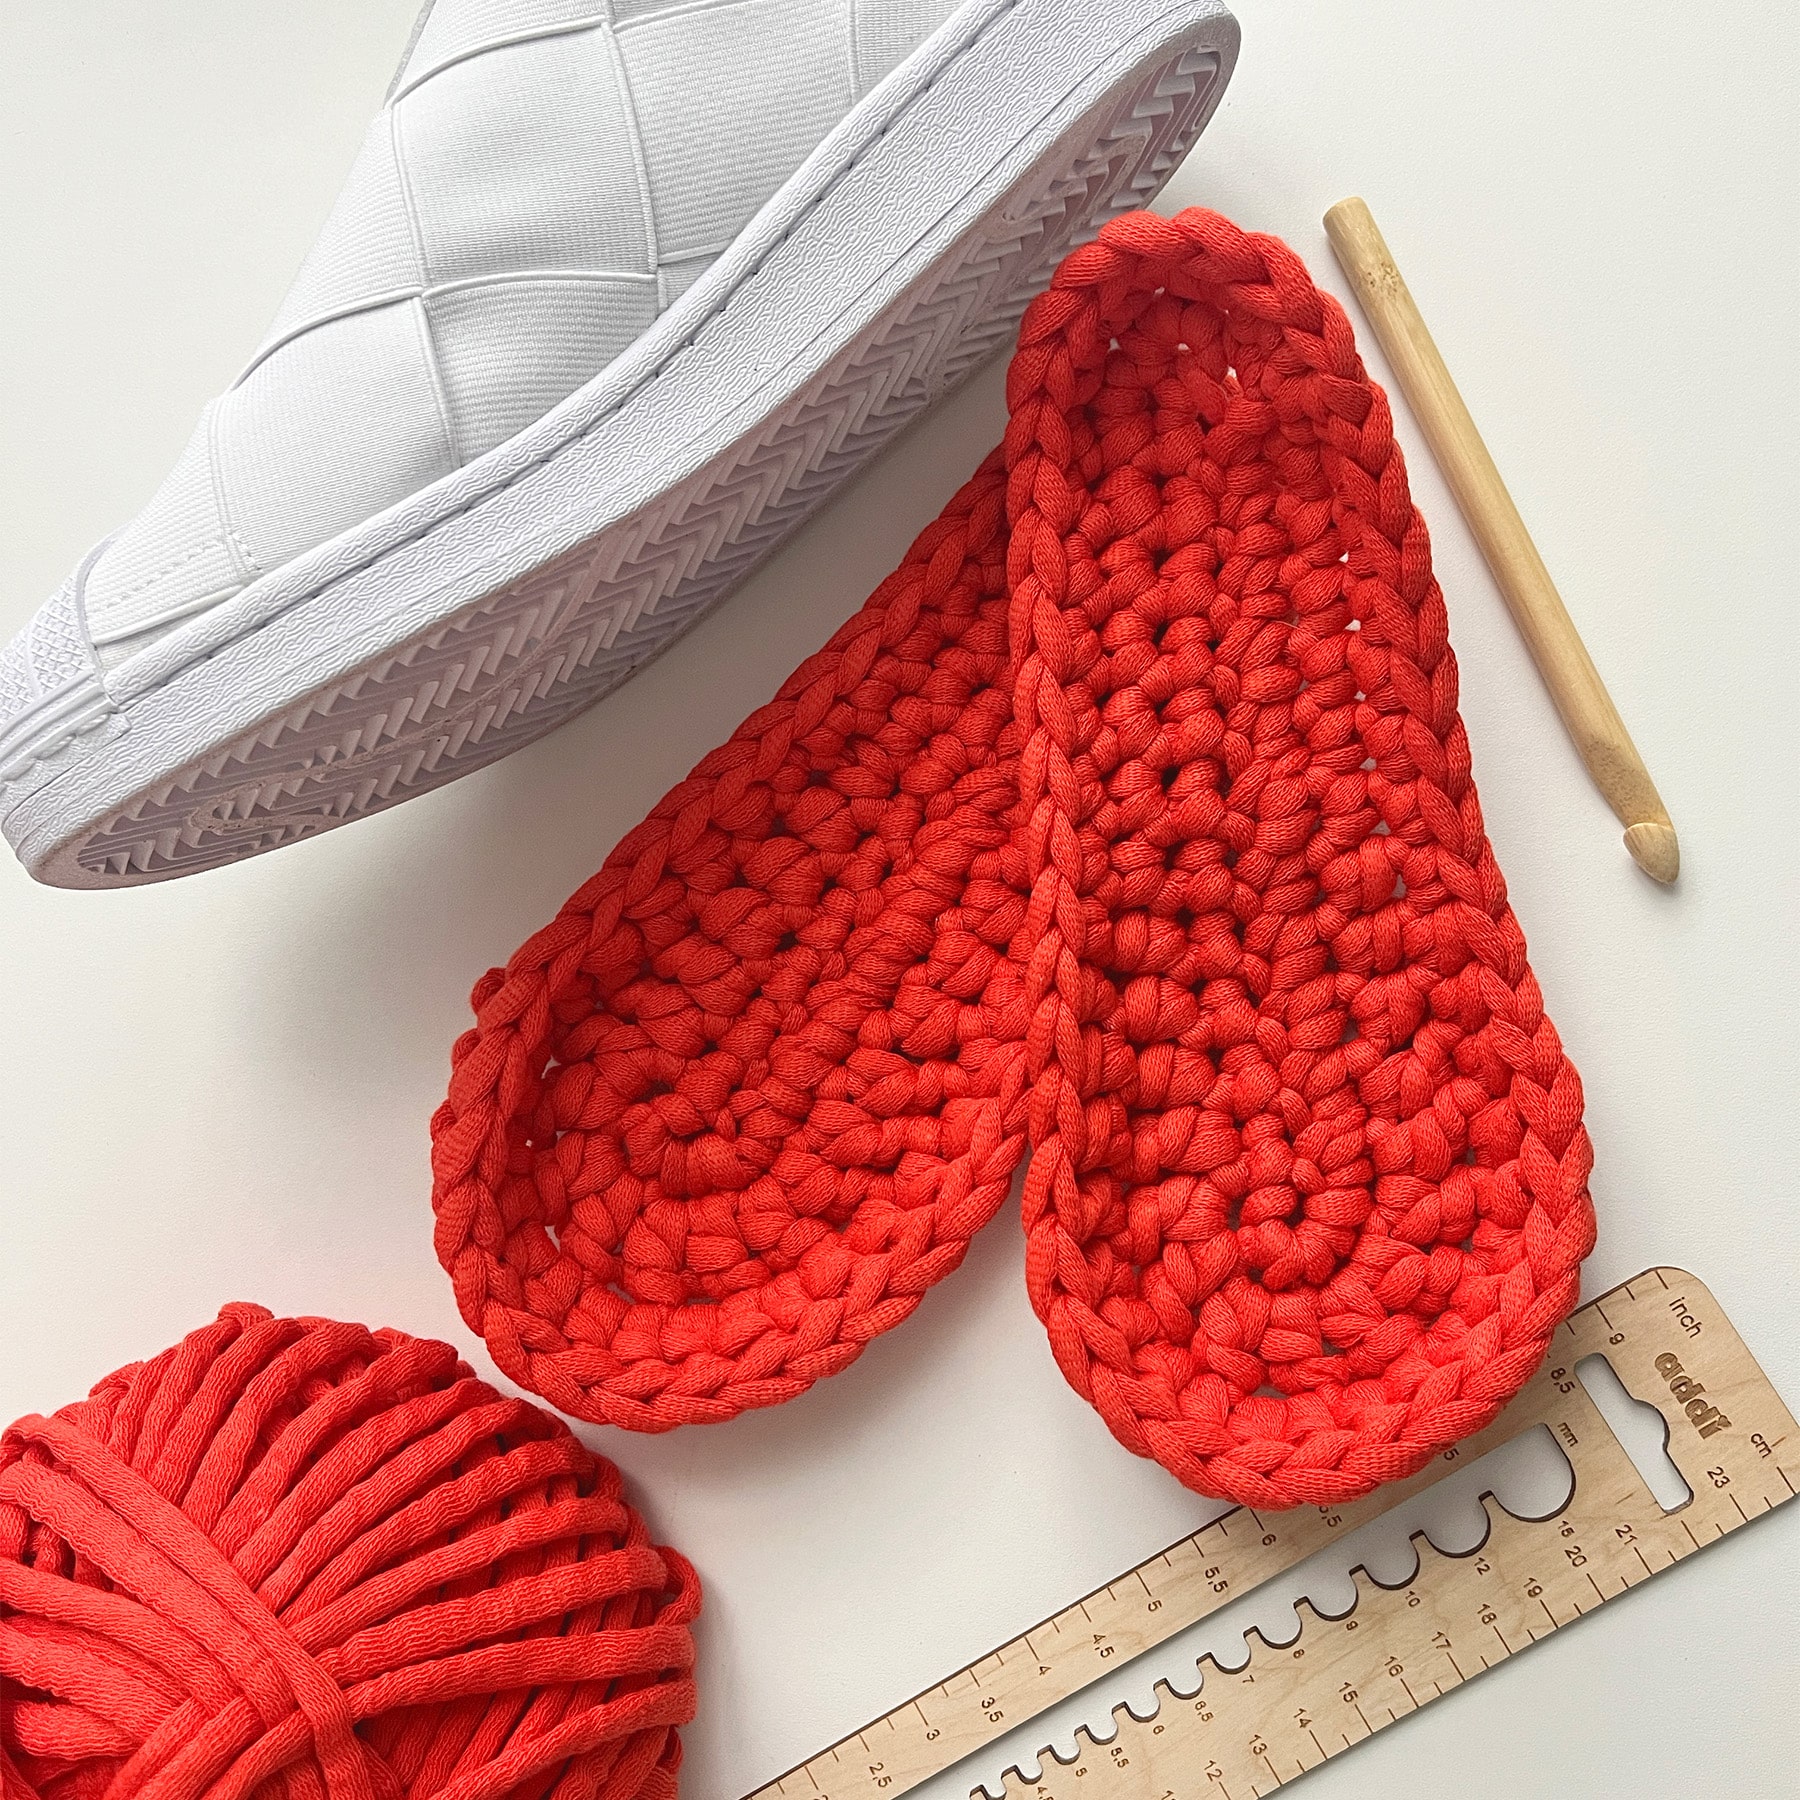
Note: Your insole should always be a little smaller than your foot and shoe, so that it also fits into the shoe. It’s best to put them in the shoe in between and try them out.
Finishing
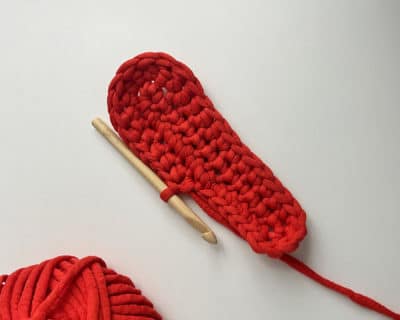
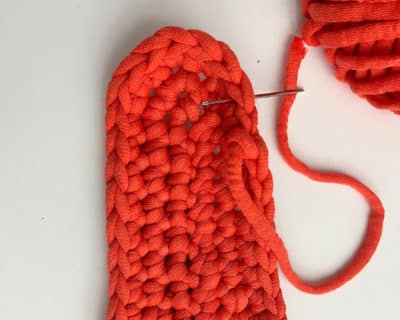
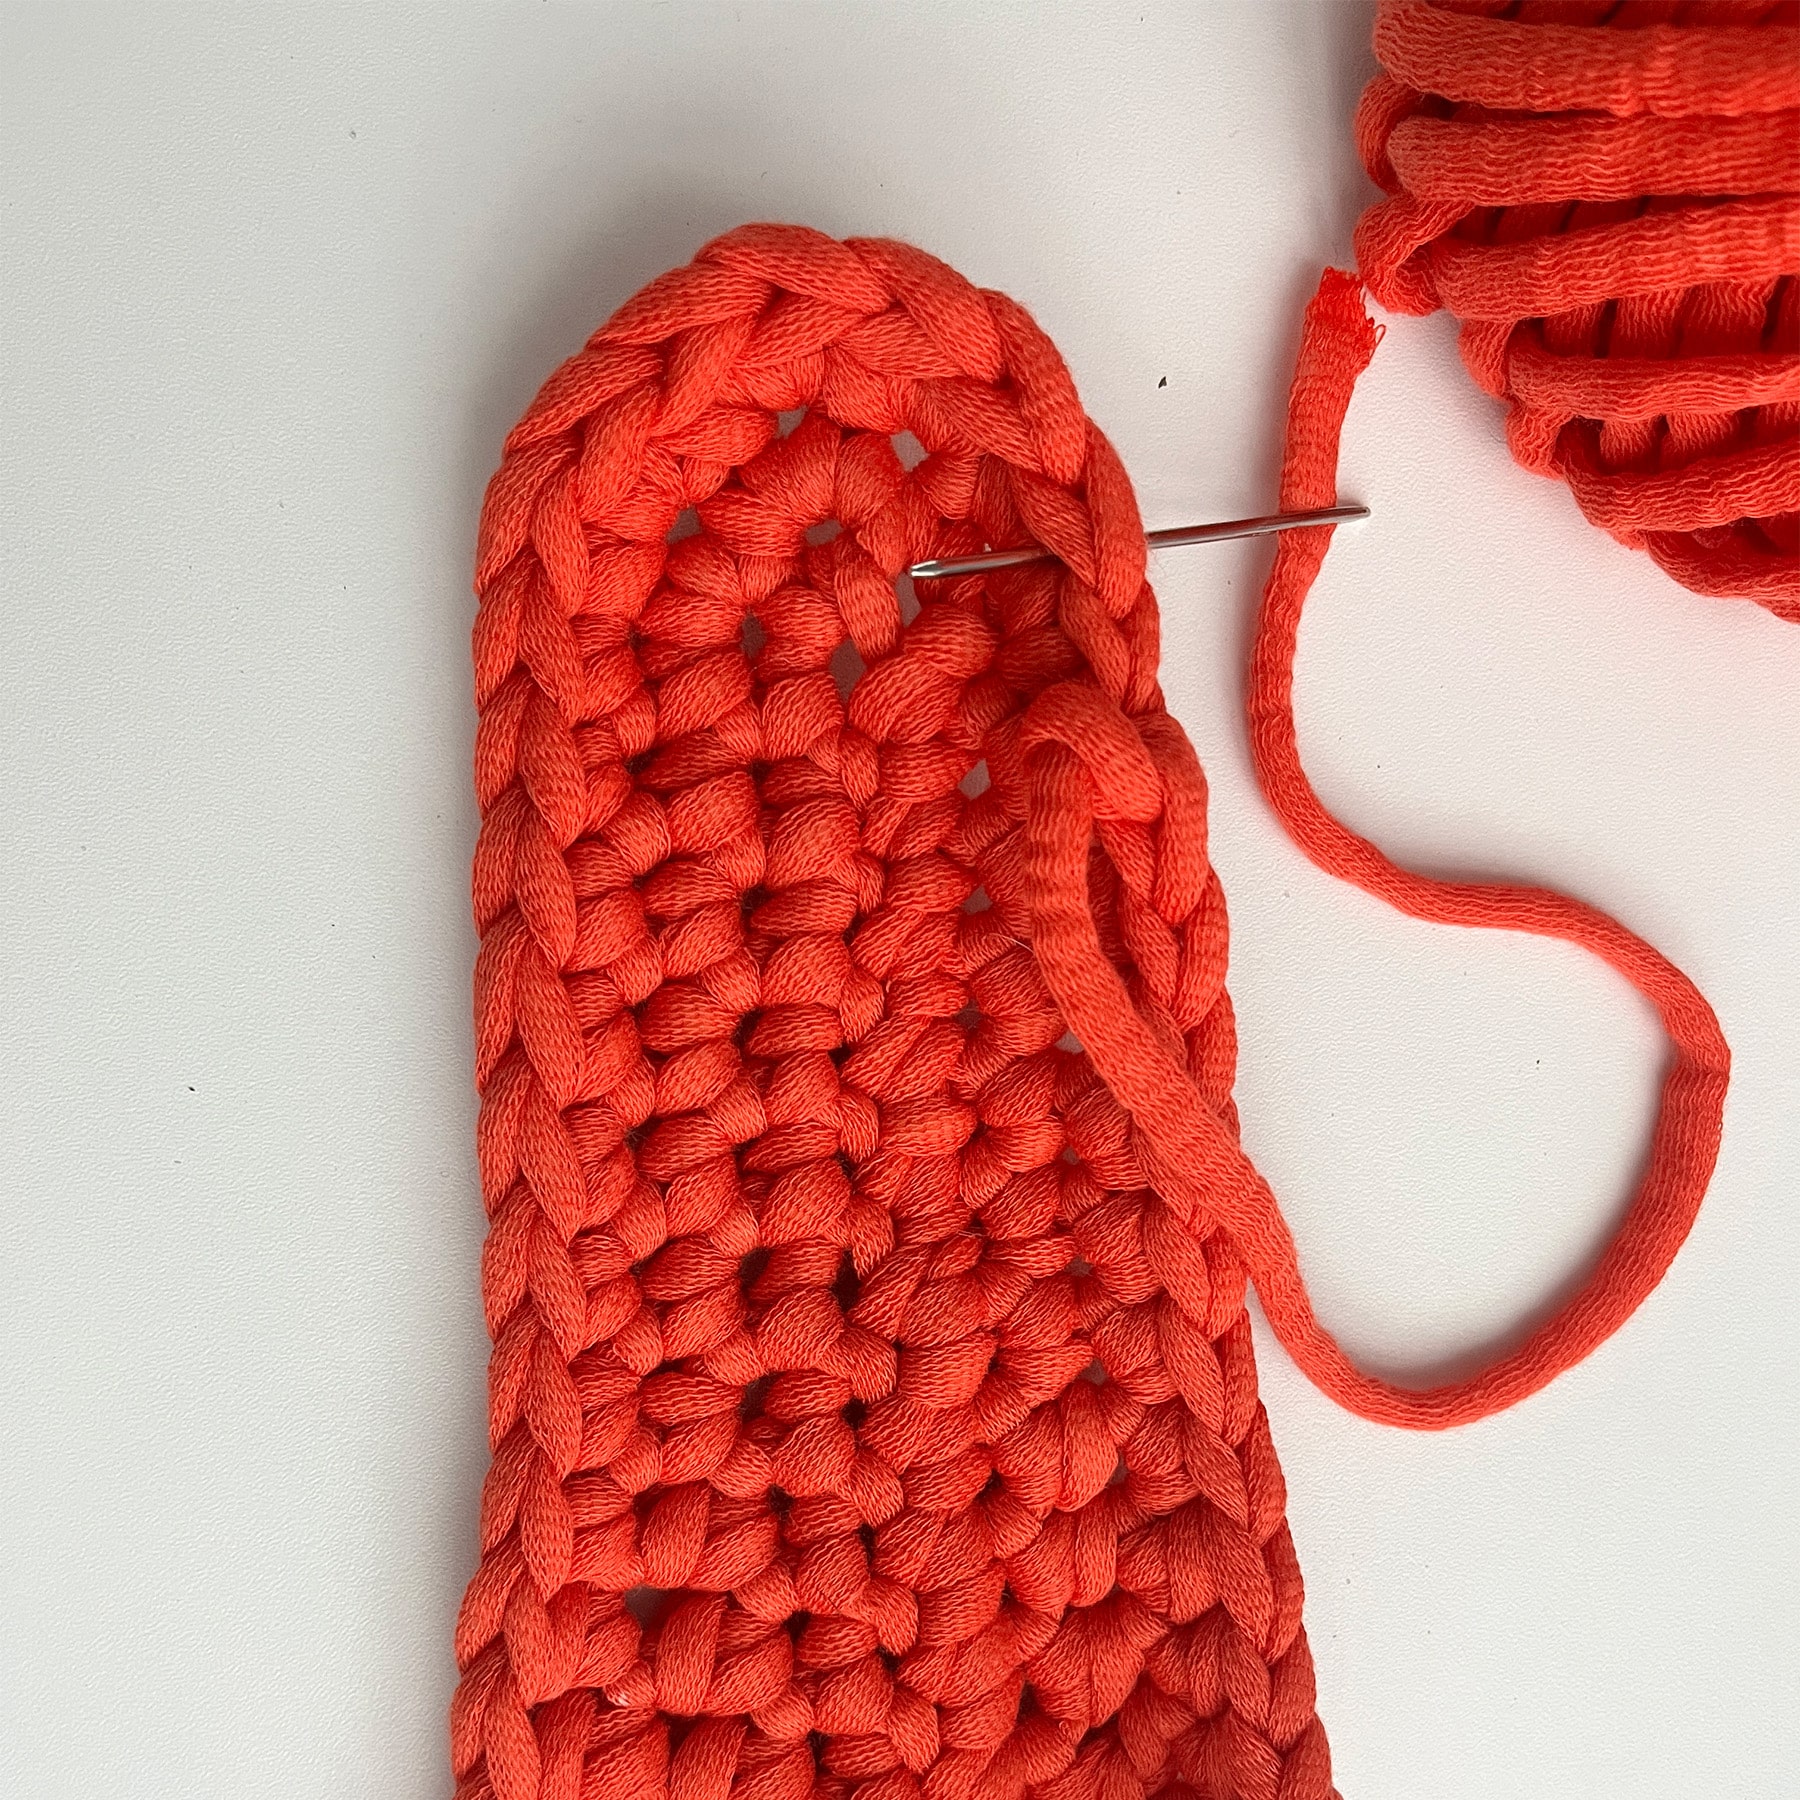
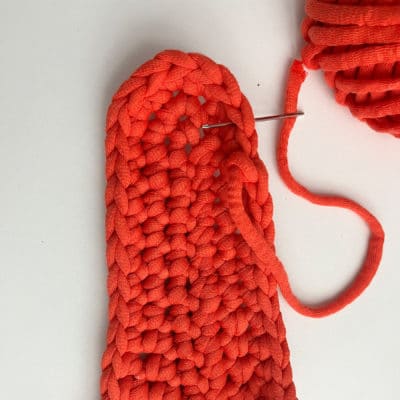
To finish the sole make an sc in last stitch and do not double it. Simply pull the thread through.
- Now poke your sewing needle under the next small V and tighten the thread slightly.
- Now put the sewing needle from top to bottom through the stitch from which the thread has come and tighten the thread.
Now the round transition is no longer visible and the thread can be sewn between the solid stitches.
Crochet the 2nd insole in exactly the same way, and it’s best to try it out on a walk right away.
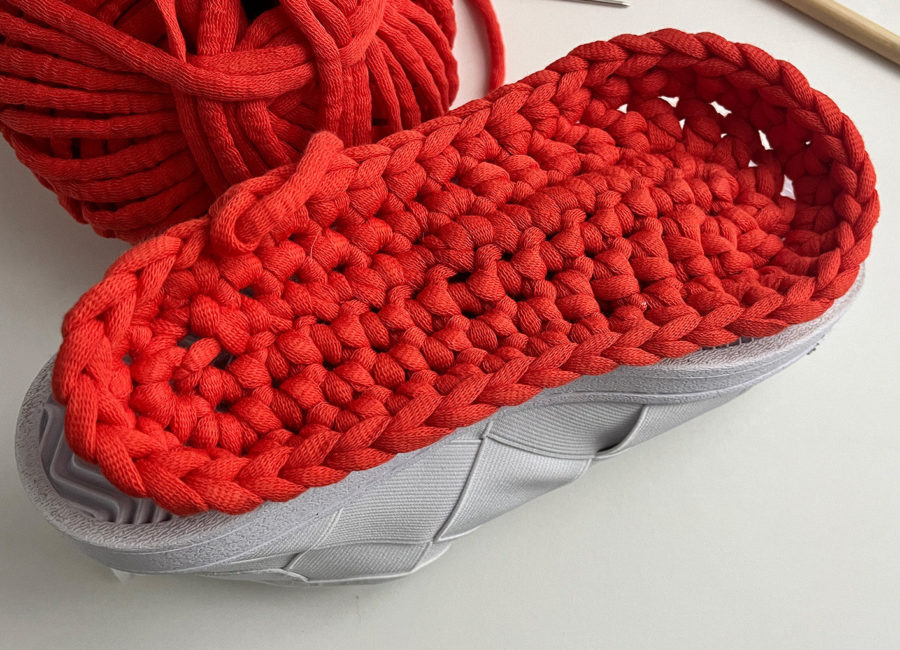
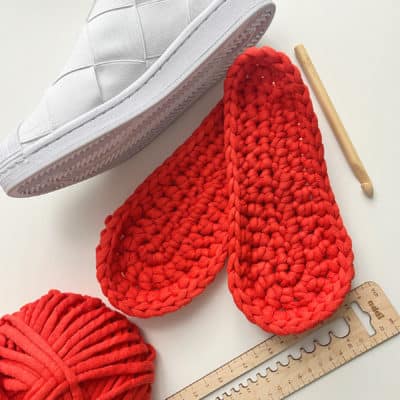
An addi instruction from Sylvie Rasch
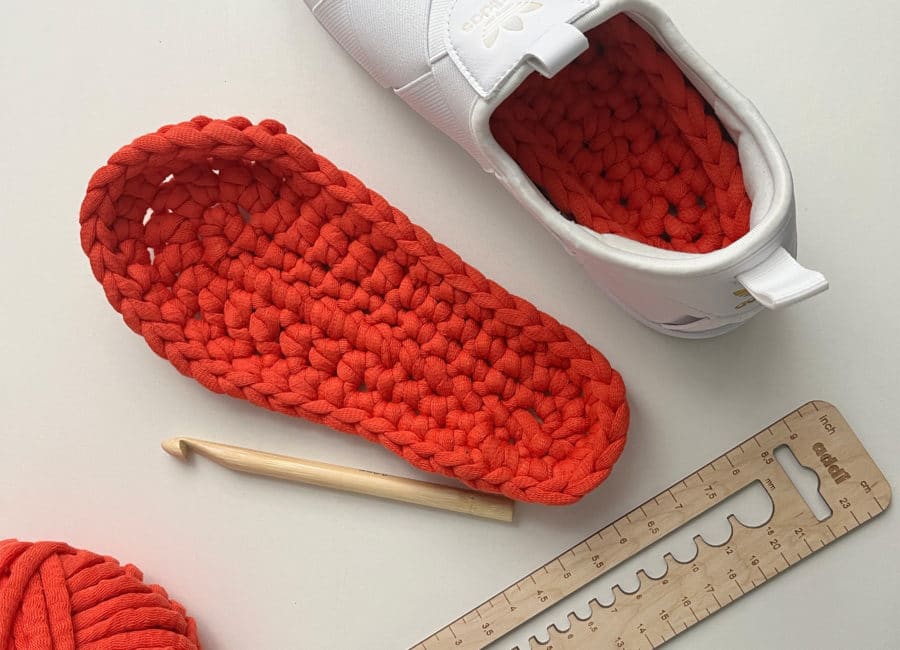
An addi instruction from Sylvie Rasch
