Crochet tutorial
Topflappen häkeln im Rippenmuster
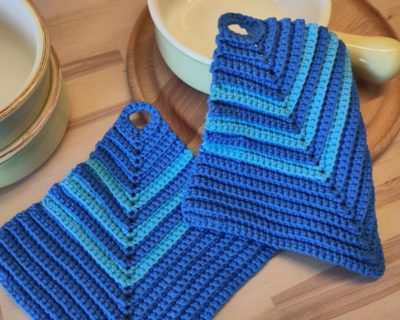
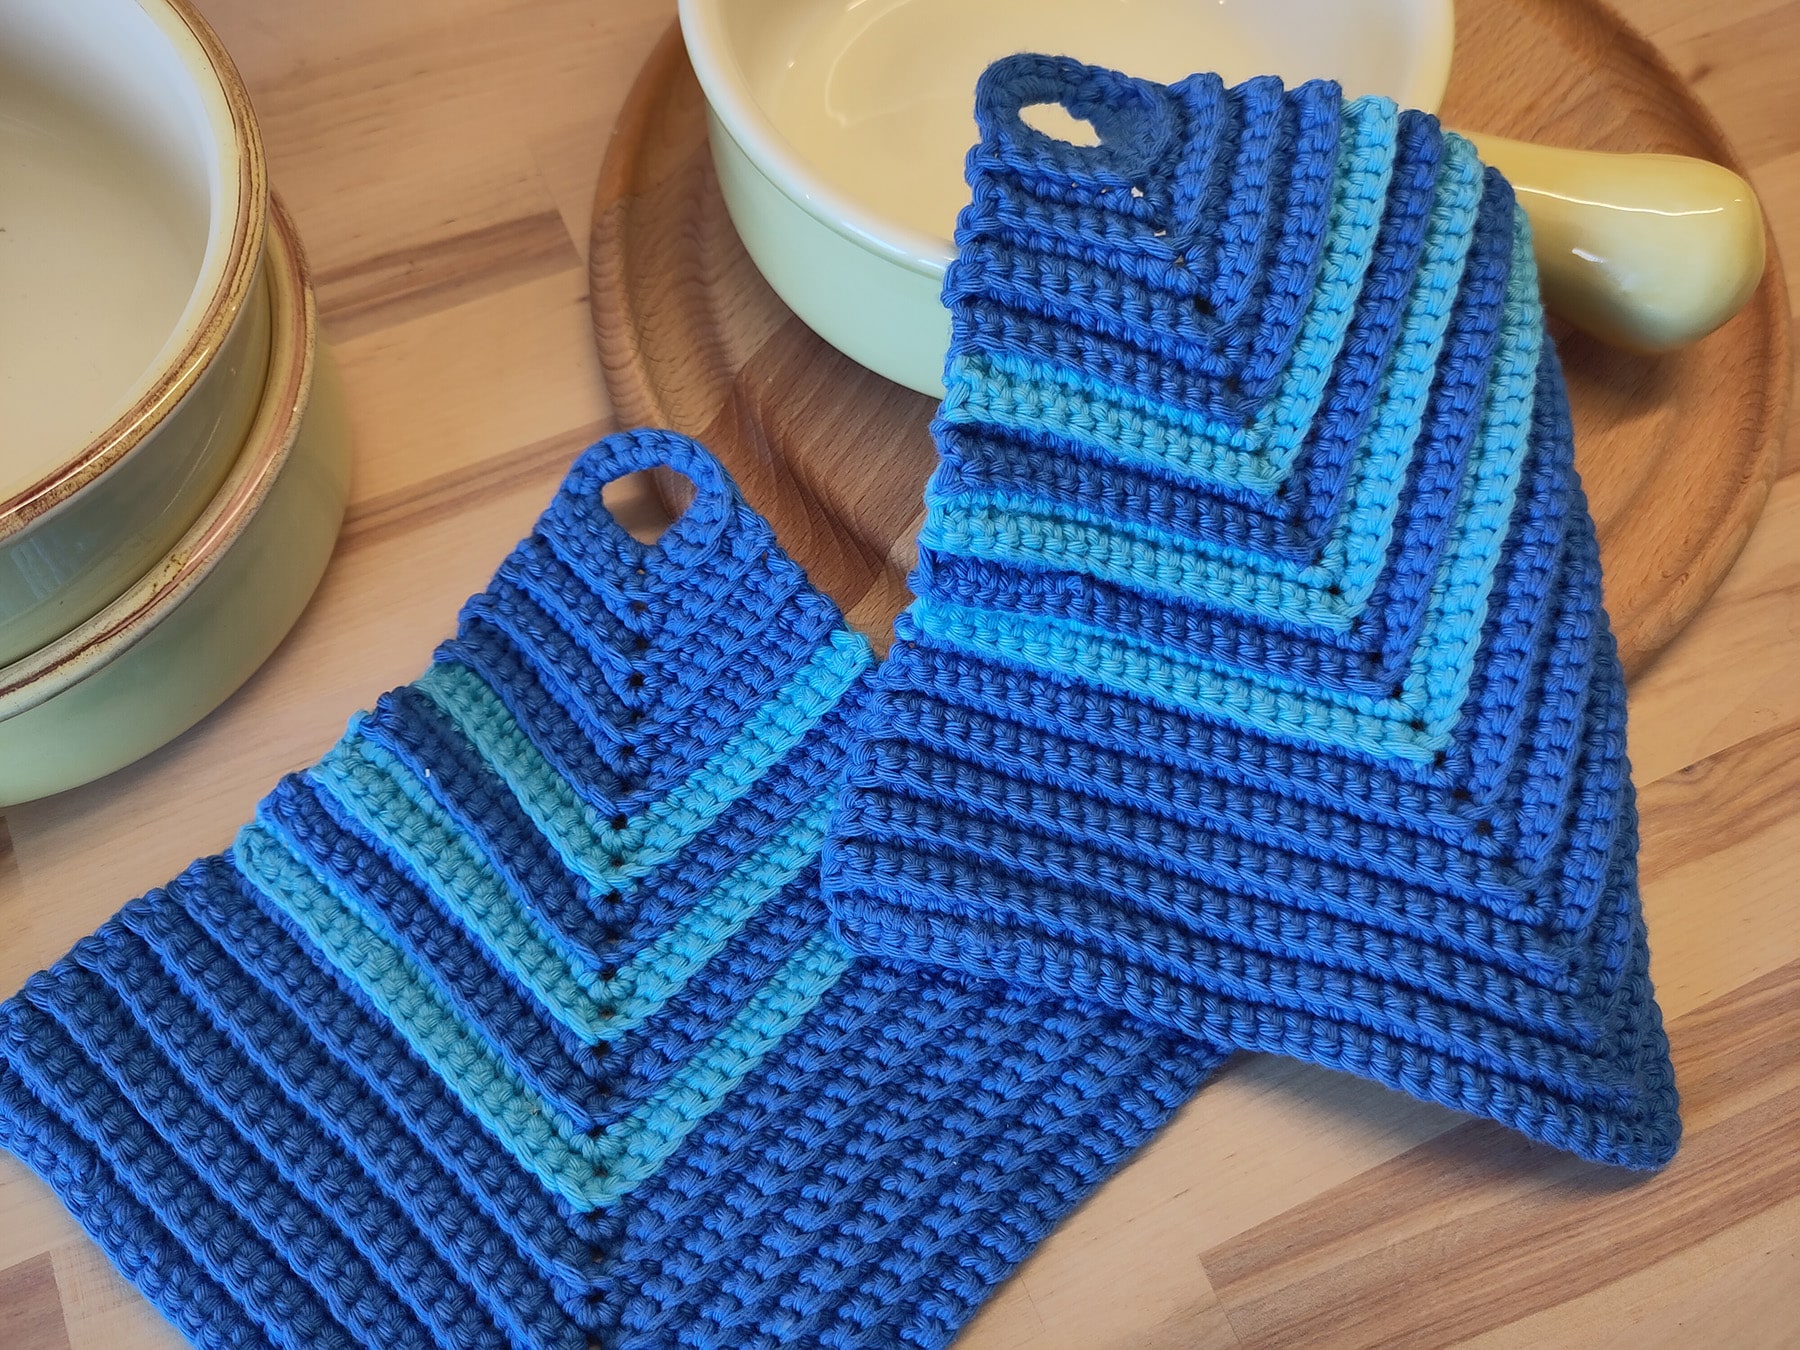
You never have enough of them! The ribbed pot holders in are crocheted in no time, if a souvenir is missing in a hurry.
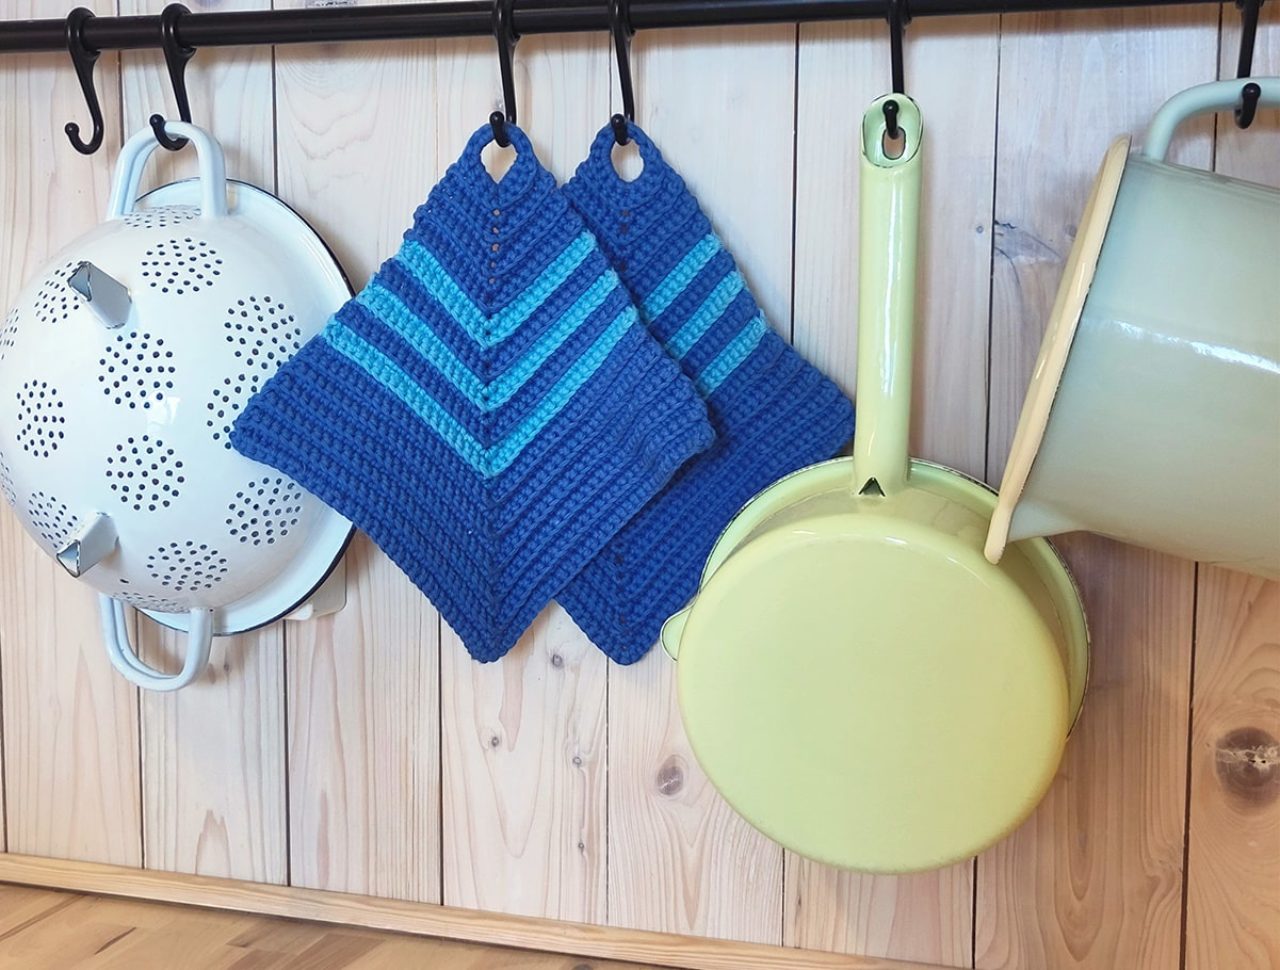
Table of contents
What you need:
- 100g (3.53 oz) Cotton yarn, 85 m/50 g (92 yd/ 1.76 oz)
-
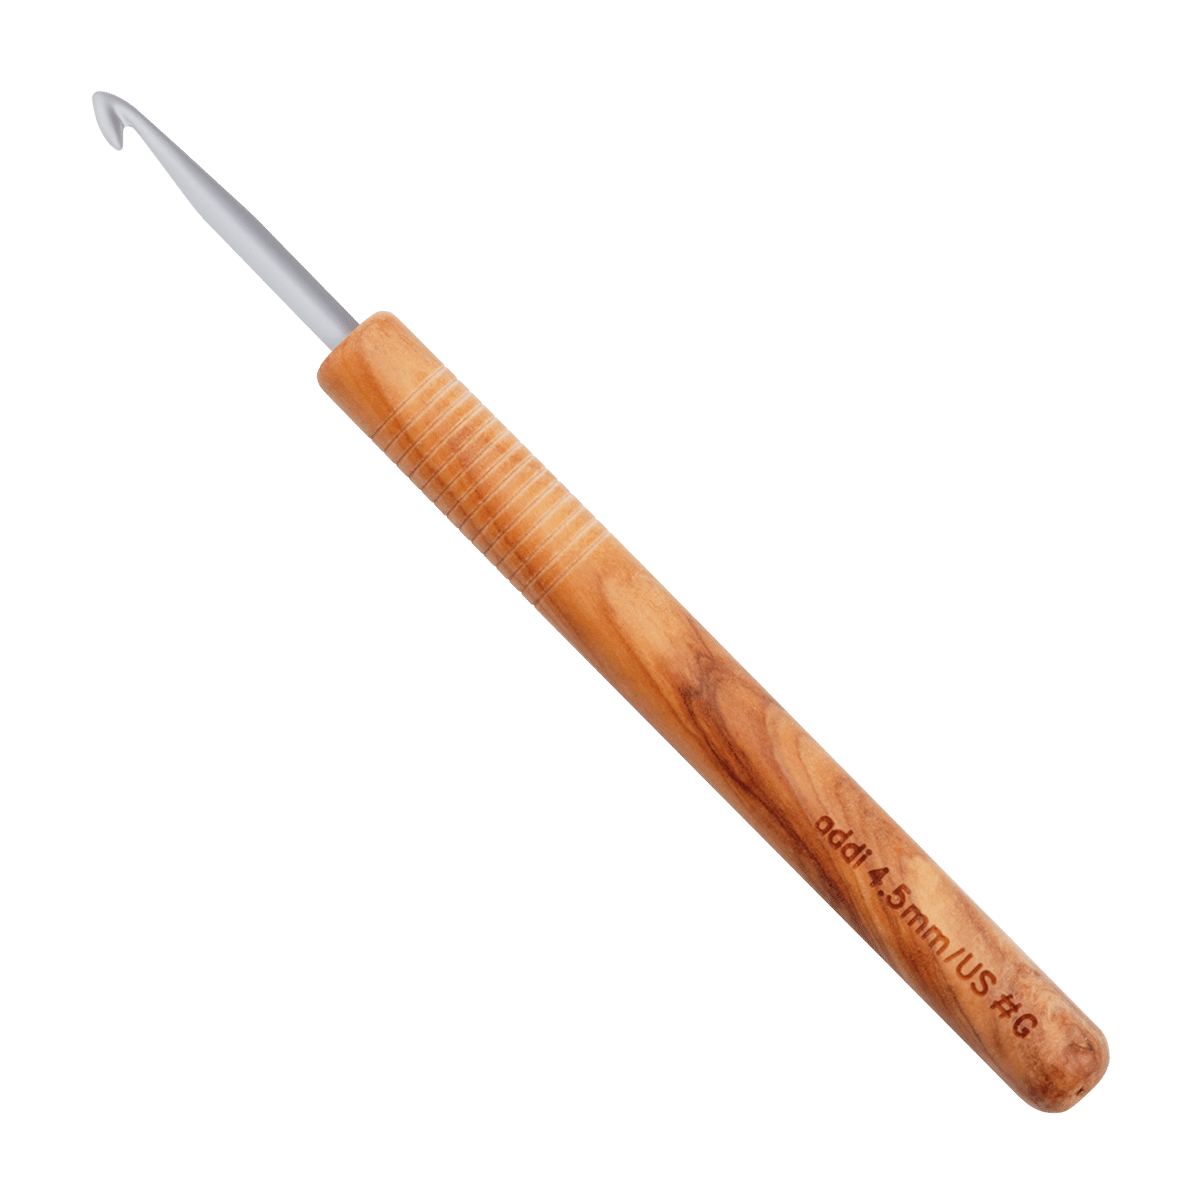
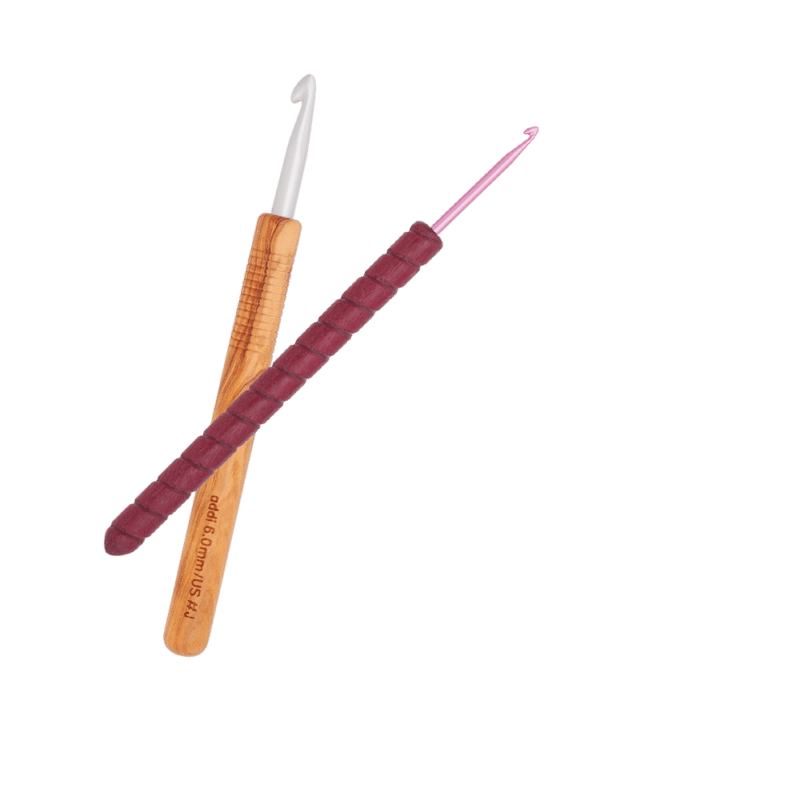
Crochet hook 3.5 mm, we use our olive wood hook
Crochet:
- chain stitches (ch)
-
single crochet (sc)
-
slip stitch (sl st)
Tip: The rib pattern can be crocheted in any number of colors – whether plain or with many colorful rows.
The cotton yarn provides stable potholders that tolerate heat well and remain beautiful in the washing machine even at high temperatures.
How it works
Topflappen häkeln im Rippenmuster
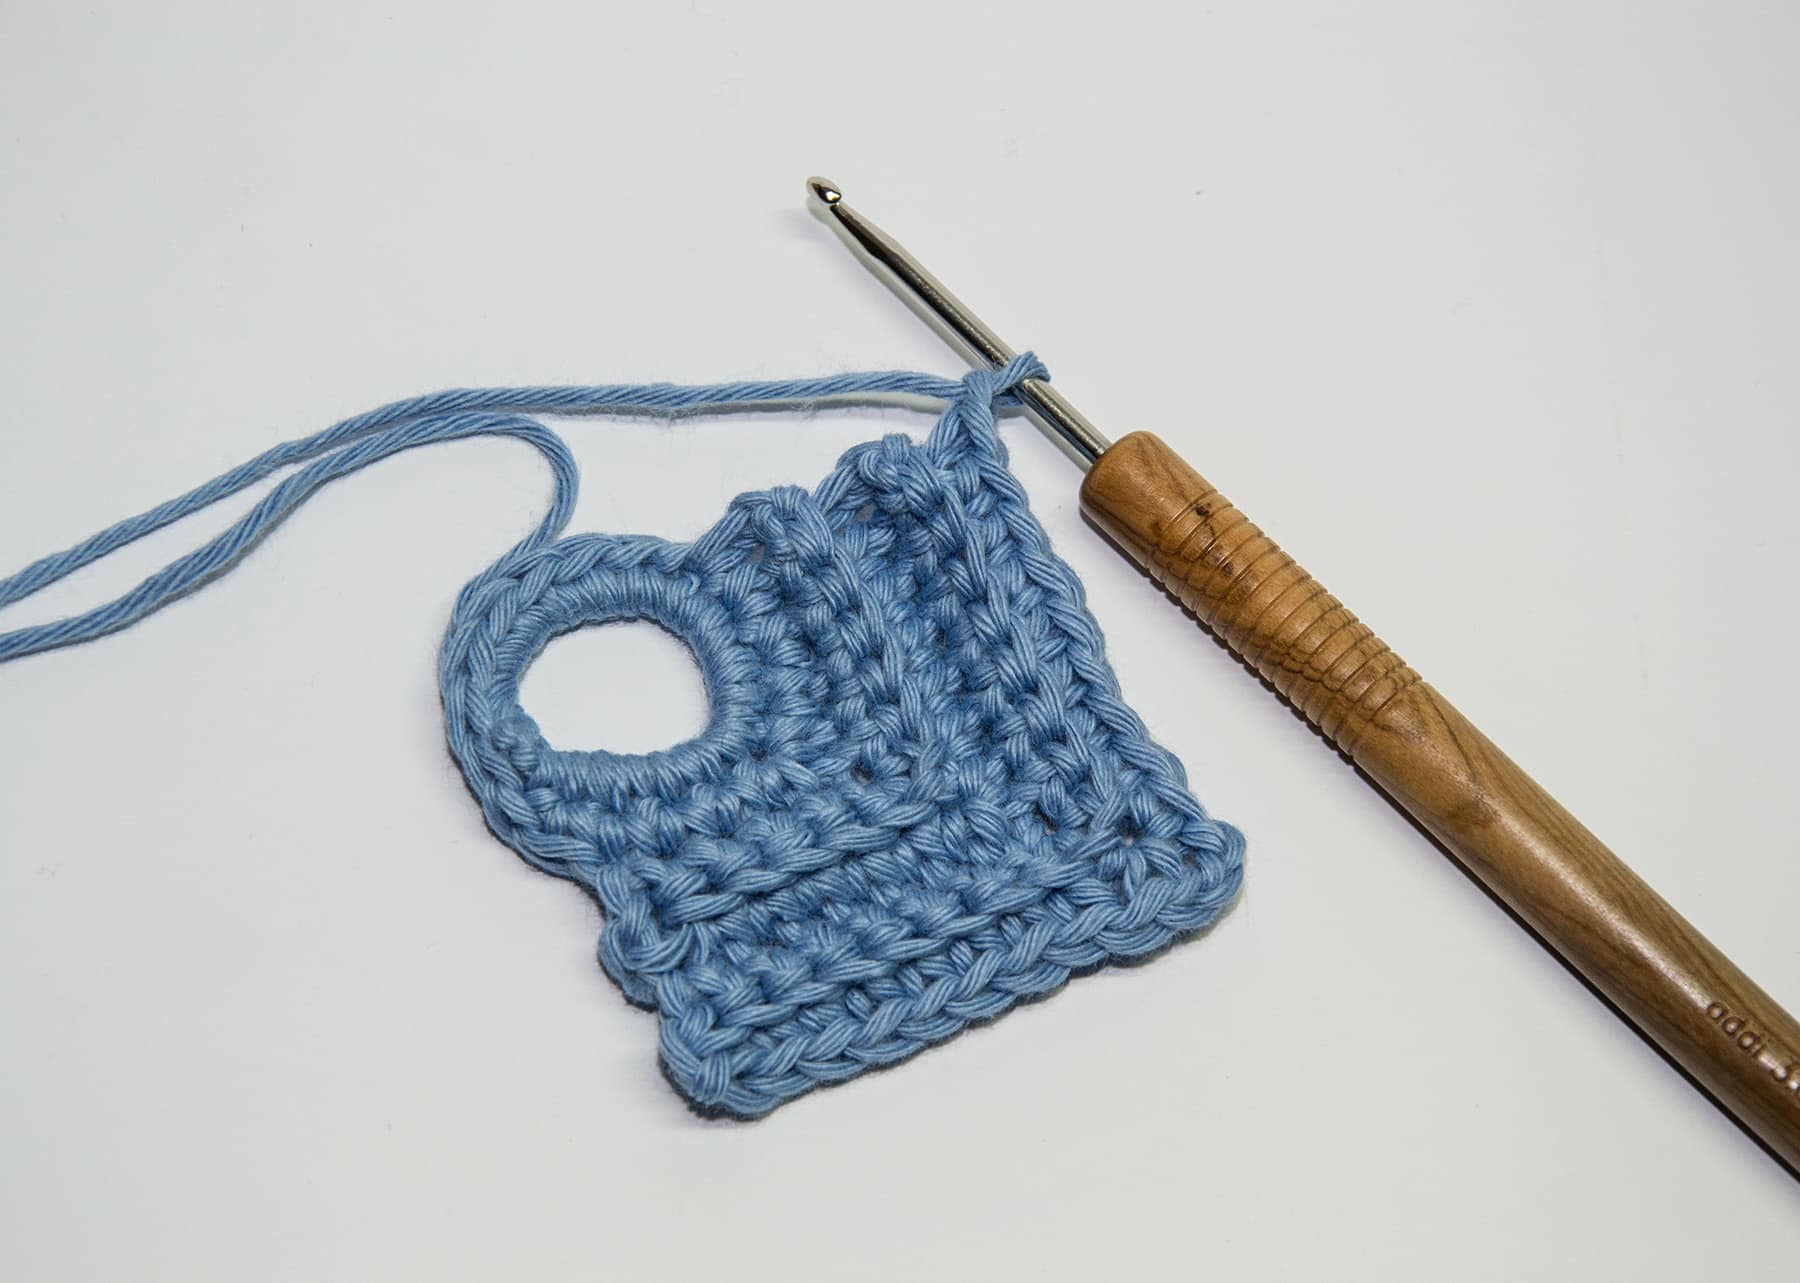
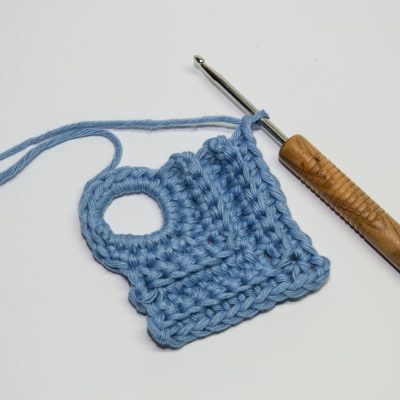
Start with the hanger:
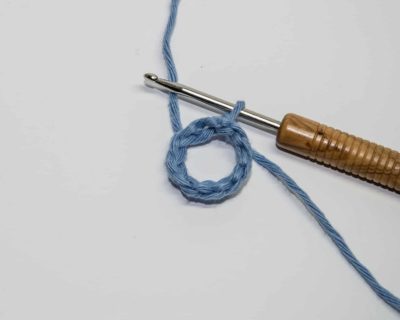
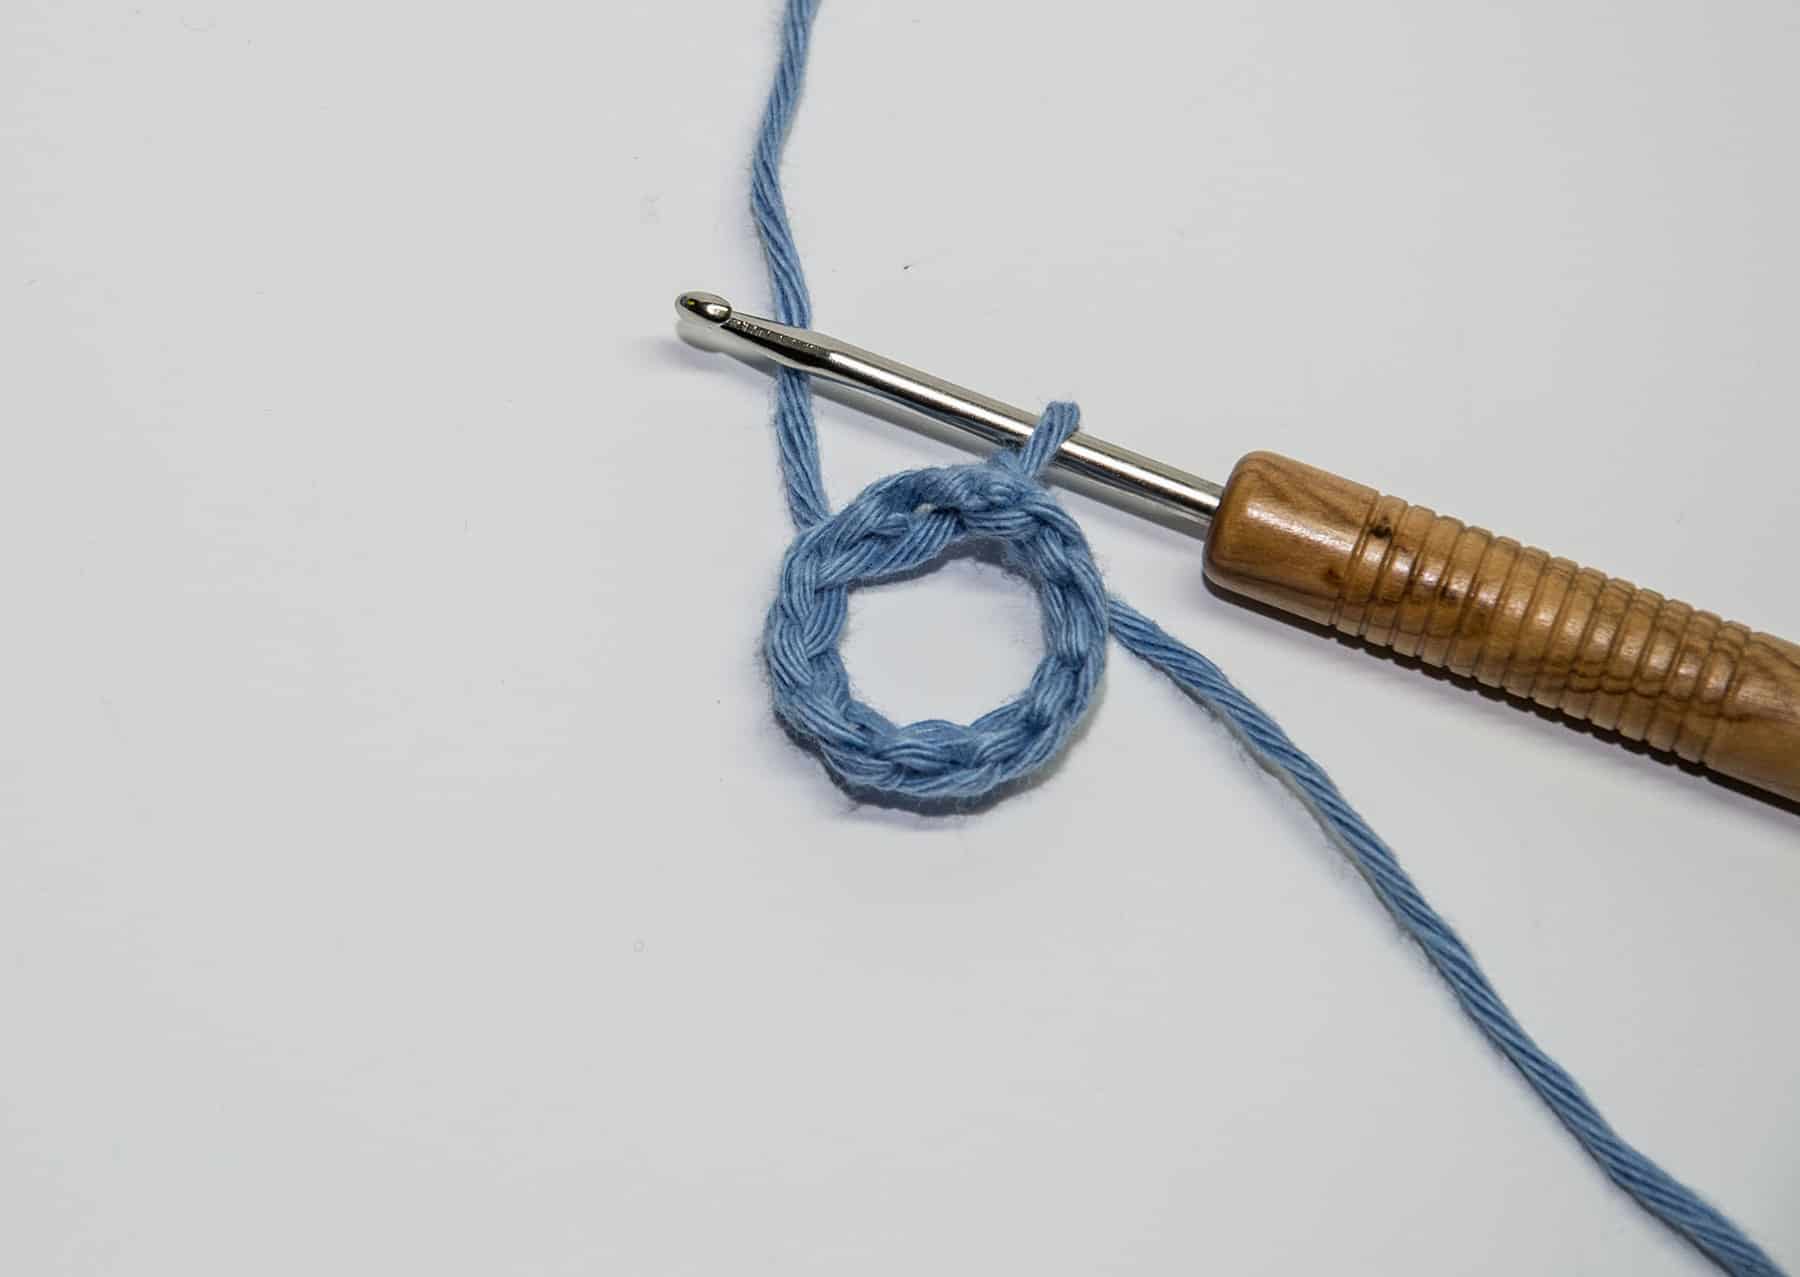
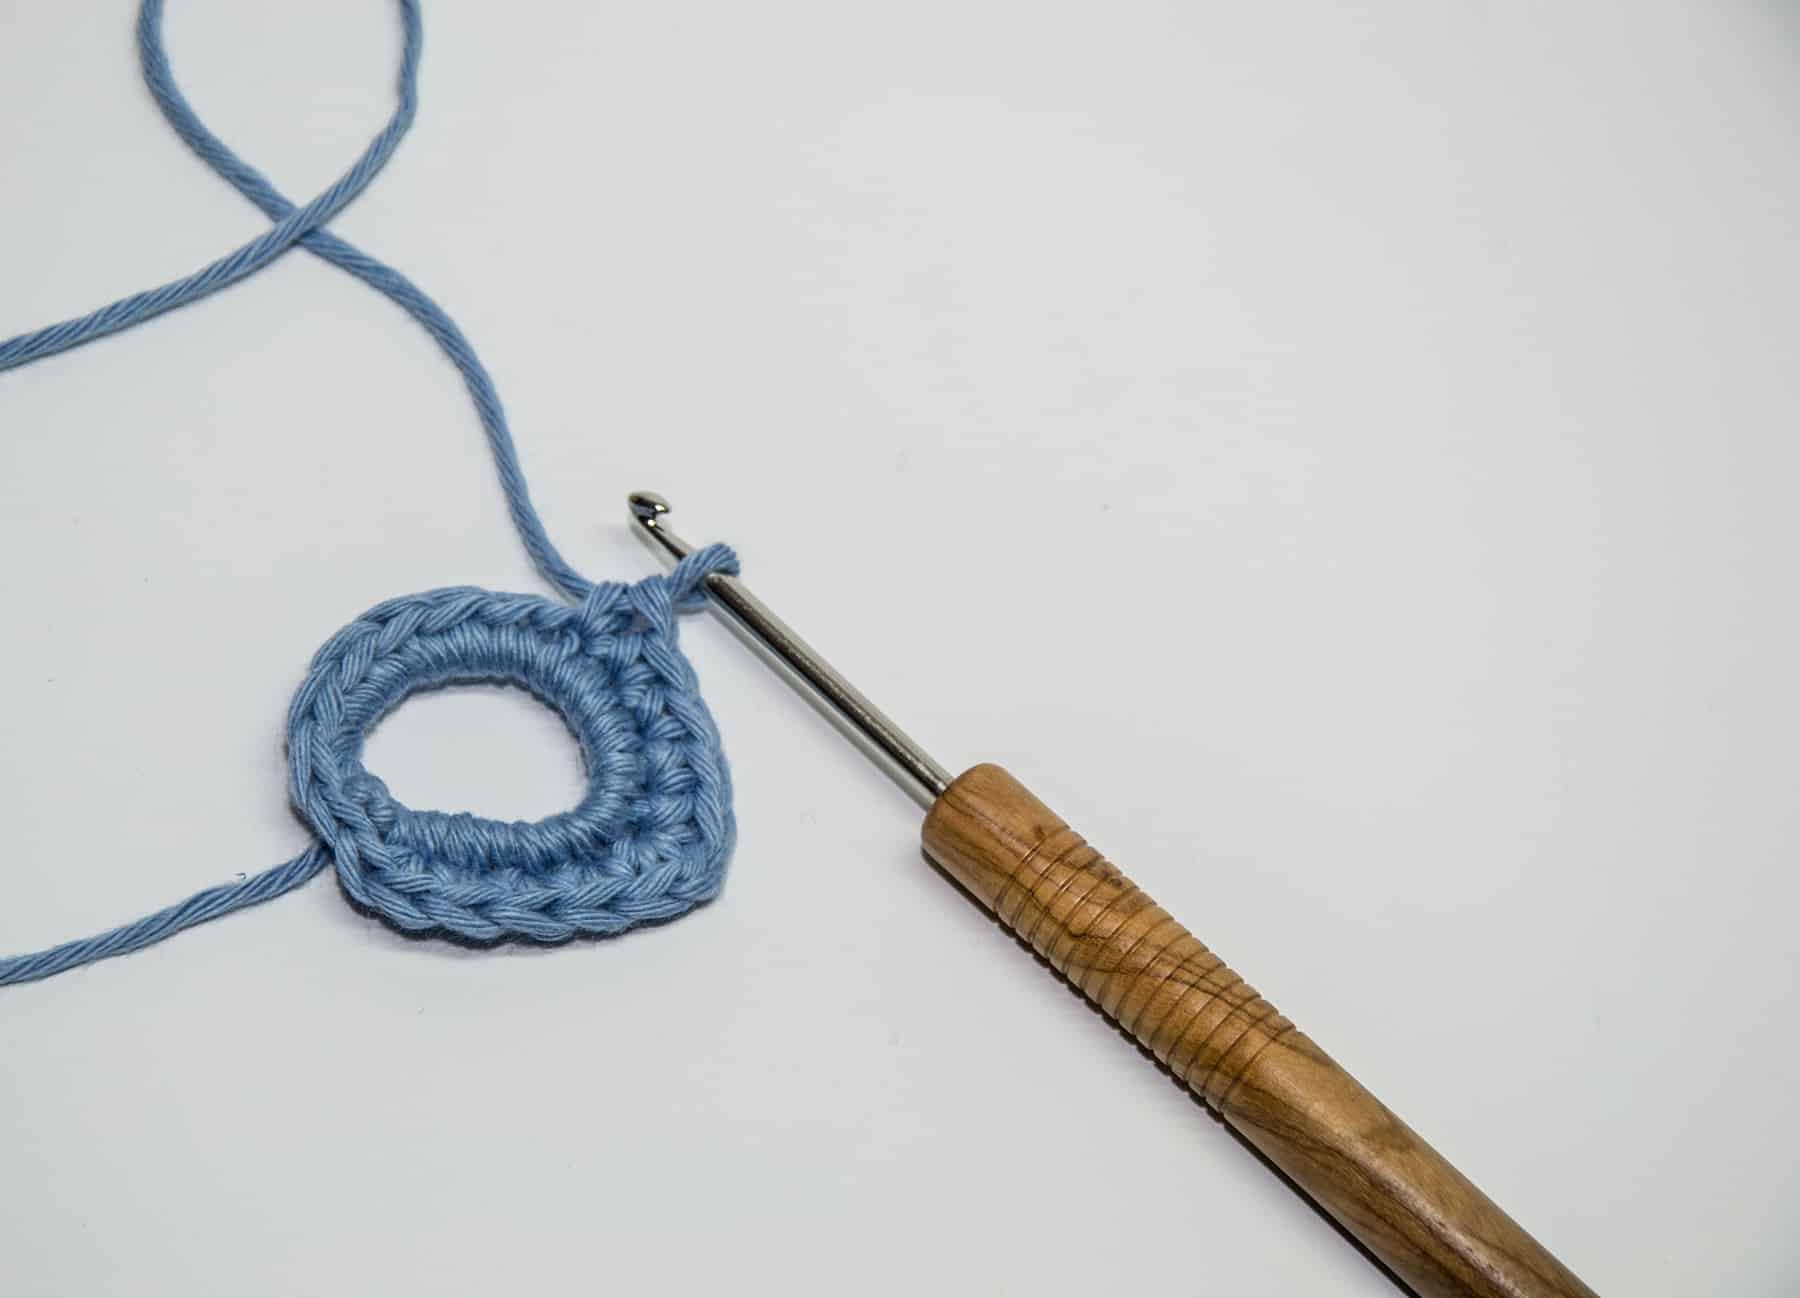
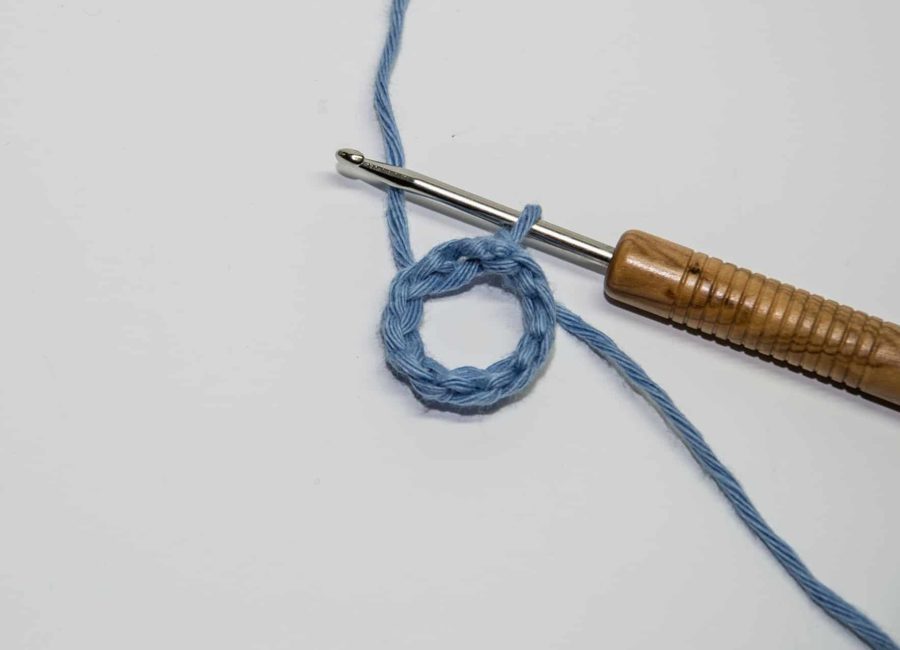
- Ch 10 and close with sl st to form a ring. Be sure not to twist.
-
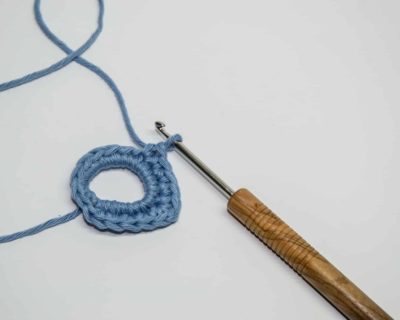
Ch 1, work 16 sc into the formed Ring, sl st into first sc.
From now on you work in rows:
Round 1:
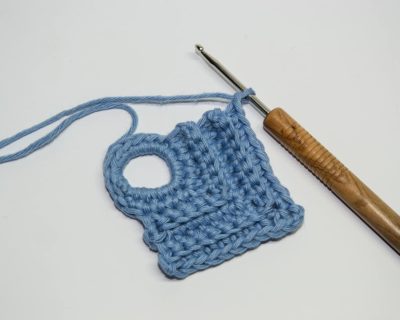
- Sc 4,
- to form the corner: (sc 1, ch 3, sc 1) in next st,
- sc 4, turn [= 10 sc].
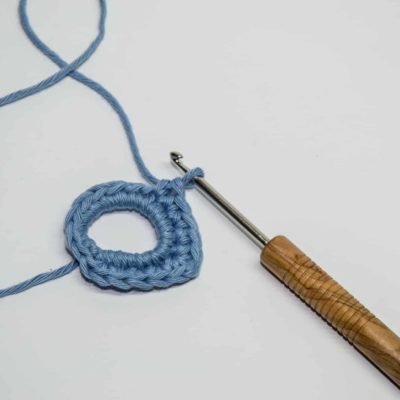
Start working in back loops only from now on, to get a nice ribbed design:
Round 2:
- Ch 1, sc 5,
- to form the corner: (sc 1, ch 3, sc 1) into the ch-3-space,
- sc 5, turn [= 12 sc].
Round 3:
- h 1, sc 6,
- to form the corner: (sc 1, ch 3, sc 1) into the ch-3-space,
- sc 6, turn [= 14 sc].
Keep working like this, increasing 2 sts on every row, until your desired size is reached.
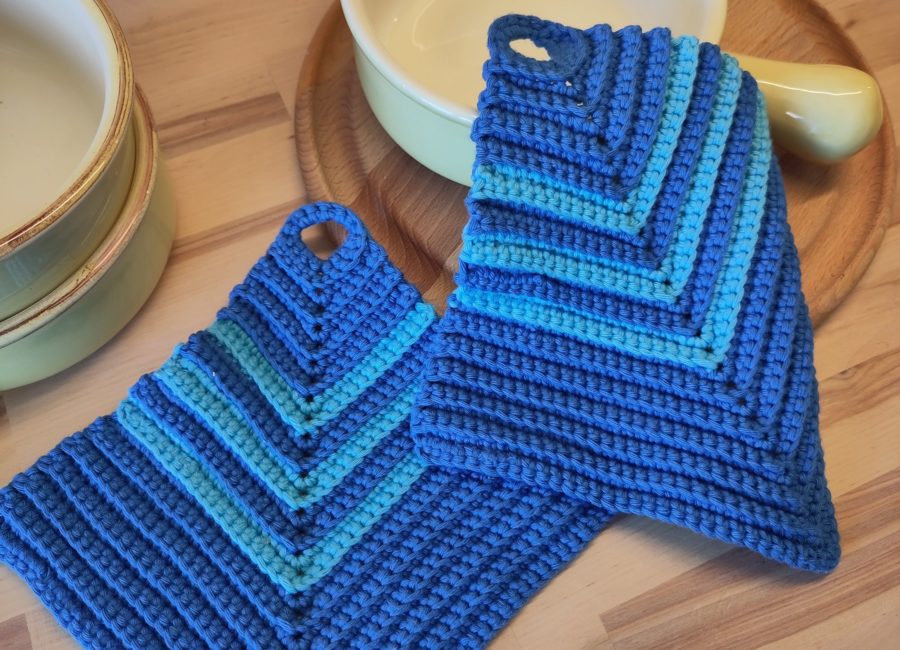
In our example, we’ve used stripes in the following colors:
| 1.-7. R: | royal blue |
| 8.-9. R: | light blue |
| 10.-12. R: | royal blue |
| 13.-14. R: | light blue |
| 15.-16. R: | royal blue |
| 17.-18. R: | light blue |
| 19.-30. R: | royal blue |
Fasten off. Weave in ends. Work the 2nd piece just like that. Zum Schluss alle Fäden vernähen.
Instruction: Ute Krugmann
