Erdbeere häkeln: Lustige Amigurumi Erdbeere im Topf
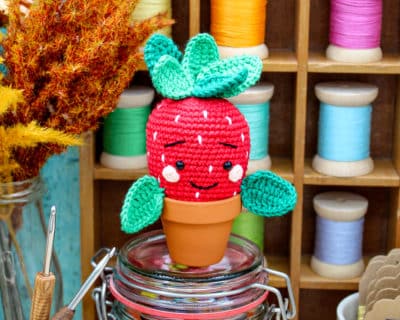
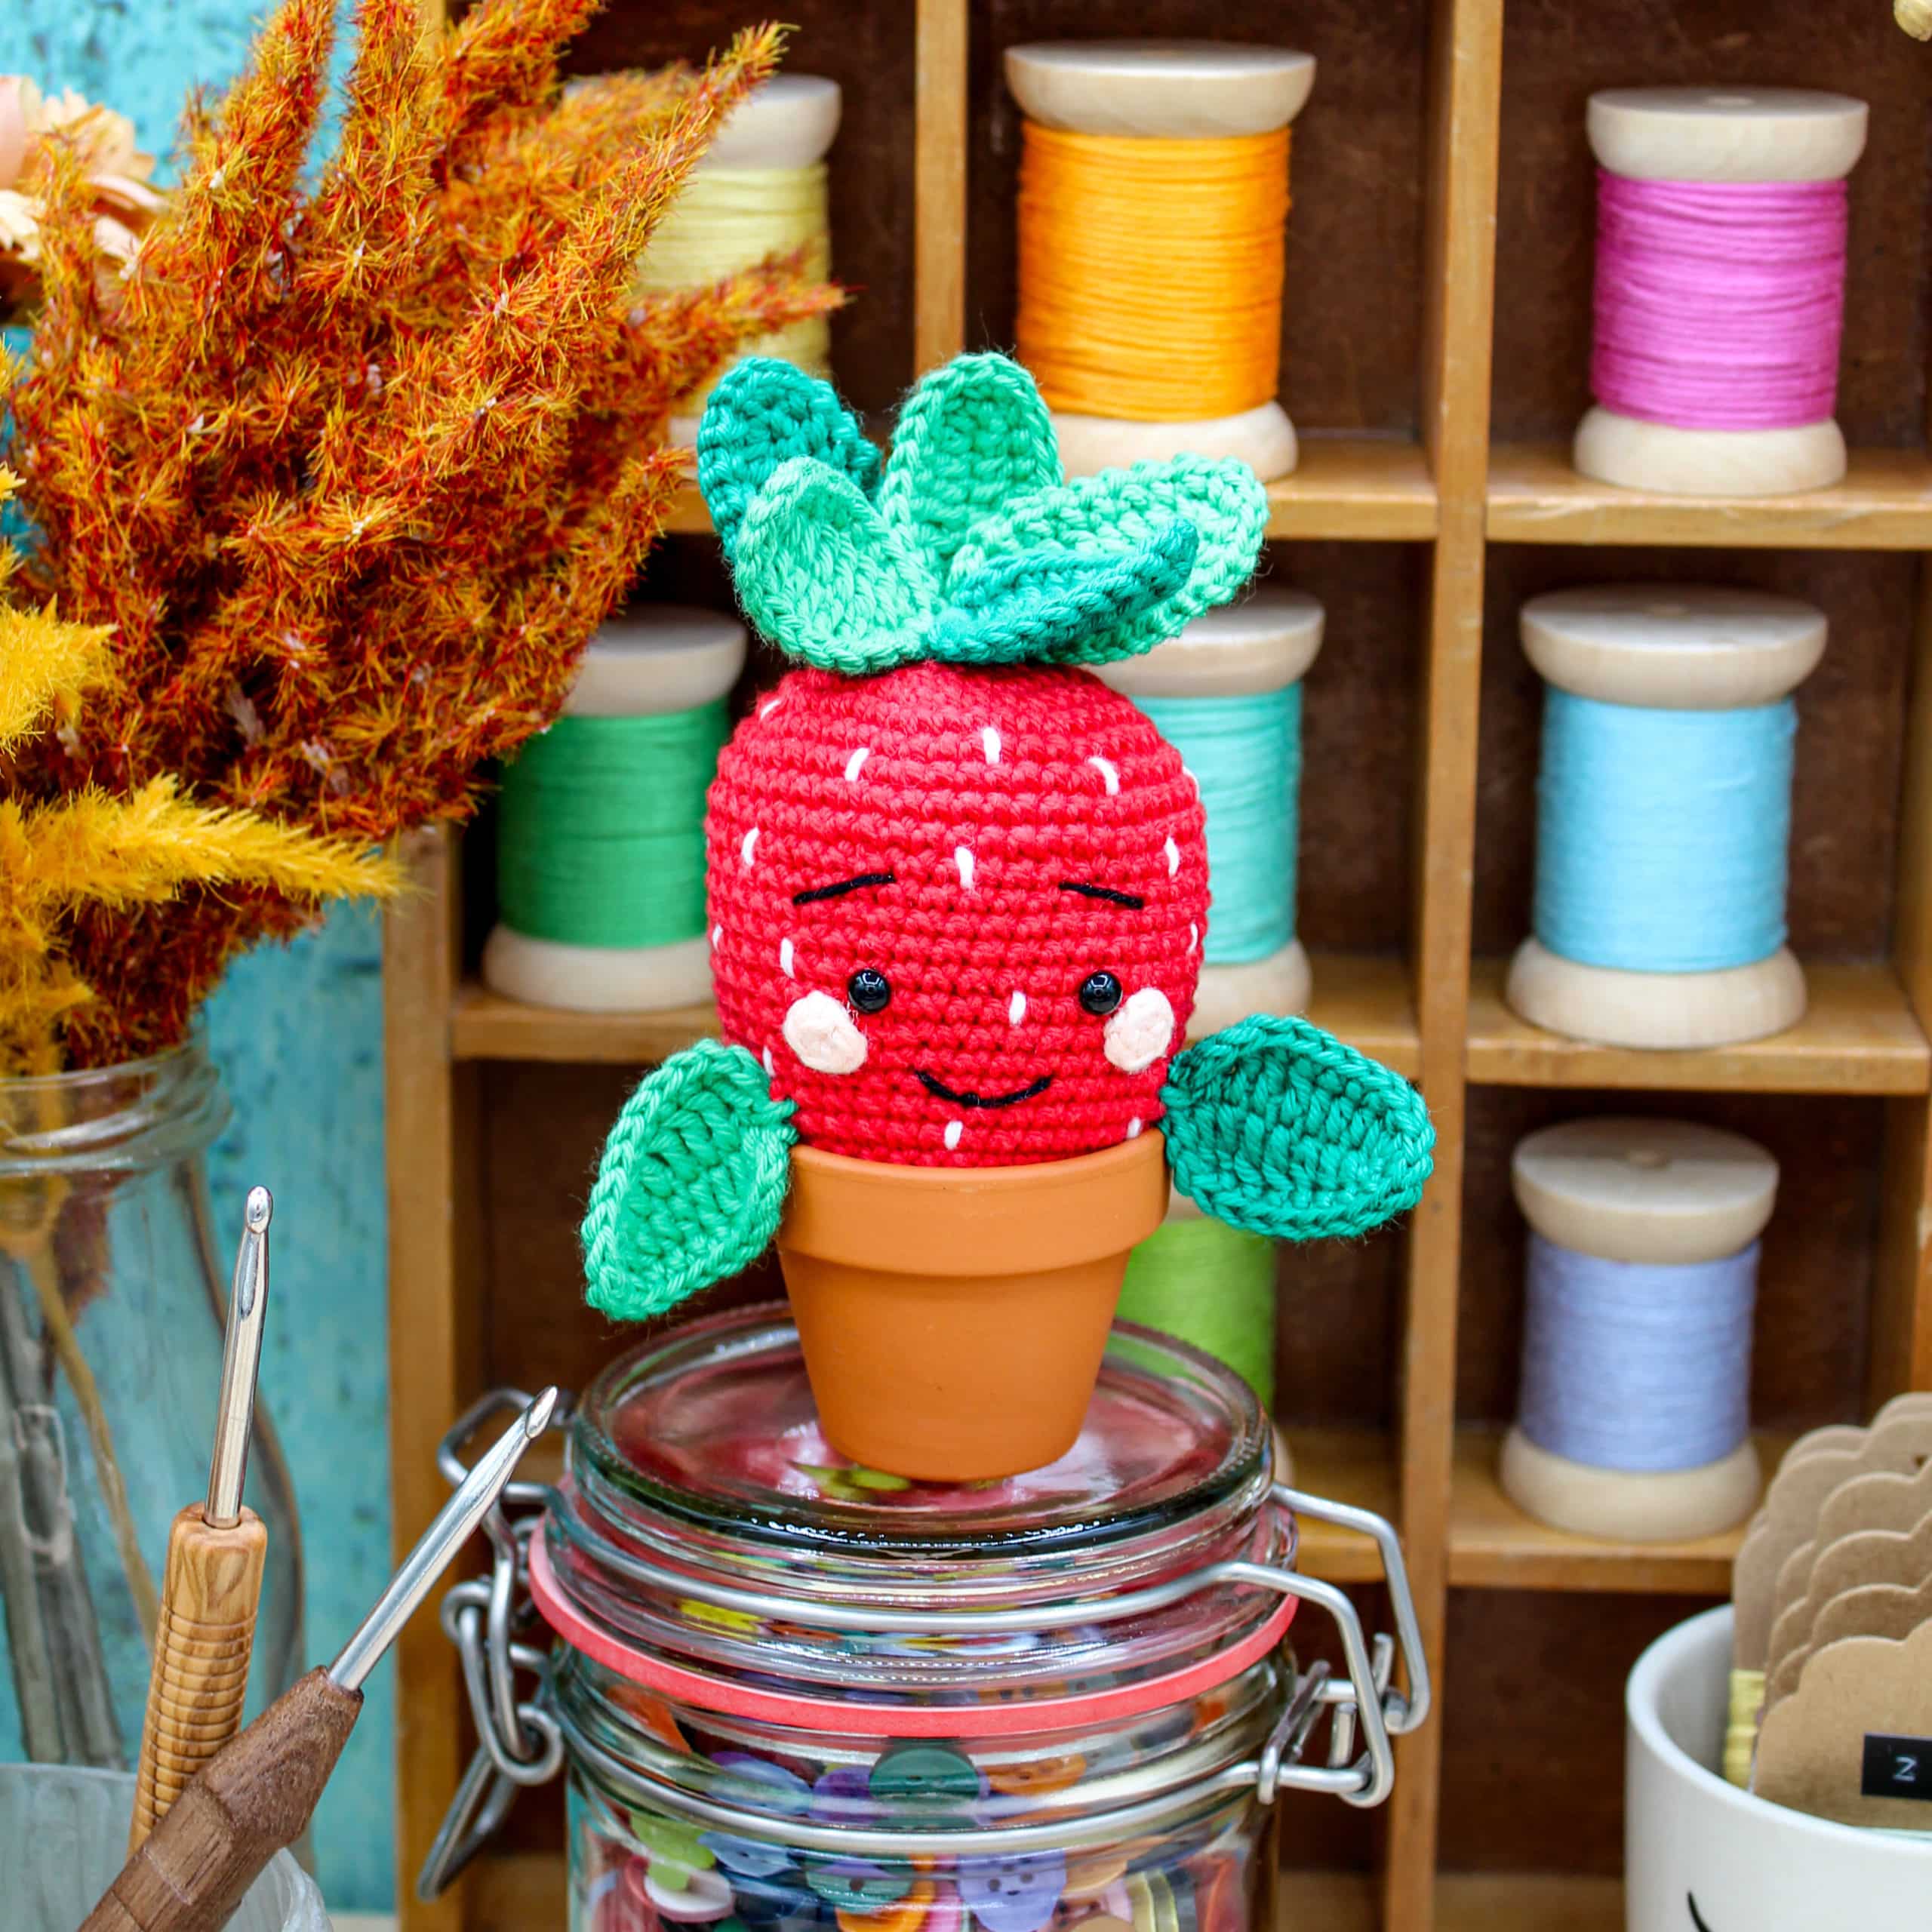
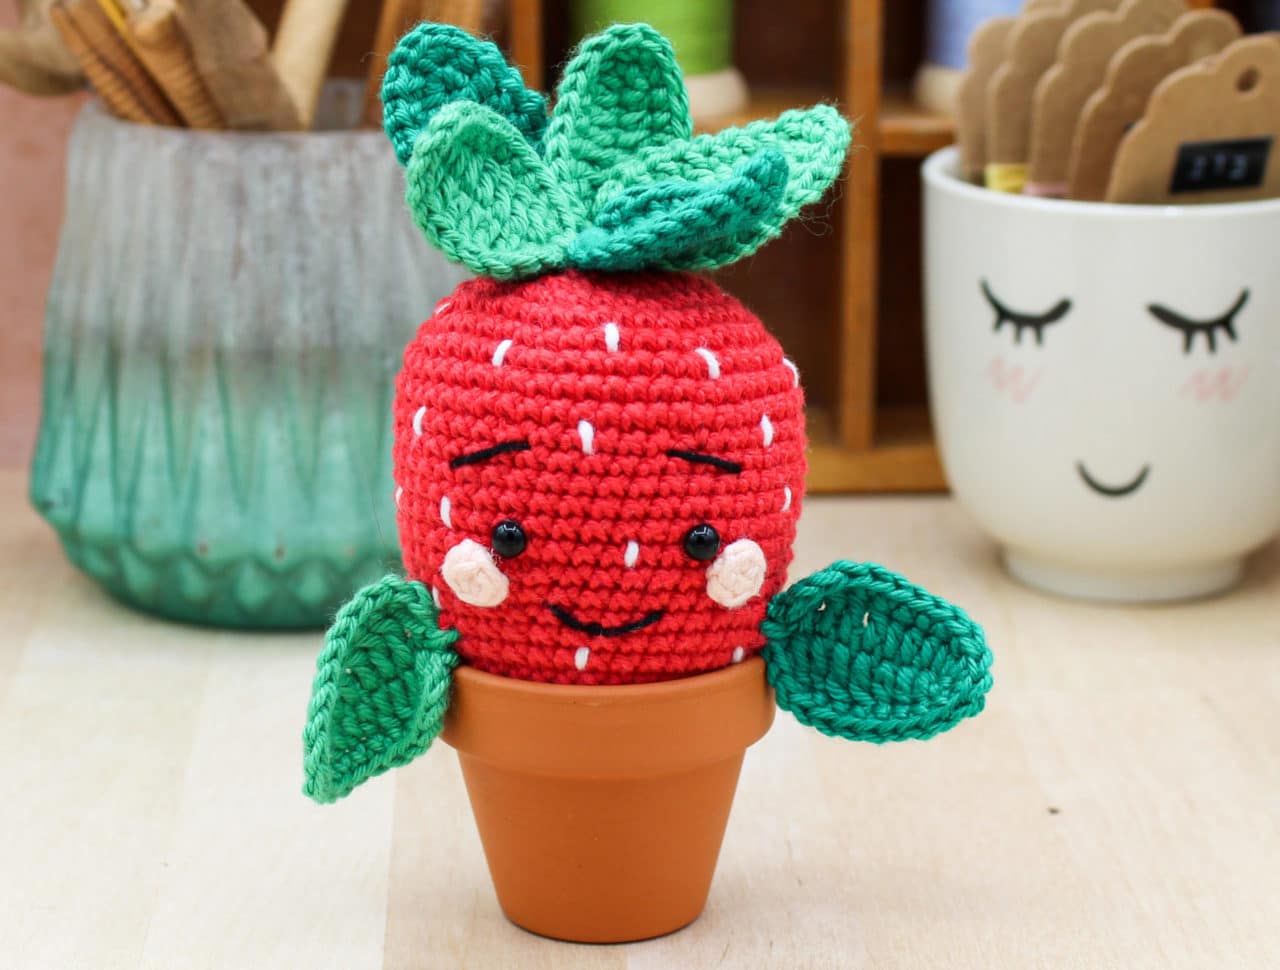
Das fruchtige Amigurumi bringt Freude und sommerliche Atmosphäre in dein Zuhause. Inga Borges, auch bekannt als Frau Line, hat diese entzückende Anleitung für eine gehäkelte Erdbeere für Dich entworfen. Schnapp Dir Deine Häkelnadel und lass uns gemeinsam dies süße Erdbeere häkeln!
- Cotton yarn (100% cotton, 125m/50g – 136yd/1.8oz)
- here in red, light green, and dark green about 20g/0.7oz each, as well as scraps in black, white, and apricot.
-
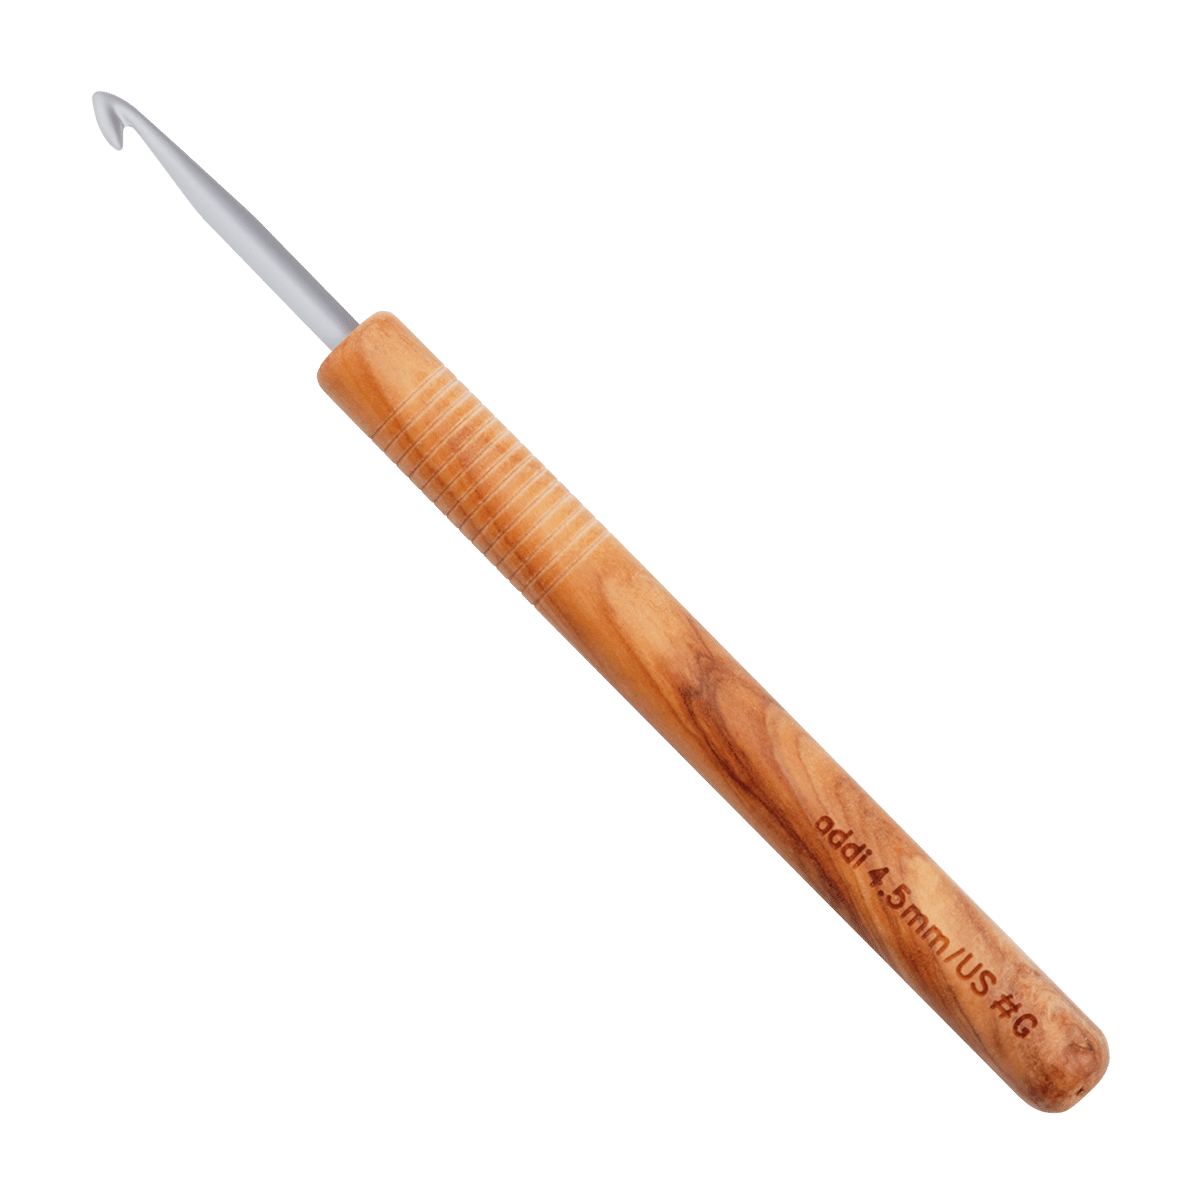
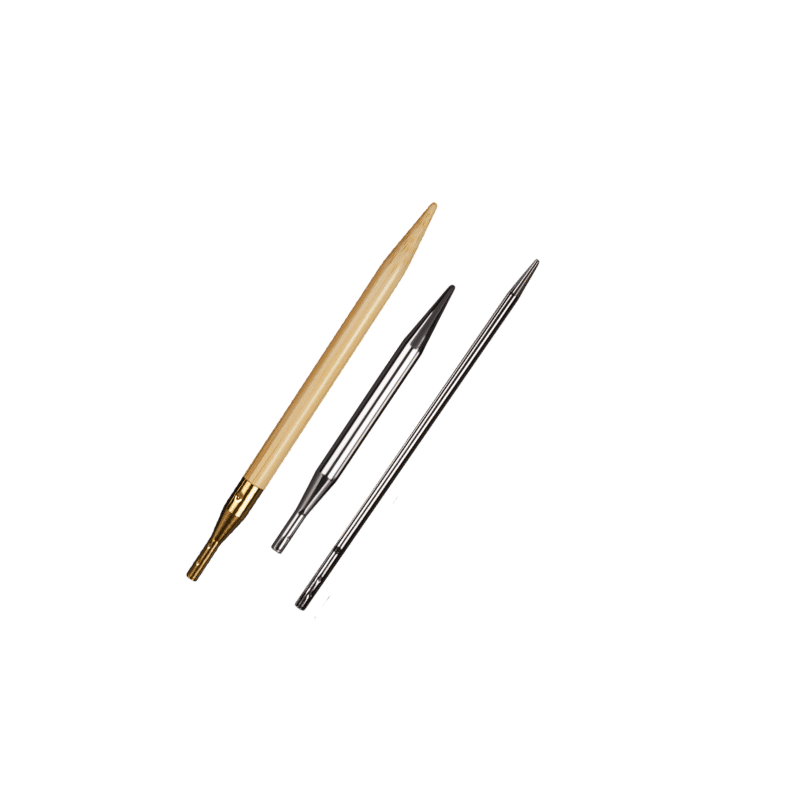
addiNature olive wood crochet hook, 2.5mm/US #B
-
safety eyes, diameter 5mm/0.2″
-
clay pot, diameter 5cm/2″
-
Stuffing material
-
Textile glue
-
Tapestry needle
-
Pins
-
Scissors
-
optional: stitch marker
Abbreviations
Amigurumi Erdbeere häkeln
Crochet the little strawberry in spiral rnds of sc. Meanwhile, stuff the amigurumi firmly with stuffing material. The leaves are crocheted in rnds around a ch. Fix the finished strawberry in the pot with fabric glue.
Crochet cheeks (2 x in red):
- Crochet 5 sc in magic ring.
- Pull the ring tight.
Crochet strawberry (in red):
| Round 1: | 7 sc in a magic ring. |
| Round 2: | 7 x inc [= 14 sts]. |
| Round 3: | 7x (1 sc, inc) [= 21 sts]. |
| Round 4 | 7x (2 sc, inc) [= 28 sts]. |
| Round 5 | 7x (3 sc, inc) [= 35 sts]. |
| Round 6 | 7x (4 sc, inc) [= 42 sts]. |
| Round 7 | 42 sc. |
| Round 8 | 7x (5 sc, inc) [= 49 sts]. |
| Round 9+10 | 49 sc. |
| Round 11 | 7x (5 sc, sc2tog) [= 42 sts]. |
| Round 12-16 | 42 sc. |
| Round 17 | 2x (19 sc, sc2tog) [= 40 sts]. |
| Round 18 | 40 sc. |
| Round 19 | 2x (18 sc, sc2tog) [= 38 sts]. |
| Round 20-22 | 38 sc. |
| Round 23 | 2x (6 sc, sc2tog, 5 sc, sc2tog), 6 sc, sc2tog [= 33 sts]. |
| Round 24 | 33 sc. |
| Sicherheitsaugen zwischen der 15. und 16. Rd. im Abstand von 6 M setzen. Die Bäckchen leicht nach außen versetzt unten den Augen annähen. Beginne den Körper der Häkel-Erdbeere auszustopfen. | |
| Round 25 | 3x (9 sc, sc2tog) [= 30 sts]. |
| Round 26 | 10x (1 sc, sc2tog) [= 20 sts]. |
| Round 27 | 10x sc2tog [= 10 sts]. |
- Embroider with black for eyebrows one tension stitch each over 3 sts width and 1 st height with 2 rnds spacing over eyes.
- For the mouth, embroider a tension stitch with black between the 18th and 19th rnd centered below the eyes over 4 sts width and round down the center with another tension stitch.
- Die gesamte Häkel-Erdbeere zum Schluss mit kurzen Spannstichen mit Weiß besticken.
Crochet big leaf (1x light green, 1x dark green):
Crochet in rnds around a chain. Make ch 10 and crochet from 3rd ch from ndl:
- Round 1: 4 dc, 3 hdc, 3 sc in 1 st, continue crocheting on back of chain, 3 hdc, 4 dc, ch 2, 1 sl st in beginning ch [= 17 sts].
- Round 2: ch 2, 8 (sc 1, ch 1), 3 sc in 1 st, 8 (ch 1, sc 1), ch 2, 1 sl st in sl st of previous rnd [= 19 sts].
- Cut yarn and weave in ends .
Crochet small leaf (3x light green, 2x dark green):
Crochet in rnds around a chain. Make ch 10 and crochet from 3rd ch from ndl:
- Round 1: 4 dc, 3 hdc, 3 sc in 1 st, continue crocheting on back of chain, 3 hdc, 4 dc, ch 2, 1 sl st in beginning ch [= 17 sts].
- Round 2: ch 2, 8 sc, 3 sc in 1 st, 8 sc, ch 2, 1 sl st in sl st of previous rnd [= 19 sts].
- Den Faden nah an der Erdbeere abschneiden und vernähen [= 19 M].
Fertigstellung der Erdbeere
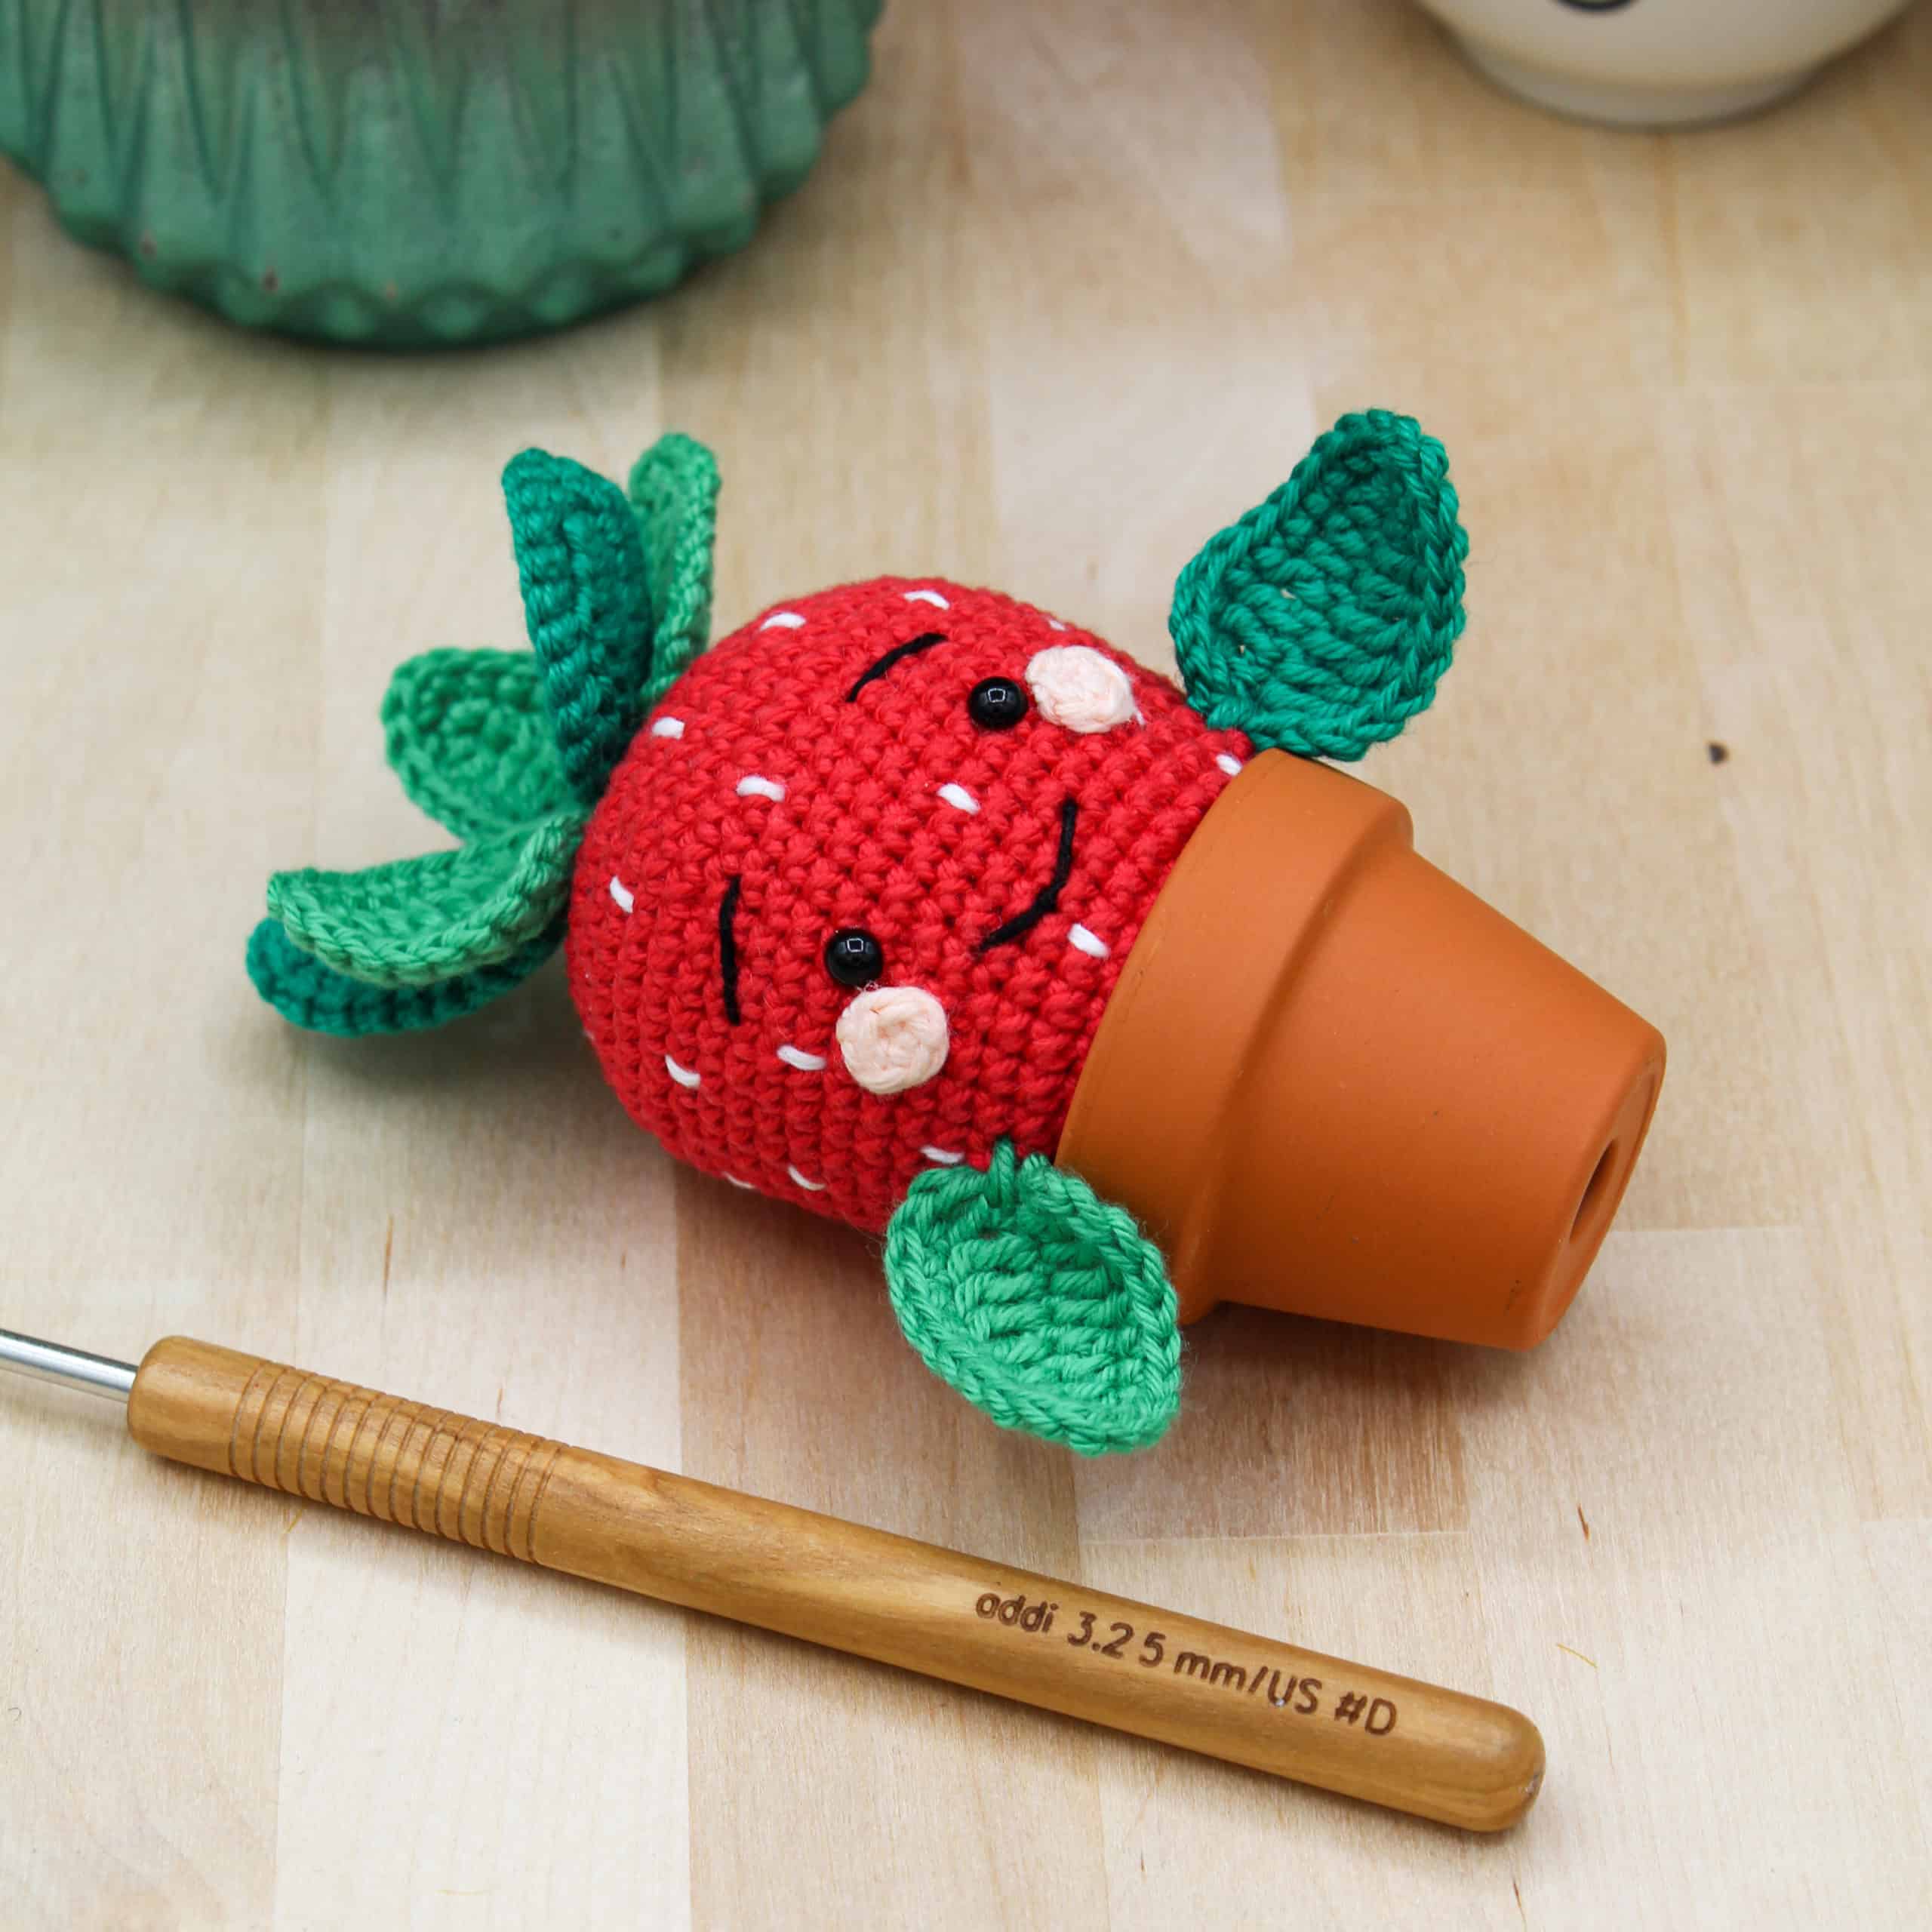
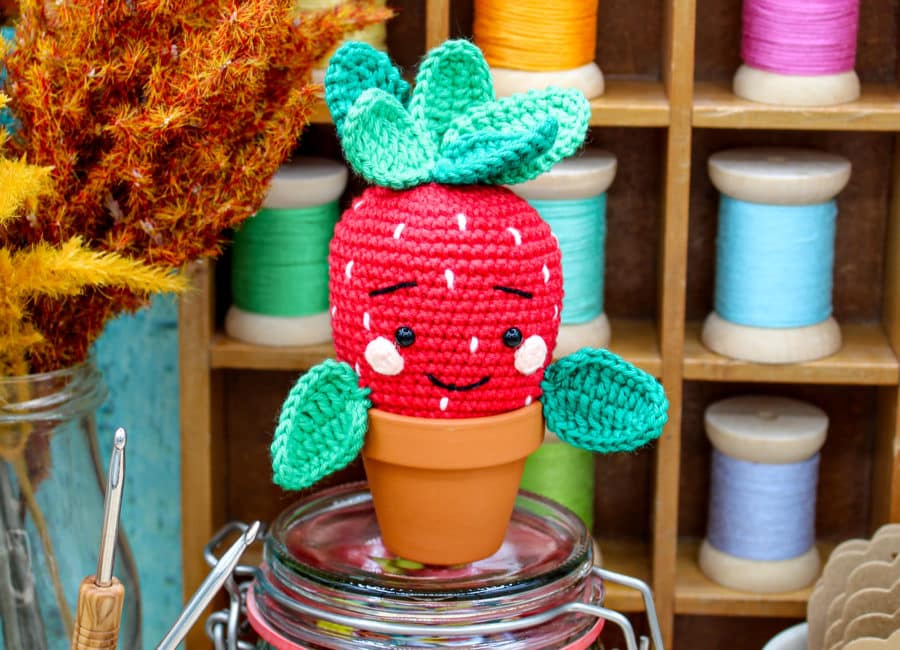
- Drape 1 large leaf in dark green and light green and 1 small leaf in dark green, as well as 2 small leaves in light green on the head of the strawberry and fix them with pins.
- If you like the arrangement, sew the leaves in place. Now spread textile glue on the inner top edge of the clay pot and carefully place the strawberry in the pot.
- Die Häkel-Erdbeere sollte gerade im Topf sitzen. Lasse alles gut trocknen. Beachte dabei die auf dem Kleber angegebenen Trockenzeiten.
Ist alles fest, nähe die verbliebenen Blätter links und rechts des Gesichts oberhalb des Topfrandes fest. Und zack, schon bist Du fertig mit deiner gehäkelten Erdbeere.
Design and Photos: Ms Line
