Crochet pattern Tray made of macramé yarn with addiShapes
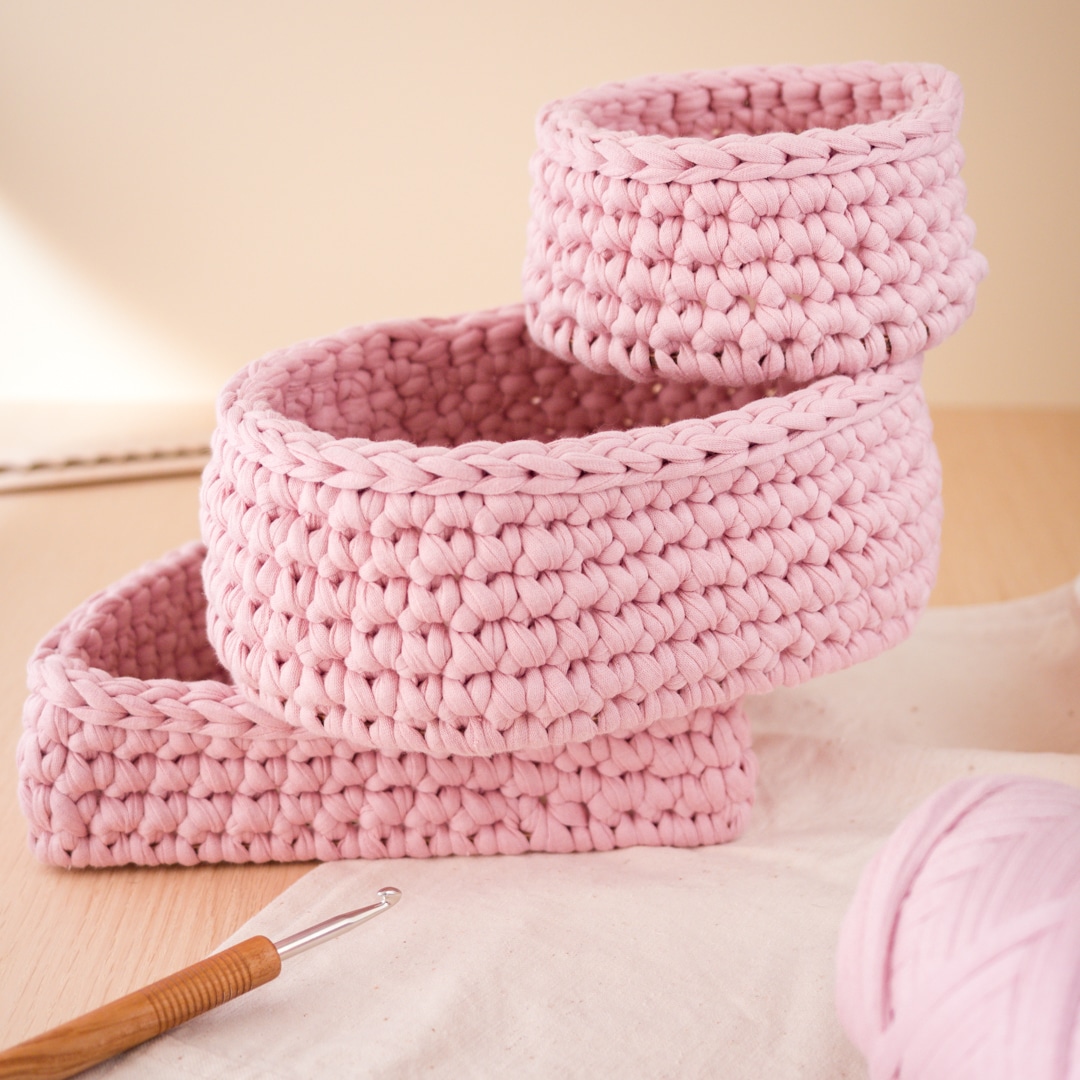
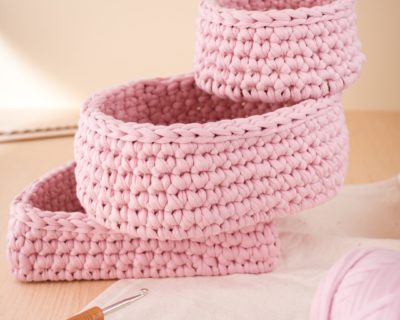
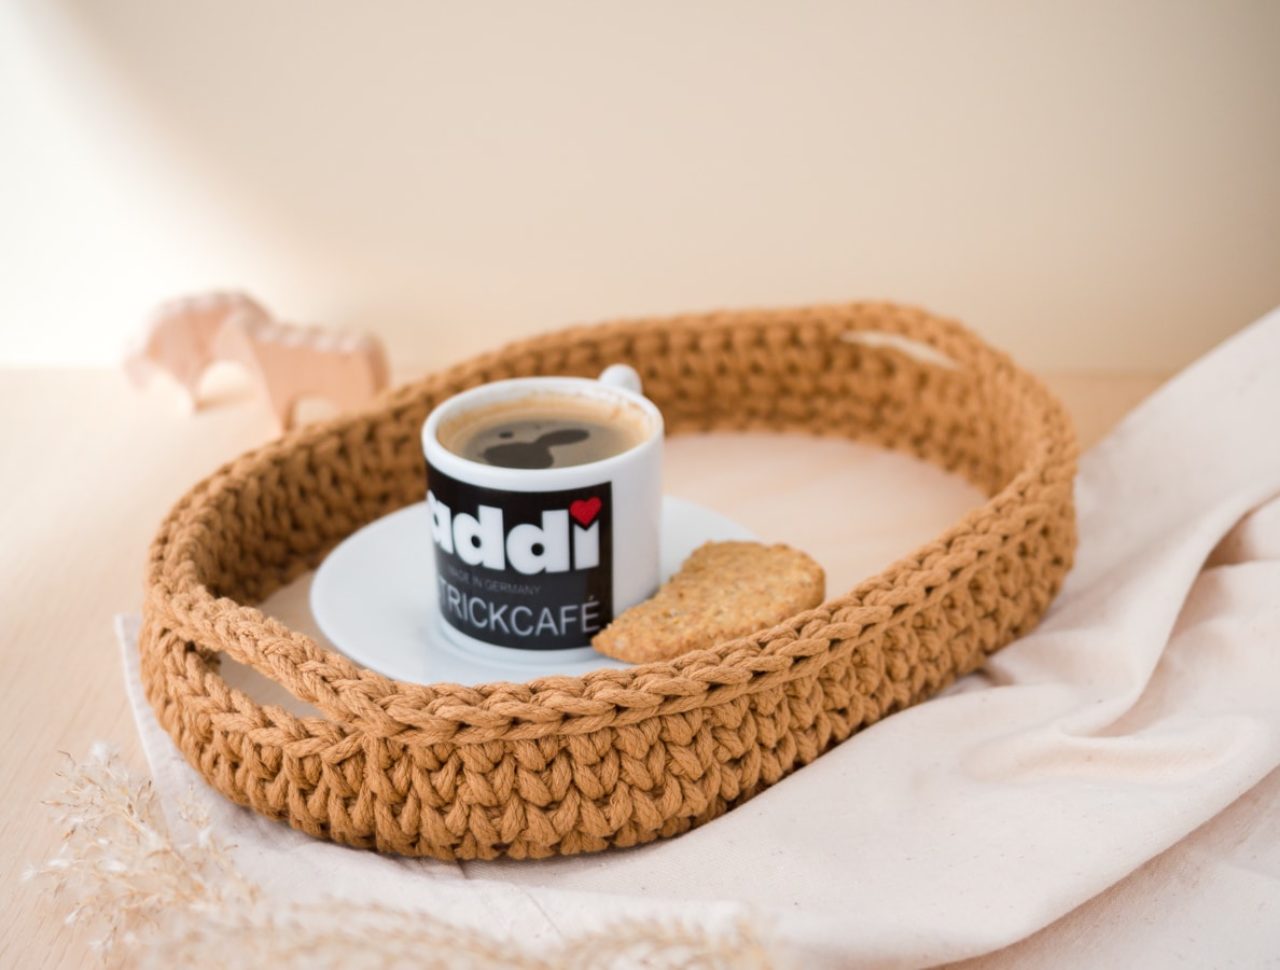
With our new addiShapes wooden bases, you can conjure up hip home accessories. With just one cone of macramé yarn, you can create a great and practical little tray in a cozy boho style.
- 1 cone makramee (braided) from myboshi, 50m/55yd, 100% cotton, 4mm/0.16″ diameter
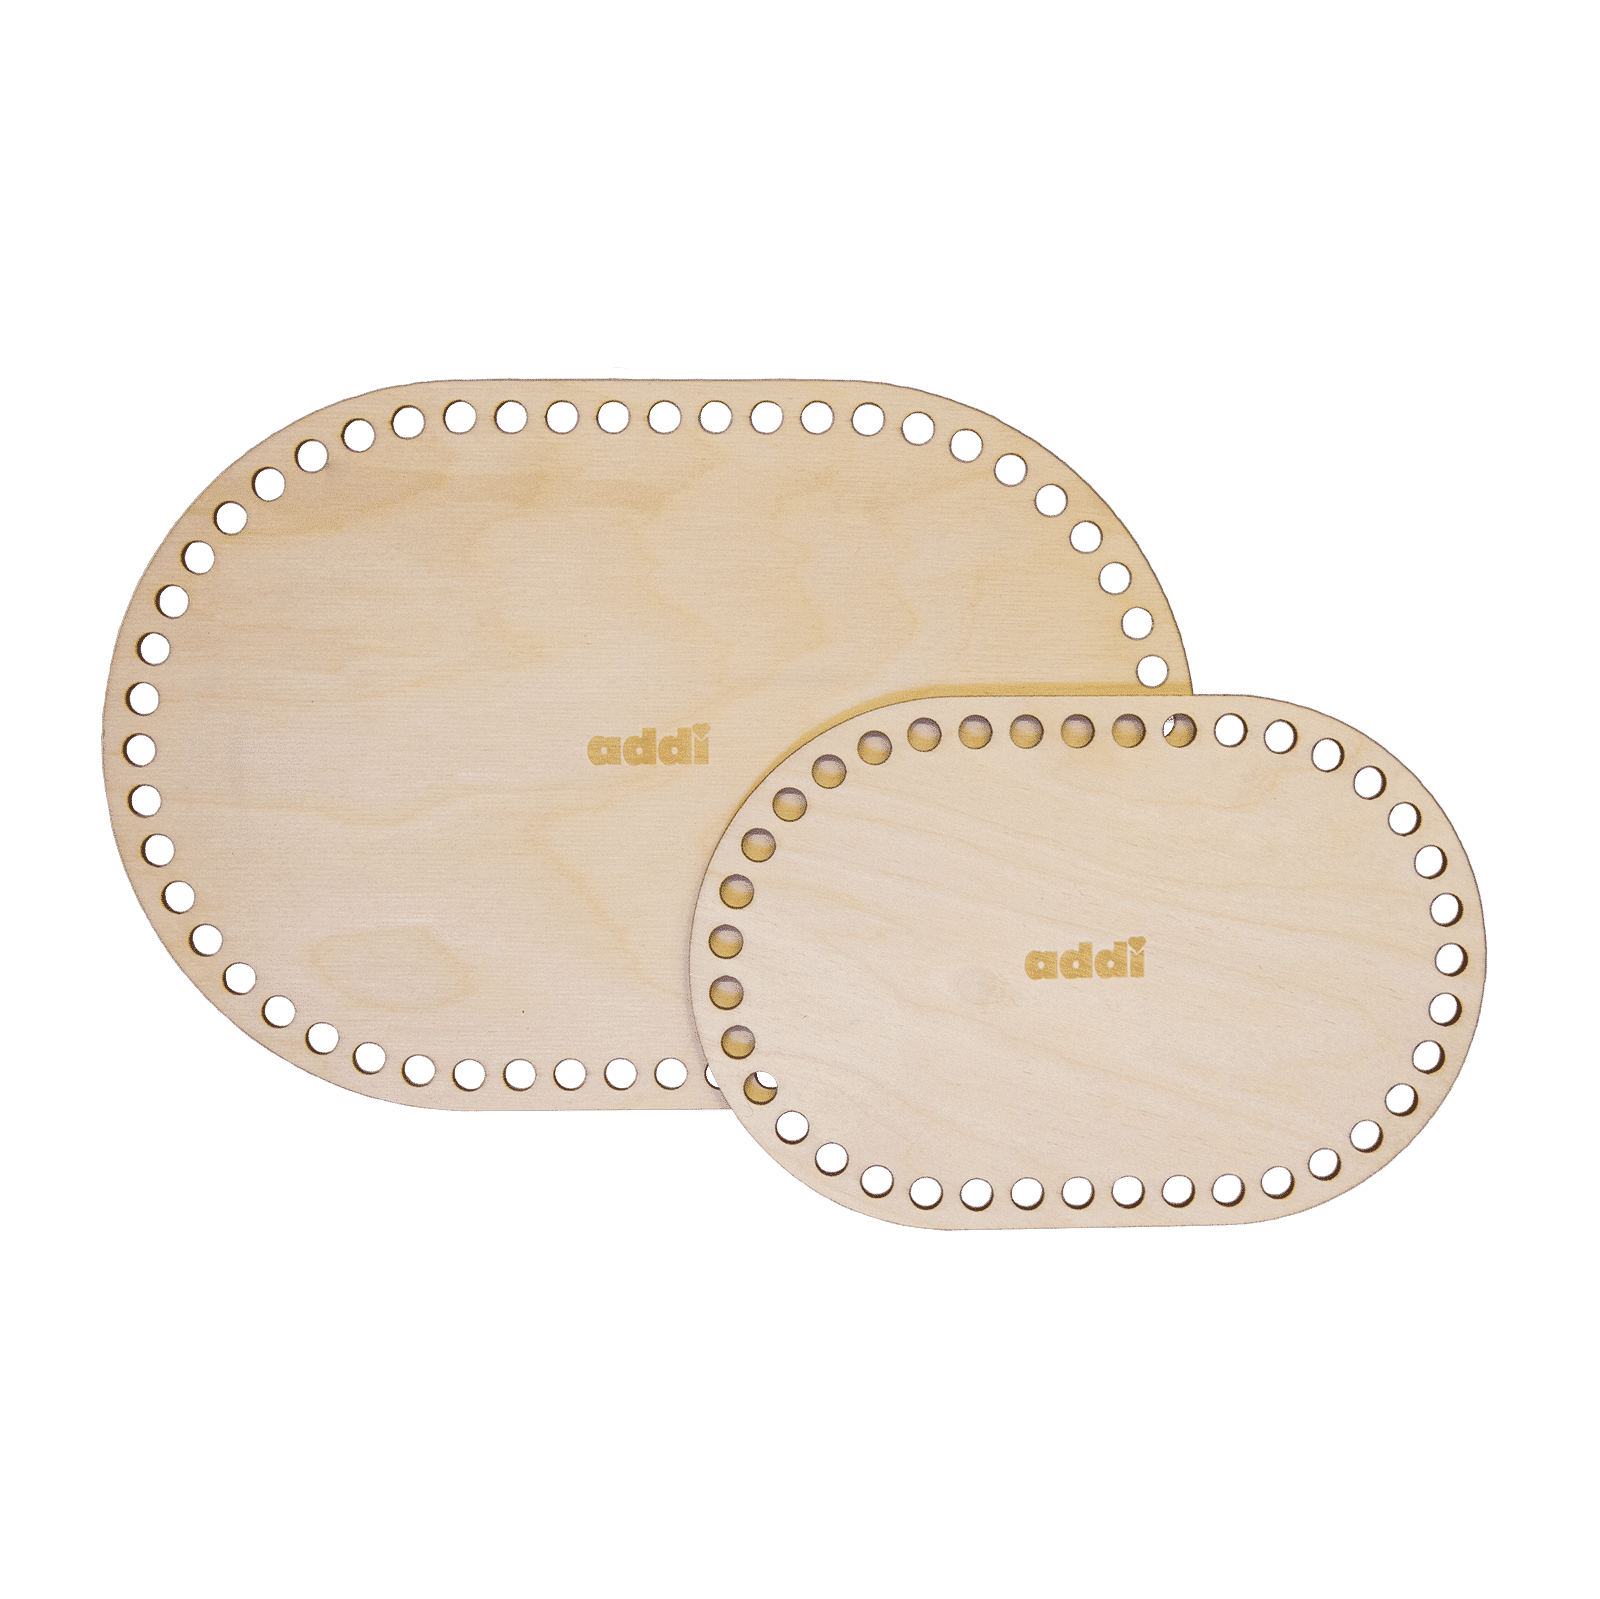
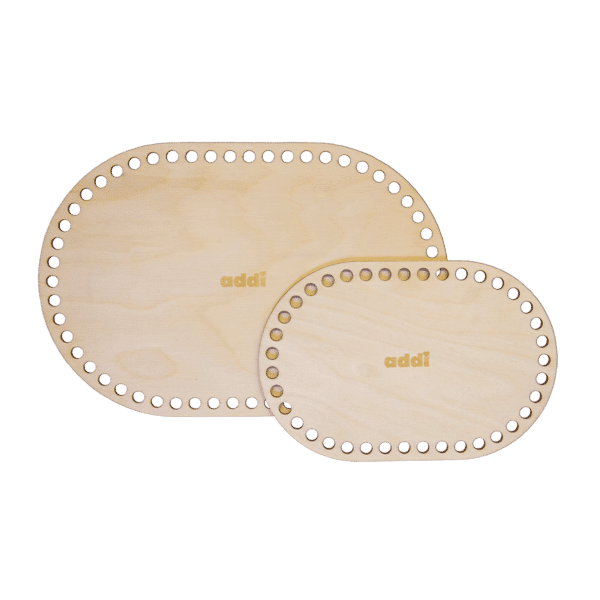
e.g. from myboshi or Woolly Hugs - addiShapes, large oval
- Scissors
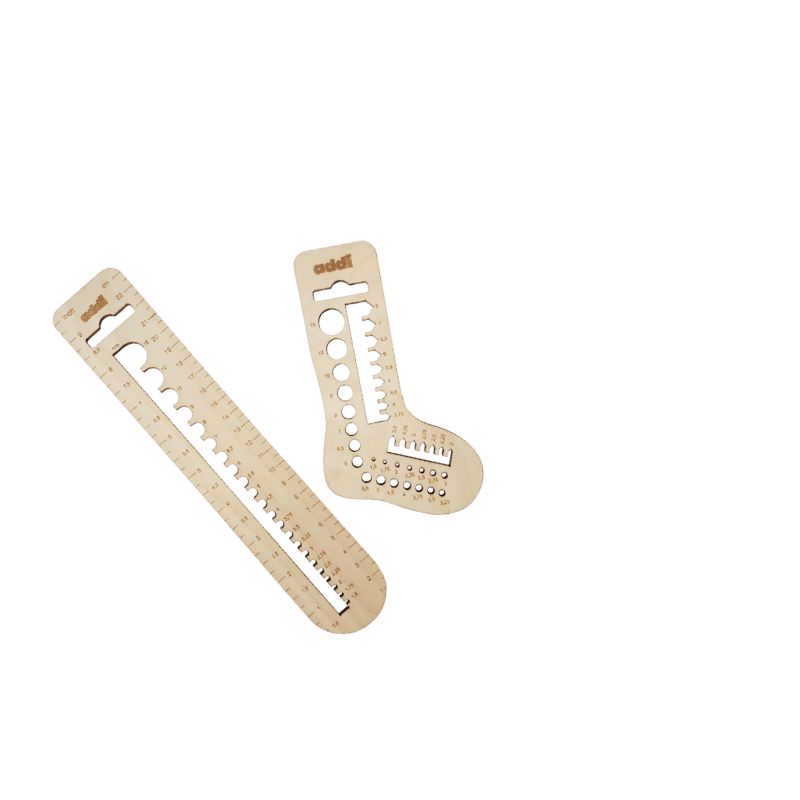
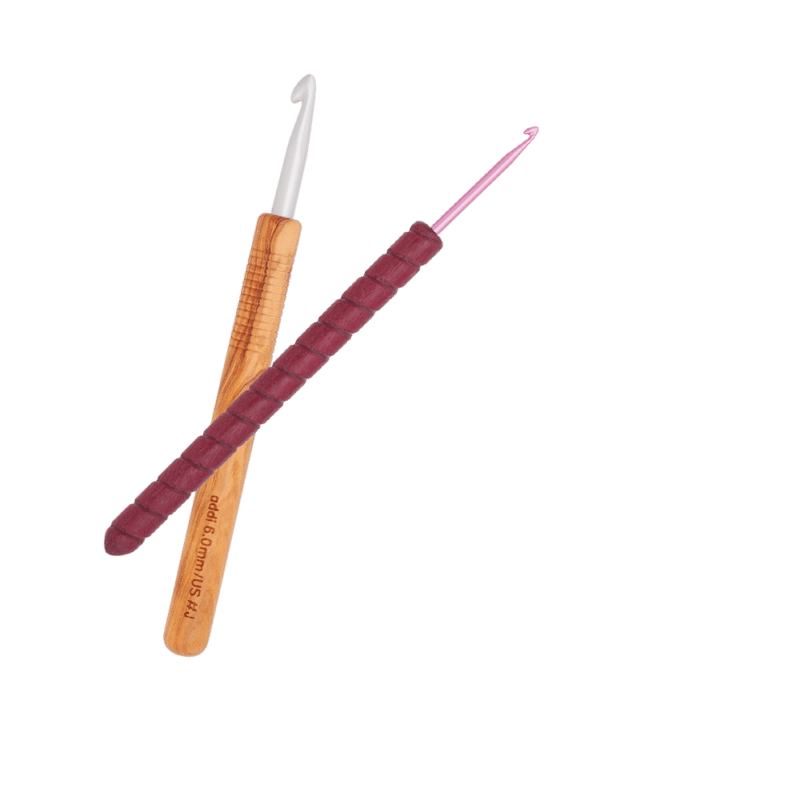
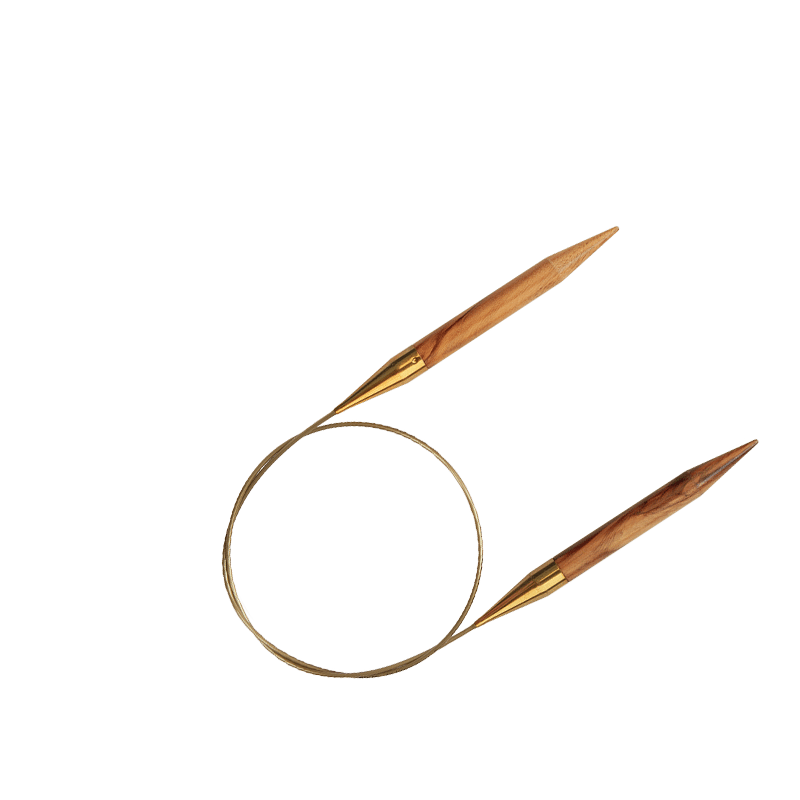
- addiLoop
Abbreviations
- sc = single crochet
- sl st = slip stitch
- ch = chain
- st/s = stitch/es
- rnd = round/s
- inc = increase (= 2 sc in 1 st)
Notice: We do not recommend the pattern for crocheters with health problems of the hands/musculature because of the tight stitches. The crochet becomes very tight and rigid.
Basic round
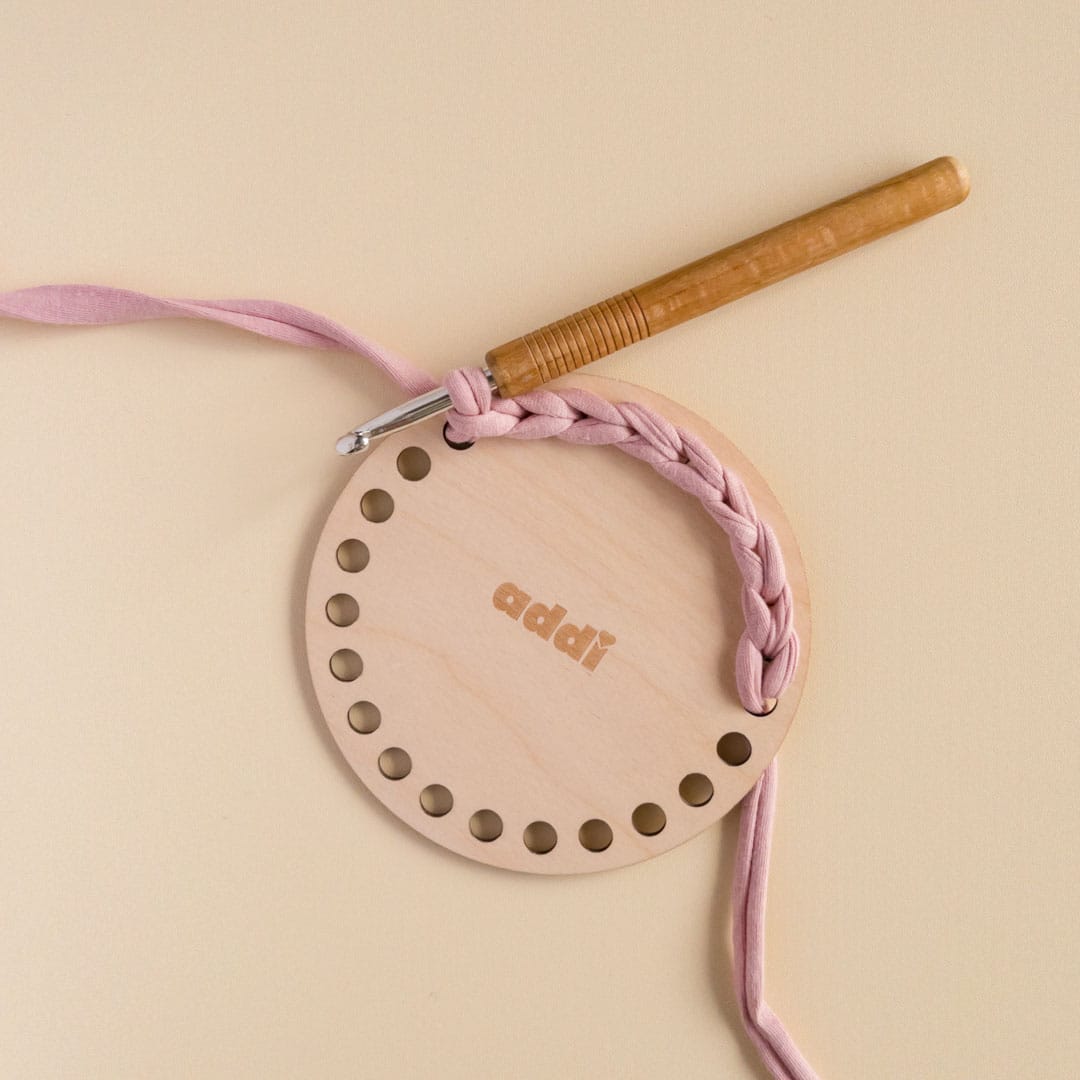
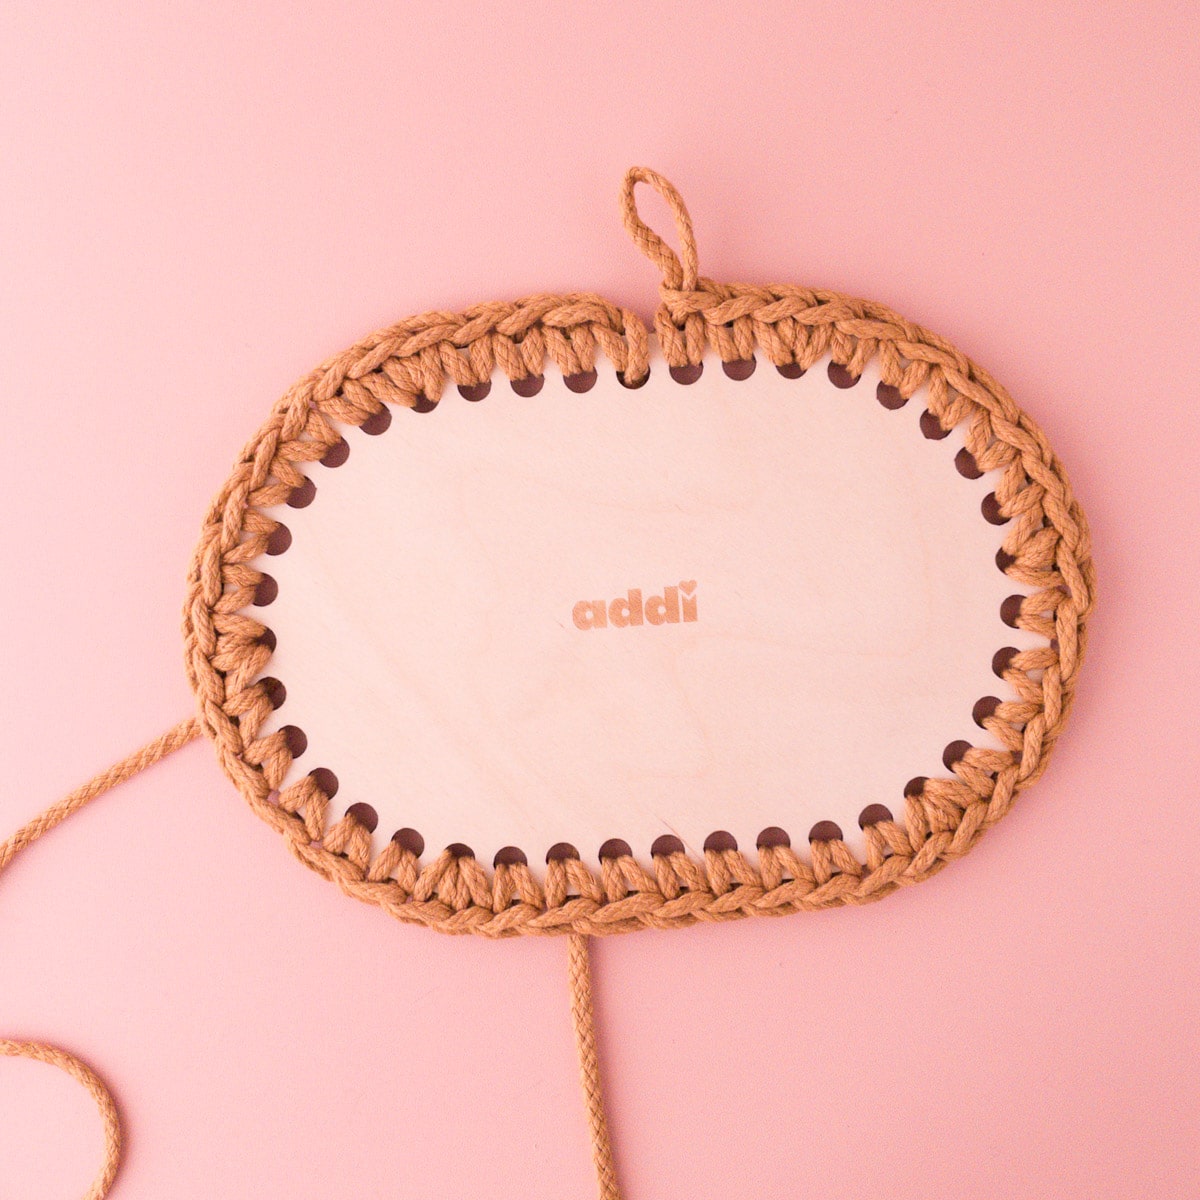
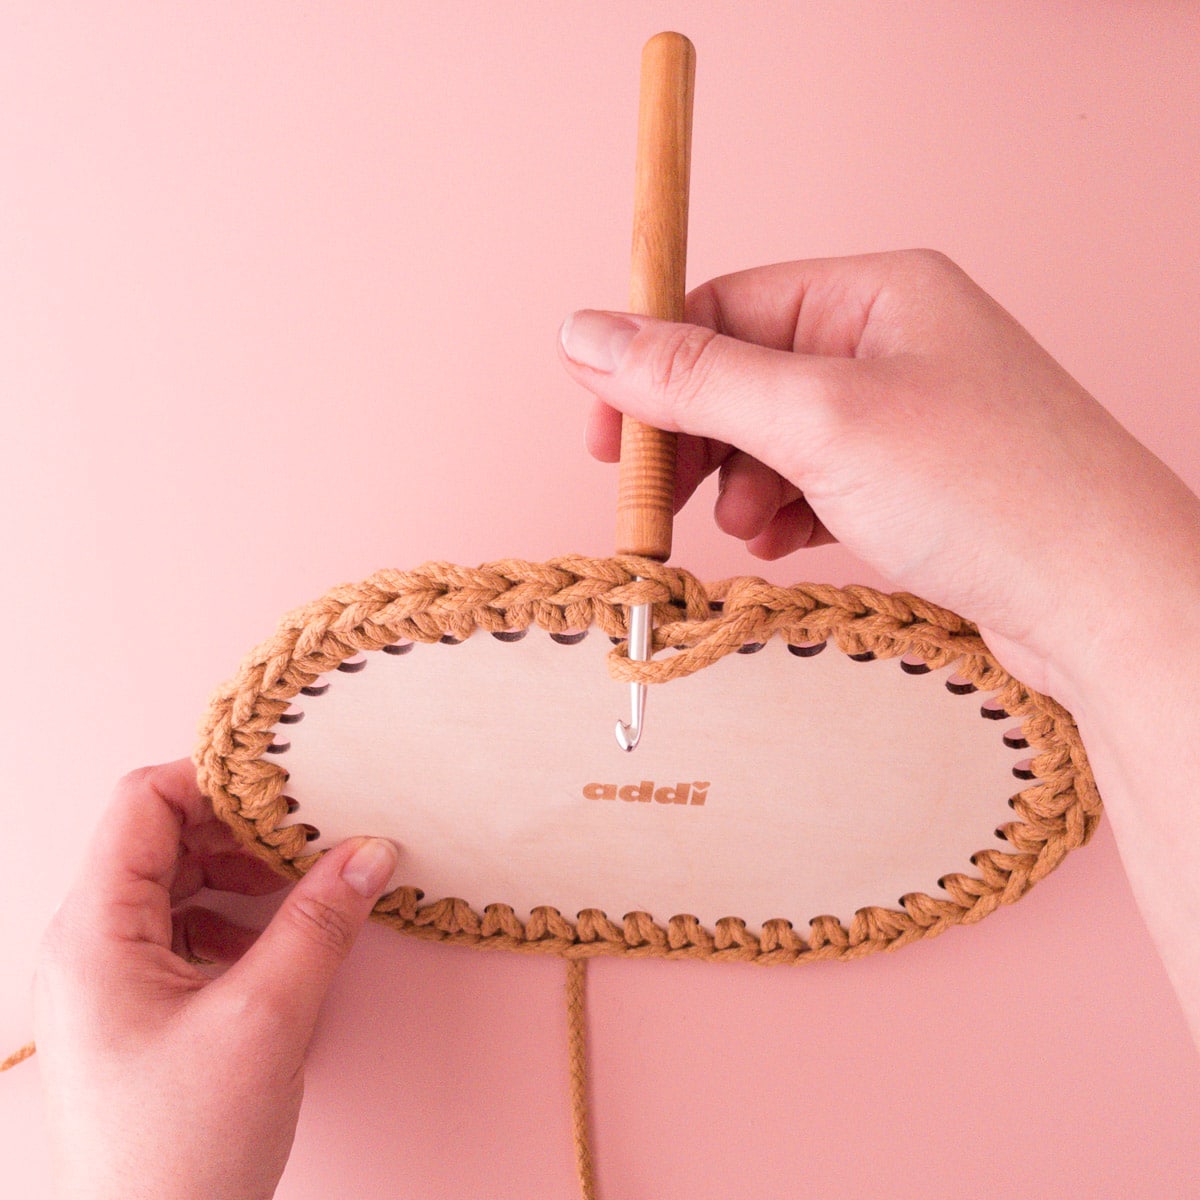
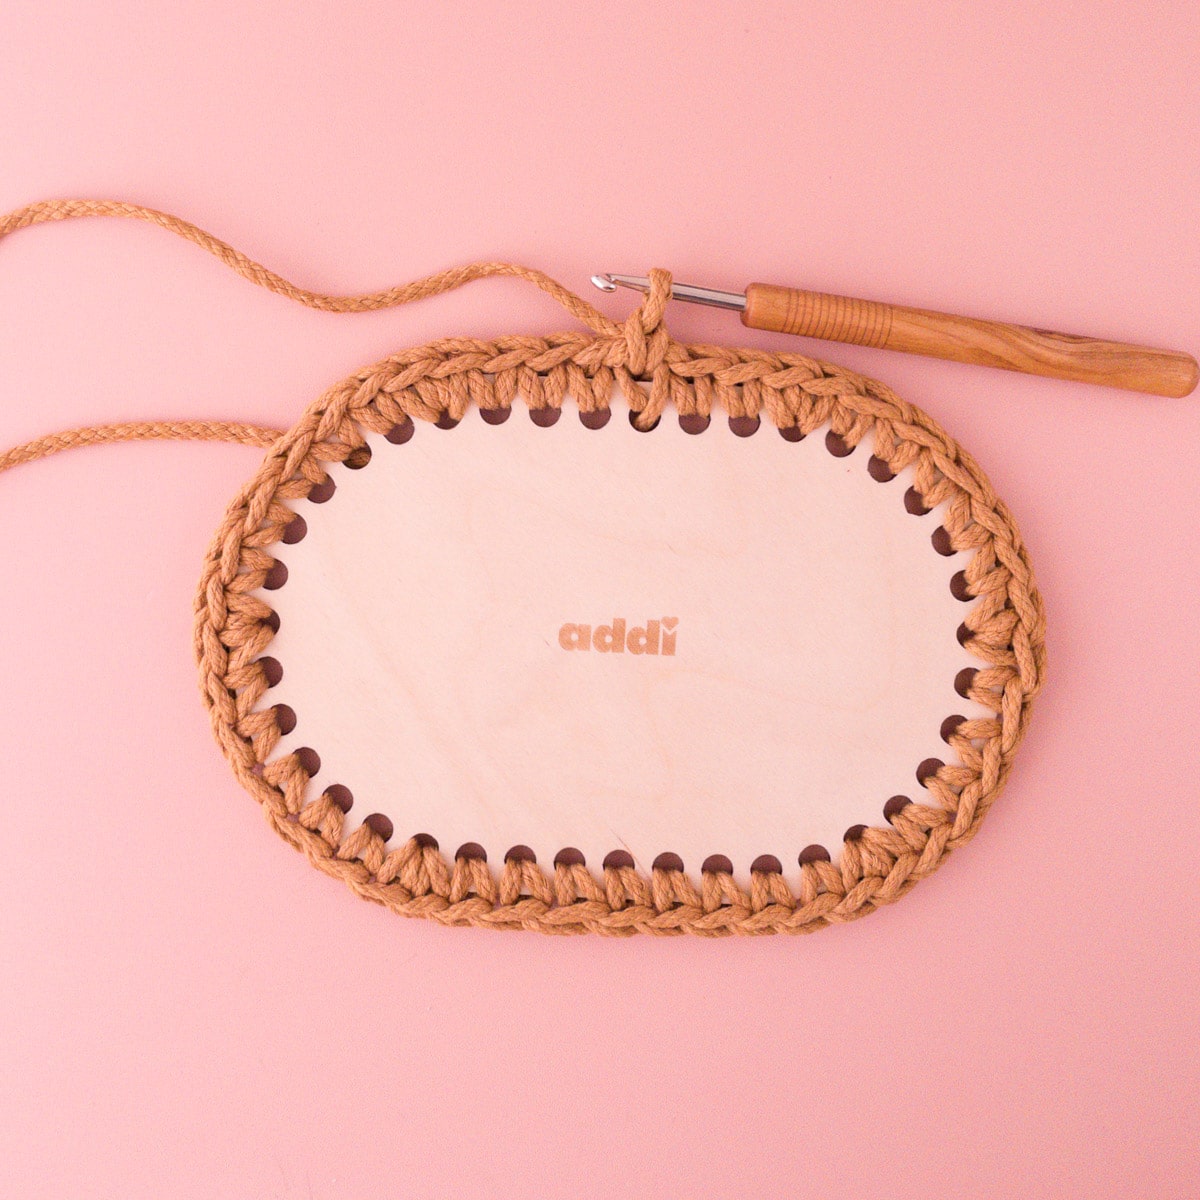
To start, crochet a foundation round with all the slip stitches visible(variation 2 of our basic instructions).
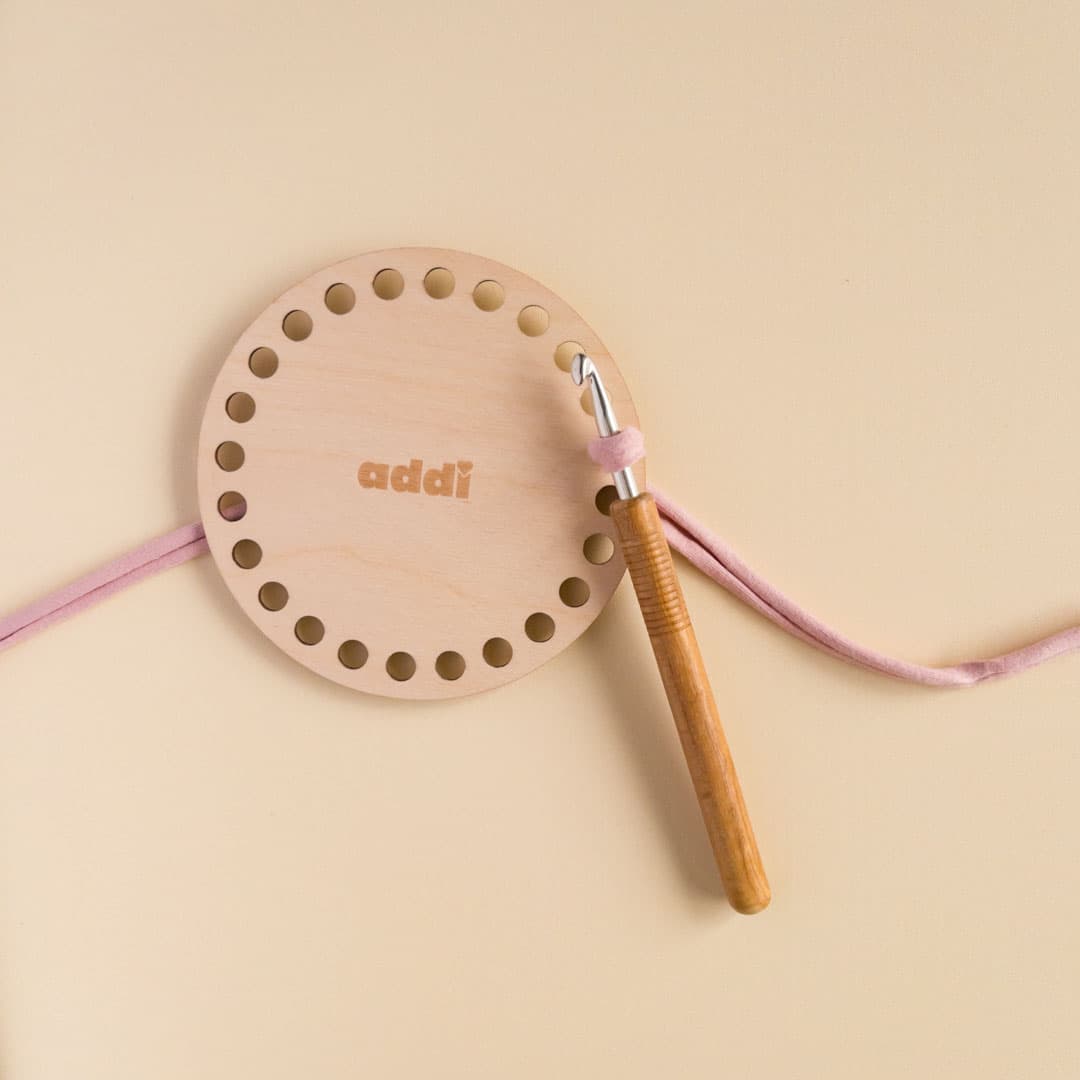
For an even pattern on the bottom of your basket, first crochet 1 rnd sl st in holes of the wooden base. It may be easier to crochet the basic round and the following rnd with a smaller needle size.
- Start in the center of one of the straight sides of the wooden bottom.
- Pull a loop through any hole, leave end thread at least 20cm long and crochet 1 ch.
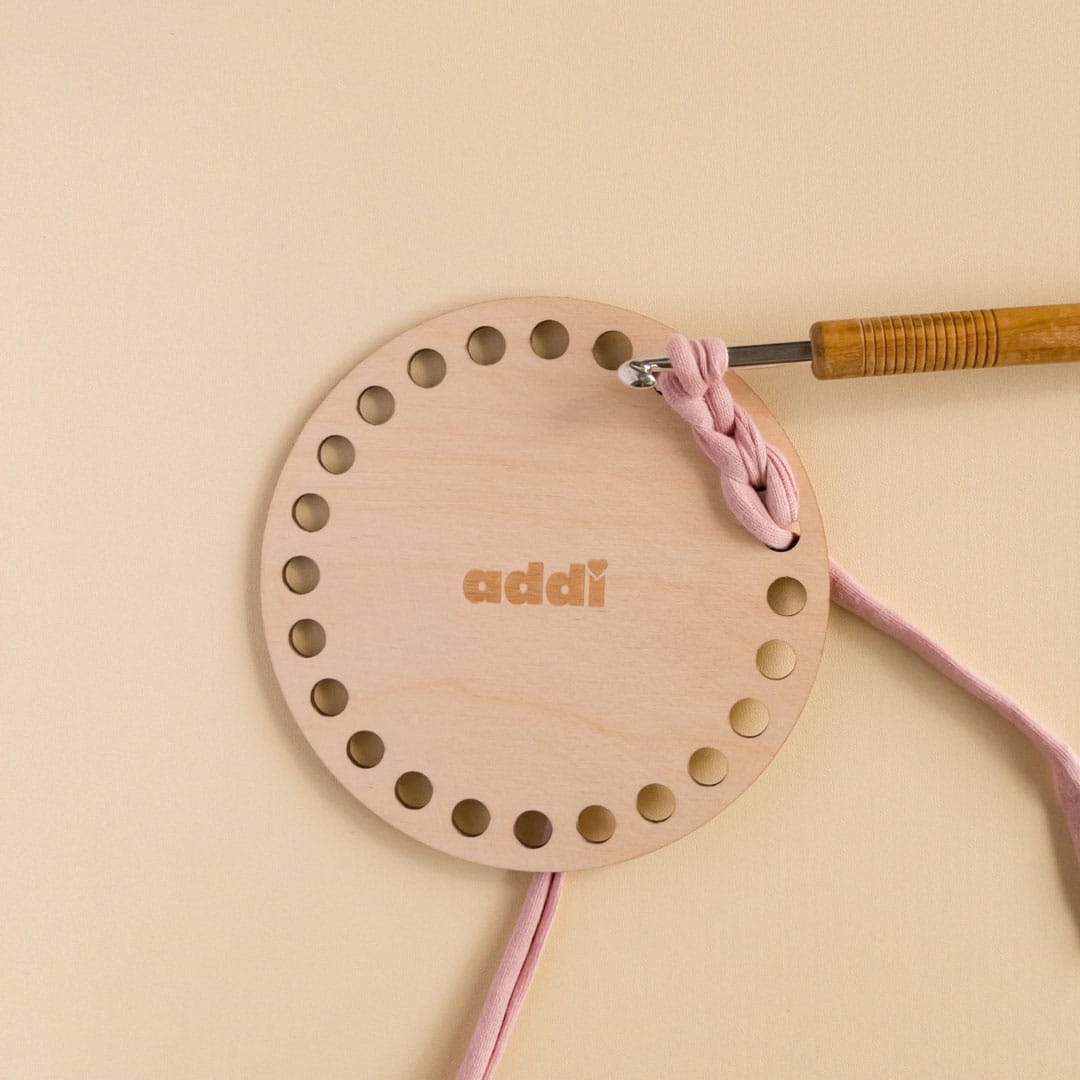
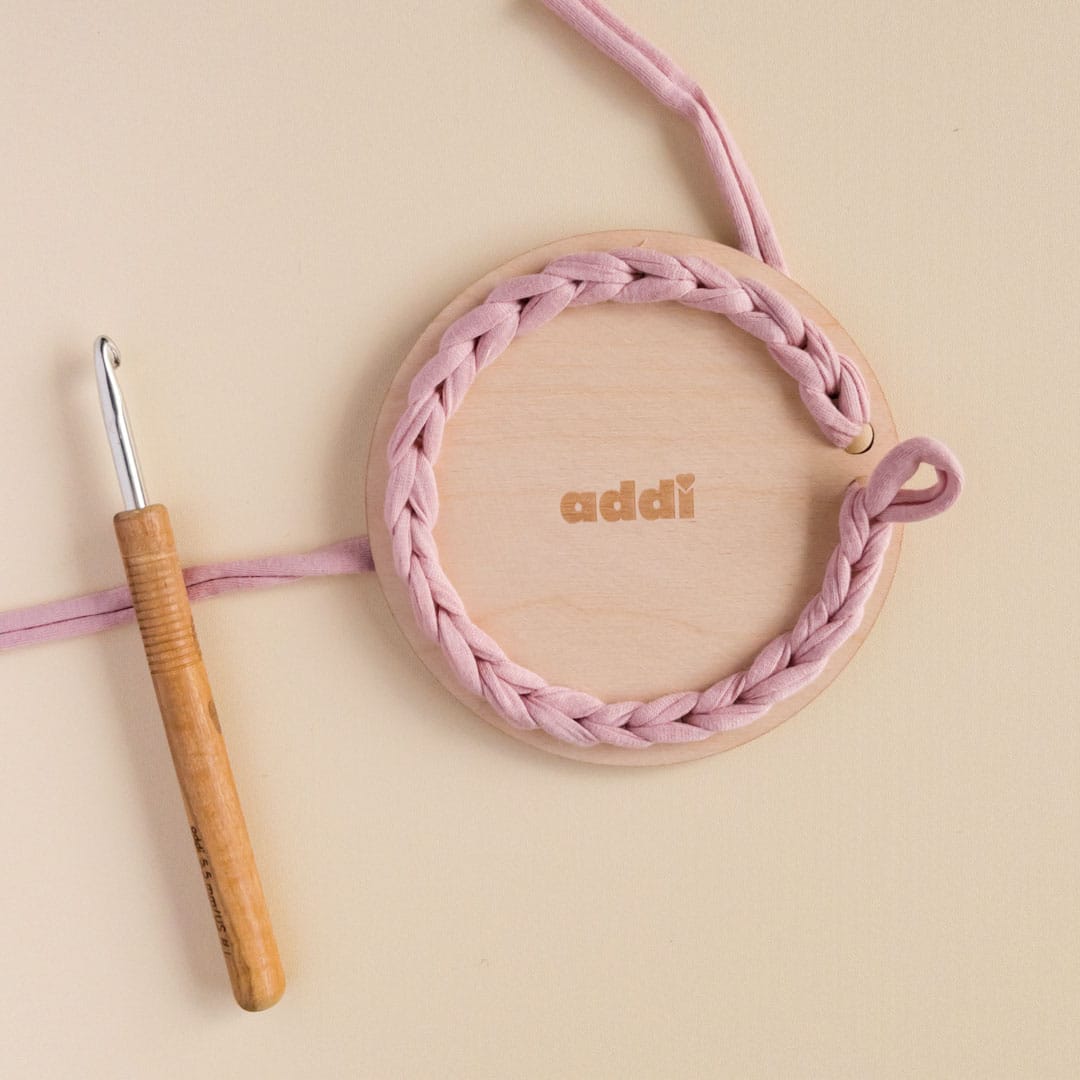
- Work 1 sl st in each hole all around the wooden bottom until only 1 hole is free.
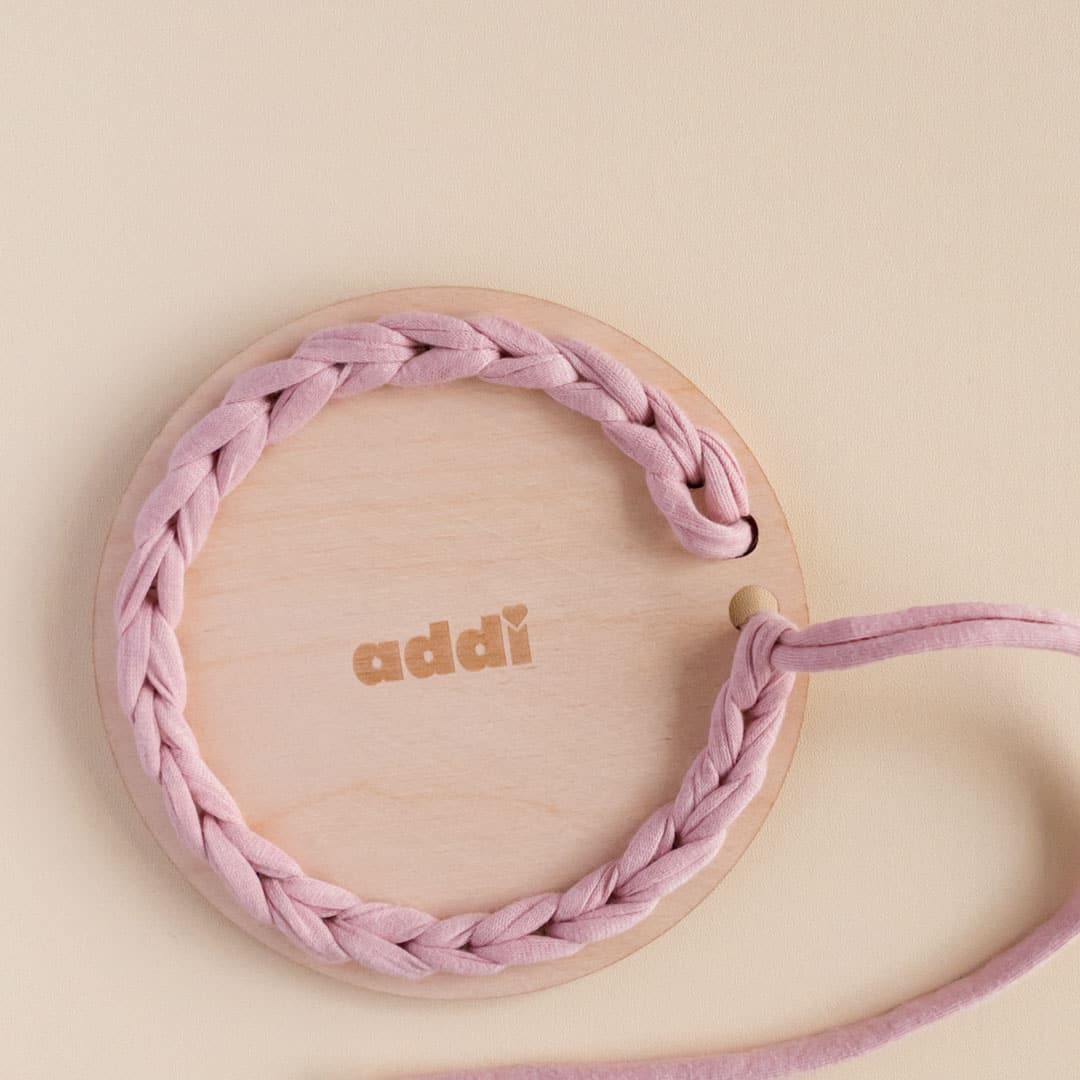
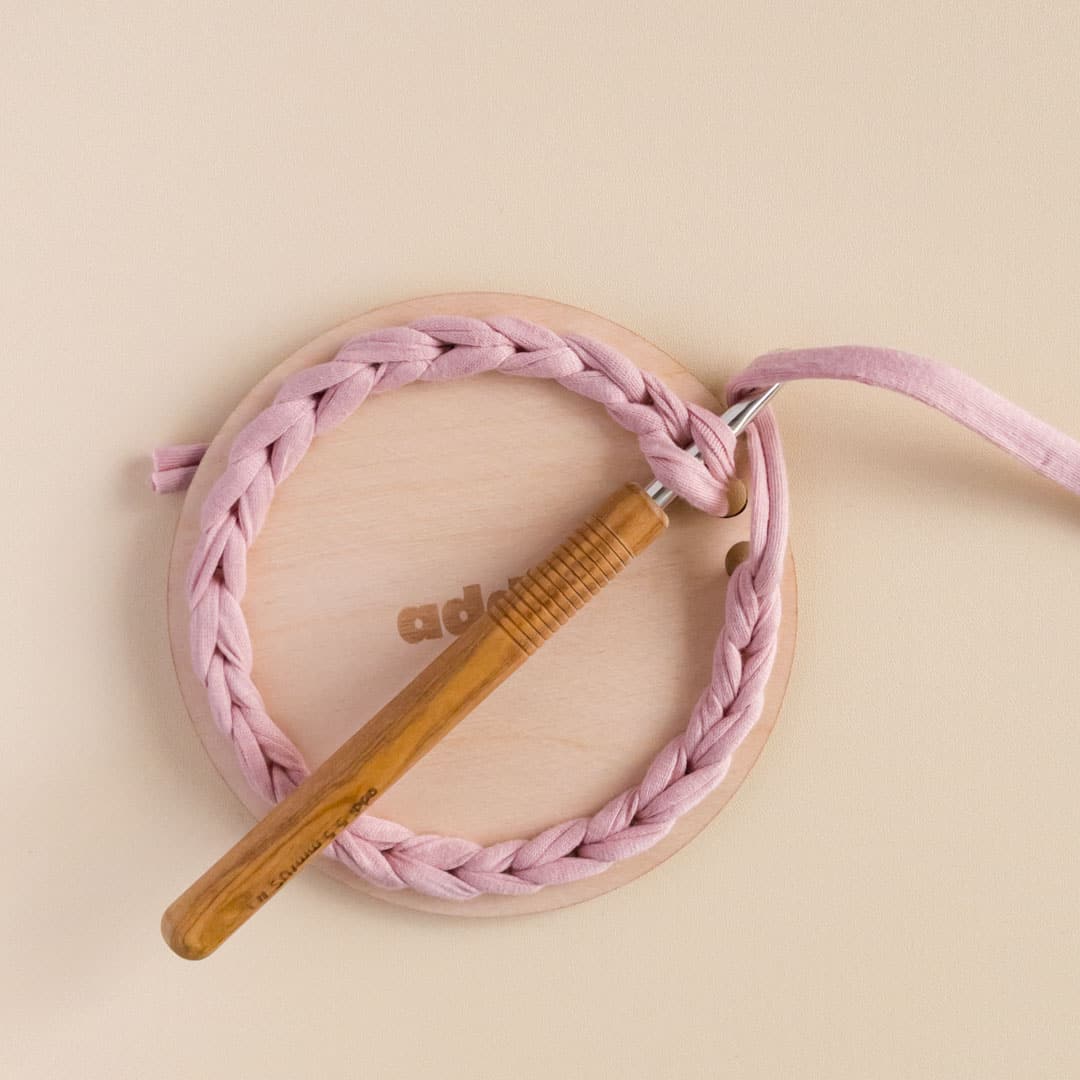
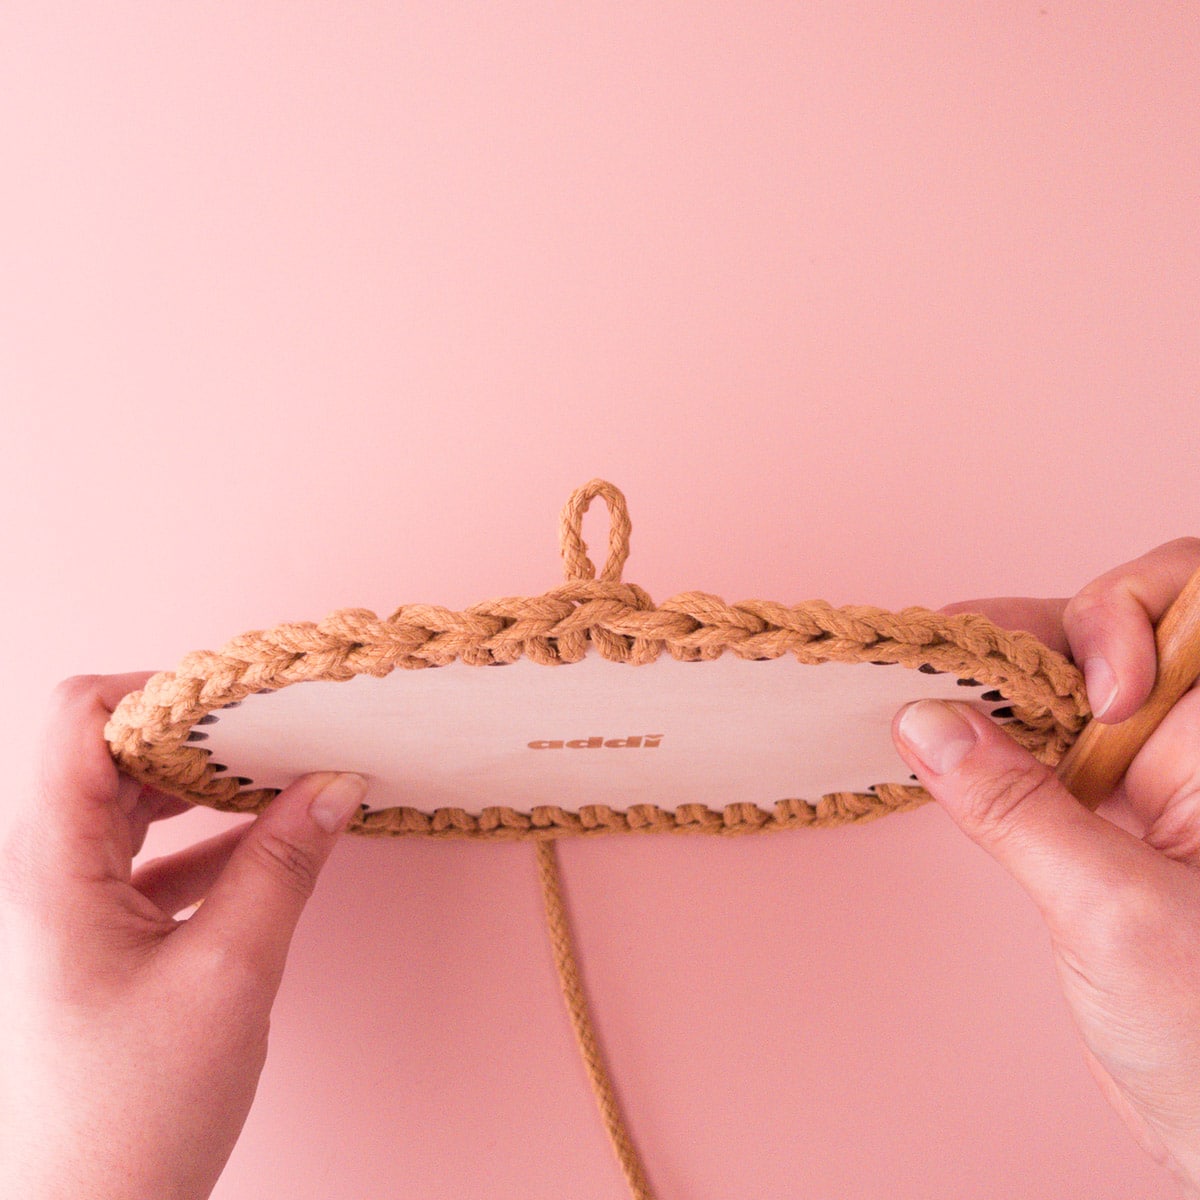
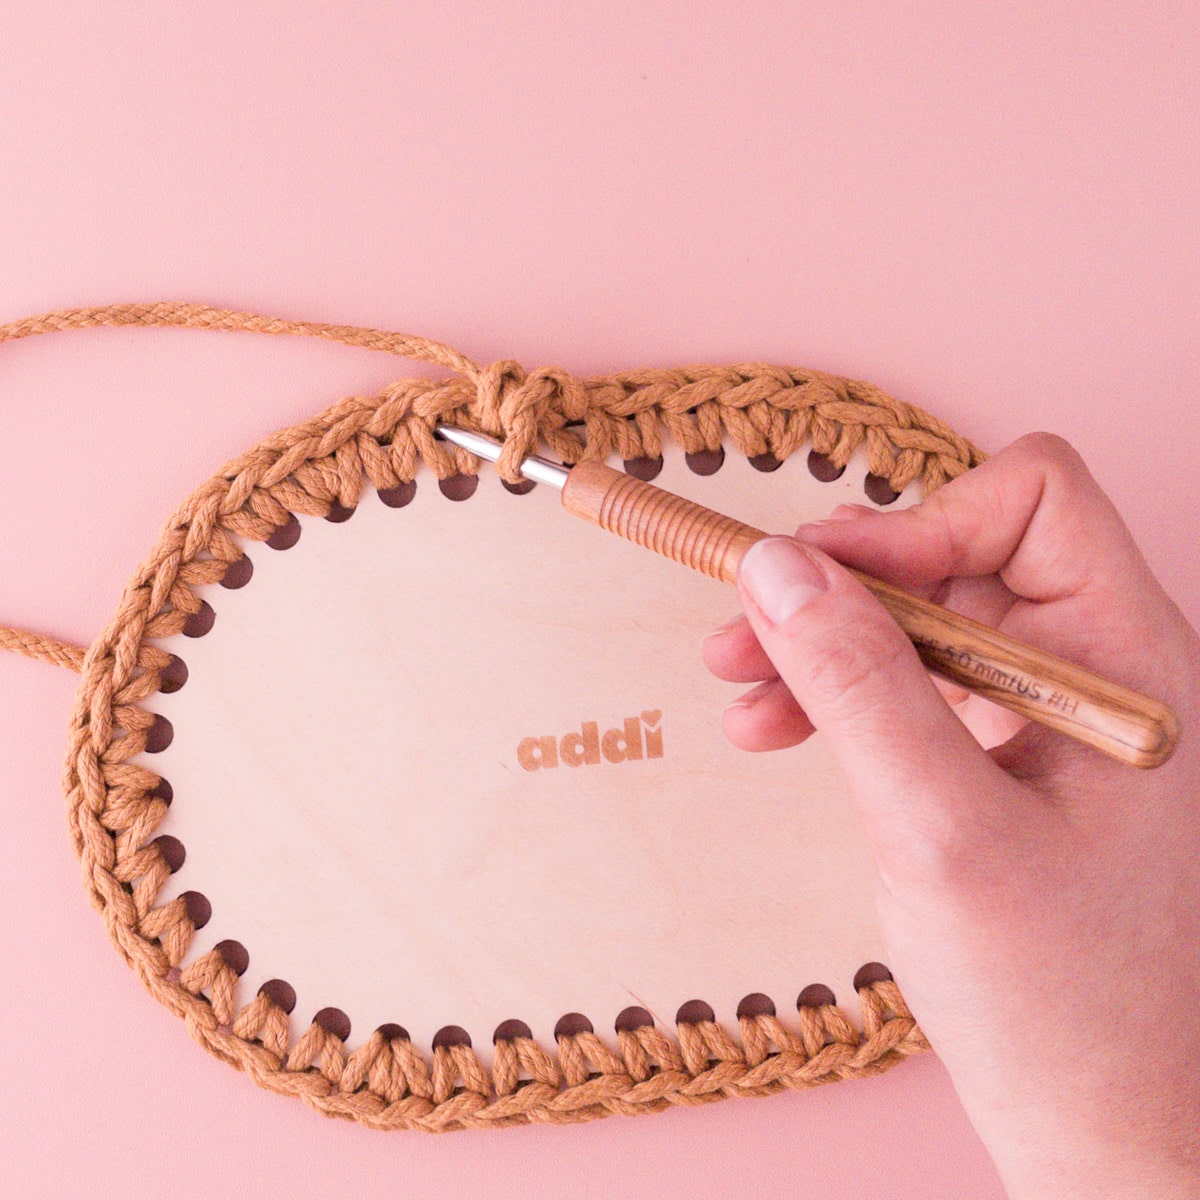
- Pull the crochet hook out of the loop and pass the beginning thread from the bottom through the still free hole + the loop. Now pass the beginning thread through the 1st sl st and back through the loop + the same hole from the top (see photos).
- Now no transition should be visible and a uniform sl st circulation should be formed.
Round 1
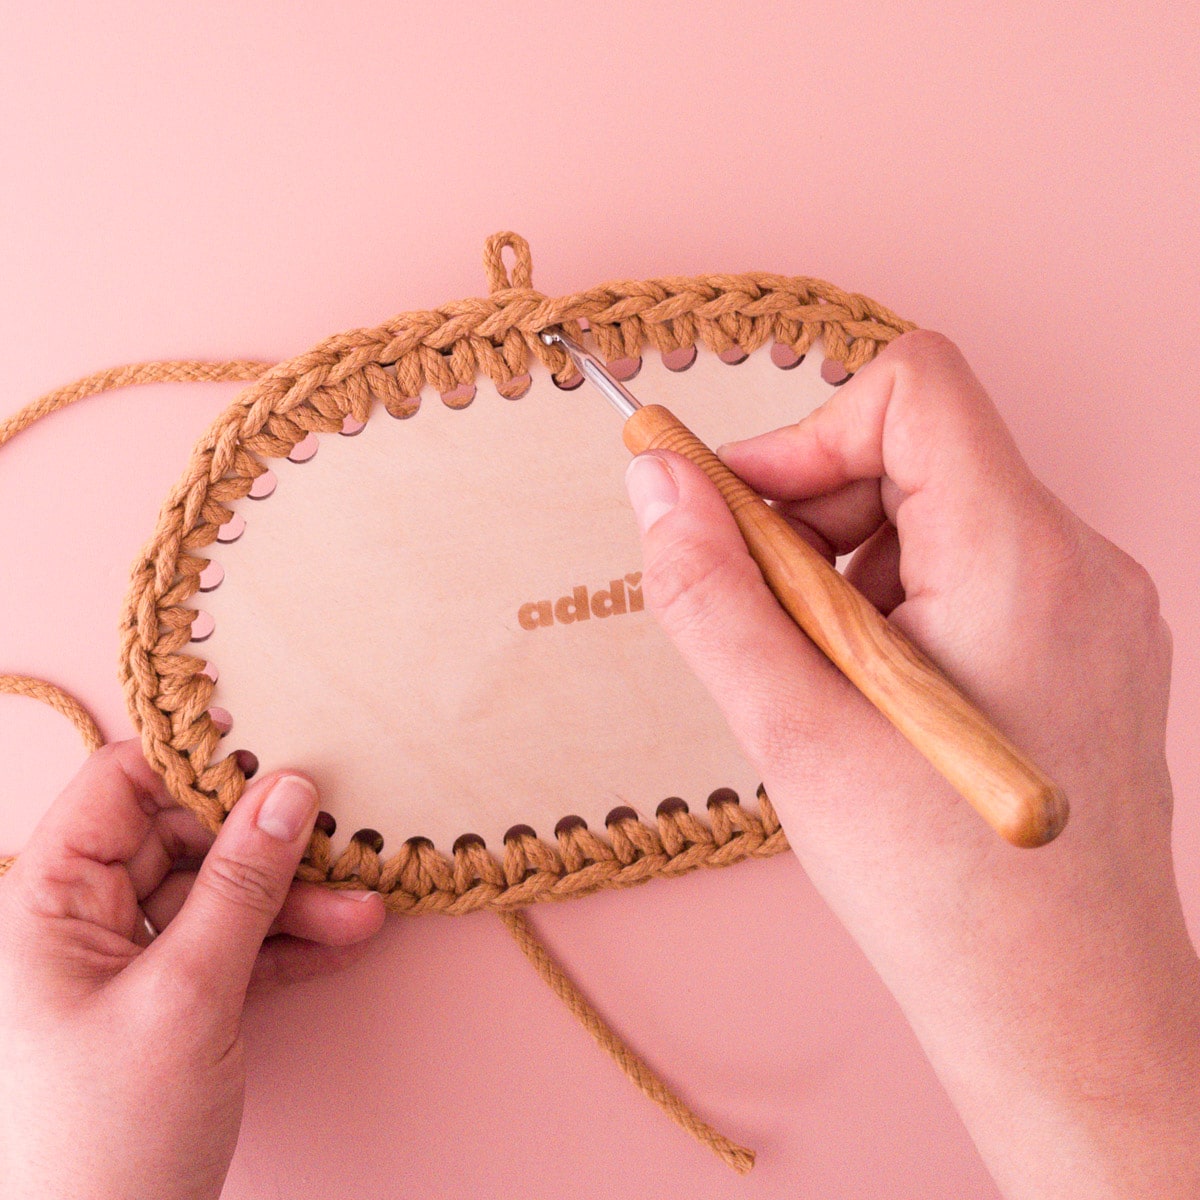
- Now, facing the sl st, draw a loop through the start hole. While doing this, poke through the hole above the sl st each time.
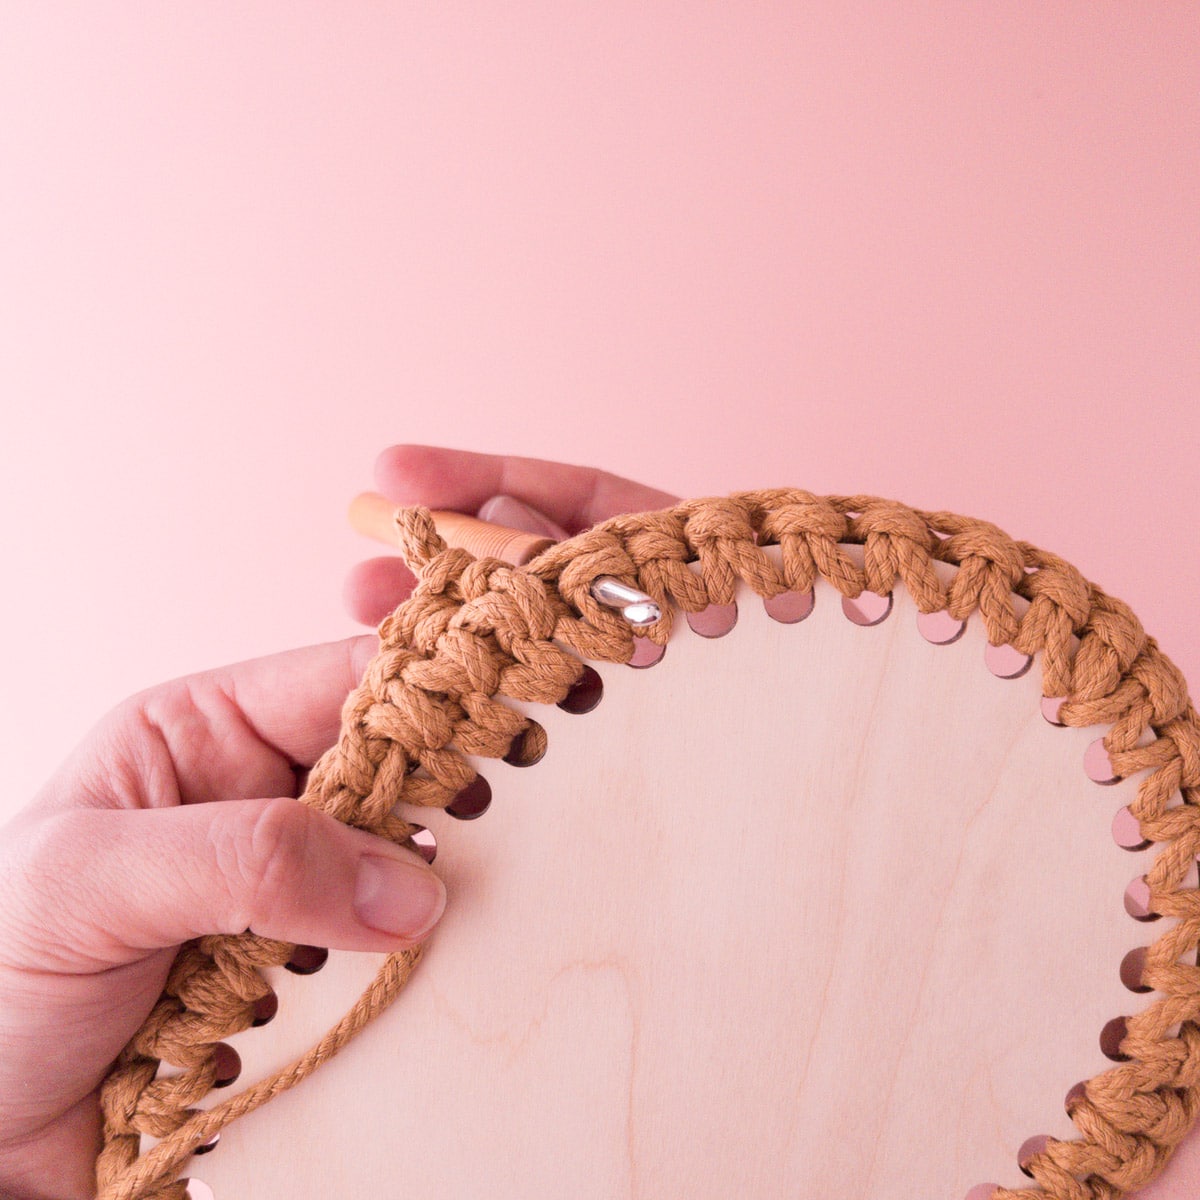
- Now crochet one rnd with sc around the wooden base. This is done by poking through one hole at a time.
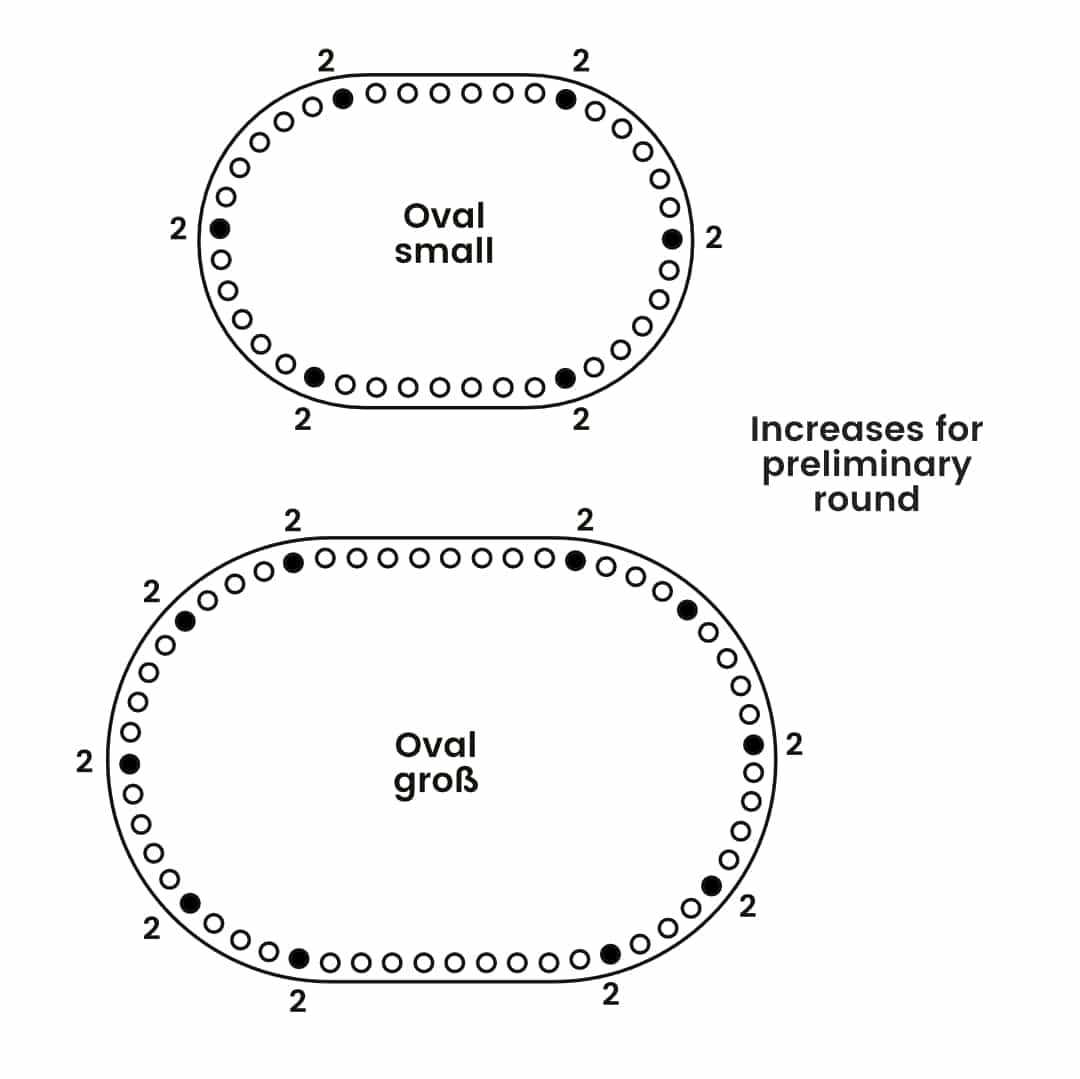
- In order to make the basket straight, the following increases are necessary (inc = crochet 2 sc in 1 hole): evenly inc at each of 5 places in the round as shown in the photo** (= 65 sts in 1st round).
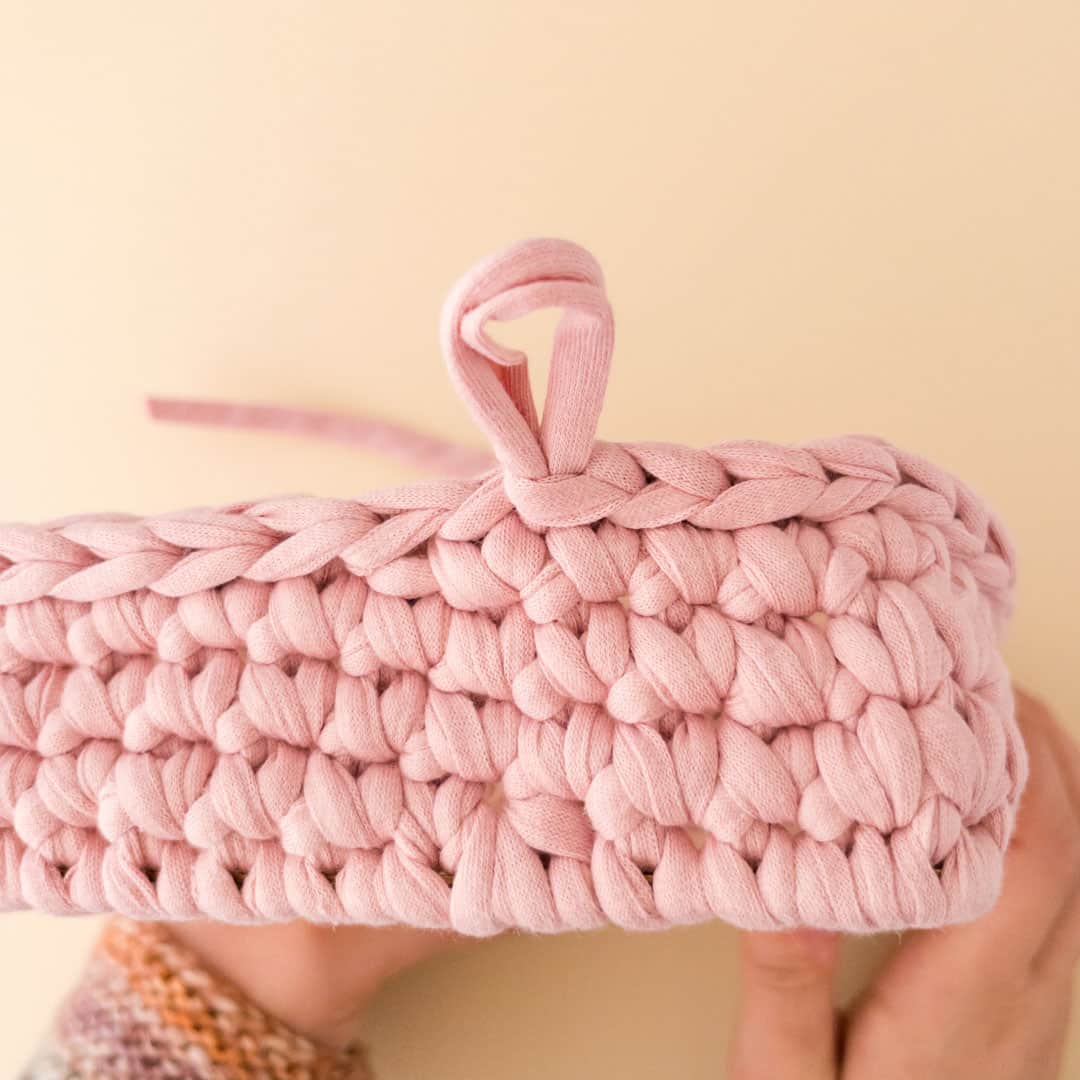
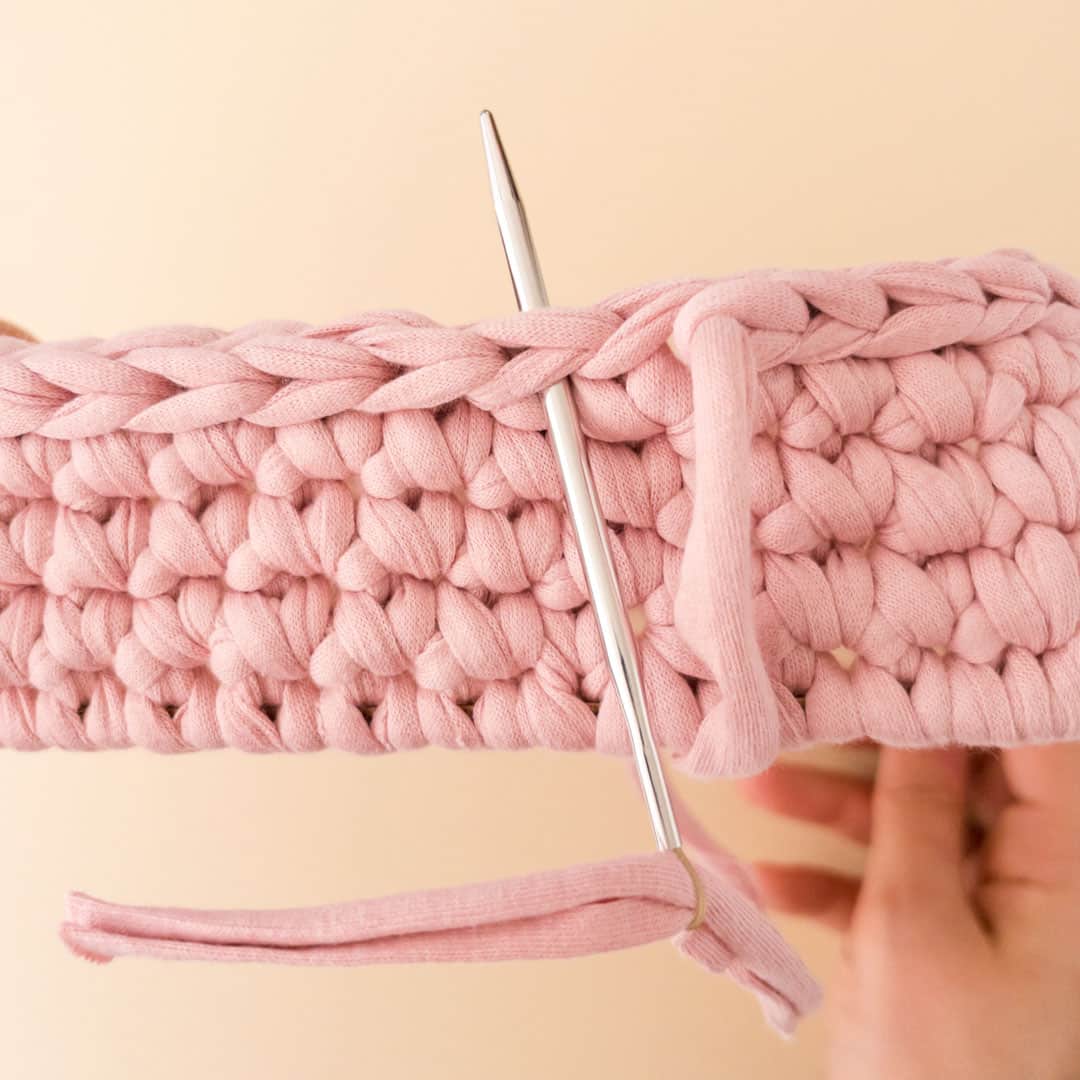
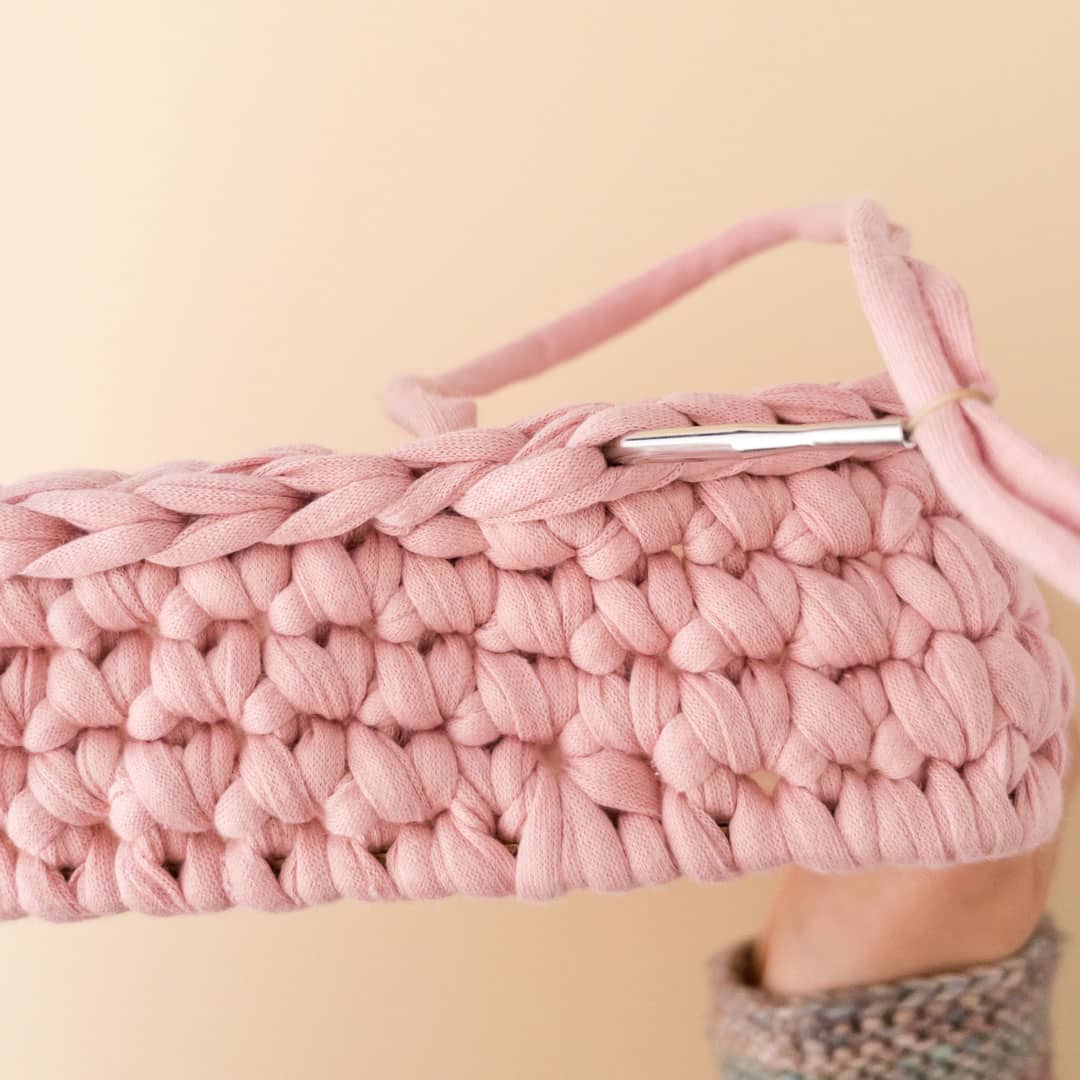
- Make the round transition at the end as usual for knit stitch (see photos next step).
- Note: If the basket bulges inward later, more increases must be crocheted in 1st round. If the basket bulges outward, work fewer increases. Depending on thread tension and crochet strength, this may vary slightly.

Knit stitch
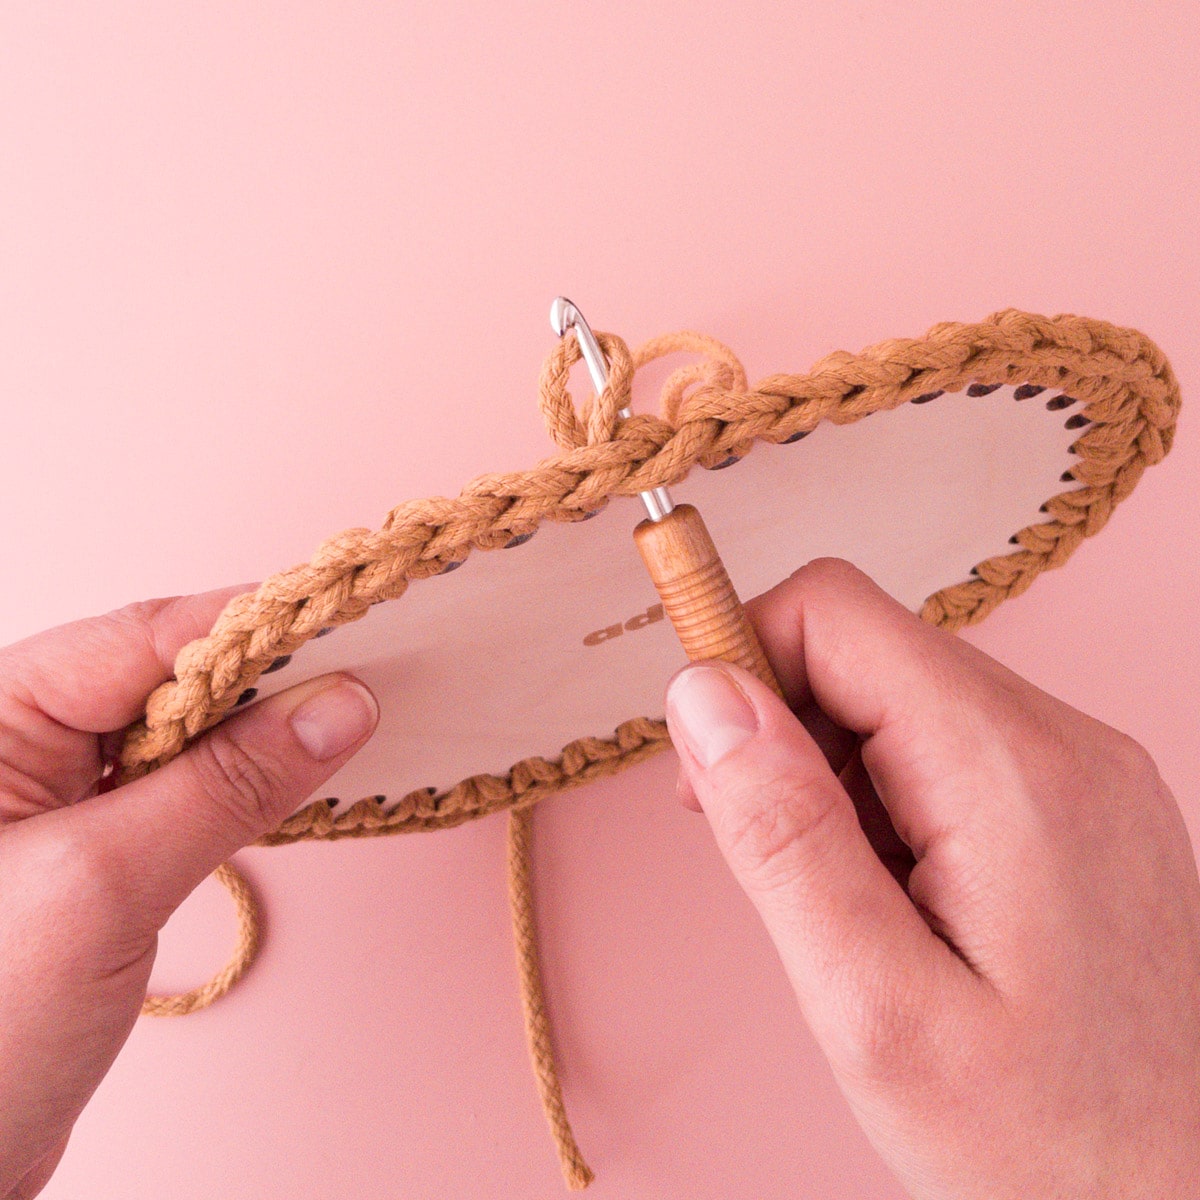
- Now crochet in knit stitch for 2 rnds. Do not stitch into the stitches as usual, but stitch into the center of the “V” of the sc of the previous round (see photos).
- Work the rnd transition as shown in the photos.
Handle-Rounds
- next round: Continue crocheting in knit stitch. Slip 6 sts in the center of each round and crochet 6 ch instead.
- next round: Crochet 1 sl st in each sc and ch (insert normally).
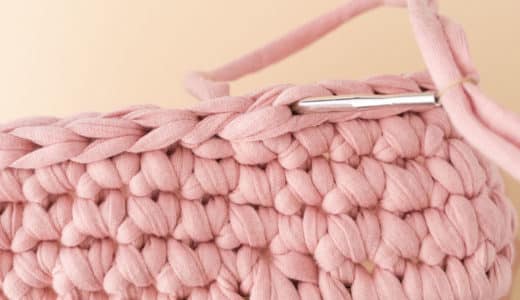
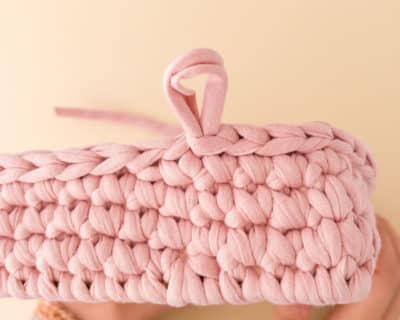
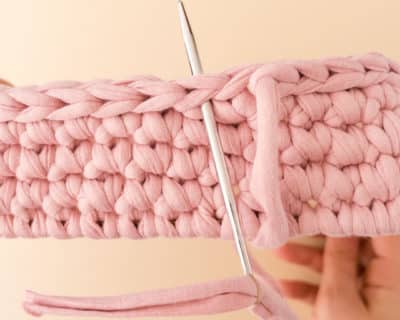
- Complete the last rnd invisibly (see photos) and weave in ends.
Handle-Rounds
- next round: Continue crocheting in knit stitch. Slip 6 sts in the center of each round and crochet 6 ch instead.
- next round: Crochet 1 sl st in each sc and ch (insert normally).
- Complete the last rnd invisibly (see photos) and weave in ends.
