Double macramé hanging baskets with addiShapes
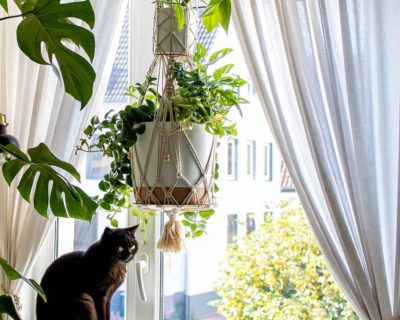
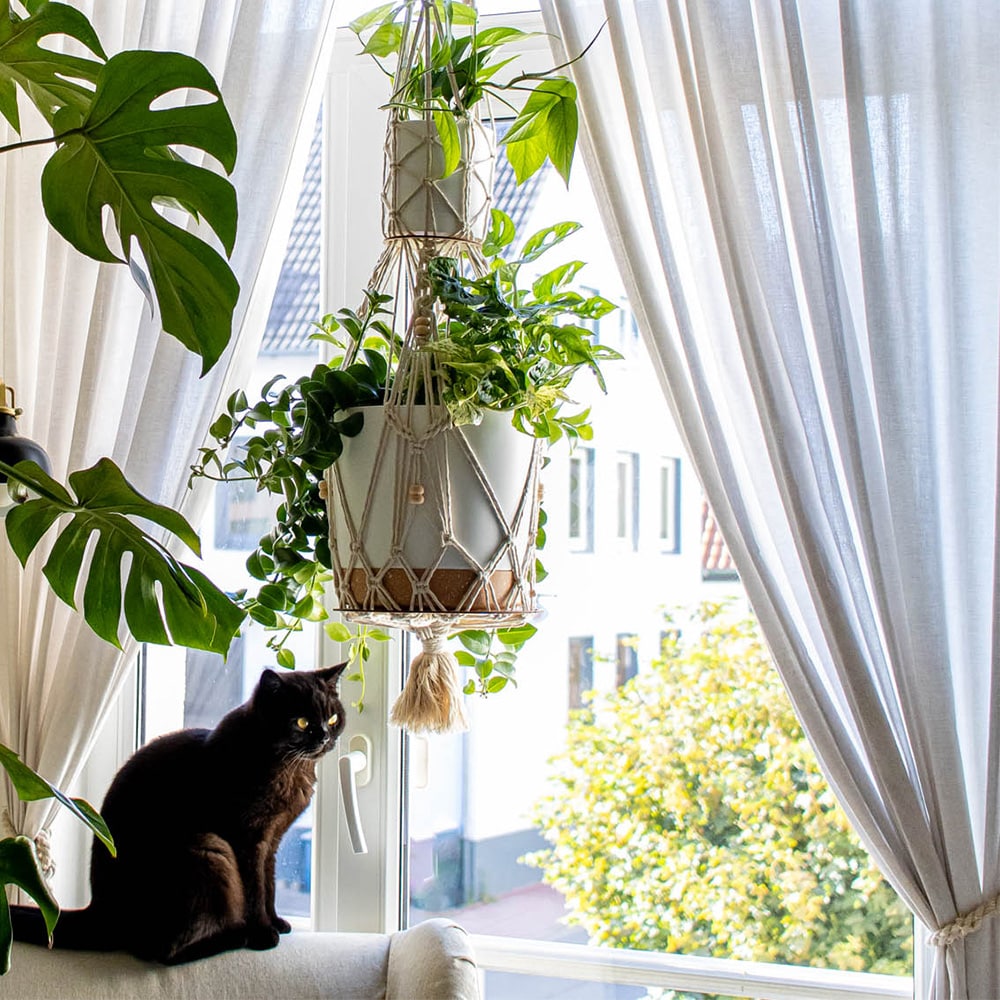
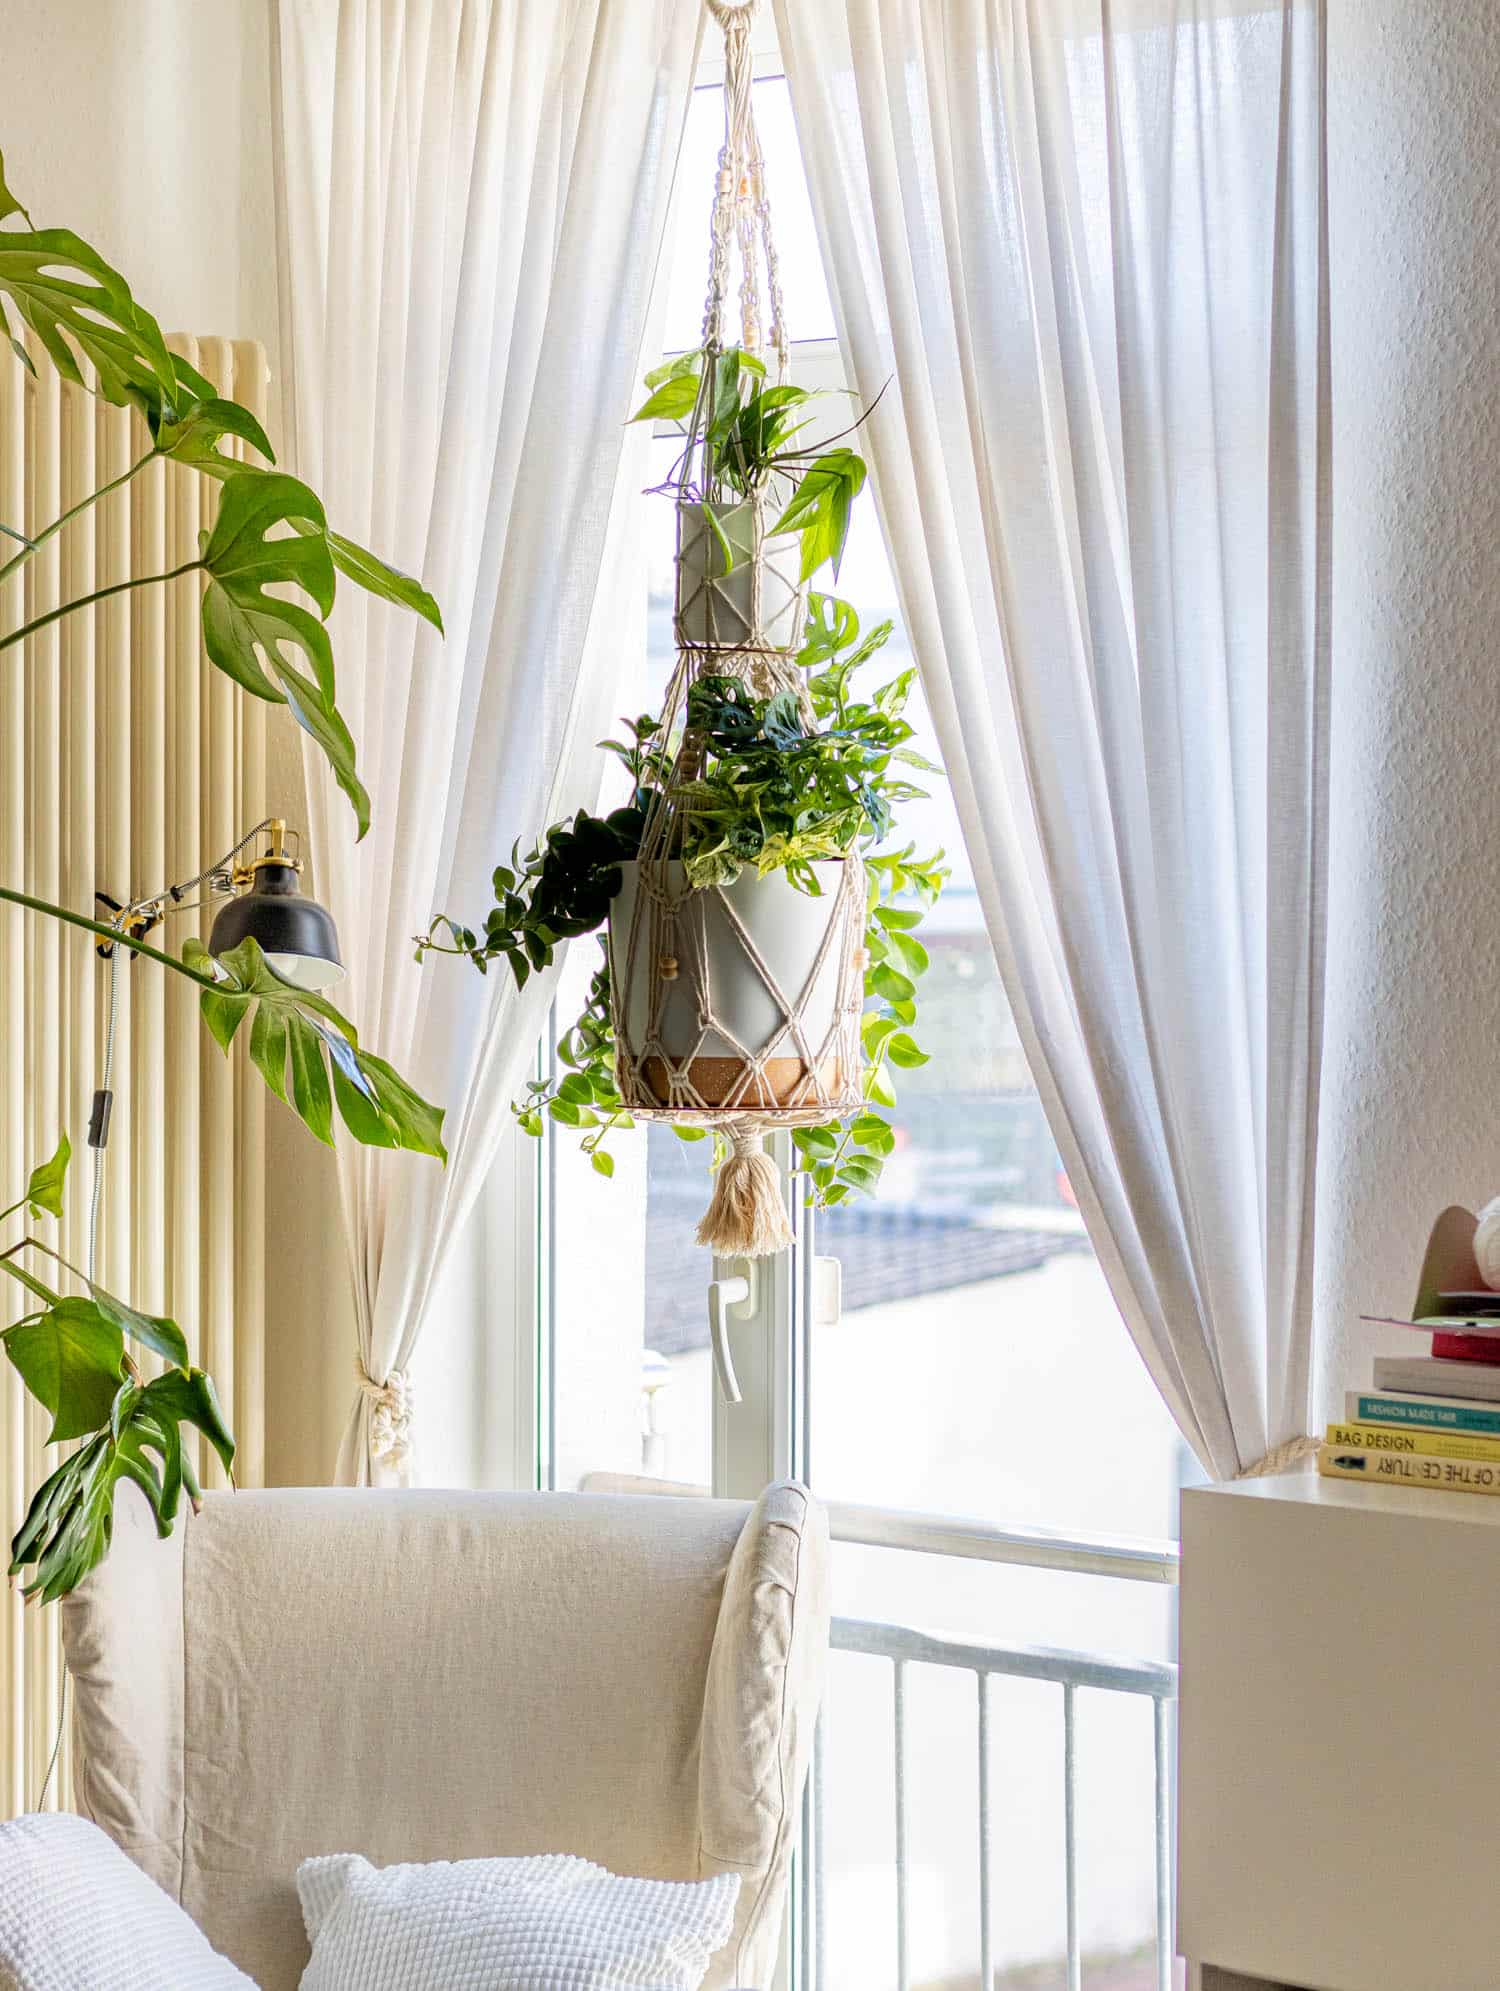
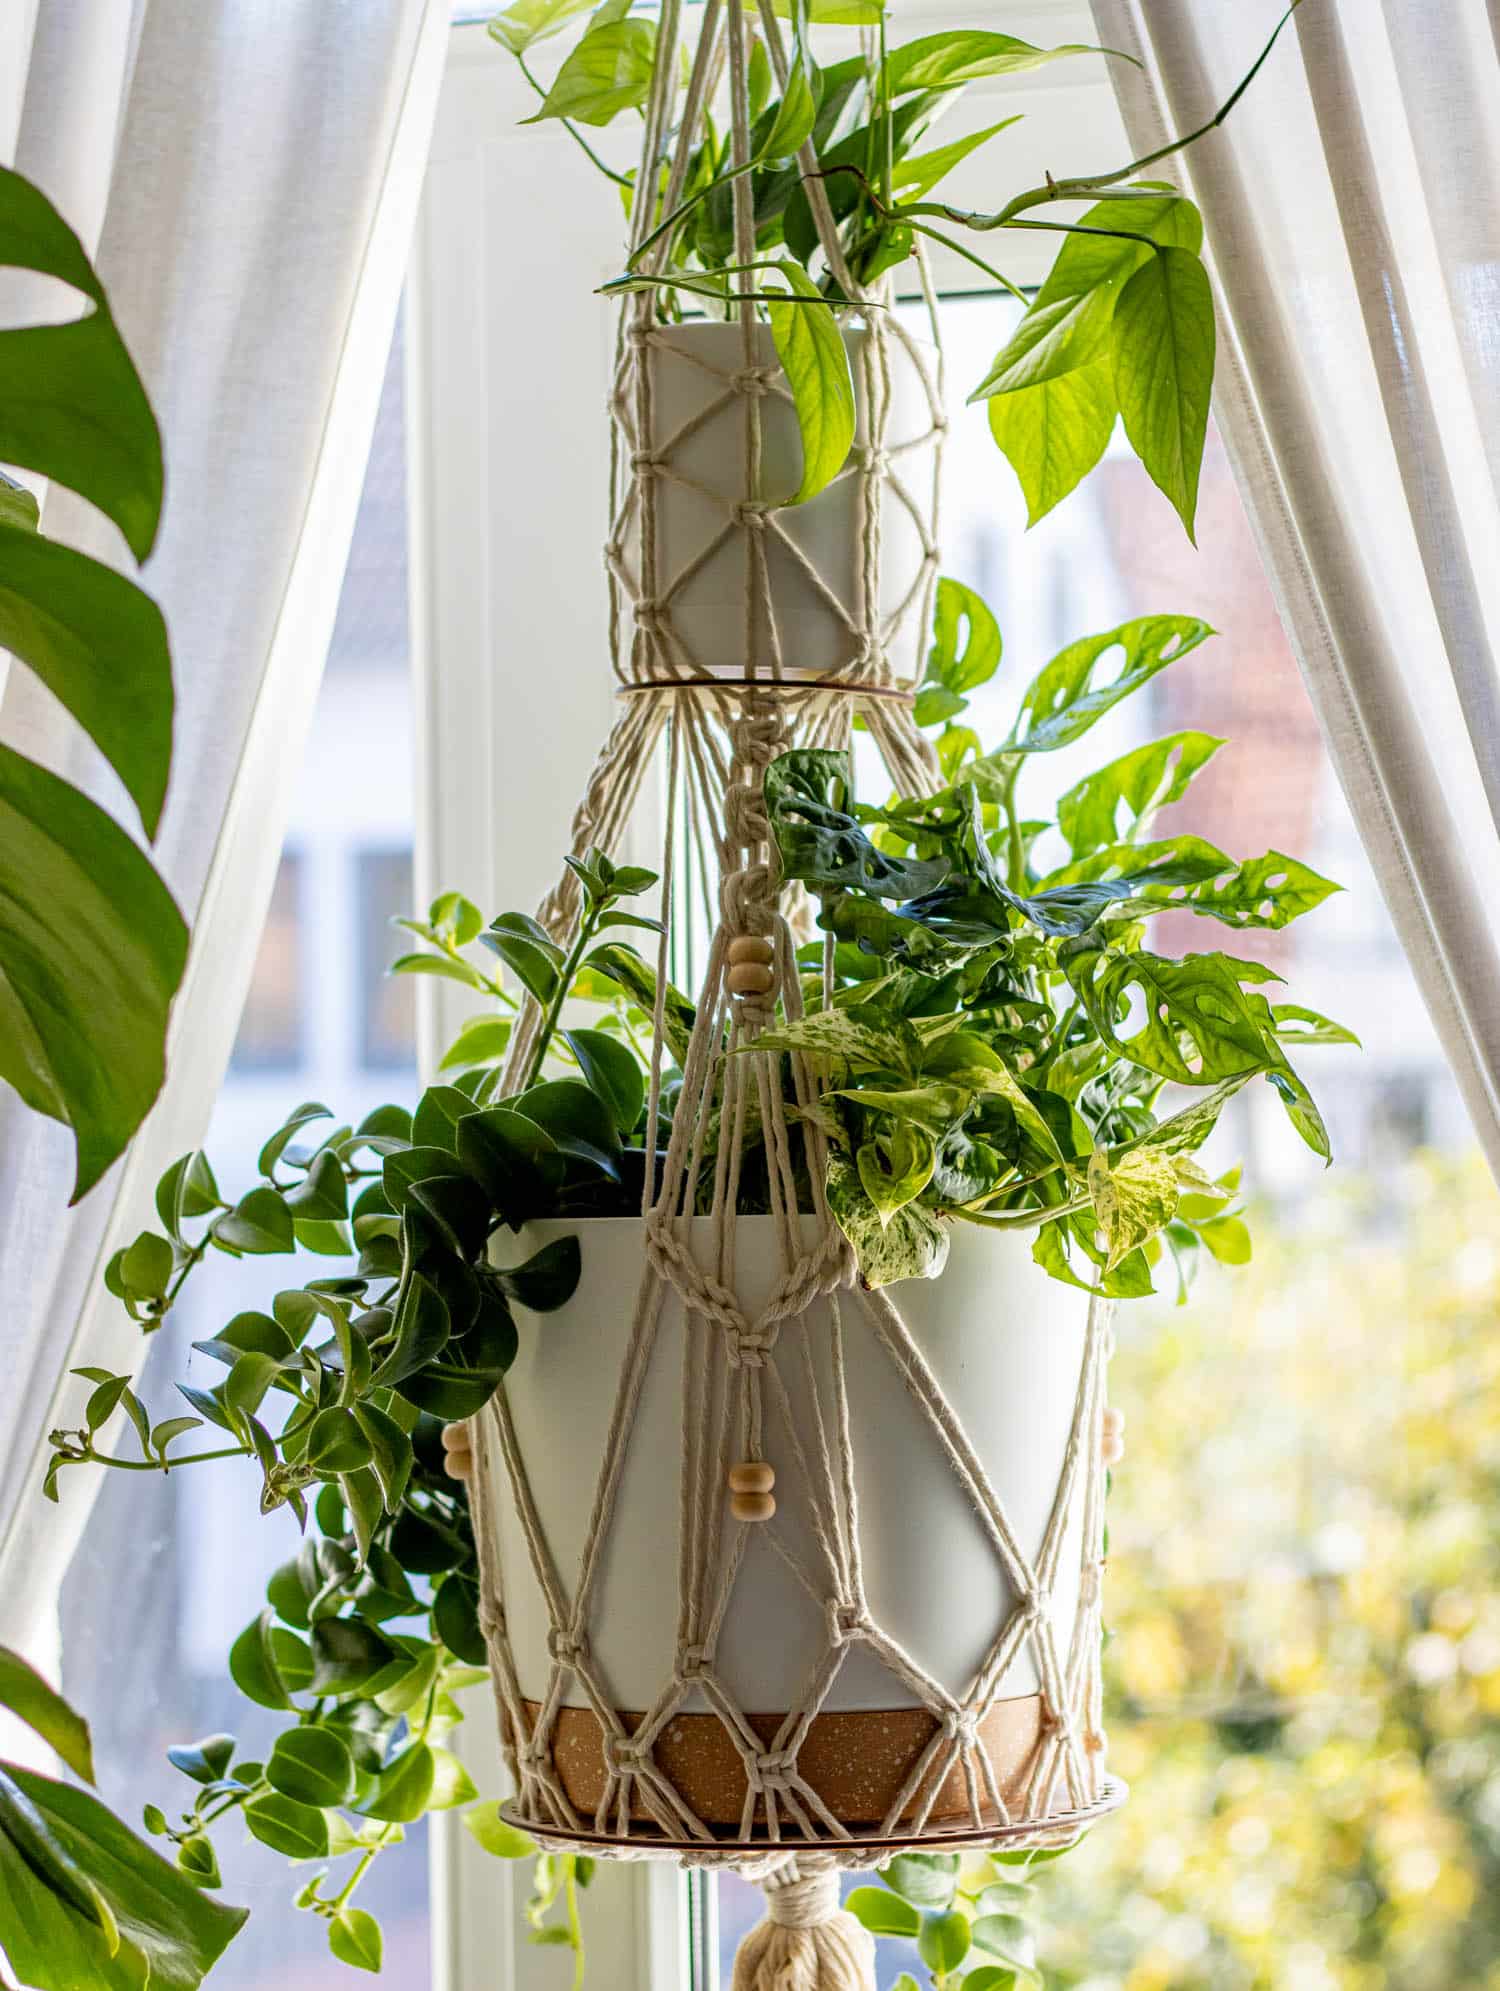
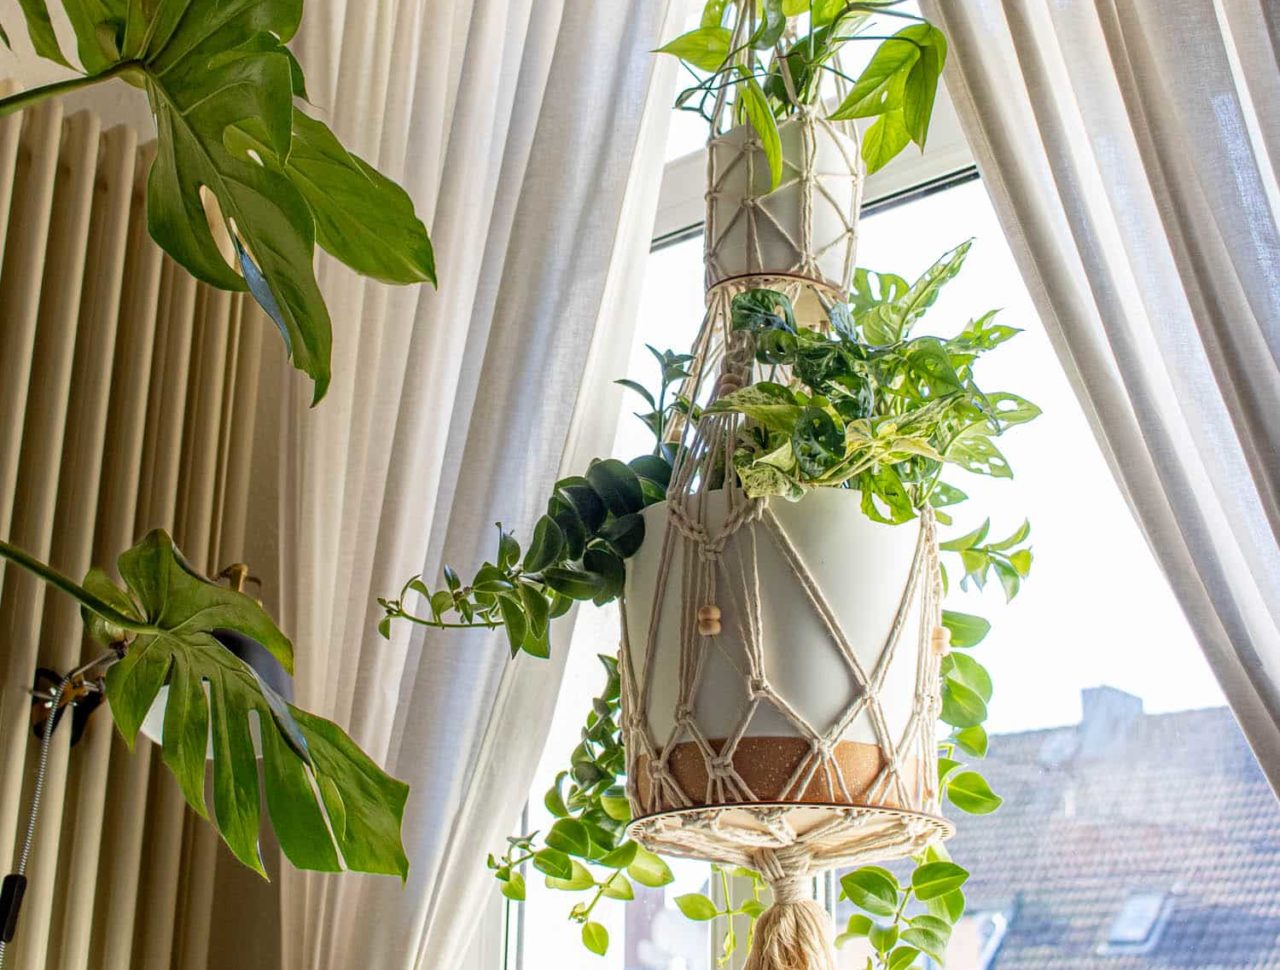
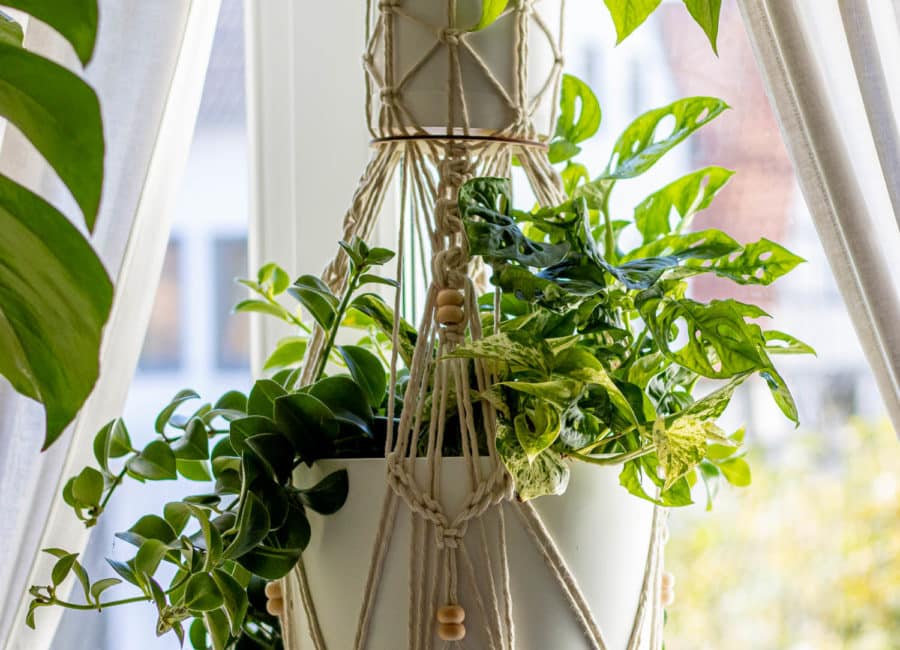
The hanging basket is the classic macramé pattern - with the addiShapes basket bases, you can now interpret it completely new!
Two round bases, yarn and a few macramé beads make beautiful home decorations in a cozy boho style - pssst: the double macramé hanging basket with basket bases also makes a great hanging basket for yarn and your favorite addi needles!
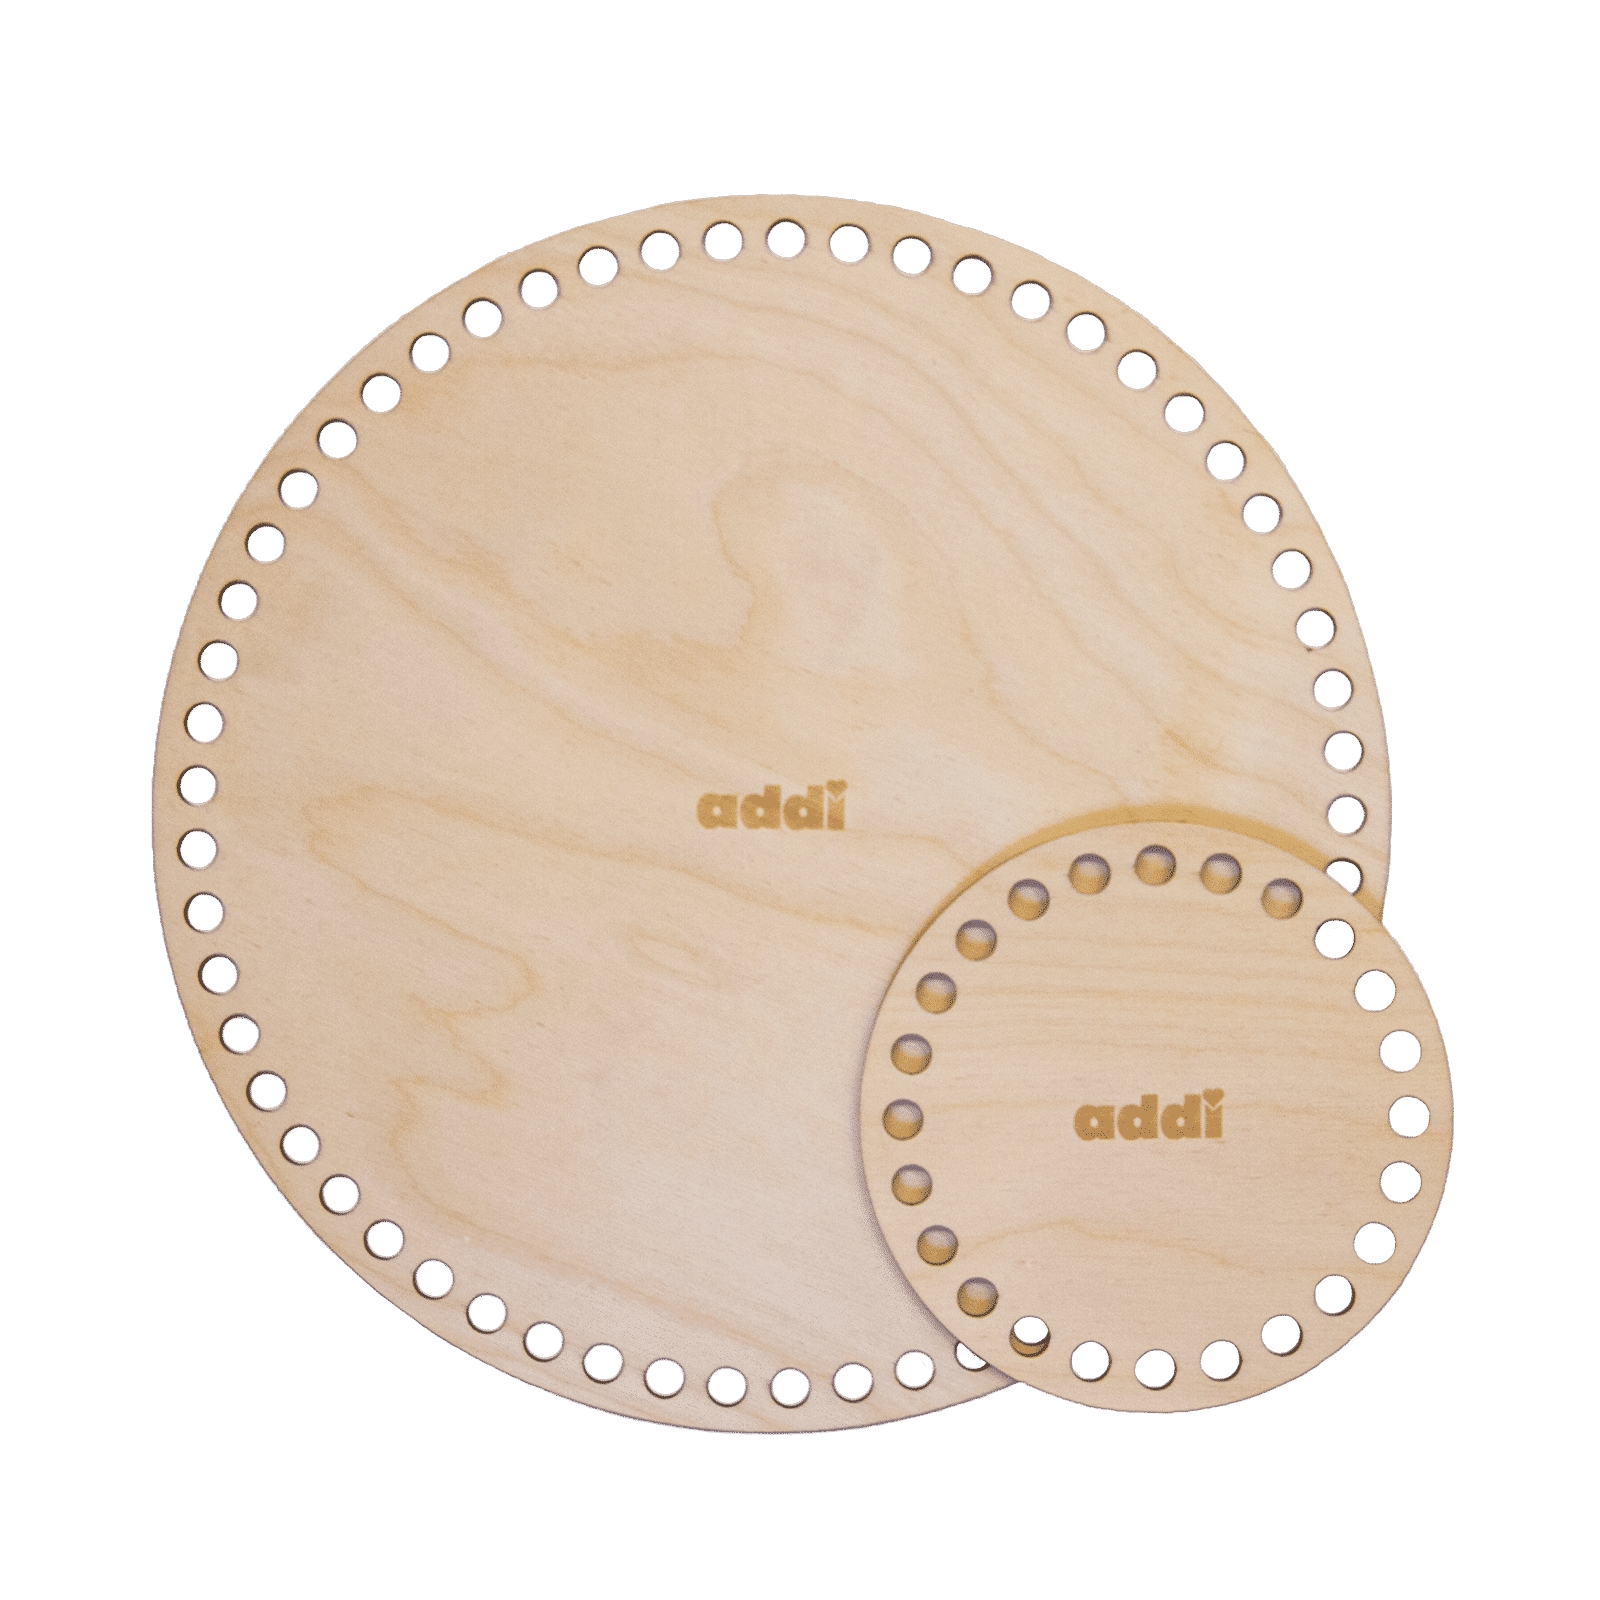
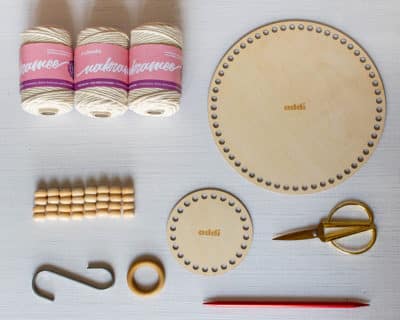
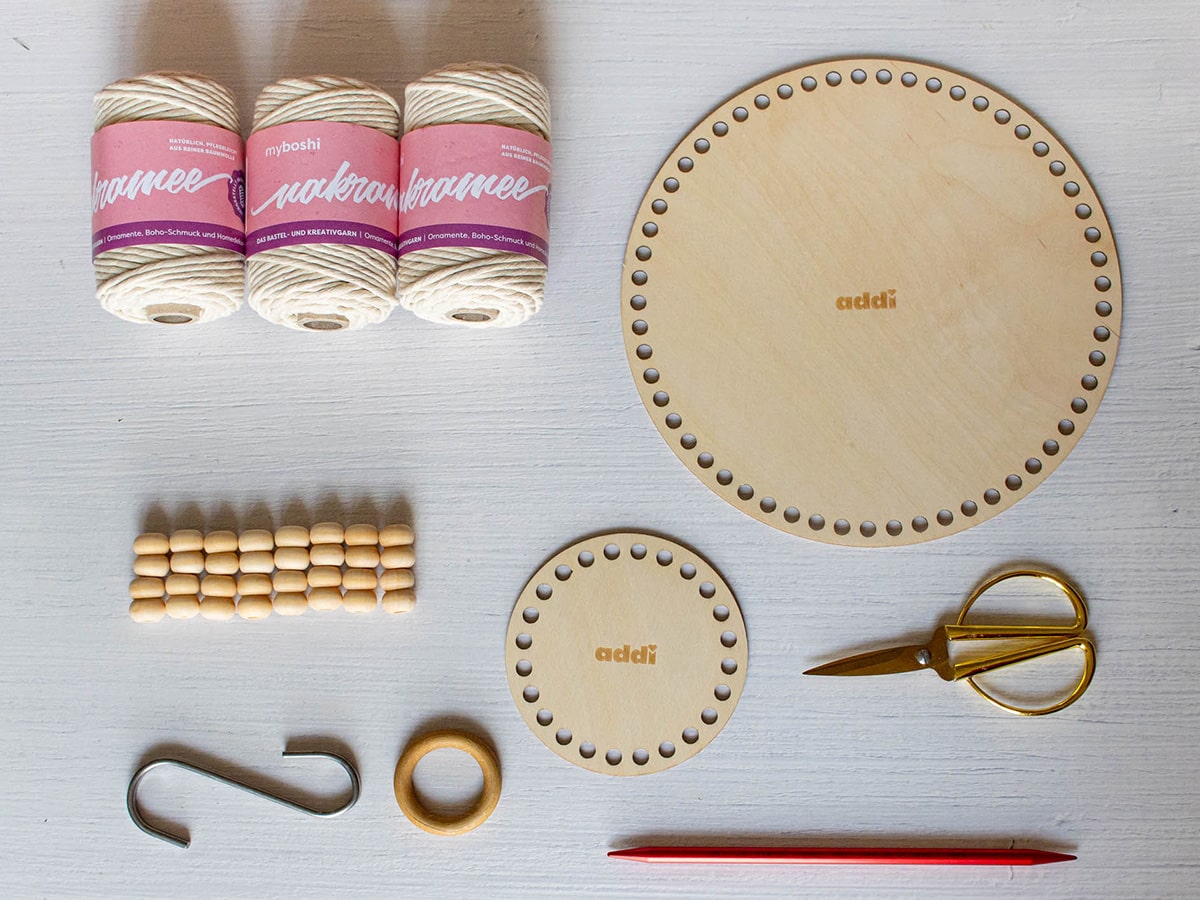
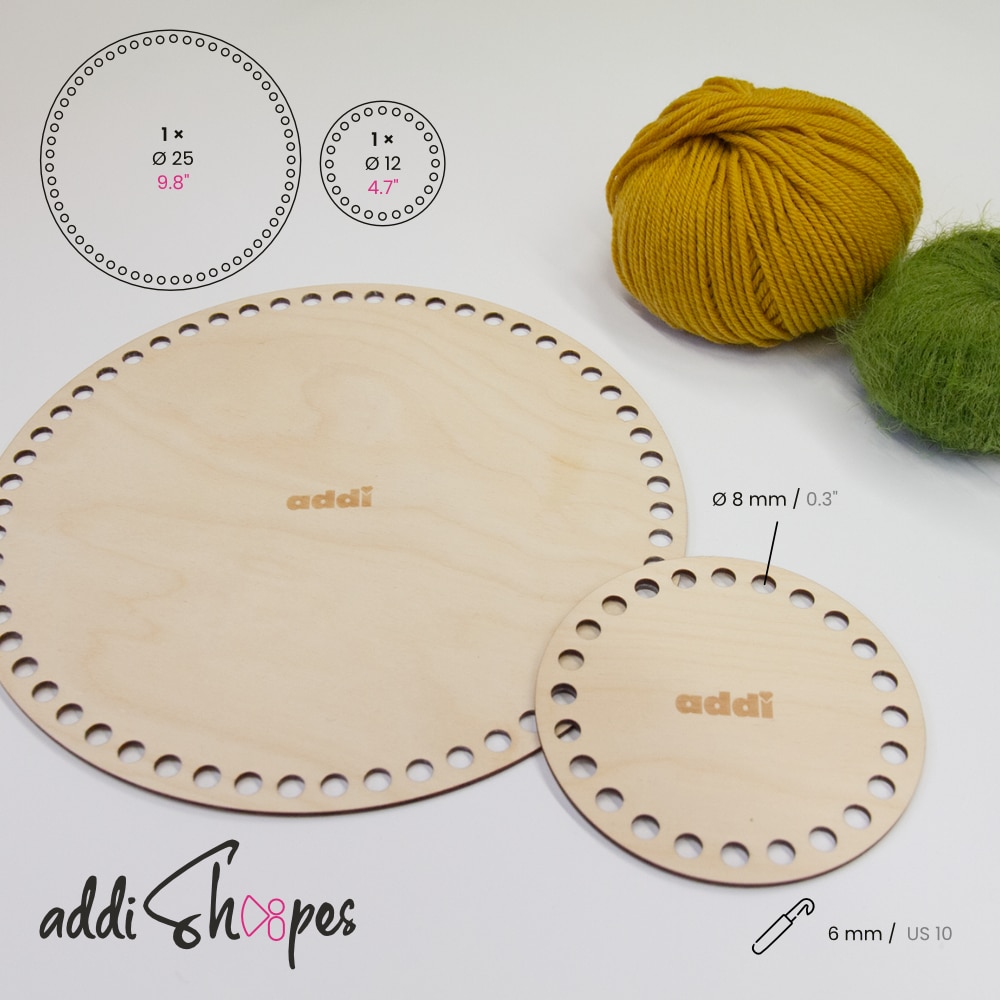
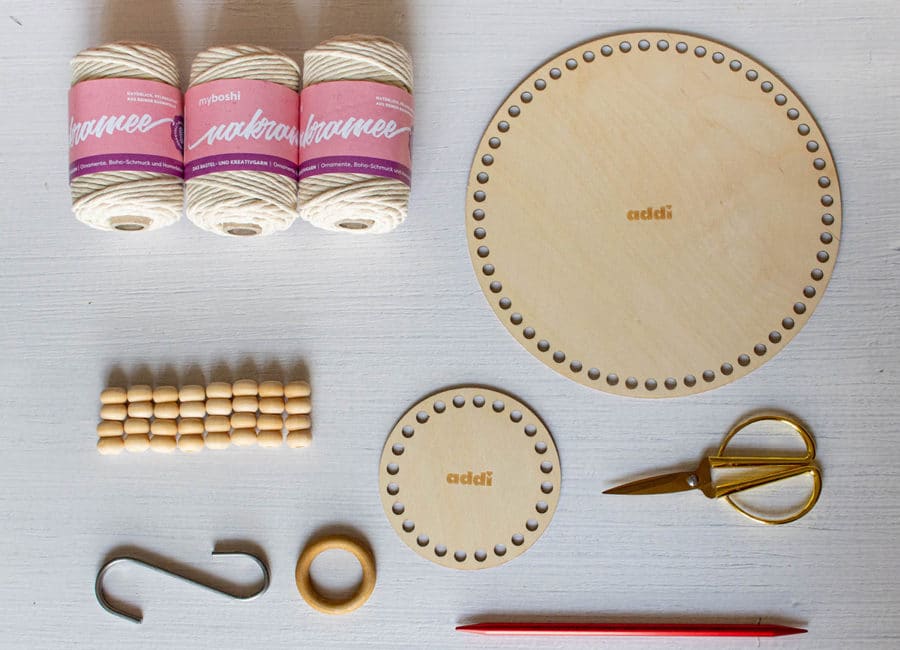
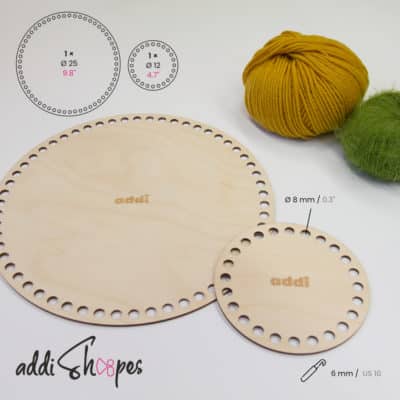
- 1 × set addiShapes Circle
- myboshi Makramee plied (natural color)
- 16 × macramé beads, e.g. from Rico design
- 1 × Holzring mit 4 cm Innendurchmesser z.B. Gardinenring aus dem Baumarkt
- 1 × wooden ring with an inner diameter of 4cm/1.6in, e.g. curtain ring from the DIY store
- 1 × flower pot with an outer diameter of 28cm/11in
Tools:
- Scissors
- Scotch tape
- S-hook
- darning needle
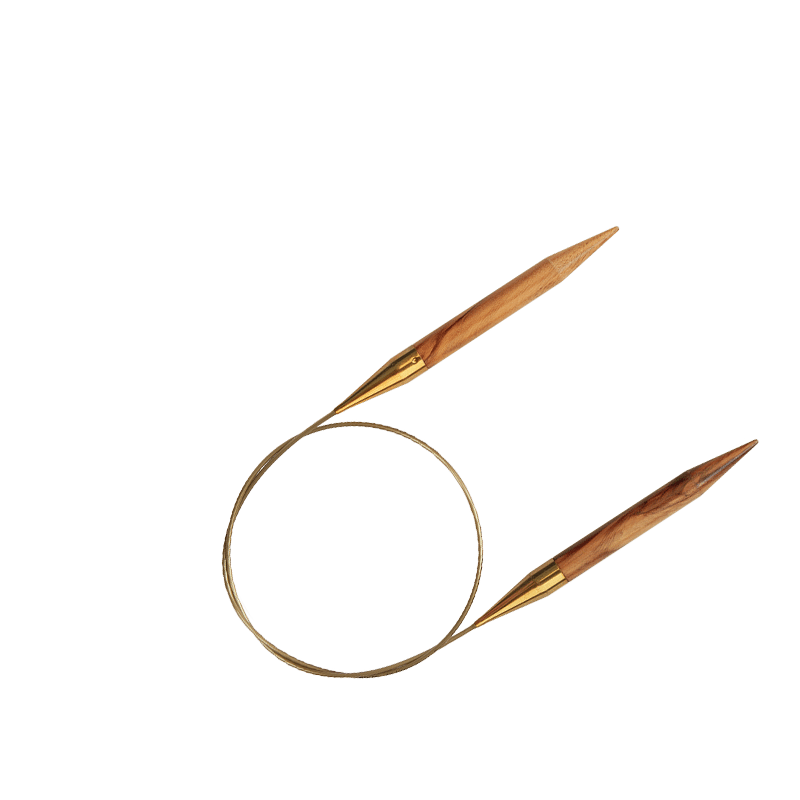
- 2 × 8mm knitting needles, e.g. addiColibri
- Measuring tape
- Comb
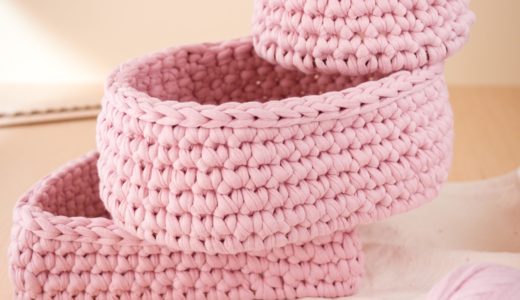
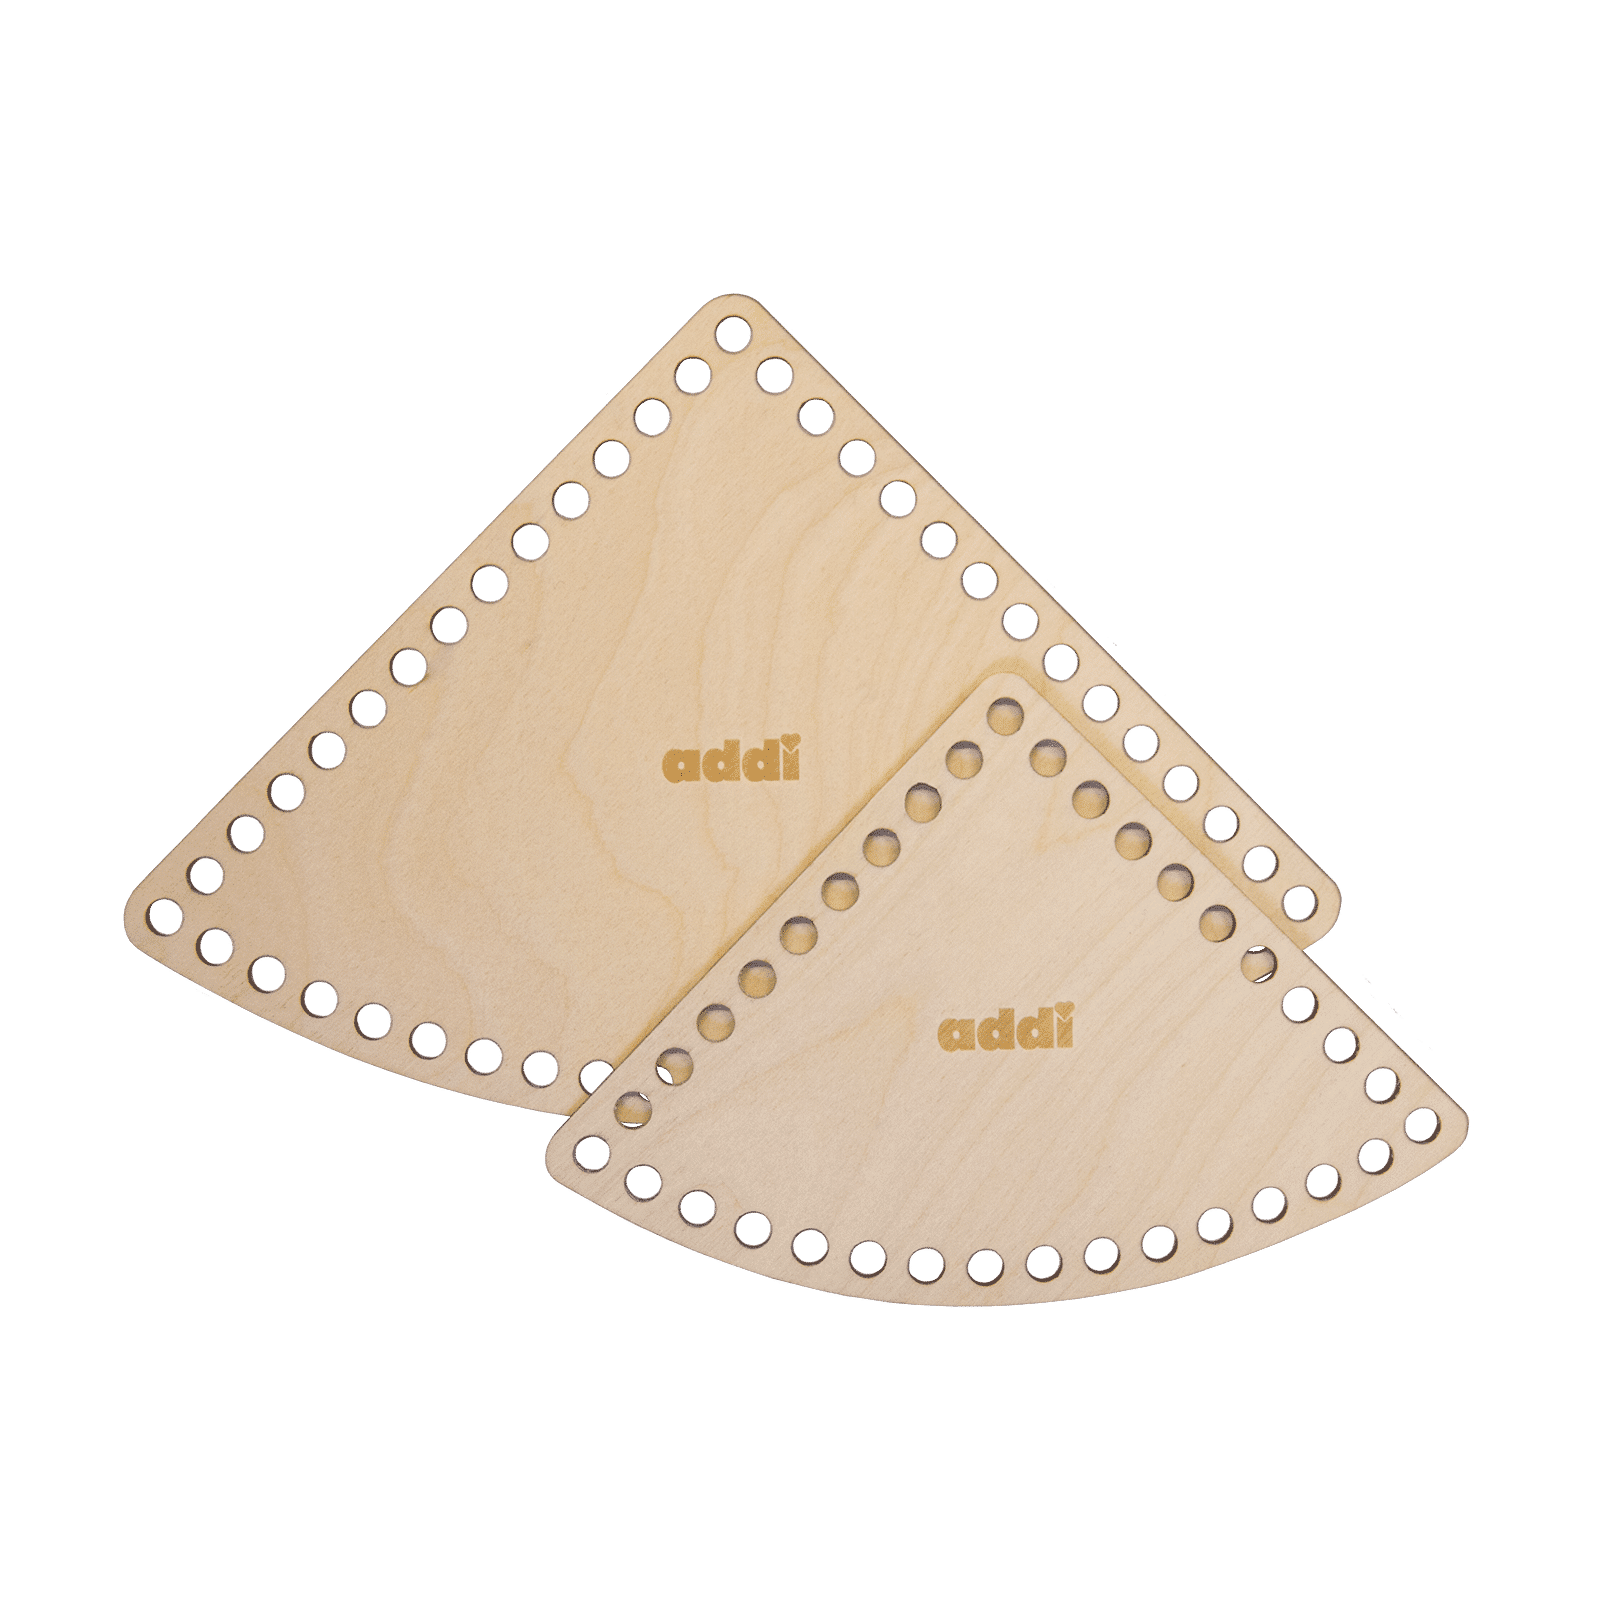
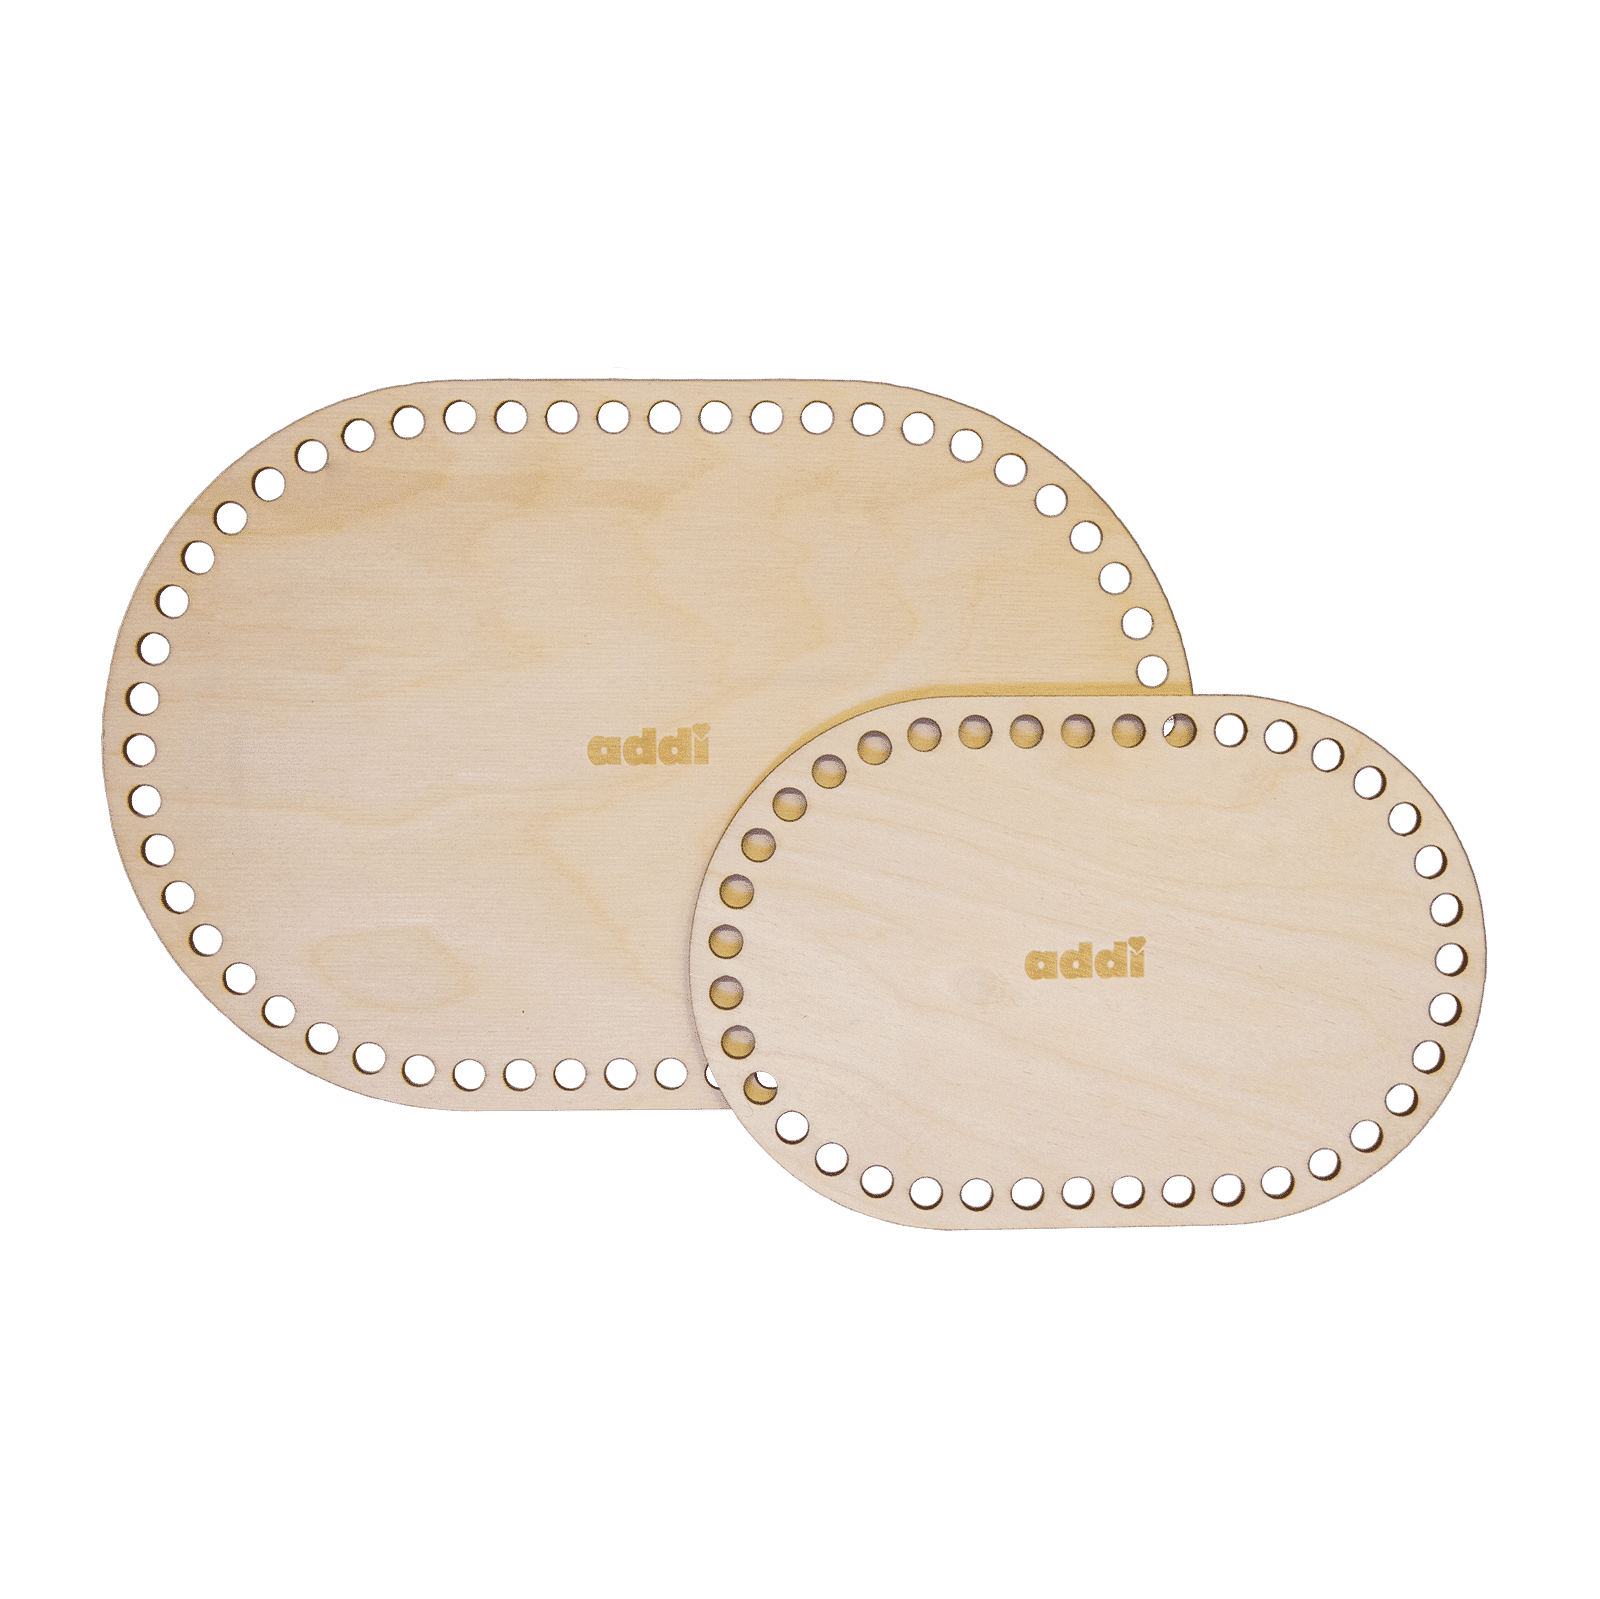
The birch wood basket bases can not only be crocheted and made into baskets or bags. The set consisting of a large and a small base also makes a beautiful double macramé hanging basket.
You can find out how to do this and how the basic macramé knots work in these instructions.
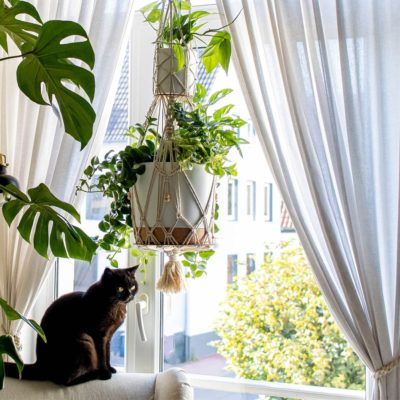
The birch wood basket bases can not only be crocheted and made into baskets or bags. The set consisting of a large and a small base also makes a beautiful double macramé hanging basket.
You can find out how to do this and how the basic macramé knots work in these instructions.
1. Base nodes
The double hanging basket contains 2 basic knots, which are used in different ways: right and left-leaning half hitches and left-leaning square knots. The cords are divided into holding cords (cords that are looped around by the knot) and working cords (cords that are looped around another cord in the knot). Instead of a holding cord, a ring or bar can also be wrapped with knots.
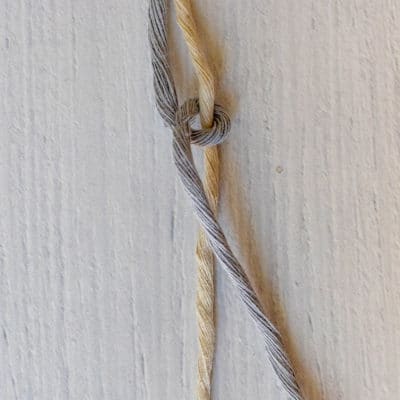
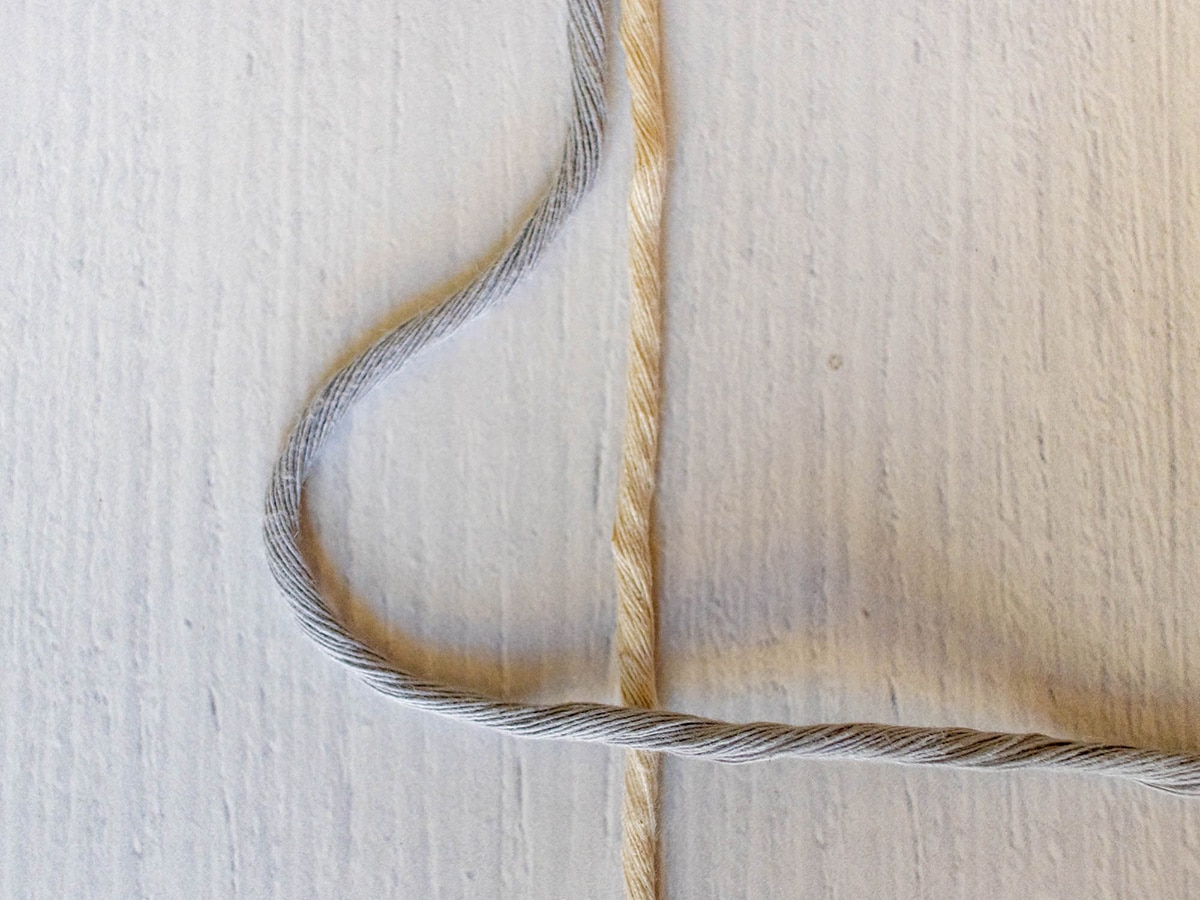
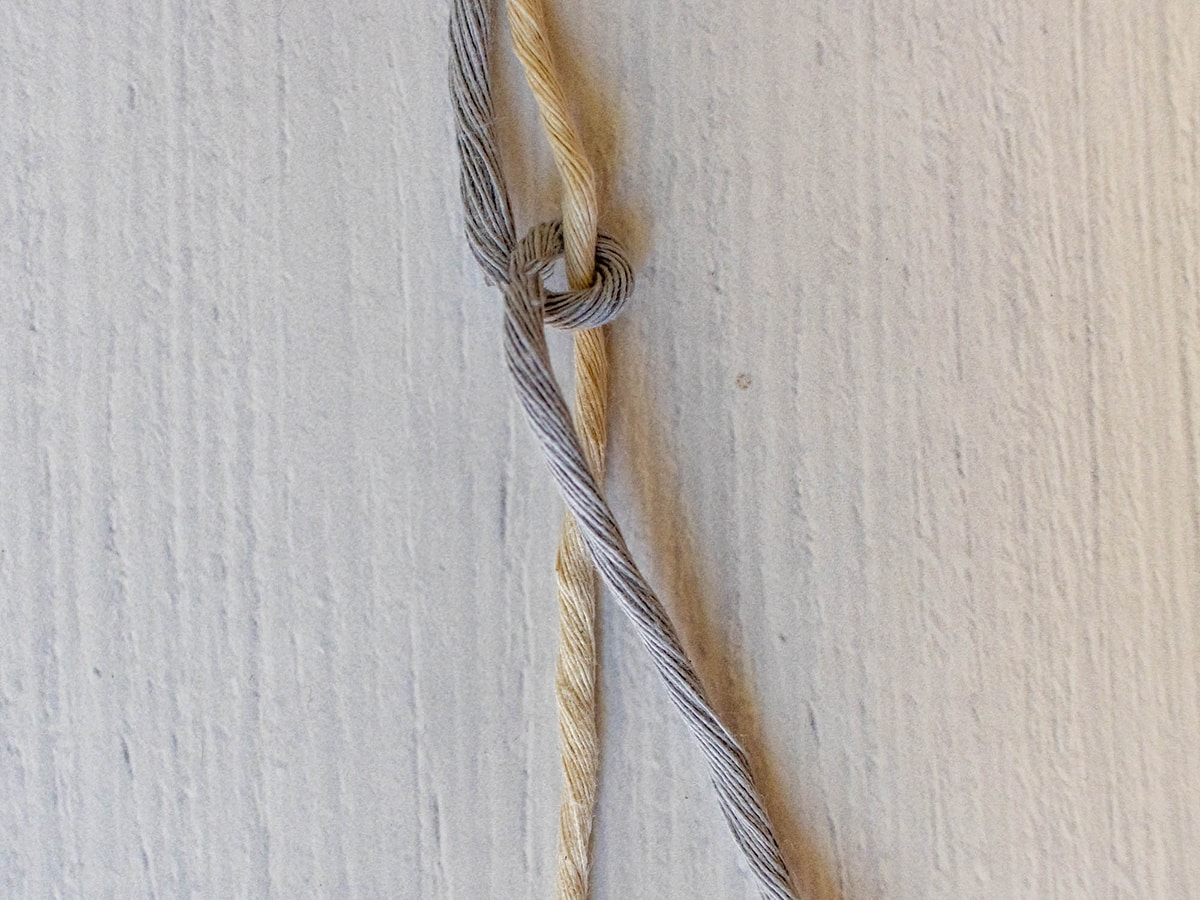
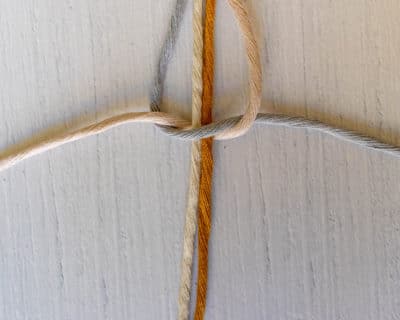
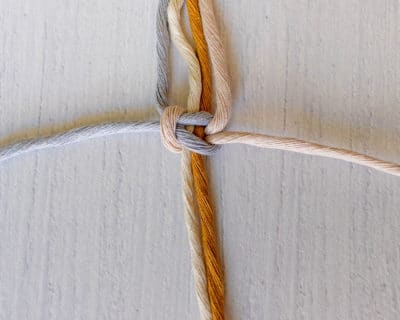
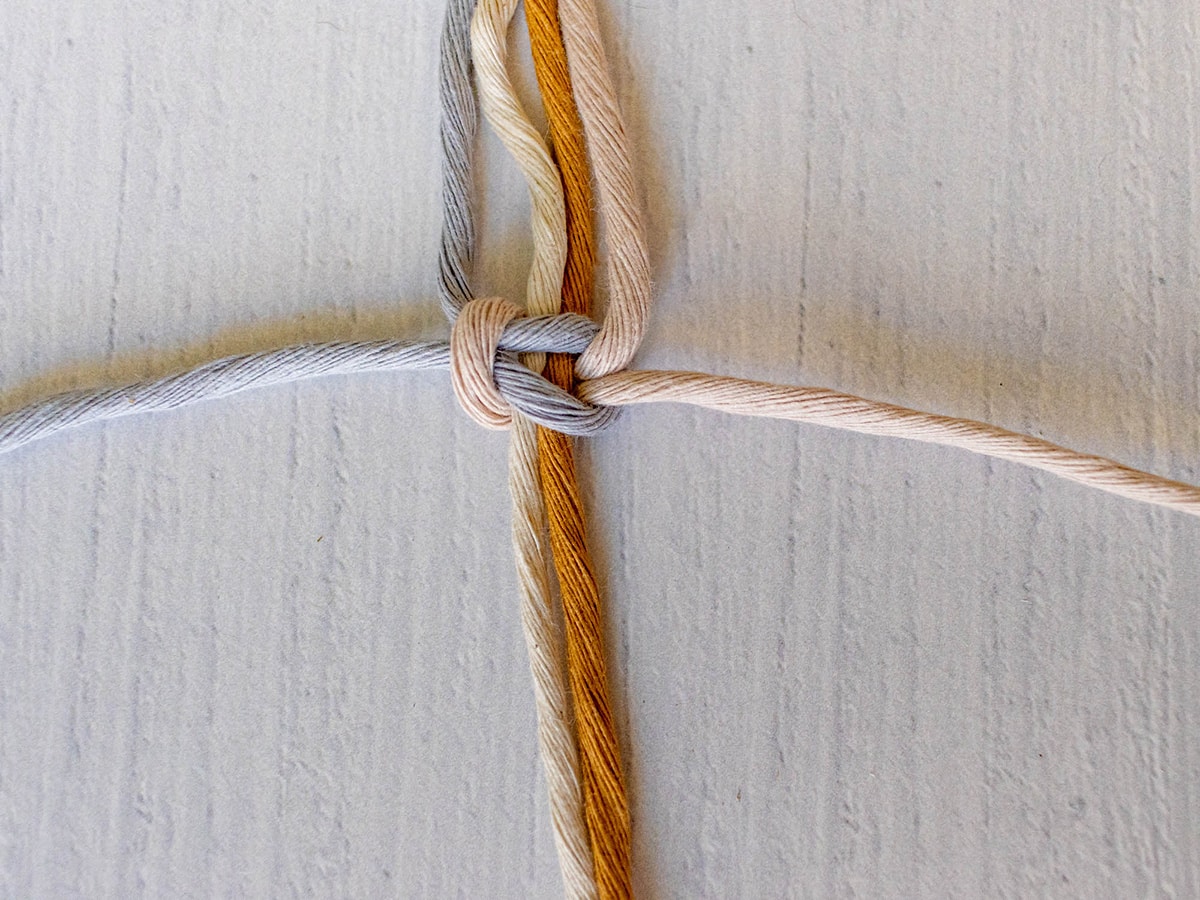
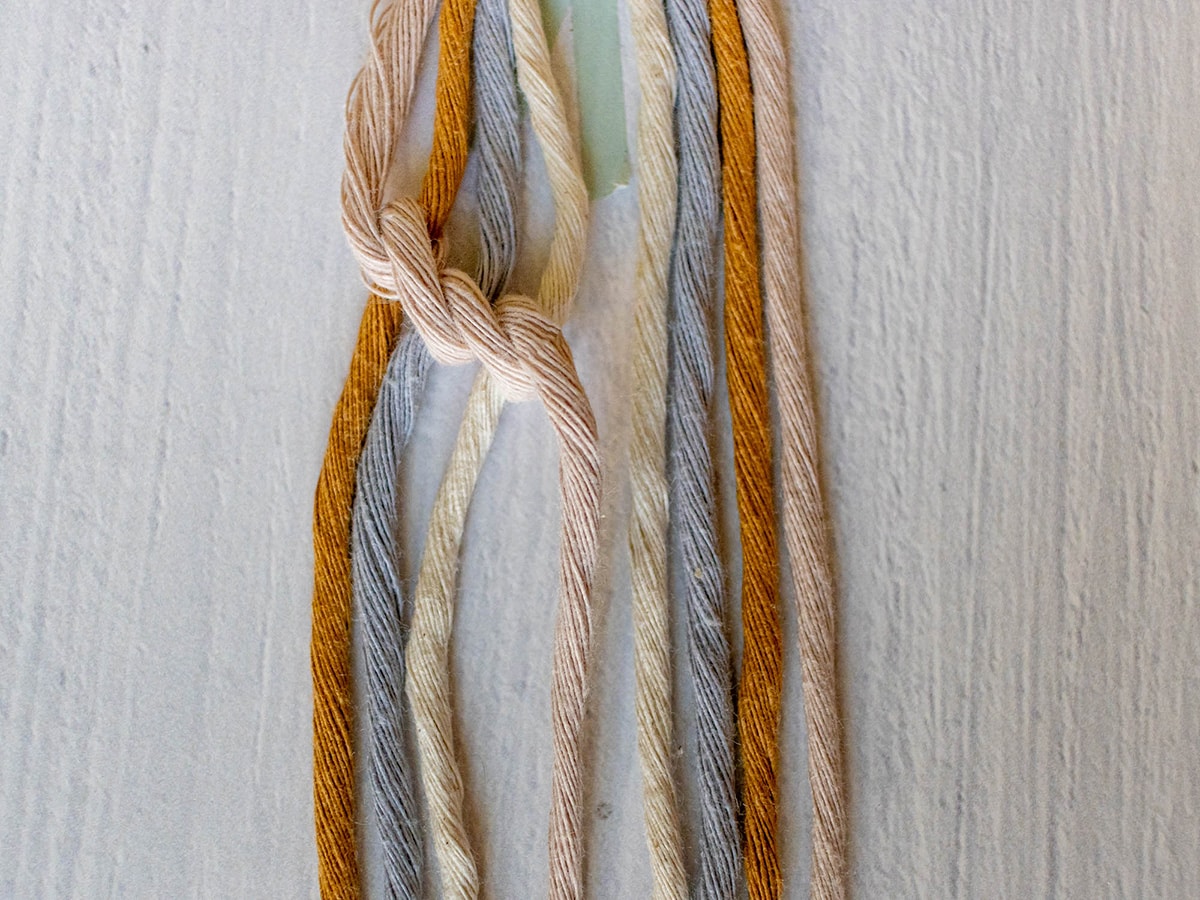
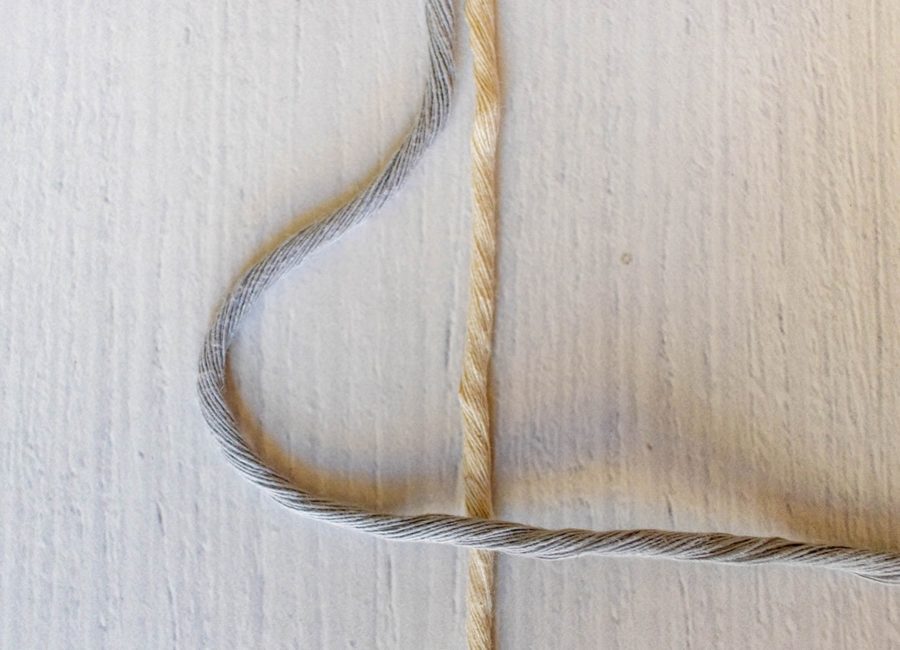
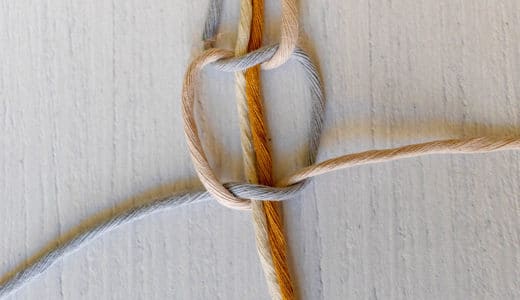
Half hitch right-leaning
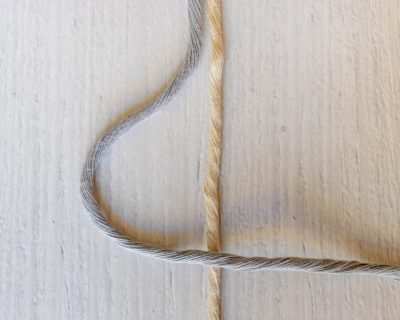
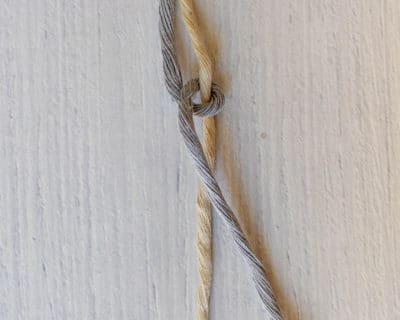
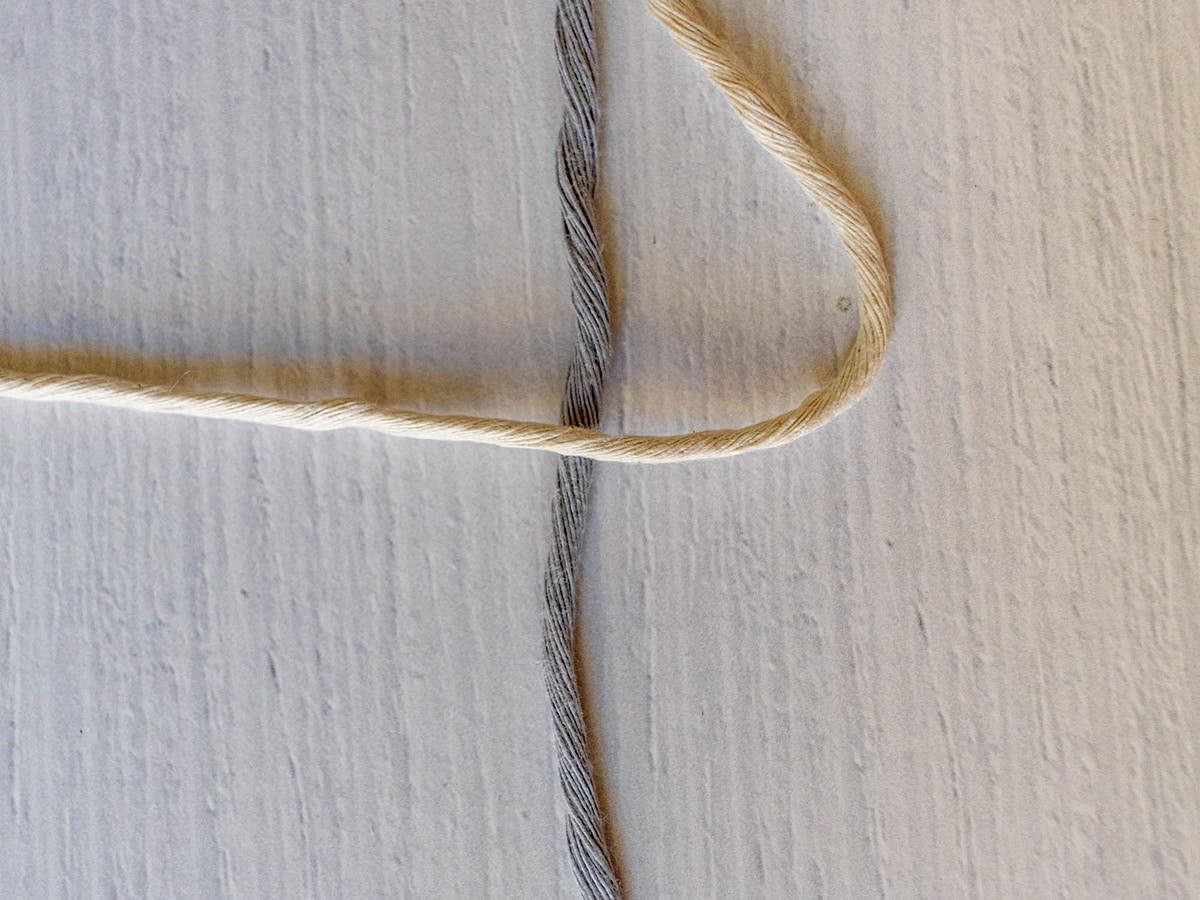
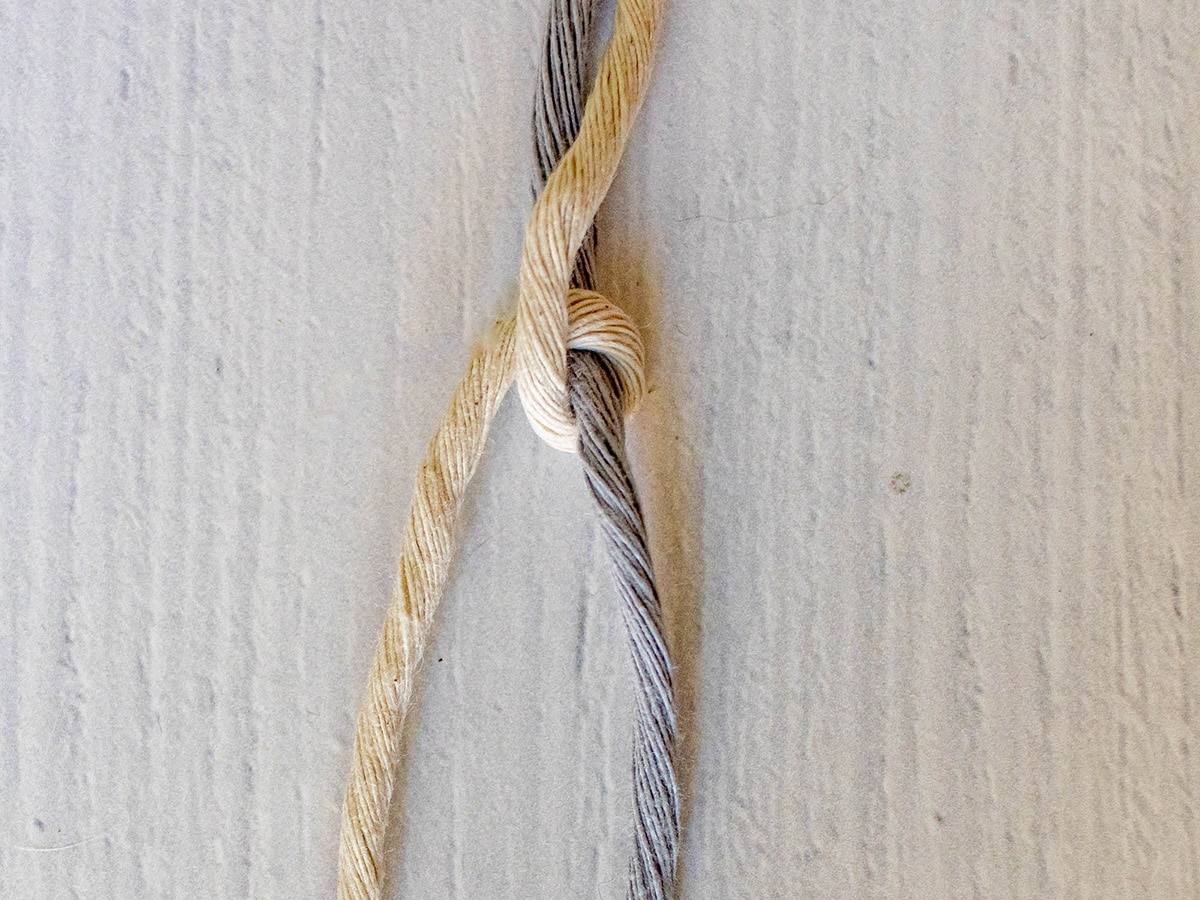
- For the right-leaning half hitch, the left-hand cord is the working cord (gray). The right-hand cord (white) is the holding cord.
- Lay the working cord over the holding cord from left to right.
- Then pull it back behind the holding cord and pull the end forward through the loop created between the working cord and the holding cord. Carefully pull the knot tight.
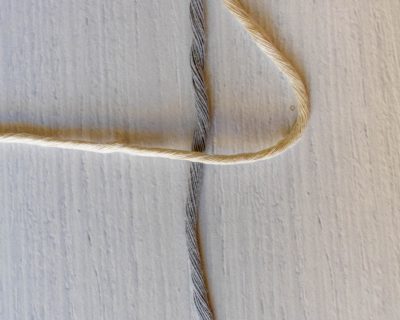
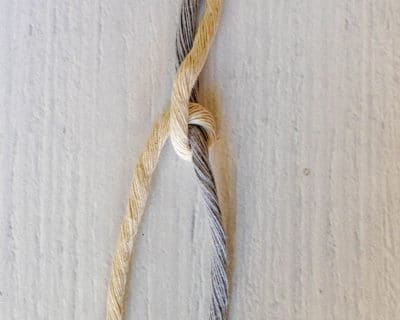
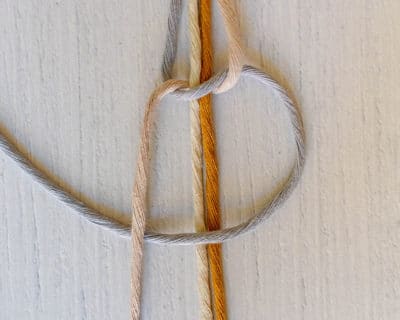
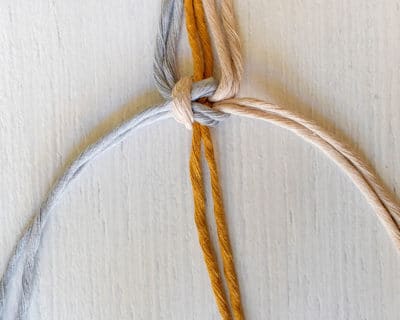
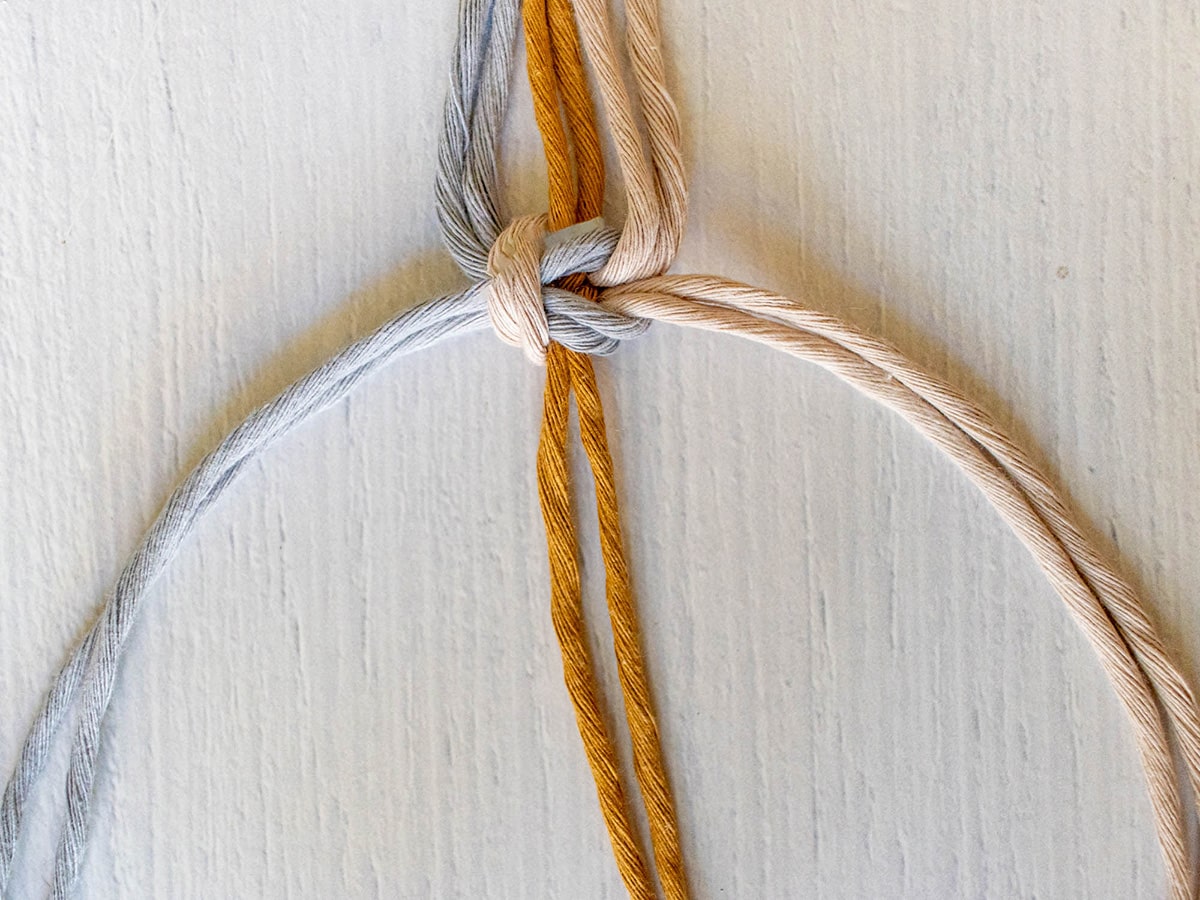
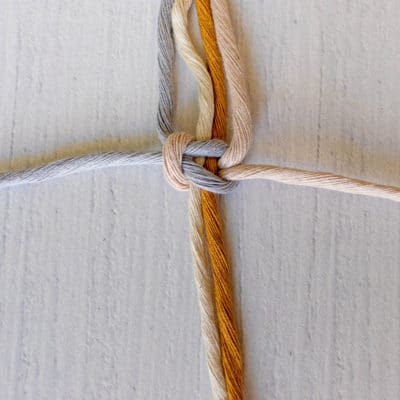
Half hitch left-leaning:
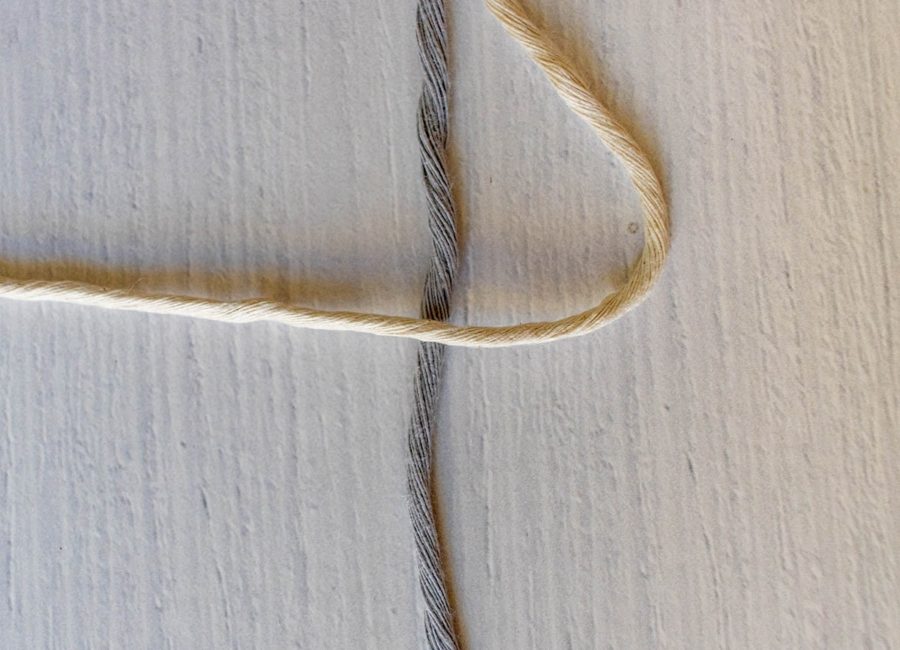
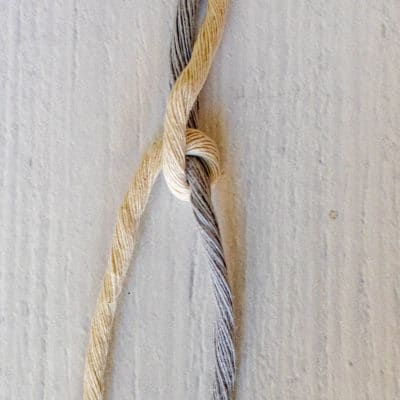
- For the left-leaning half hitch, the right cord is the working cord and the left cord is the holding cord.
- Lay the working cord over the holding cord from right to left
- Then pull it back behind the holding cord and pull the end forward through the loop created between the working cord and the holding cord. Carefully pull the knot tight.
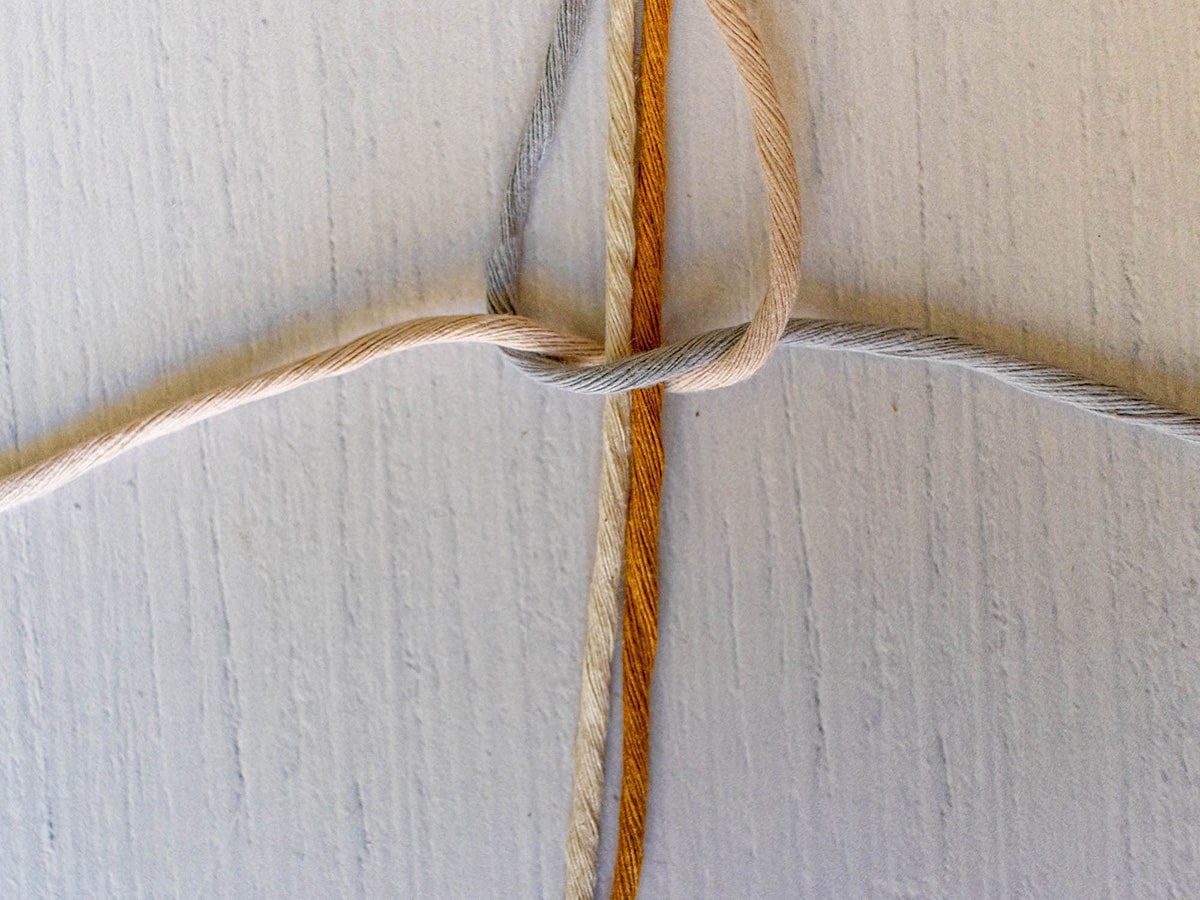
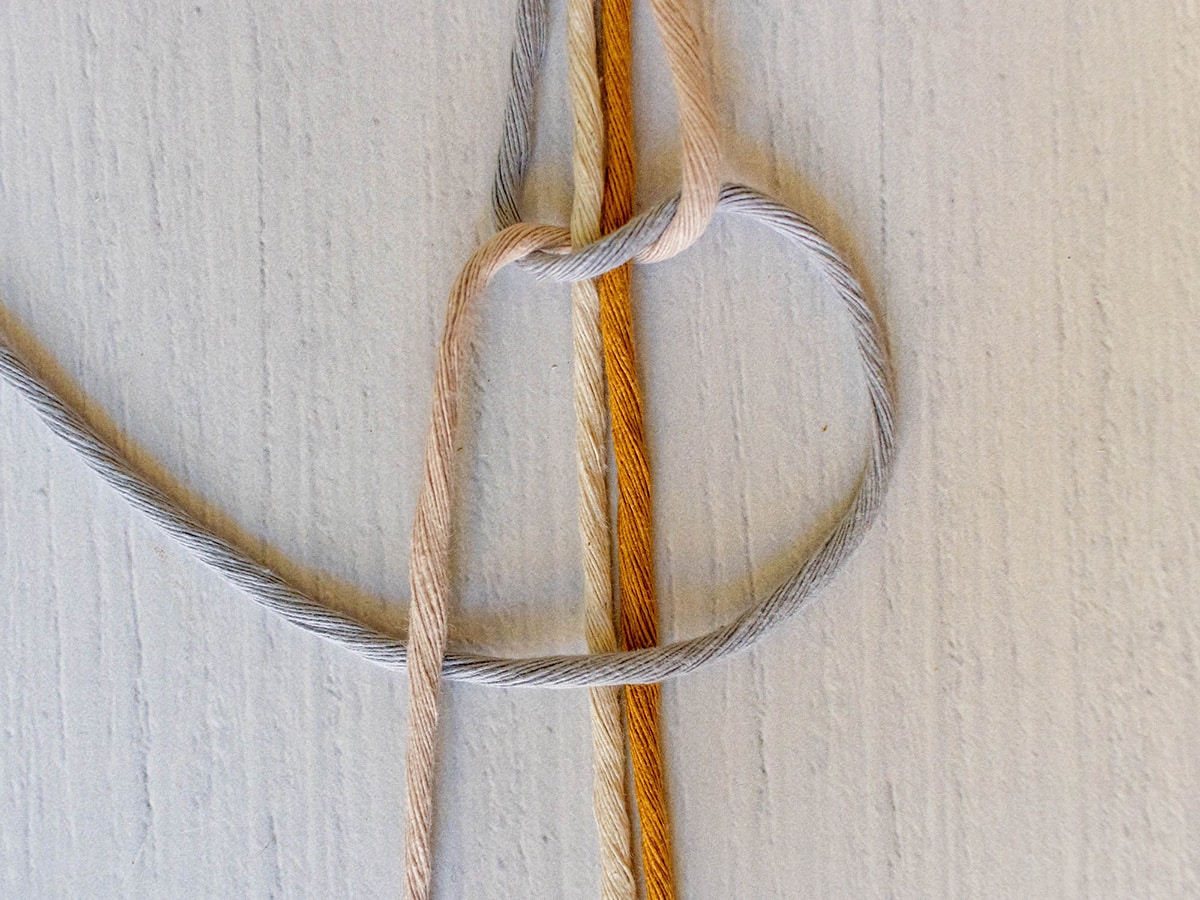
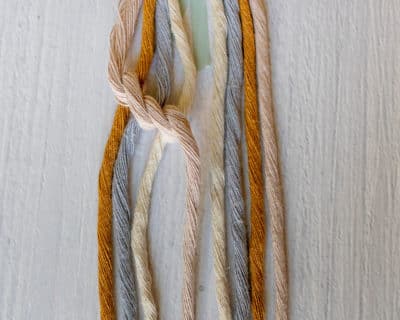
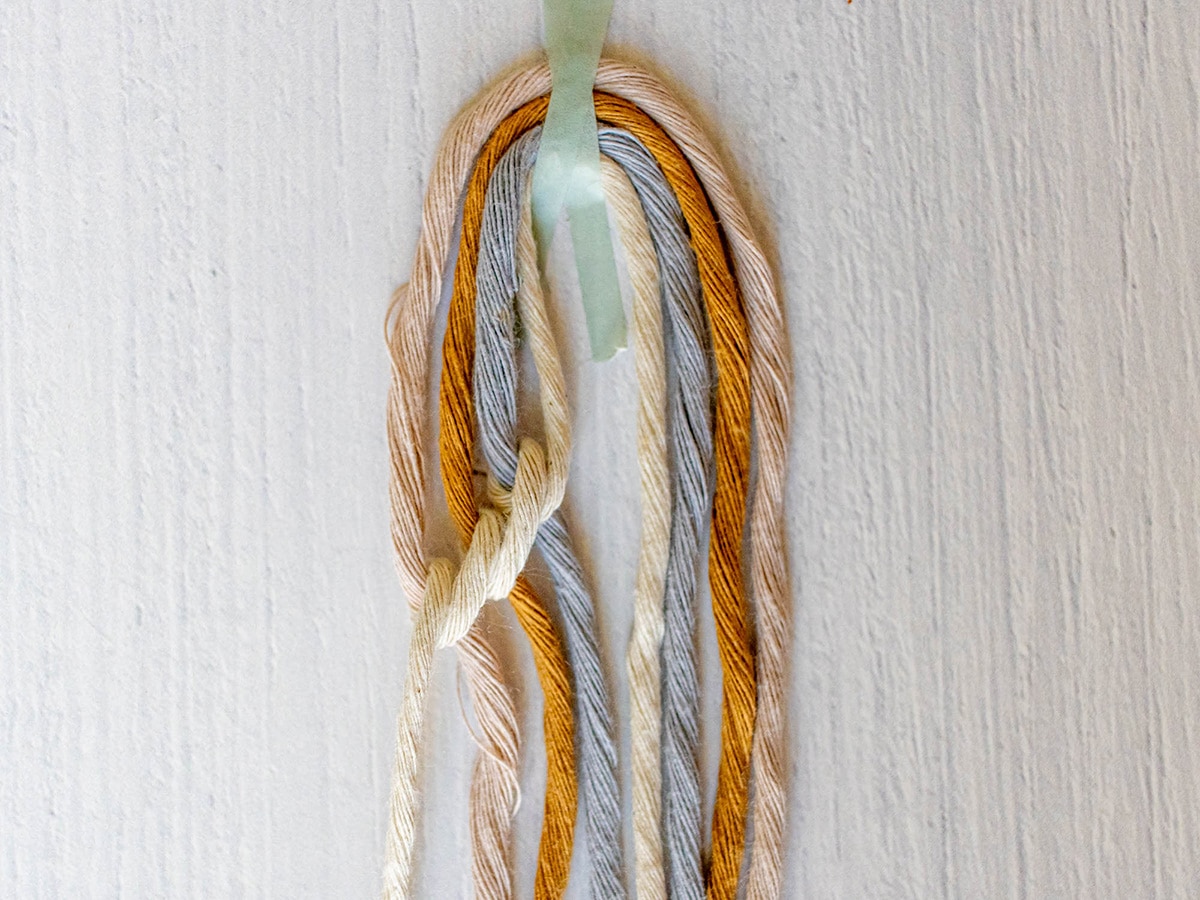
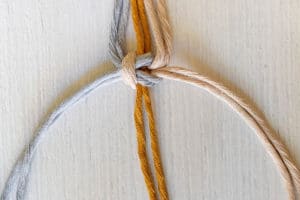
Square knot left-leaning:
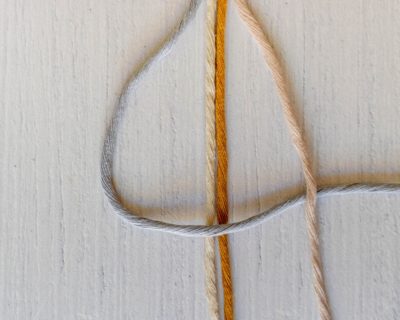
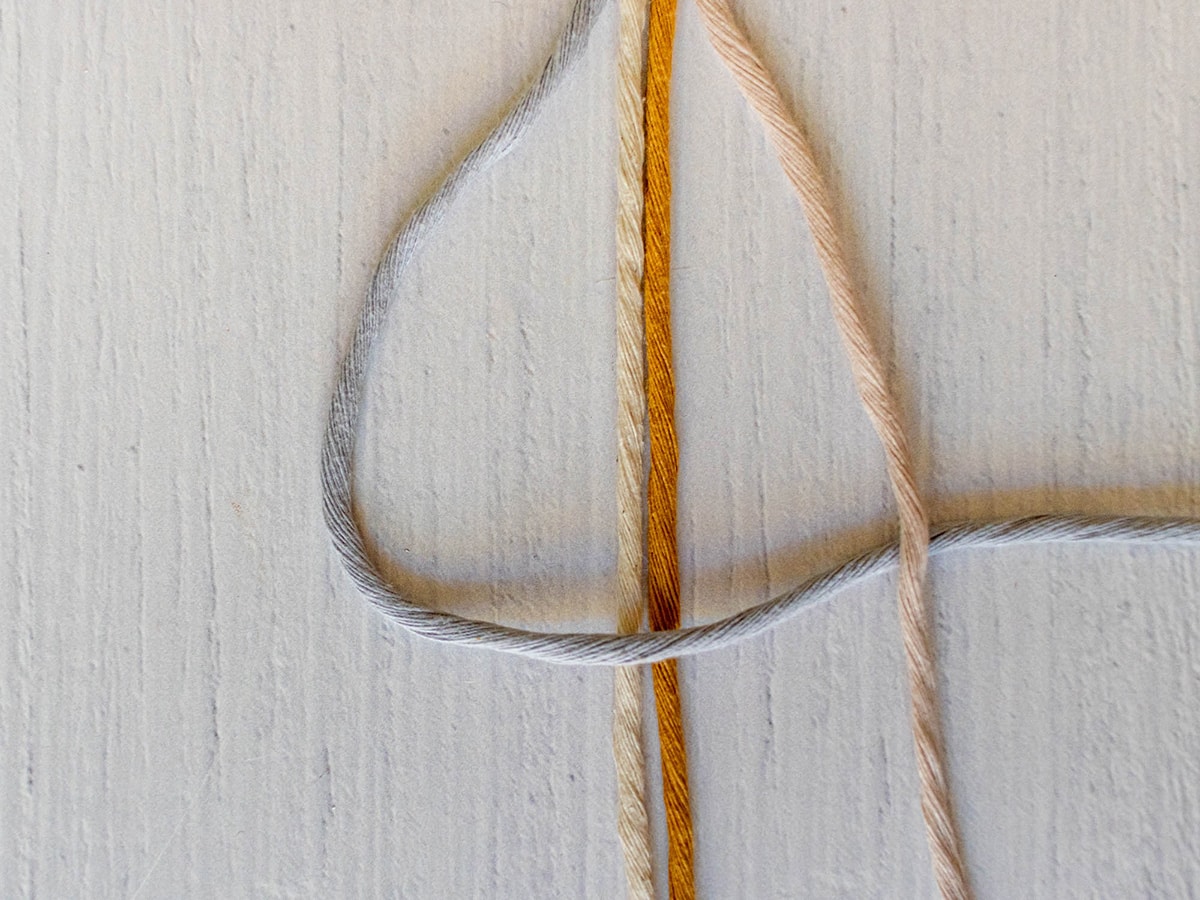
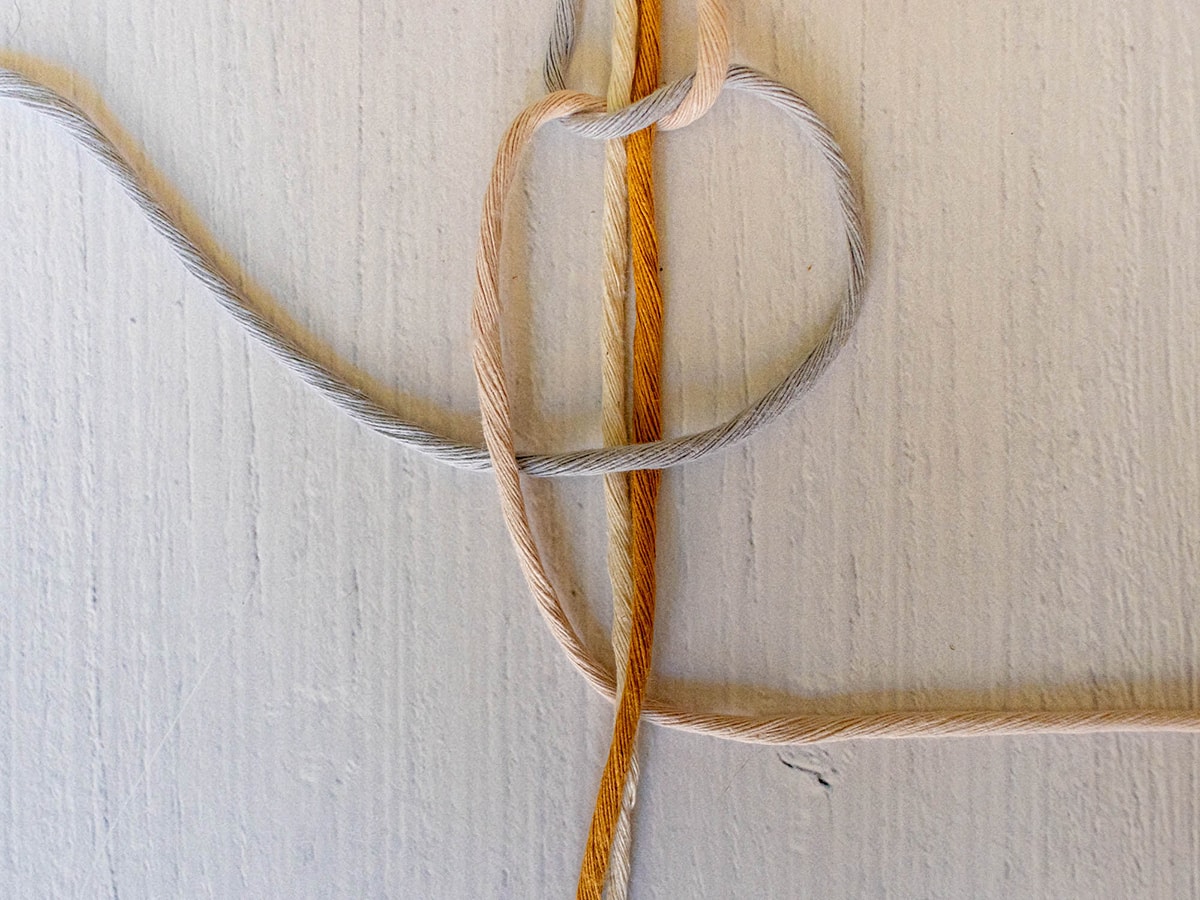
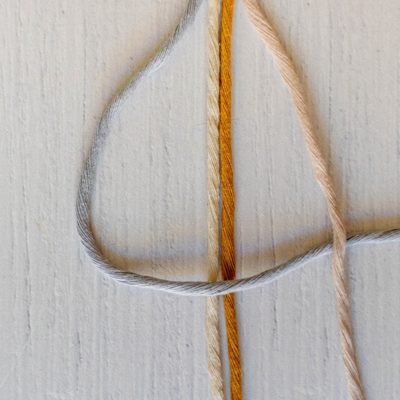
- You need at least 4 cords for a square knot. The holding cords (white|yellow) are in the middle and the working cords are on the outside.
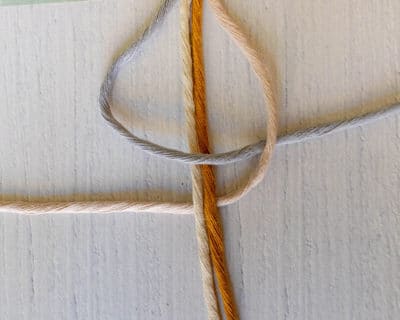
- Place your left working cord (gray) over the two holding cords at the front. Then pass it under the right working cord (pink).
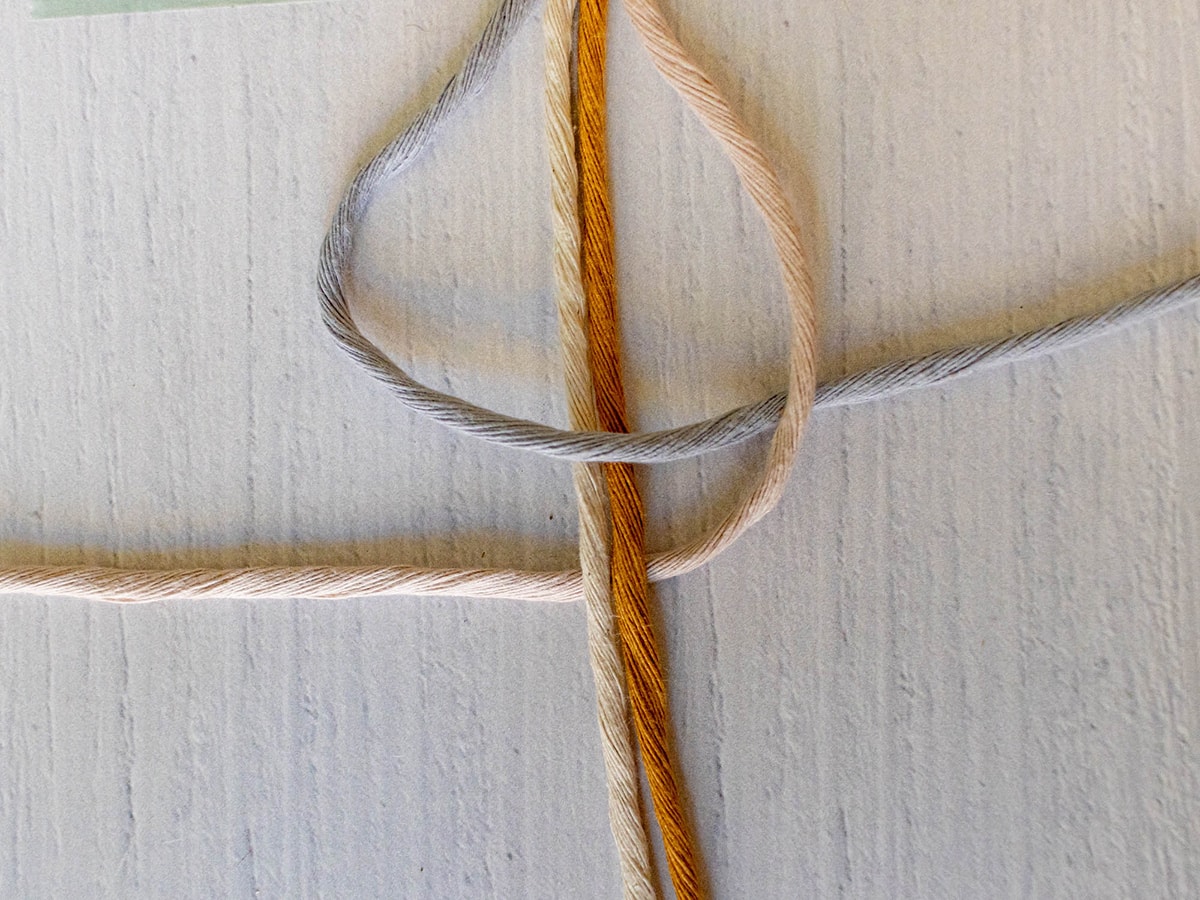
- Now guide the right working cord to the left behind the two holding cords.
- Now pull the end of the right working cord from behind through the loop between the left working cord and the holding cords. Tighten the knot.
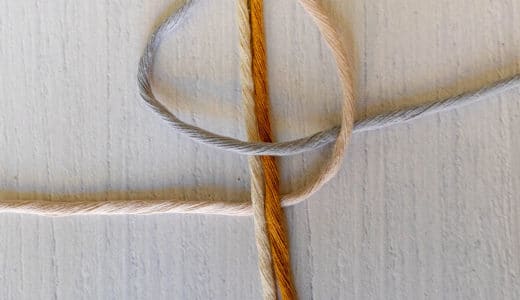
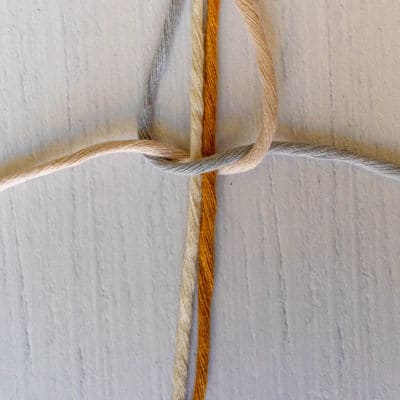
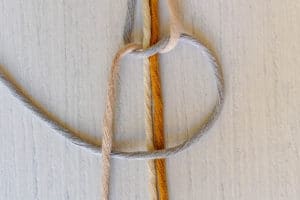
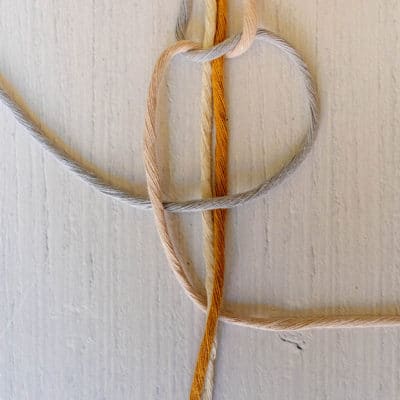
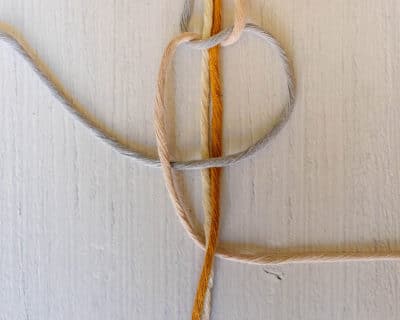
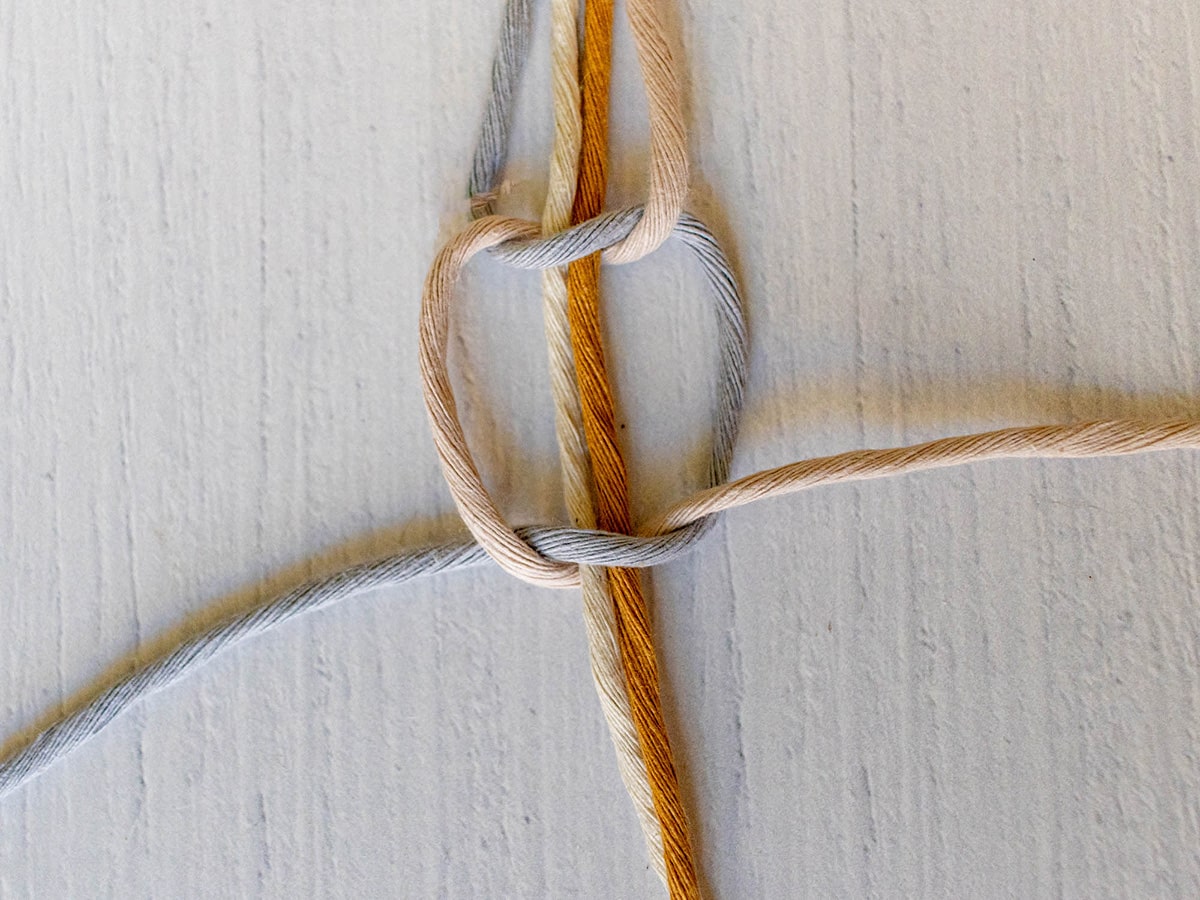
- Guide the left working cord (gray) back to the left side in front of the holding cords. Pass it under the right working cord (pink).
- Pull the right working cord (pink) behind the holding cords to the right side
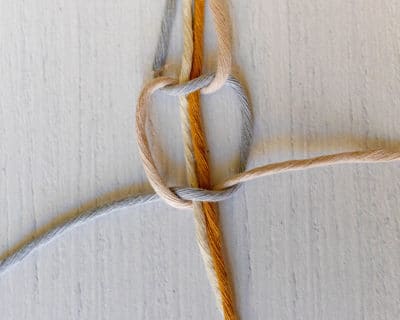
- Pass the end of the right working cord through the loop between the left working cord and the holding cords and tighten the knot.
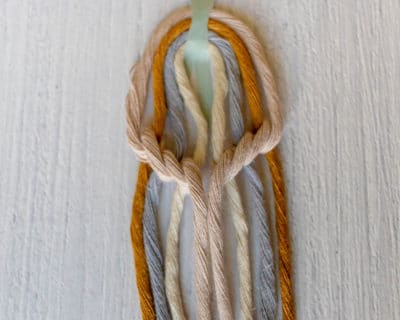
- In the instructions, this knot is referred to as "square knot 1 over 2", as it is tied with one right and one left working cord over two holding cords.
According to this scheme, square knots with two right and two left working cords and two holding cords are called "square knot 2 over 2" and so on. In these knots, the working cords are always passed around the holding cords together.
2. Basic patterns for the macramé hanging basket
Square knots and half hitches are sufficient for many macramé projects to create exciting patterns. Half hitches can be worked straight or diagonally. For the hanging basket, you need a motif from the simplest variant of diagonally arranged half hitches.
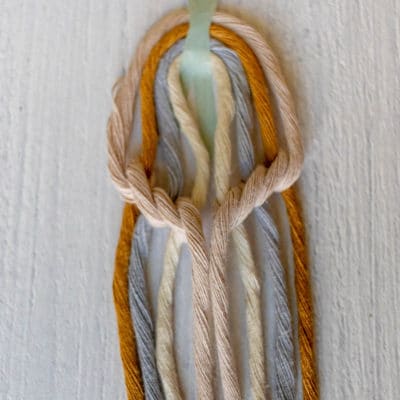
Falling half hitch triangle
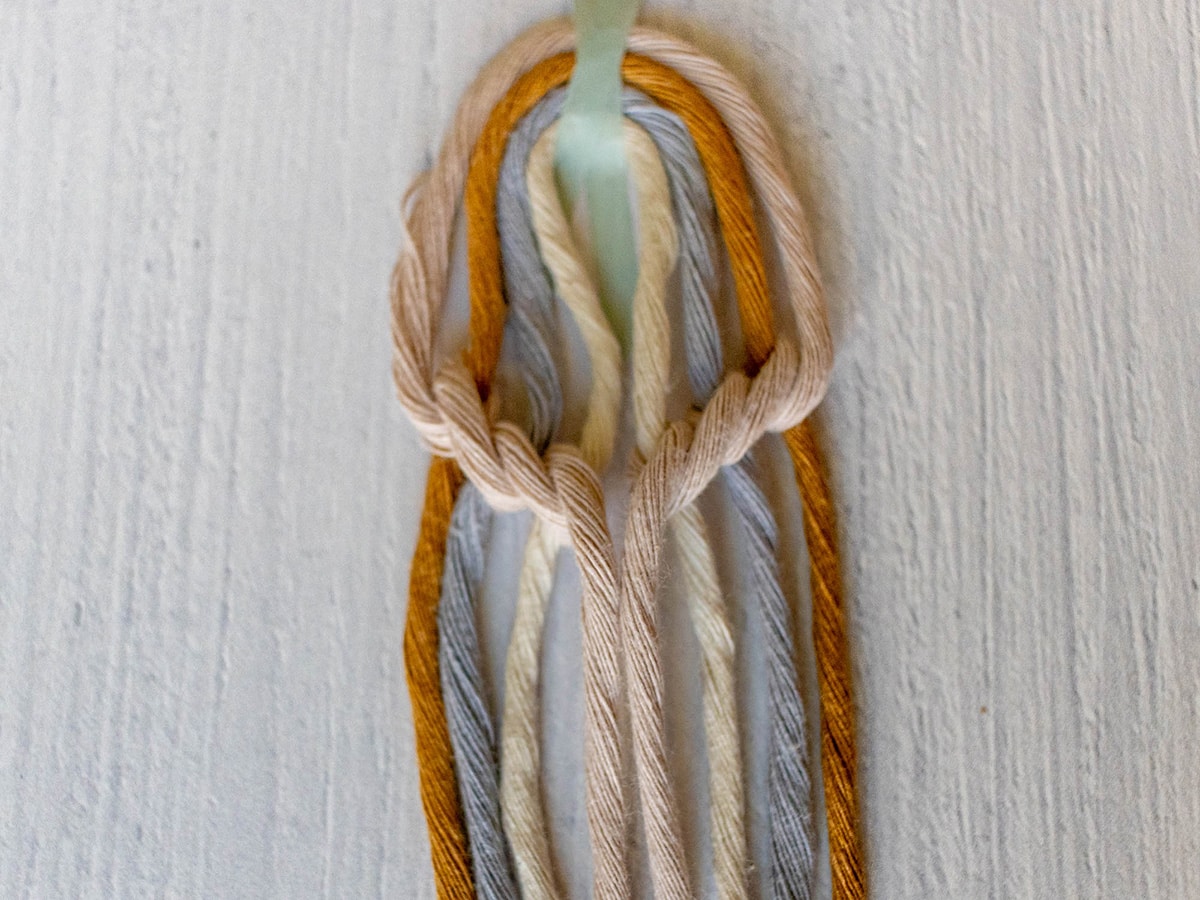
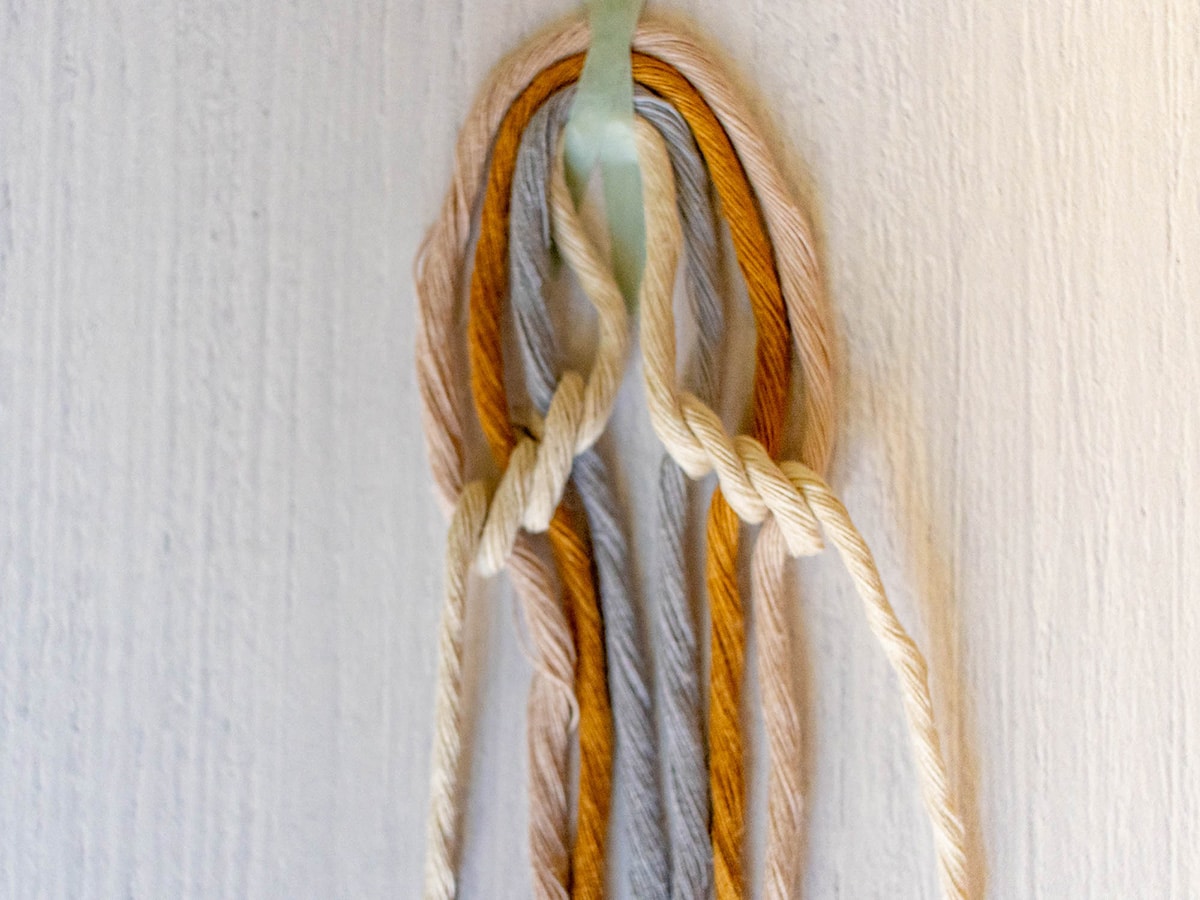
Divide the threads into two halves of the same thread count. The outermost thread on the left and right (pink) are your working cords. The inner threads are the holding cords.
- Tie a right-leaning half hitch with the left-hand working cord over all the left-hand holding cords. The knots are next to each other offset downwards by half a knot height.
-
Now use the right-hand working cord to tie a left-leaning half hitch over each of the right-hand holding cords. Make sure that the knots are at the same height as the right-hand knots.
This motif is called a "single-row, falling half hitch triangle over 6". For a "double row, falling half hitch triangle over 6", use the yellow threads that are now on the outside as working cords and tie another row of half hitches directly under the first row.
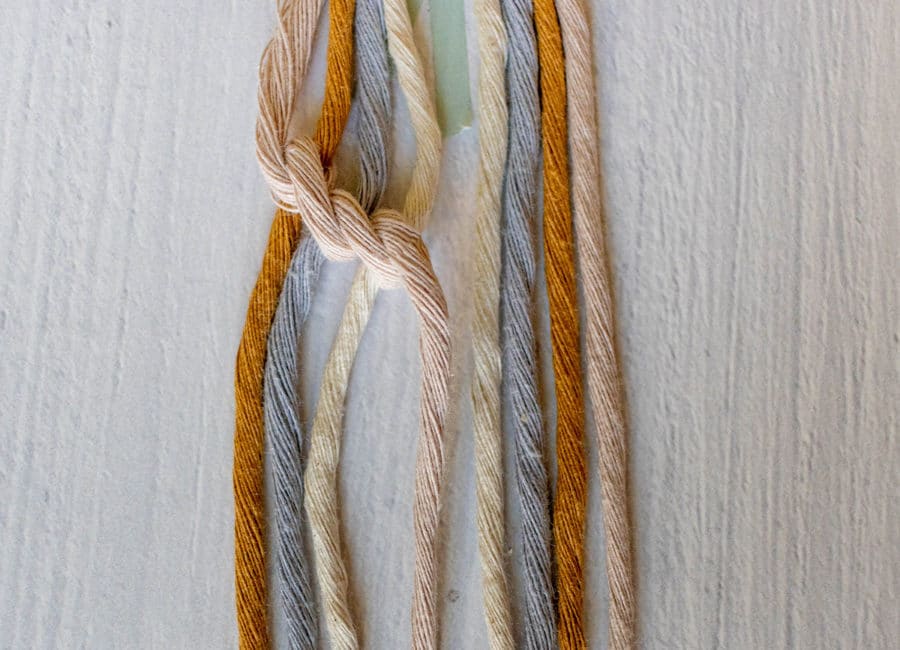
Rising half hitch triangle
Divide the threads into two halves of the same thread count. The inner threads on the left and right (white) are your working cords. The outer threads are the holding cords.
- Tie a left-leaning half hitch with the left-hand working cord over each of the left-hand holding cords. The knots are next to each other offset downwards by half a knot height.
- Now use the right-hand working cord to tie a right-leaning half hitch over each of the right-hand holding cords. Make sure that the knots are at the same height as the left-leaning half hitches.
Now use the right-hand working cord to tie a right-leaning half hitch over each of the right-hand holding cords. Make sure that the knots are at the same height as the left-leaning half hitches.
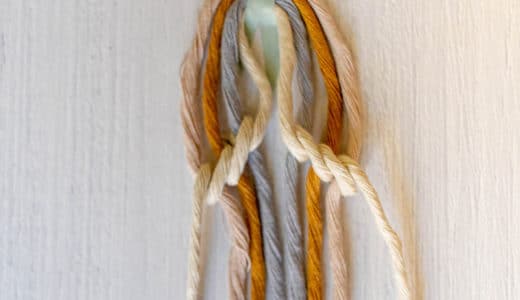
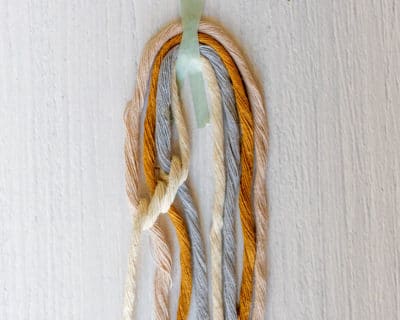
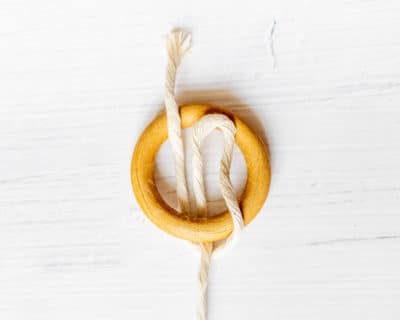
3. Knotting double macramé hanging baskets with addiShapes
Step 1: Suspension
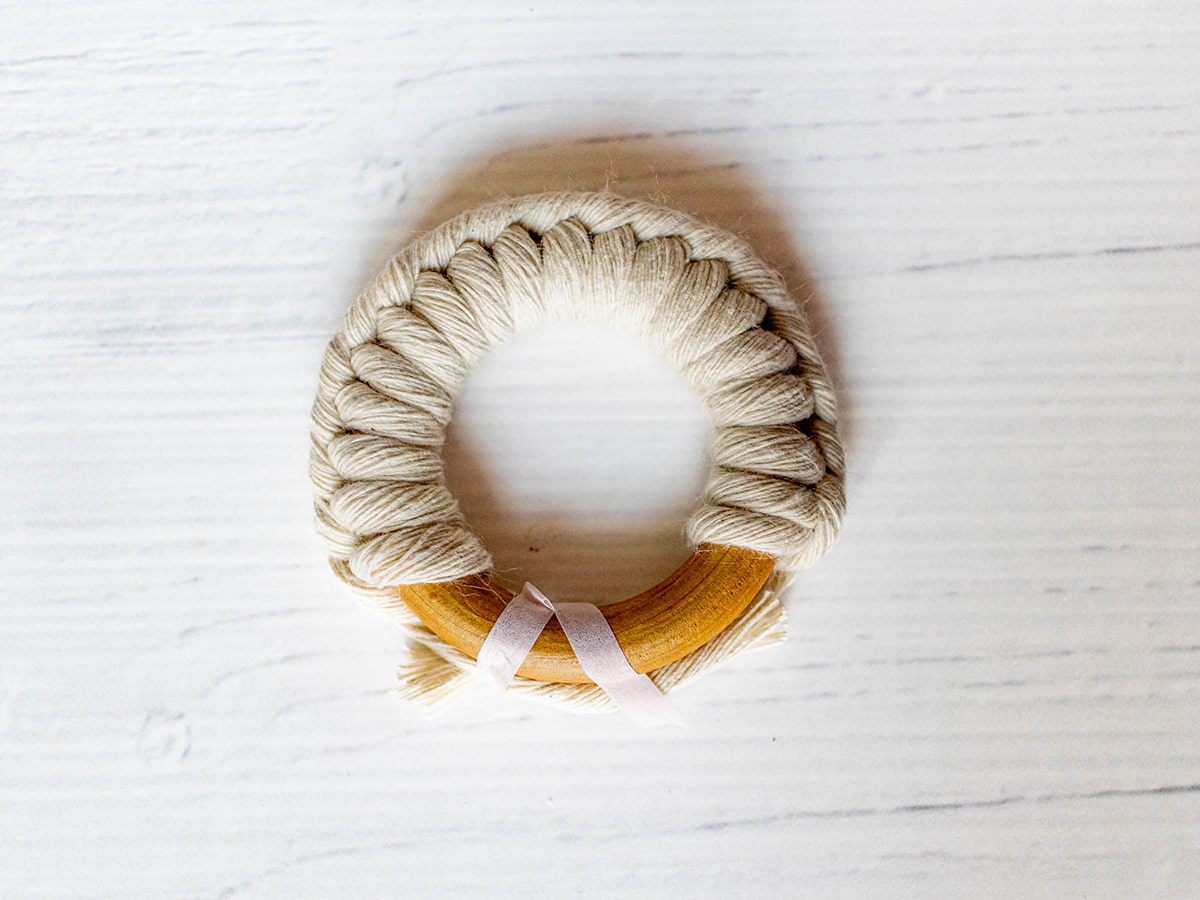
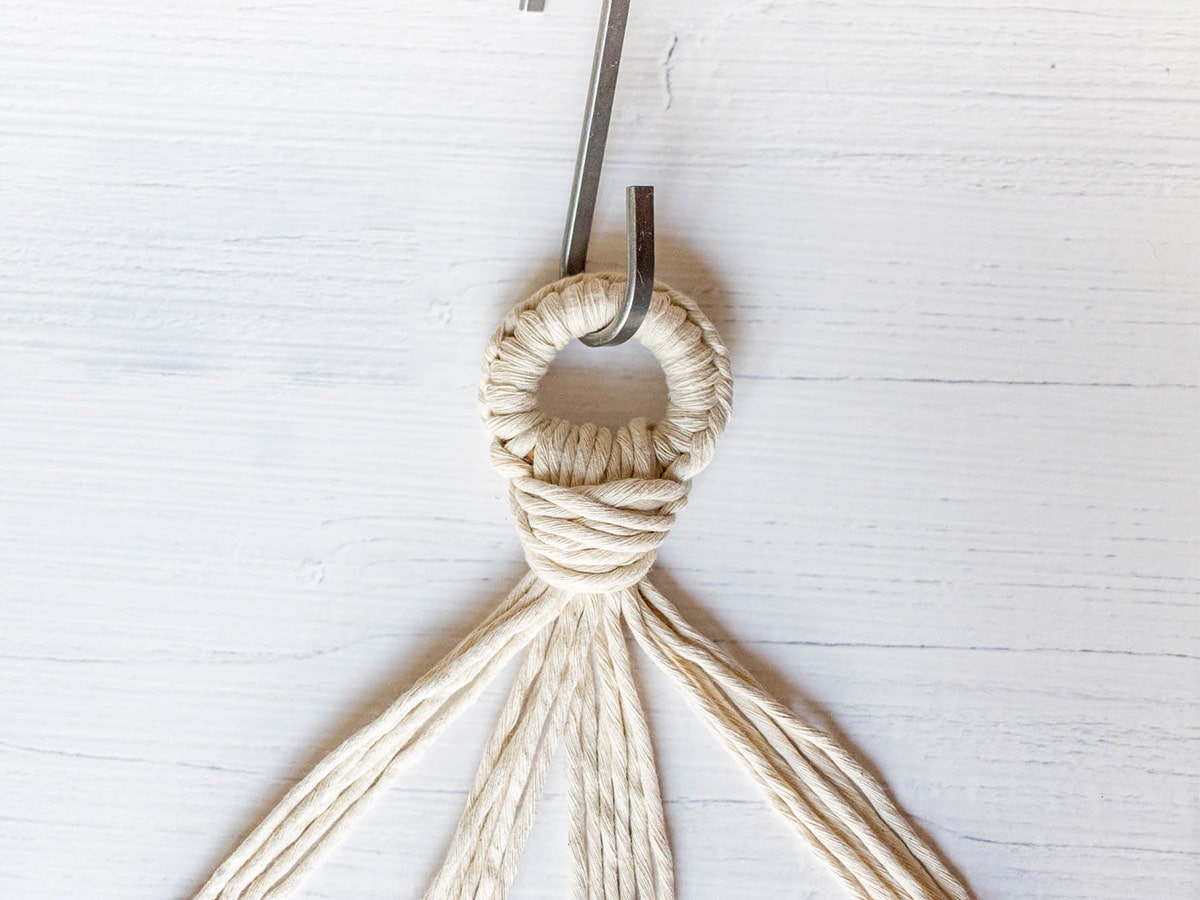
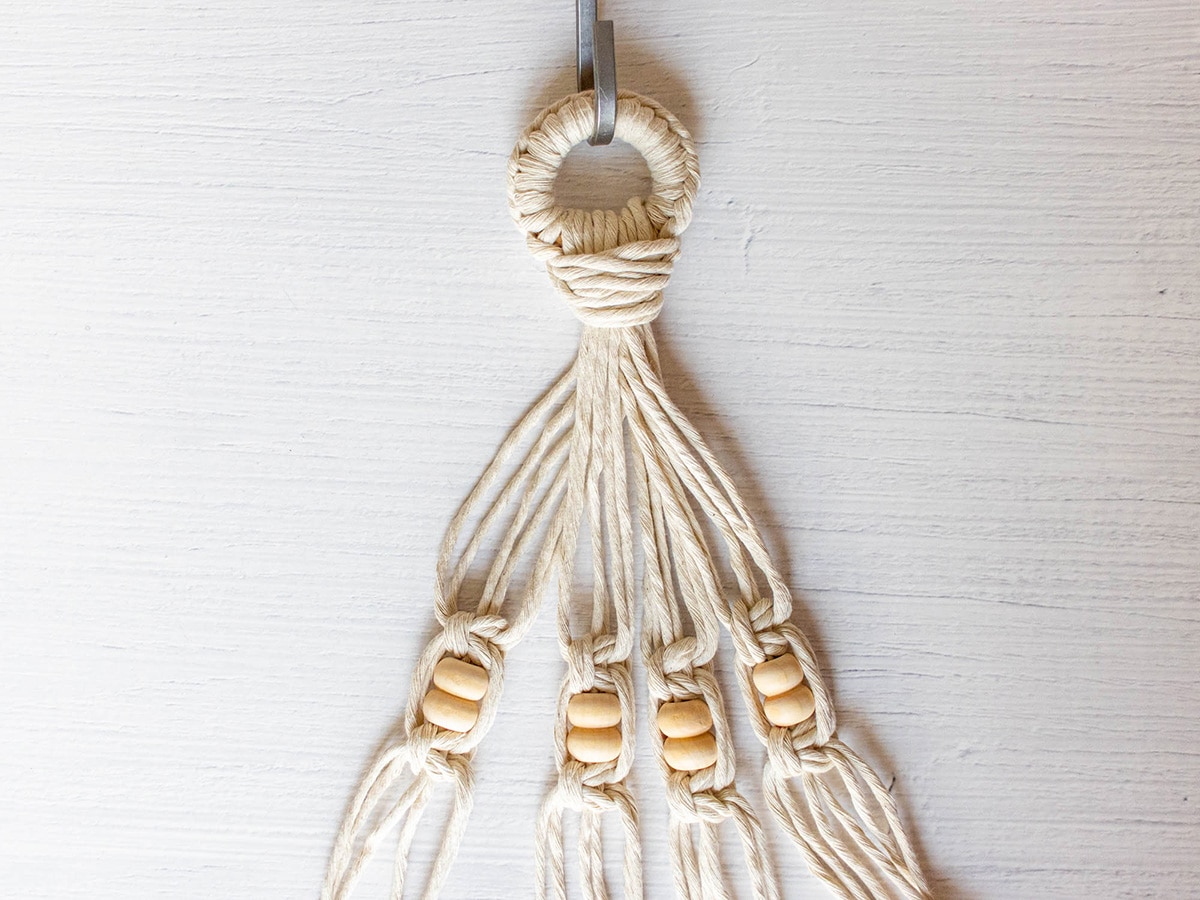
- Cut a 1.2m/47in long thread of your cord.
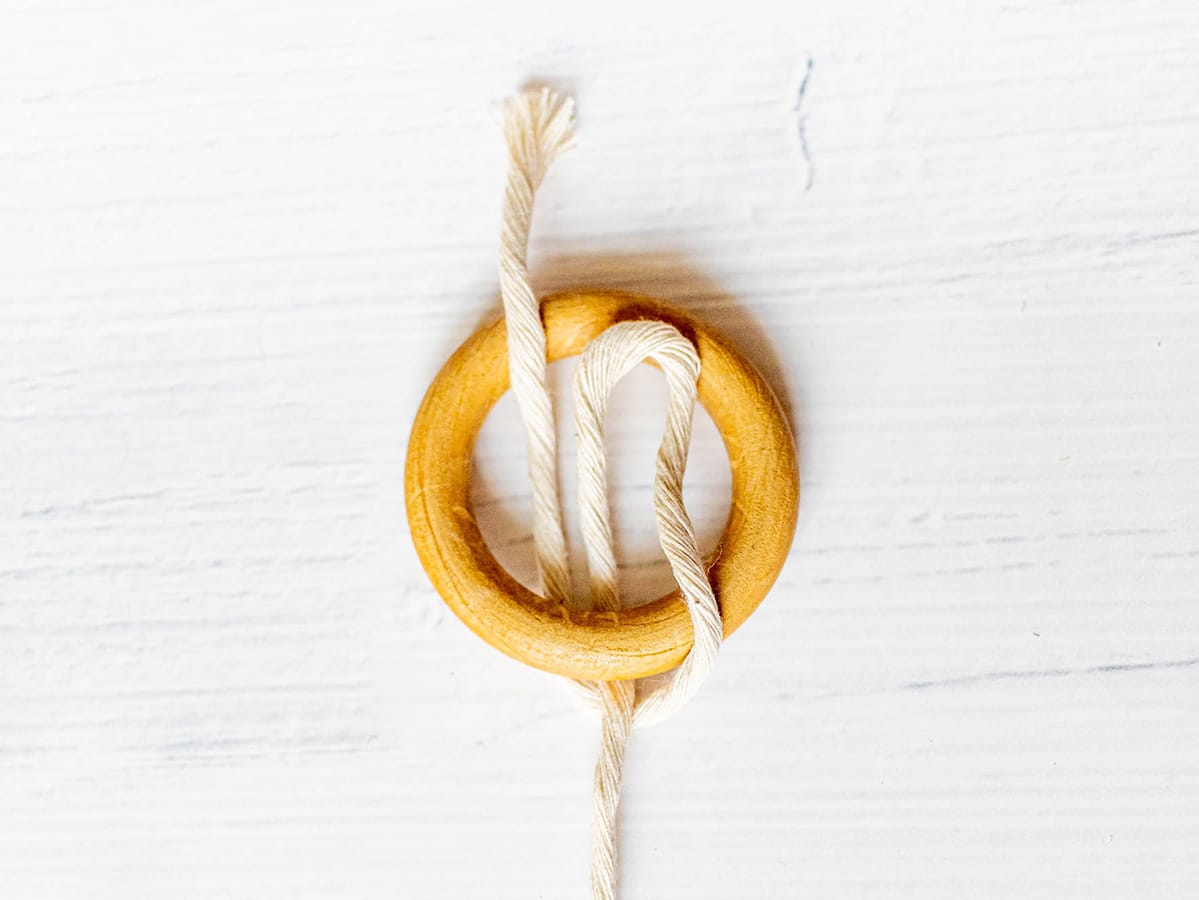
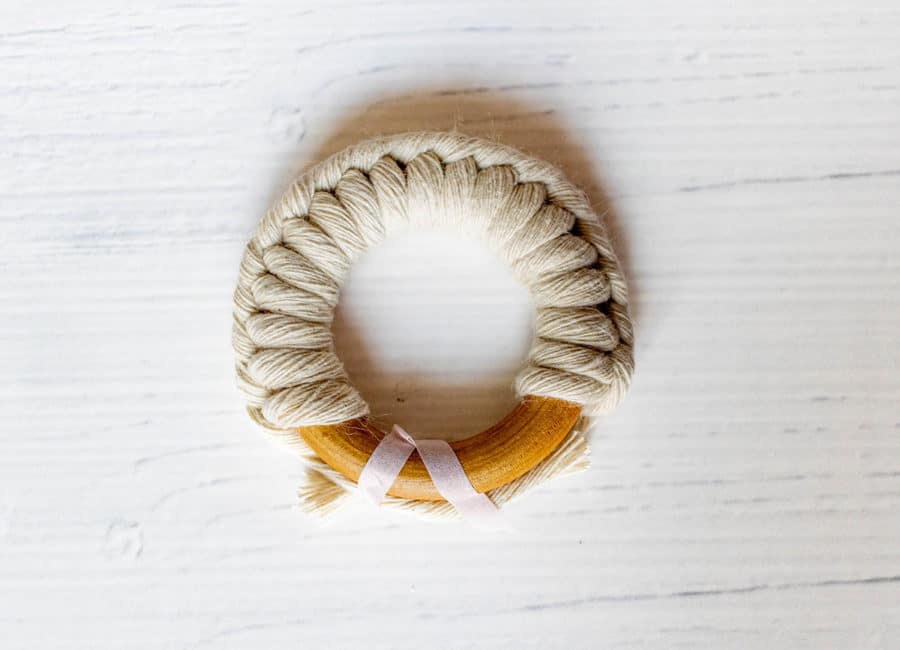
- Feed the long end through the wooden ring from top to bottom. Wrap it around the ring again and pull the end through between the ring and the thread (right-leaning half hitch).
- Secure the short end to the ring with Scotch tape to prevent it from slipping.
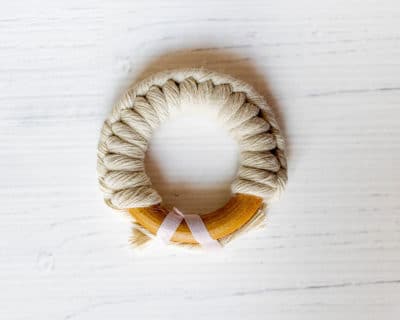
- Now tie 19 more right-leaning half hitches around the ring and push them close together.
- When about two-thirds of the ring is covered, shorten the ends to about 6 cm each and fix them to the empty area of the ring.
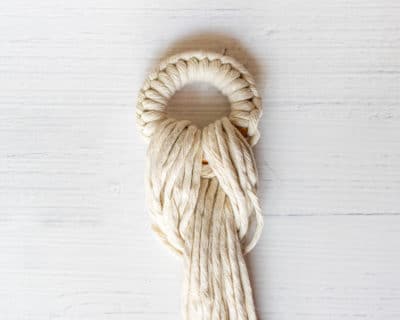
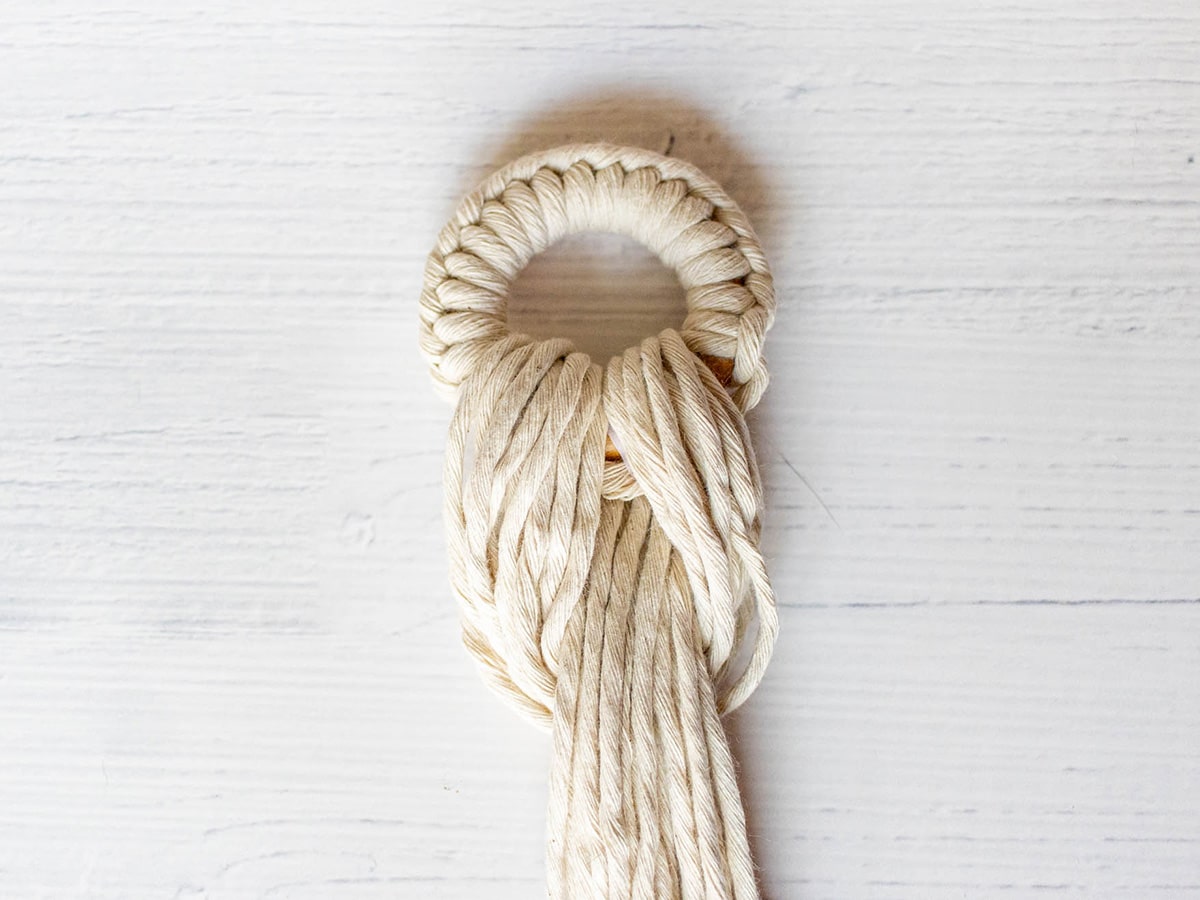
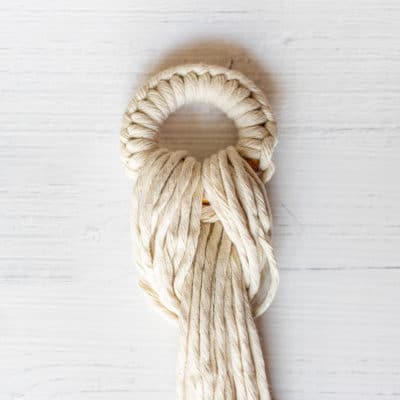
Cut 12 threads, each 4.5 m long. Lay them on top of each other to form a strand and fold them in half. Push the loop through the wooden ring from below. Pull the thread ends through the loop and position the ring so that the empty wooden part is covered by the loop. Now pull the loop tight.
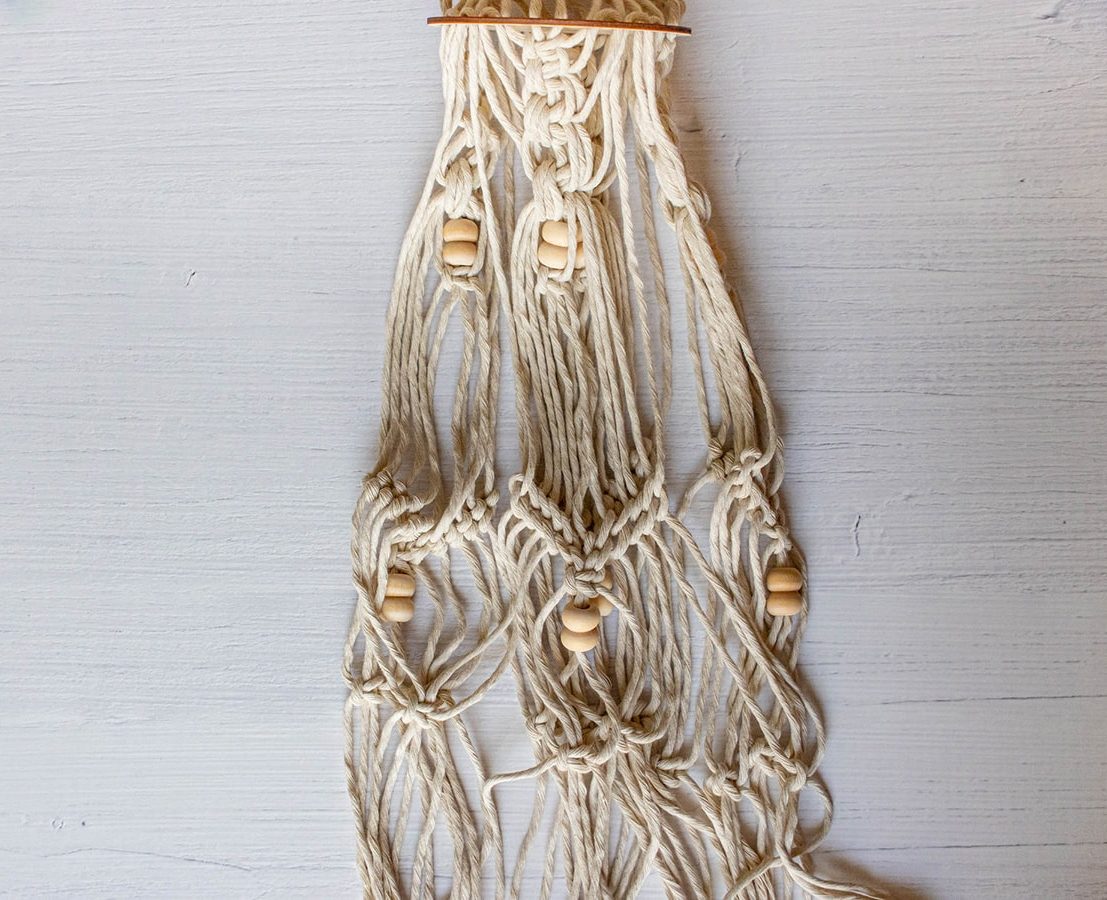
Step 2: First ribbon pattern
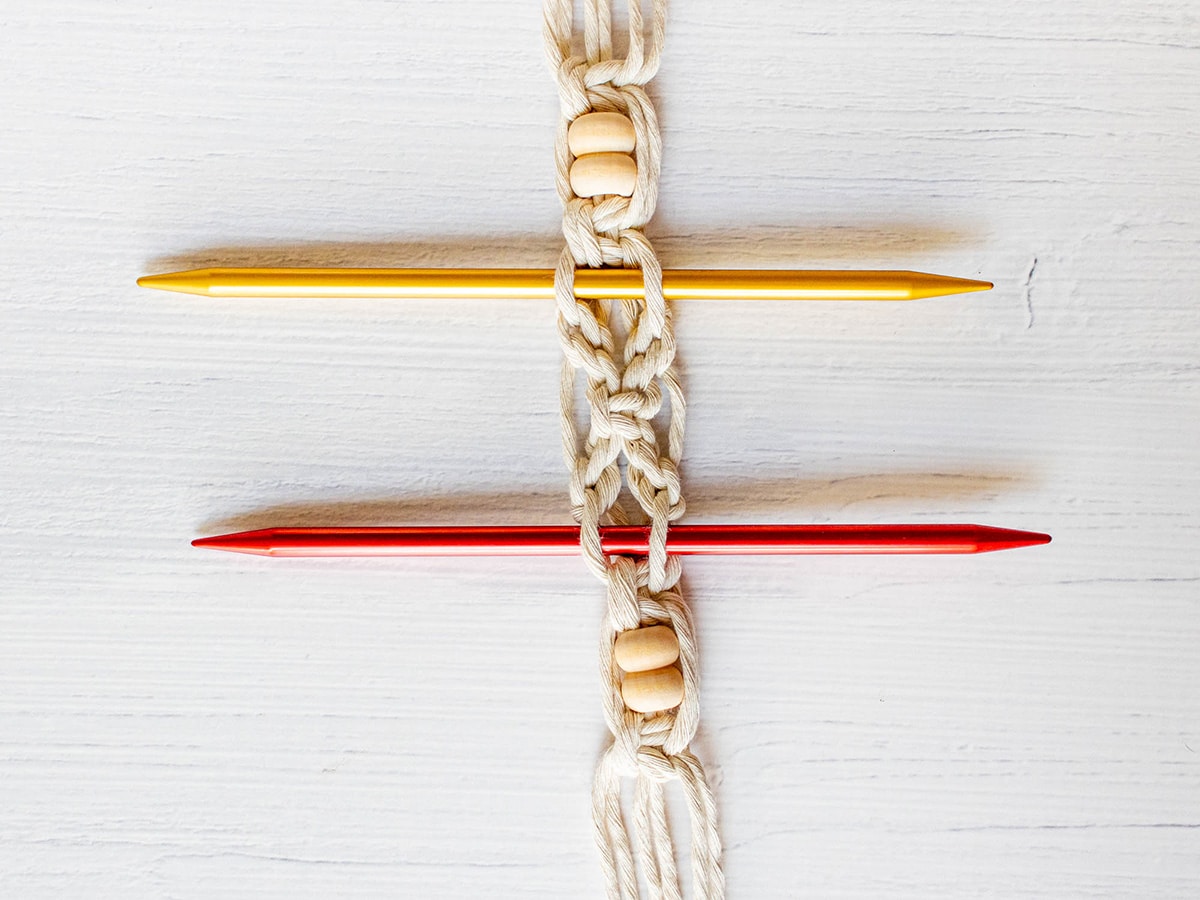
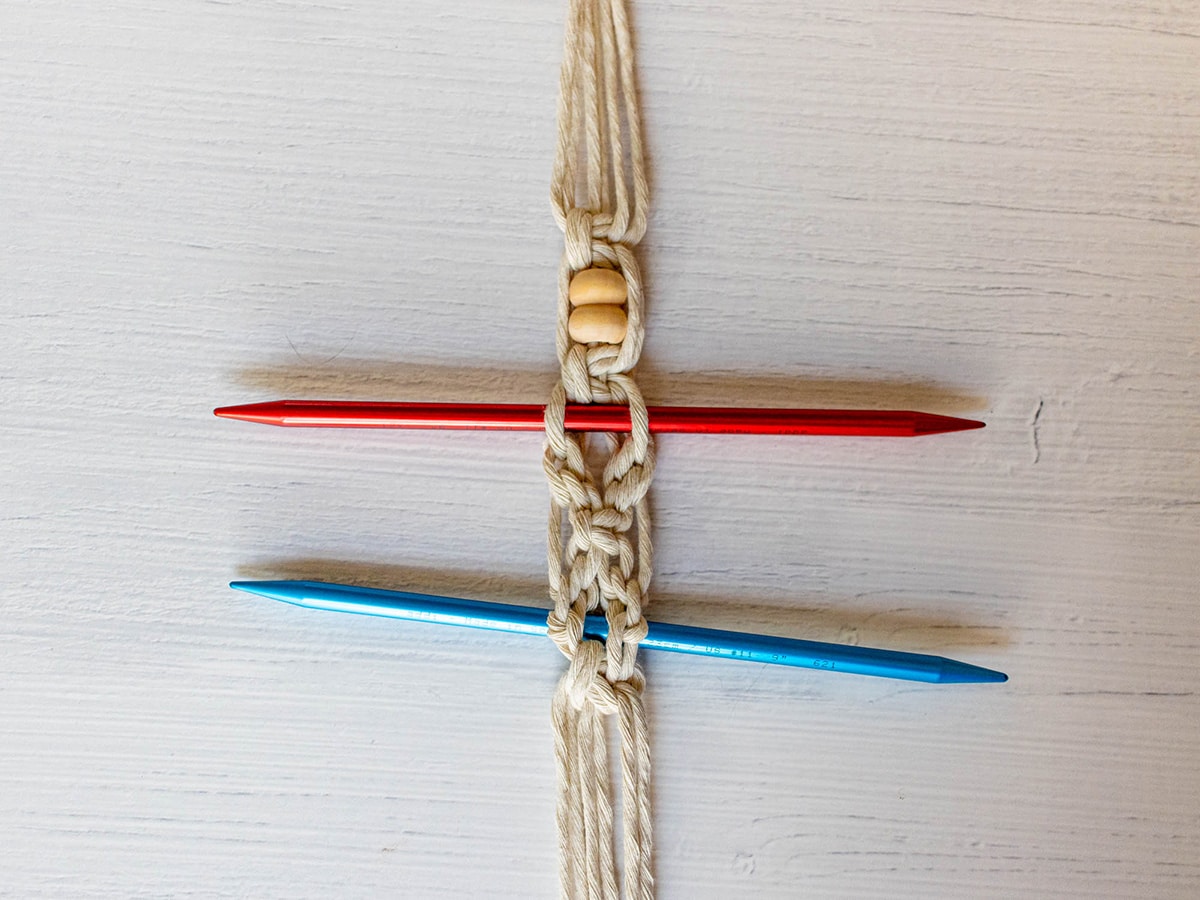
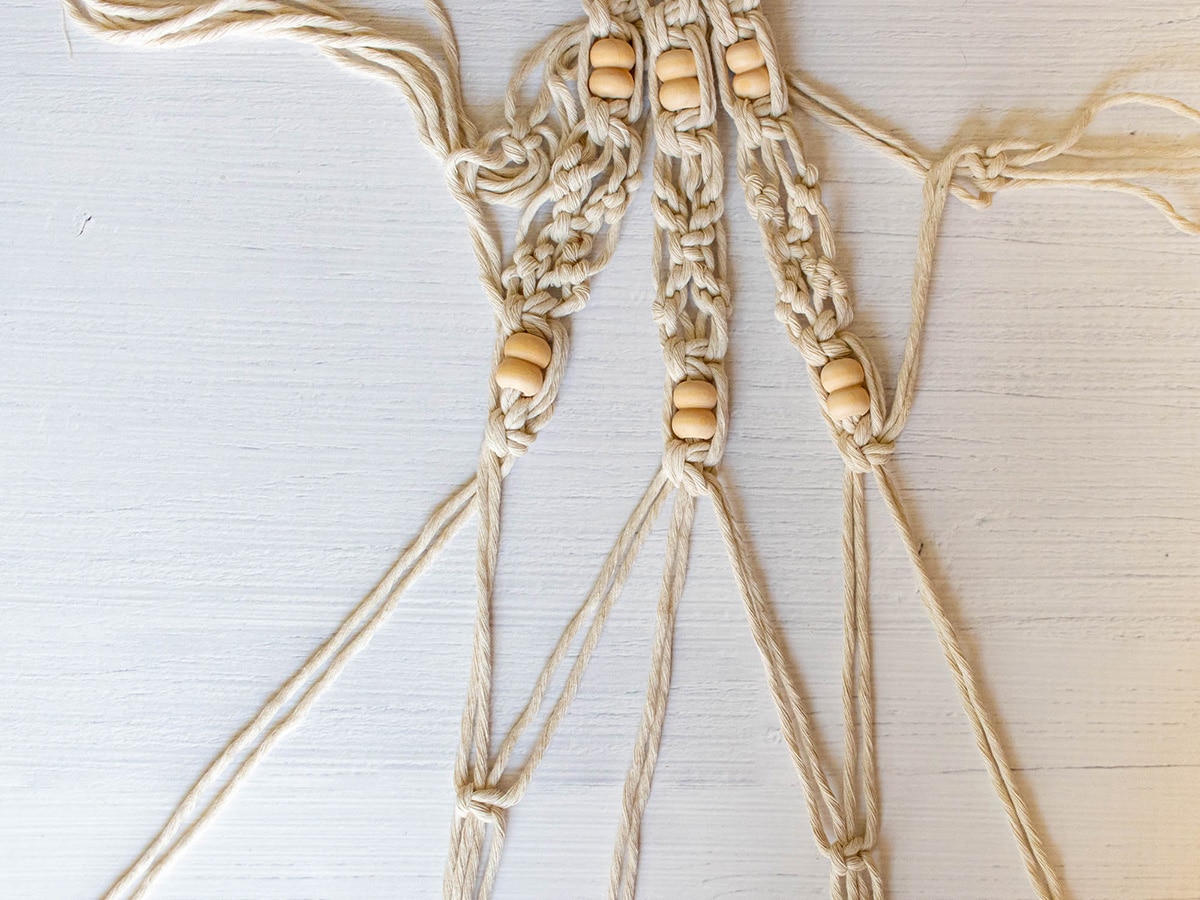
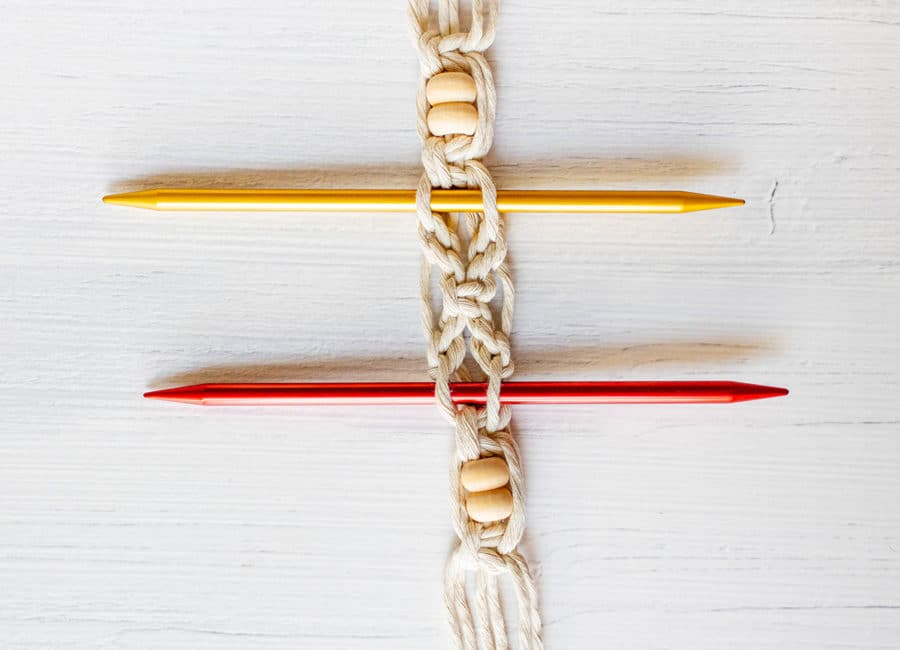
Divide your threads into four strands of six cords each. Start tying the first ribbon pattern on the first strand 10cm/3.9in below the turn-up. To make it easier to string the beads, wrap the end of the thread with Scotch tape.
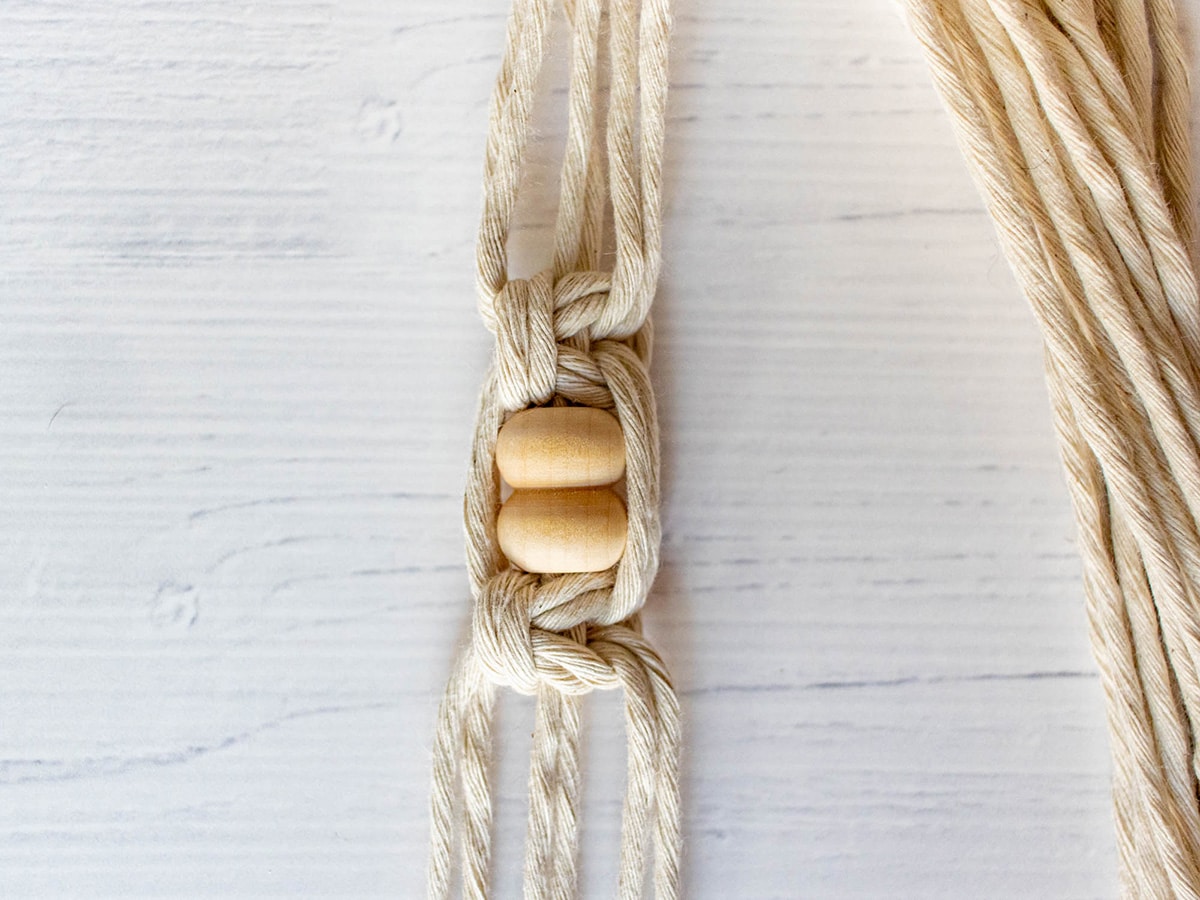
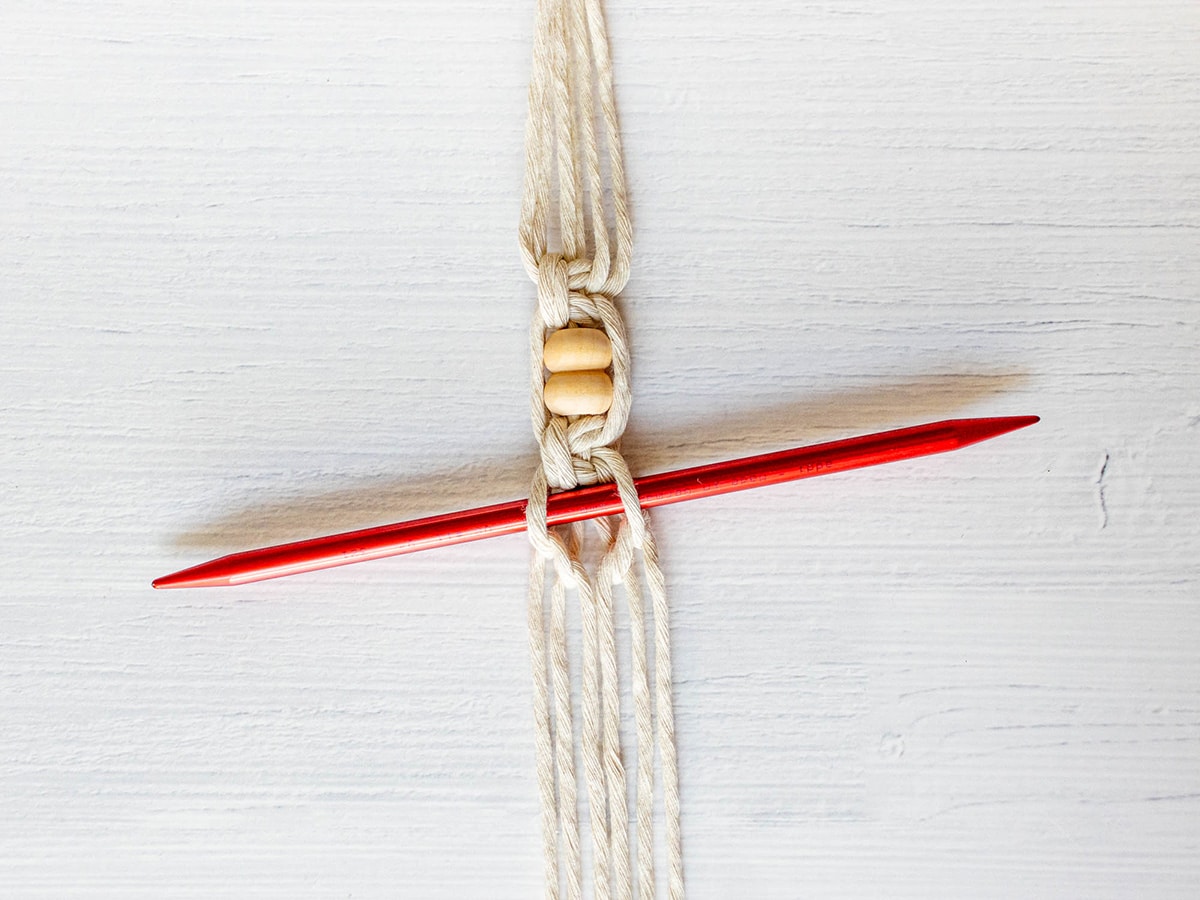
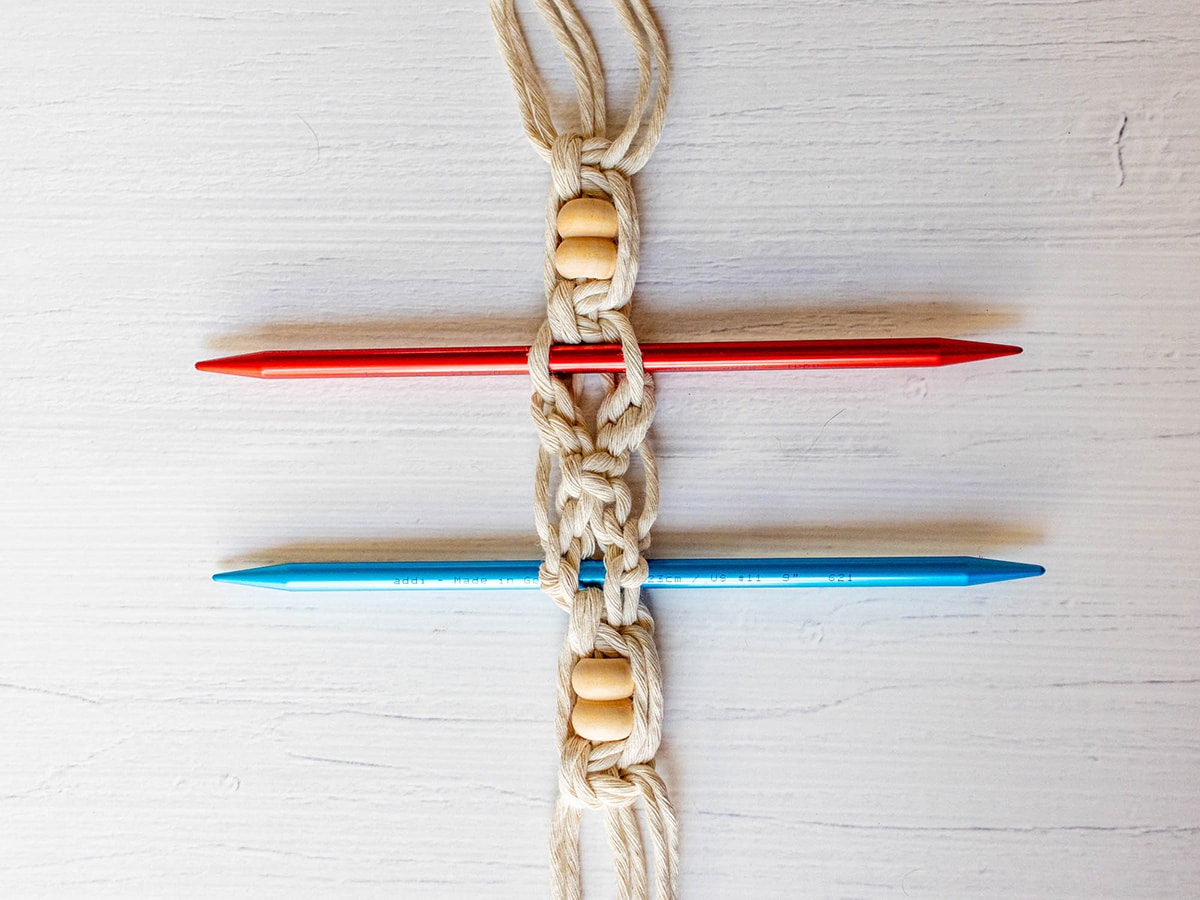
- *left-leaning square knot 2 over 2
- Thread the bead onto the holding cords
- left-leaning square knot 2 over 2
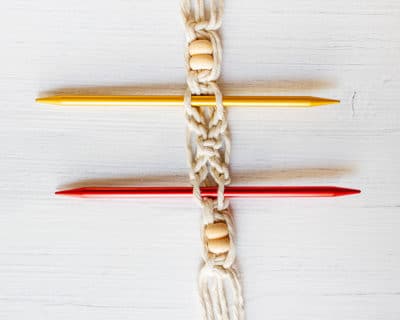
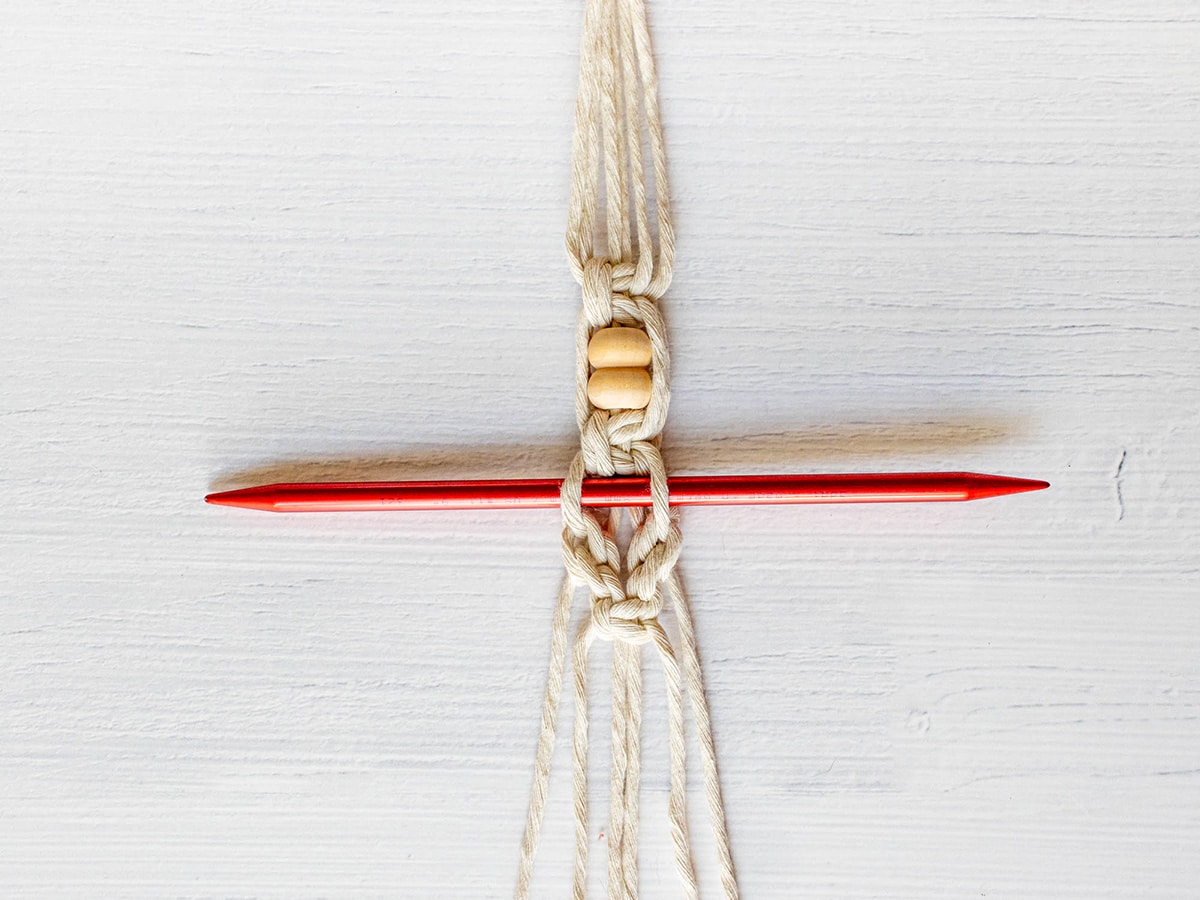
12mm/0.5in spacing (as an aid, you can insert a knitting needle before the next knot)
- Double row, falling half hitch triangle
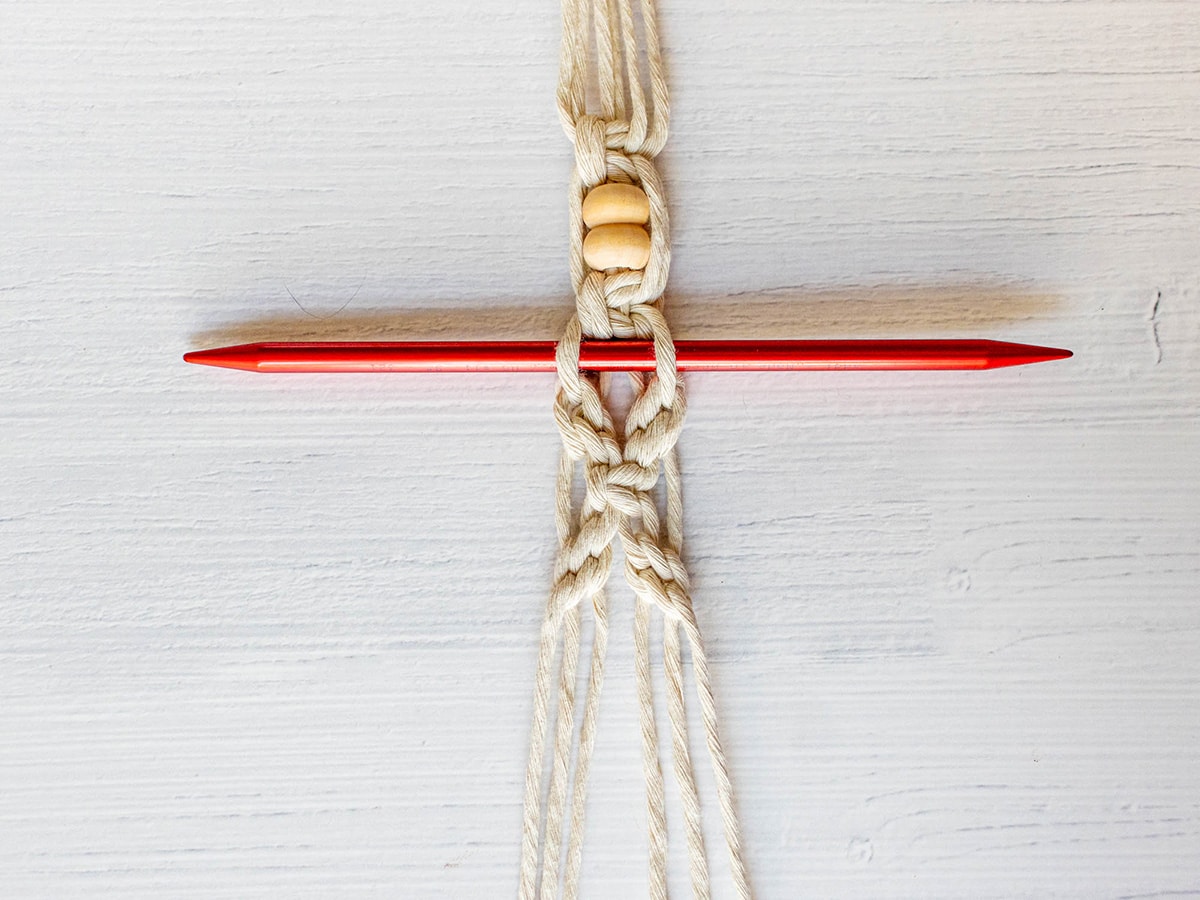
- left-leaning square knot 1 over 2 with 4 cords in the middle)
- Double row, rising half hitch triangle
12mm/0.5in distance
- left-leaning square knot
- Thread the bead onto the holding cords
- left-leaning square knot
Repeat the pattern from * on the remaining three strands
Step 3: First net pattern
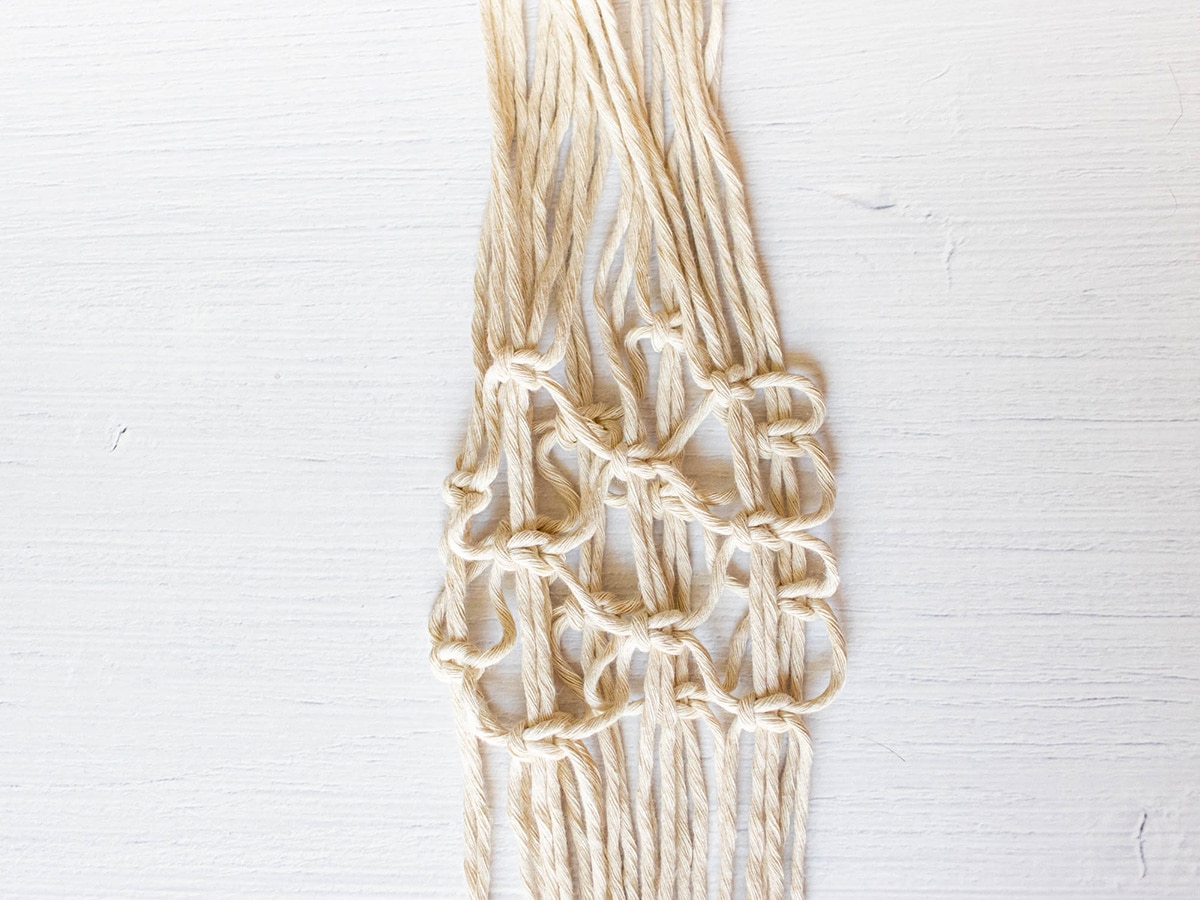
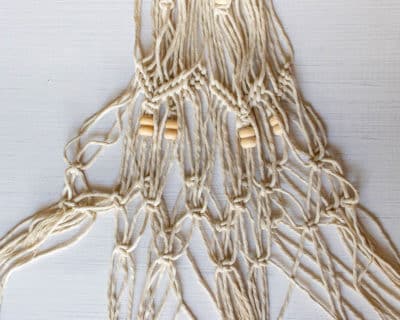
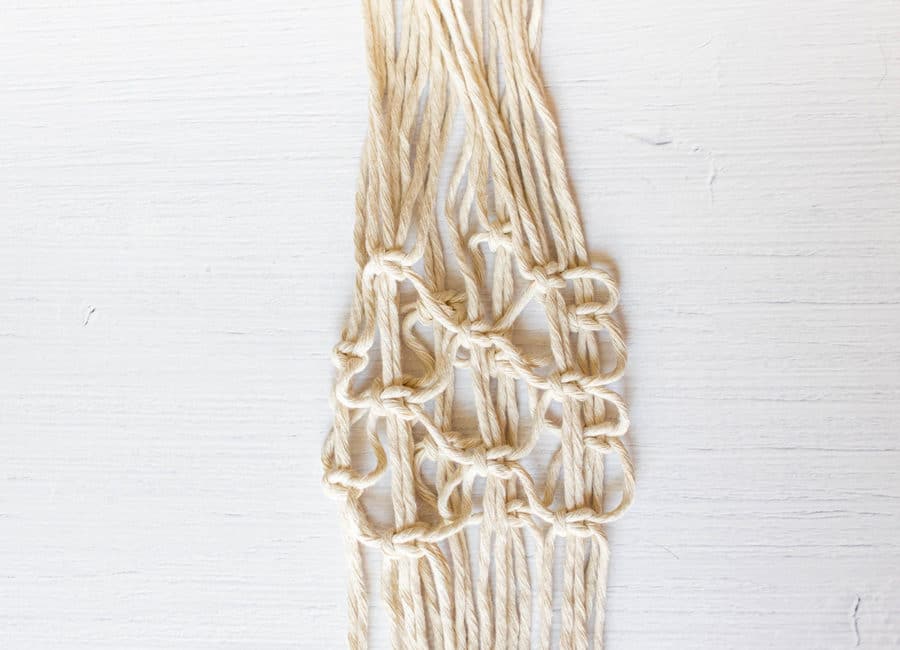
The net pattern starts 15cm/5.9in below the last knot of the ribbon pattern. The two right-hand threads of one strand are joined to the two left-hand threads of the neighboring strand on the right. The net pattern is worked in rounds. The knots of rounds with the same name are on the same holding cords!
Round 1:
- *1 left-leaning square knot 1 over 2, leave 2 threads hanging; from *repeat 4 times, the last knot closes the circle.
Round 2
- Work at an offset to Round 1. The threads left hanging now serve as holding cords. The second round is worked 2.5cm/1in away from the first round.
- *1 left-leaning square knot 1 over 2, leave 2 threads hanging; from *repeat 4 times.
Now repeat the rounds as follows:
- Round 1
- Round 2
- Round 1
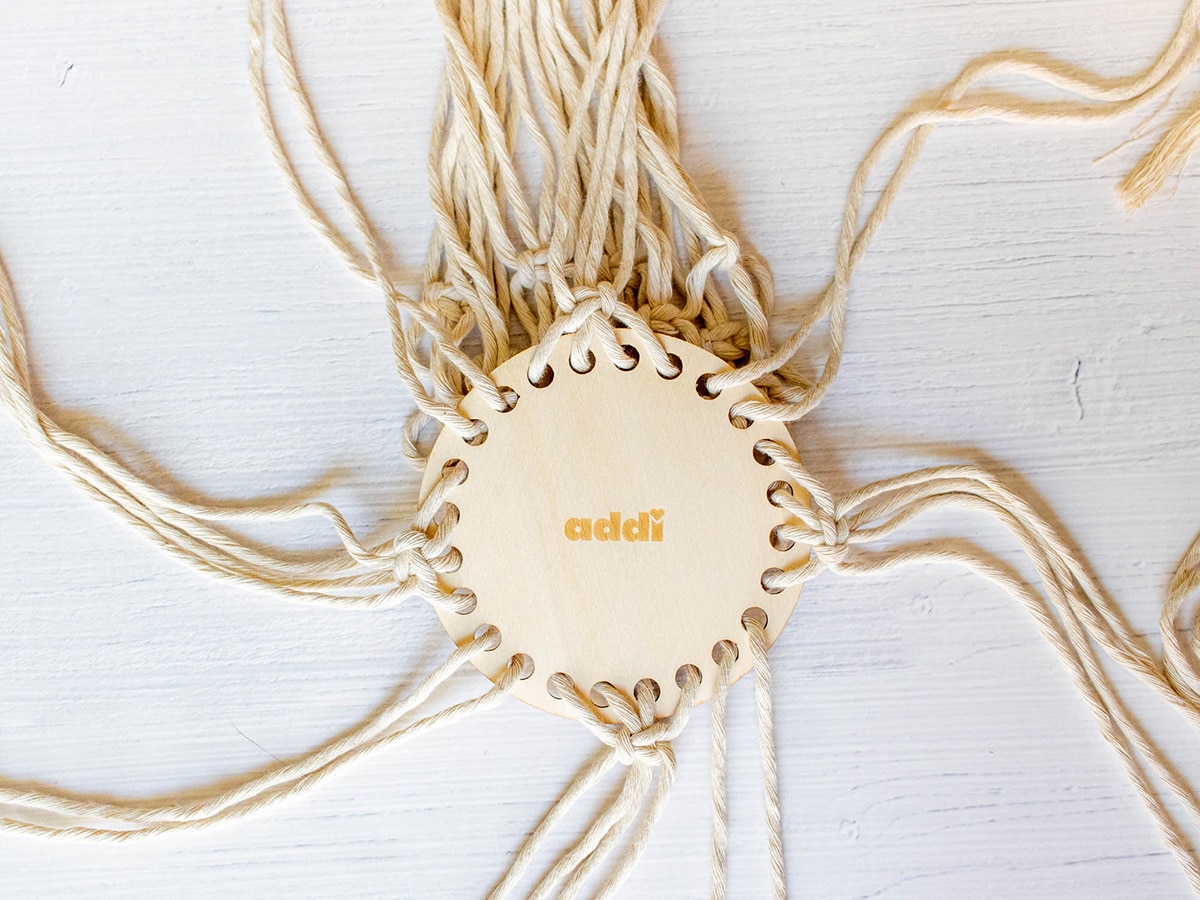
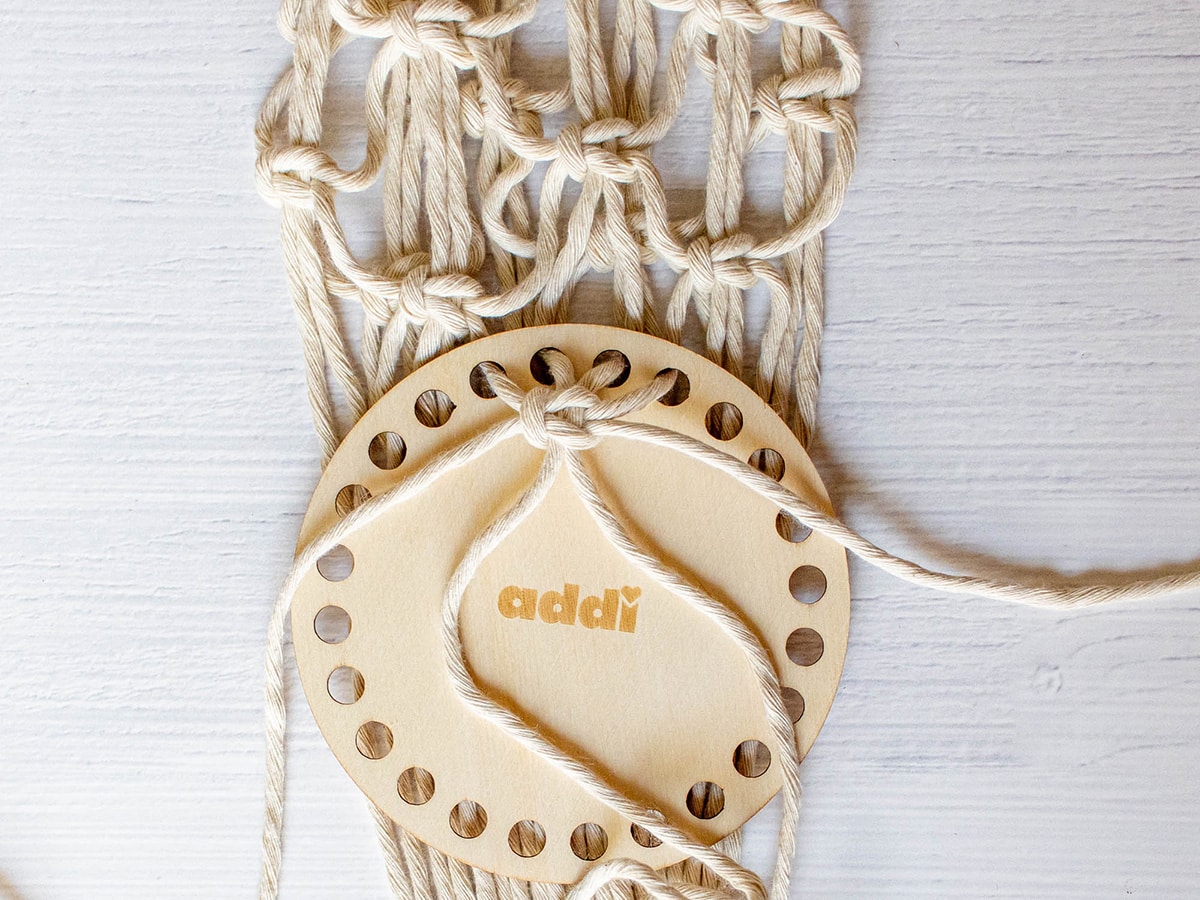
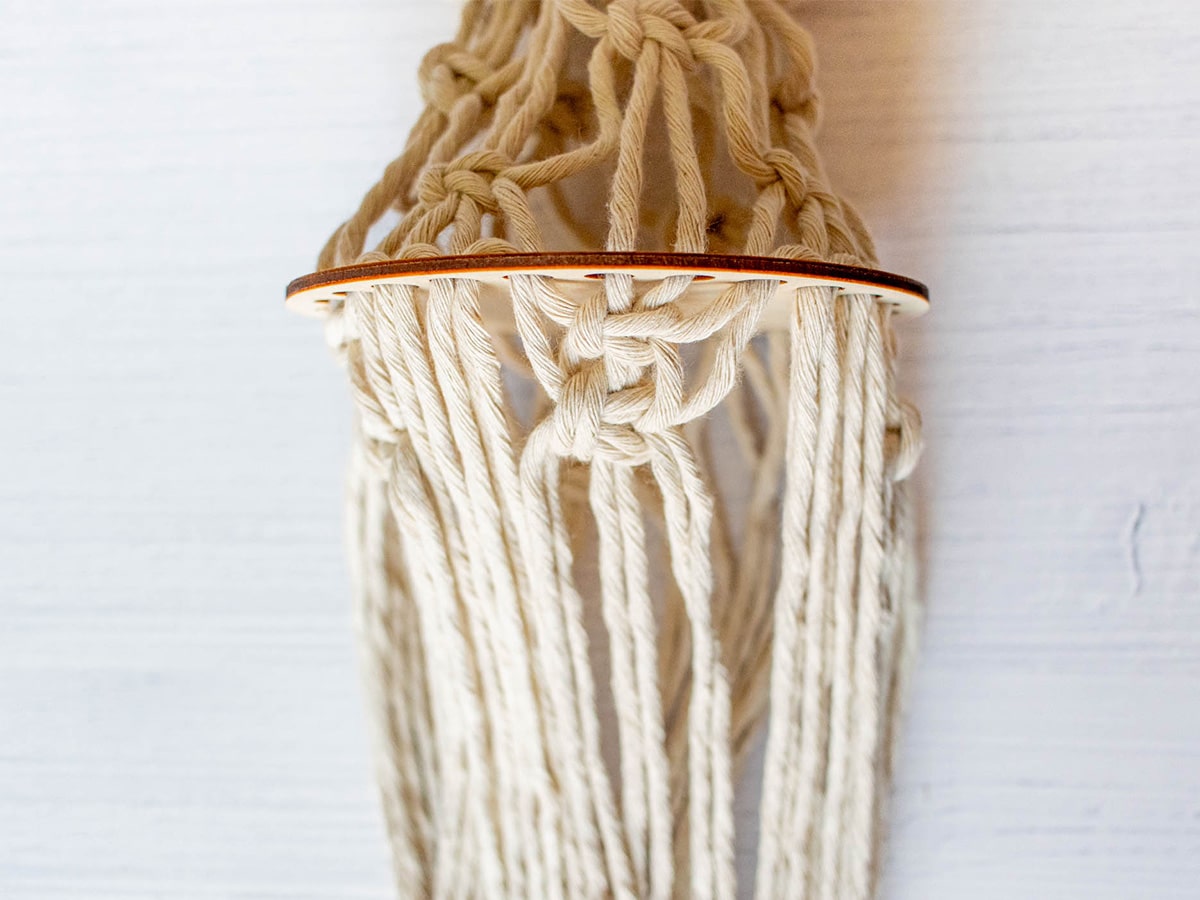
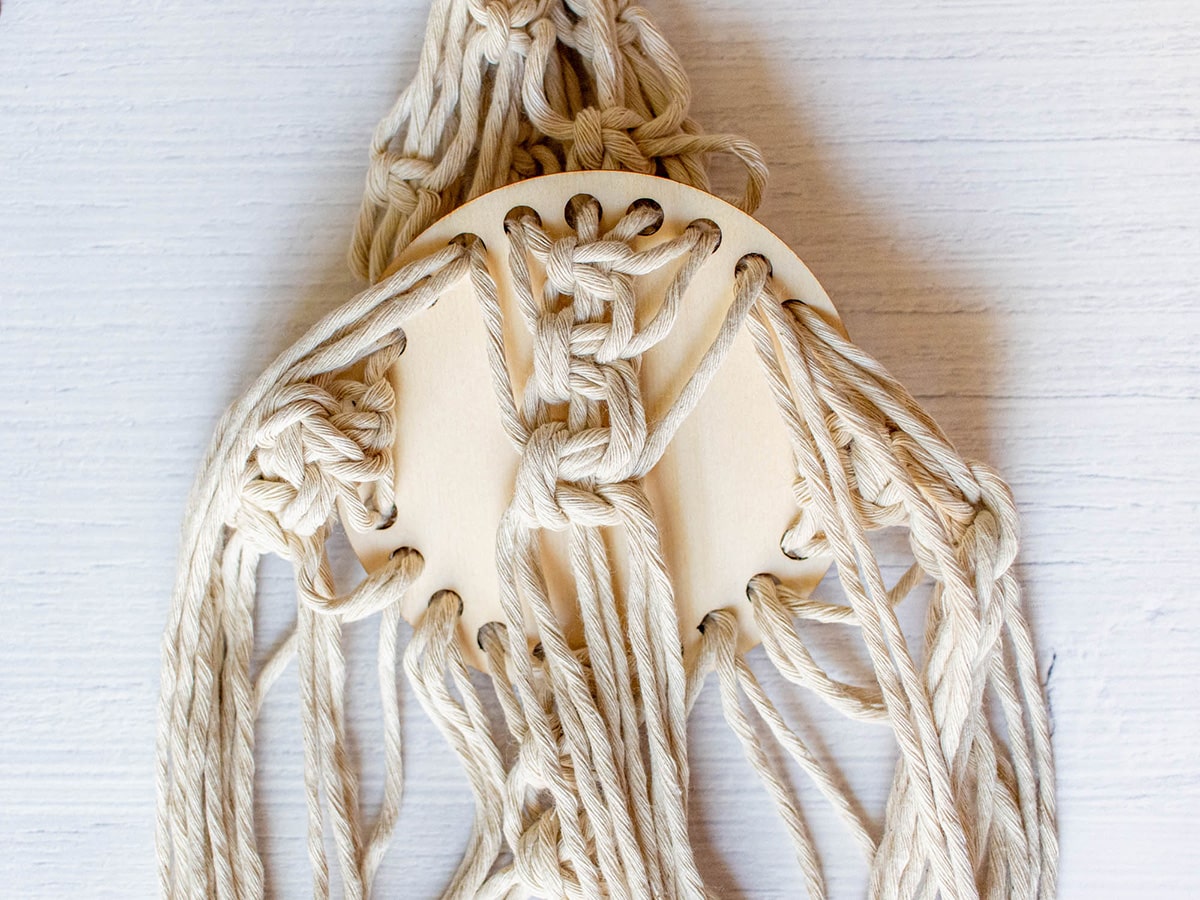
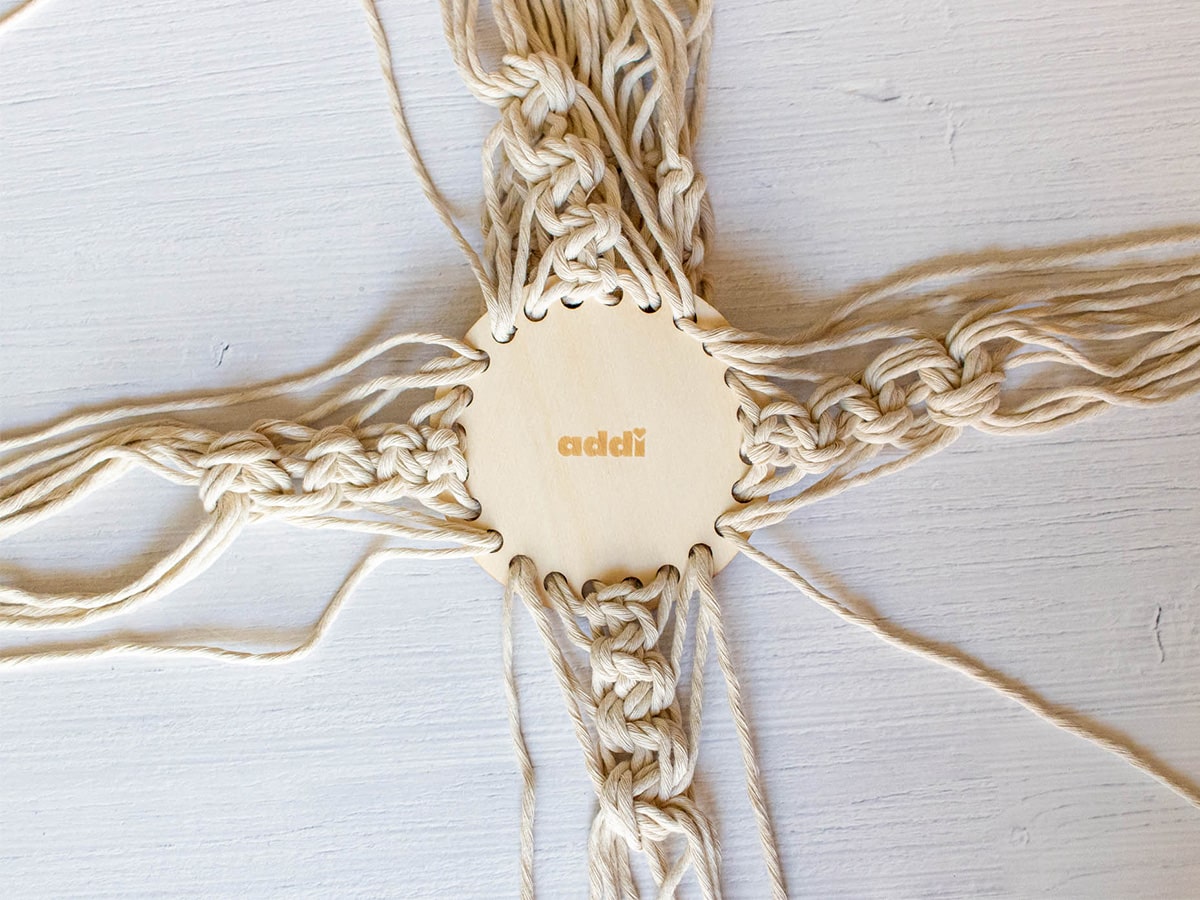
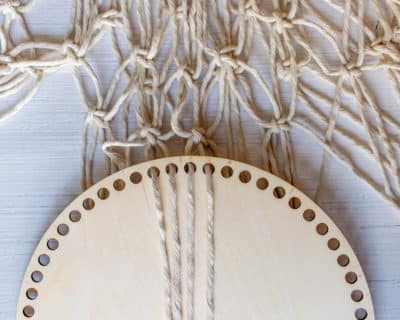
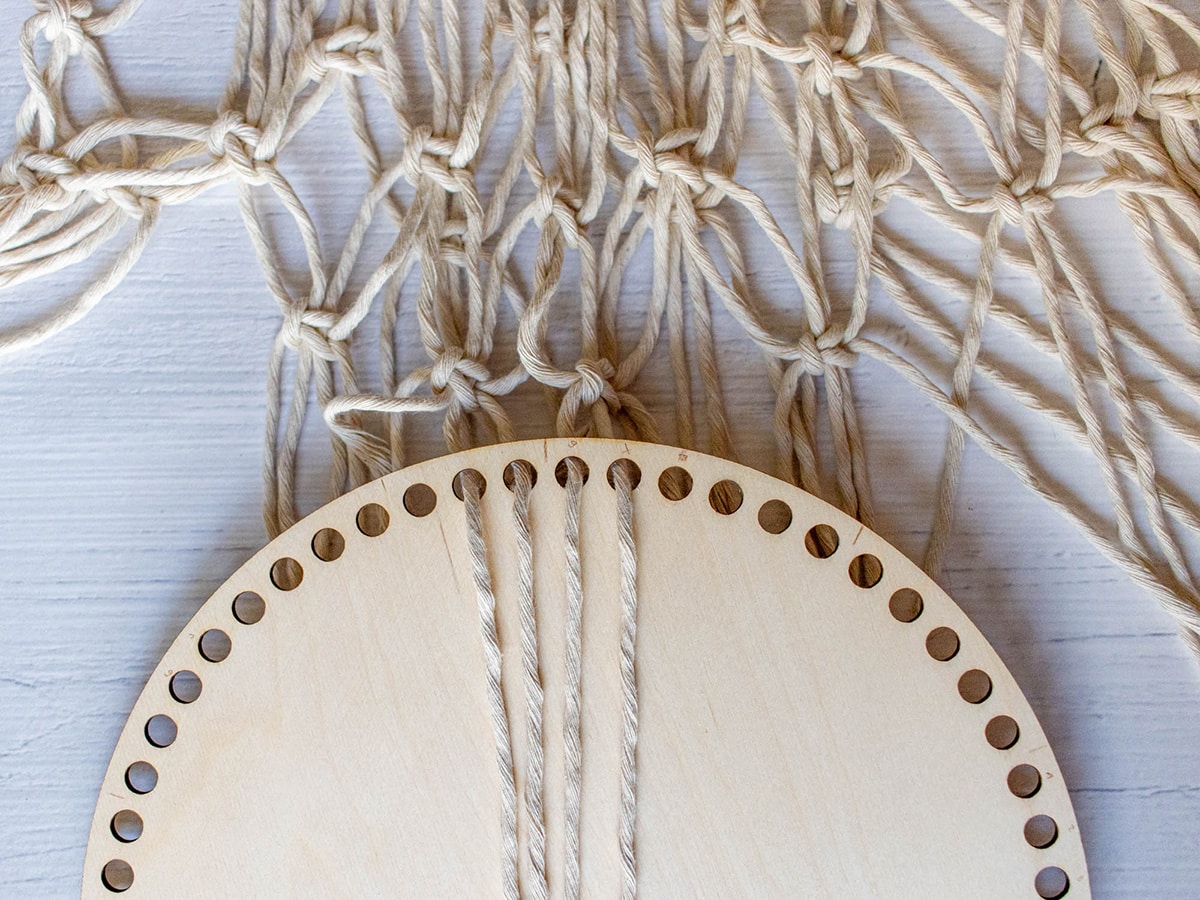
- Pull the threads through the holes of the small addiShapes bottom before the next round.
- Repeat round 2
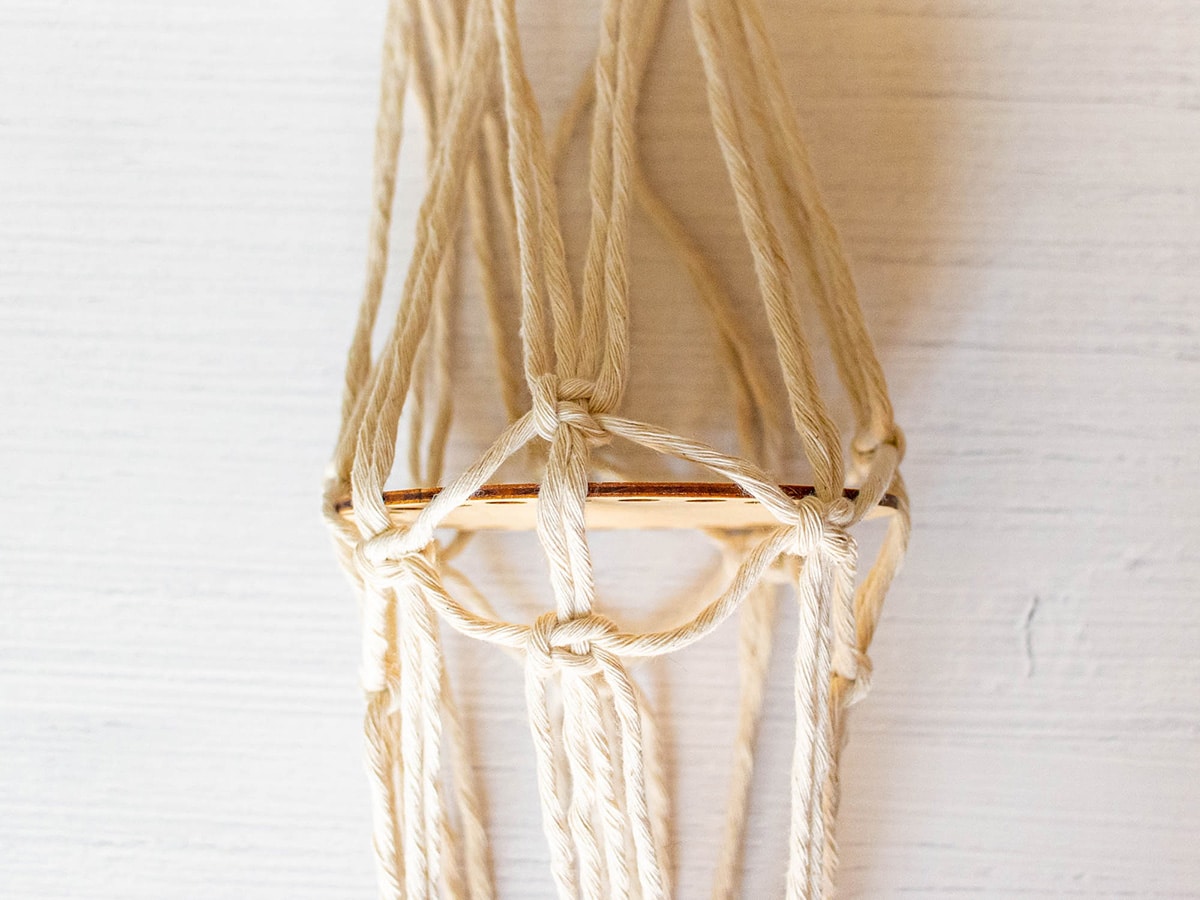
Step 4: Knot the layer transition
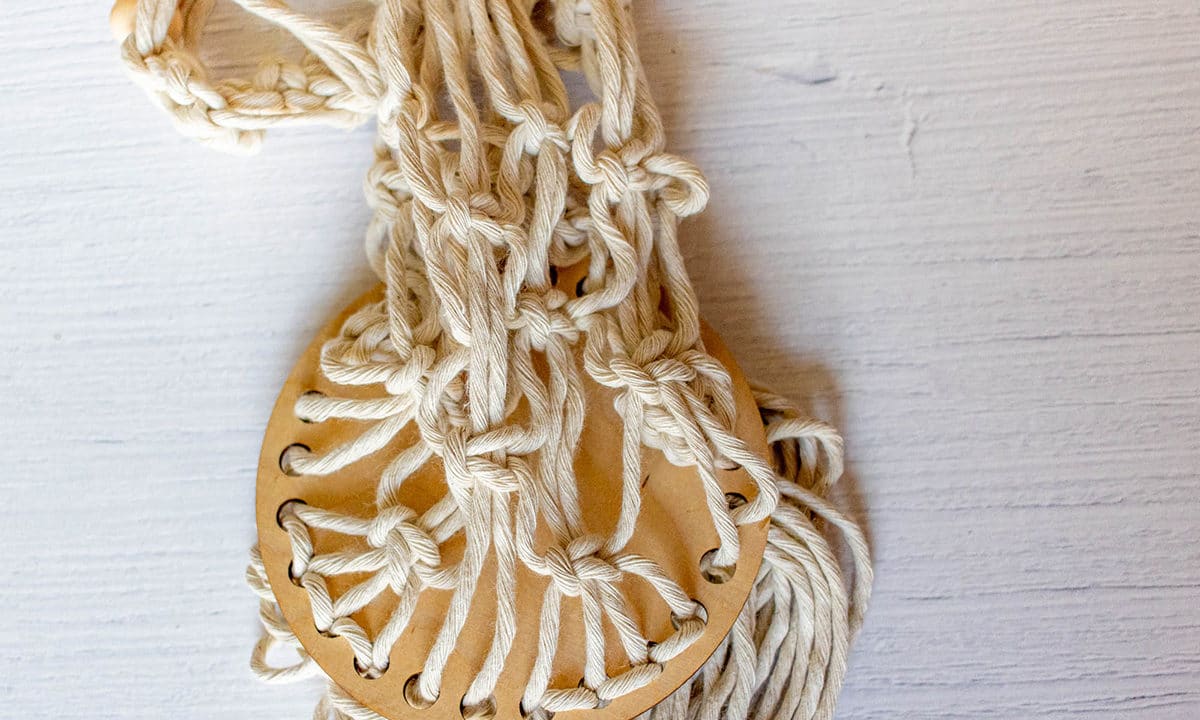
- Cut 12 threads, each 2.8m/71in long.
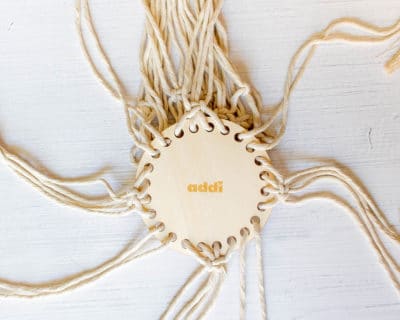
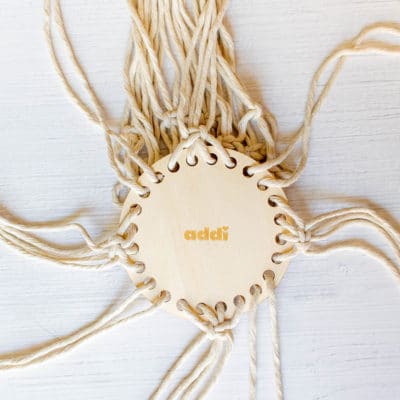
- Pull them from above through the holes in the threads that form the cross knots under the base as shown. To make it easier to pull the ends through the holes, tape a strip of Scotch tape around them.
Step 4: Knot the layer transition
- Cut 12 threads, each 2.8m/71in long.
- Pull them from above through the holes in the threads that form the cross knots under the base as shown. To make it easier to pull the ends through the holes, tape a strip of Scotch tape around them.
Step 5: Second ribbon pattern
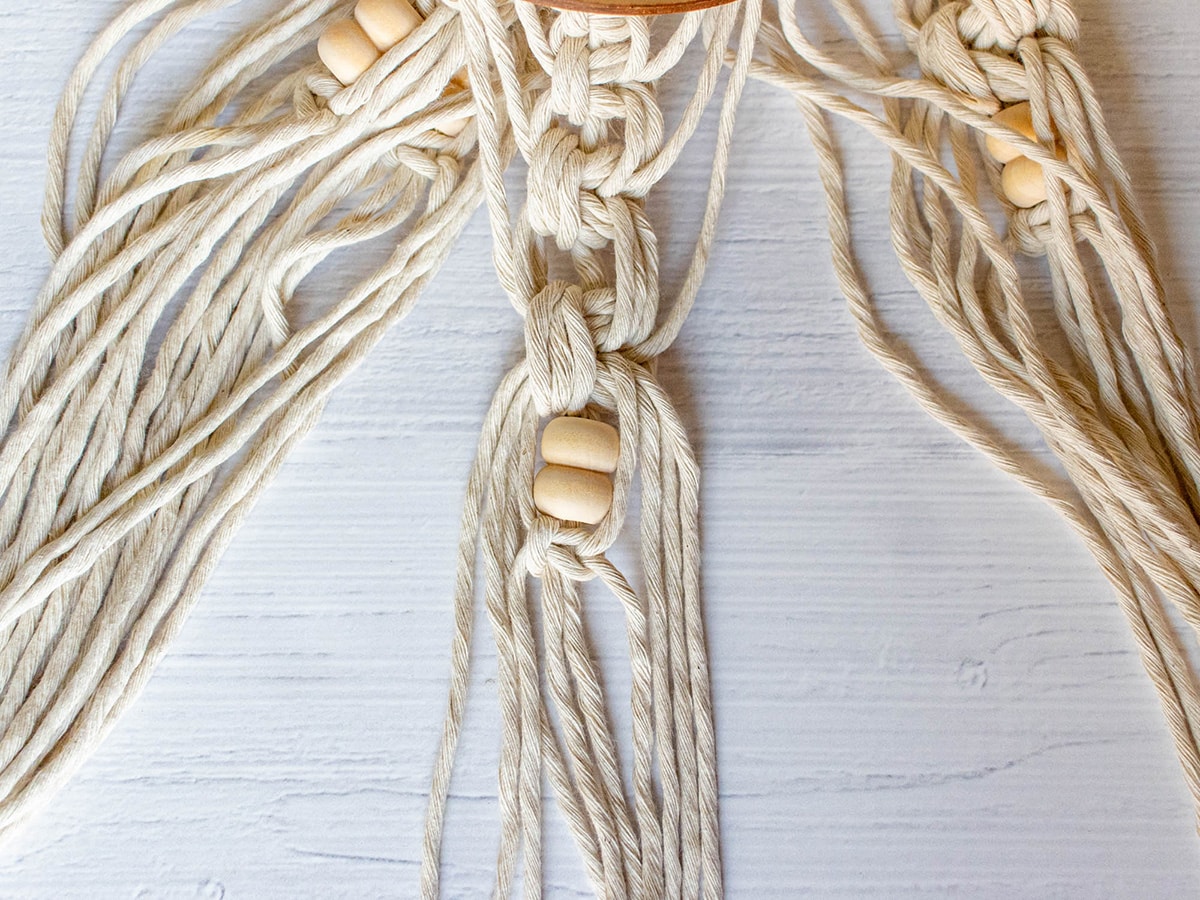
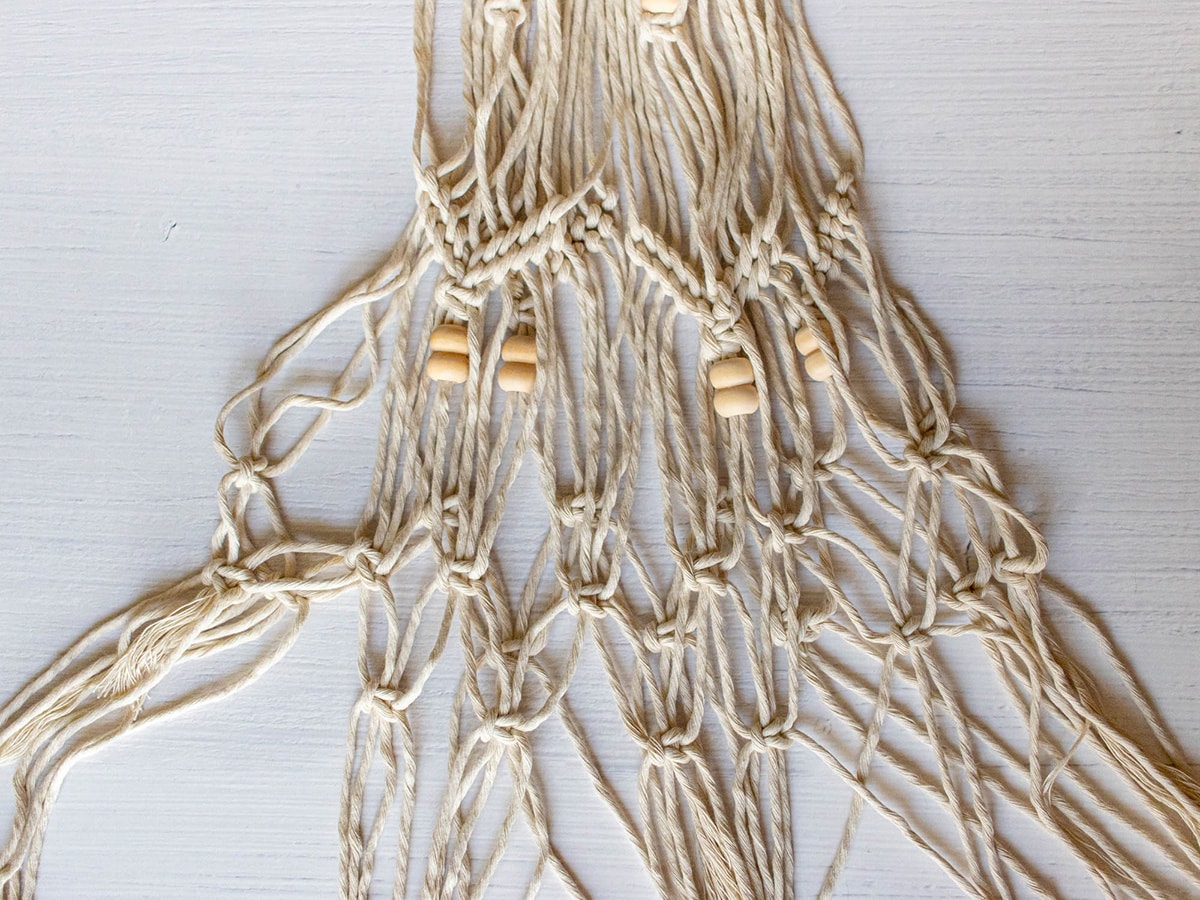
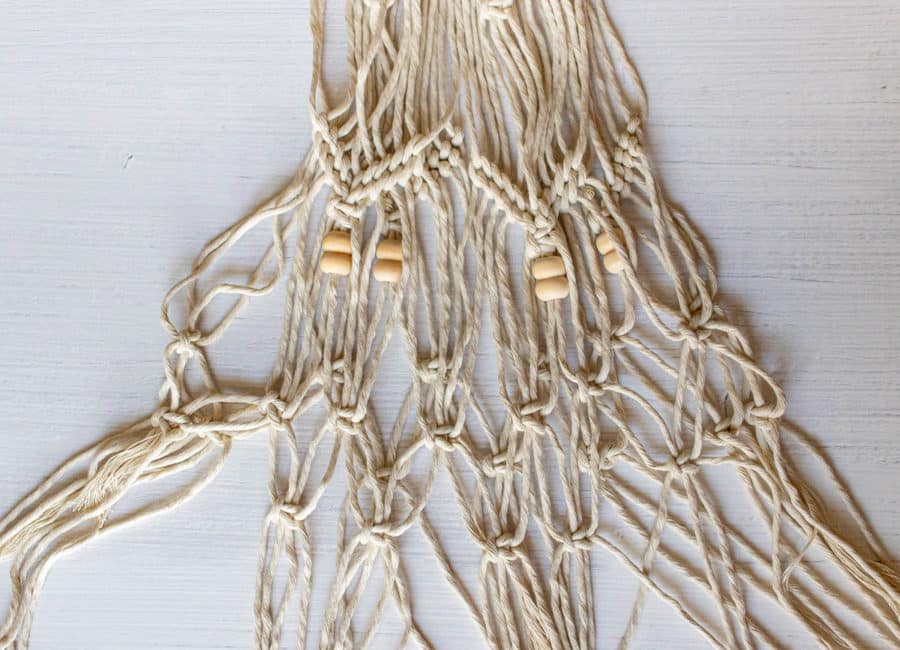
Divide your threads into 4 strands of 12 threads each. Start tying the second ribbon pattern on the first strand directly under the bottom:
- *Left-leaning square knot 2 over 2 (middle 2 threads of the strand form the holding cords).
- Left-leaning square knot 3 over 2 (the middle 2 threads of the strand form the holding cords)
- Left-leaning square knot 4 over 2 (the middle 2 threads of the strand form the holding cords)
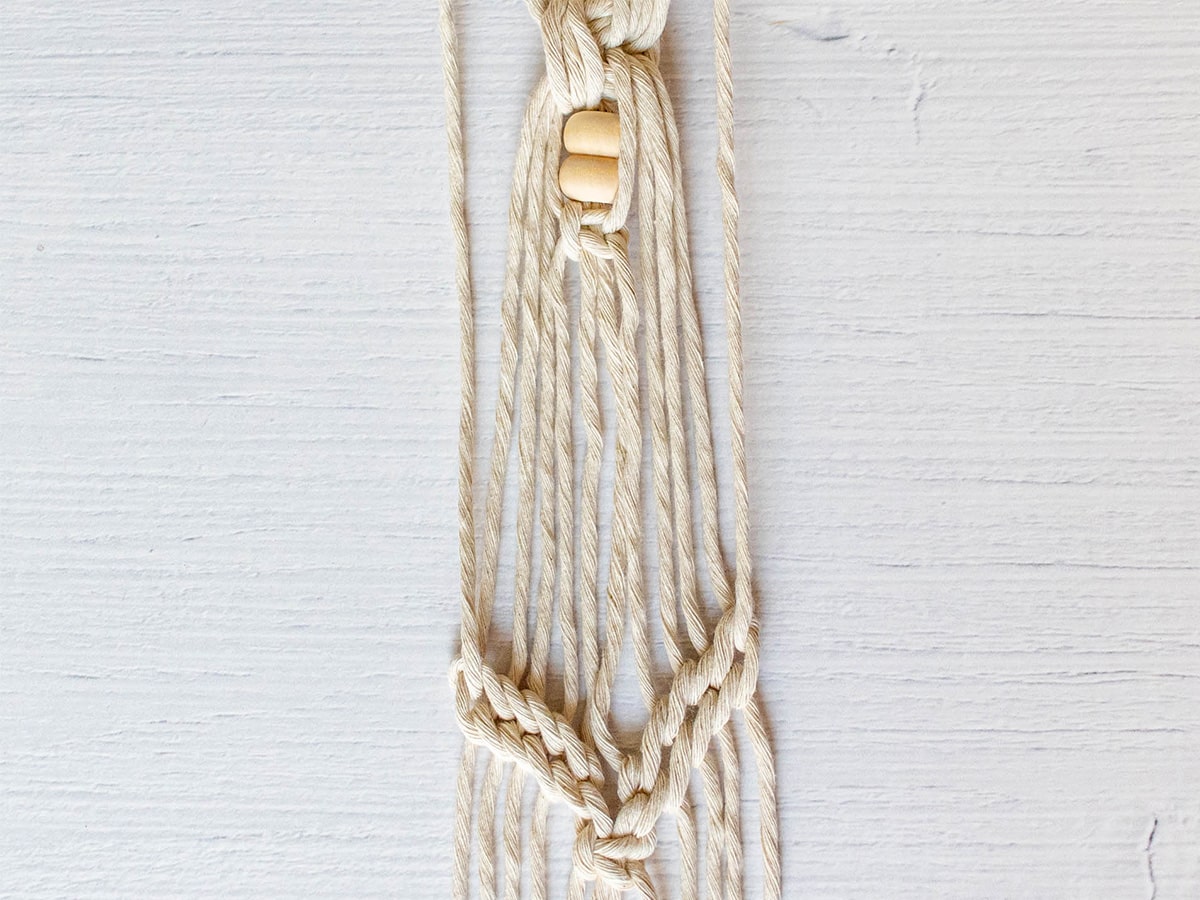
- Pull the bead onto the holding cords
- Left-leaning square knot 1 over 2 (the middle 2 threads of the strand form the holding cords)
20 cm distance measured from the addiShapes Circle
- Double row, falling half hitch triangle
- Left-leaning square knot 1 over 2 (the middle 2 threads of the strand form the holding cords)
Repeat the pattern from * on the remaining 3 strands. String a bead on the middle 2 threads of each strand.
Step 6: Second mesh pattern
The net pattern begins 15cm/5.9in below the first knot of the half hitch triangle. In this mesh pattern, all threads are worked in knots. The net pattern is worked in 3 rounds. The bottom is pulled up before the last round!
Round 1
- Start with the two right-hand threads of one strand and the two left-hand threads of the next strand to the right. All knots are at the same height. The last knot closes the round.
- 12 left-leaning square knots 1 over 2.
Round 2
Work at an offset to Round 1. The holding cords of the first round are now the working cords. The second round is worked 4.5cm/1.8in from the first round:
- 12 left-leaning square knots 1 over 2
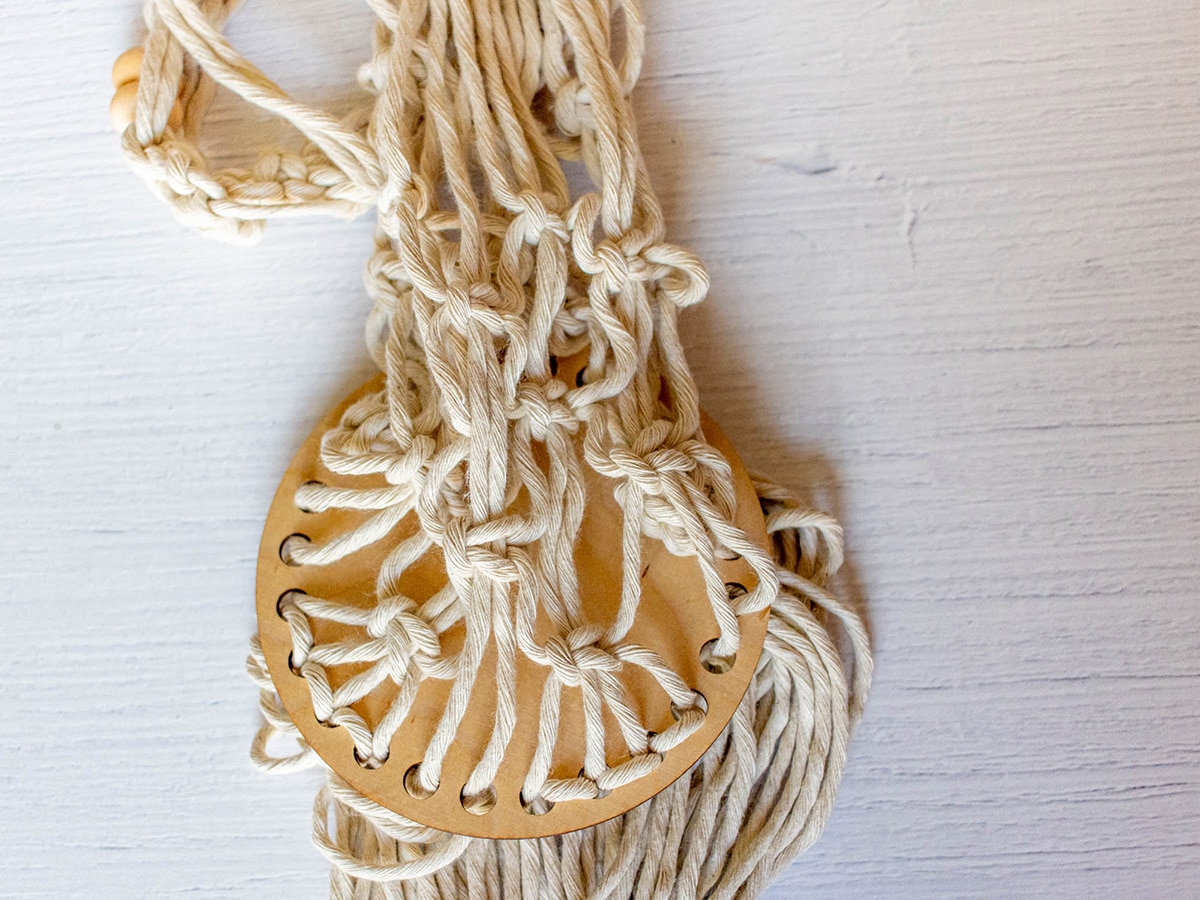
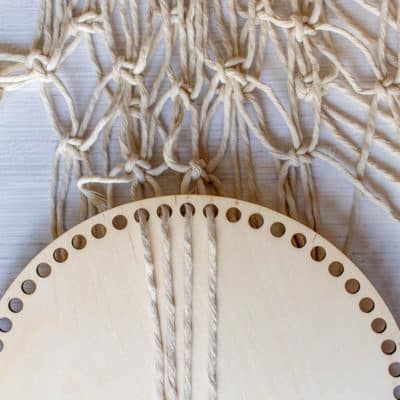
- Pull the threads through the holes in the large addiShapes Circle.
Please note: You have 48 threads and the bottom has 57 holes. To distribute the free holes evenly, always pull opposite groups of 4 threads onto the underside of the base. Each group consists of the 4 threads that are needed for the next round of square knots in the offset to Round 2.
Repeat Round 1 underneath the bottom with 4.5cm/1.8in distance to Round 2.
Step 7: Finishing
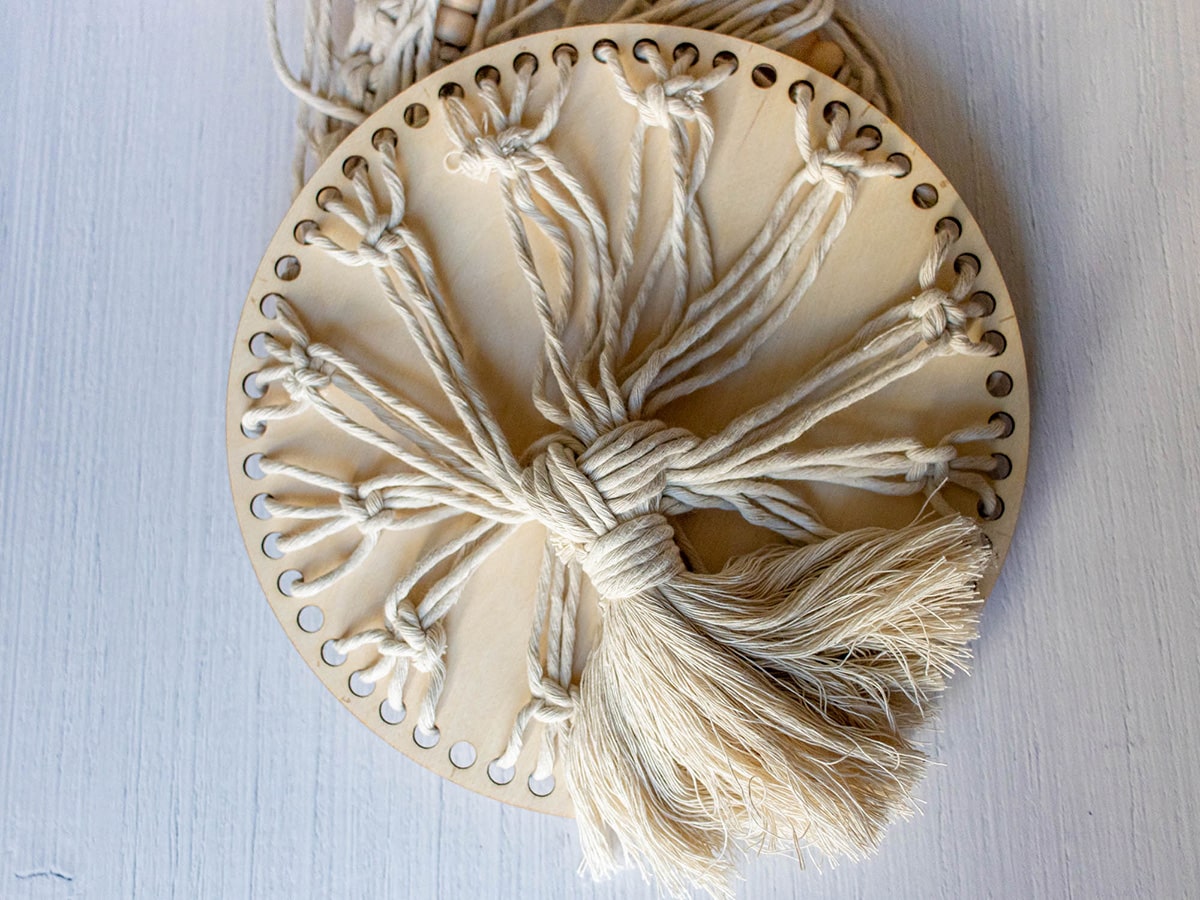
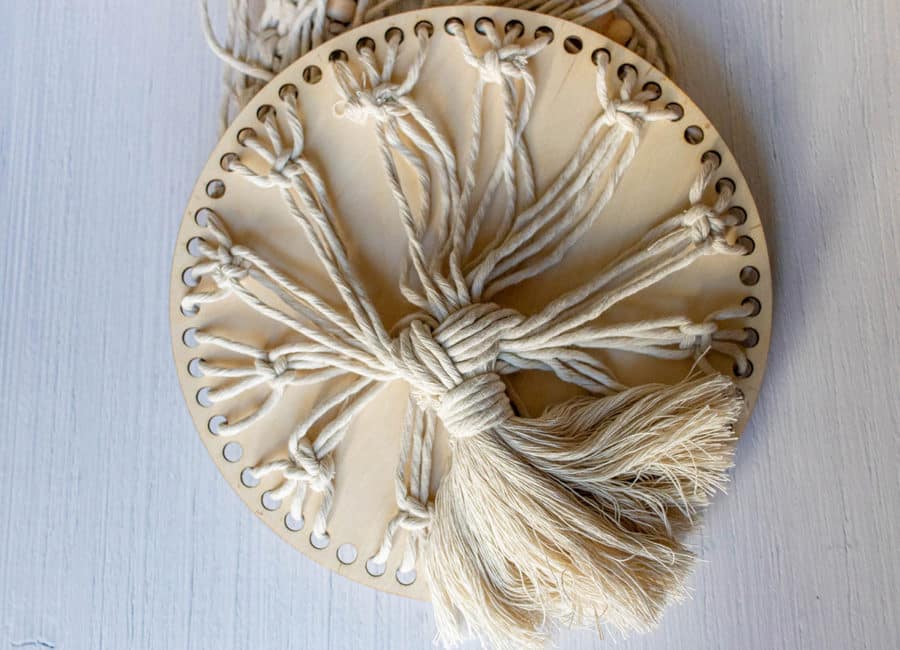
Cut 2 strands with 8 threads each. The remaining 32 threads form the third strand. Make a half square knot (only up to the first tightening of the threads) 8 over 32. Position this knot as close as possible to the center of the bottom.
Take an outside thread and wrap it tightly around the remaining 47 threads over a length of 2.5cm/1in. Pull the end under the wraps up into the knot with a sewing needle, weave it in and cut the thread.
Cut all the remaining threads to a length of 12cm/4.7in below the wrapping. Comb out the twist with a comb or brush.
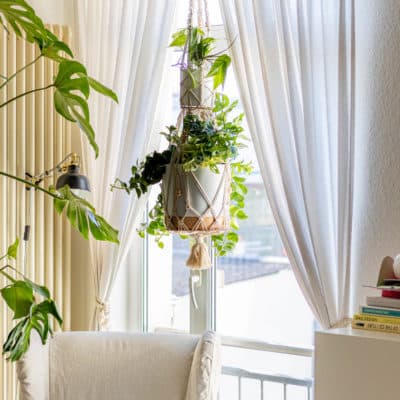
Tip: If you want the threads to be particularly smooth, iron them - this works best with a hair straightener! Cut back any excess threads and insert the flower pots into the hanging basket.
Instructions + Photos: LaLilly
The addi Shapes birch wood bottoms can be used in a variety of ways. Whether crocheted into a basket, bag or tray or woven into a basket using the paper technique or knotted as macramé.
More instructions for the addiShapes can be found below.
Instructions + Photos: LaLilly
The addi Shapes birch wood bottoms can be used in a variety of ways. Whether crocheted into a basket, bag or tray or woven into a basket using the paper technique or knotted as macramé.
More instructions for the addiShapes can be found below.
