
Knitting tutorial
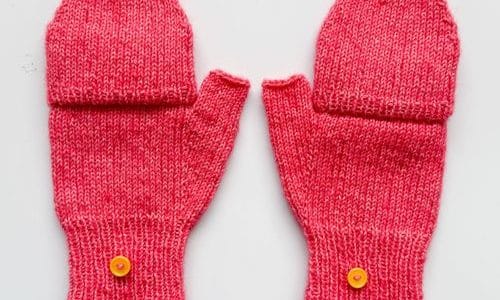
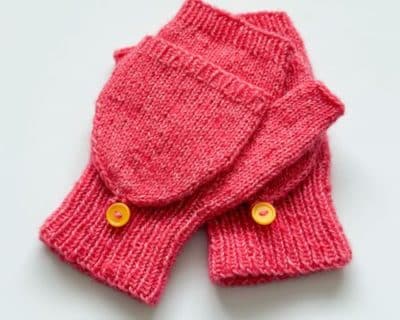
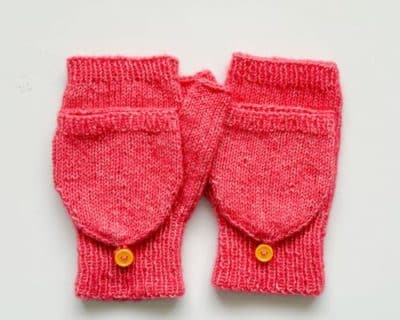
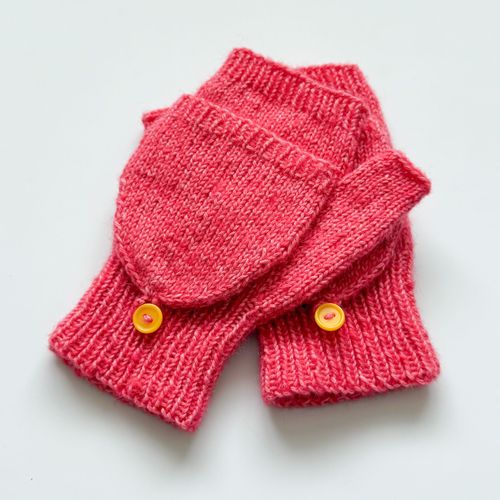
Knit Convertible Gloves fingerless with a cap
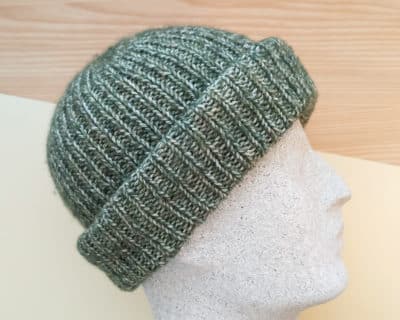
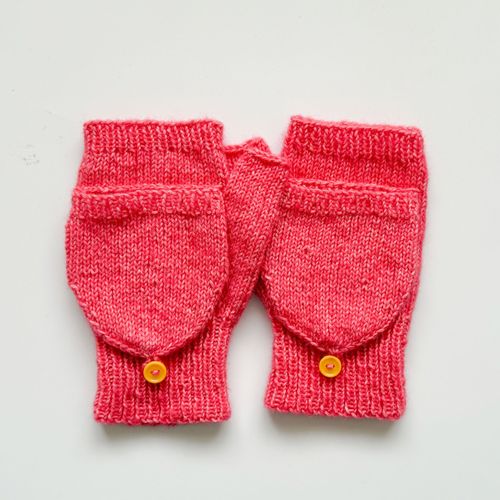
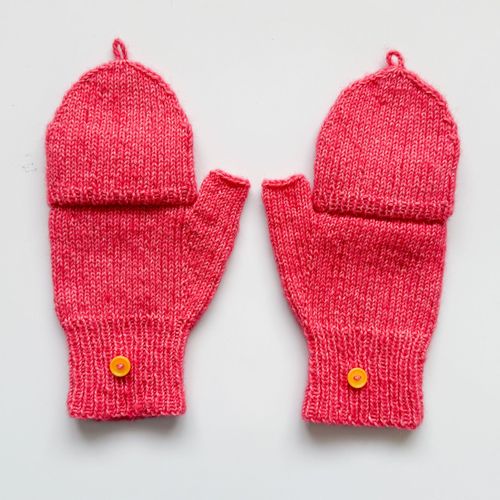
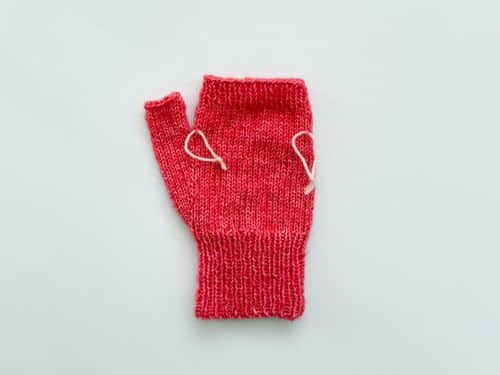
This simple convertible glove is a fun and satisfying project. Worked entirely in stockinette stitch, it’s perfect for showcasing beautiful yarn and adding a contrasting button for extra impact. The soft, bouncy texture of Lang Yarns Regina gives the gloves a polished and cosy look.
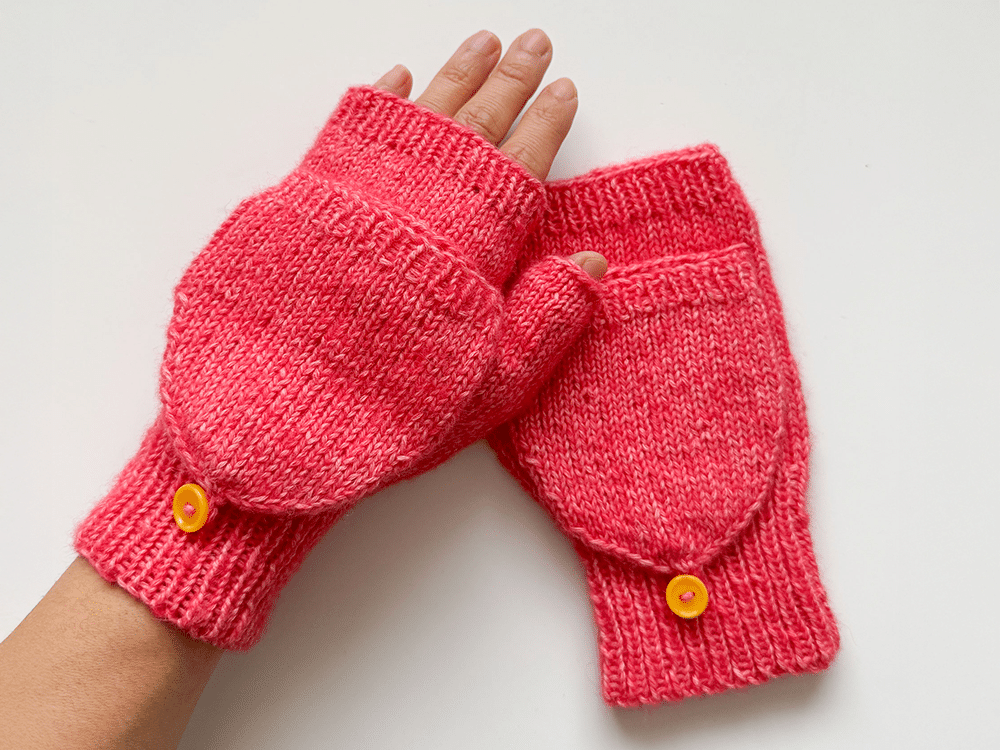
Table of contents
This is what you need
- 1 (2, 2, 2, 2, 2) balls of Lang Yarns Regina 191yds/1.8oz (175m/50g), colour 29
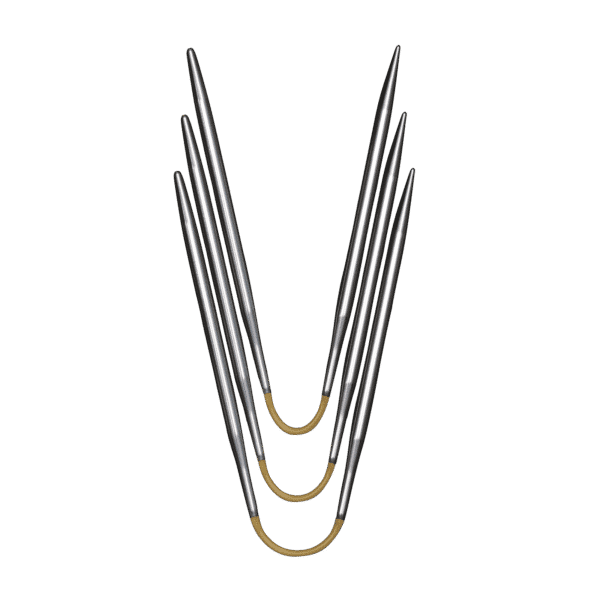
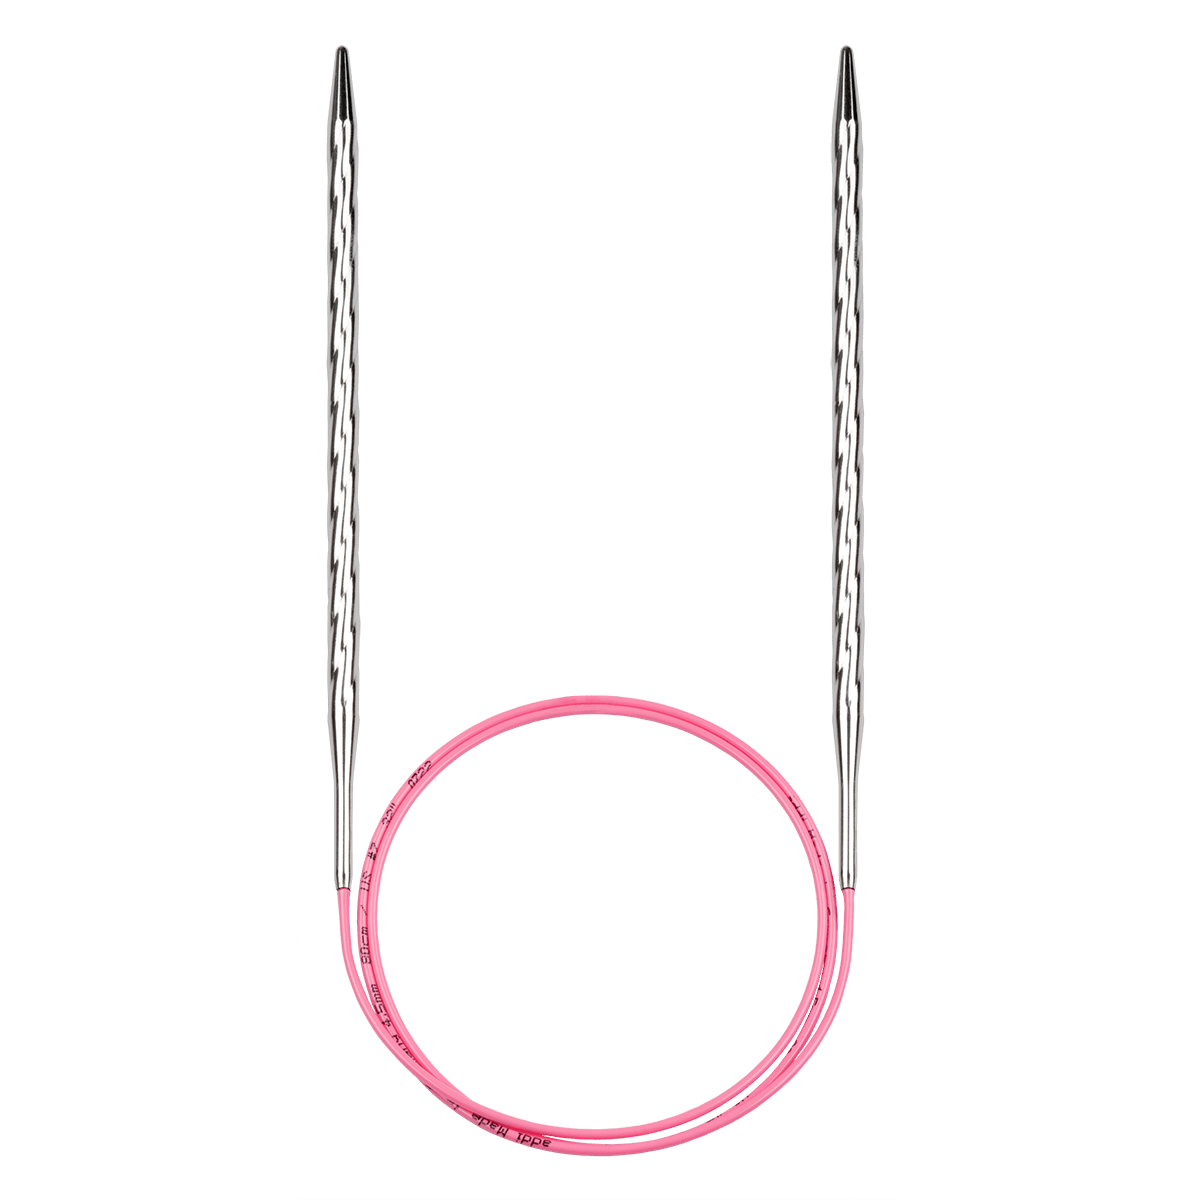
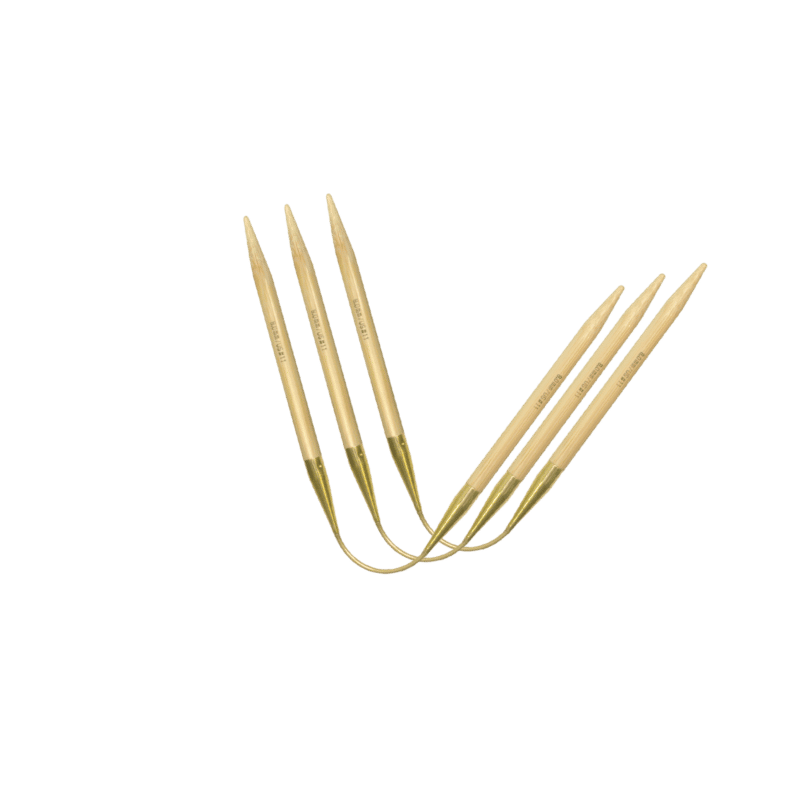
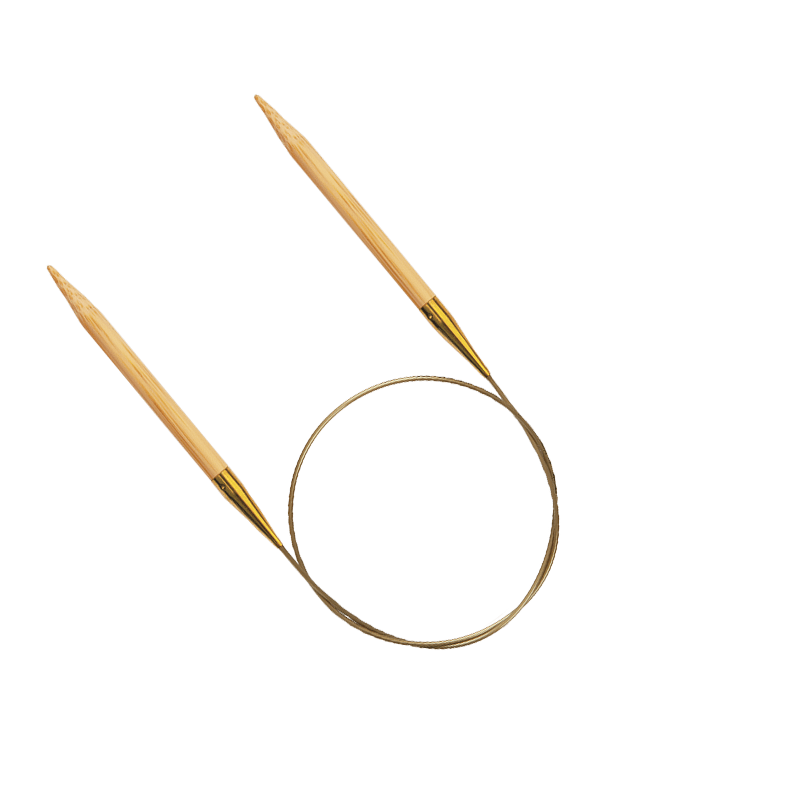
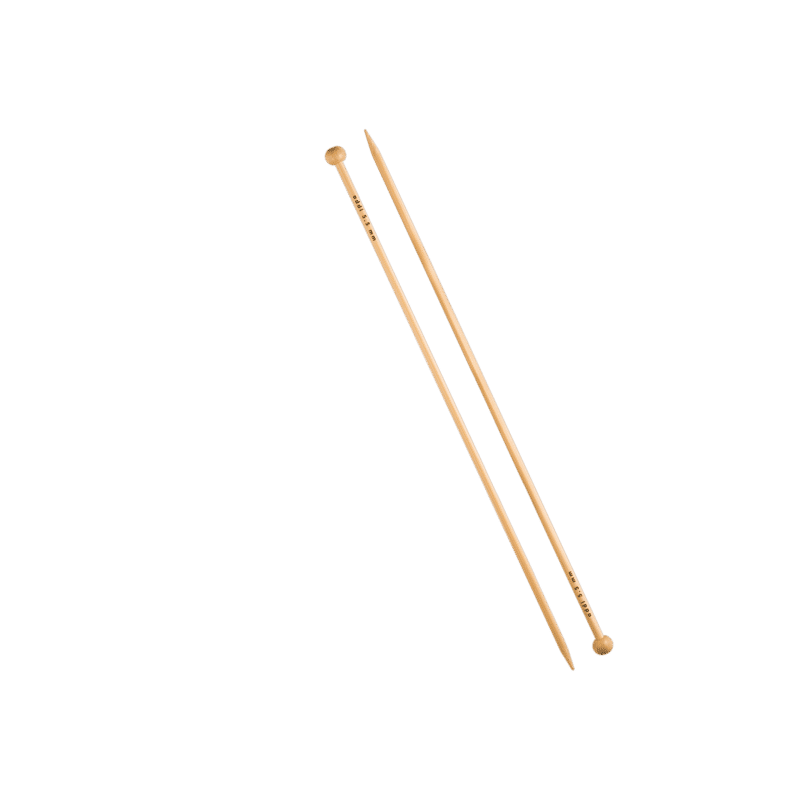
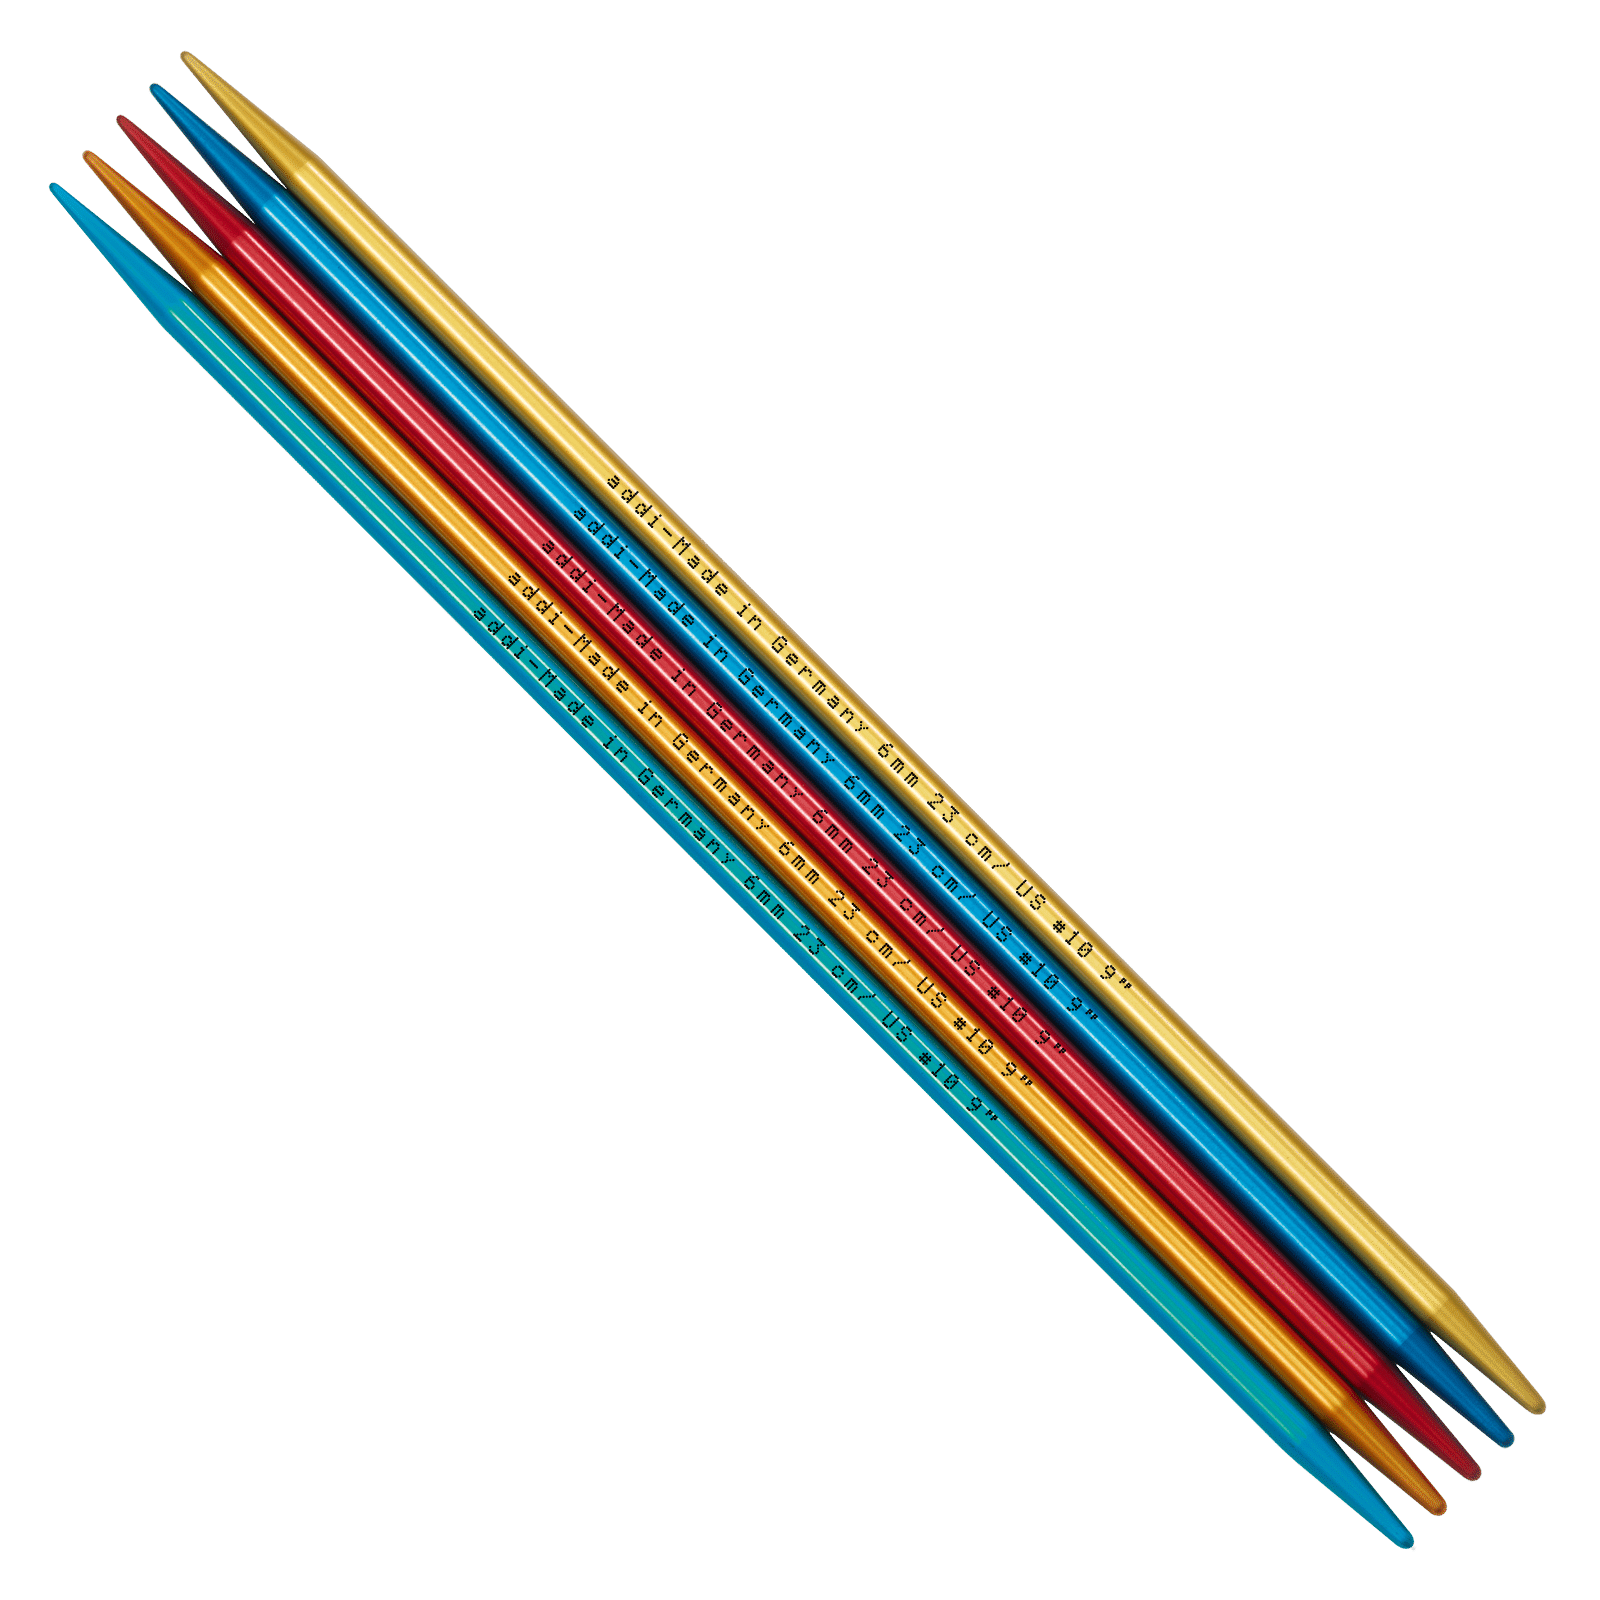
- addiColibri double pointed needles 3.25 mm or size needed to obtain tension
- addiColibri double pointed needles 3 mm or size needed to obtain tension
- 2 addiLove stitch markers
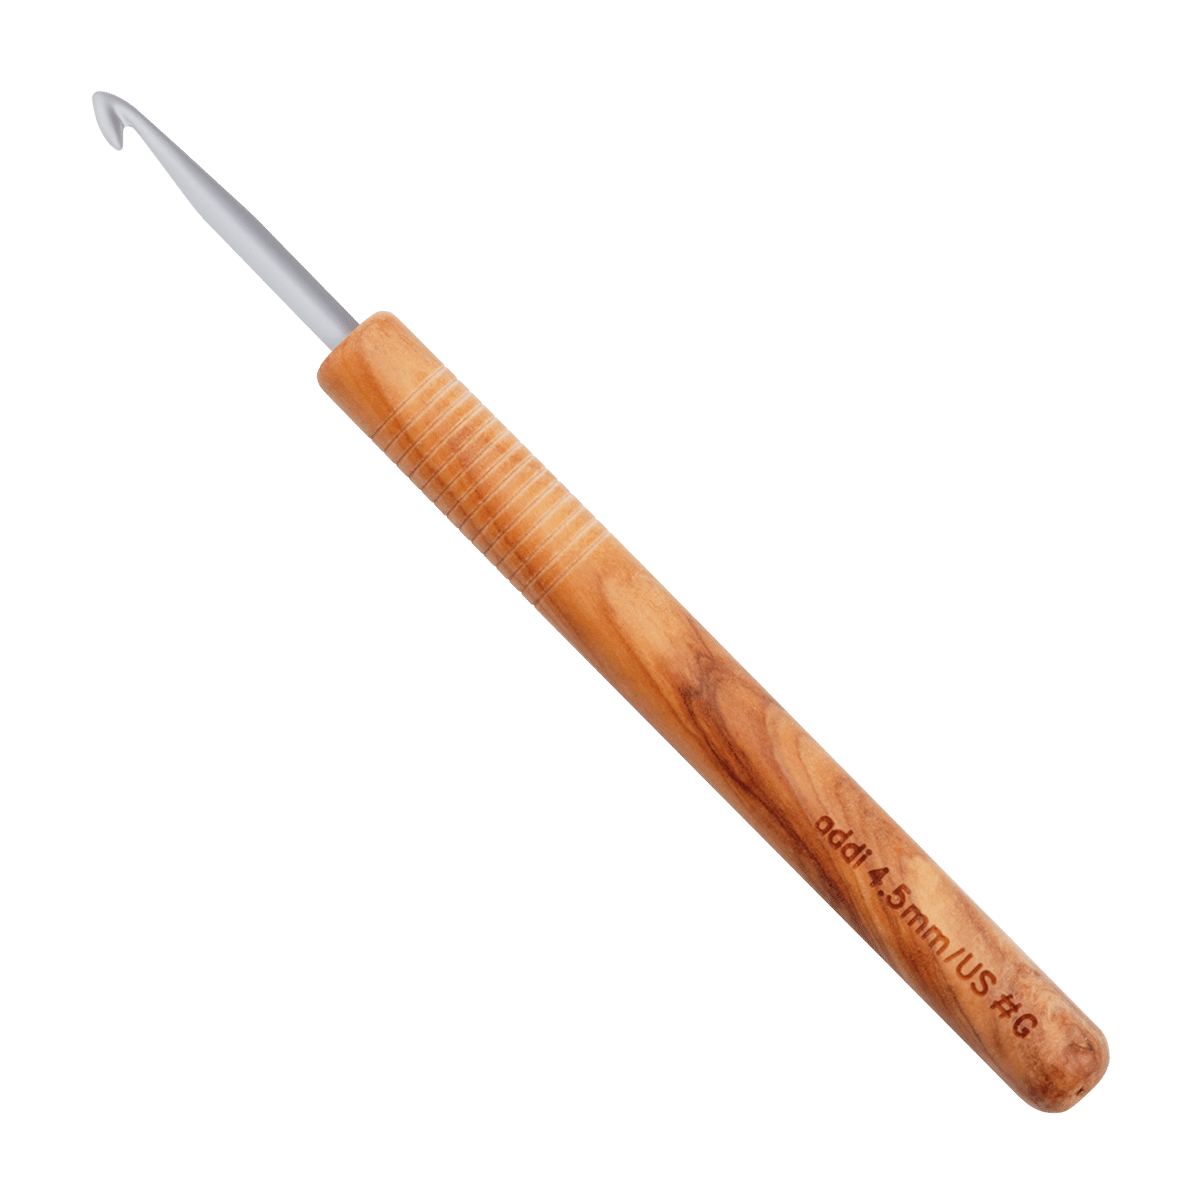
- addiLoop Darning Needle or addiSmyrna Embroidery Needle
- addiClassic Cable Needle
- Scissors, e.g. addiGoldmarie
- Waste yarn
Gauge:
- 10cm x 10cm = 26 sts and 38 rows in stockinette stitch, needles 3.25 mm.
Size EU:
- To fit palm size: 6.5 (7.5, 8, 8.5, 9, 10) cm
Final finished palm width: 7.5 (8.5, 9, 9.5, 10, 11) cm
Measure your actual palm width at the widest point without adding ease. The pattern includes 1cm ease.
How it works
Knit Convertible Gloves fingerless with a cap
The gloves are worked in the rnd from the bottom up. The main glove and flap are knitted separately and sewn together at the end. Both gloves are identical; attach the flap as a mirror image for each hand. The thumb gusset increases are worked between two markers.
Tip: When weaving in yarn ends, follow the direction of the surrounding sts for an invisible finish.
Step 1
The cuff
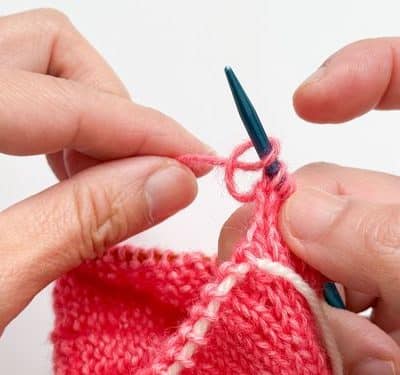
Using smaller needles (3mm), cast on 38 (44, 46, 48, 50, 56) sts using Your preferred cast-on method.
- Be careful not to twist the sts, join the knitting in the round.
- Work in k1, p1 rib for 6 (6, 6.5, 7, 7, 7.5) cm.
- Inc rnd:*Work in rib for 12 (44, 46, 16, 16, 18) sts, M1; rep from * sts 2 (0, 0, 2, 2, 2) time(s) more. [=41 (45, 47, 51, 53, 59) sts]
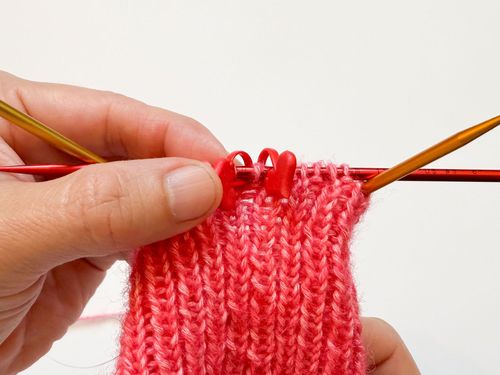
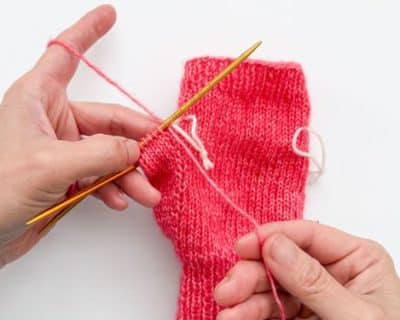
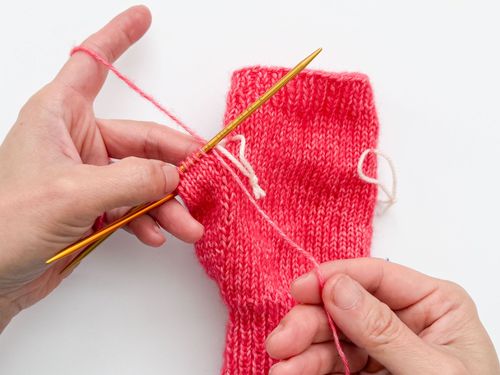
- Pm after 20 (22, 23, 25, 26, 29) sts and after 21 (23, 24, 26, 27, 30) sts. The markers indicate the beg and the end of thumb gusset.
Step 1
The cuff
Using smaller needles (3mm), cast on 38 (44, 46, 48, 50, 56) sts using Your preferred cast-on method.
- Be careful not to twist the sts, join the knitting in the round.
- Work in k1, p1 rib for 6 (6, 6.5, 7, 7, 7.5) cm.
- Inc rnd:*Work in rib for 12 (44, 46, 16, 16, 18) sts, M1; rep from * sts 2 (0, 0, 2, 2, 2) time(s) more. [=41 (45, 47, 51, 53, 59) sts]
- Pm after 20 (22, 23, 25, 26, 29) sts and after 21 (23, 24, 26, 27, 30) sts. The markers indicate the beg and the end of thumb gusset.
Step 2
Thumb gusset
Change to larger needles (3.25mm).
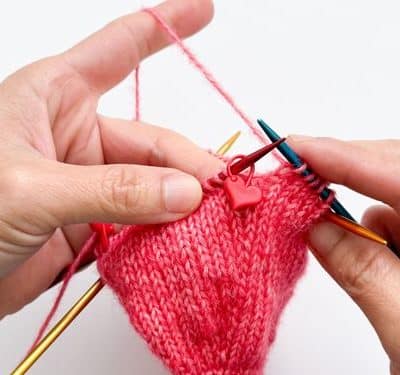
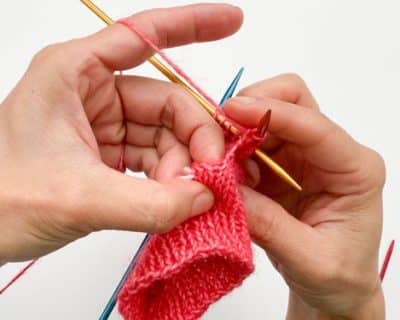
- Inc rnd:Knit to m, slm, M1L, knit to m, M1R, slm, knit to end.
- Non-inc rnd:(Knit to m, slm) twice, knit to end.
- Work the thumb gusset inc rnd every 3 (3, 3, 3, 3, 3) rnds 3 (5, 3, 5, 3, 1) time(s), then every 4 (4, 4, 4, 4, 4)rnds 3 (2, 4, 3, 5, 7) time(s). 12 (14, 14, 16, 16, 16) sts inc’d.
- There should be 13 (15, 15, 17, 17, 17) sts in between the markers. [=53 (59, 61, 67, 69, 75) sts]
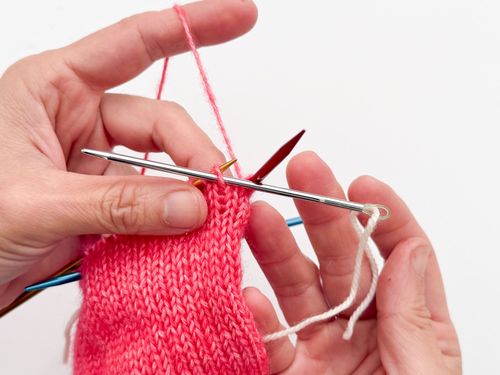
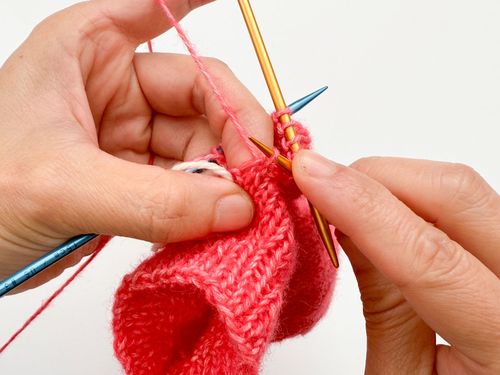
- Next rnd: Knit to m, remove m, place the next 13 (15, 15, 17, 17, 17) sts onto waste yarn, M1 using loop method, remove m, st st to end. [=41 (45, 47, 51, 53, 59) sts]
Step 2
Thumb gusset
Change to larger needles (3.25mm).
- Inc rnd:Knit to m, slm, M1L, knit to m, M1R, slm, knit to end.
- Non-inc rnd:(Knit to m, slm) twice, knit to end.
- Work the thumb gusset inc rnd every 3 (3, 3, 3, 3, 3) rnds 3 (5, 3, 5, 3, 1) time(s), then every 4 (4, 4, 4, 4, 4)rnds 3 (2, 4, 3, 5, 7) time(s). 12 (14, 14, 16, 16, 16) sts inc’d.
- There should be 13 (15, 15, 17, 17, 17) sts in between the markers. [=53 (59, 61, 67, 69, 75) sts]
- Next rnd: Knit to m, remove m, place the next 13 (15, 15, 17, 17, 17) sts onto waste yarn, M1 using loop method, remove m, st st to end. [=41 (45, 47, 51, 53, 59) sts]
Thumb position
For Left Glove:
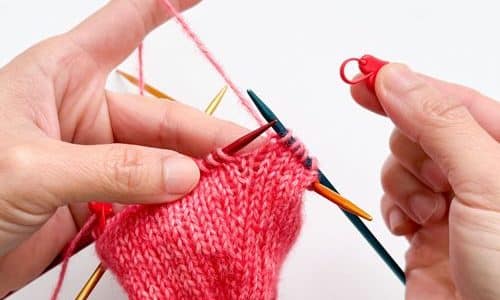
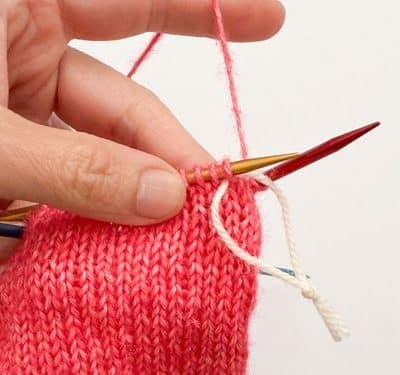
- Next rnd: Place a piece of waste yarn on the first and on the 20 (22, 23, 25, 26, 29)th stitches. Tie loosely into a loop to mark the flap position.
For Right Glove:
- Place a piece of waste yarn on the 21 (23, 24, 26, 27, 30)th and on the last stitches. Tie loosely into a loop to mark the flap position.
Cont working in st st until the glove measures 7 (7.5, 8.5, 9, 10, 10.5) cm from the top of the cuff, approx. 5 (5, 7, 7, 9, 9) rnds.
Thumb position
For Left Glove:
- Next rnd: Place a piece of waste yarn on the first and on the 20 (22, 23, 25, 26, 29)th stitches. Tie loosely into a loop to mark the flap position.
For Right Glove:
- Place a piece of waste yarn on the 21 (23, 24, 26, 27, 30)th and on the last stitches. Tie loosely into a loop to mark the flap position.
Cont working in st st until the glove measures 7 (7.5, 8.5, 9, 10, 10.5) cm from the top of the cuff, approx. 5 (5, 7, 7, 9, 9) rnds.

Step 3
Ribbing for the fingers
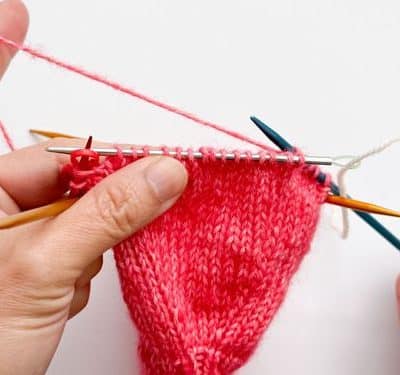
- Next rnd: Knit to last 2 sts, k2tog. [=40 (44, 46, 50, 52, 58) sts]
- Change to smaller neeedles.
- Work in k1, p1 rib for 1.5 (1.5, 2, 2, 2.5, 2.5) cm.
- Cast off loosely.
Step 4
Knitting thumb
- Put the cast-off stitches for the thumb back on the needles (3.25 mm).
- Attach a new yarn, leaving approximately 30cm of tail on the outside for finishing later.
- Work to end.
- Pick up 1 (1, 1, 1, 1, 1) st from the base of the index finger. [=14 (16, 16, 18, 18, 18) sts for the thumb]
Continue in st st until the finger meas 2 (2, 2.5, 2.5, 2.5, 3) cm from its base, approx. 8 (8, 10, 10, 10, 11) rnds.
Cast off loosely.

Part 5
Finger cap
- Using smaller needles, cast on 40 (44, 46, 50, 52, 58) sts leaving approx. 30 cm tail using your preferred cast-on method.
- Be careful not to twist the sts, join the knitting in the round.
- work in k1, p1 rib for 1 (1.5, 1.5, 2, 2, 2) cm.
- Pm after 20 (22, 23, 25, 26, 29) sts.
- Change to larger needles and work in st st for 4.25 (4.75, 5.5, 6.25, 7, 7.5) from the cast on edge.
The dec rnd is set as follows:
- Ssk, knit to 2 sts before the marker, k2tog, slm, ssk, knit to the last 2 sts, k2tog.
Work the dec rnd:
- every 0 (0, 0, 0, 0, 4) rnds 0 (0, 0, 0, 0, 1) times,
- then every 4 (8, 4, 5, 5, 3) rnds 2 (1, 2, 2, 2, 2) times,
- then every 2 (2, 2, 2, 2, 2) rnds 1 (1, 2, 1, 1, 2) times
- then every round 5 (7, 5, 7, 7, 7) times. [=8 (8, 10, 10, 12, 10) sts]
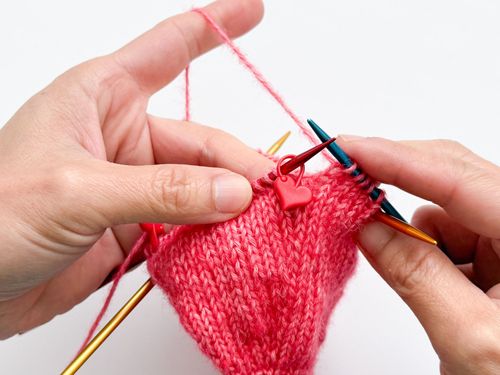
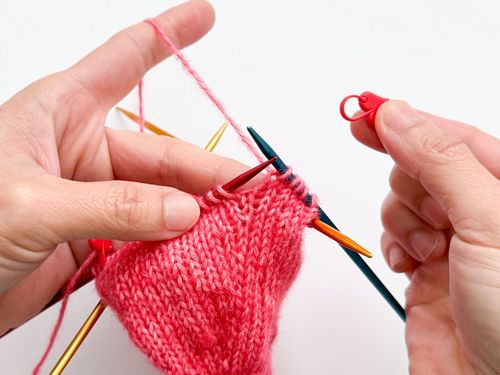
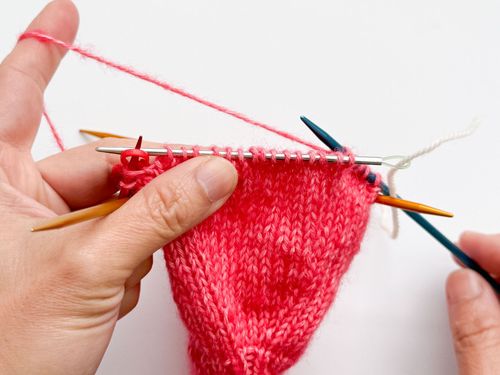
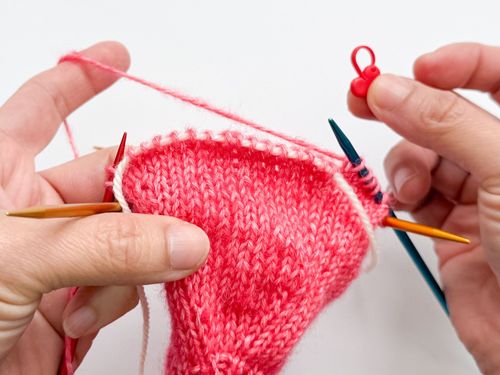
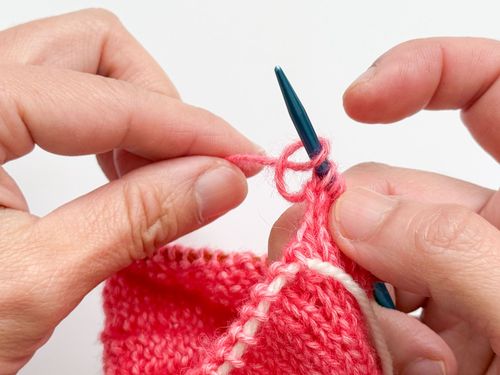
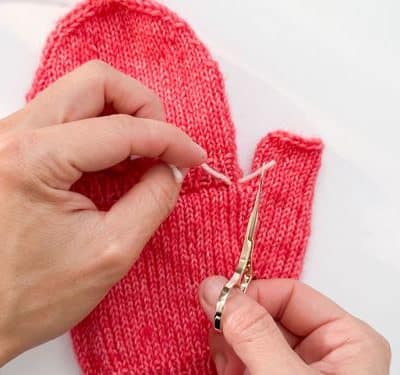
Break the yarn, leaving a tail of approximately 40 cm. Thread the tail onto a yarn needle, then insert the needle through all the remaining stitch loops. Pull the yarn to close the gap.
Leave this tail if you want to add a button loop. Otherwise weave in the loose end on the back of the work.
ssk: Slip 2 stitches one after the other as if to knit, then knit them together through the back loop.
Part 6
Finishing
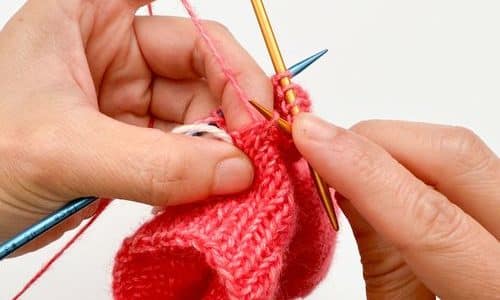
- Weave in the loose ends on the back of the work. For the main part of the gloves, use the yarn tail to close any gaps between the base of the thumb by weaving in and out.
- Block and lightly steam-press both gloves.
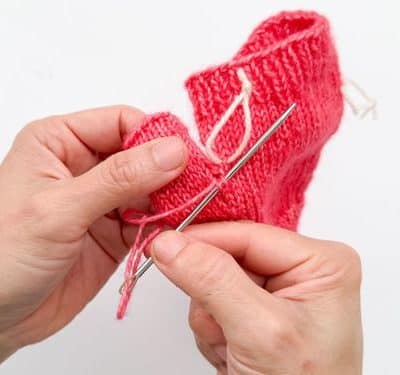
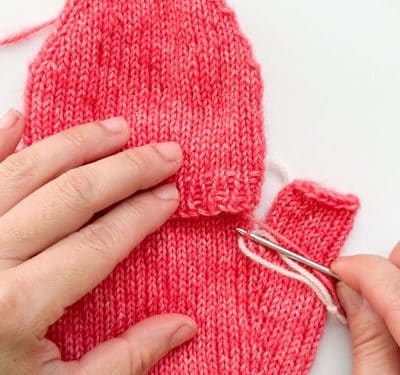
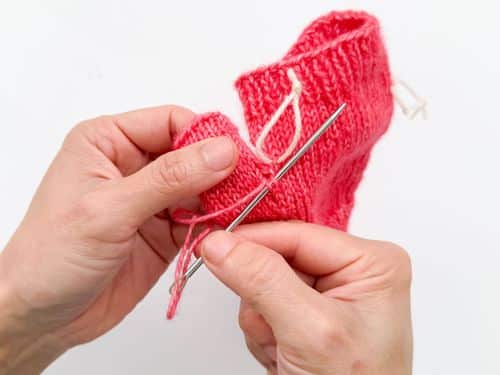
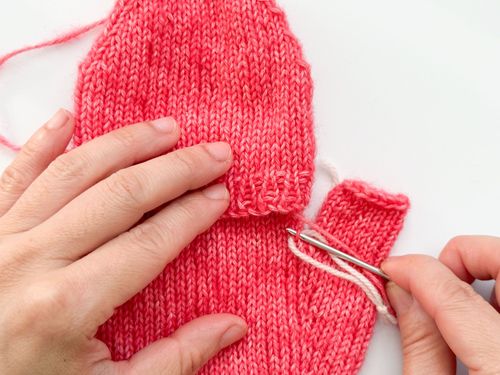
Attach flap:
- Position the cast-on edge of the flap on the back of the hand, centred horizontally and placed just above the base of the thumb where you have placed the marker.
- Using mattress stitch or Kitchner method, sew the cast-on edge securely to the glove, taking care not to twist or pucker the fabric.
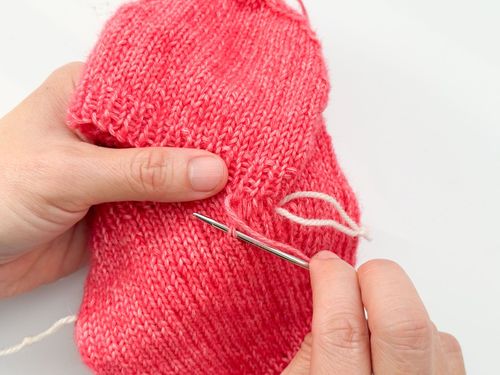
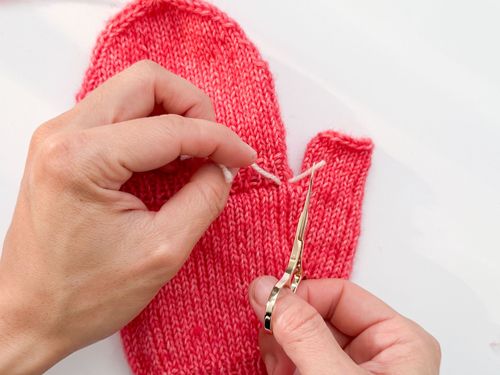
If you are attaching a button:
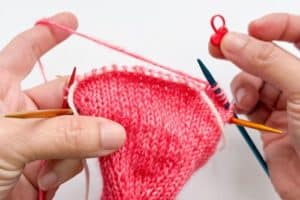
Loop:
- With the tail of the yarn left when closing the top of the flap, create a small chain loop (approx. 2–2.5cm long) and sew it to the top centre edge of the flap.
- Alternatively, use an I-cord or elastic loop for a snugger fit.
Button:
- Sew a button to the back of the hand, where the loop of the flap when folded back. Weave in all loose ends on the wrong side of the work.
- Use the yarn tails to close any gaps between the fingers by weaving in and out.


Part 6
Finishing
- Weave in the loose ends on the back of the work. For the main part of the gloves, use the yarn tail to close any gaps between the base of the thumb by weaving in and out.
- Block and lightly steam-press both gloves.
Attach flap:
- Position the cast-on edge of the flap on the back of the hand, centred horizontally and placed just above the base of the thumb where you have placed the marker.
- Using mattress stitch or Kitchner method, sew the cast-on edge securely to the glove, taking care not to twist or pucker the fabric.
If you are attaching a button:
Loop:
- With the tail of the yarn left when closing the top of the flap, create a small chain loop (approx. 2–2.5cm long) and sew it to the top centre edge of the flap.
- Alternatively, use an I-cord or elastic loop for a snugger fit.
Button:
- Sew a button to the back of the hand, where the loop of the flap when folded back. Weave in all loose ends on the wrong side of the work.
- Use the yarn tails to close any gaps between the fingers by weaving in and out.
Abbreviations
- beg = begin
- DPNs = double-pointed needles
- inc = increase/increasing
- 1 zun = make 1 stitch (i.e. increase 1 stitch)
- sm = stitch marker
- MMS = place marker
- MM abh = Remove stitch markers
- sts = stitches
- M1L = make 1 stitch left slanting
- M1R = make 1 stitch right slanting
- M1Loop = make 1 stitch using loop method
- rep = repeat
- rnd = round(s)
- gl re = stockinette stitch
Share your progress with us:
Are you knitting this project currently? Share the result on Instagram at @addi_by_selter @glovegenie or share it with us in our Facebook group "addiFriends".
Design: Glove Genie – Kyoko Nakayoshi