Crochet tutorial
Mini school cones
A quick last-minute project for the first grader: these cones make great patches, motifs for greeting cards, tags for garlands, and decorations for the table!
Whether tone-in-tone or multicolored, the colorful cotton accessories can be individually adapted to the decoration and are simply fun.

Table of contents
What you need:
- Catania by Schachenmayr (136yd/ 1.76oz – 125m/ 50g, 100% cotton) in 2 colors
-
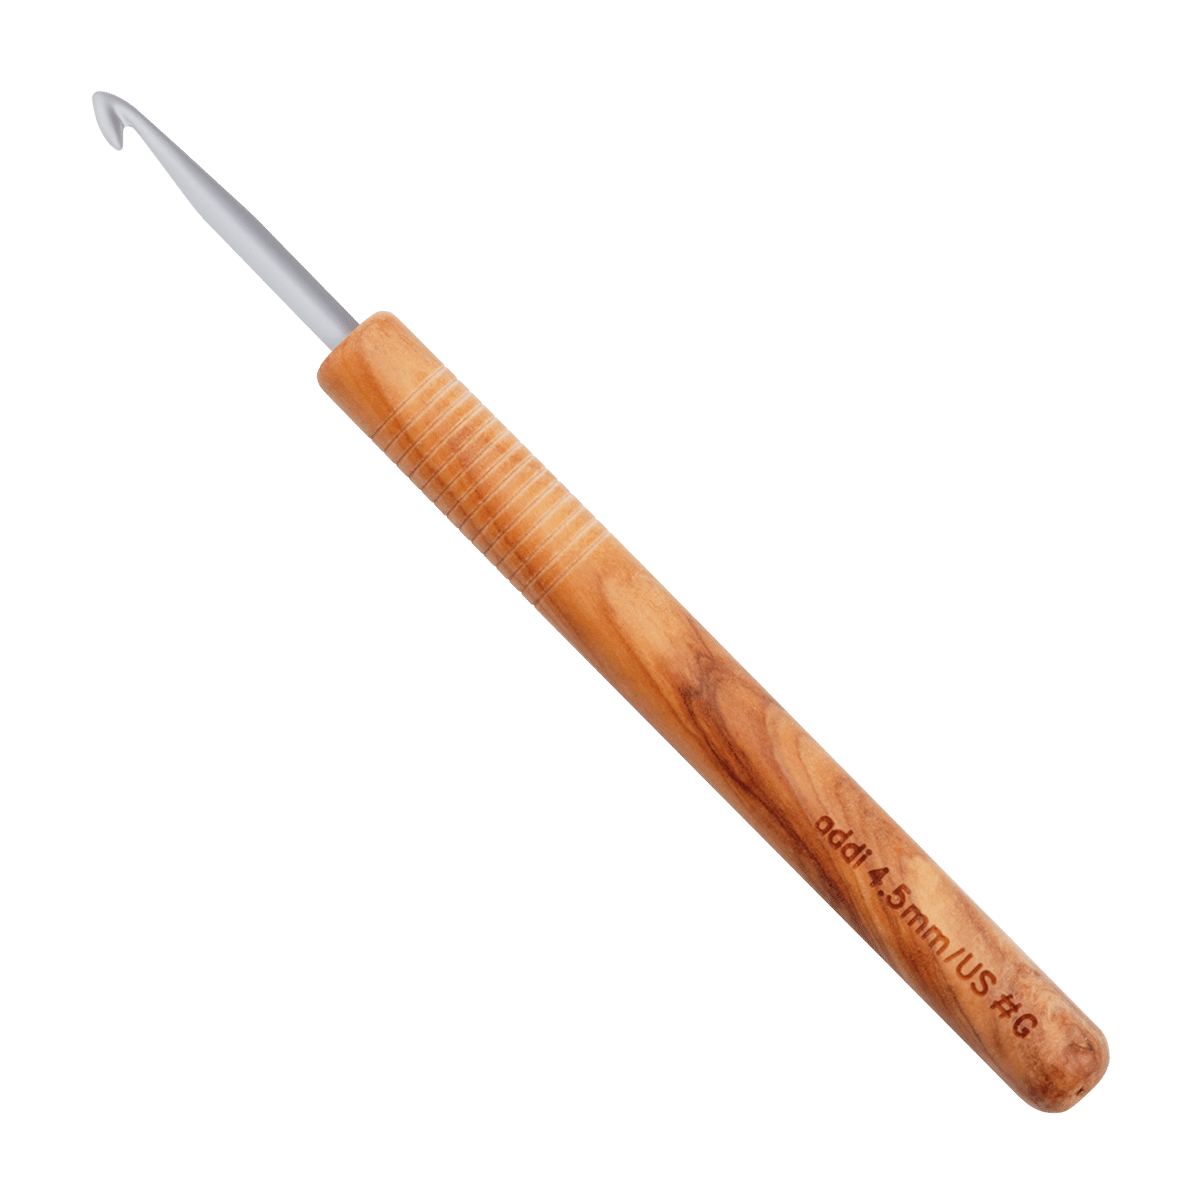
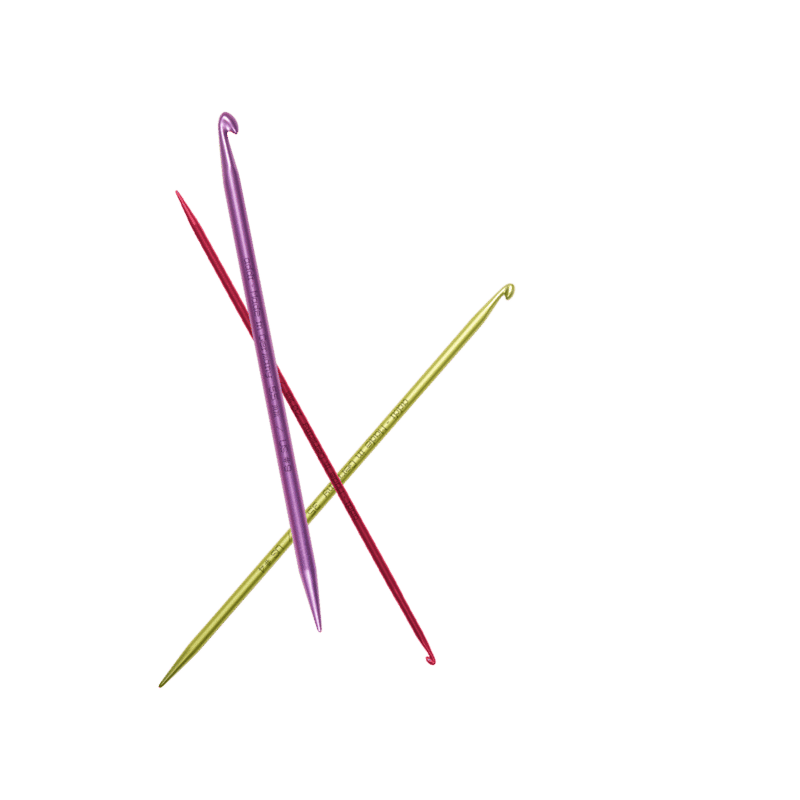
addiDuett or addiNature olive wood crochet hook U.S. 0/ 2.0mm
-
Wool needle
-
Scissors
Size EU:
Approx. 4 × 10 cm/ 1.6″ × 4″
Abbreviations:
tr = treble crochet
sc = single crochet
success = the following.
sl st = slip stitch
ch = chain
sts = stitch(es)
r = row/s
dc = double crochet
Abbreviations:
tr = treble crochet
sc = single crochet
success = the following.
sl st = slip stitch
ch = chain
sts = stitch(es)
r = row/s
dc = double crochet
Instruction
This is how it works:
The appliqué is crocheted in two parts, bottom up. Always work in rows. At the end of each row the work is turned.
Instruction
This is how it works:
The appliqué is crocheted in two parts, bottom up. Always work in rows. At the end of each row the work is turned.
Cone
With colour 1:
| R 1: | Ch 2, sc 2 in 2nd ch from hook [= 2 sts]. |
| R 2: | Ch 1, sc 1 in every st [= 2 sts]. |
| R 3: | Ch 1, sc 2 in every st [= 4 sts]. |
| R 4: | Ch 1, sc 1 in every st [= 4 sts]. |
| R 5: | Ch 1, sc 2 in first st, 2 sc, sc 2 in last st [= 6 sts]. |
| R 6-8: | Ch 1, sc 1 in every st [= 6 sts]. |
| R 9: | Ch 1, sc 2 in first st, 4 sc, sc 2 in last st [= 8 sts]. |
| R 10-13: | Ch 1, sc 1 in every st [= 8 sts]. |
| R 14: | Ch 1, sc 2 in first st, 6 sc, sc 2 in last st [= 10 sts]. |
| R 15-17: | Ch 1, sc 1 in every st [= 10 sts]. |
Do not turn after the last R!
- Turn work 90 degrees to the right and make 1 sc in every edge stitch of every R.
- 1 sc, ch 1, 1 sc in the tip
- 1 sc in every edge stitch of the other side back to the top.
- Work the last sc in the first sc of R 17.
- Cut the yarn and weave in ends.

The cone


Cone
With colour 1:
| R 1: | Ch 2, sc 2 in 2nd ch from hook [= 2 sts]. |
| R 2: | Ch 1, sc 1 in every st [= 2 sts]. |
| R 3: | Ch 1, sc 2 in every st [= 4 sts]. |
| R 4: | Ch 1, sc 1 in every st [= 4 sts]. |
| R 5: | Ch 1, sc 2 in first st, 2 sc, sc 2 in last st [= 6 sts]. |
| R 6-8: | Ch 1, sc 1 in every st [= 6 sts]. |
| R 9: | Ch 1, sc 2 in first st, 4 sc, sc 2 in last st [= 8 sts]. |
| R 10-13: | Ch 1, sc 1 in every st [= 8 sts]. |
| R 14: | Ch 1, sc 2 in first st, 6 sc, sc 2 in last st [= 10 sts]. |
| R 15-17: | Ch 1, sc 1 in every st [= 10 sts]. |
Do not turn after the last R!
- Turn work 90 degrees to the right and make 1 sc in every edge stitch of every R.
- 1 sc, ch 1, 1 sc in the tip
- 1 sc in every edge stitch of the other side back to the top.
- Work the last sc in the first sc of R 17.
- Cut the yarn and weave in ends.
The cone
Top
With colour 2:
| R 1: | Ch 2, sc 3 in 2nd ch from hook [= 3 sts]. |
| R 2: | Ch 1, je sc 2 in every st [= 6 sts]. |
| R 3: | Ch 1, 3 x (1 fM, sc 2 in next st) [= 9 sts]. |
| R 4: | Ch 1, 3 x (2 fM, sc 2 in next st) [= 12 sts]. |
| R 5: | 1 ch, 3 x (3 dc, 2 dc in following st) [= 15 sts]. |
| R 6: | 1 ch, 4 dc, 2 dc in next st, 3 dc, (3 ch, 1 dtr, 2 tr, 1 dtr) in side of last crochet dc, 3 ch, 1 ch in same place, 1 dc in next st, 2 dc in next st, 4 dc, 2 dc in last st. |
- Cut the thread long enough so that it can be used for sewing.
-
Sew the beginning thread to the back. Use the end thread to join the bag and the closure. It is best to sew the pieces together on the back - through the back stitch links.

The closure


Top
With colour 2:
| R 1: | Ch 2, sc 3 in 2nd ch from hook [= 3 sts]. |
| R 2: | Ch 1, je sc 2 in every st [= 6 sts]. |
| R 3: | Ch 1, 3 x (1 fM, sc 2 in next st) [= 9 sts]. |
| R 4: | Ch 1, 3 x (2 fM, sc 2 in next st) [= 12 sts]. |
| R 5: | 1 ch, 3 x (3 dc, 2 dc in following st) [= 15 sts]. |
| R 6: | 1 ch, 4 dc, 2 dc in next st, 3 dc, (3 ch, 1 dtr, 2 tr, 1 dtr) in side of last crochet dc, 3 ch, 1 ch in same place, 1 dc in next st, 2 dc in next st, 4 dc, 2 dc in last st. |
- Cut the thread long enough so that it can be used for sewing.
-
Sew the beginning thread to the back. Use the end thread to join the bag and the closure. It is best to sew the pieces together on the back - through the back stitch links.
The closure
