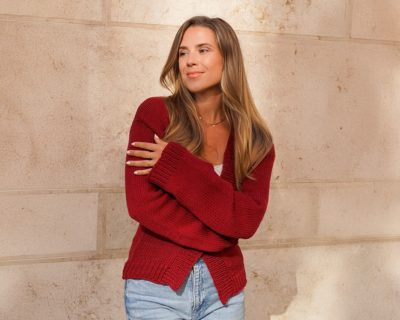


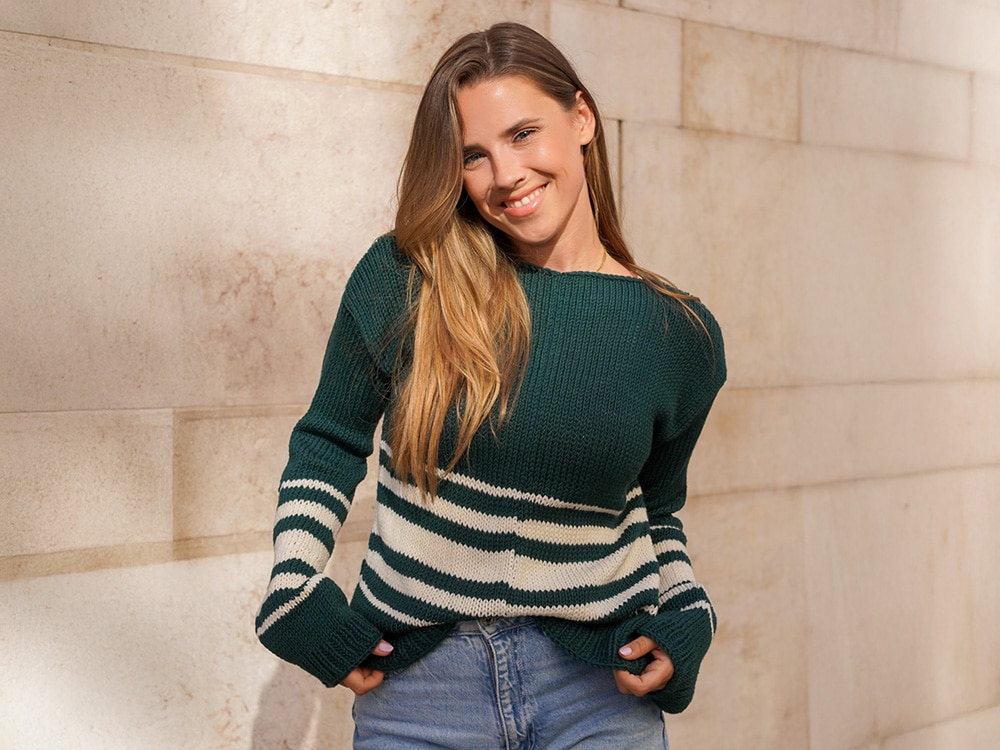
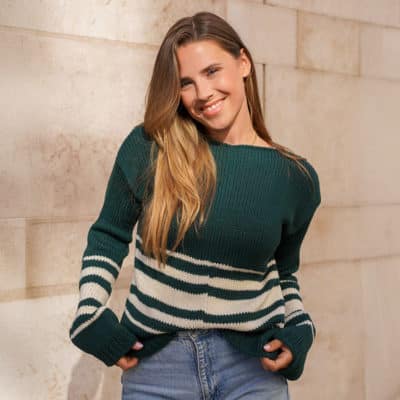
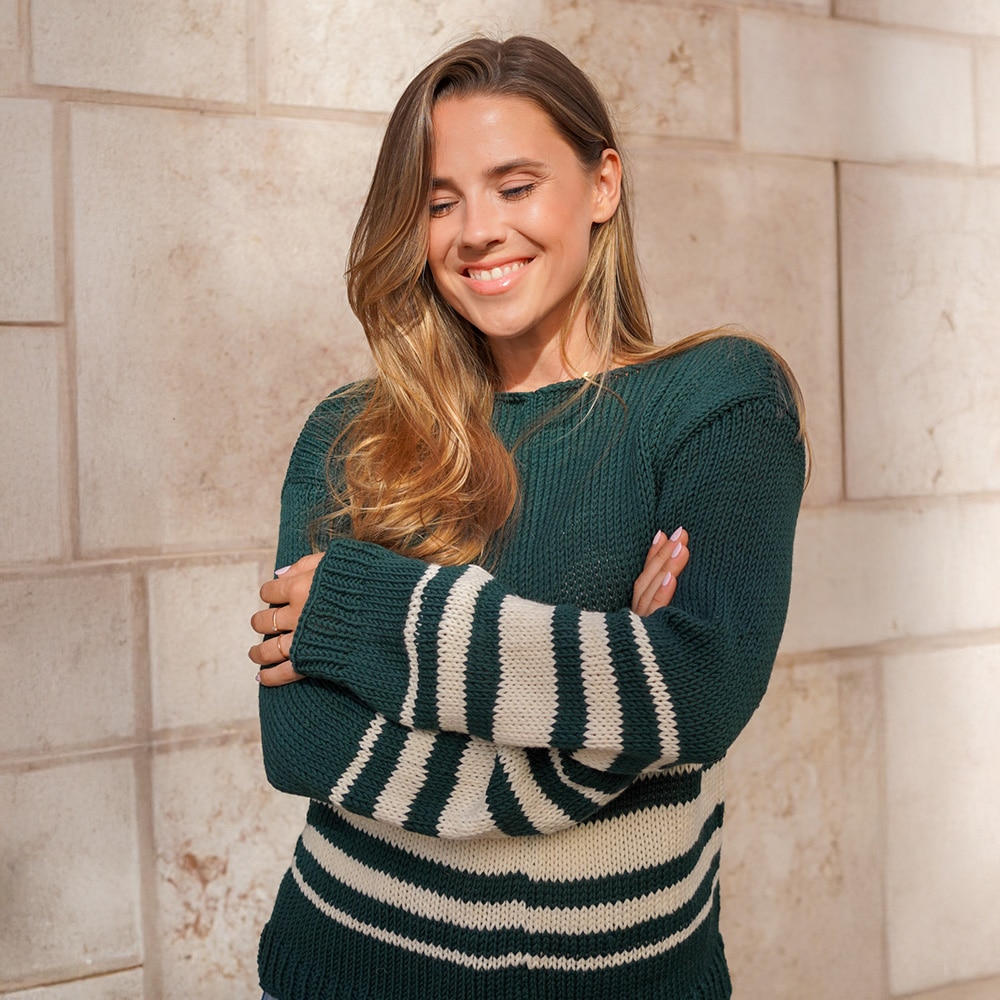
Knitting a sweater with the knitting machine
If you've always wanted to knit a sweater but don't have the time or patience, this project is perfect for you!
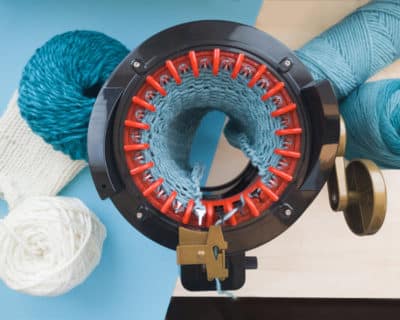
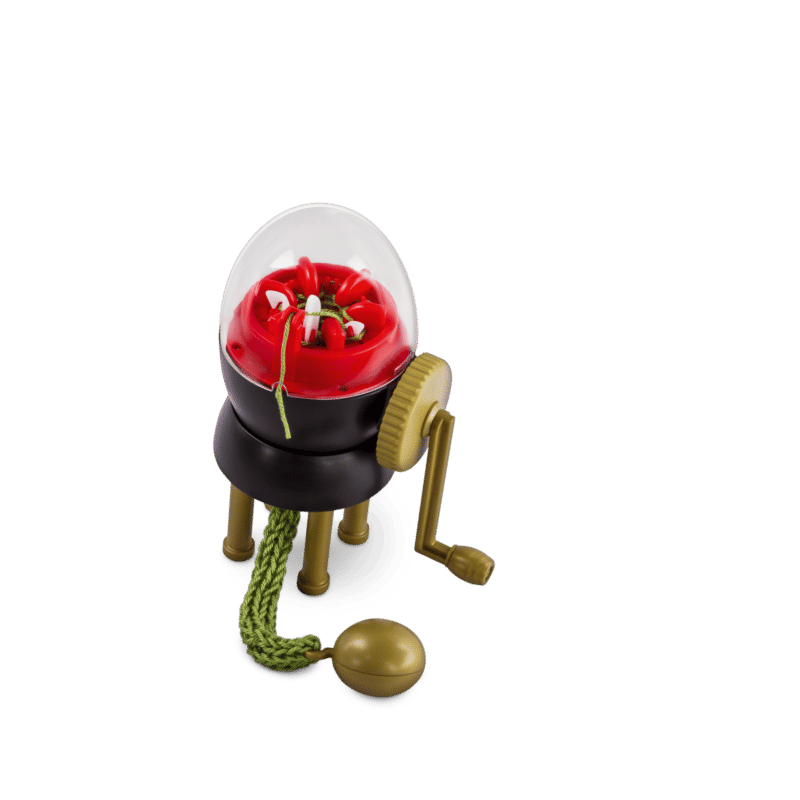
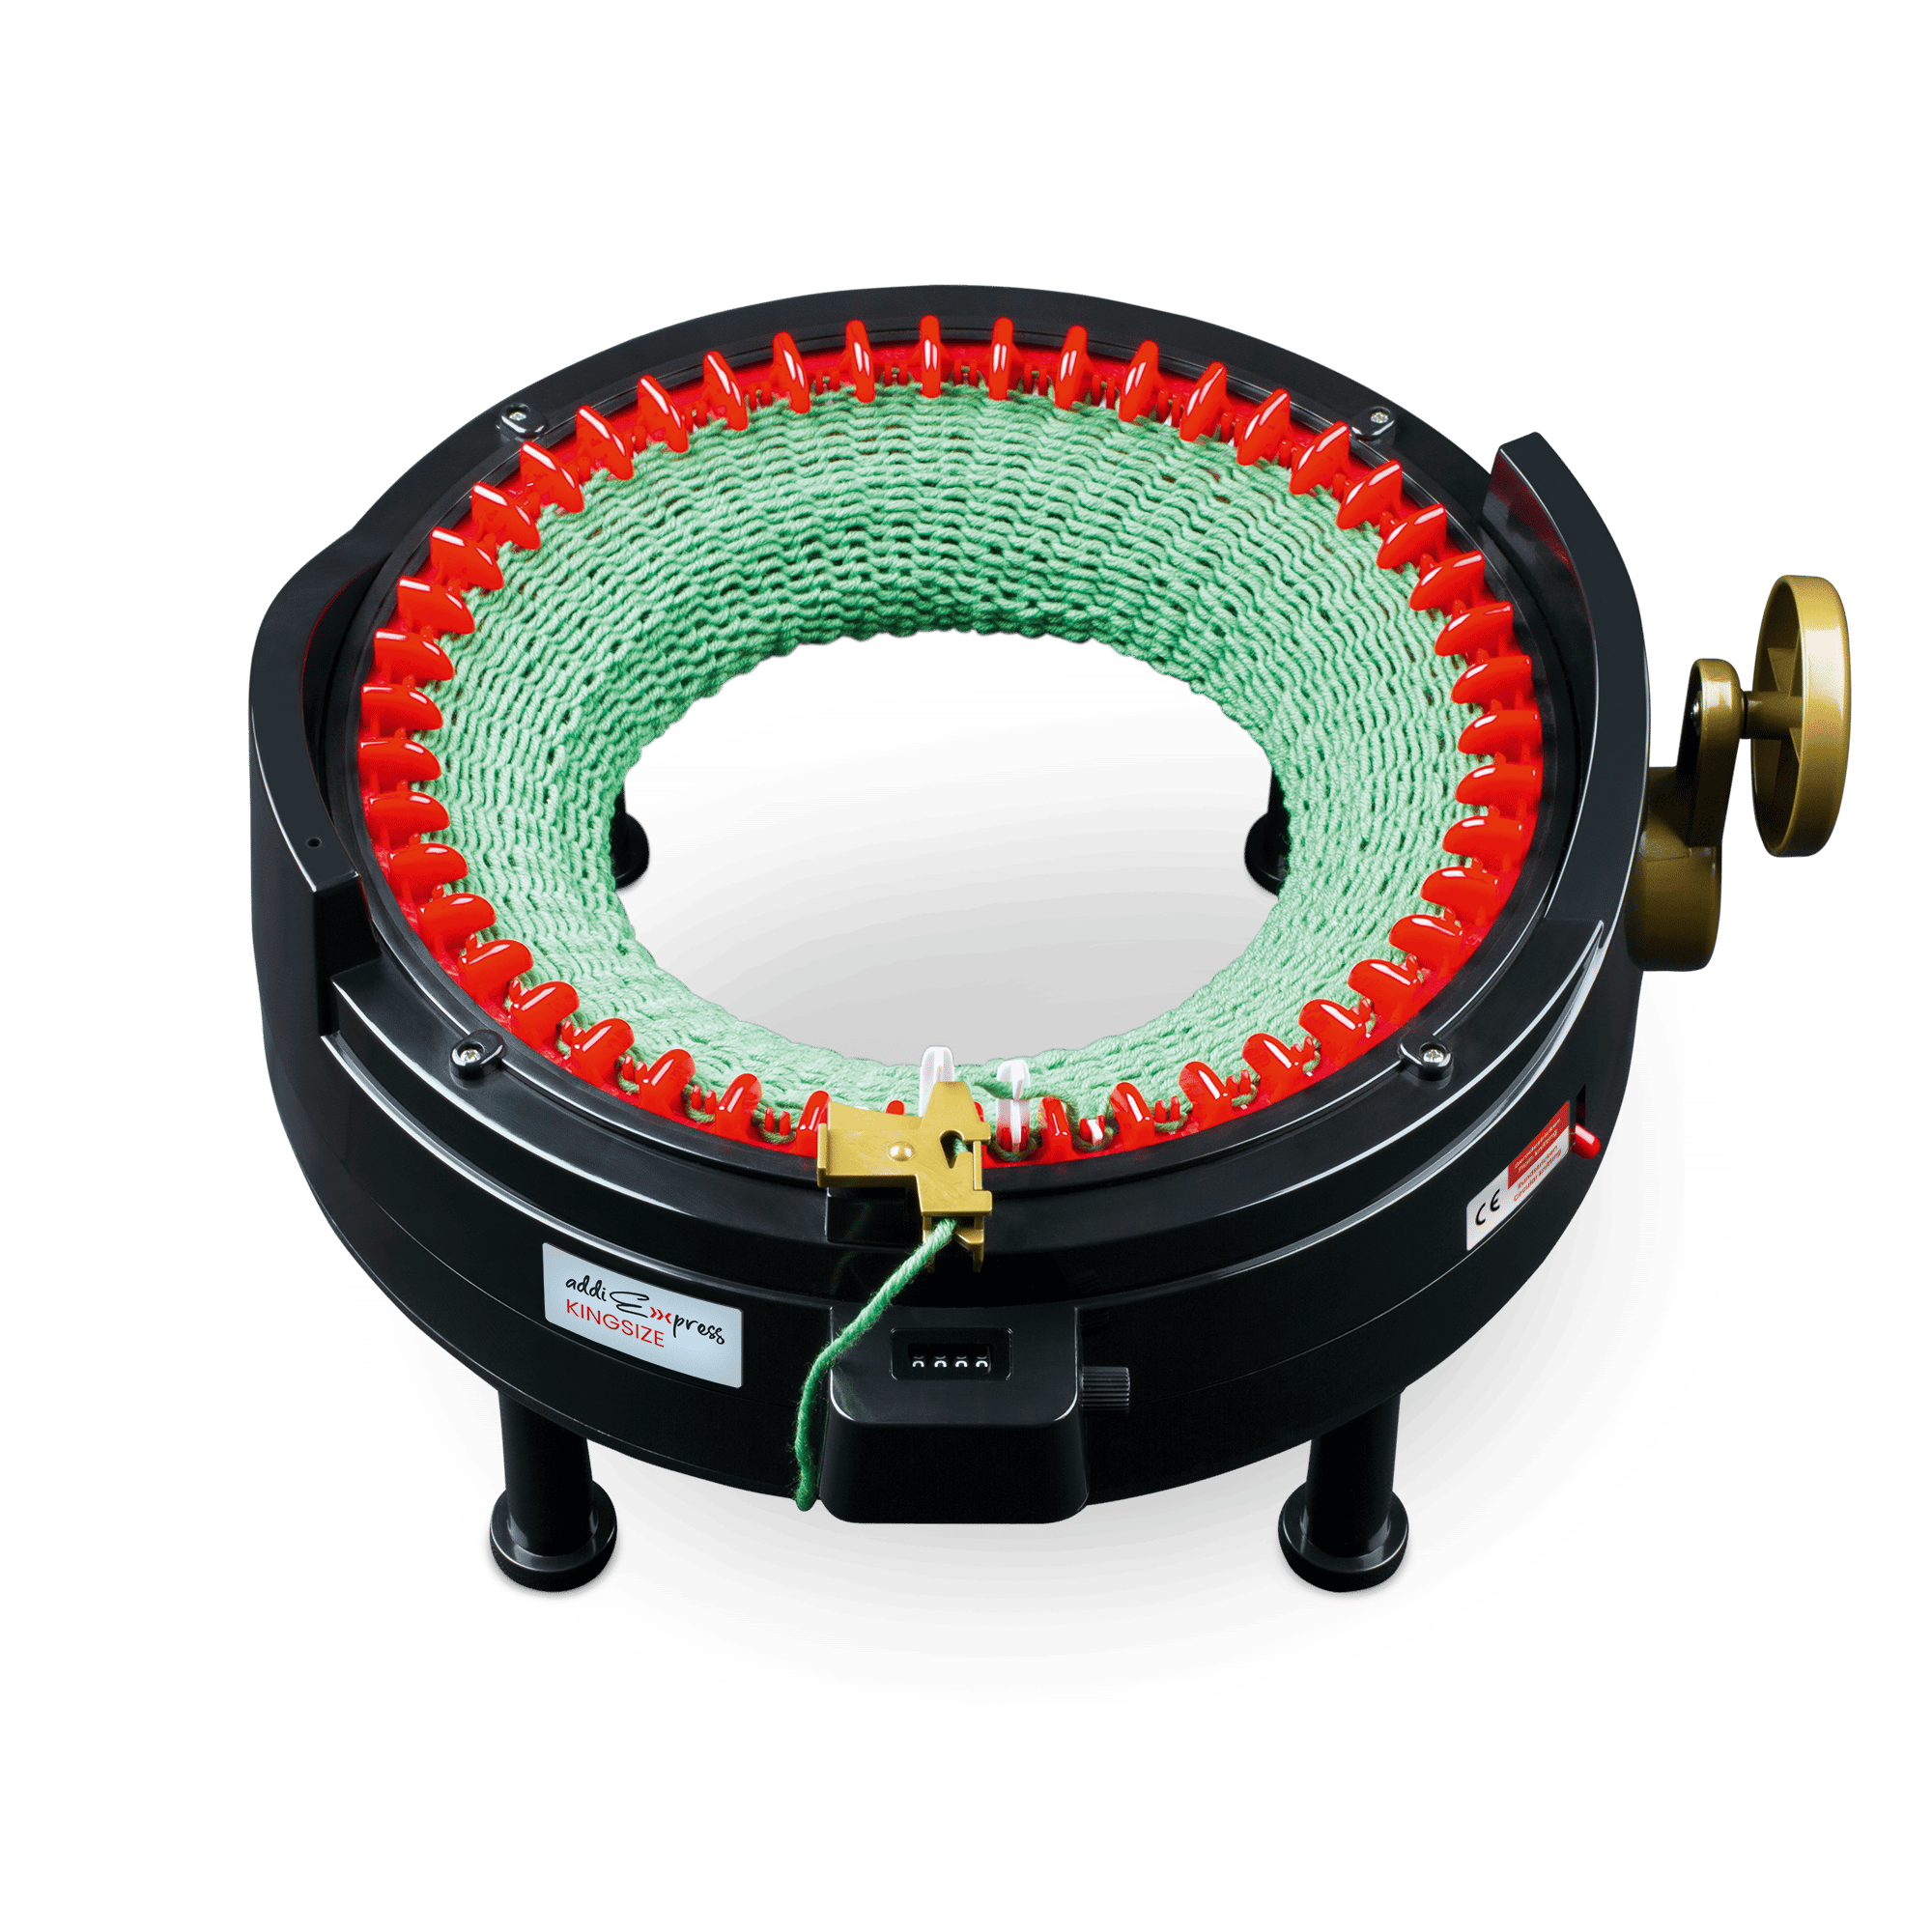
With the addiExpress Kingsize knitting machine, you can knit by cranking quickly and easily. This allows you to create beautiful projects in no time, which also make great gifts. A tutorial by Judith Jelena.
- addiExpress Kingsize knitting machine
- Austermann Merino 85 (85 m / 50 g)
- 9-14 balls, e.g. colour 061 (450-670 g)
- waste yarn in contrasting colour
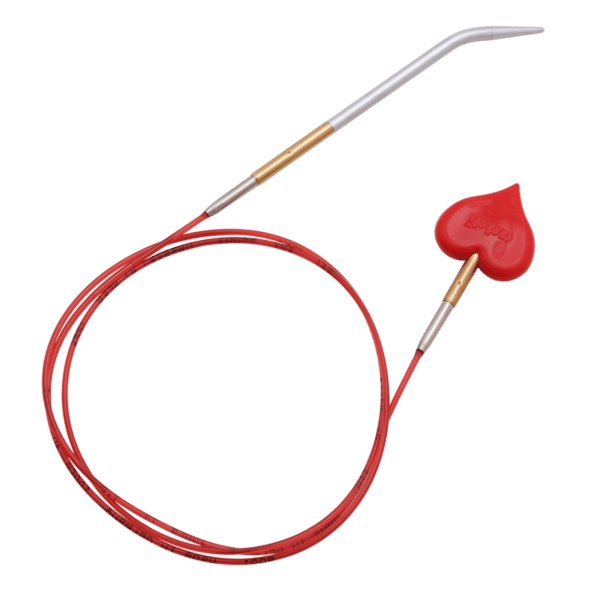
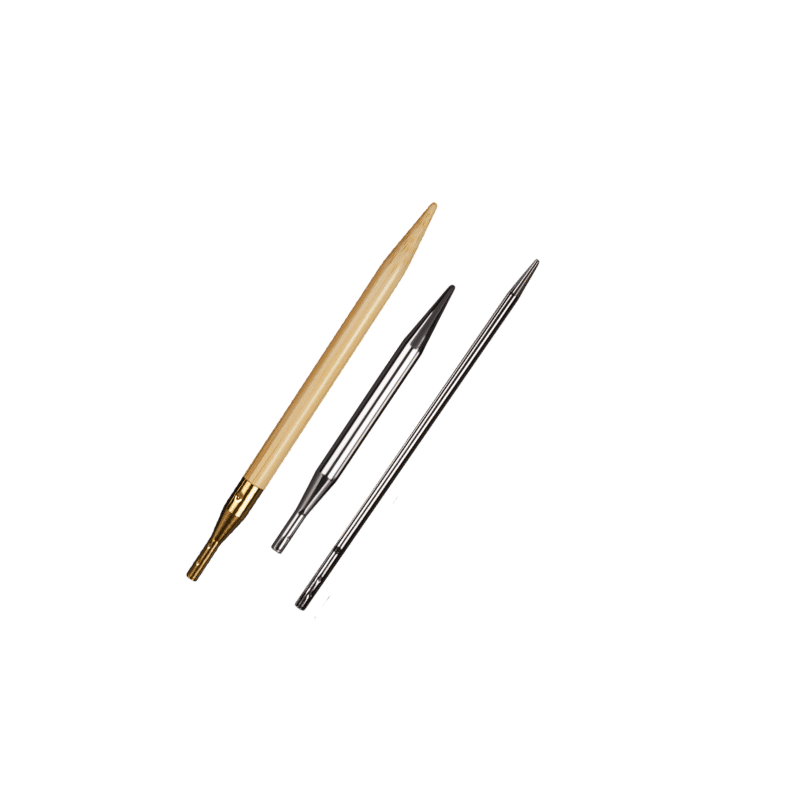
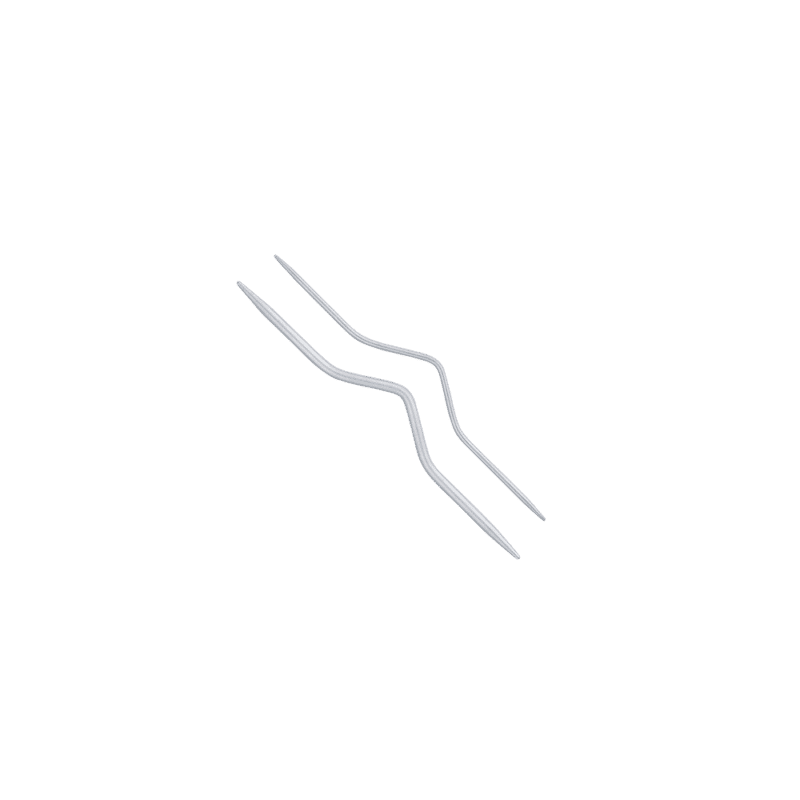
- addiTakeOff needle + Click-tips 5,5 mm (US 9)
- or circular needle 5,5 mm (US 9)
- Wool needle
- Scissors
Size EU: XS-S / M-L / XL-XXL
Yarn consumption:
- XS/S: ca: 450 g (360 g base colour, ca. 90 g stripe colour)
- M/L: ca. 570 g (455 g base colour, ca. 115 g stripe colour)
- XL/XXL: ca. 670 g (550 g base colour, ca. 120 g stripe colour)
Gauge:
- 15 sts × 20 rows = 4" x 4" (10 × 10 cm)
Size and measurements of the finished sweater
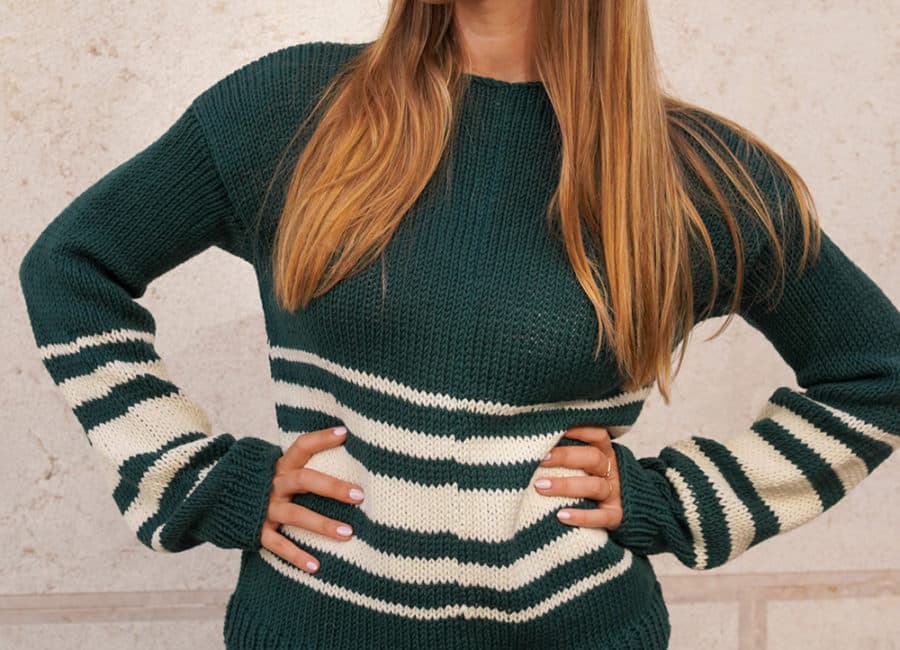
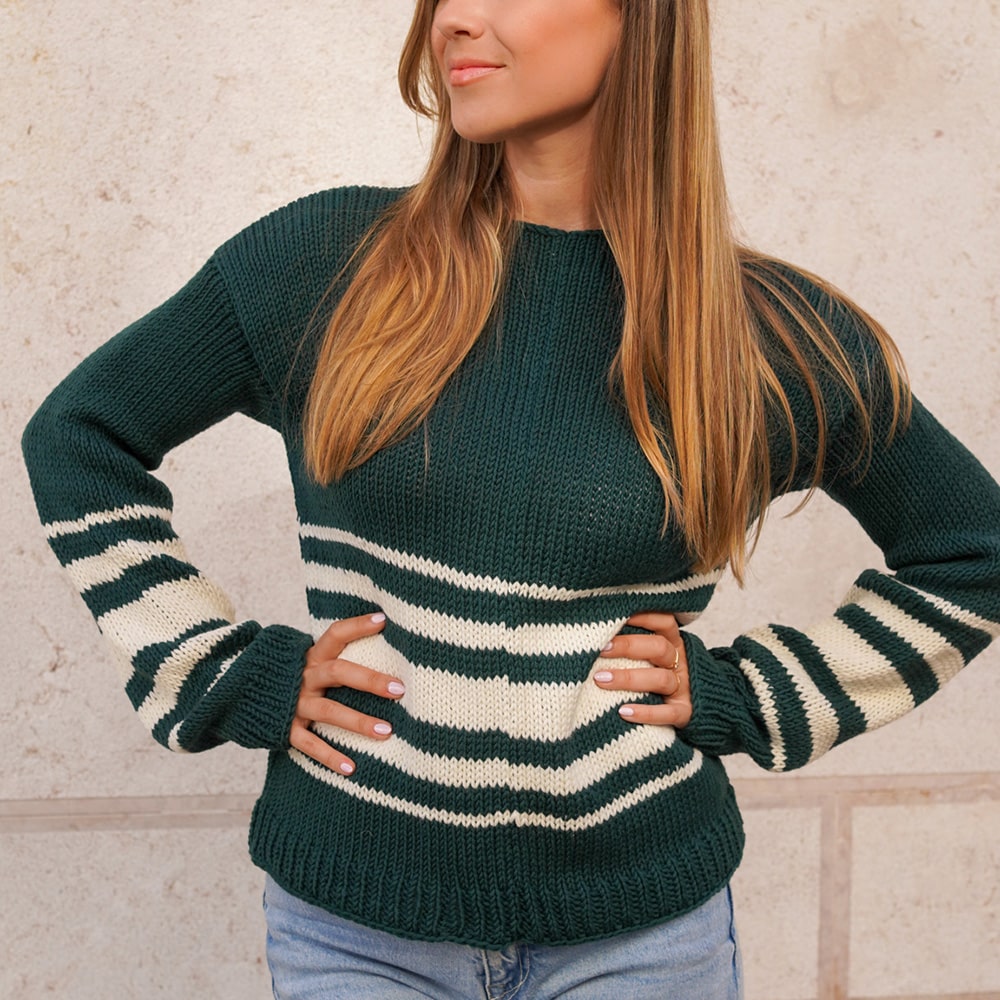
The sweater is designed to be worn with a slight oversized effect. The following measurements refer to the chest width when unstretched:
- Size XS/S: ca. 100 cm
- Size M/L: ca. 115 cm
- Size XL/XXL: ca. 135 cm
All pieces are knitted as panels using the addiExpress Kingsize and joined together later. The stripes are placed at regular intervals in the lower third and run evenly across all pieces.
Of course, you can also knit the sweater as a single color.

Size and measurements of the finished sweater
The sweater is designed to be worn with a slight oversized effect. The following measurements refer to the chest width when unstretched:
- Size XS/S: ca. 100 cm
- Size M/L: ca. 115 cm
- Size XL/XXL: ca. 135 cm
All pieces are knitted as panels using the addiExpress Kingsize and joined together later. The stripes are placed at regular intervals in the lower third and run evenly across all pieces.
Of course, you can also knit the sweater as a single color.


Video tutorial: Knitting sweaters with a knitting machine
Judith Jelena shows you how to do it step by step in the video. From casting on the stitches to closing the seams.
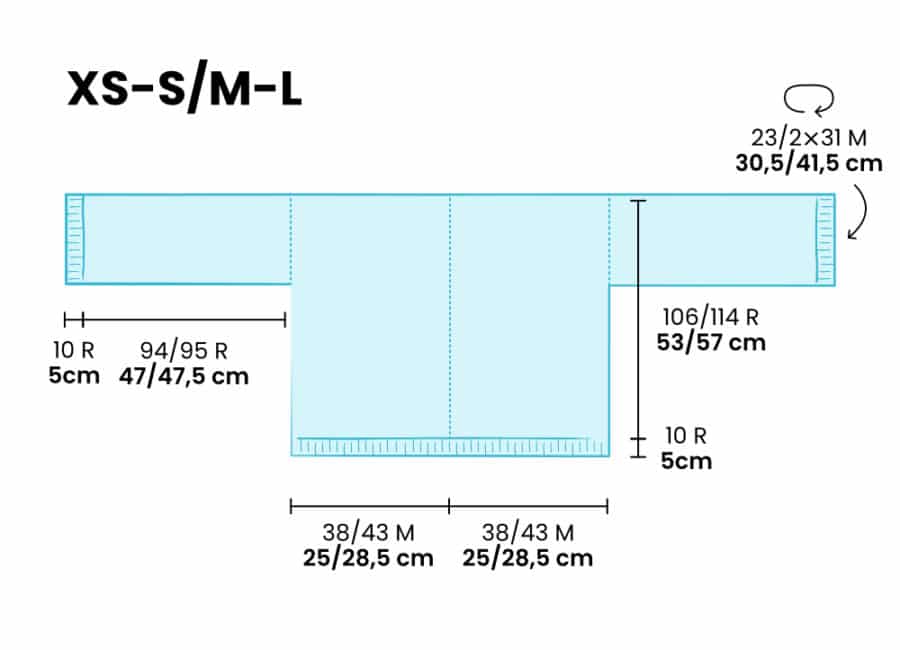
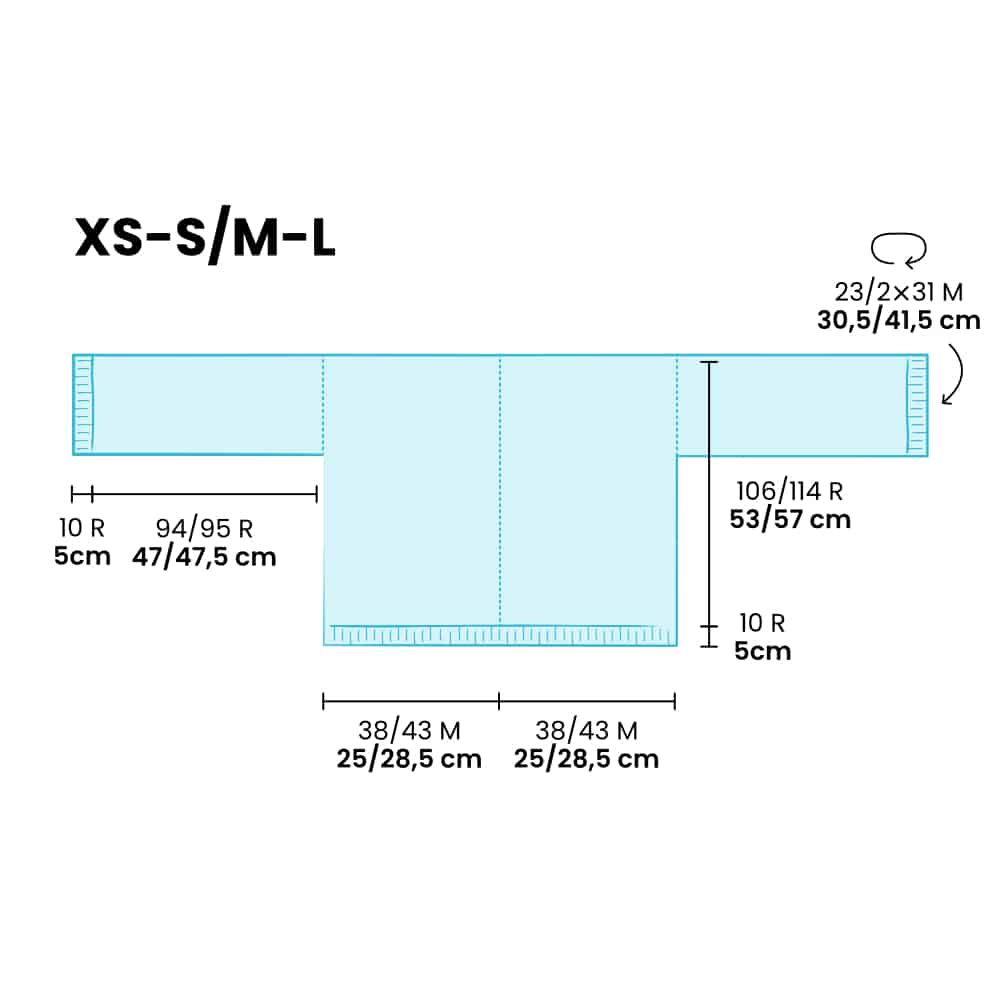
Knit sweater – back section
Depending on the size, the back section consists of 2 or 3 panels, as the machine only allows a limited number of stitches:
- XS/S: 2 panels with 38 stitches × 106 rows
- M/L: 2 panels with 43 stitches × 114 rows
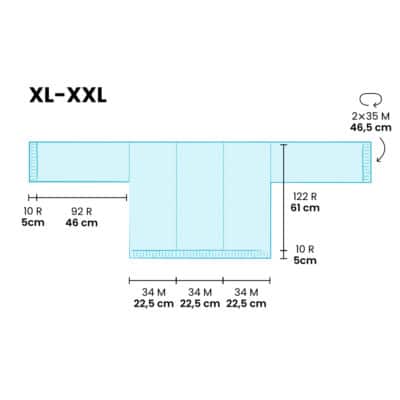
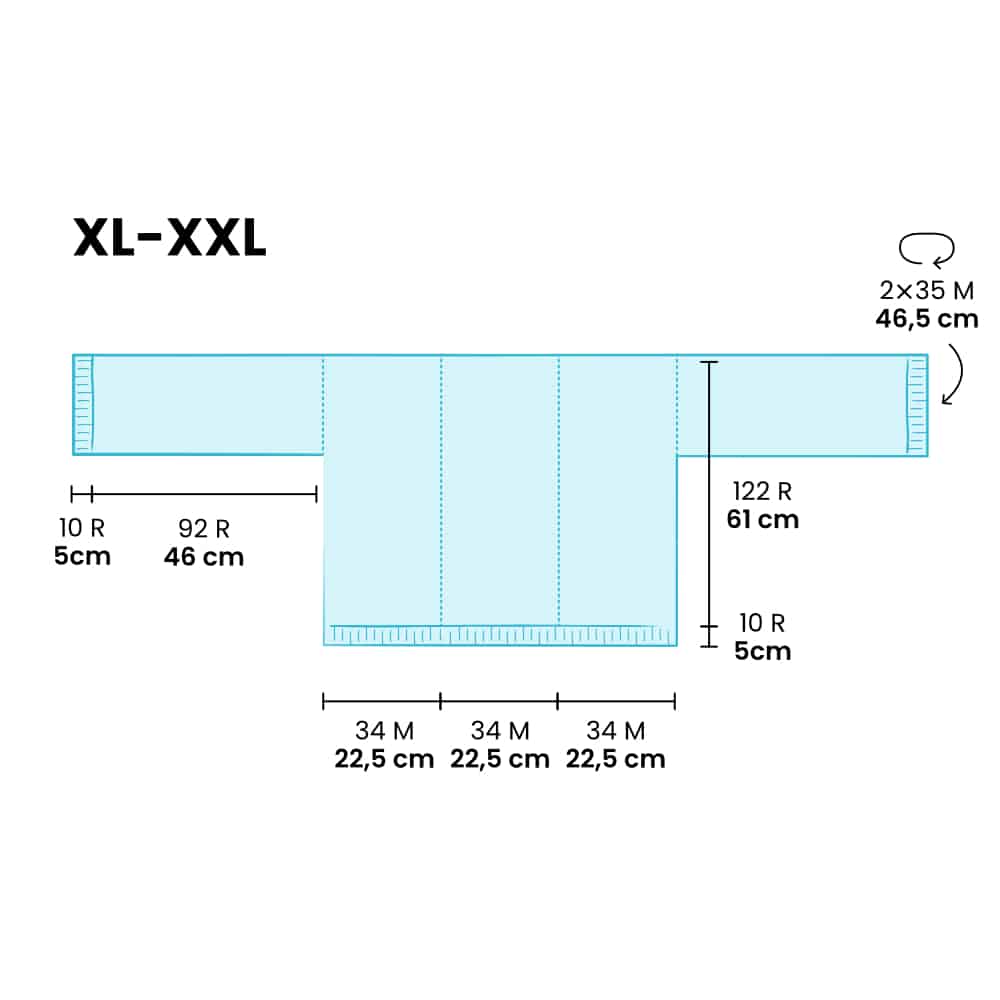
- XL/XXL: 3 panels with 34 stitches × 122 rows
Dimensions of each panel:
- XS/S: approx. 10" (25 cm) width × 21" (53 cm) height
- M/L: approx. 11" (28,5 cm) width × 22.5" (57 cm) height
- XL/XXL: approx. 9" (22,5 cm) width × 24" (61 cm) height
Front
The front is worked in exactly the same way as the back—with the same number of stitches, row specifications, stripe pattern, and cuffs. So knit the same number of rectangles as for the back, using the same method.
Front
The front is worked in exactly the same way as the back—with the same number of stitches, row specifications, stripe pattern, and cuffs. So knit the same number of rectangles as for the back, using the same method.


How to knit a panel
1. Cast on stitches with contrasting yarn
- XS/S: 38 sts (e.g. needles 4–41)
- M/L: 43 sts (e.g. needles 4–46)
- XL/XXL: 34 sts (e.g. needles 4–37) → approx. 10 rows with waste yarn
2. Winding in rows
Primary colour before stripes:
- XS/S: 58 rows
- M/L: 66 rows
- XL/XXL: 74 rows
3. Stripes (always the same, consisting of 36 rows):
- 2 rows white
- 4 rows primary colour
- 4 rows white
- 4 rows primary colour
- 8 rows white
- 4 rows primary colour
- 4 rows white
- 4 rows primary colour
- 2 rows white
Primary colour after stripes:
- 12 rows for all sizes
Total number:
- XS/S: 58 primary colour + 36 stripes + 12 primary colour = 106 rows
- M/L: 66 primary colour + 36 stripes + 12 primary colour = 114 rows
- XL/XXL: 74 primary colour + 36 stripes + 12 primary colour = 122 rows
4. Cast off stitches
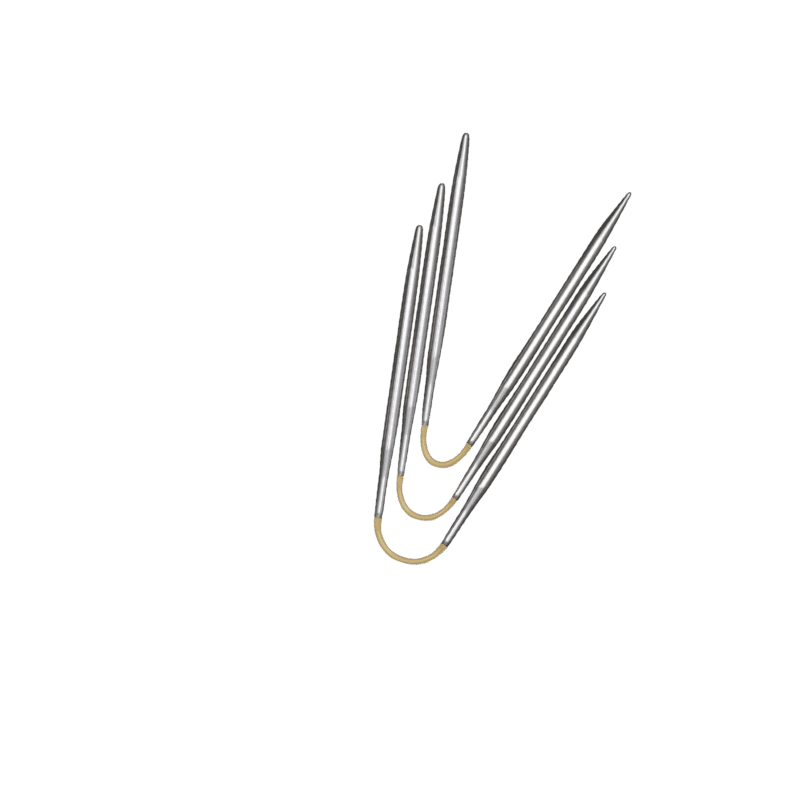
- Option 1: Slip stitches on the addiTakeOff and transfer to a circular needle
- Option 2: Leave stitches on the machine and loosely wind 8 rows further
5. Work the cuff
- Option 1 (by hand): Knit 8 rows in 1–1 rib pattern (alternating k1, p1), then loosely bind off.
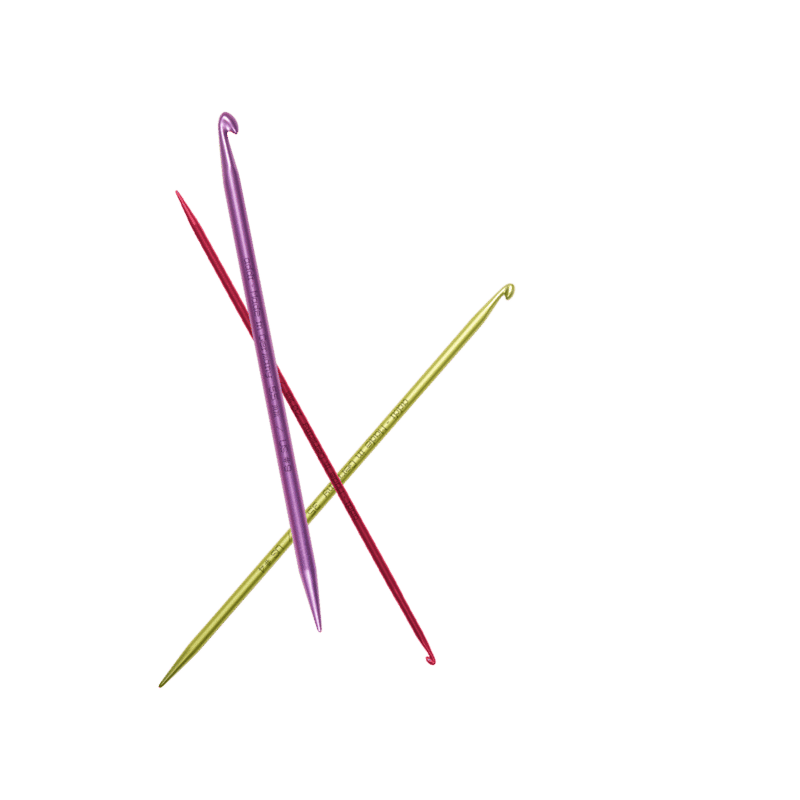
- Option 2 (on the machine): Create the rib pattern usingn the a crochet hook on knitting machine and then cast off. See video tutorial.
6. Remove the waste yarn on the beginning → Pick up the cast-on stitches with a knitting needle and bind off loosely.
Repeat step 6
- XS/S: Knit a total of 4 panels.
- M/L: Knit a total of 4 panels.
- XL/XXL: Knit a total of 6 rectangles.
A more even cuff
The cuff of the cardigan can be knitted onto each panel individually, as described in the tutorial. This means that the seam transitions will be visible later on.
Our professional tip for a beautifully finished cuff works as follows:
Option 1 – addiTakeOff:
Combine your TakeOff needle with a long click cord and, after slipping the stitches on the needle, place each panel in its final position on a long click cord. Then sew all the pieces together. Finally, knit the cuff over all the panels in one piece.
Option 2 – waste yarn:
Alternatively, leave the waste yarn at all the ends of the panels until all the pieces have been sewn together. Finally, pick up all the stitches of the cuff edge with a long circular needle (min. 100 cm) and work them all together in the cuff pattern.
Sleeves
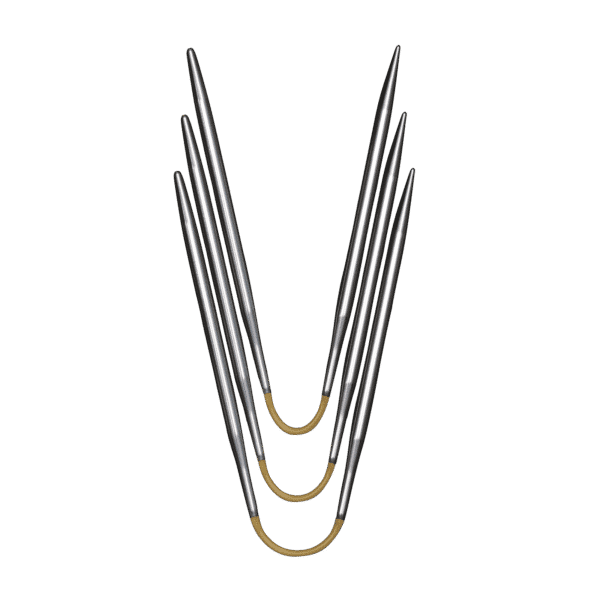
Depending on the size, the sleeves are knitted in the round or in two pieces:
- XS/S: 1 piece with 46 sts (circular knitting) × 94 rounds
- M/L: 2 parts with 31 sts × 95 rows
- XL/XXL: 2 Tparts with 35 sts × 92 rows
Dimensions of finished sleeves:
- XS/S: approx. 12" (30.5 cm) width × 18.5" (47 cm) heigth
- M/L: approx. 16.5" (41.5 cm) width × 19" (47.5 cm) height (2 pieces, each measuring 8.2"/20.7 cm)
- XL/XXL: caapprox. 18.5" (46.5 cm) width × 18" (46 cm) height (2 pieces, each measuring 9.2"/23.3 cm)
How to work the sleeves
1. Cast on stitches with contrasting yarn
- XS/S: Wind 46 sts (circular mode with all needles)
- M/L: Wind 31 sts (e.g. needles 4-34)
- XL/XXL: Wind 35 sts (e.g. needles 4–38) → approx. 10 rounds / rows
2. Work rounds / rows in Primary colour before stripes:
- XS/S: 46 rounds
- M/L: 47 rows
- XL/XXL: 44 rows
Stripes (always the same, consisting of 36 rows):
- 2 rows white
- 4 rows primary colour
- 4 rows white
- 4 rows primary colour
- 8 rows white
- 4 rows primary colour
- 4 rows white
- 4 rows primary colour
- 2 rows white
Primary colour after stripes:
- 12 rounds / rows for all sizes
Total number:
- XS/S: 46 + 36 + 12 = 94 rounds
- M/L: 47 + 36 + 12 = 95 rows
- XL/XXL: 44 + 36 + 12 = 92 rows
3. Slip stitches
- Option 1: Slip stitches on the addiTakeOff and transfer to a circular needle
- Option 2: Leave stitches on the machine and loosely wind 8 further roounds / rows
4. Work the cuff
- Option 1 (by hand): Knit 8 rows in 1–1 rib pattern (alternating k1, p1), then loosely bind off.
- Option 2 (on the machine): Make the rib pattern on the machine with a crochet hook. Than bind off. → see video tutorial
5. Remove the waste yarn on the beginning → Pick up the cast-on stitches with a knitting needle and bind off loosely.
Repeat
- XS/S: totally wind 2 sleeves as tubes
- M/L: wind 4 panels (two for each sleeve)
- XL/XXL: wind 4 panels (two for each sleeve)
Finishing
Prepare all the pieces before sewing the sweater together.
- Wash and dry: Wash all knitted items carefully in lukewarm water using wool detergent. Then gently squeeze out any excess water (do not wring!) and lay the items flat to dry—spread them out as flat as possible on a towel or a drying board.
- Assemble back section: The knitted back pieces are joined together along the long sides using the Matress Stitch to form one continuous back piece.
- Assemble front section: The front sections (or three sections for XL/XXL) are also sewn together along the long sides using mattress stitch.
- Close shoulder seams: Place the front piece on the back piece (inside out). Join the shoulder seams with the kitchener stitch.
- Assemble the sleeves: When you have worked the flat sleeve pieces (M/L or XL/XXL), first sew the two pieces together to form a complete sleeve—again using mattress stitch along the long edges.
- Insert sleeves: Insert the finished sleeve evenly into the armholes. Start at the top of the shoulder seam and work your way around. Sew the sleeve in place using a mattress stitch.
- Tip: The sleeve can be sewn on slightly stretched so that it is not too tight under the armpit.
- Close the side seams: Close the front and back sections along the sides up to the underarms using mattress stitch.

Tutorial also available for download and in the addi2go app
Are you knitting this project currently? Share the result on Instagram at @addi_by_selter @judithjelena
or in our Facebook group "addi Friends”
Design: Judith Jelena Paus
The printable tutorial is available from Judith Jelena at CrazyPatterns.