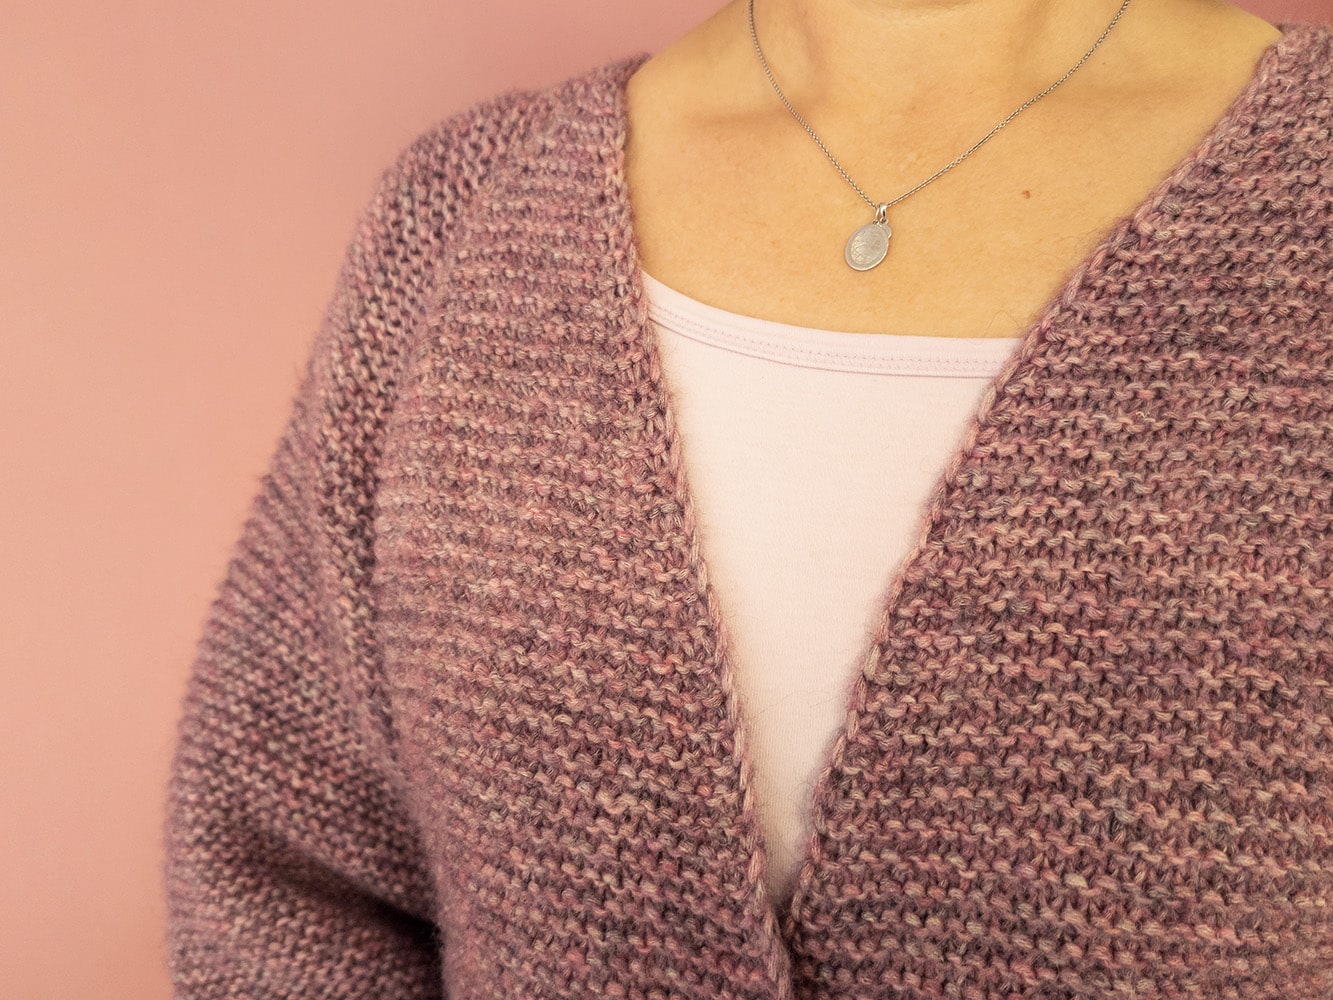
Raglan cardigan top-down knitting

Step-by-step guide to knitting a cardigan
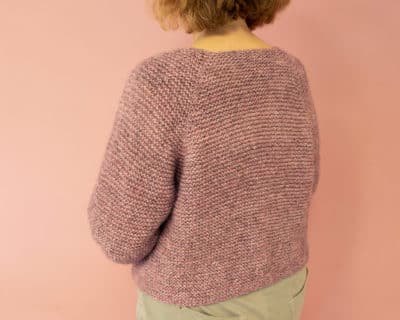
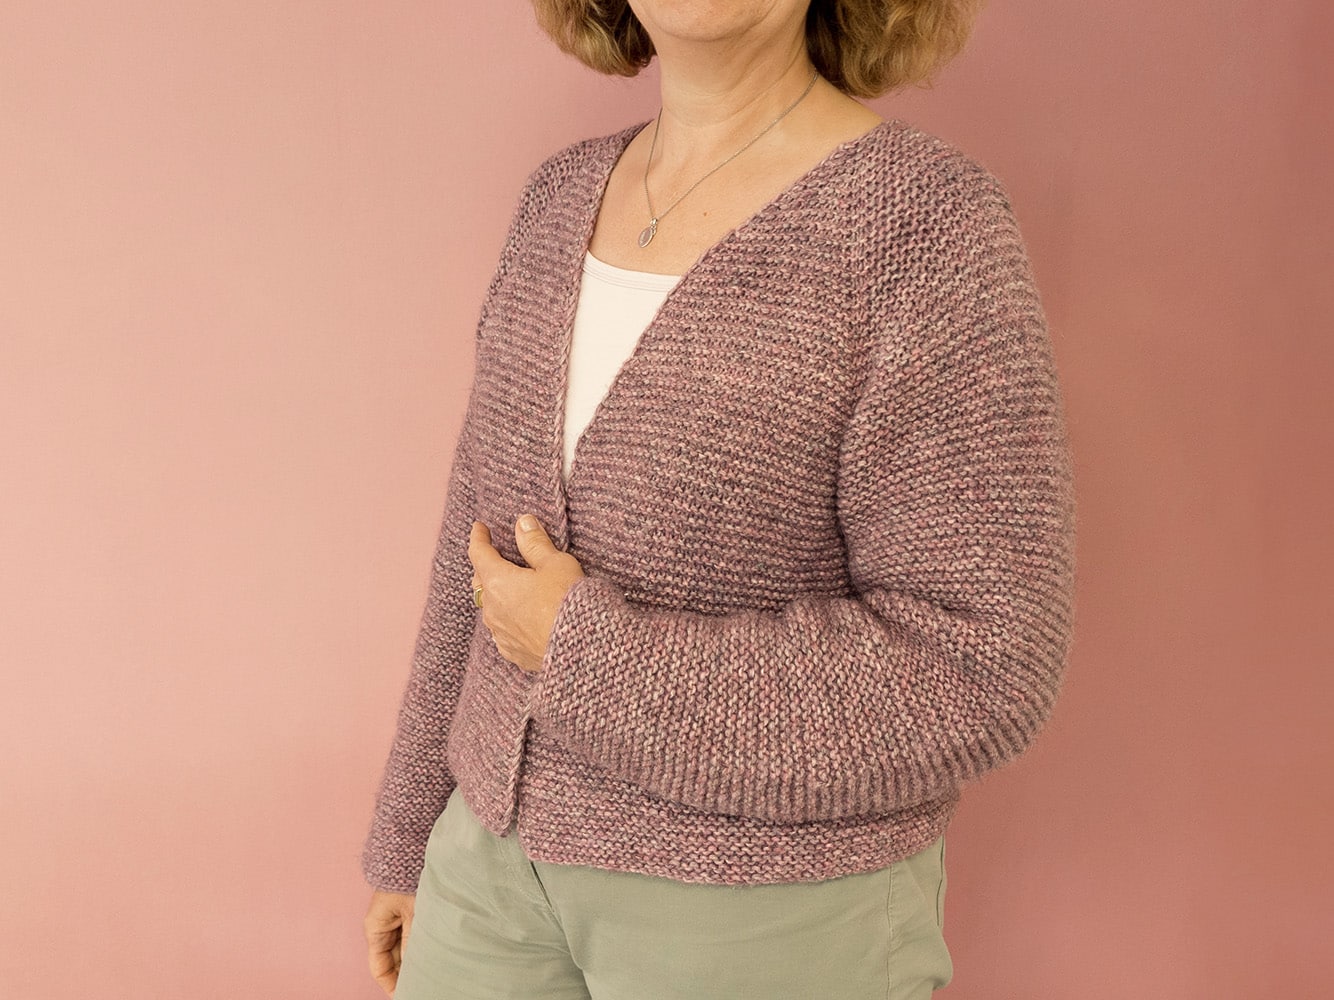
Our step-by-step guide shows you how to knit a raglan cardigan. We recommend reading the instructions in full and deciding which steps you want to knit. All the necessary calculations can be made right at the beginning using the gauge.
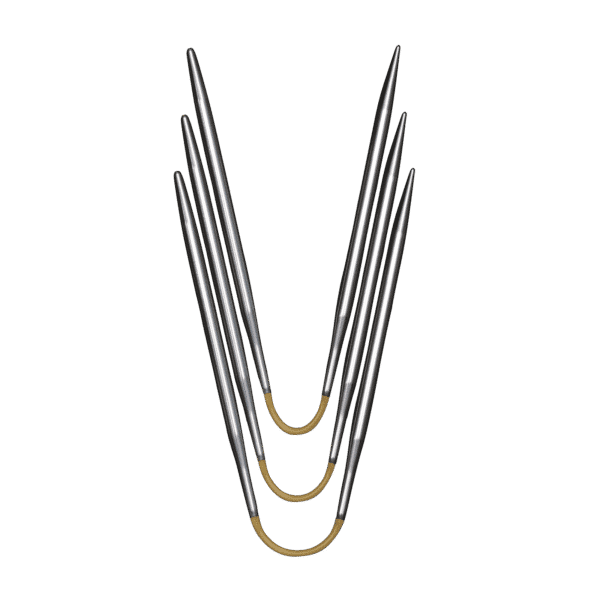
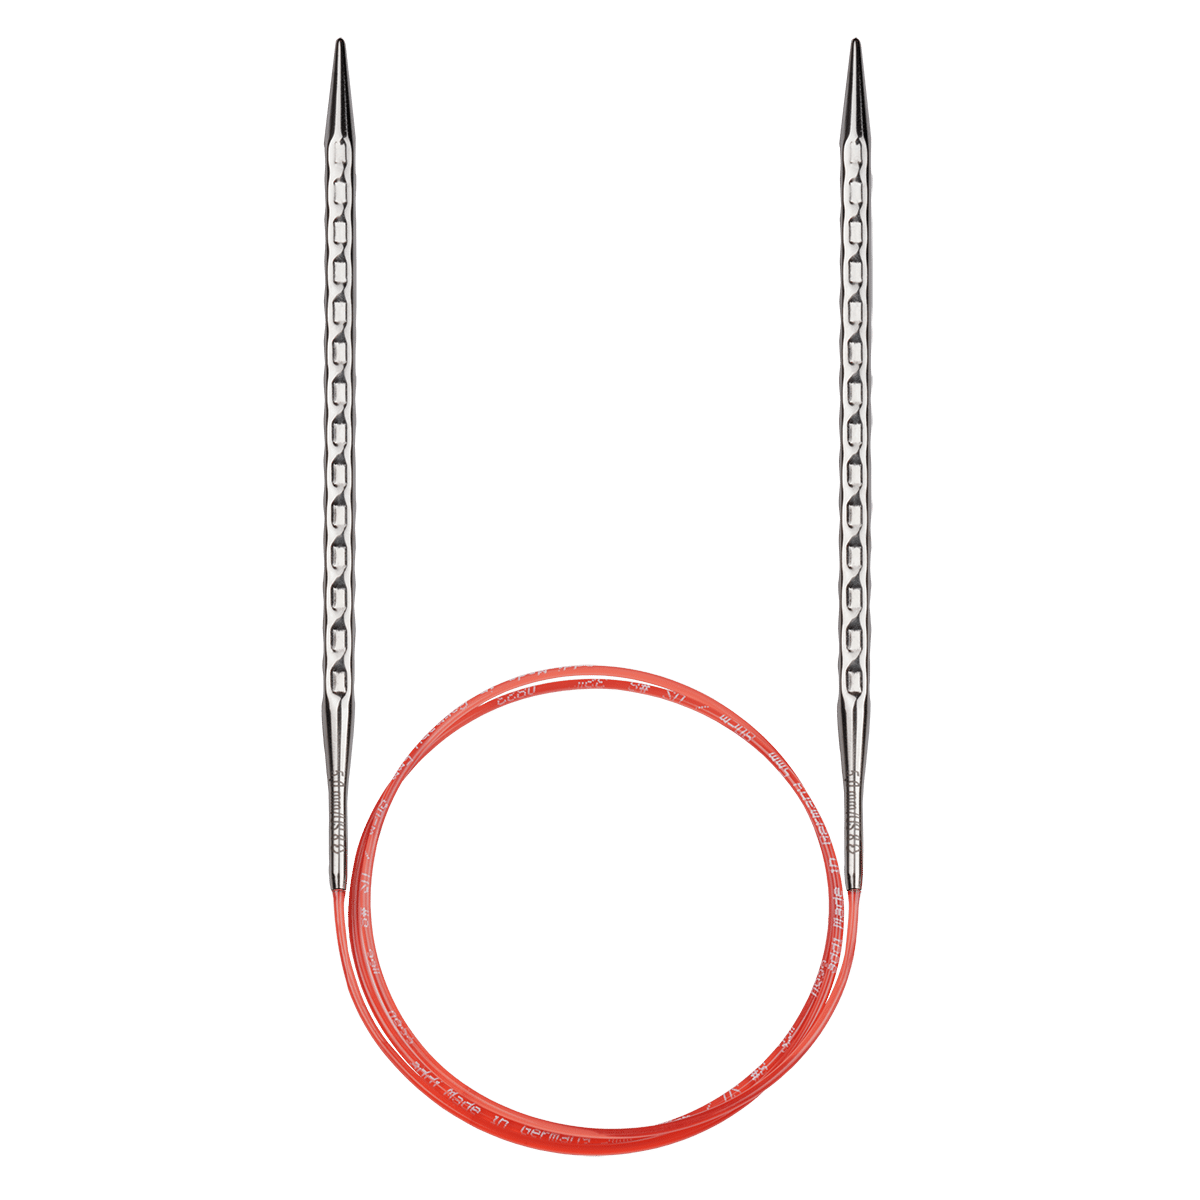
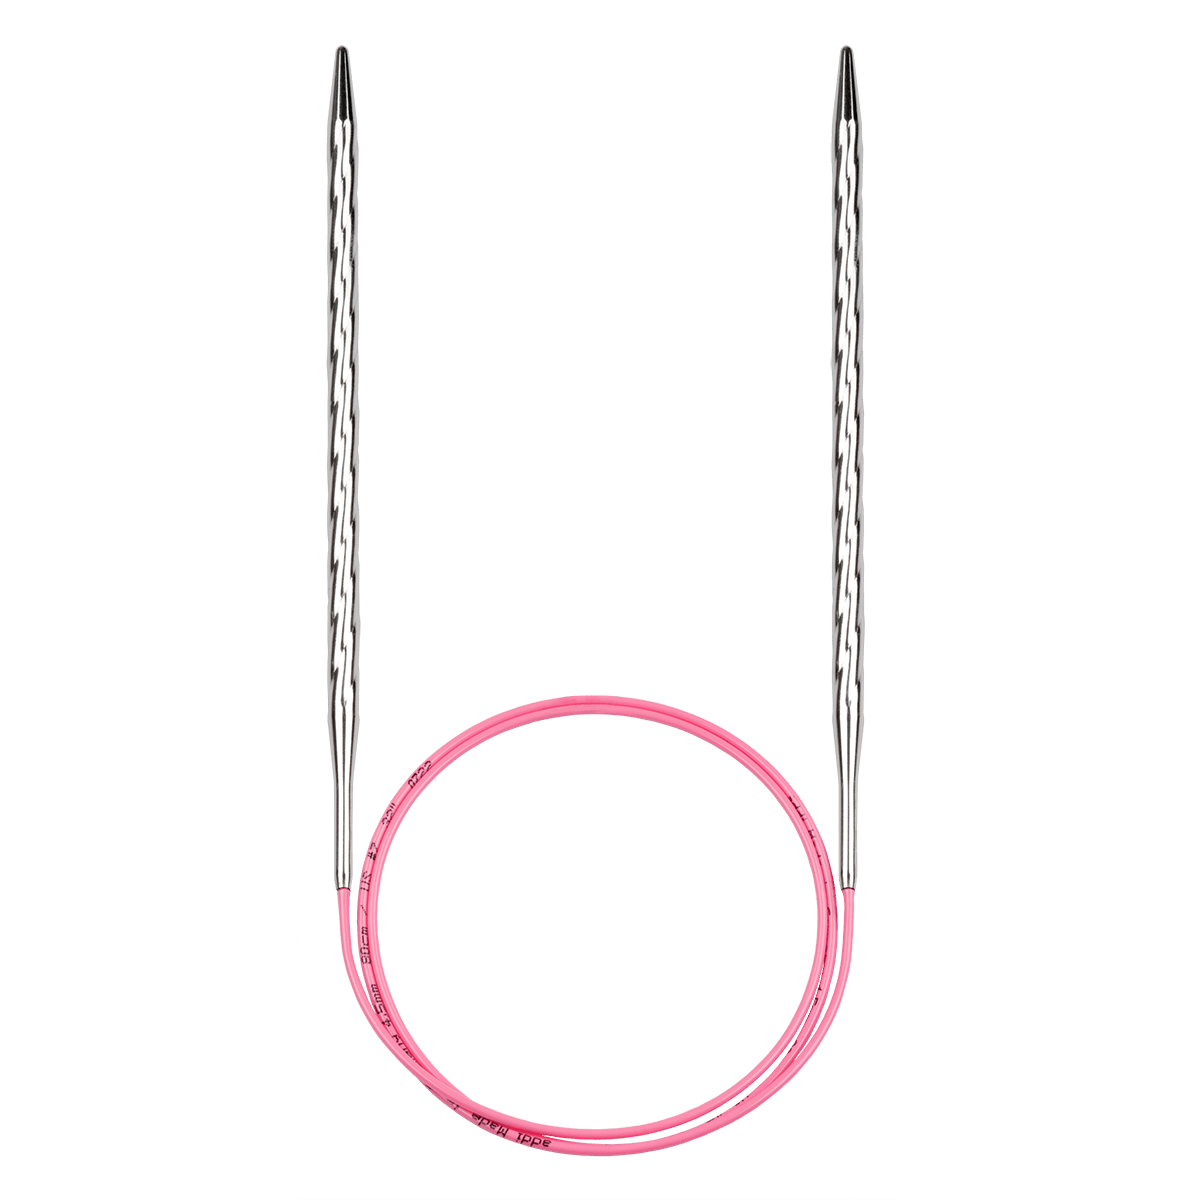
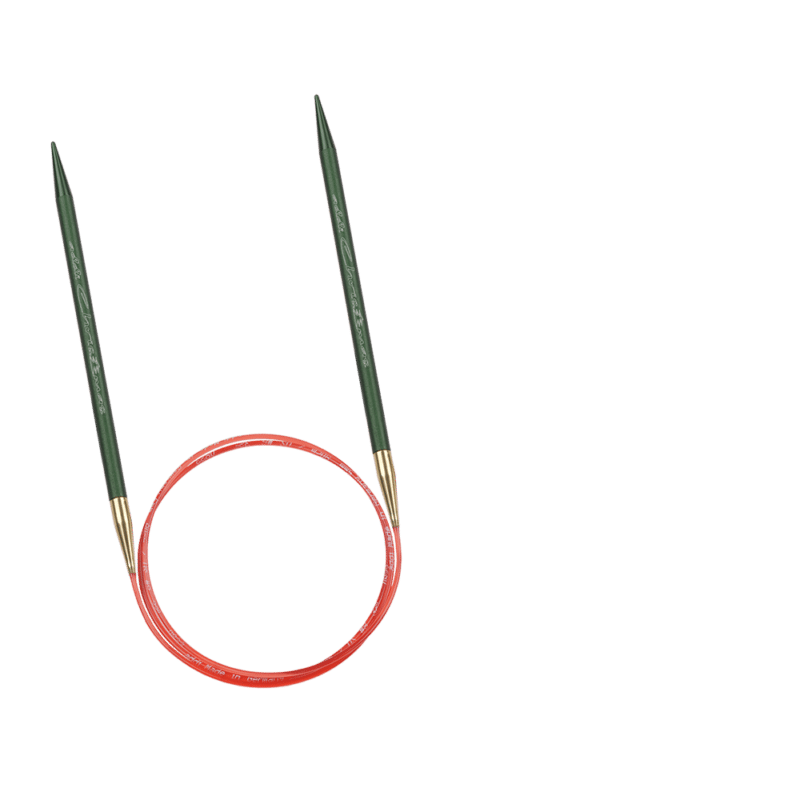
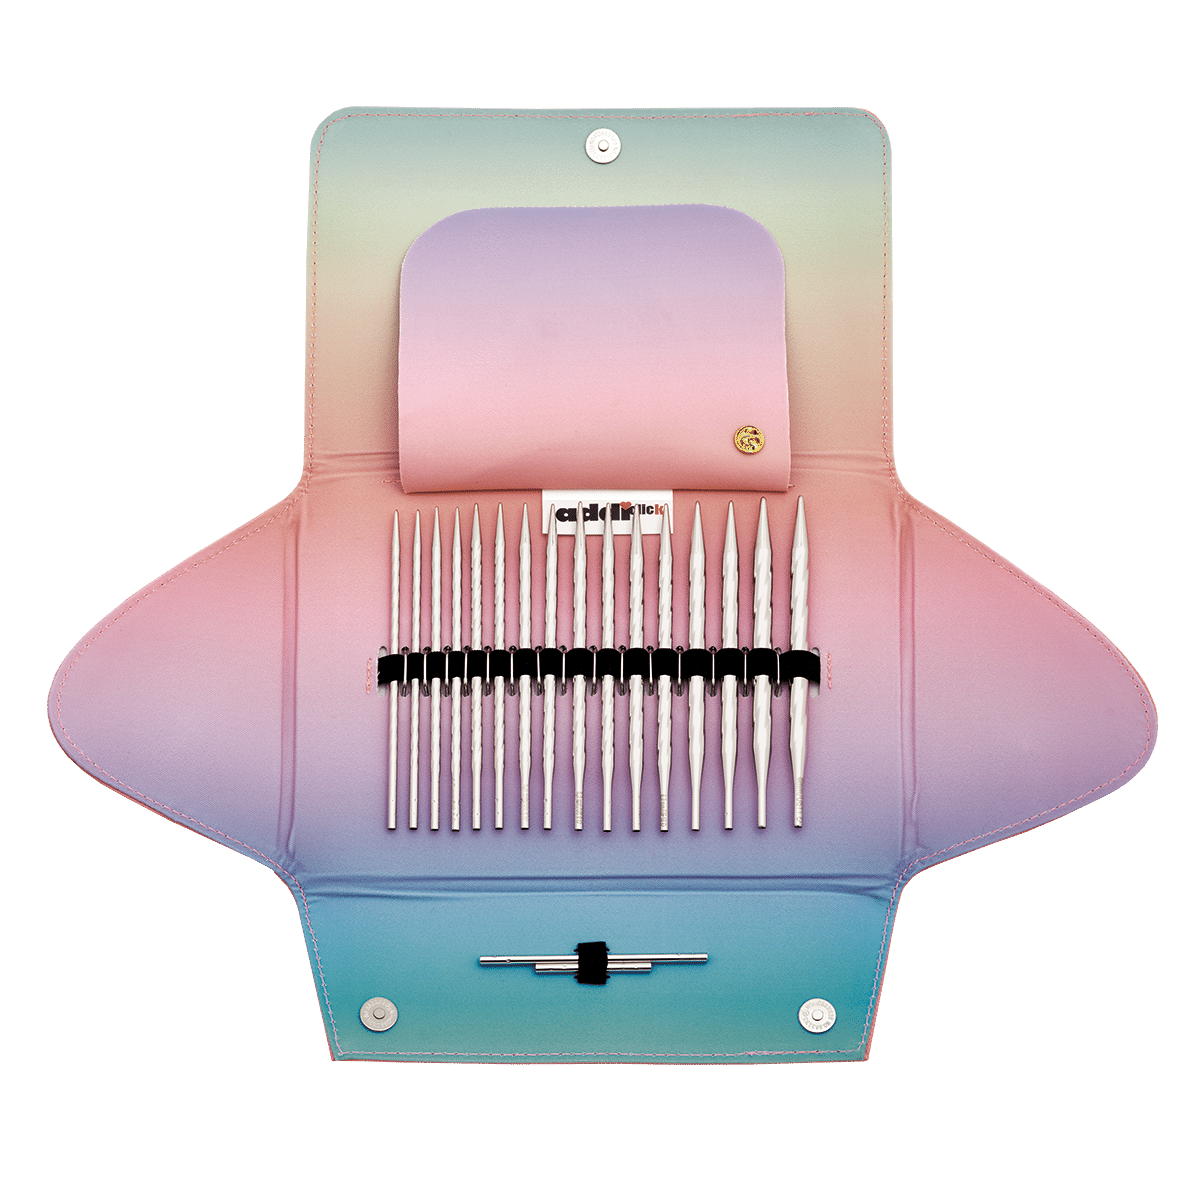
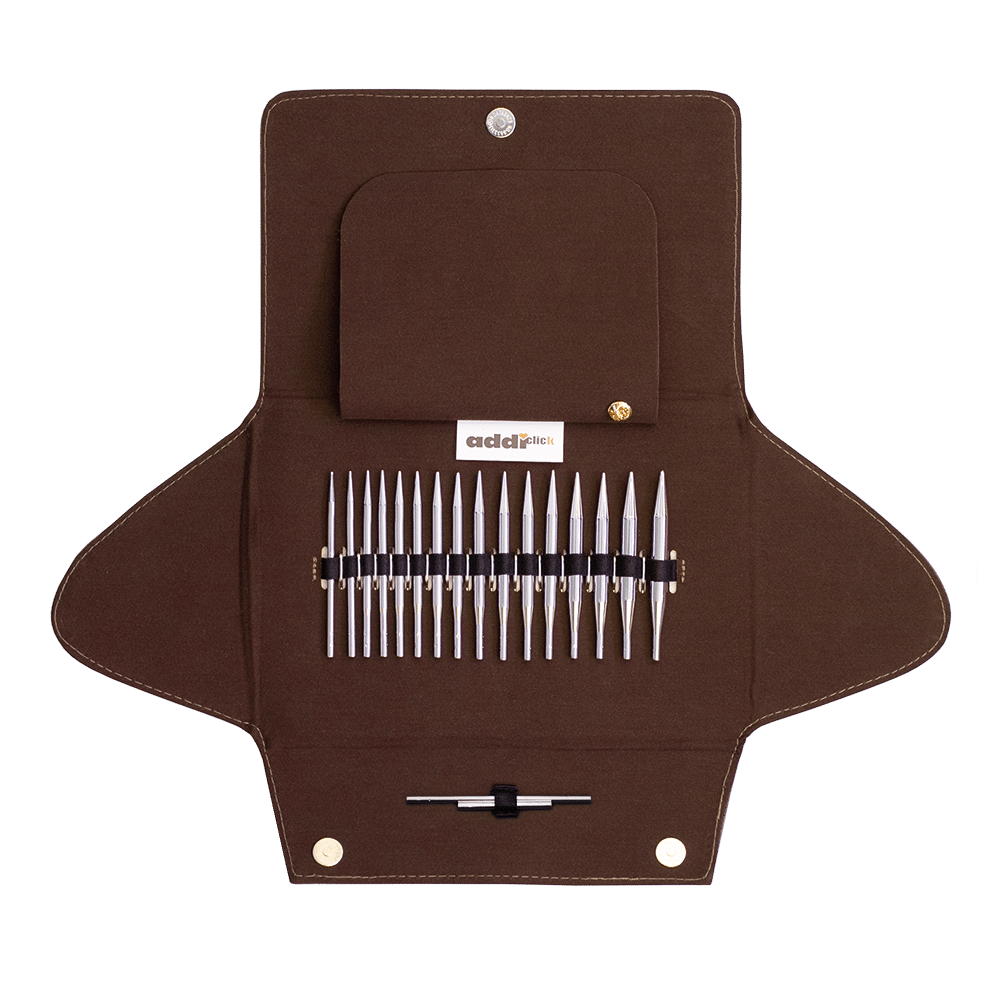
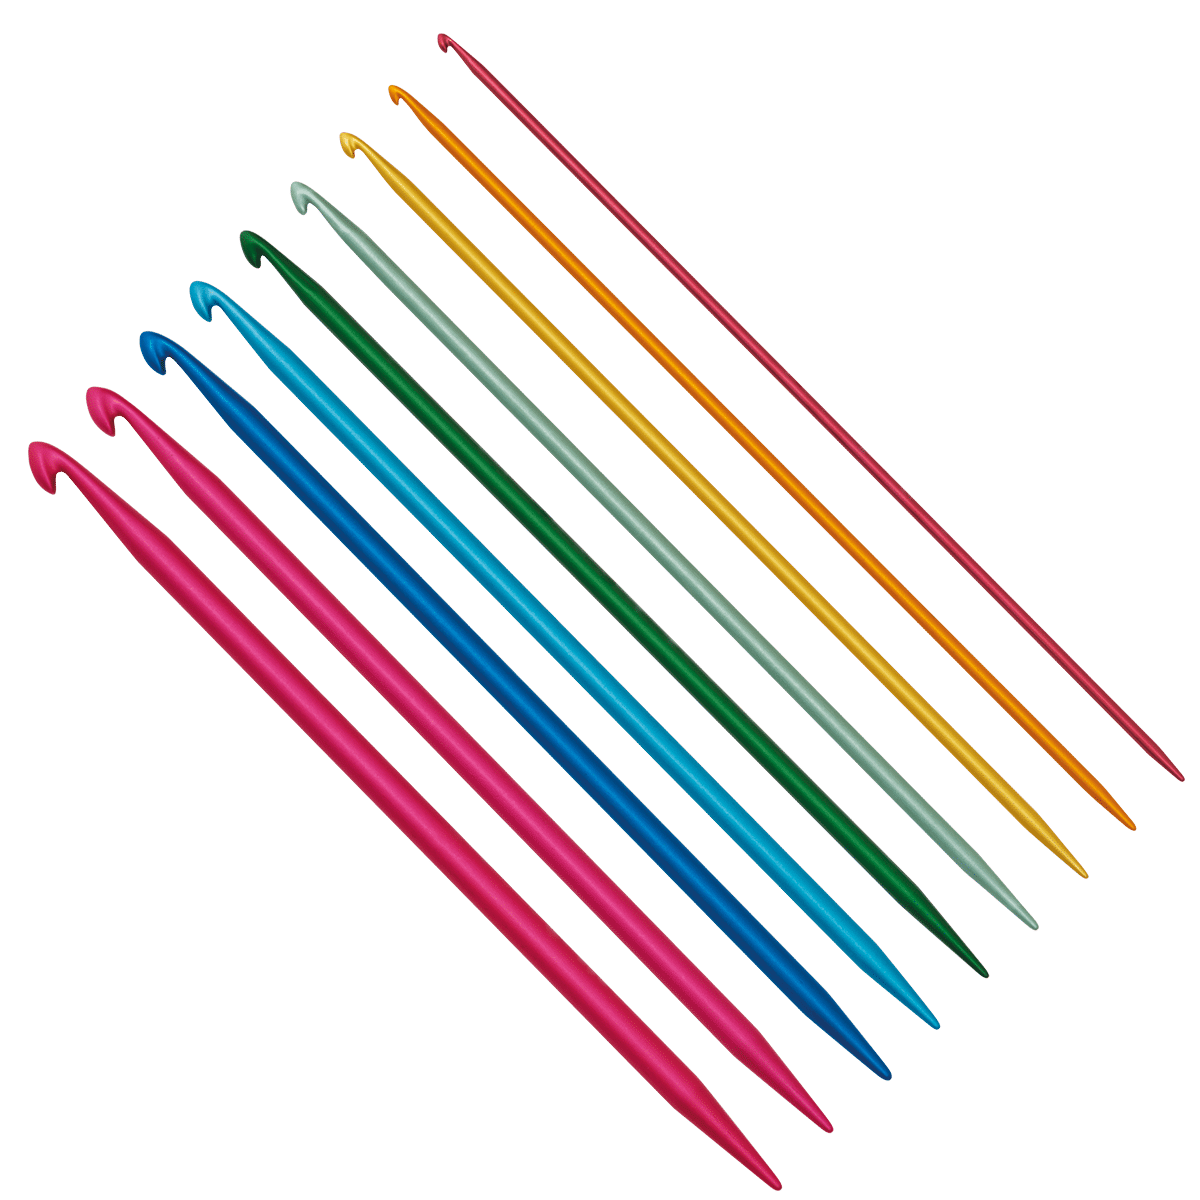
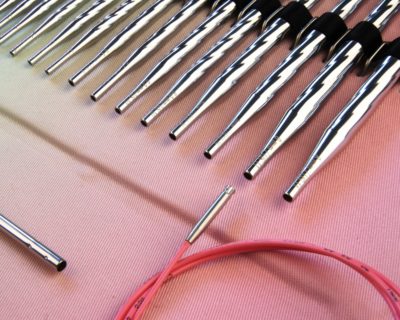
- set of interchangeable knitting needles, e.g. addiClick and addiClick Short matching your yarn (and optional 1 set of smaller needles (approx. 1 number/0.5 mm) for the ribbing)
-
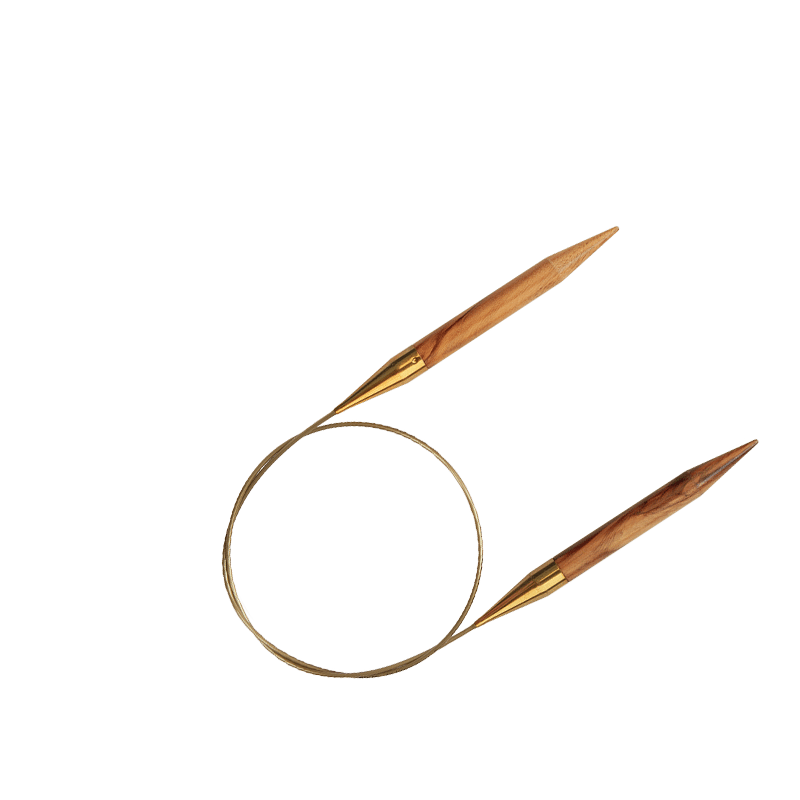
1 addiClick Seil approx. 47-60” (120-150 cm)
-
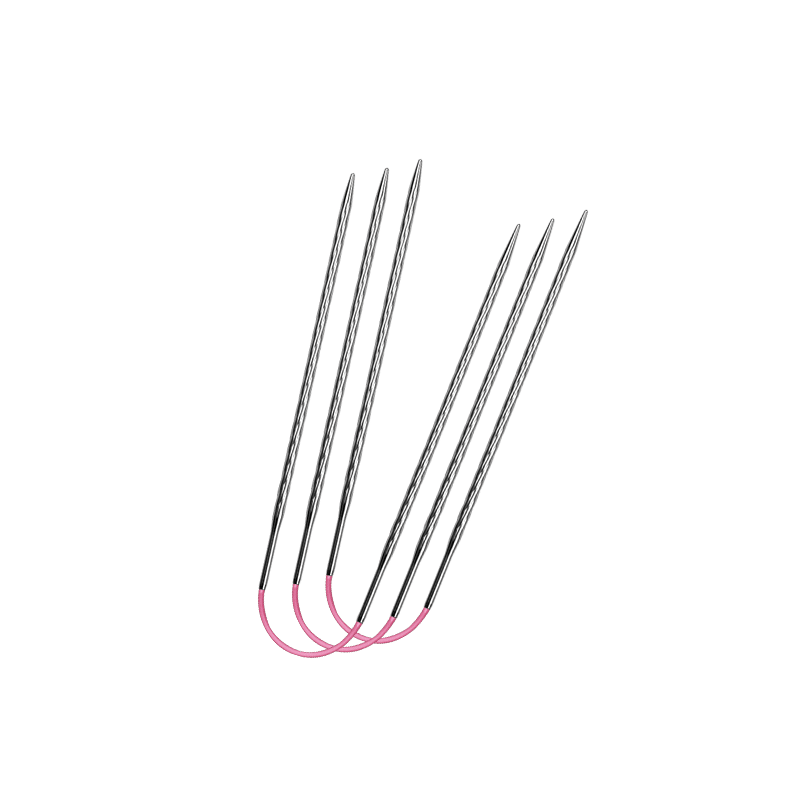
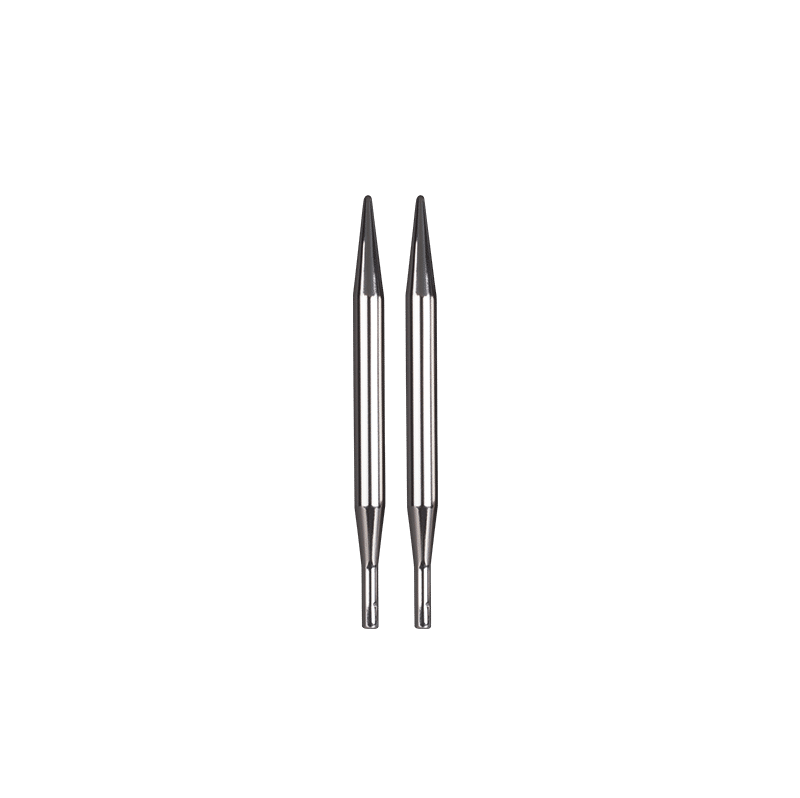
for the sleeves: 1 pair of addiClick Short Tips + 2 addiClick cords, approx. 16” (40 cm) + 2 addiClick connectors (or 2 circular needles for the magic loop technique or 2 addiCraSyTrios)
-
optional: 1 further addiClick cord to extend the cord and 2 addi HeartStopers to prevent the stiches from slipping from the needles while trying on the cardigan
-
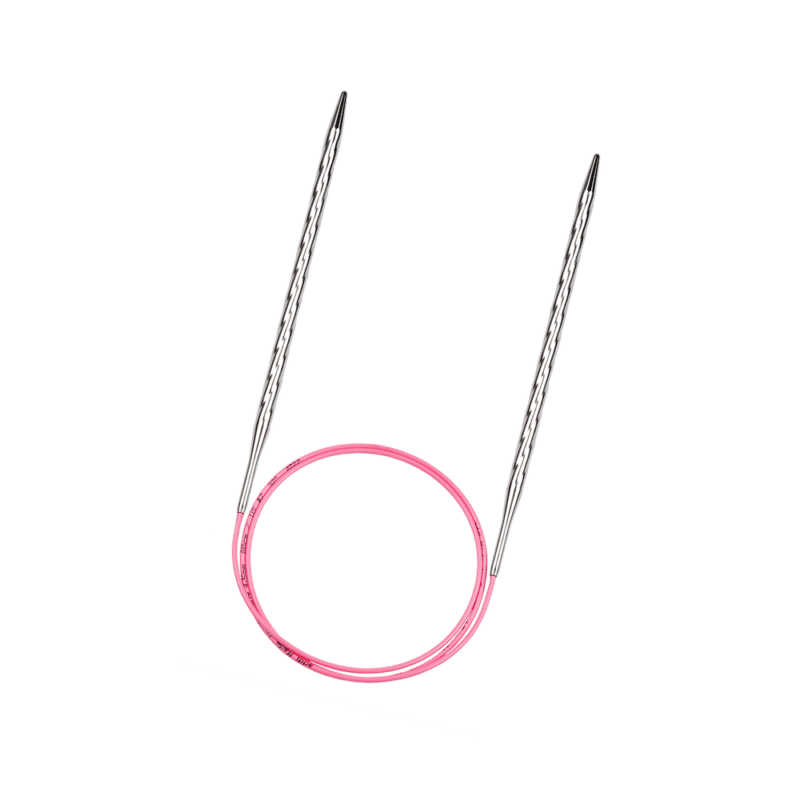
alternatively: circular needles matching your yarn (and 1 set of smaller needles (approx. 1 number/0.5 mm) for the ribbing) in different lengths (approx. 16” and 47-60” [40 and 100-120 cm])
- 10 stitch markers (preferably open ones)
-
yarn in your preferred weight (see Yarn consumption)
-
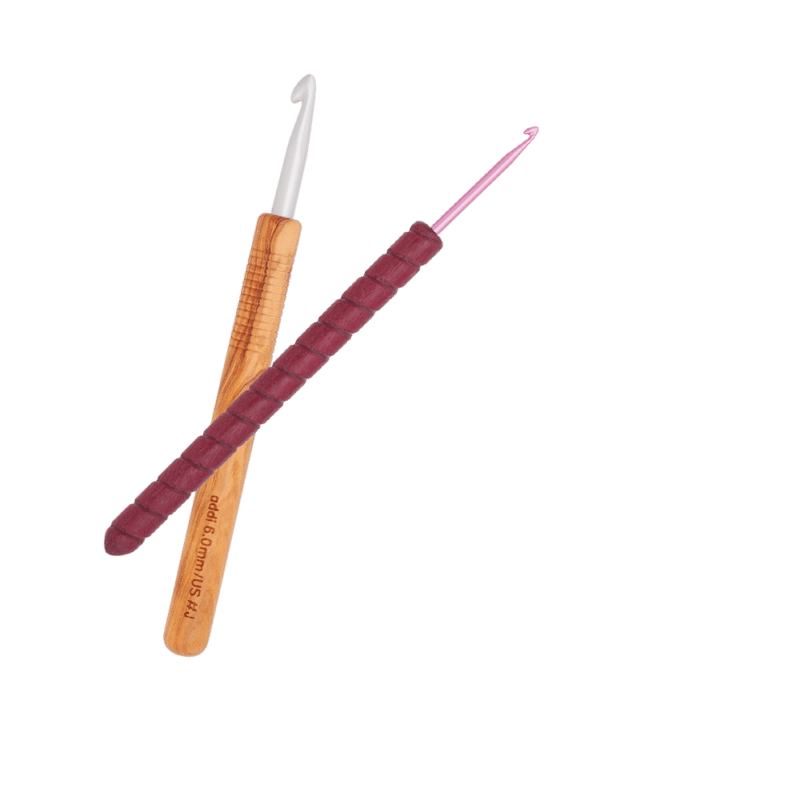
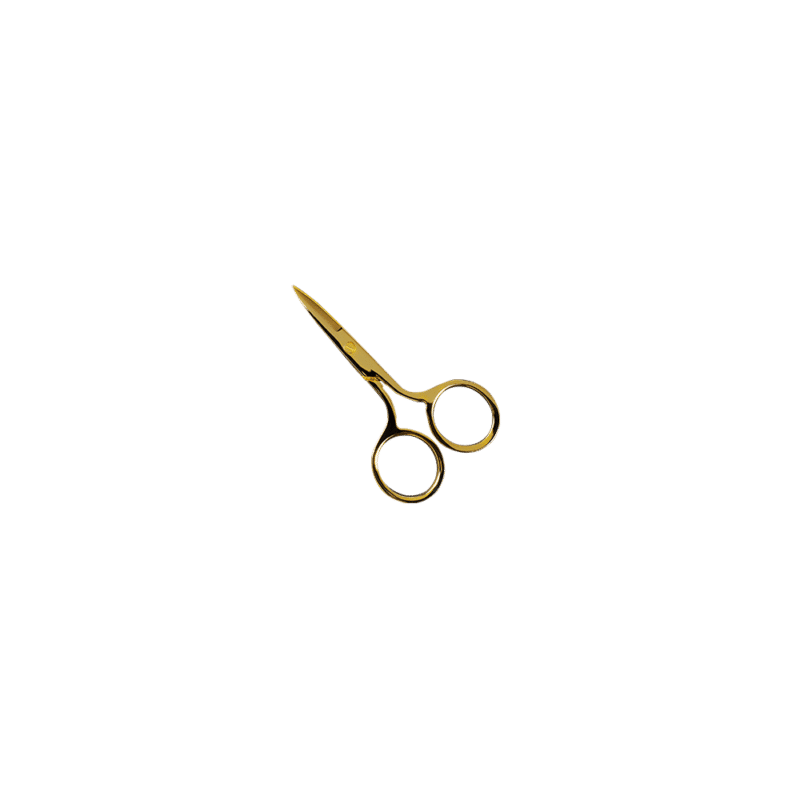
scissors and tapestry needle
-
optional: buttons, hooks or ties to close the cardigan
What is raglan and how does it work?
Raglan knitting for beginners
Have you never knitted a raglan cardigan before? Then simply follow these step-by-step instructions and knit a cardigan from your favourite yarn, exactly the way you want it.
This is what you need to do first:
- Buy enough yarn of one colour batch
- Depending on the length and size of the knitwear, rather buy one ball more than too few, because yarn from a different batch will never look exactly the same later on and may result in unwanted stripes in the knitted item.
- Opt for a length and cut of the raglan cardigan.
- Decide if you want the cardigan longer or shorter.
- If the sleeves should taper towards the bottom or remain wider (increased yarn consumption)
- How the jacket is to be closed when finished (e.g. with a button placket added later or i-Cord = increased yarn consumption
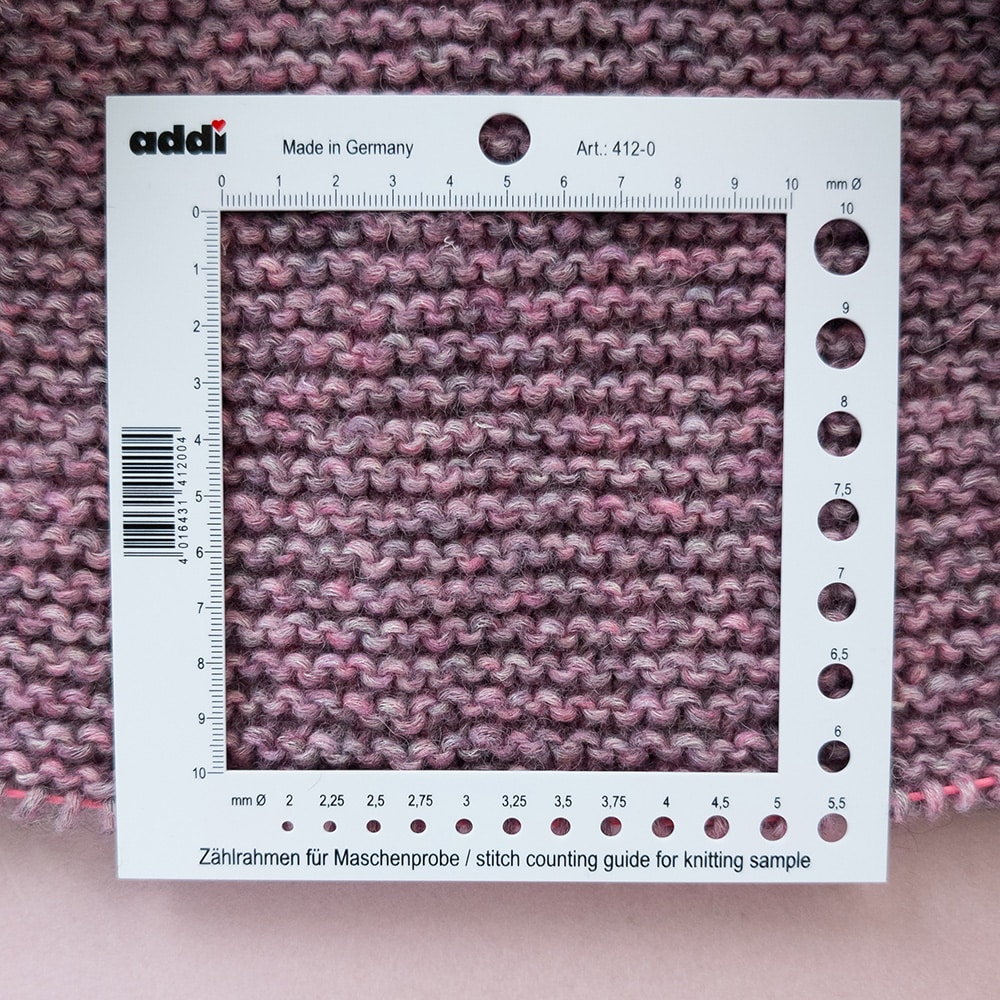
- Select a knitting pattern and make a gauge in the pattern.
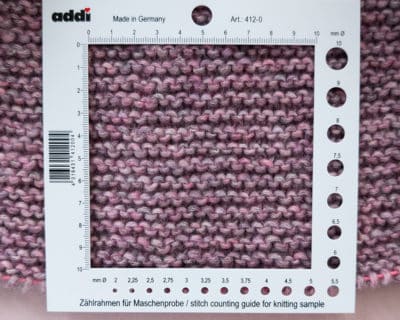
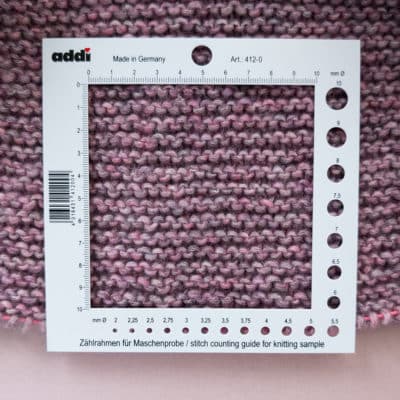
- Lay the gauge down loosely and measure it with a counting frame. How many stitches are needed for a square that is 10 cm wide and 10 cm high?
Tip for beginners: For the first cardigan, choose a thicker yarn (e.g. needle size US 8 (5 mm) or higher) so that you can see the stitches better and finish the cardigan a little faster.
Abbreviations and knitting techniques:
Abbreviations
- k = rechte Masche(n) stricken
-
p = linke Masche(n) stricken
-
sm = stitch marker
-
p = purl
k = knit
CO = cast on
st/s = stitch/es -
inc = increase/increasing
-
abh = abheben
Working right-leaning and left-leaning increases:
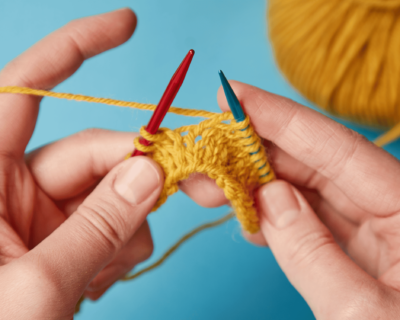
- right-leaning = Insert the left needle back to front under the strand of yarn running horizontally between the next stitch and the last stitch on the right needle, then knit it.
-
left-leaning = Insert the left needle front to back under the strand of yarn running horizontally between the next stitch and the last stitch on the right needle, then knit it through the back loop.
Yarn consumption
The concept:
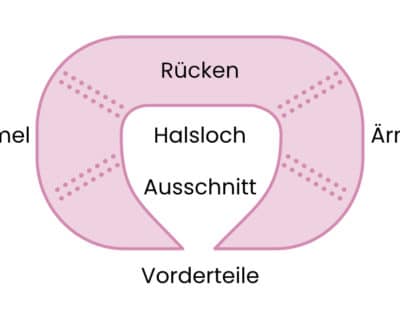
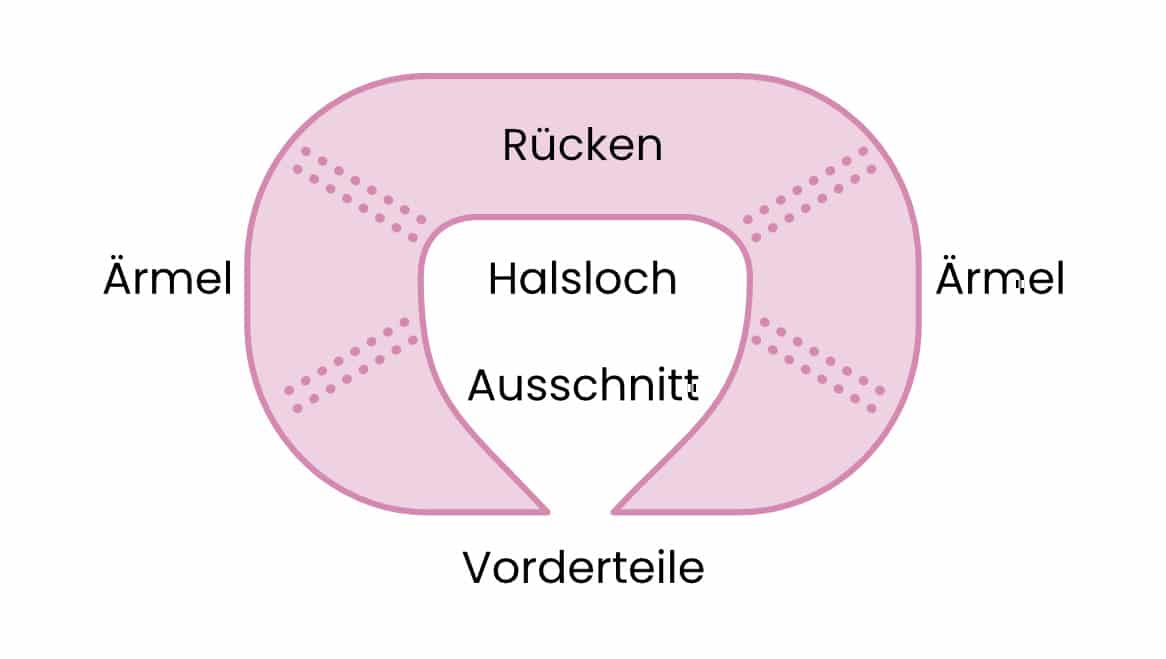
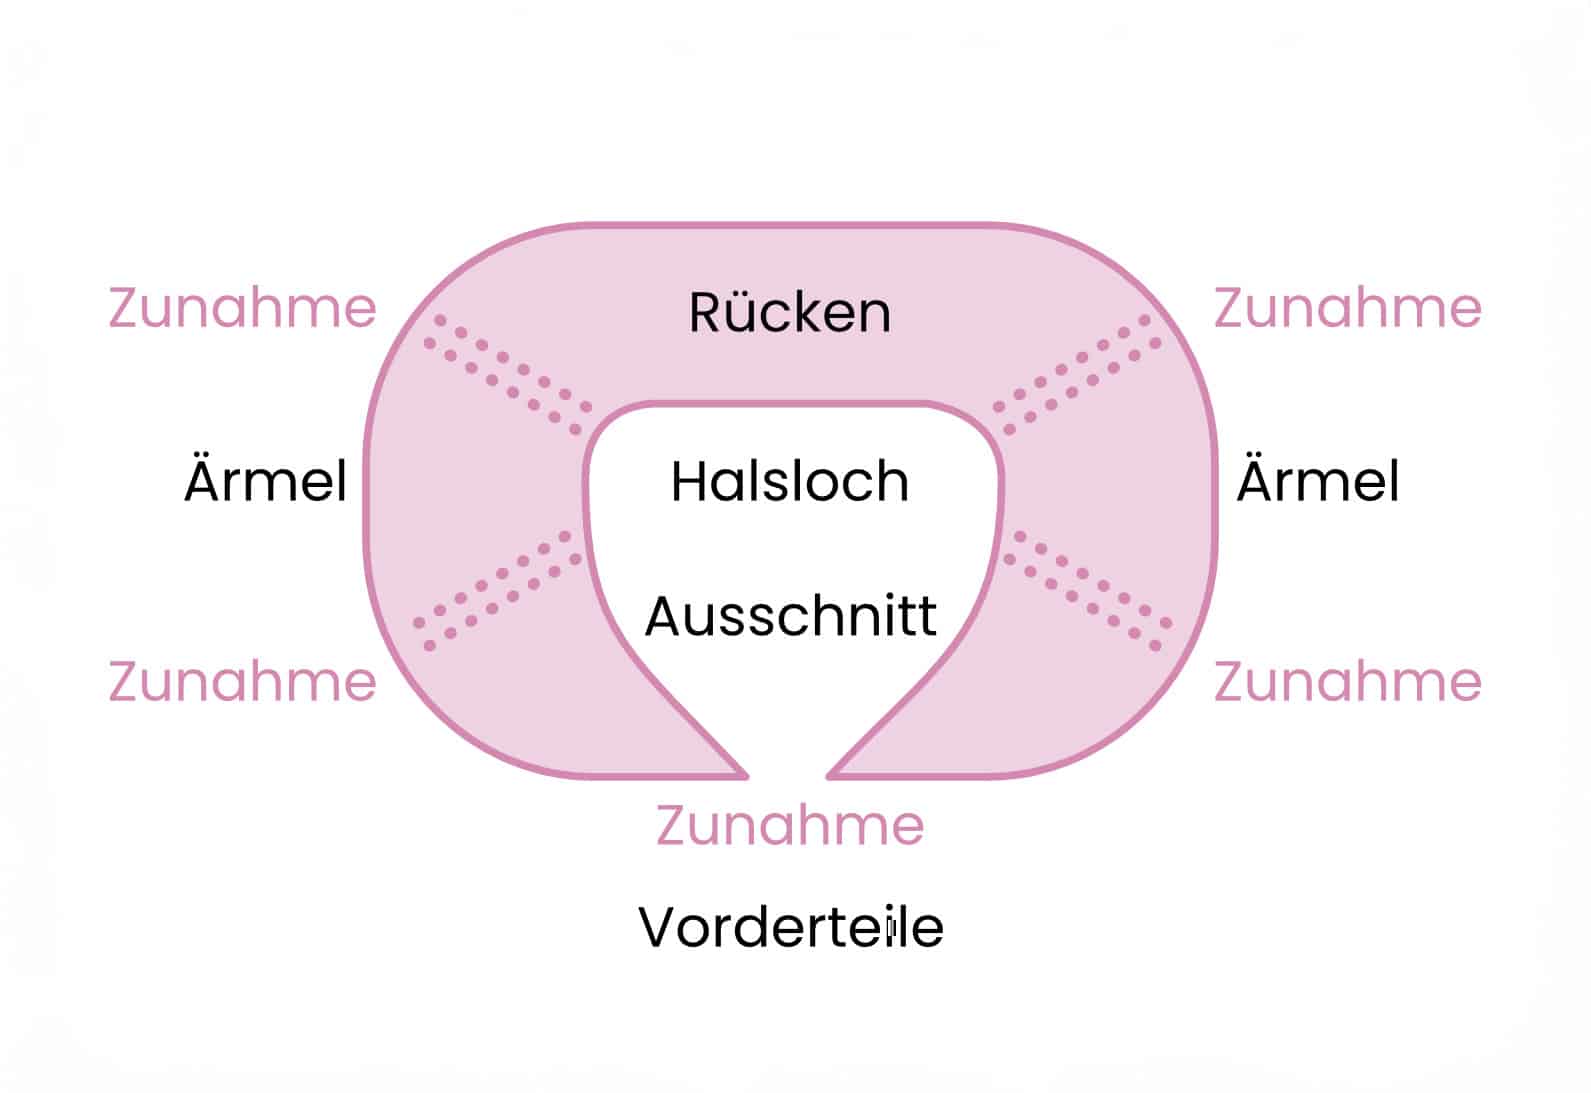
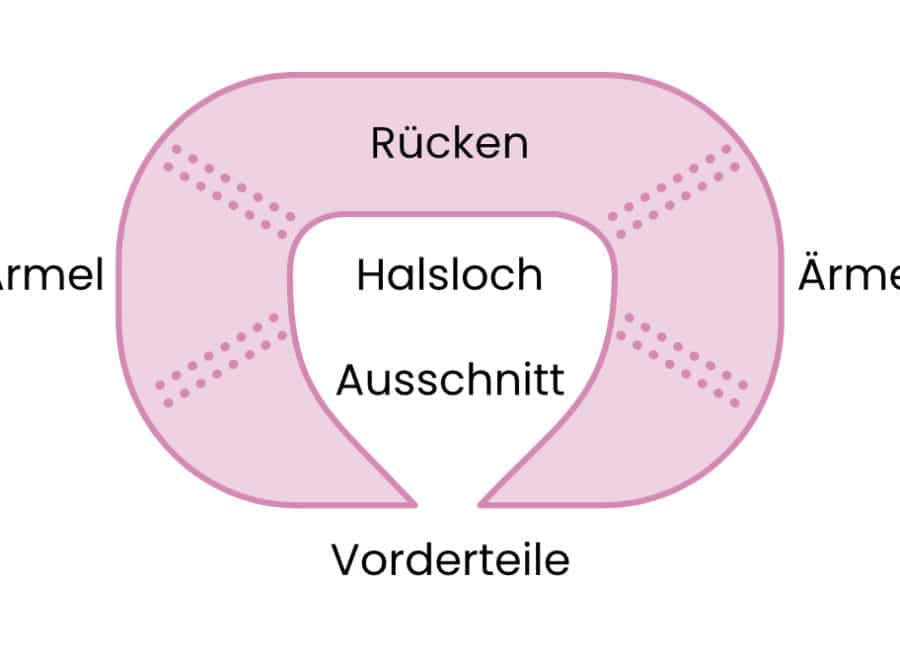
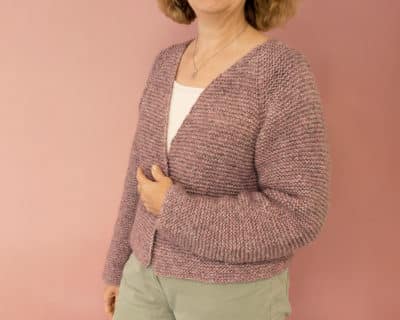
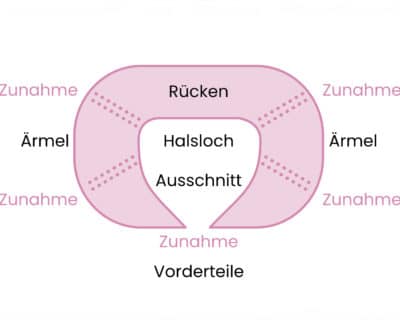
While a raglan sweater is knitted in rounds, you work a raglan cardigan flat in rows to achieve the opening at the front.
The concept:
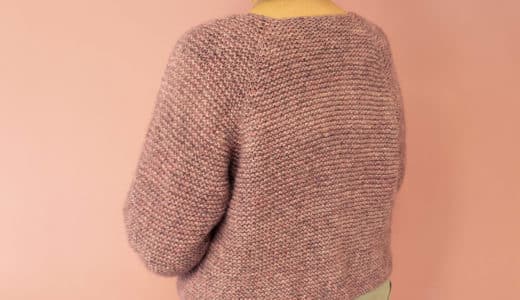
While a raglan sweater is knitted in rounds, you work a raglan cardigan flat in rows to achieve the opening at the front.
Essential for your calculations:
Calculate Gauge
- Measure your neck circumference. - How wide or snug would you like your cardigan to be at the front and back neckline?
-
You can use a well-fitting garment as a reference.
-
When determining the circumference of the neckline, consider that adding ribbing or collar later on will make it smaller.
Which pattern would you like to knit?
- The fit of your raglan cardigan is based on the respective number of stitches and increases.
-
Therefore, it is important to work a gauge swatch (4x4” [10x10 cm]) with your yarn in the chosen pattern and with the respective needle size, and to measure and count carefully.
- This is the basis for your calculations to determine the necessary number of stitches for the yarn you will use.
Knitting a raglan with a pattern
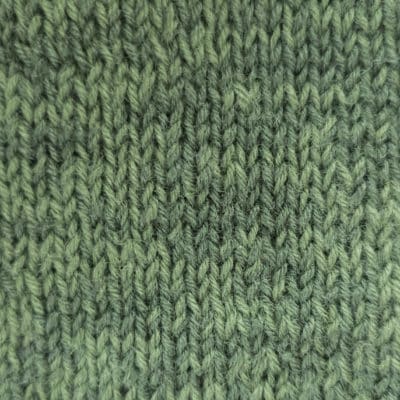
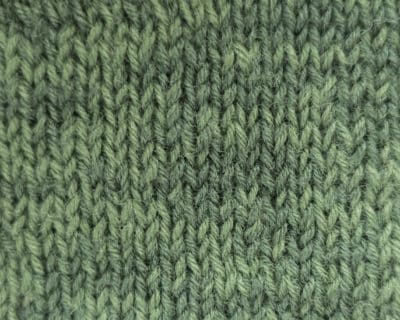
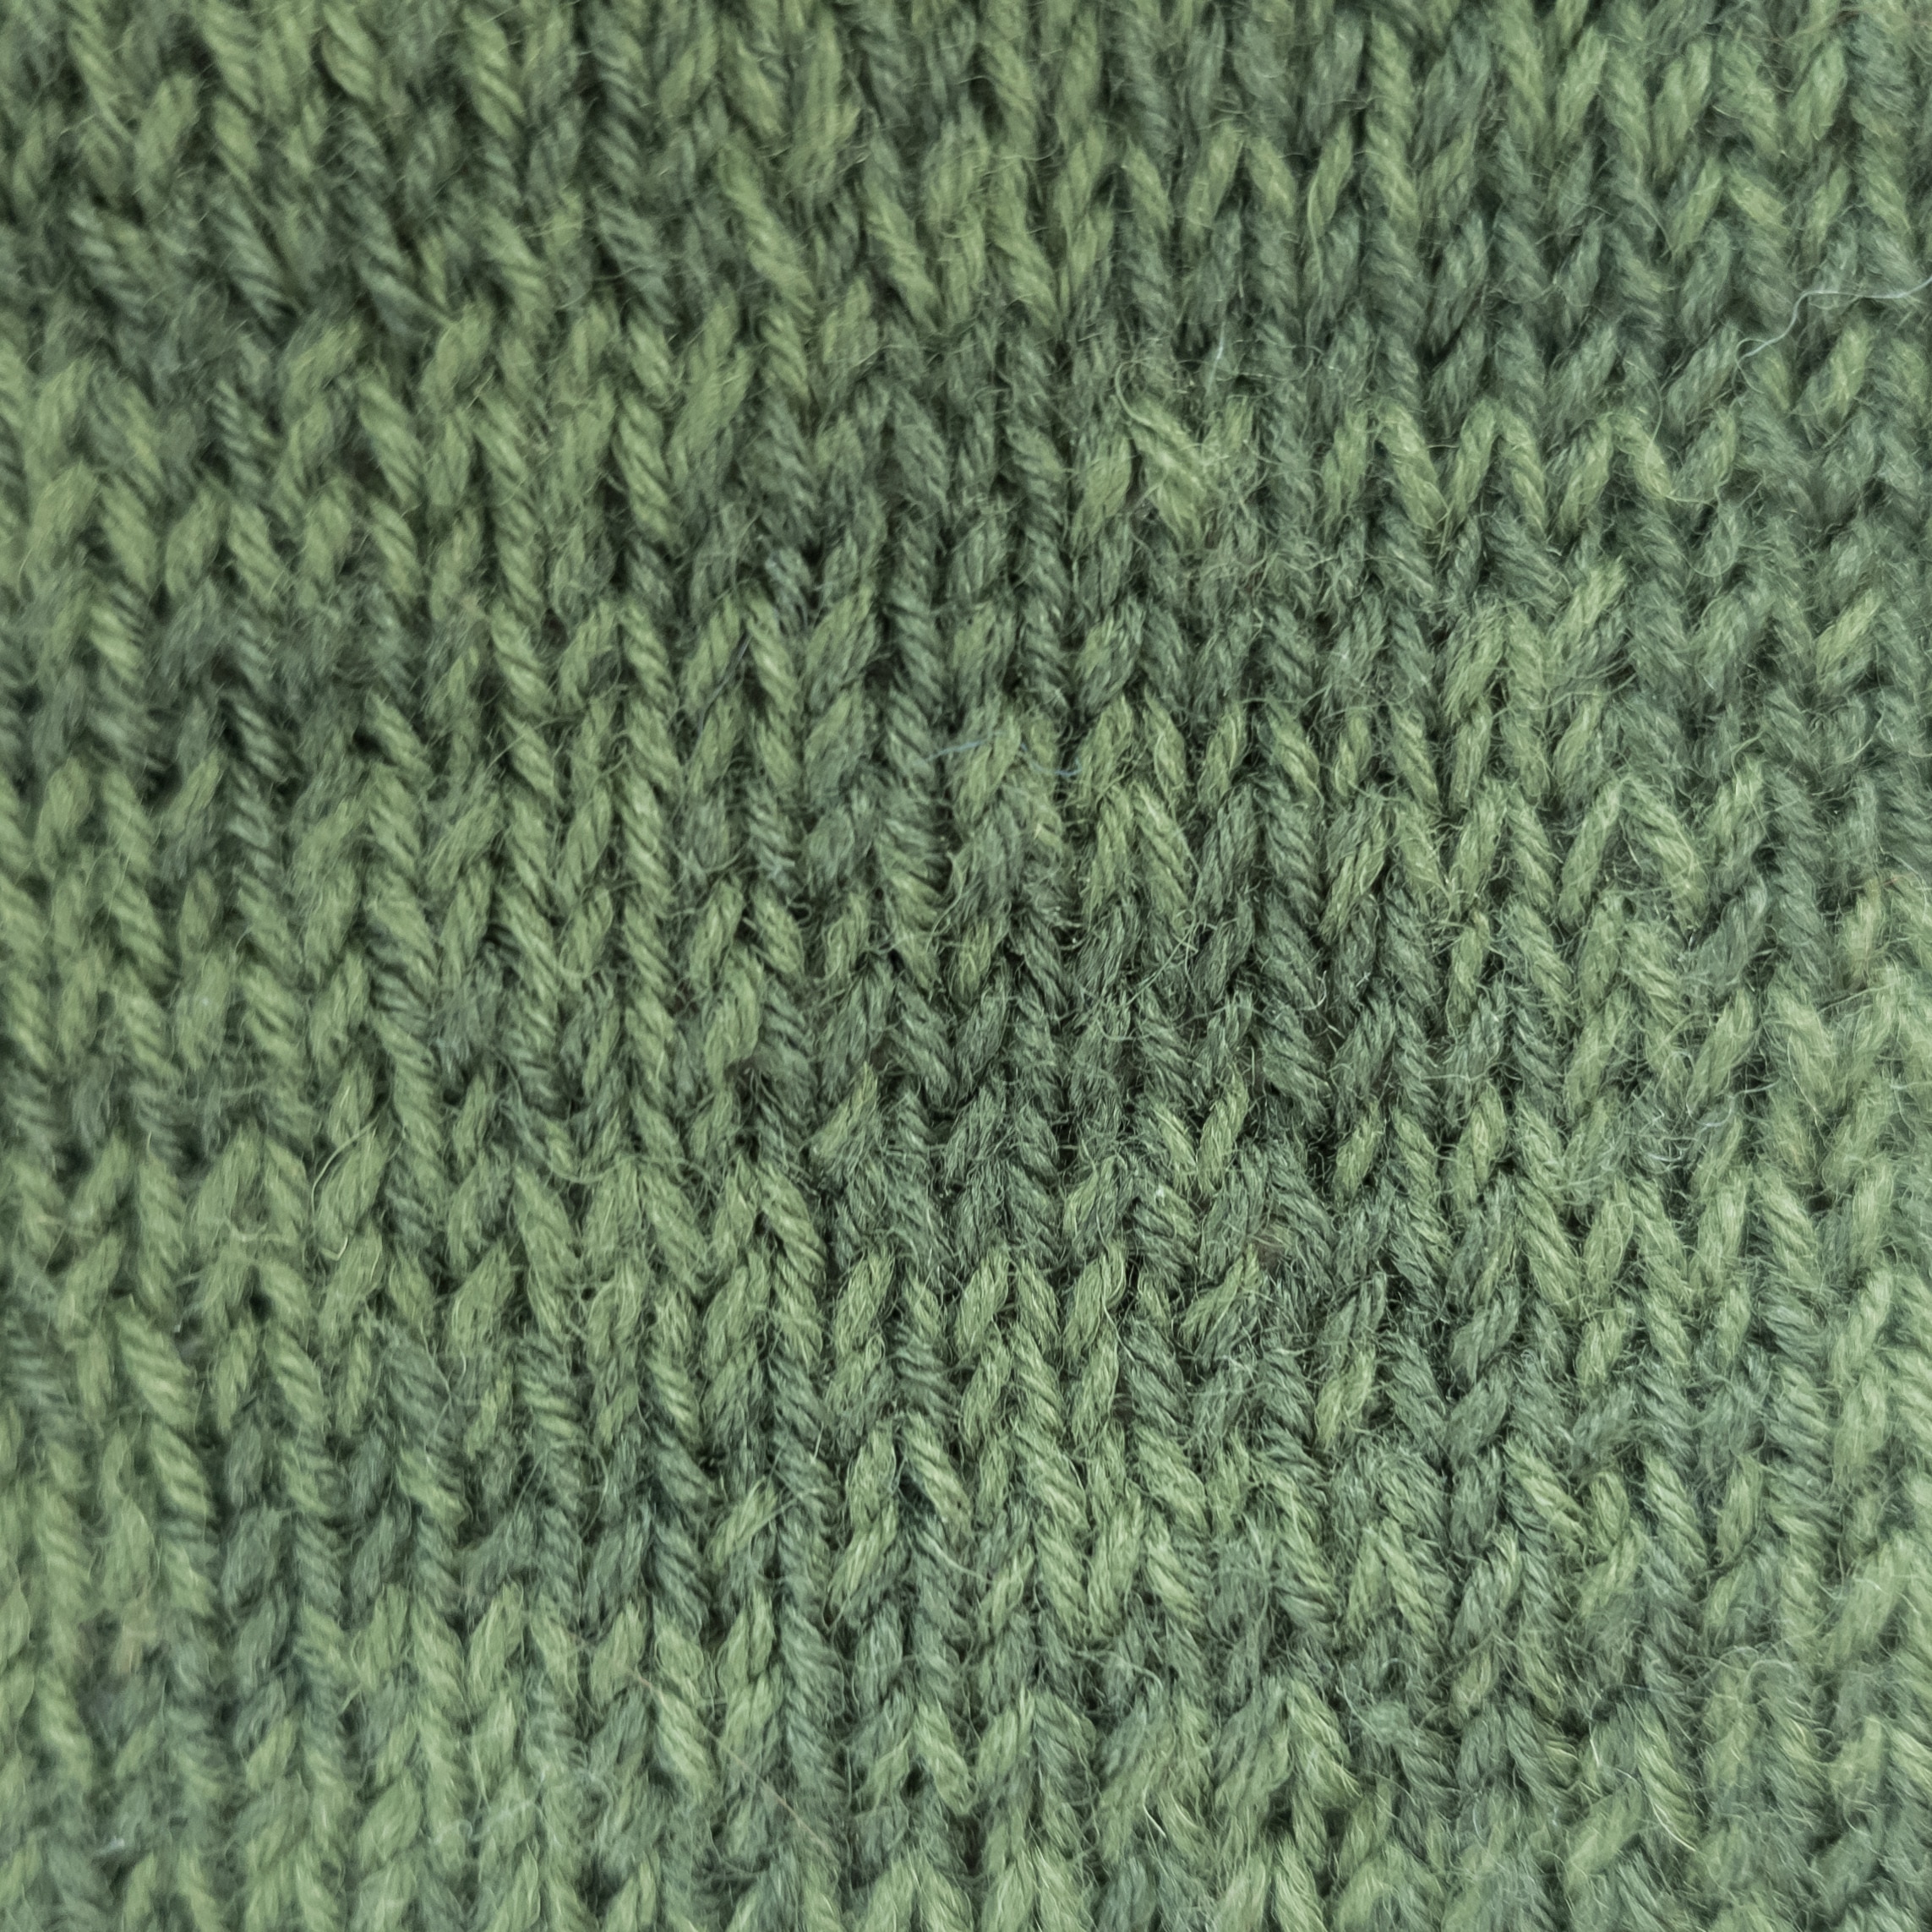
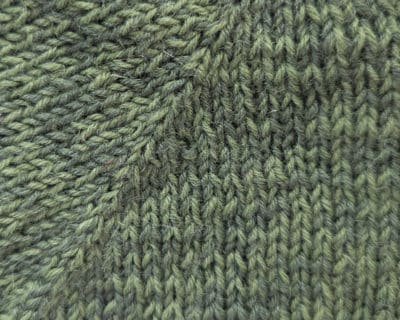
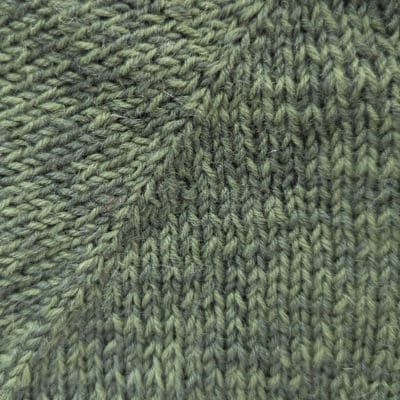
- Stockinette Stitch: (very easy for beginners)[green]
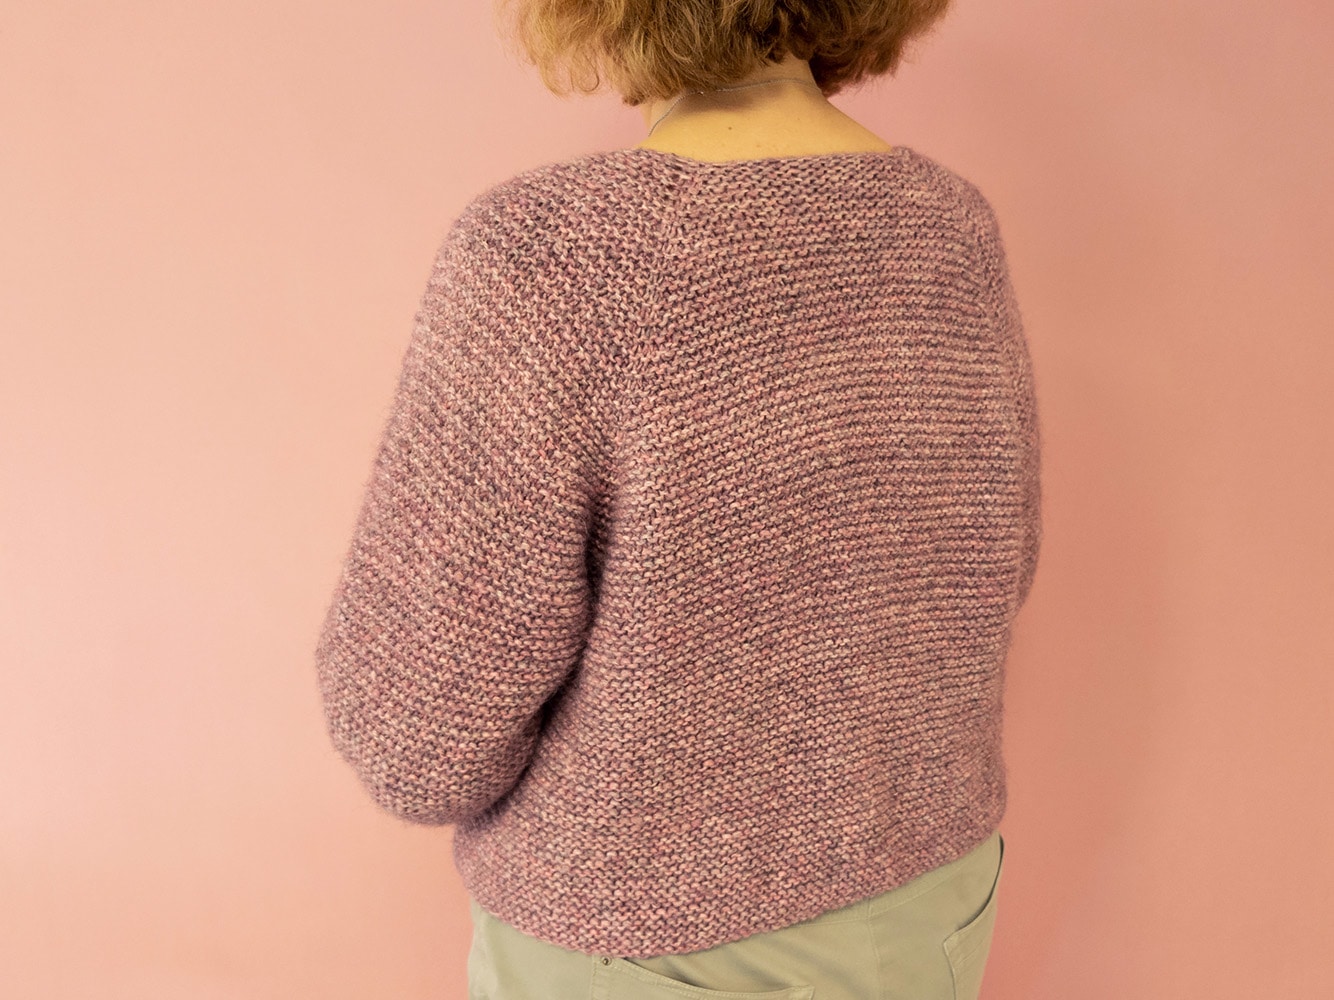
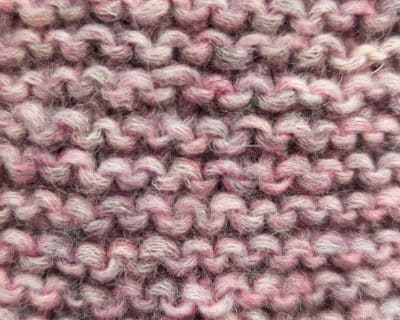
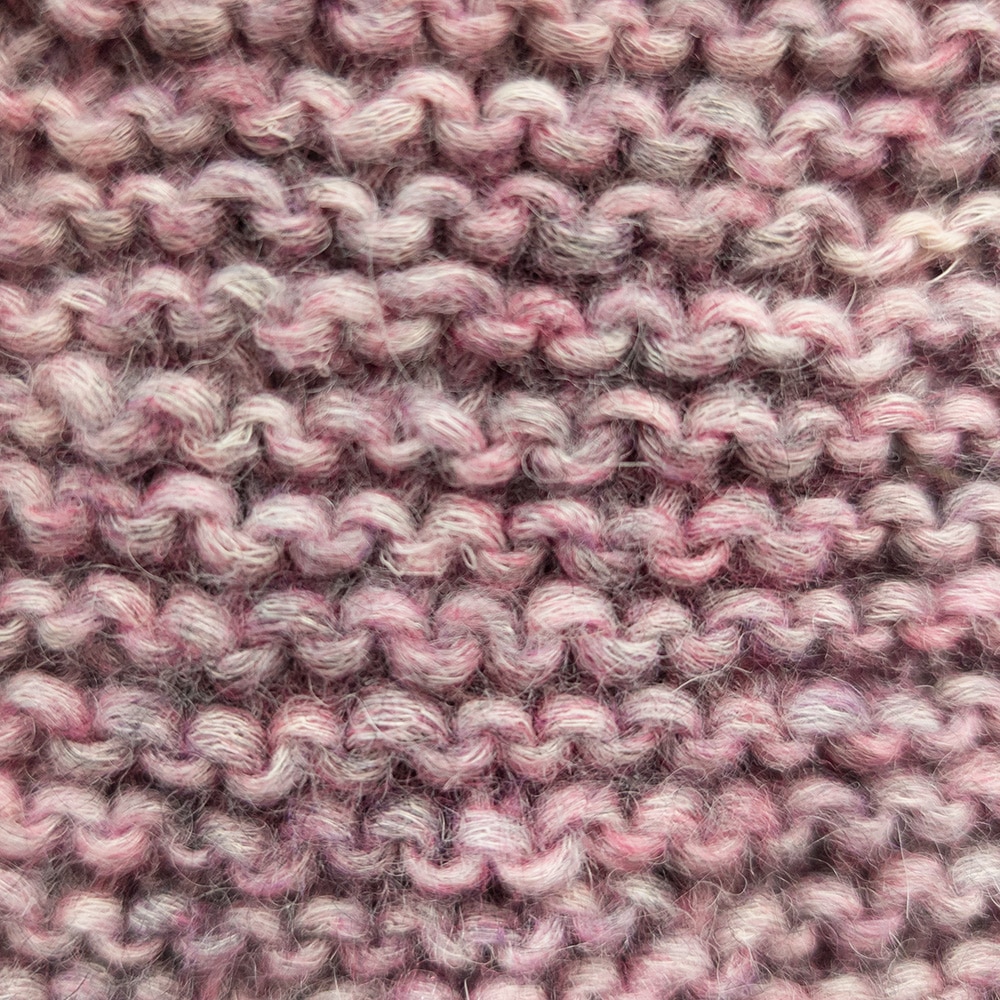
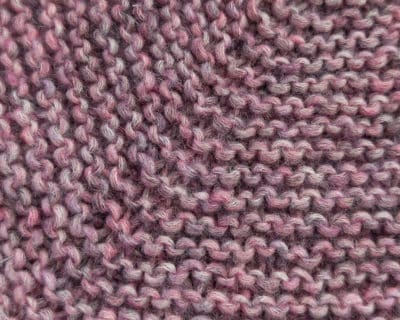
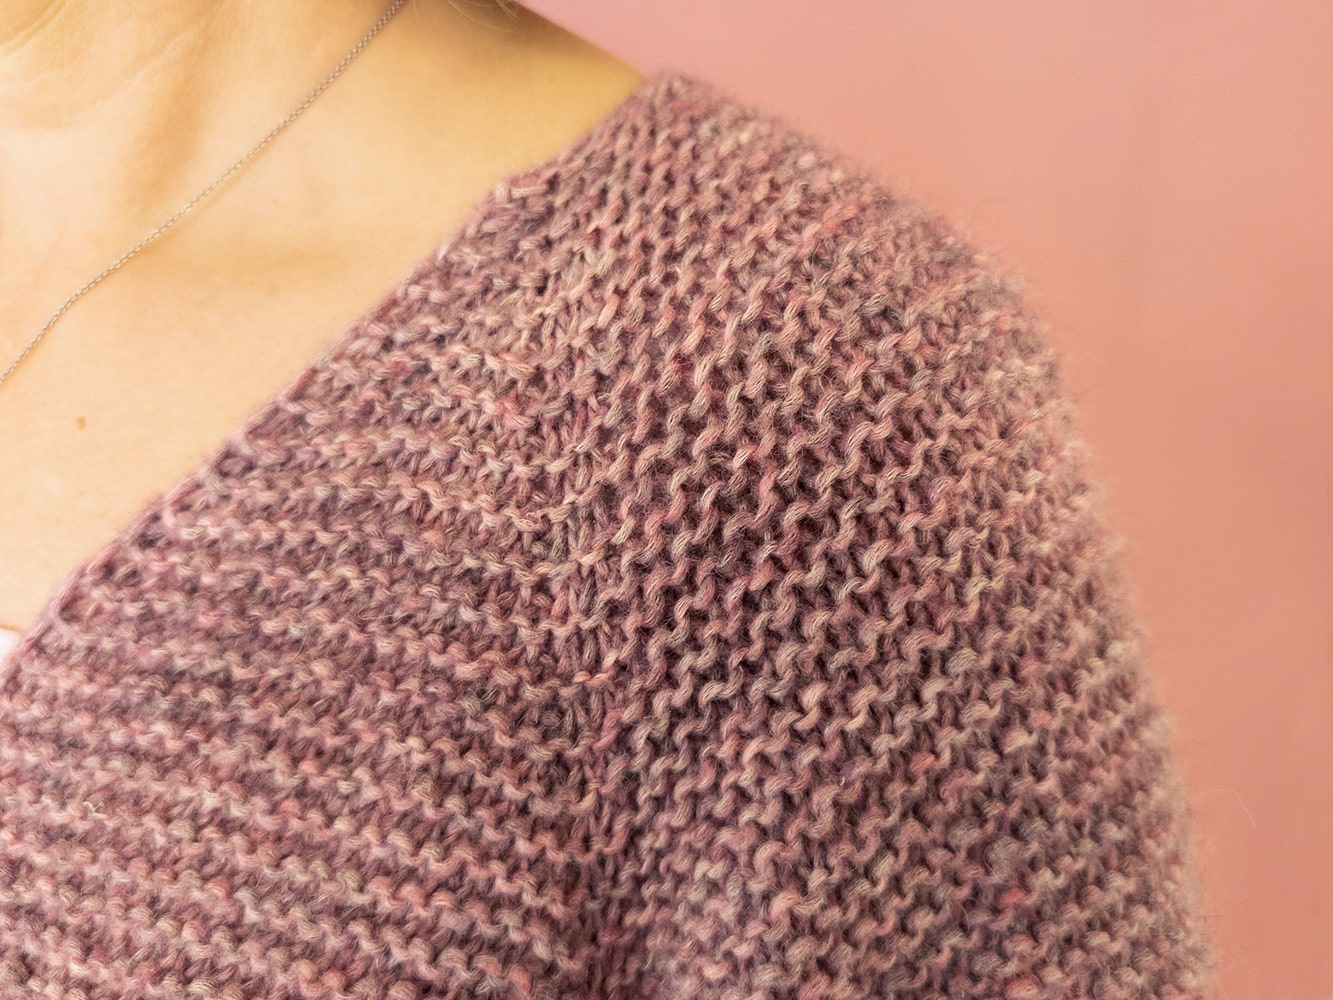
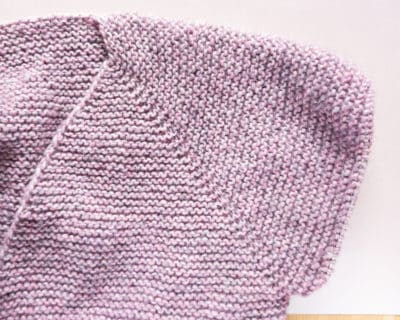
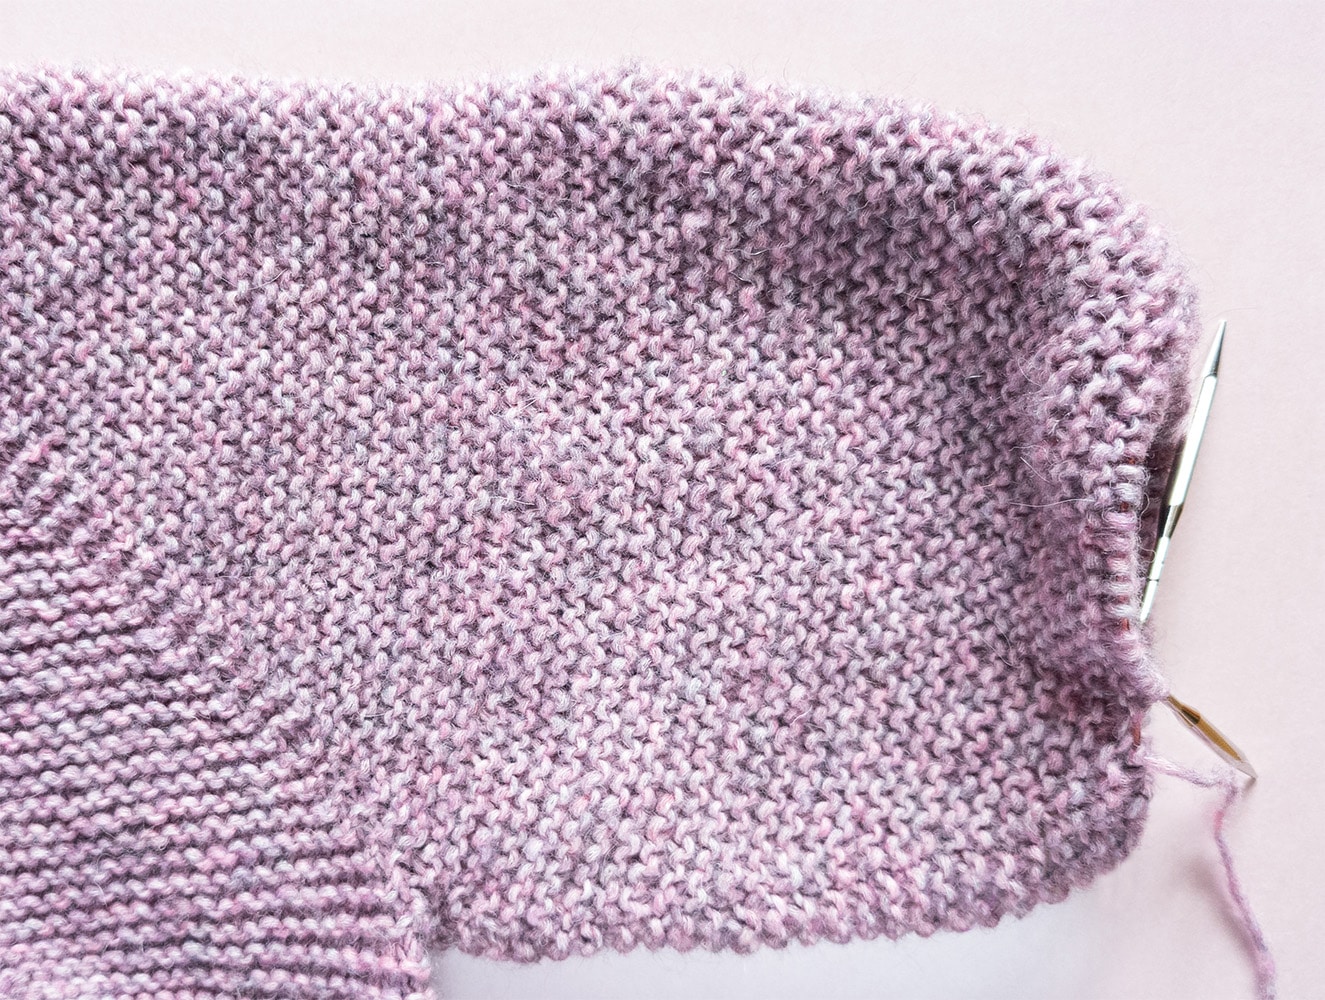
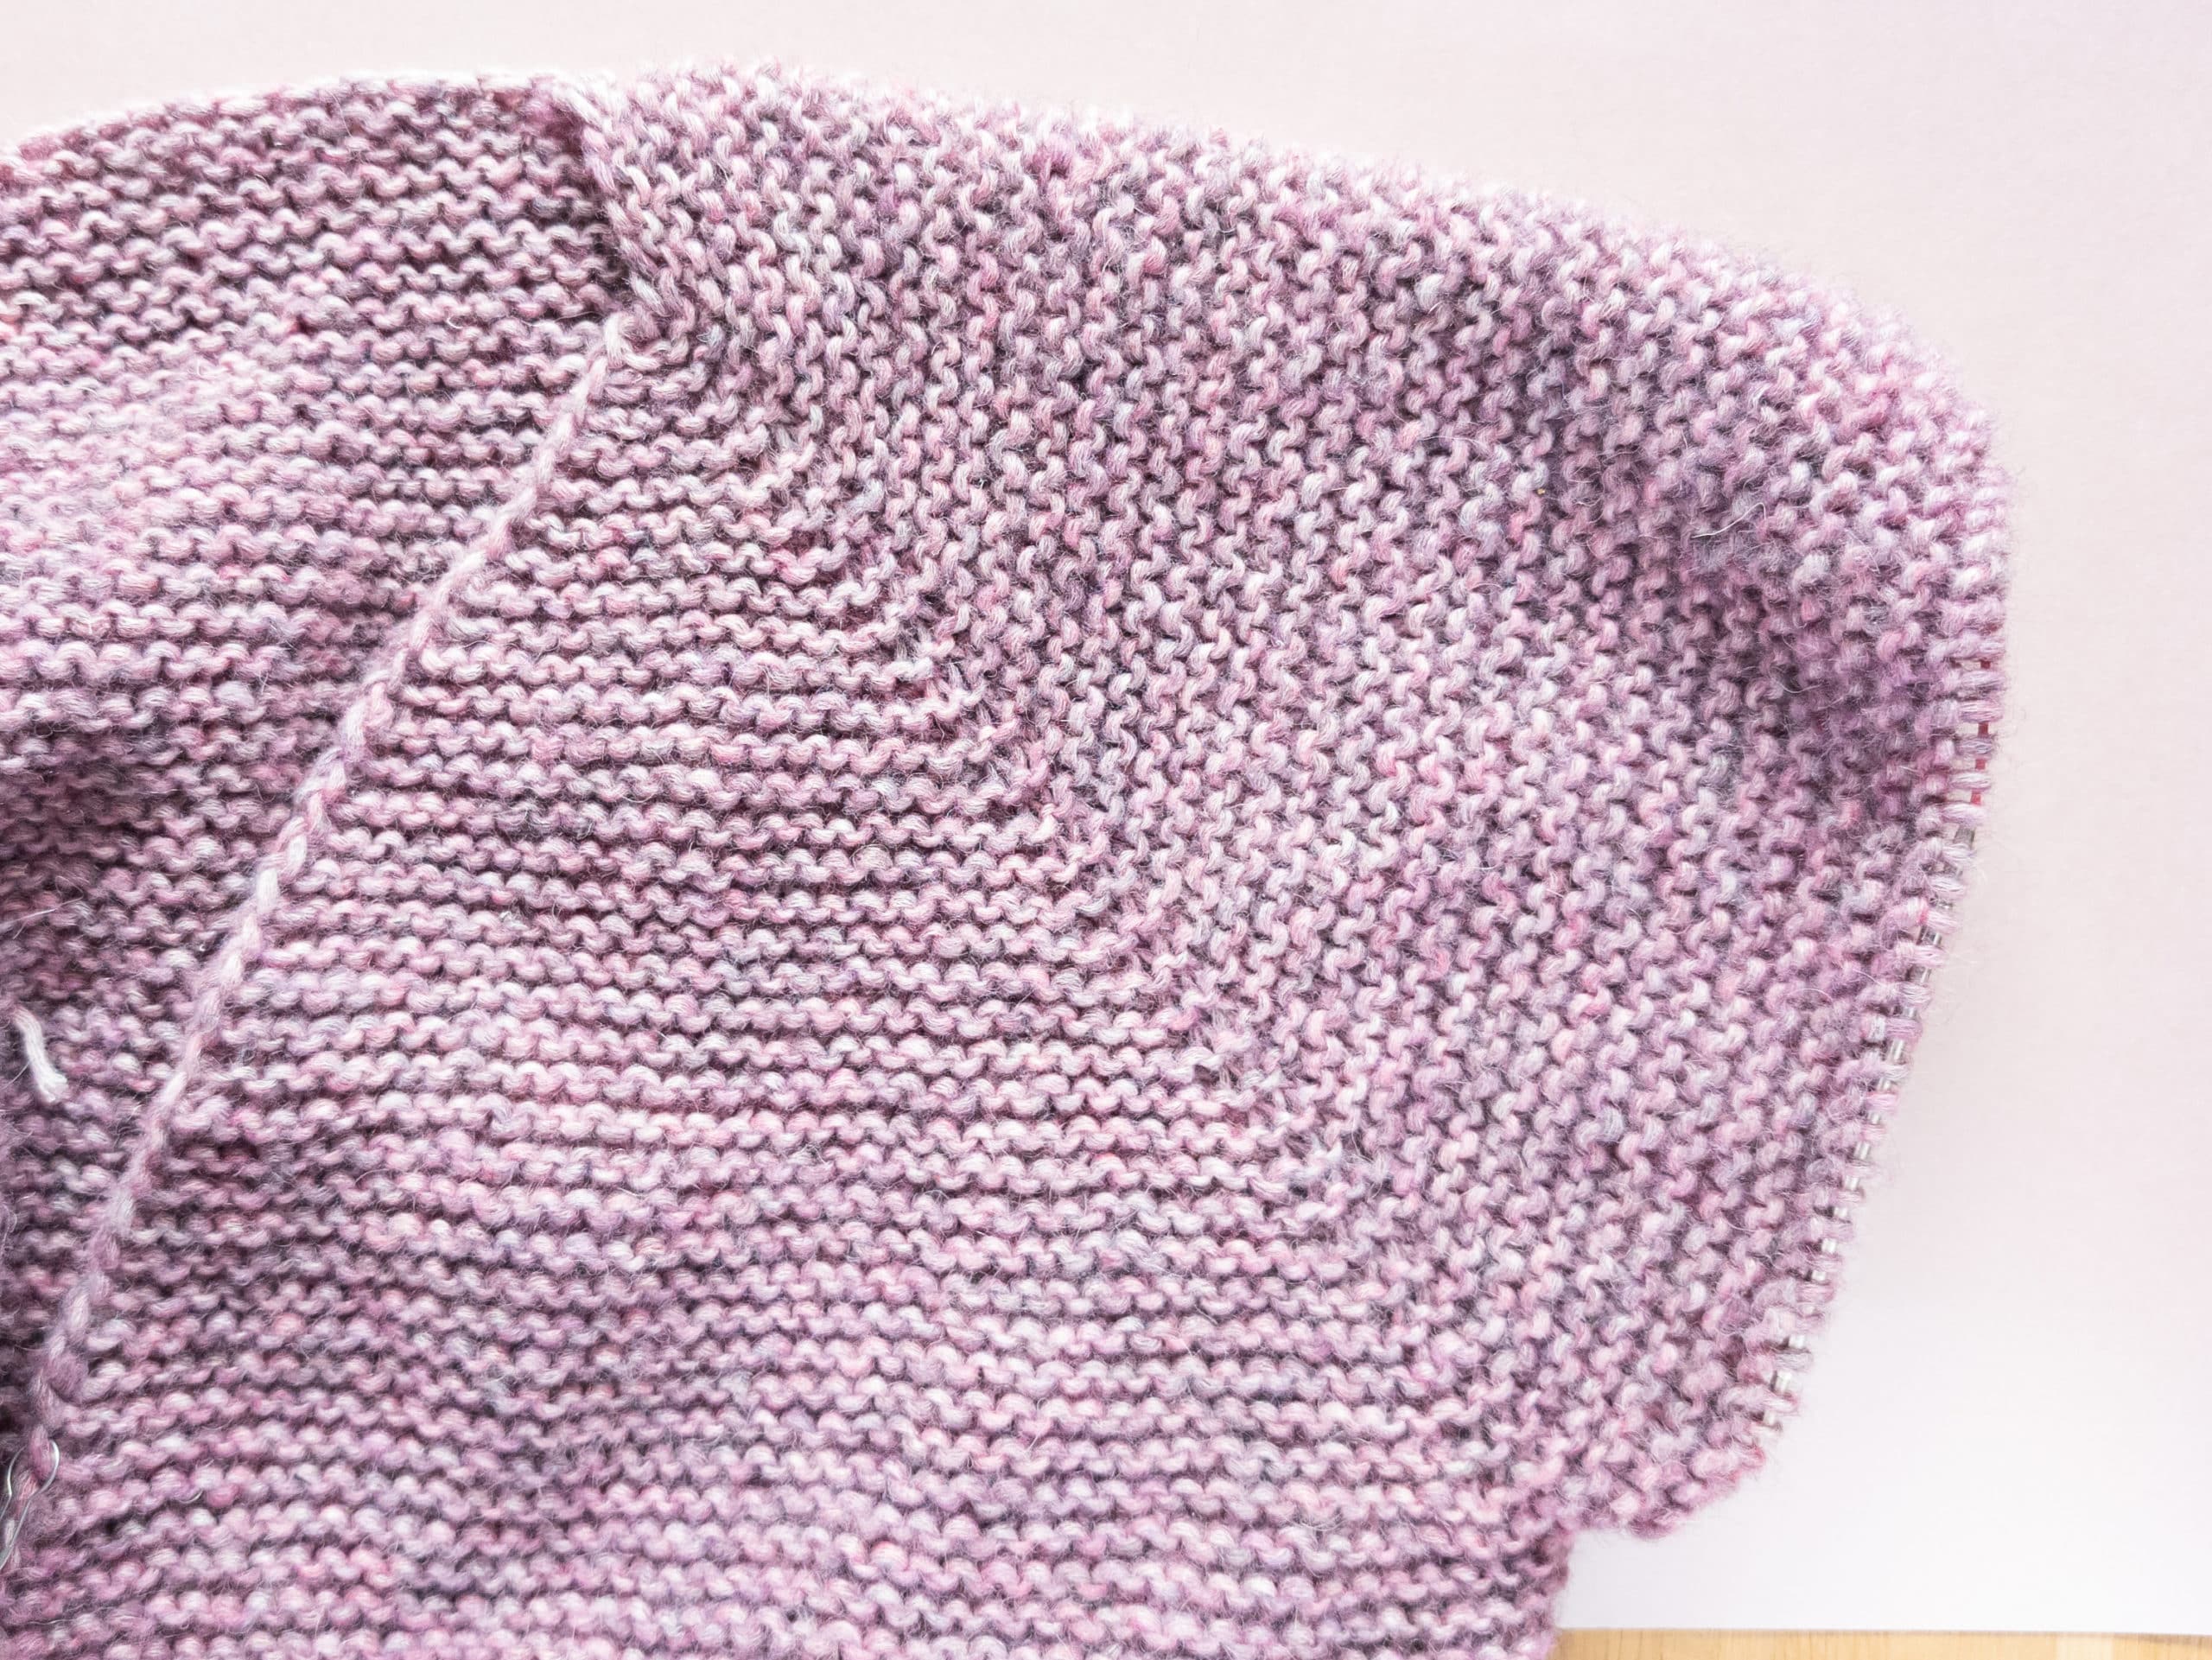
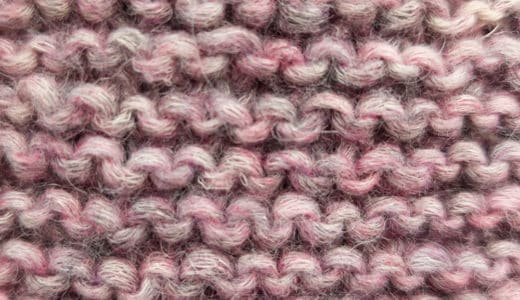
- Kraus right (very easy for beginners, does not roll up)[pink]
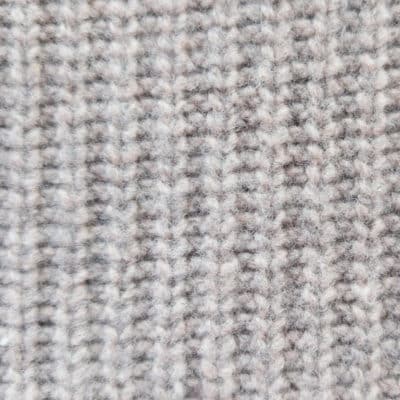
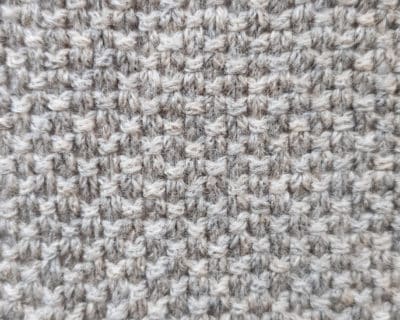
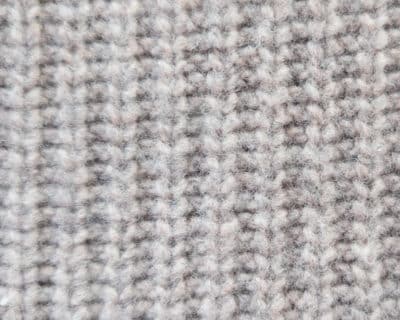
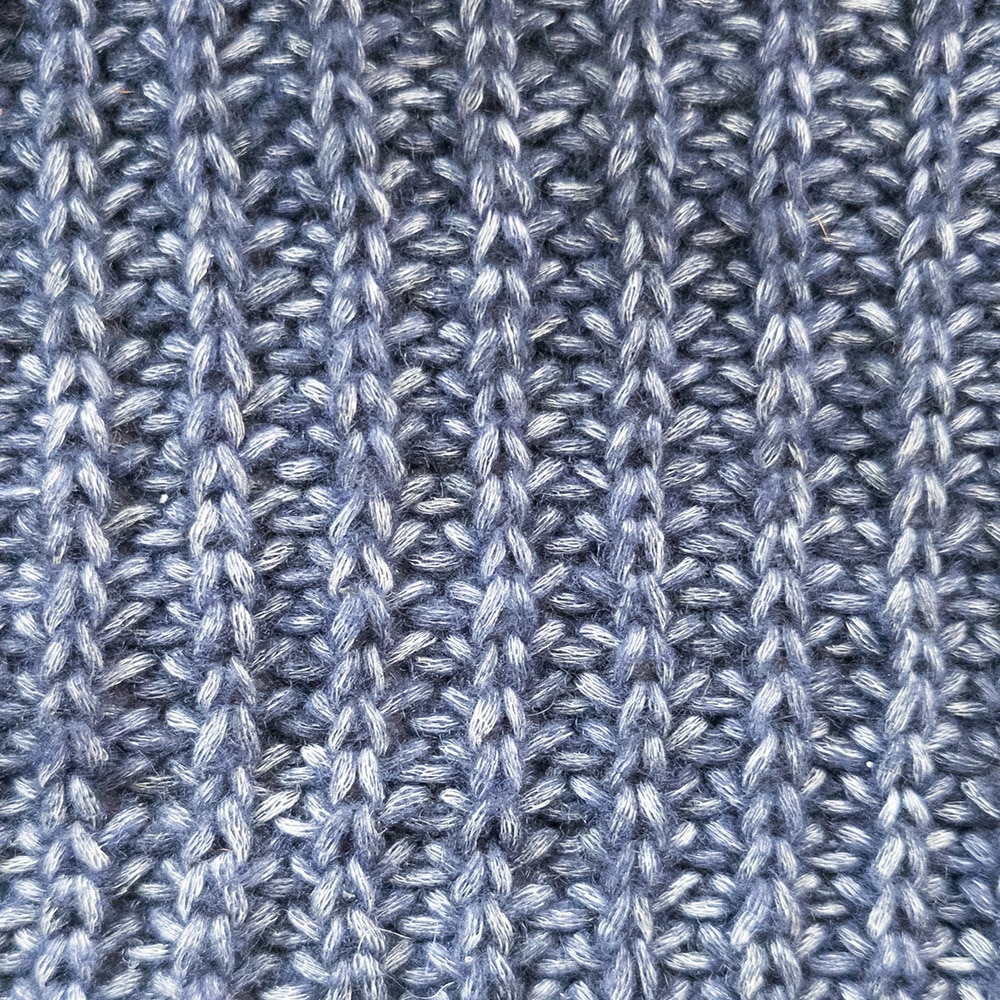
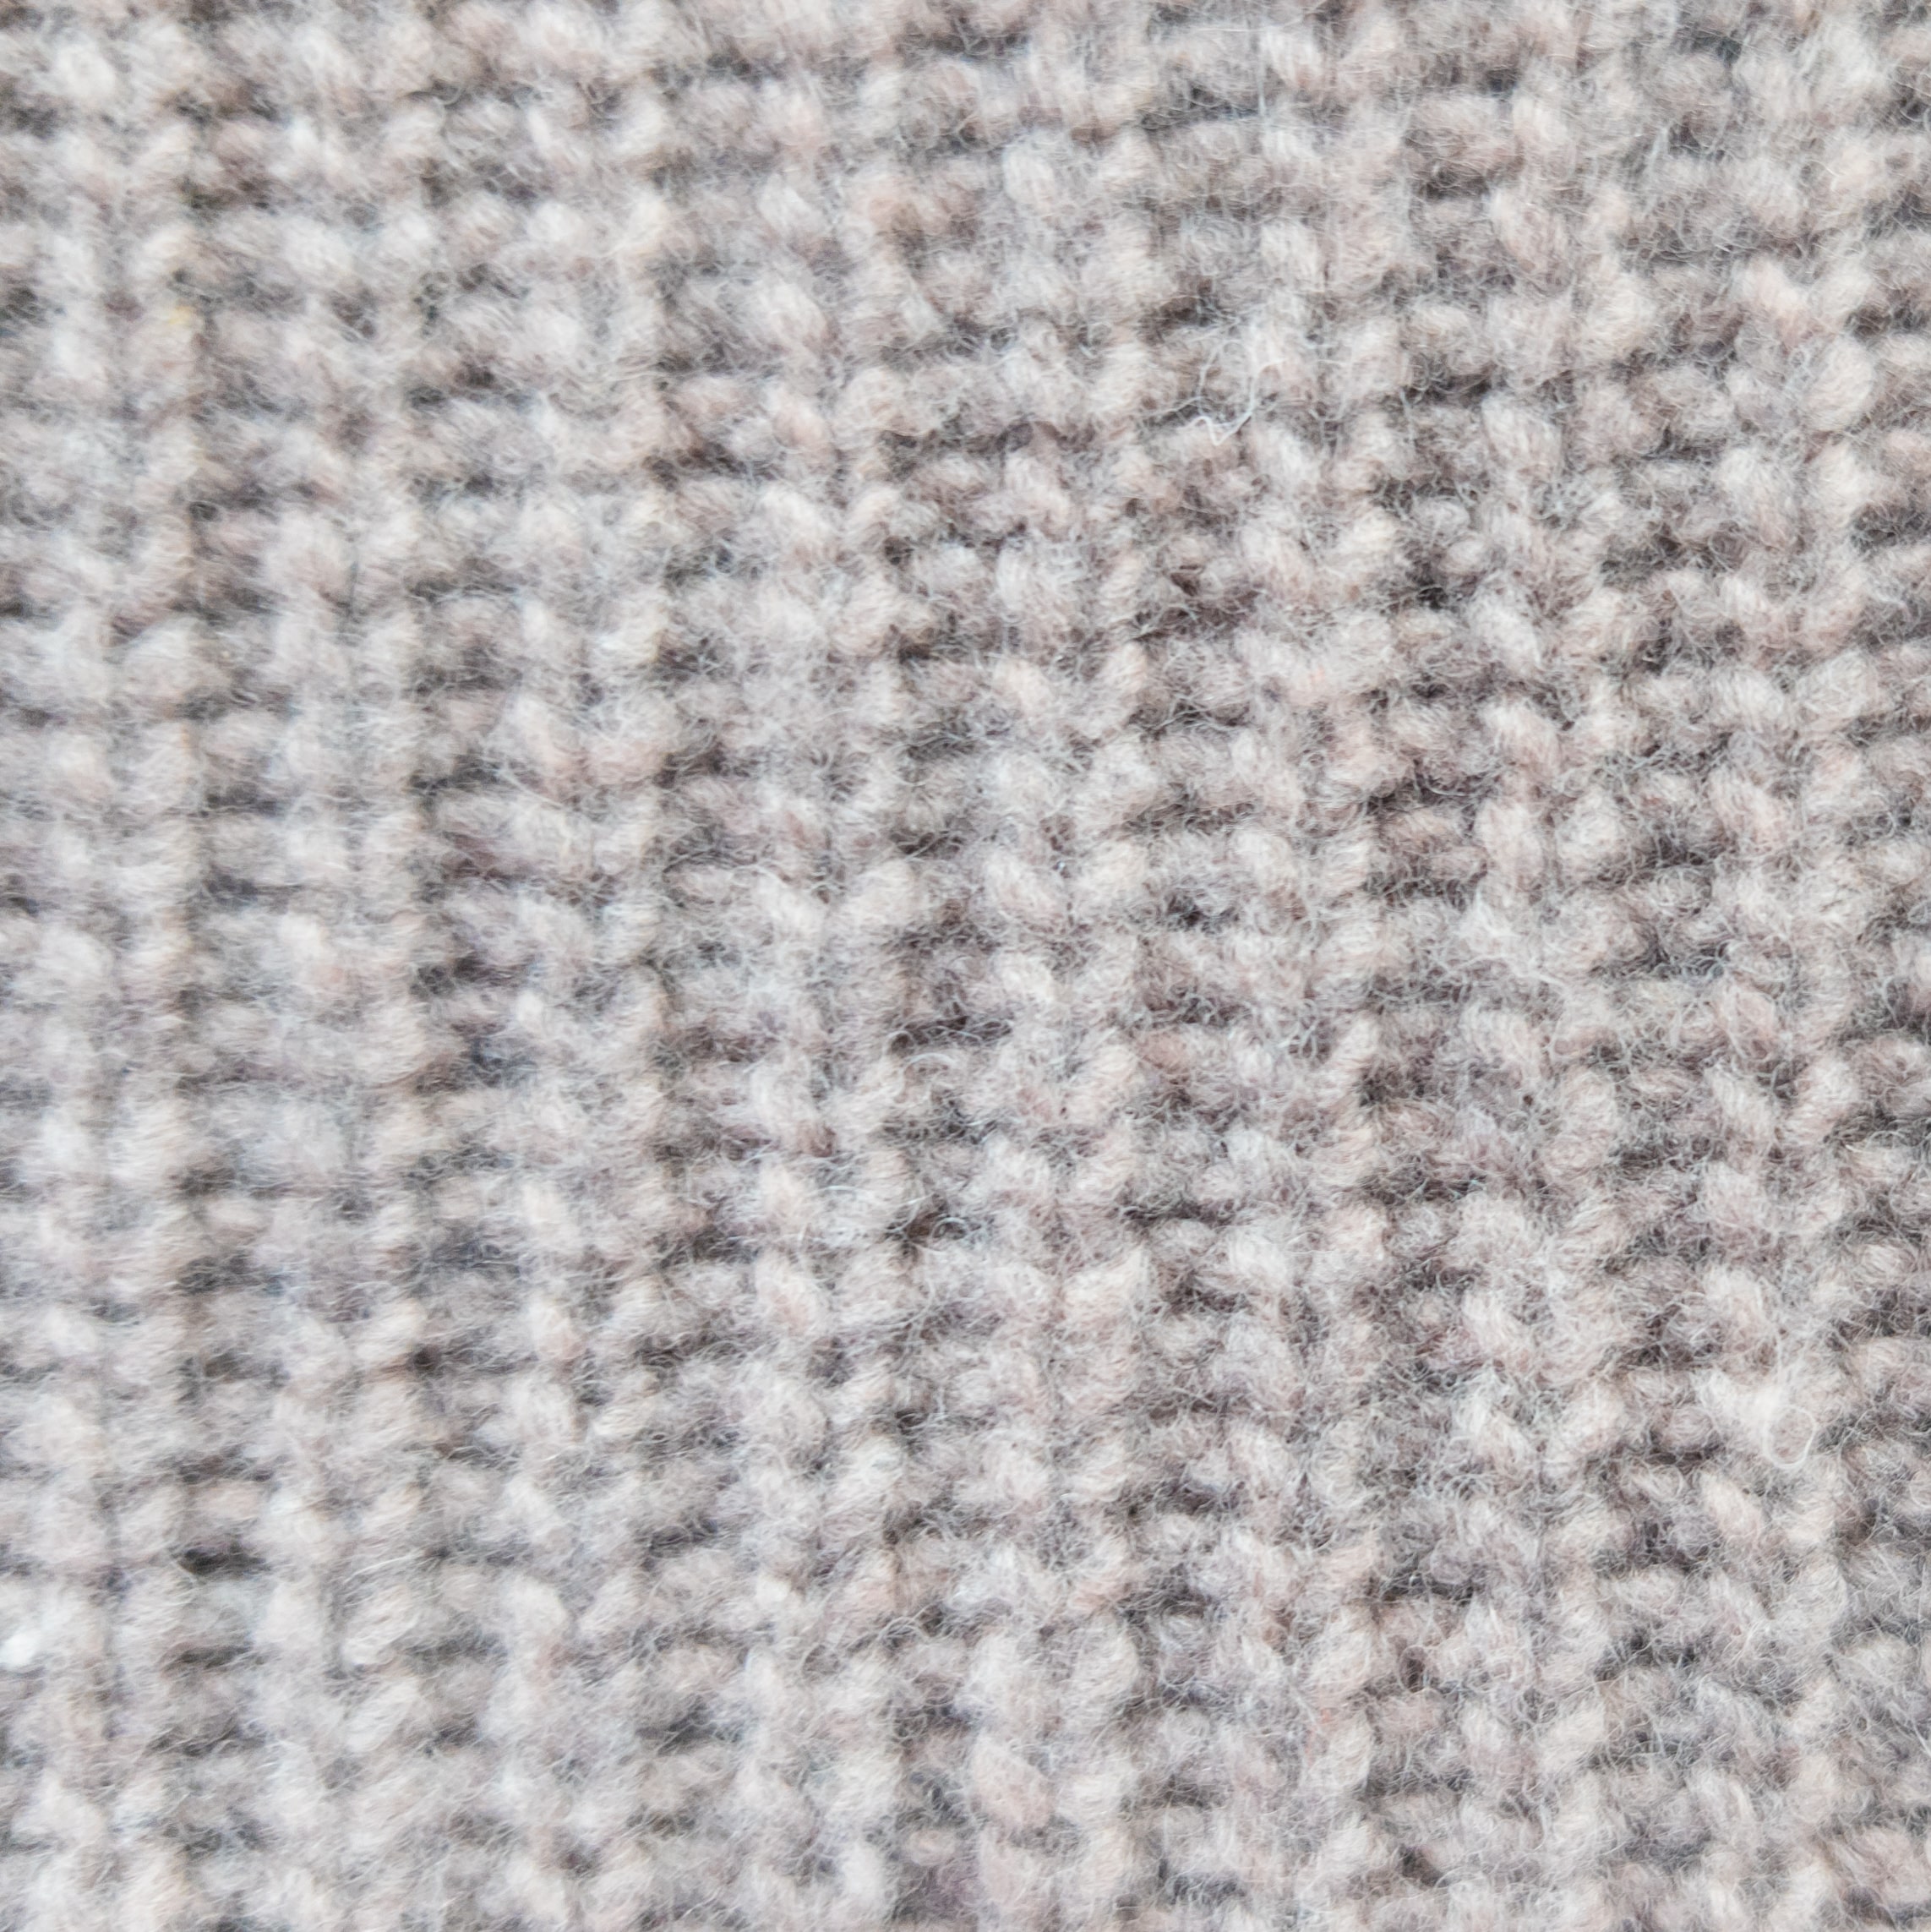
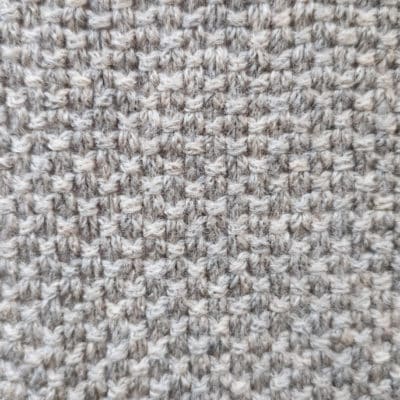
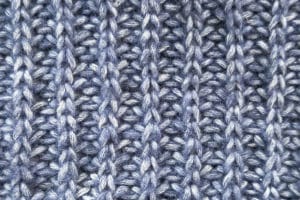
- Ribbed knitting (will contract a little)[grey]
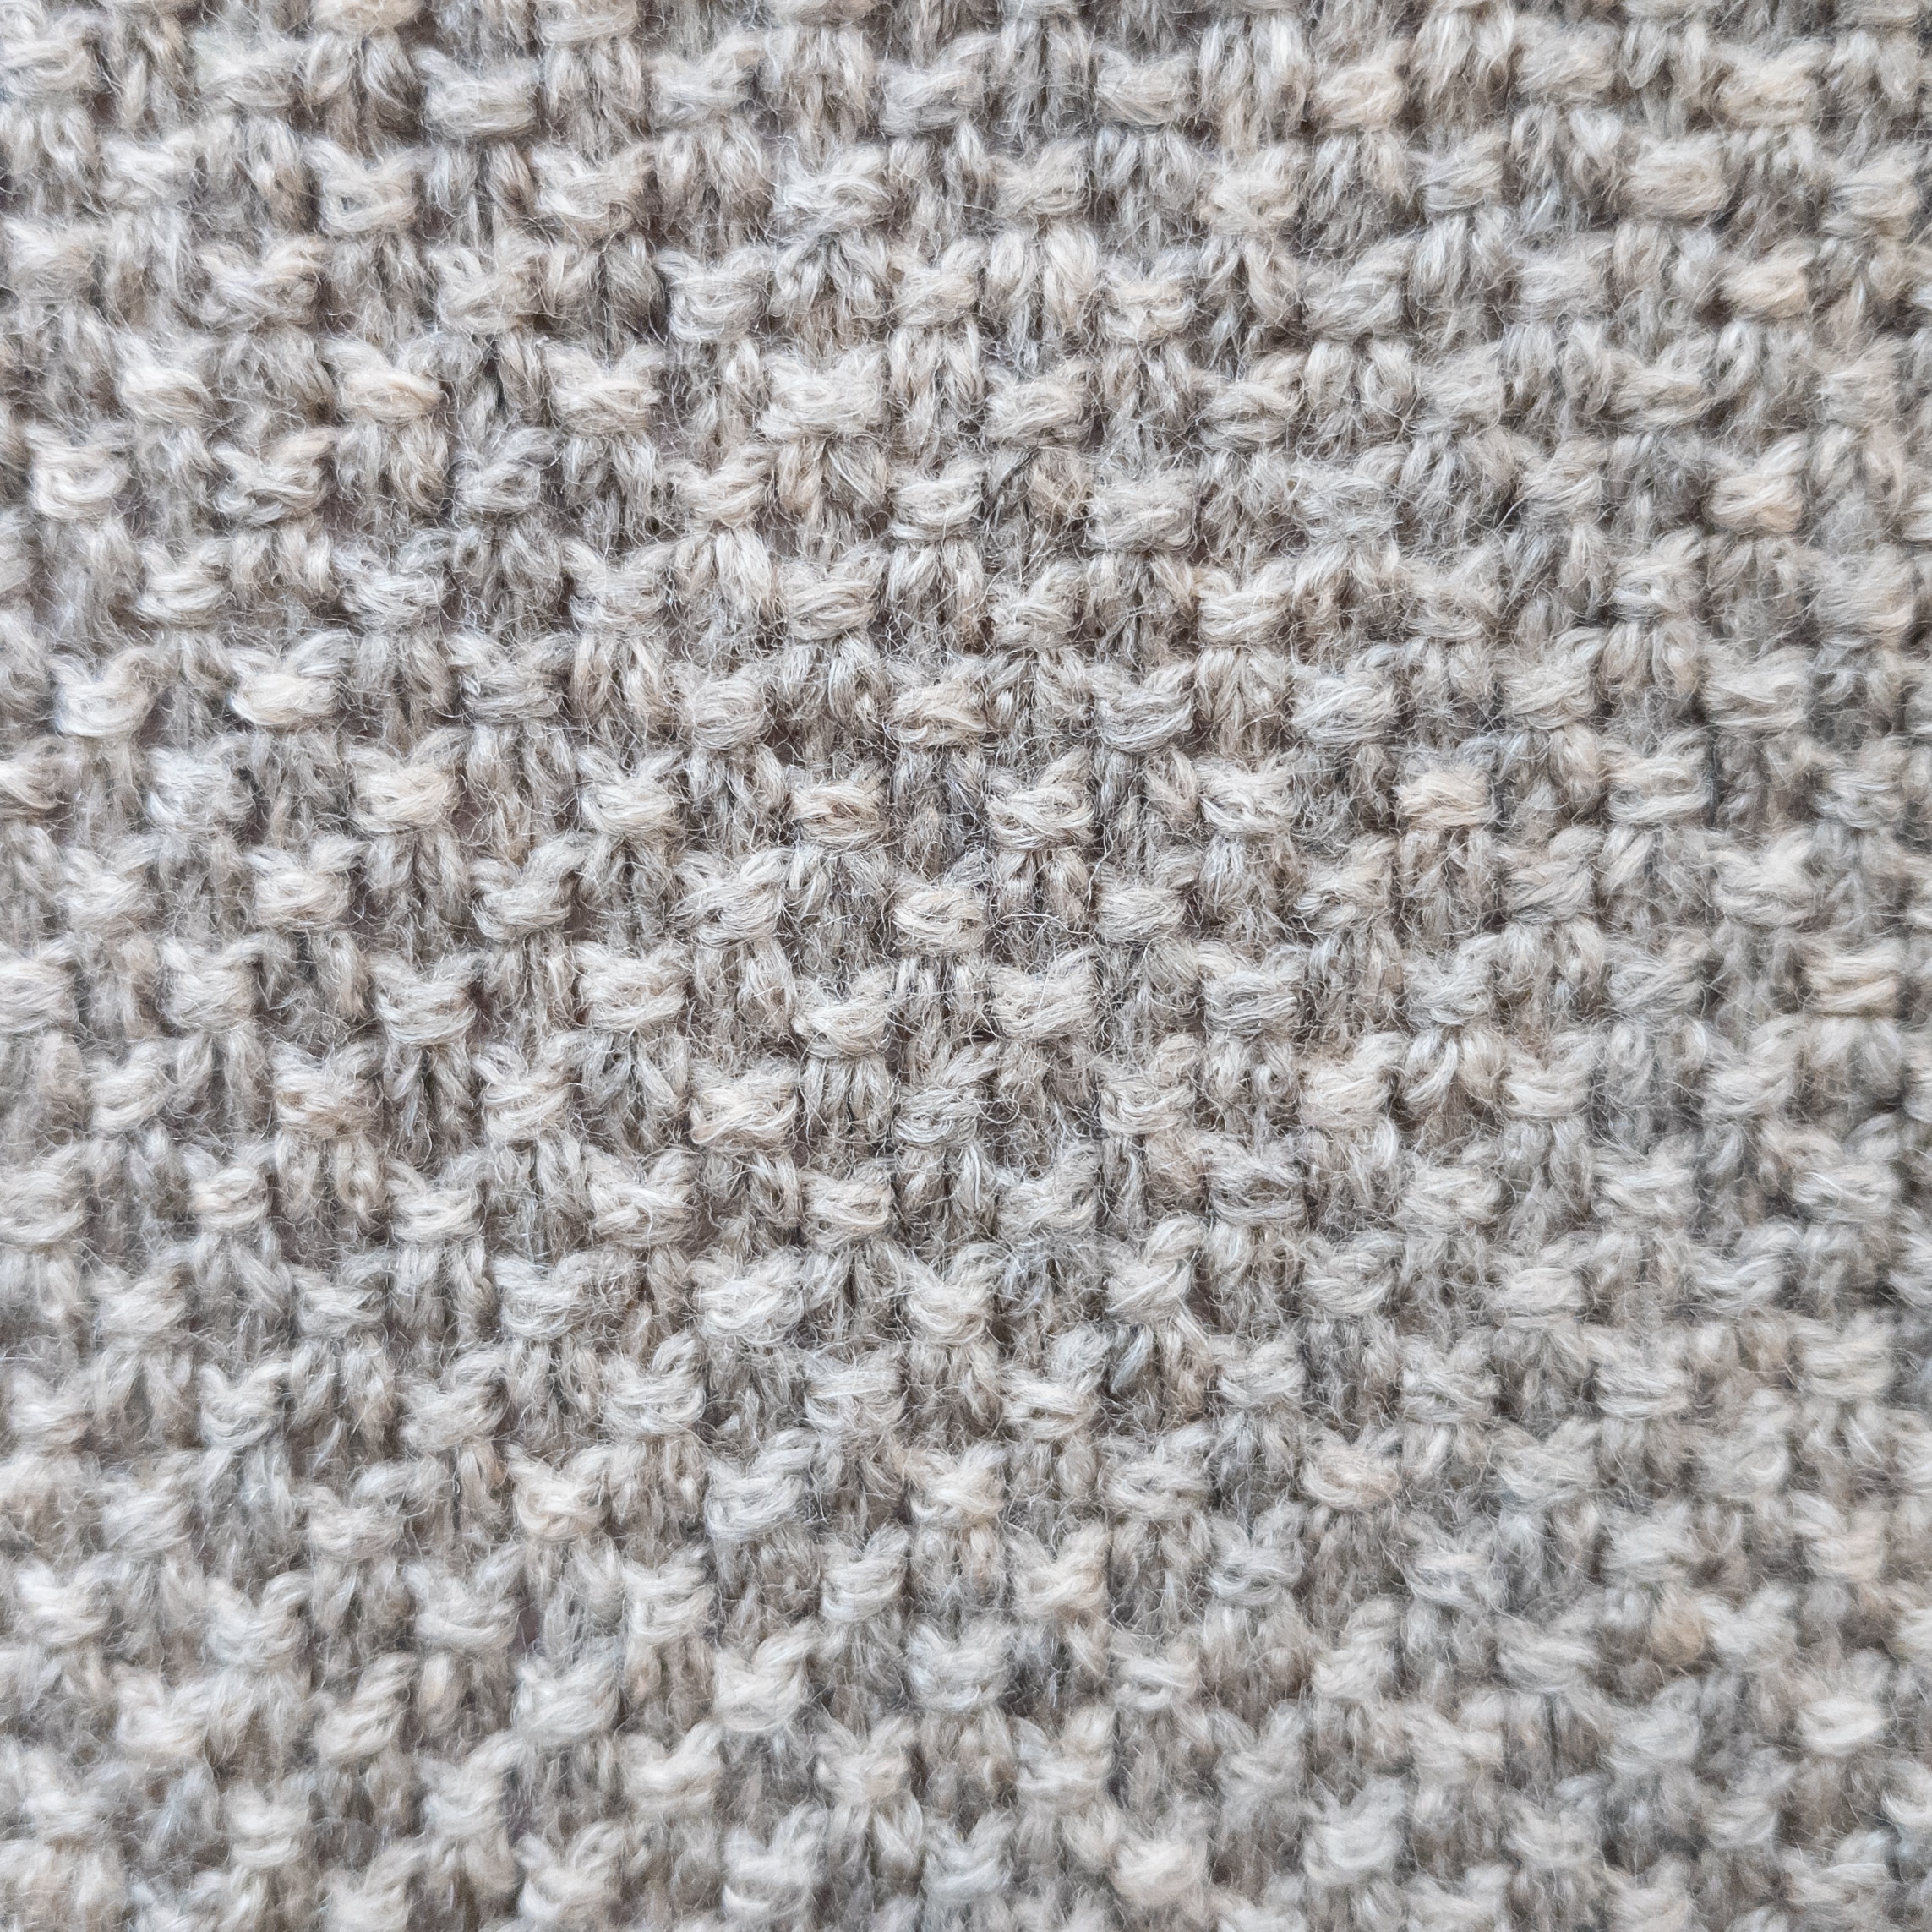
- Perlmuster (does not roll up)[grey]
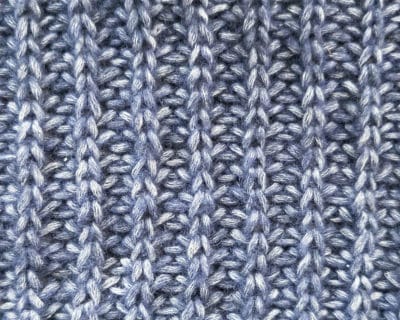
- Halbpatentmuster (increased yarn consumption)[blue]
- Patentmuster (increased yarn consumption)
Calculate raglan line
- The raglan lines are the four lines where you increase (at the front and the back between body and sleeves) and which give your garment the distinctive raglan look.
-
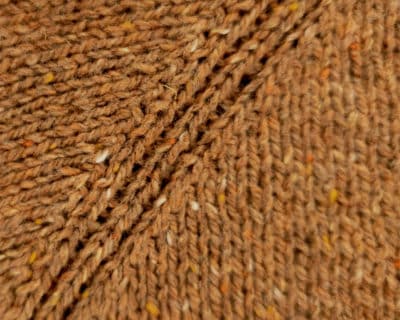
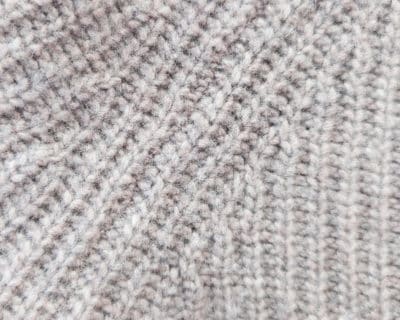
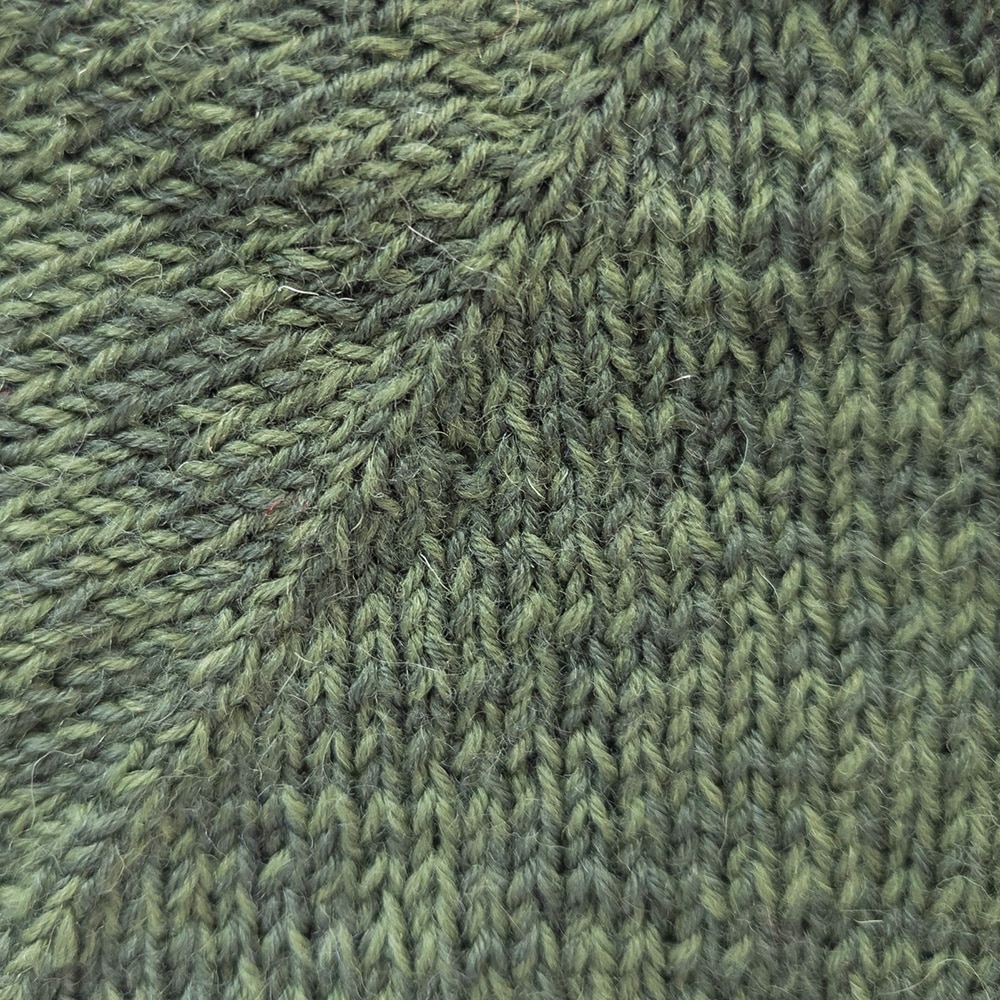
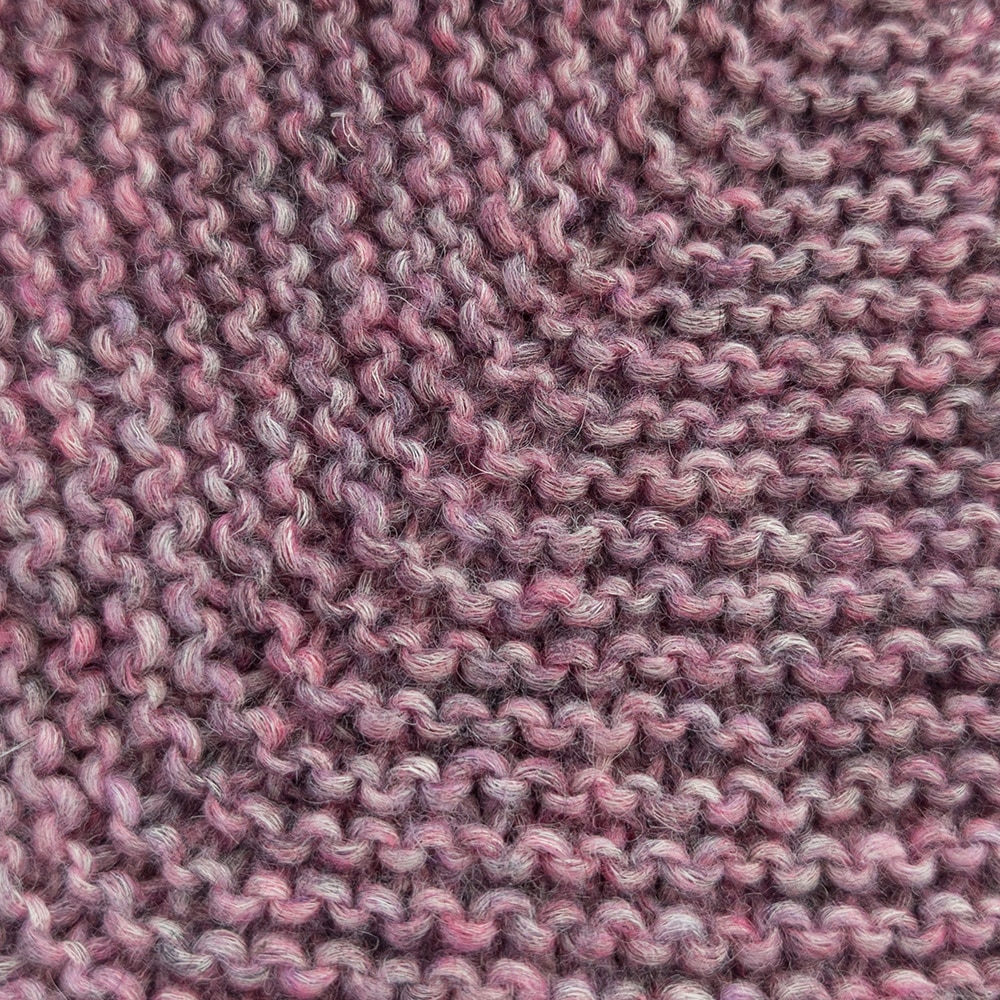
You can work them as a simple knit stitch for a more subtle look (see image with the green piece - very easy for beginners) or make them wider and add a pattern, e.g. a cable or a simpler pattern of knit and purl stitches.
Raglan line variants
- Raglan line over one stitch for stockinette stitch [green]
-
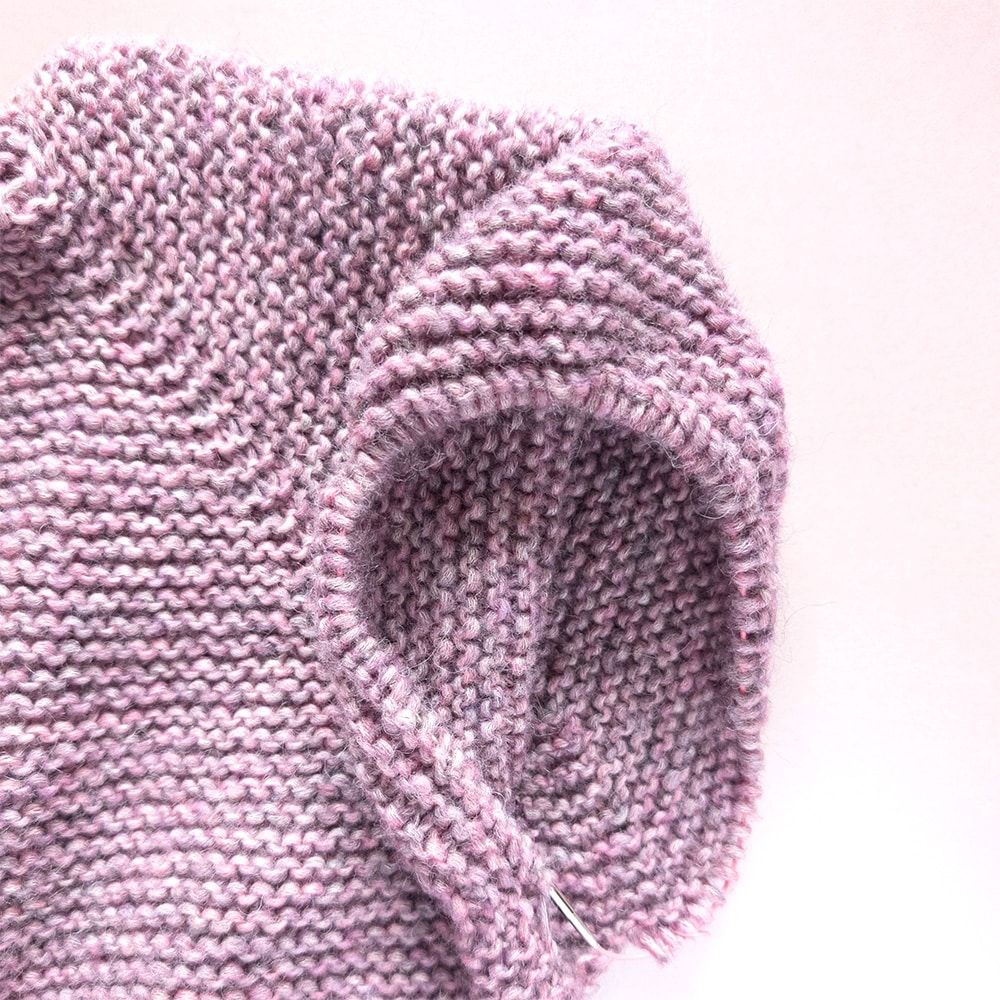
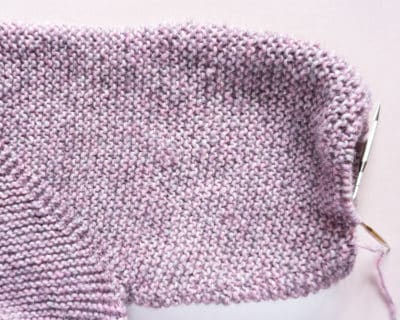
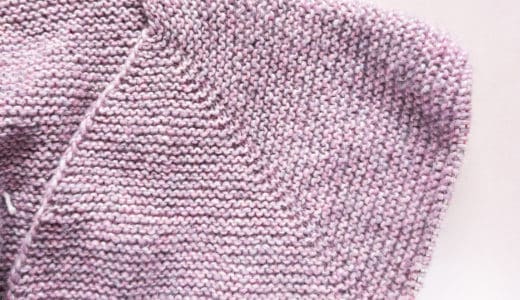
Raglan line over 2 stitches for garter stitch [pink]
-
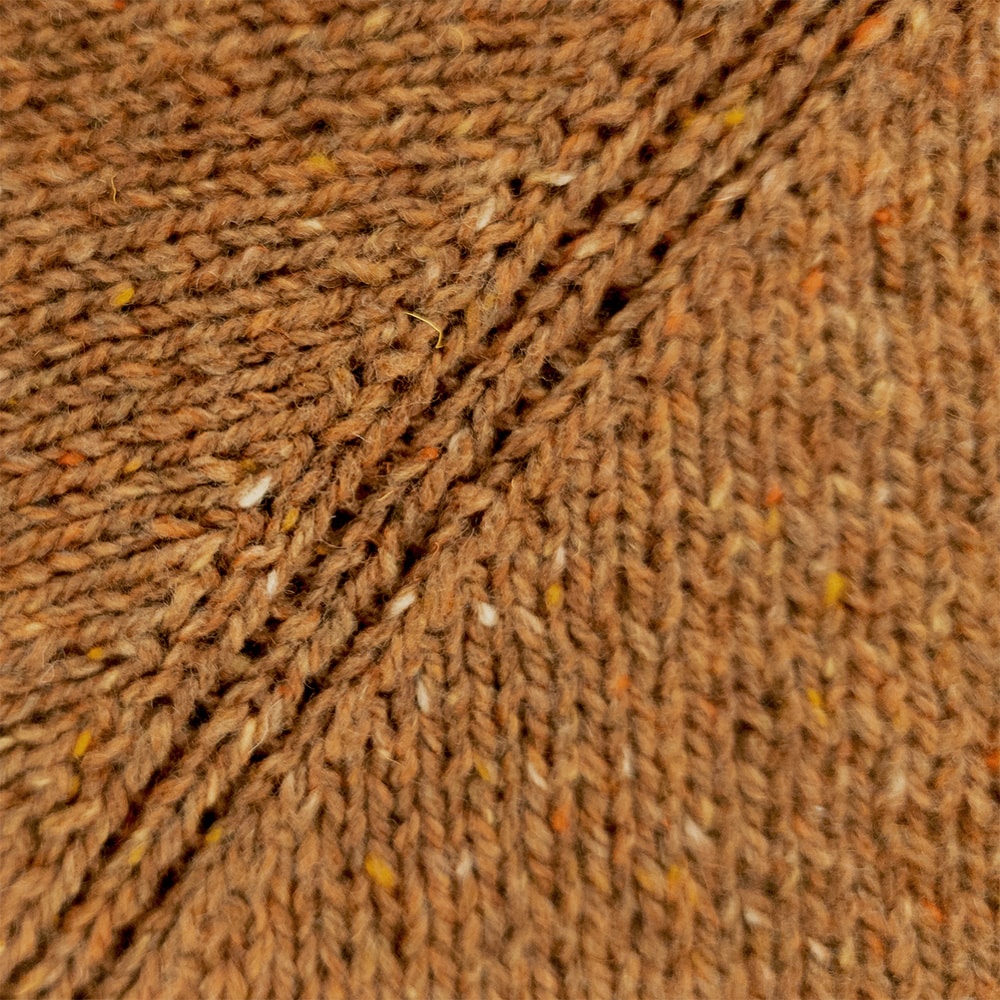
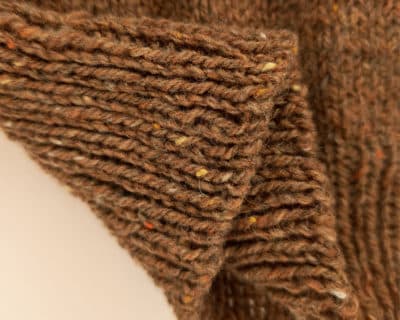
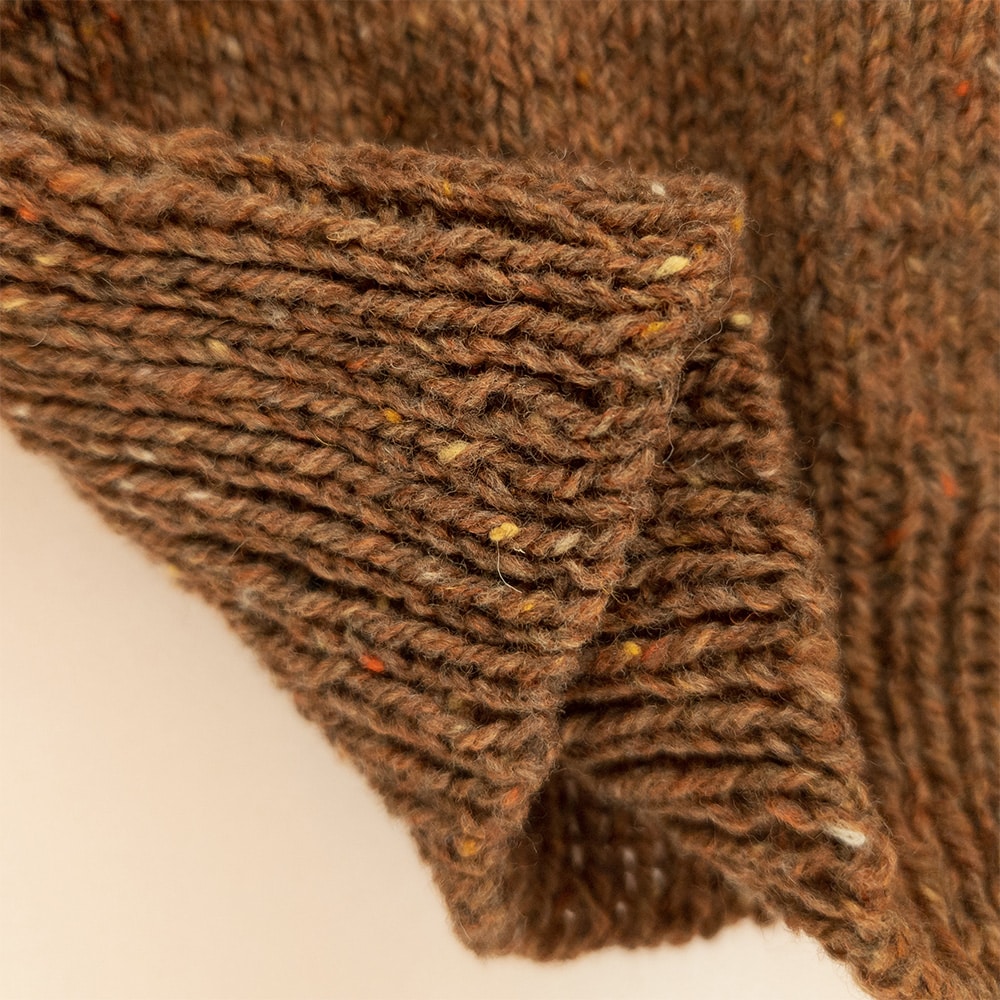
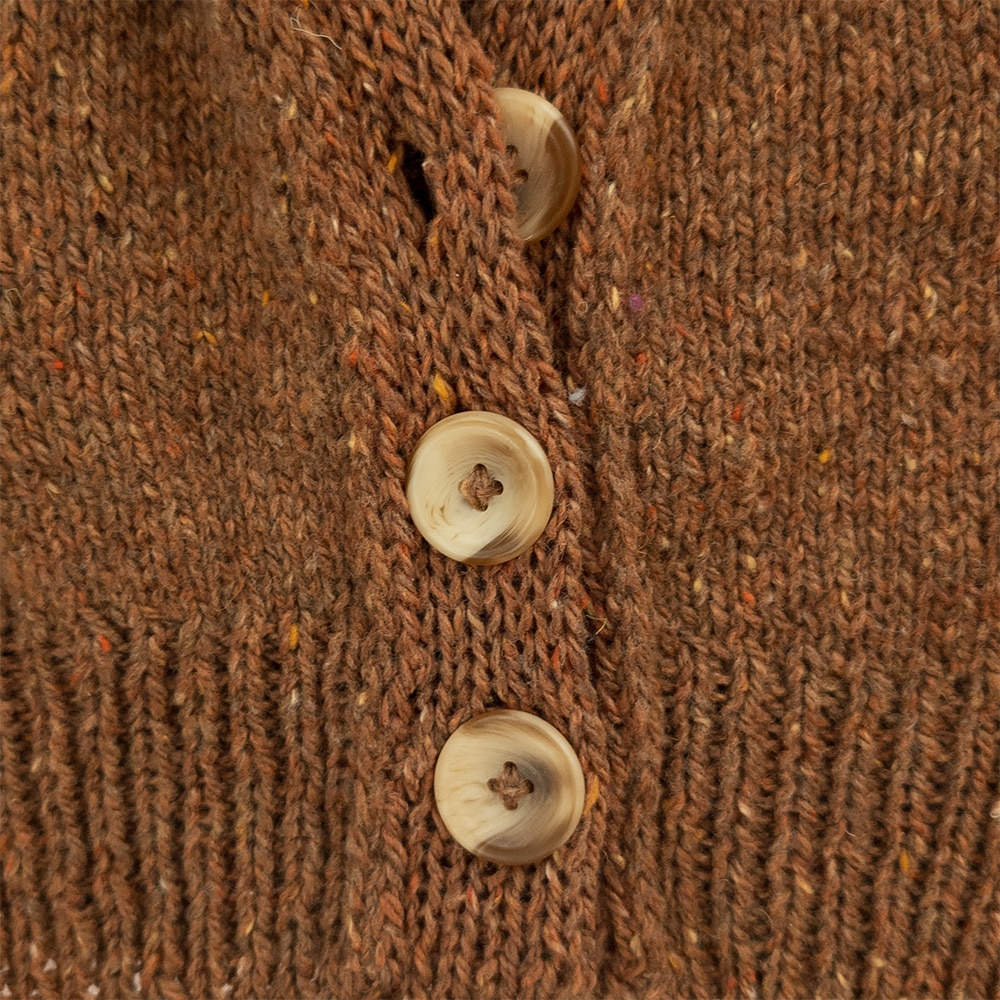
Raglan line over 5 stitches for a 1x1 rib stitch [brown]
-
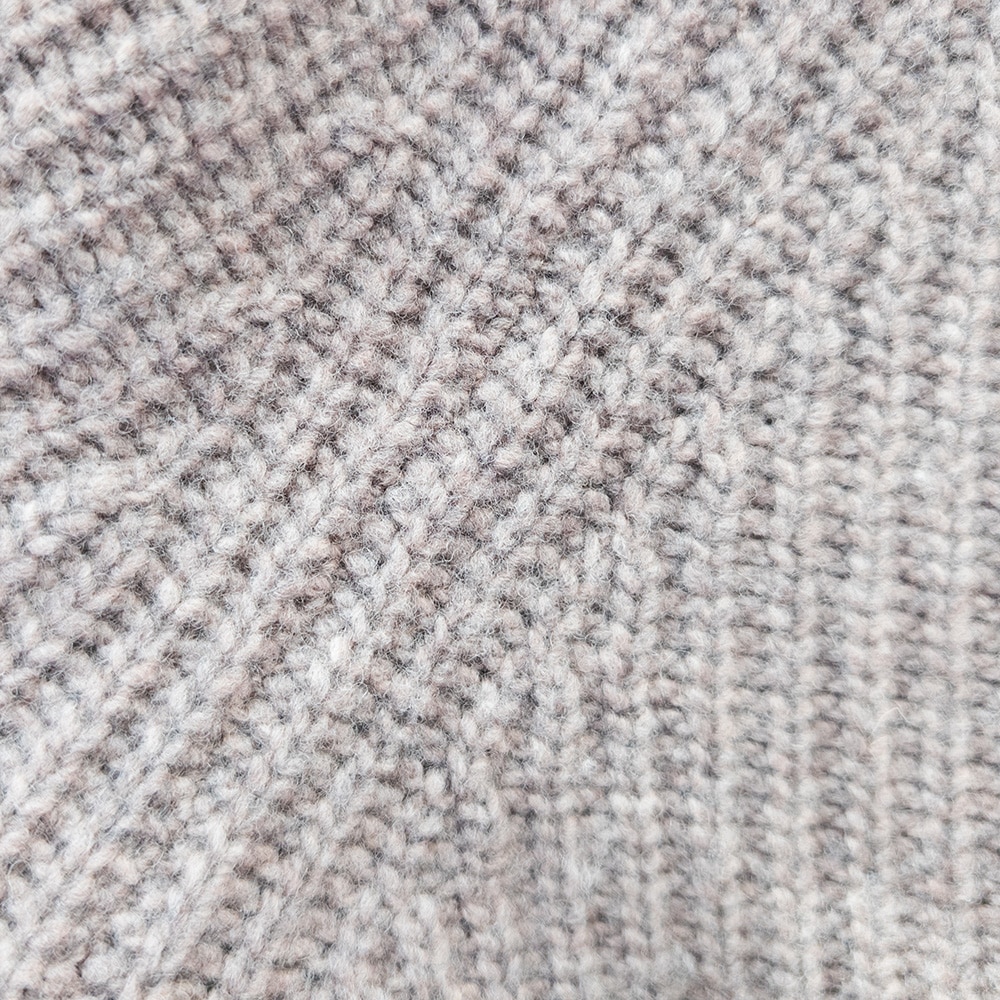
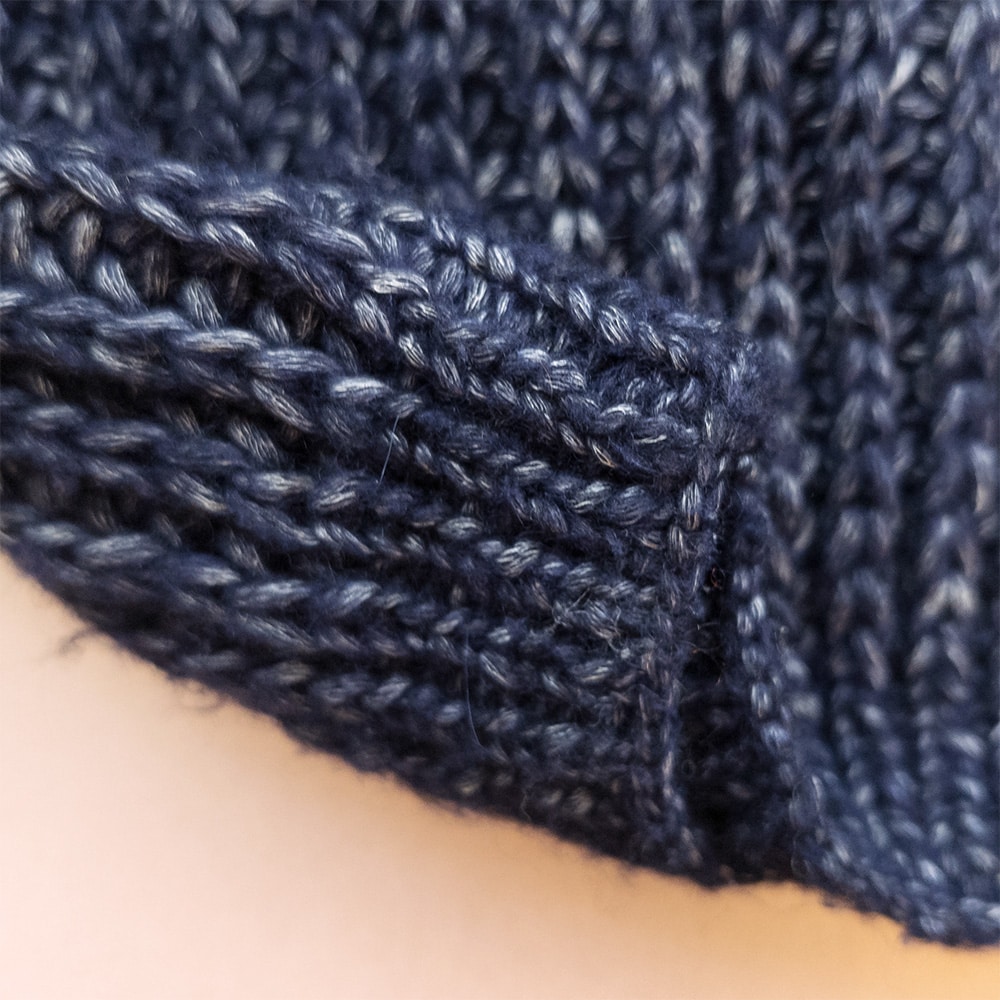
Raglan line over 9 stitches for a 1x1 rib stitch [grey]

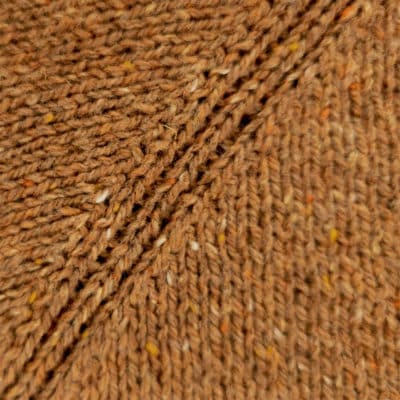
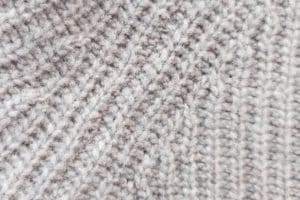
Raglan line variants
- Raglan line over one stitch for stockinette stitch [green]
-
Raglan line over 2 stitches for garter stitch [pink]
-
Raglan line over 5 stitches for a 1x1 rib stitch [brown]
-
Raglan line over 9 stitches for a 1x1 rib stitch [grey]
This is how to knit the raglan cardigan:
Cast-on – knitting a raglan cardigan
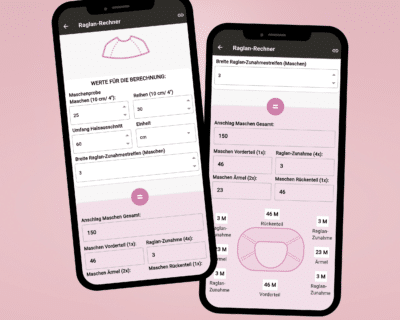
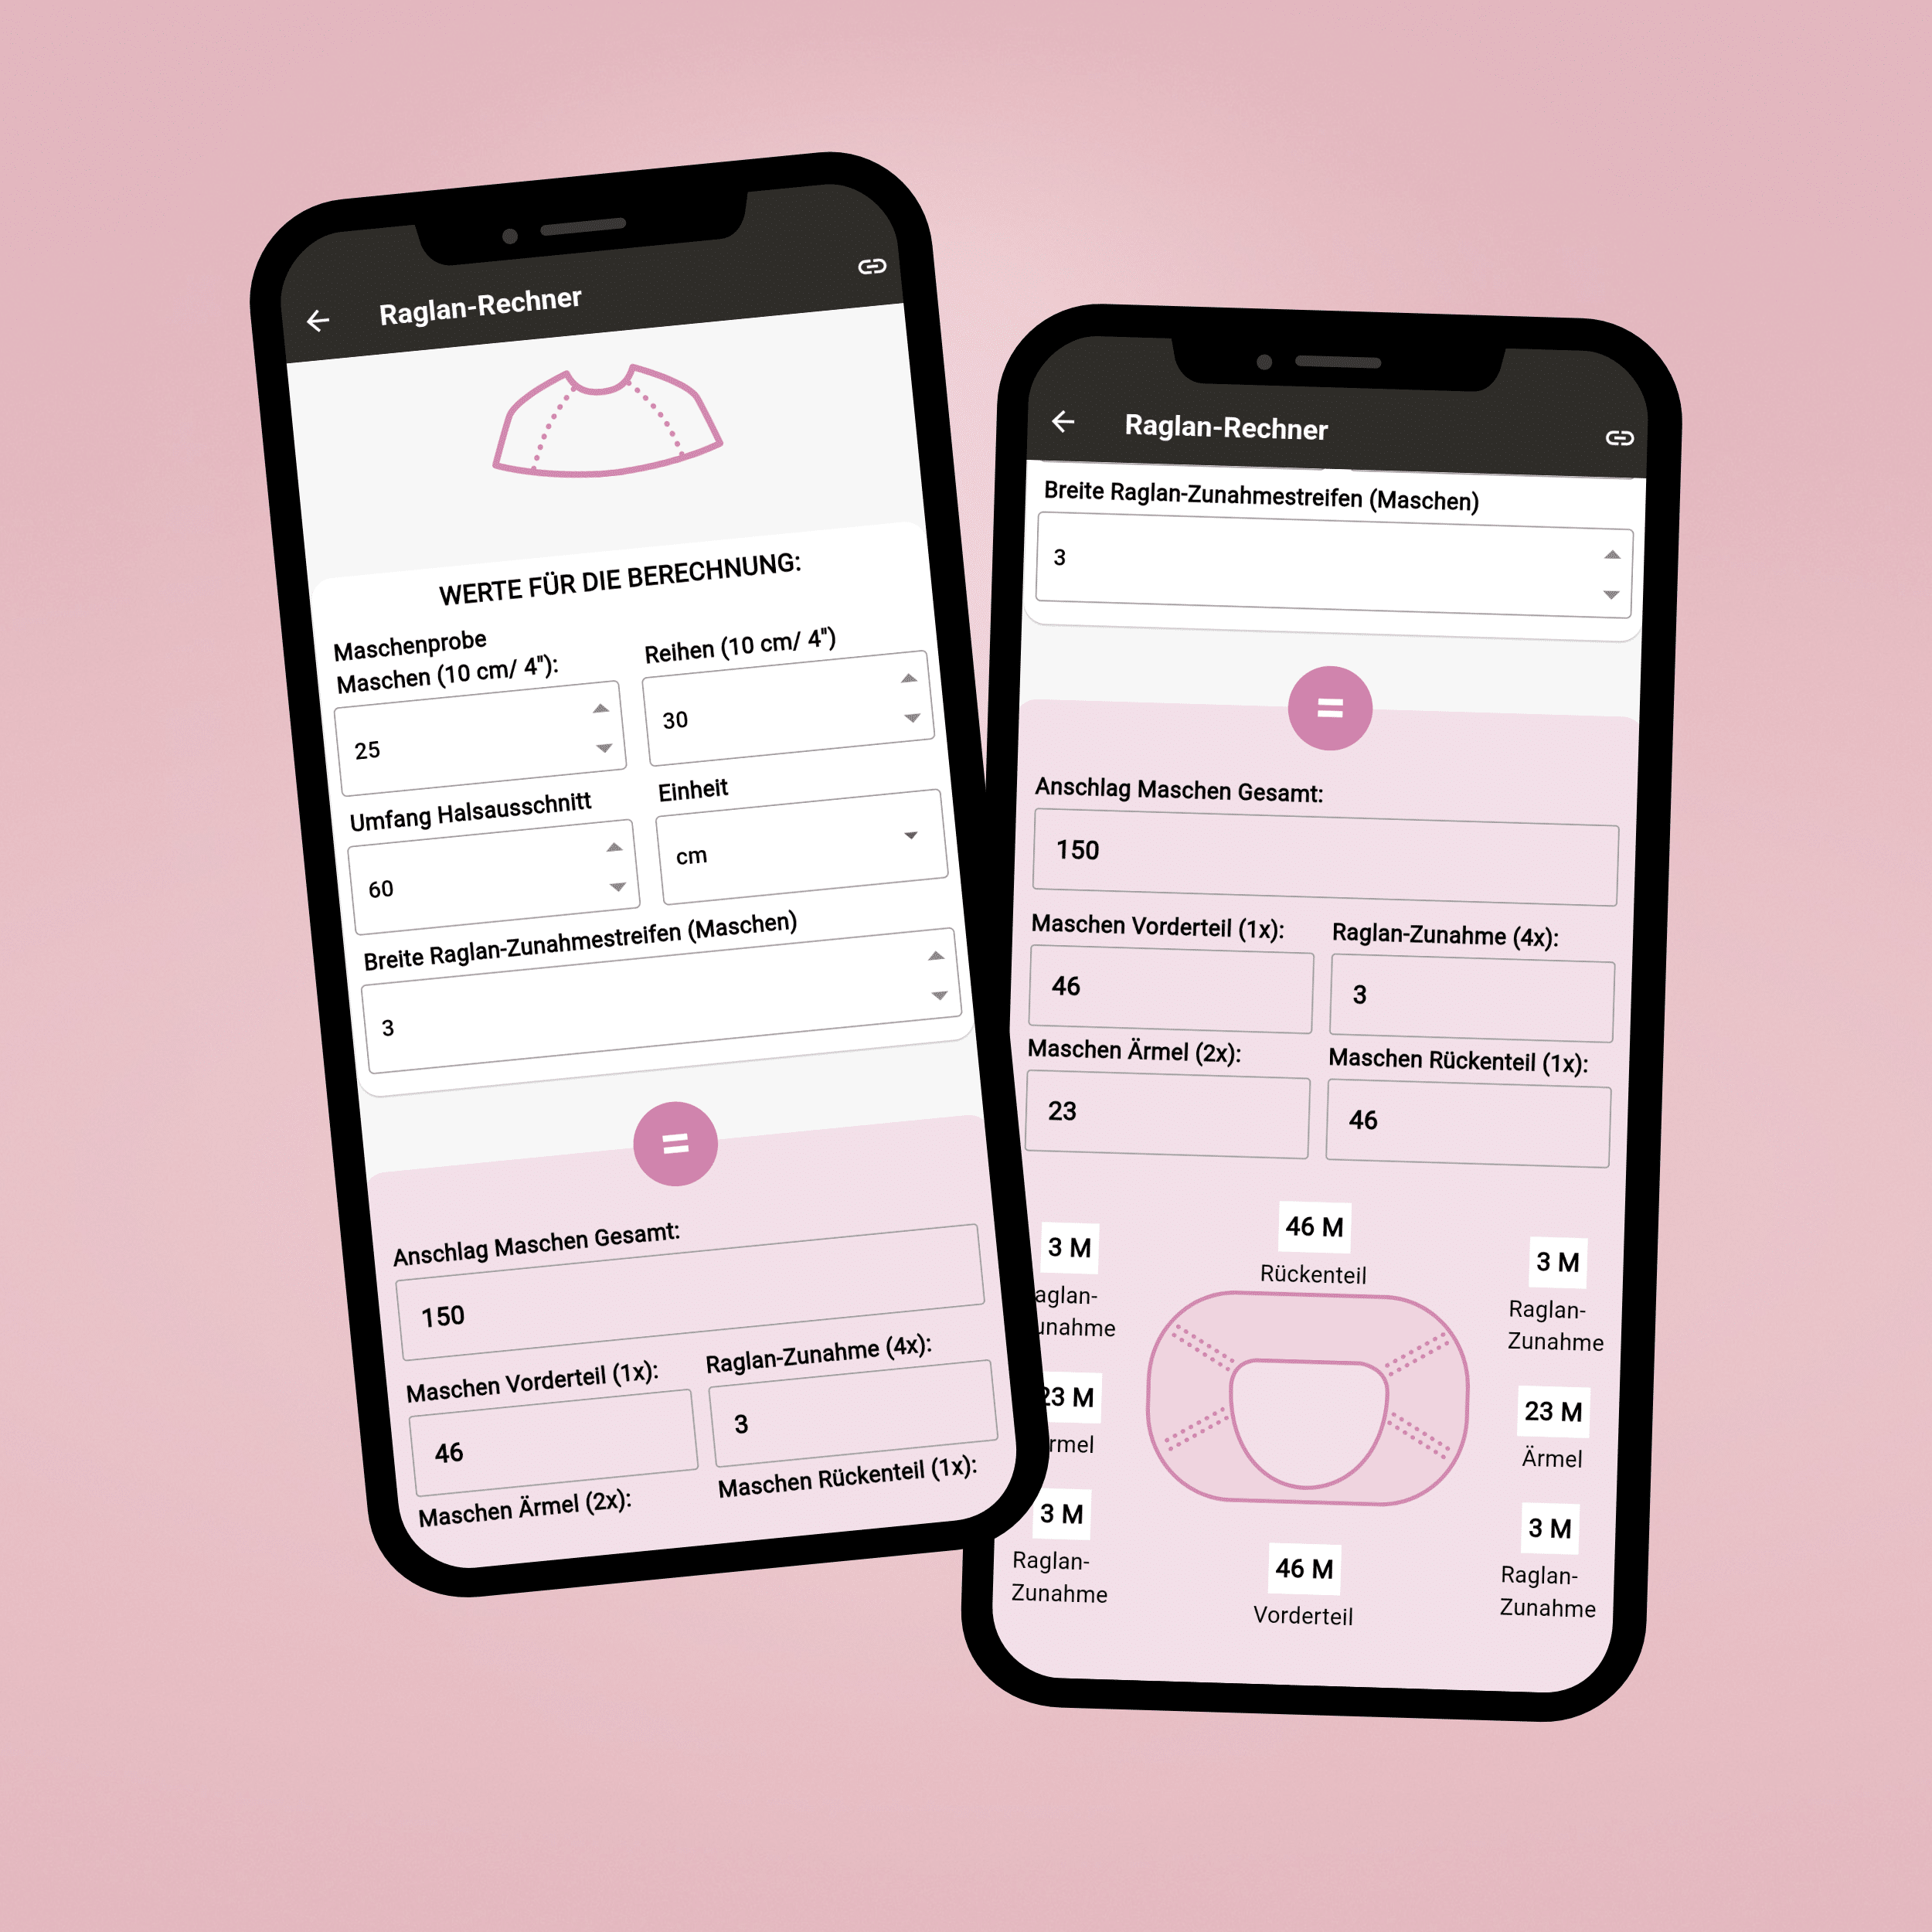
- Insert the respective numbers from your gauge swatch, the desired neck circumference and the width of your raglan line in the Raglan Calculator in this app. addi2go app .
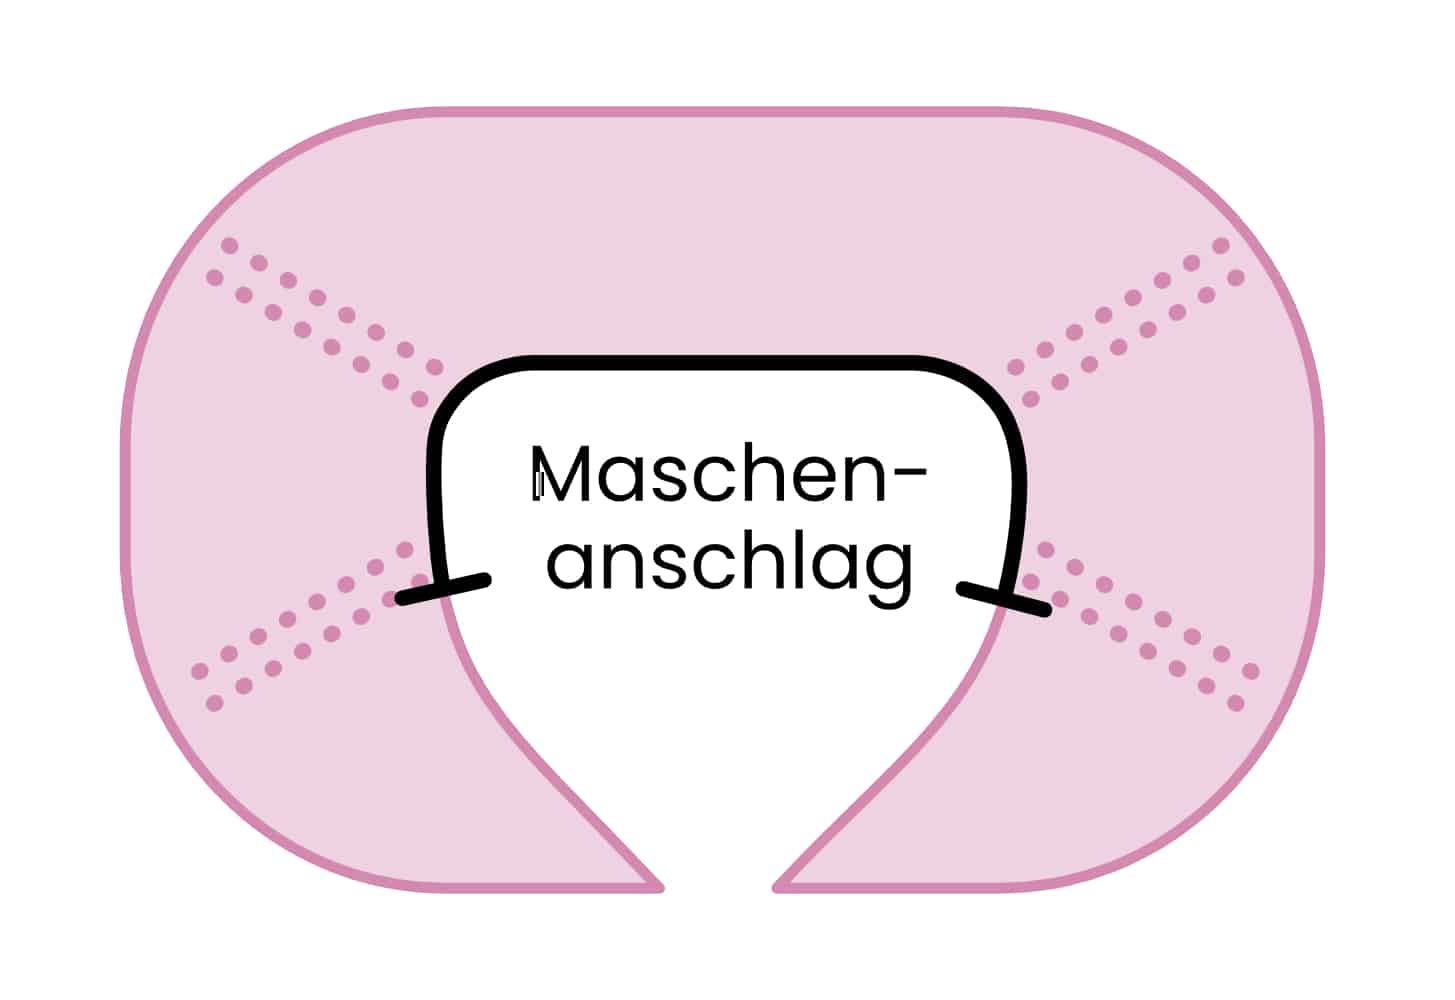
- Now cast on the calculated number of stitches, e.g. with a long-tail cast-on, with the needle size matching your yarn.
-
Important: In order to knit a raglan cardigan rather than a sweater, you do not cast on the stitches for the front, but work increases later on. Therefore, cast on the total amount of stitches minus the stitches for the fronts + 2 (for the edge stitches).
- For garter stitch: * 1 edge st, k all sts *
-
For stockinette stitch: * 1 edge st, p all sts *
-
For a 1x1 rib stitch or fisherman’s rib: * 1 edge st, (k1, p1) repeat, end with p2, k1 *
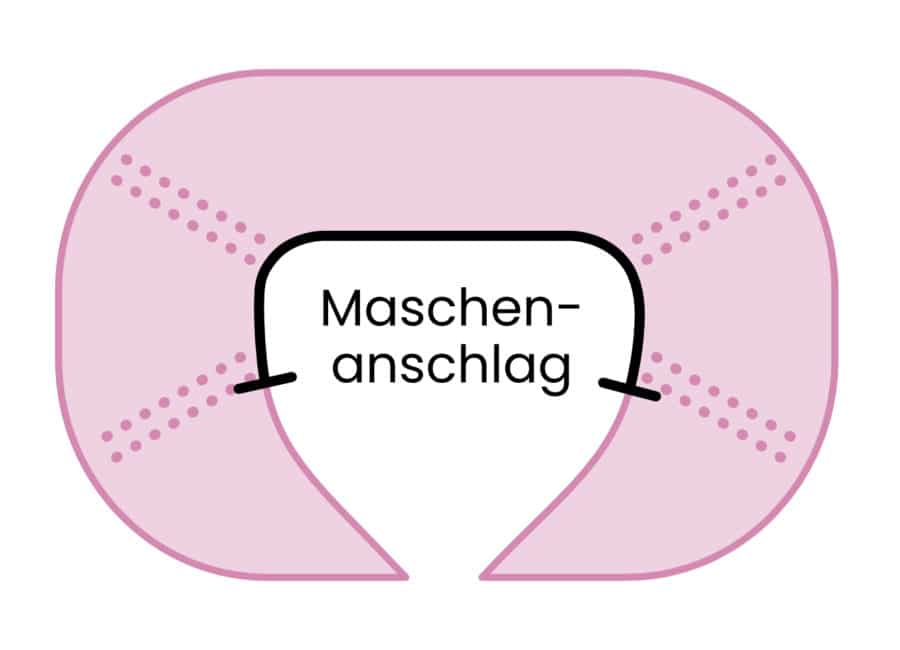
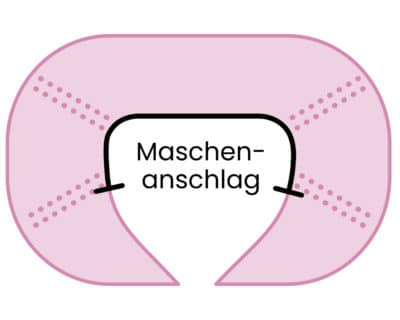
Raglan distribution
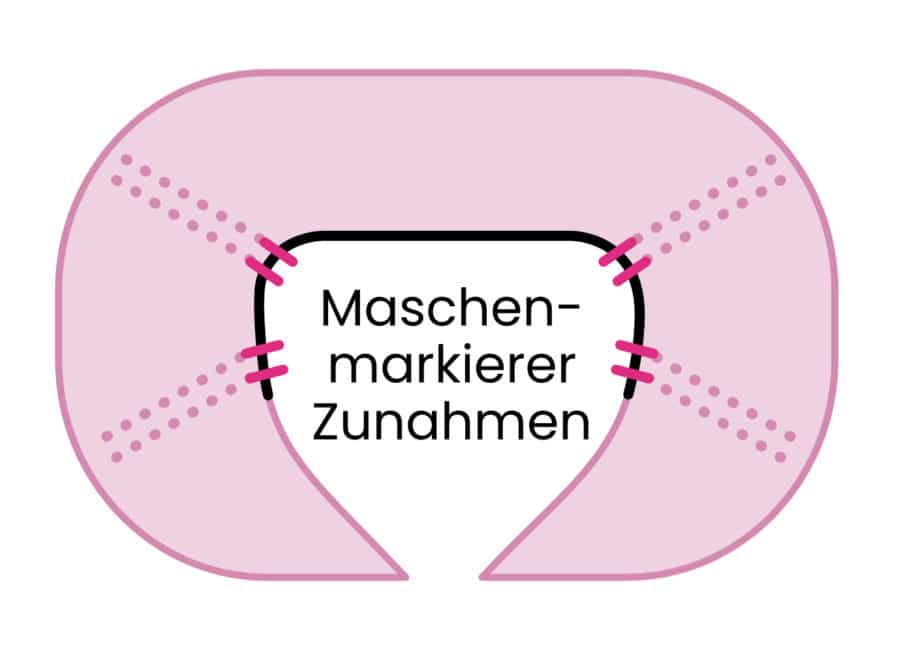
- sl1 edge st, place m
-
work the number of sts for your raglan line (e.g. 2 sts), place m
-
work the number of sleeve sts, place m
-
work the number of sts for your raglan line, place m
-
work the number of back sts, place m
-
work the number of sts for your raglan line, place m
-
work the number of sleeve sts, place m
-
work the number of sts for your raglan line, place m
-
k1
Raglan increases
- sl1 edge st, M1 (right-leaning)
-
sl m, work raglan sts, sl m, M1 (left-leaning)
-
work sleeve sts, M1 (right-leaning)
-
sl m, work raglan sts, sl m, M1 (left-leaning)
-
work back sts, M1 (right-leaning)
-
sl m, work raglan sts, sl m, M1 (left-leaning)
-
work sleeve sts, M1 (right-leaning)
-
sl m, work raglan sts, sl m, M1 (left-leaning)
-
k1
- work all sts according to your pattern
Upper back and shoulder shaping (optional)
- for approx. 8 – 12 rows depending on the thickness of the yarn (thick yarn = fewer rows, thin yarn = more rows).
This will add a few centimetres to the length of the back of the cardigan.
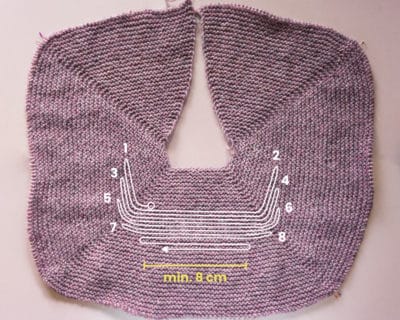
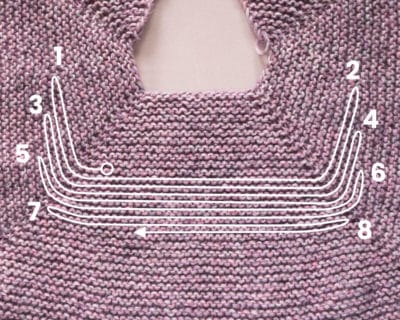
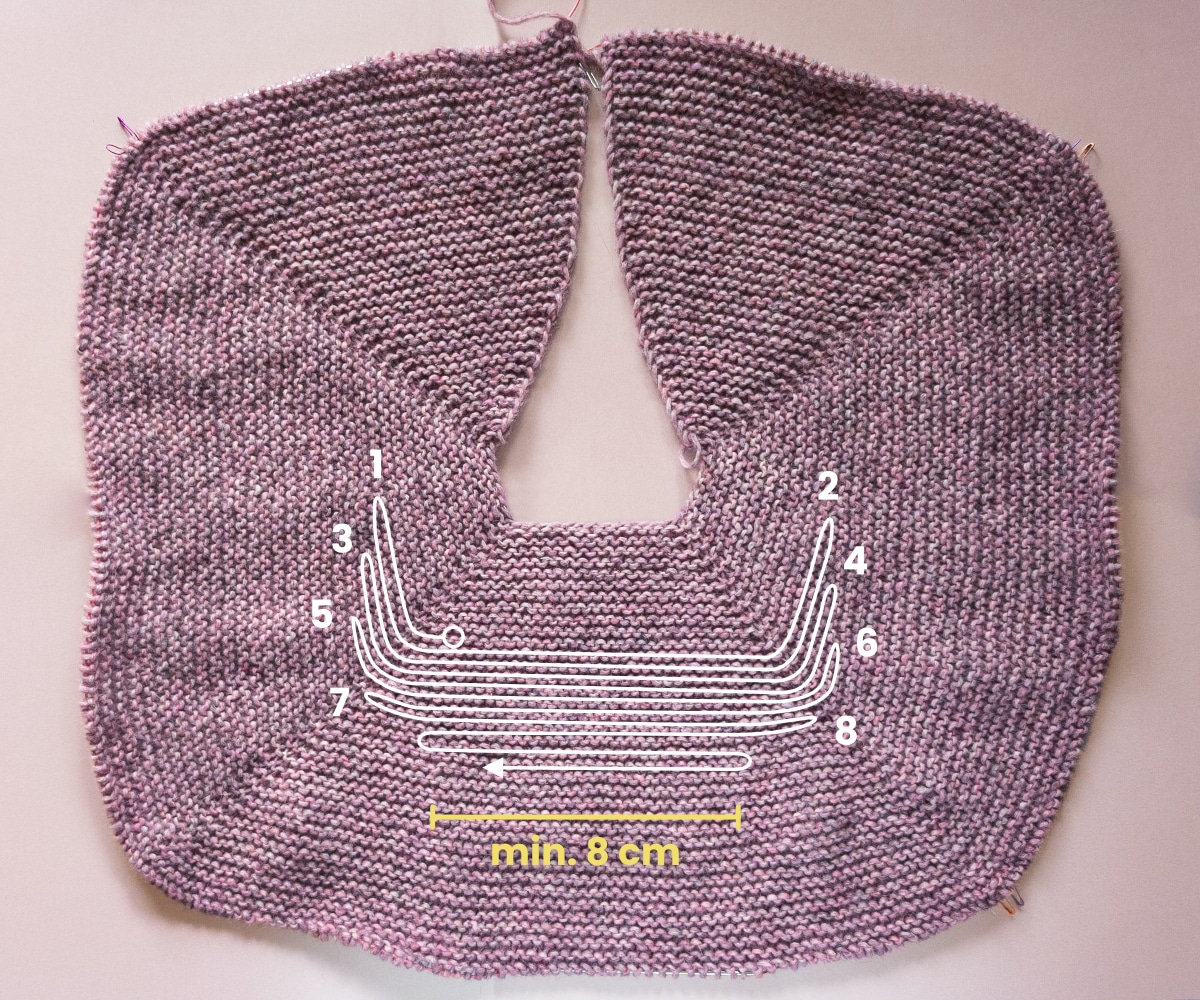
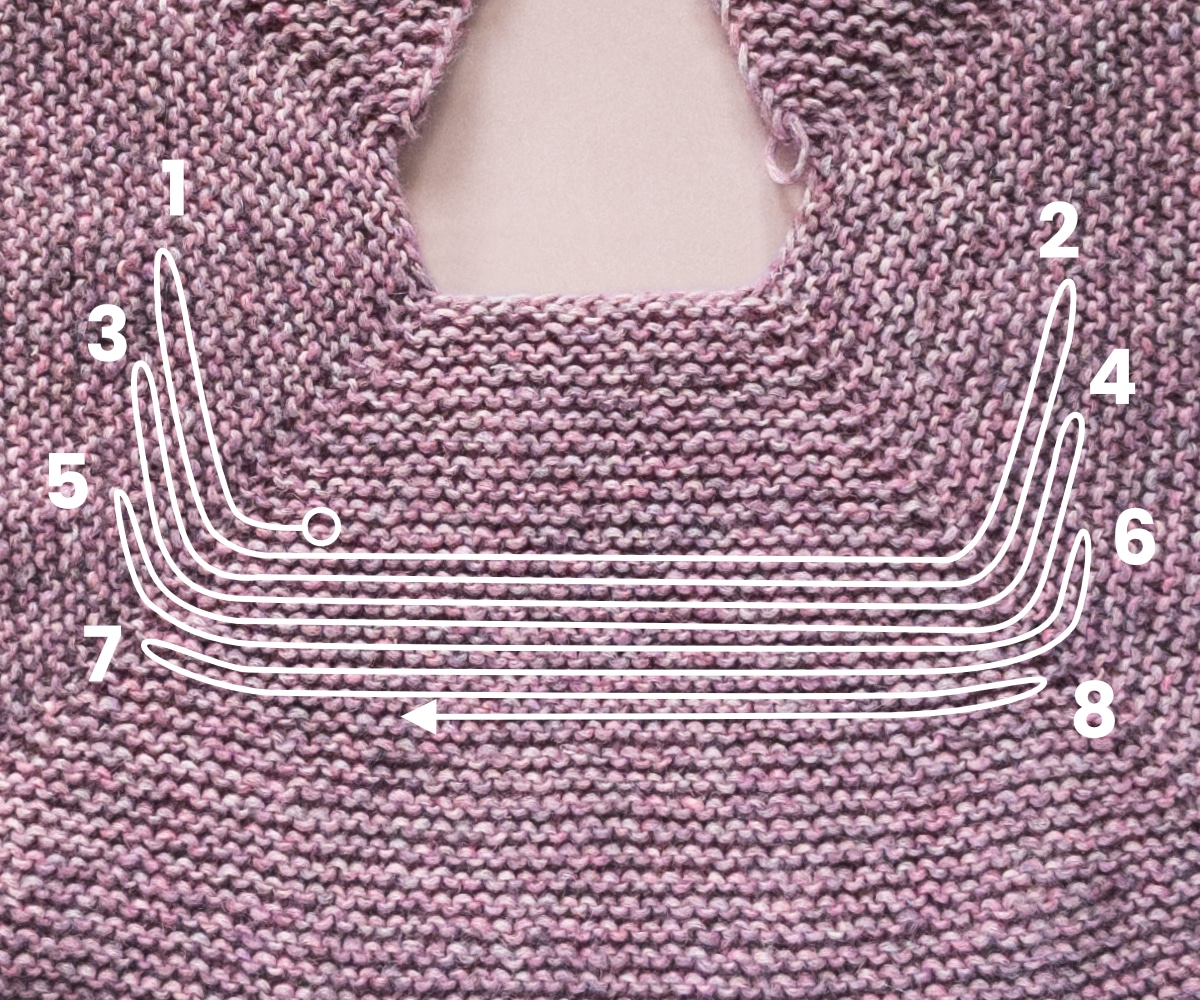
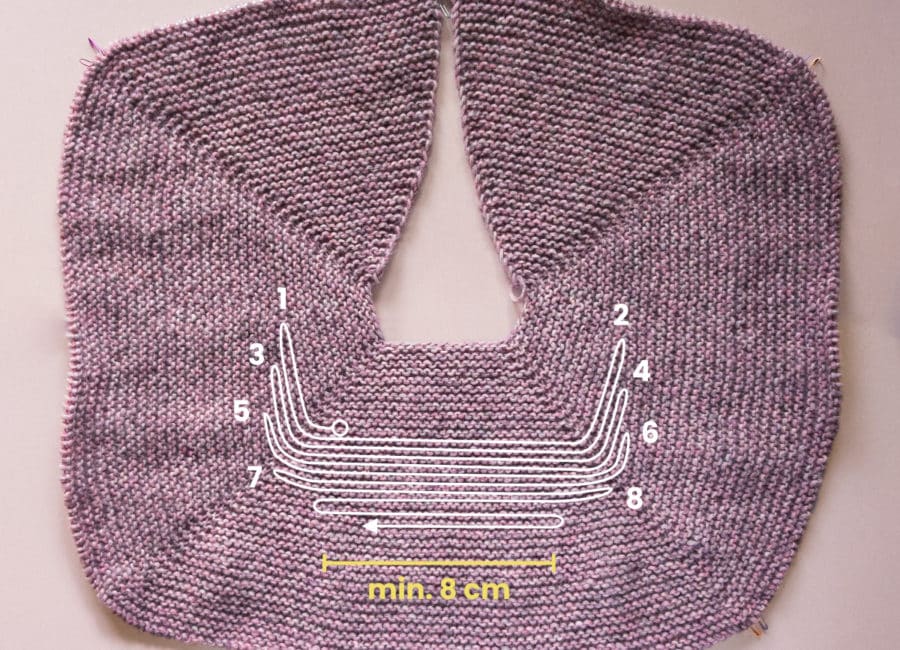
- You should have about 3-4 turning points on both ends (i.e. 3-4 right-side and wrong-side short rows each).
-
The first turning point is always situated at the sleeve centre (1) - turn and work the wrong-side row up to the centre of the other sleeve, turn (2).
-
In the next two rows (right- and wrong-side row) turn the work a few stitches BEFORE reaching the previous turning point (3 and 4). For thicker yarns, the distance between the turning point should be approx. 5 sts, for thinner yarns approx. 10 sts.
- Continue like this until your turning points are placed at the back (here 7 and 8).
-
At the centre back there should be a distance of at least 3.25” (8 cm) between the last turning points (see image 2). Observing this automatically yields the necessary number of rows.
Shoulder shaping with short rows
- sl1 edge st, M1 (right-leaning)
-
sl m, work raglan sts, sl m, M1 (left-leaning)
-
work sleeve sts, M1 (right-leaning)
-
sl m, work raglan sts, sl m, M1 (left-leaning)
-
work back sts, M1 (right-leaning)
-
sl m, work raglan sts, sl m, M1 (left-leaning)
-
work half the sleeve sts, k1, turn
- make a DS (sl1 purl-wise with yarn in front, bring the working yarn over the needle and tug, so that the stitch is pulled up and a double stitch forms)
-
work all sts in your pattern until reaching the centre of the other sleeve, k1, turn
- Wendemasche arbeiten und Mustergemäß stricken (mit Raglan-Zunahmen), bis 5-10 M vor die letzten Wendemasche (siehe oben „Anpassung verkürze Reihen an das Garn“).
-
k1, turn
- make a DS (sl1 purl-wise with yarn in front, bring the working yarn over the needle and tug, so that the stitch is pulled up and a double stitch forms)
-
work all sts in your pattern to the last 5-10 sts before the last-worked DS, k1, turn
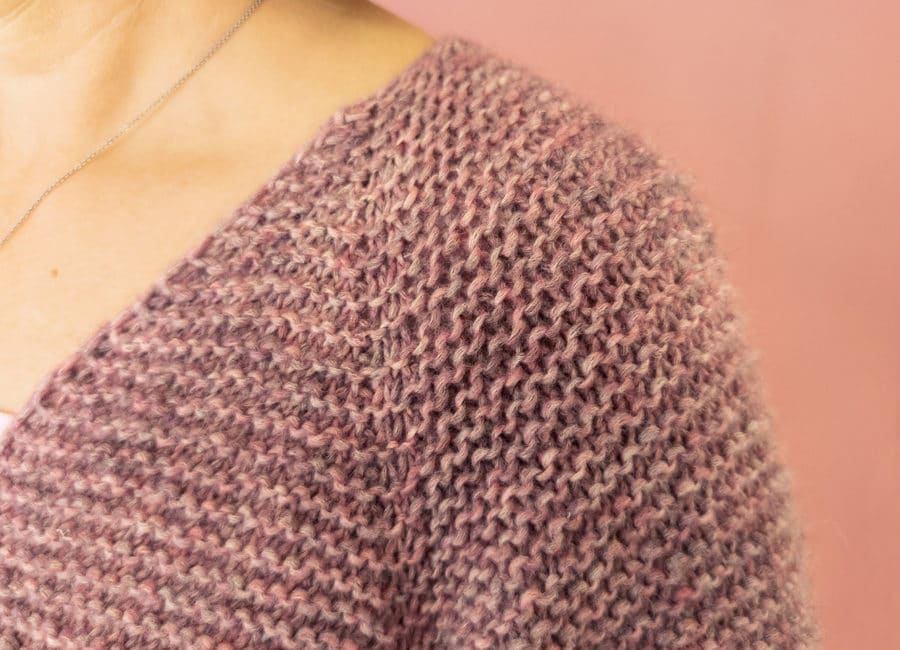
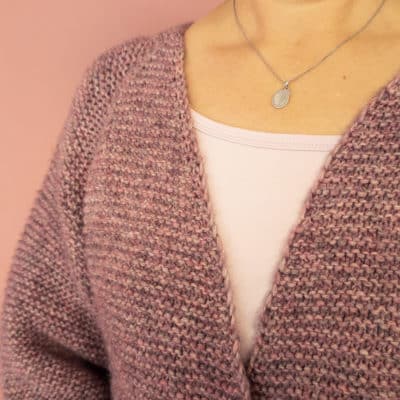
V-neck rows
- The V-neck increases are worked until both fronts of the cardigan (first and last section on you needle) together have the same number of stitches as the back.
-
For a regular V-neck, alternate 1 x raglan increase row, 1 x V-neck increase row
V-neck increase rows:
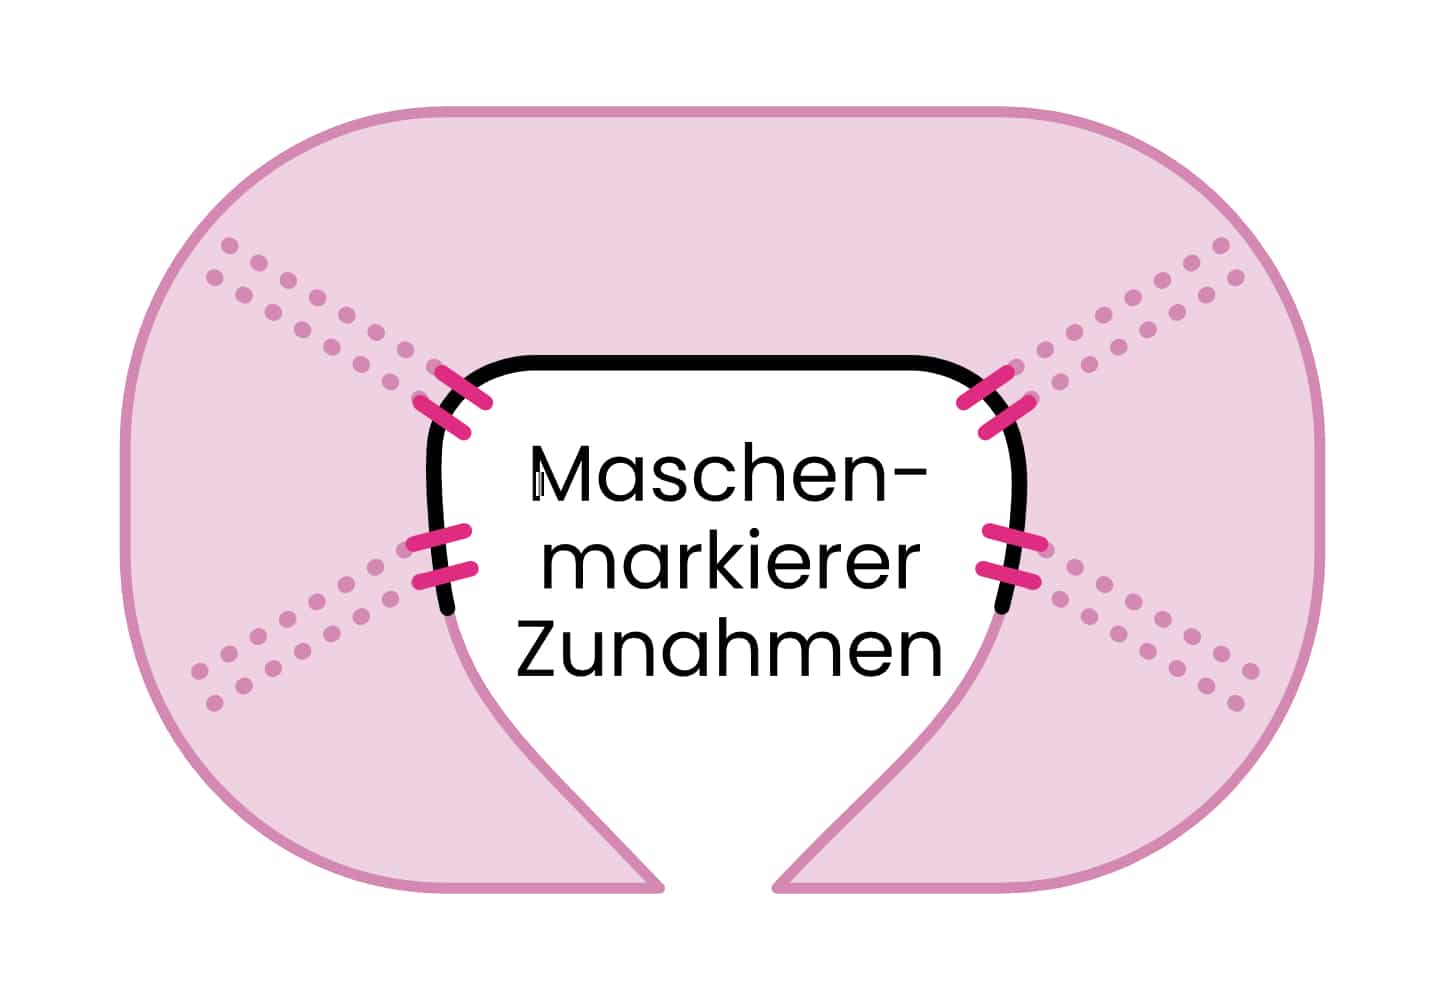
- Place a marker after the edge st at the beginning of the row, another one before the edge st at the end of the row. Work increases always right before/after these markers.
- sl1 edge st, M1 (right-leaning), sl m, M1 (right-leaning)
-
sl m, work raglan sts, sl m, M1 (left-leaning)
-
work sleeve sts, M1 (right-leaning)
-
sl m, work raglan sts, sl m, M1 (left-leaning)
-
work back sts, M1 (right-leaning)
-
sl m, work raglan sts, sl m, M1 (left-leaning)
-
work sleeve sts, M1 (right-leaning)
-
sl m, work raglan sts, sl m, M1 (left-leaning)
-
sl m, M1 (left-leaning), k1
- work all sts according to your pattern
Separating the sleeves
Passformcheck:
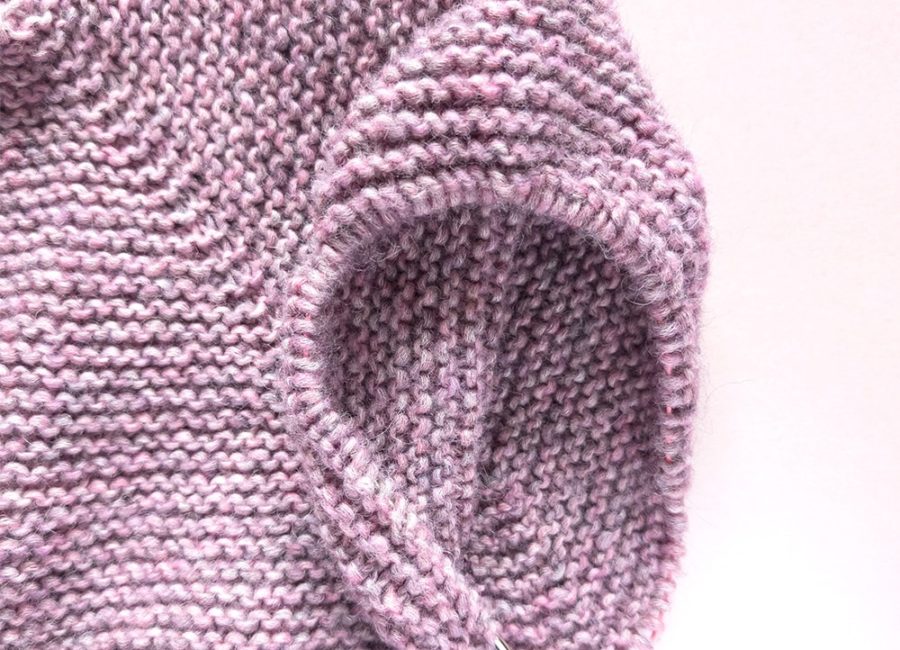
- The bust circumference has been reached, but the sleeves/raglan lines are too small/short: Work a few more rows, increasing only at the sleeves = 4 increases (no further increases at the body and neckline).
-
The sleeve circumference has been reached, but the bust circumference is too small: Work a few more rows, increasing only at the body (fronts and back) = 4 increases (no further increases at the sleeves).
Both measurements are obtained correctly:
- sl1 edge st, sl m, work the front sts
-
remove m, work half the raglan sts
-
have a second needle or a short addiClick cord with a matching needle tip ready to work the sleeve sts:
-
work the other half of the raglan sts with the additional needle, remove m
-
work the sleeve sts using the additional needle
-
remove m, work half the next raglan sts with the additional needle - close the cord in the rnd to secure the sts (or place stoppers on the circular needle)
-
-
work the other half of the raglan sts with your main needle**, remove m
-
work the back sts
-
sl m, work half the raglan sts
-
have a third needle or a short addiClick cord with a matching needle tip ready to work the sleeve sts:
-
work the other half of the raglan sts with the additional needle, remove m
-
work the sleeve sts using the additional needle
-
remove m, work half the next raglan sts with the additional needle - close the cord in the rnd to secure the sts (or place stoppers on the circular needle)
-
- work the other half of the raglan sts with your main needle**, remove m
-
work the front sts
Knitting body
- The fit of the body can be straight (for a slimmer body type or a shorter/cropped cardigan).
-
Should you need a little more space in the hip area or want a long cardigan, work further increases along the body.
- In each increase row, work two increases, e.g. at the underarms/side lines. Place a stitch marker at every increase, so they are easier to count.
Finishing the body/Hem
- To do so, knit until the cardigan has the desired length, then just bind off all stitches in the last row.
- K2 sts, pass the back stitch over the front stitch
- Always k1 sts and pass the back stitch over the front stitch. Leave the thread quite loose.
- To do so, knit until the cardigan is a little shorter than the desired length - the ribbing should be at least 1.25” (3 cm) long to prevent the edge from rolling up. Of course, you can work it significantly longer, e.g. 4” (10 cm) as a design feature.
-
Work the hem with a smaller needle (1 number/0.5 mm), so it contracts a little.
-
Work a rib stitch (e.g. [k1, p1] or [k2, p2]).
-
Then use a stretchy bind-off to finish the hem. Instructions on how to bind off elastic
- Bei einem 1re, 1 li Rippenmuster kann beispielsweise auch italienisch abgenäht werden. Instructional video in Italian elastic binding off
Hems and cuff variants
- Rib stitch hem after Fisherman’s rib - a simple bind-off
-
Rib stitch hem after stockinette stitch - italian bind-off
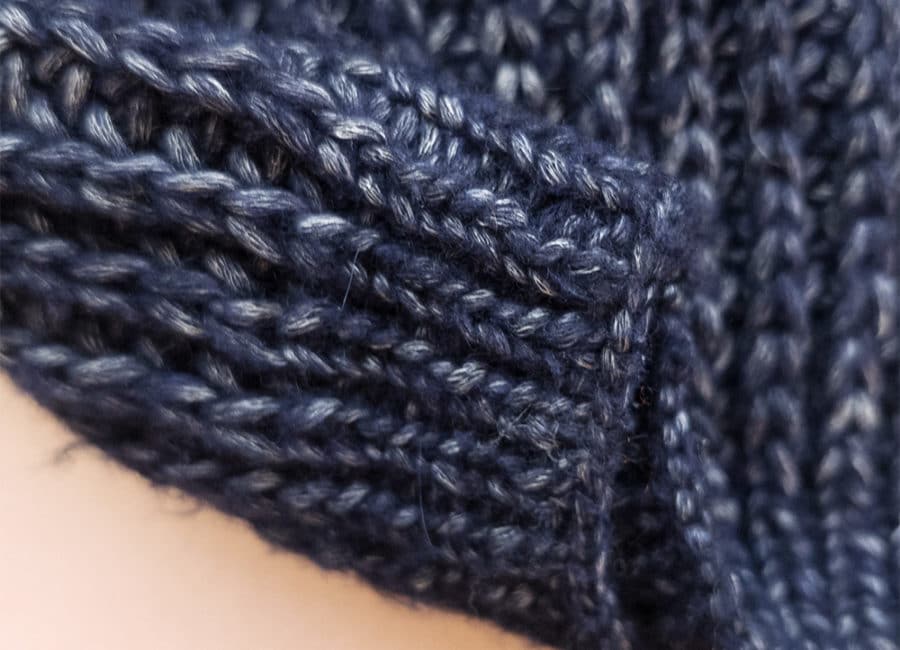
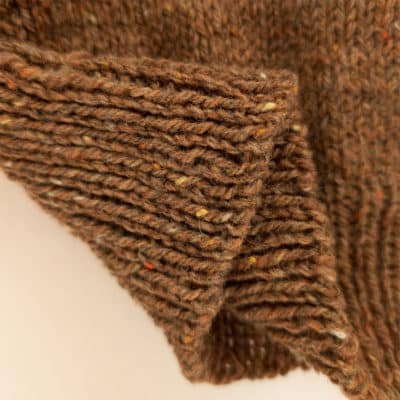
Hems and cuff variants
- Rib stitch hem after Fisherman’s rib - a simple bind-off
-
Rib stitch hem after stockinette stitch - italian bind-off
Knitting raglan sleeves
- The sleeves are tapered, that means their circumference decreases towards the cuff. For a snug fit, measure your wrist circumference and write it down.
-
You can also work them wider (yarn consumption increases). Use a measuring tape to determine the desired circumference at the wrist.
-
Next, you need to determine the sleeve length, measuring from your underarm to your wrist.
Finishing the raglan cardigan with optional button band or I-cord
I-Cord Rand
Front band in rib stitch
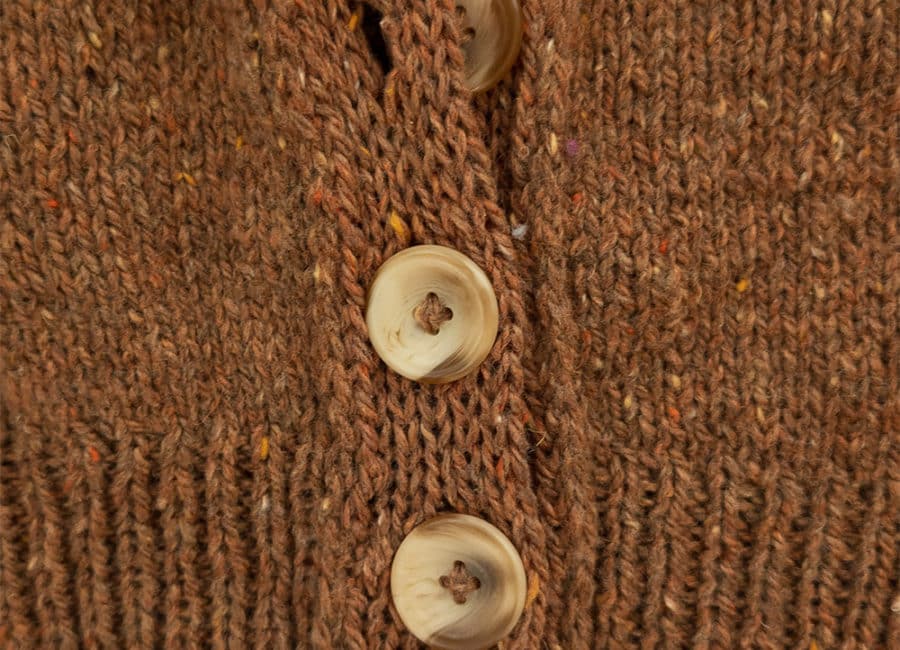
Finishing the raglan cardigan with optional button band or I-cord
I-Cord Rand
Front band in rib stitch
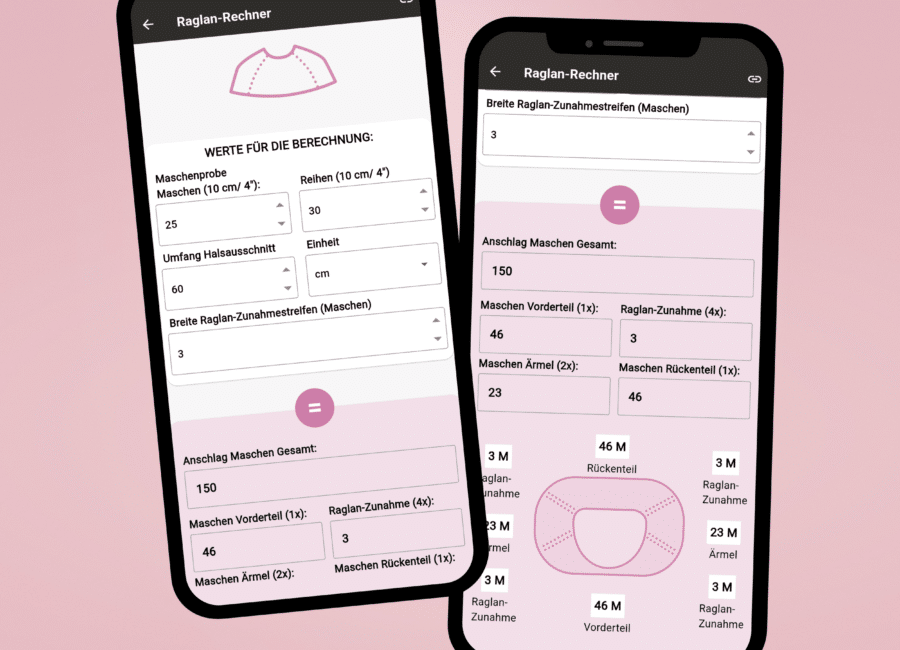
Raglan calculator available for free in the addi2go app
addi2go free raglan calculator
- The raglan calculator in the free addi2go app makes it easy to calculate the number of stitches to pick up, taking into account your own gauge and the desired neckline.
- The width of the raglan line and the distribution of the stitches can be precisely specified and read.
- It can be used to knit both raglan jumpers and raglan cardigans.
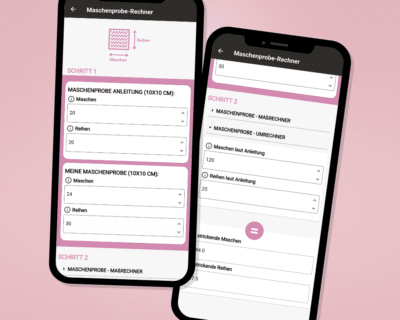
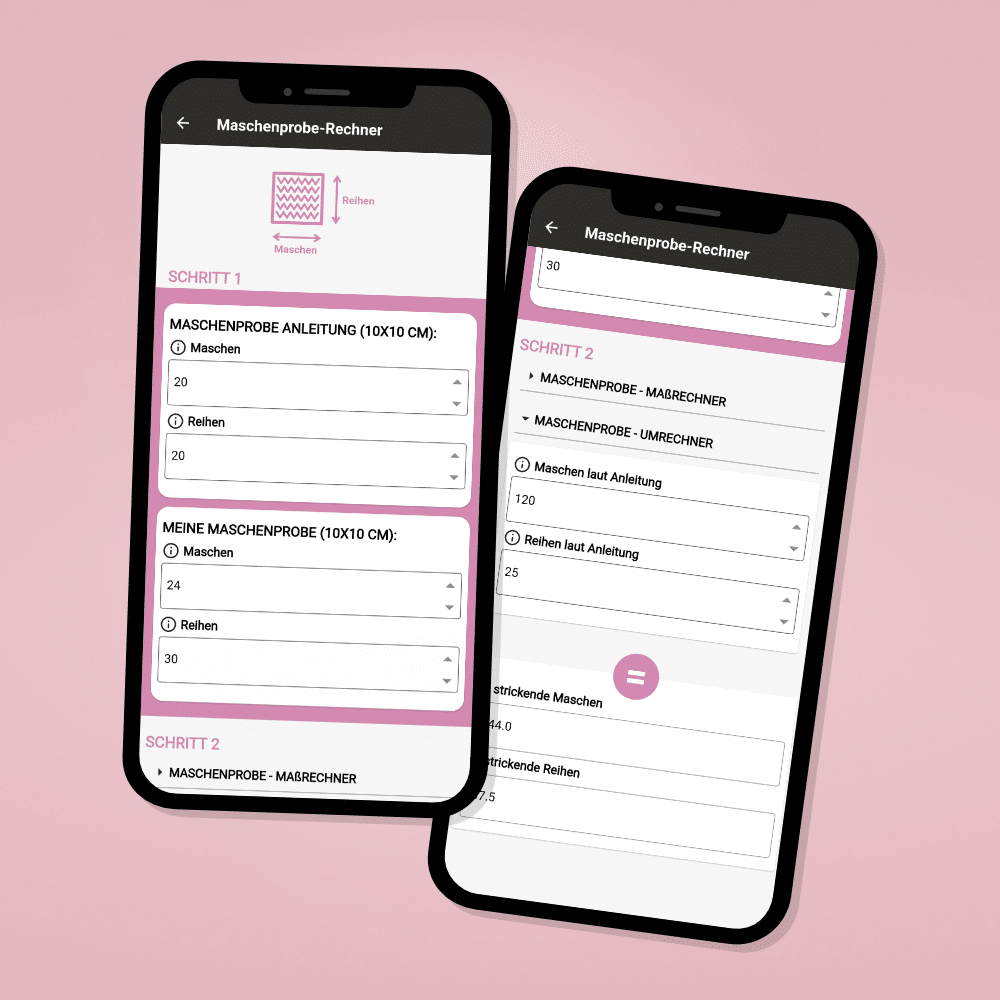
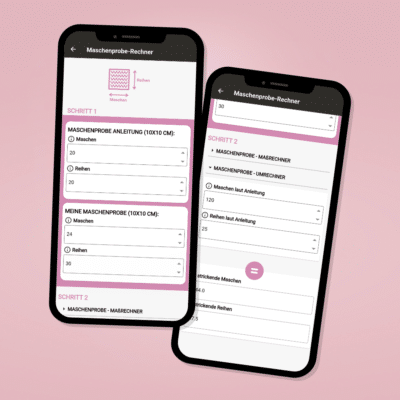
addi2go free gauge calculator
- The gauge calculator makes it easy to determine values, e.g. how many stitches are needed for the sleeve width or have to be picked up for the appropriate hip width.
- To use the ‘measurement calculator’, simply fill in the fields above in step 1 and enter the desired measurements in cm or inches in step 2.
Share your progress with us:
Are you knitting this project currently? Share the result on Instagram at @addi_by_selter
or in our Facebook group "addi Friends”
