addiExpress Professional Instruction
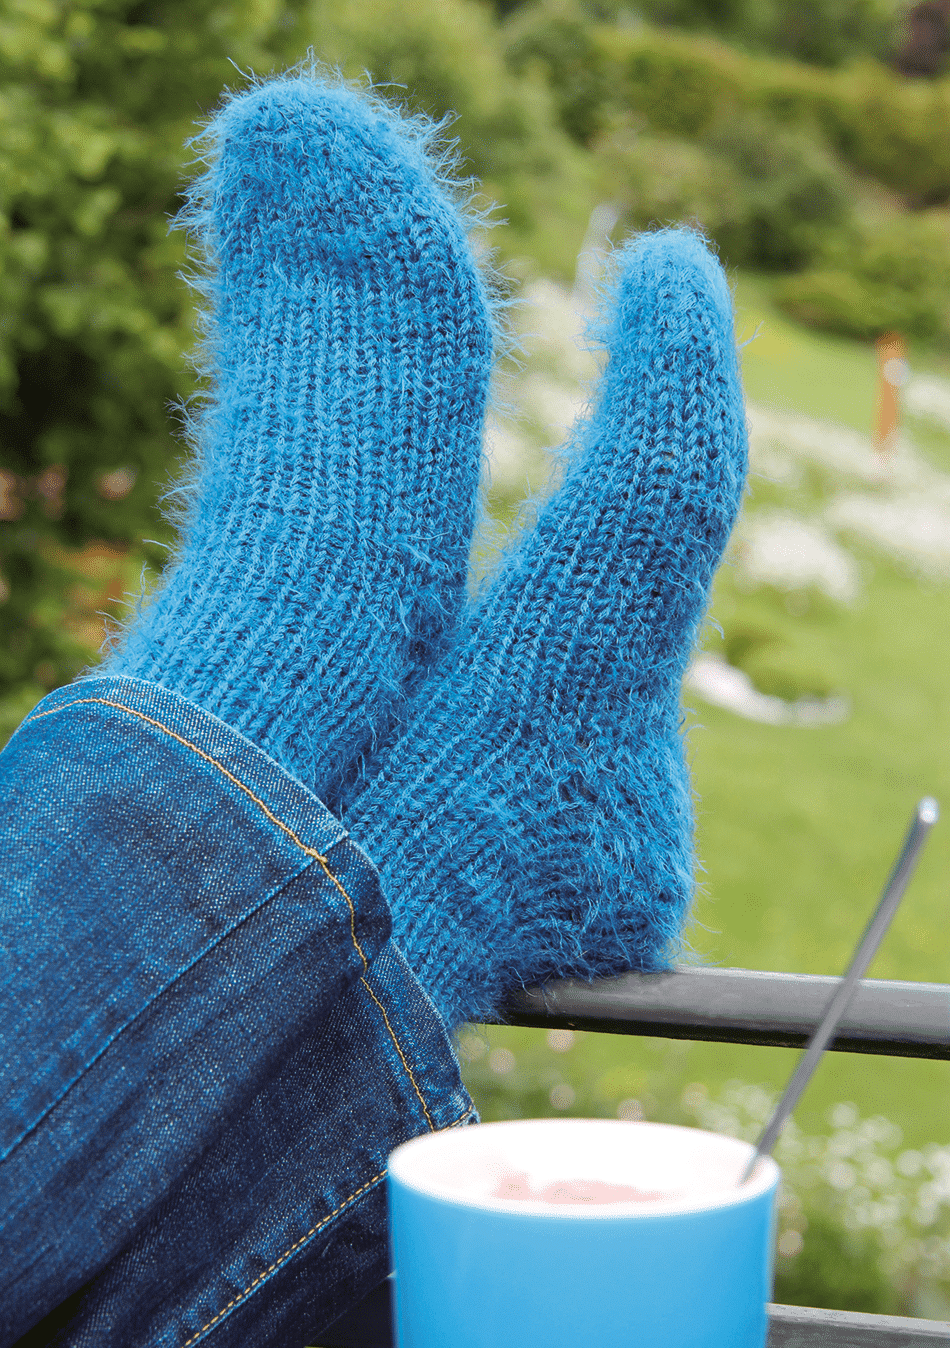
Winding chunky home socks with the addiExpress knitting machine
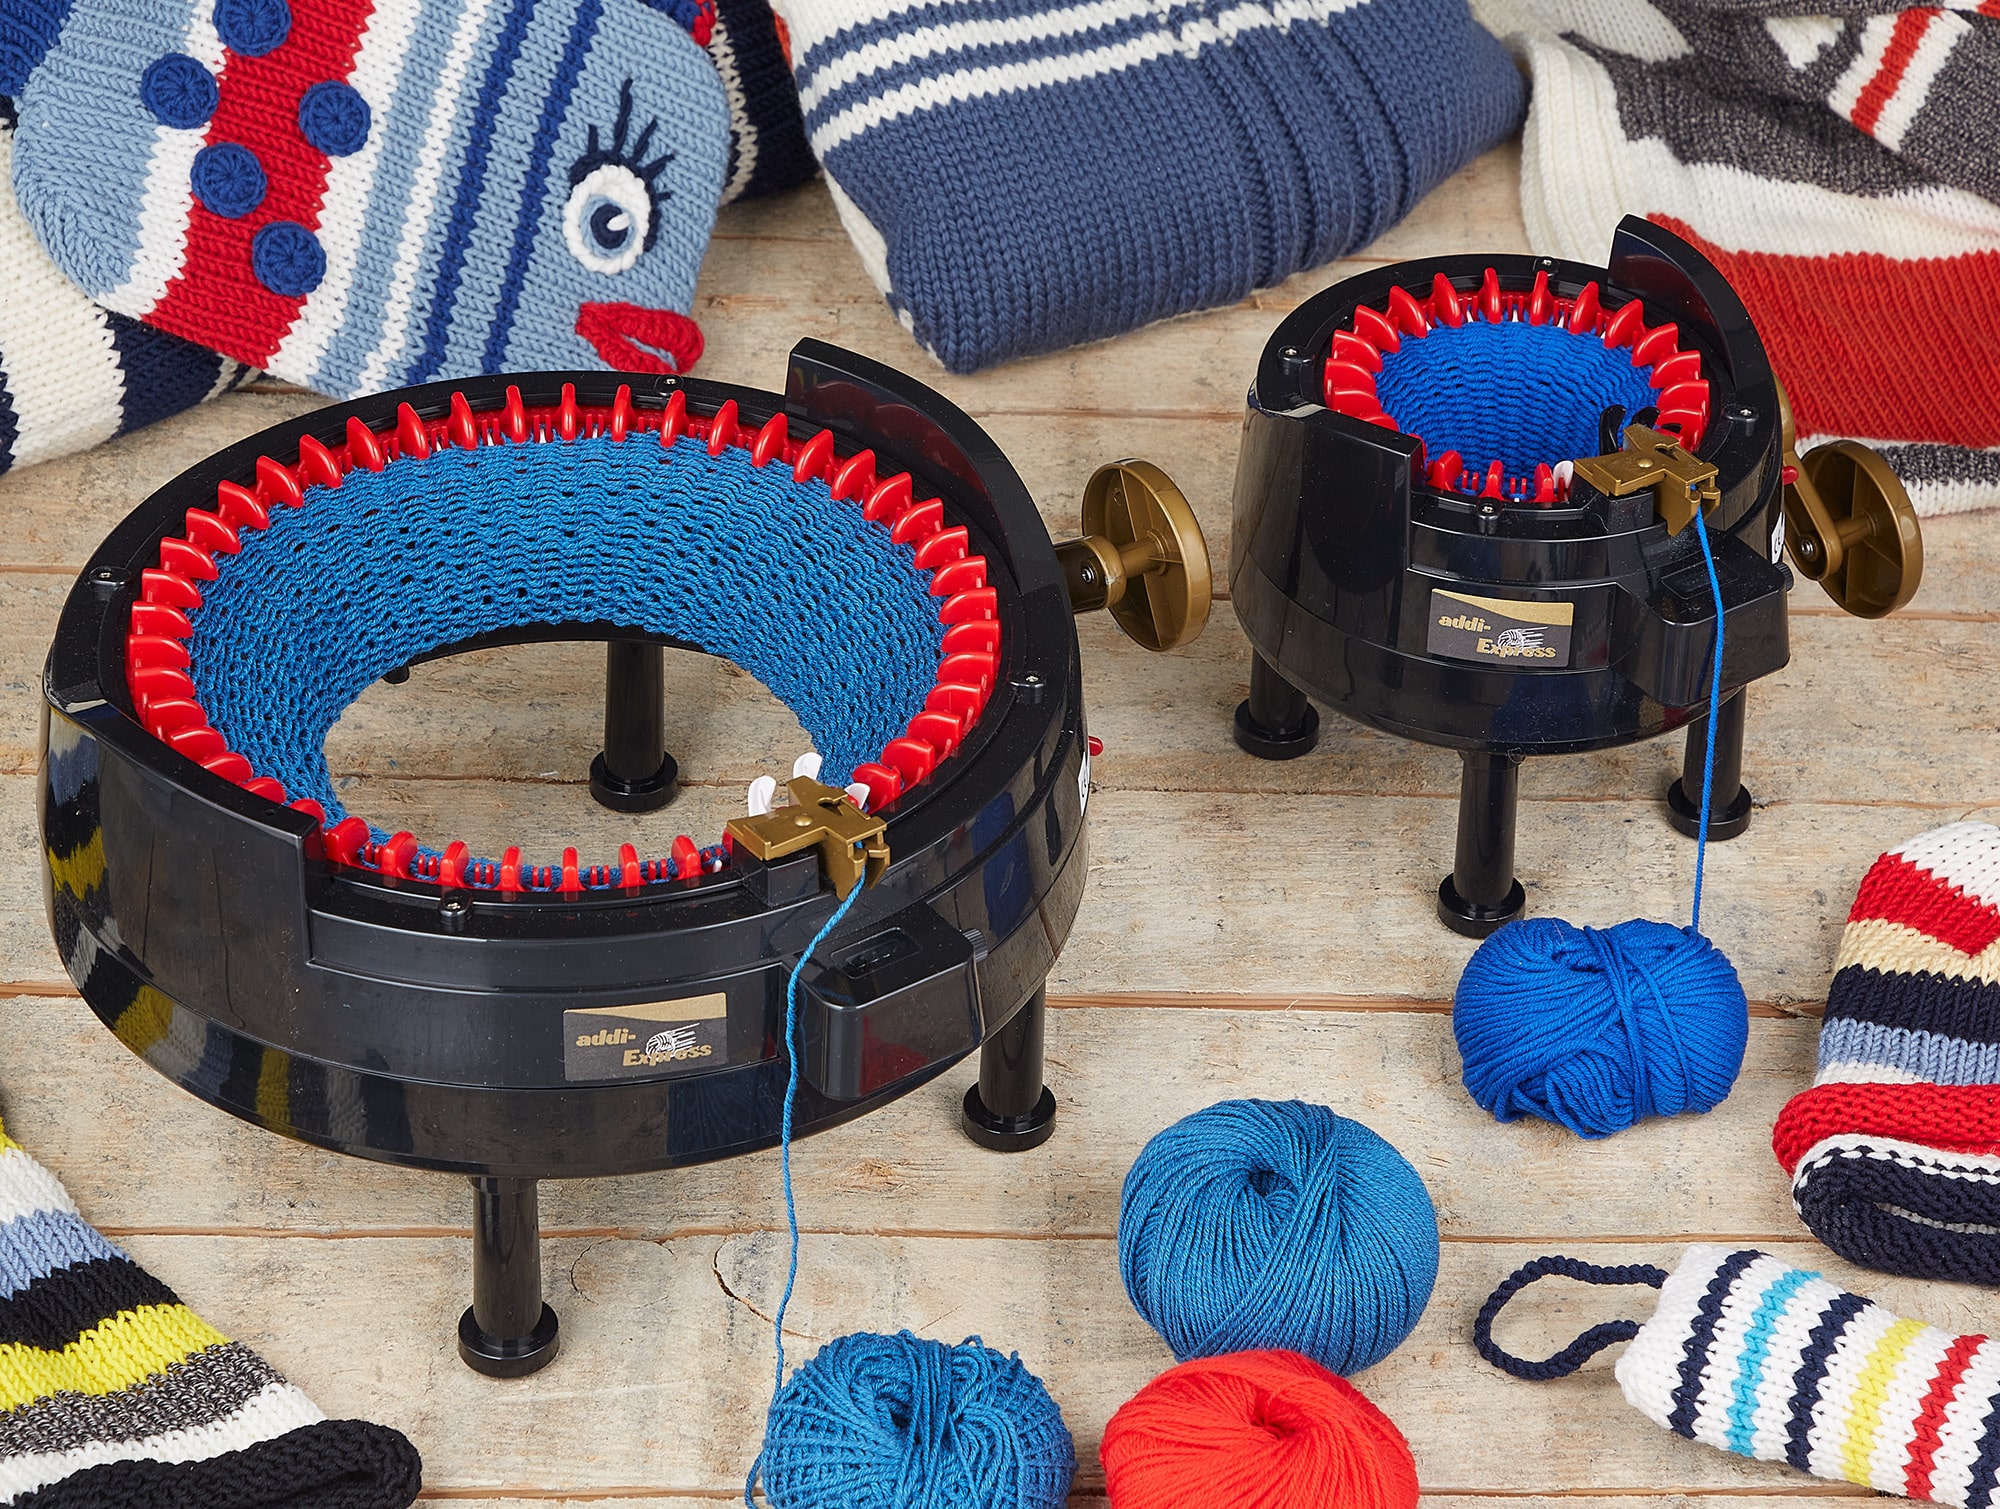
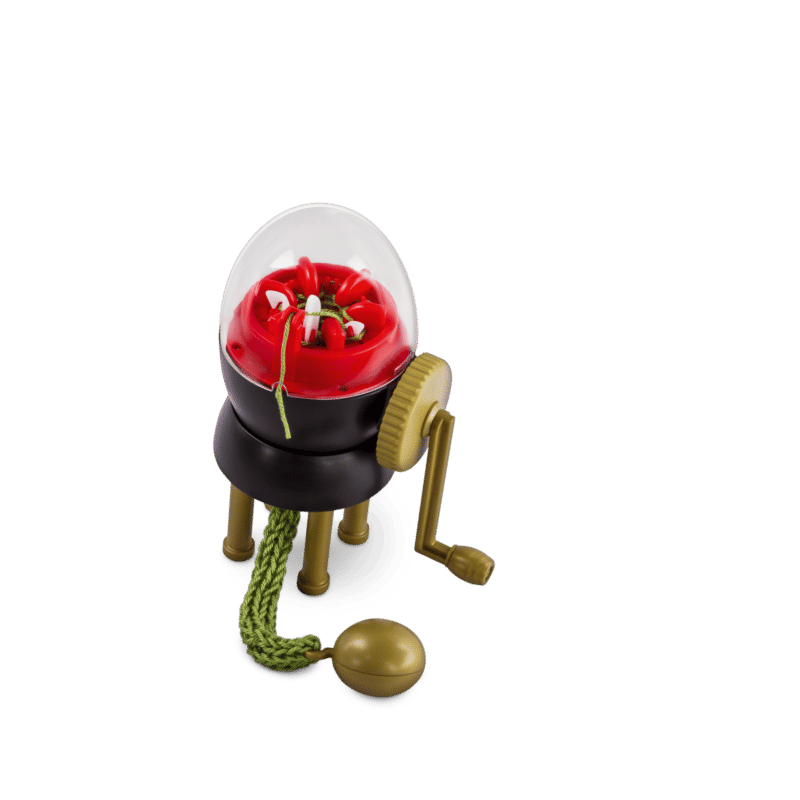
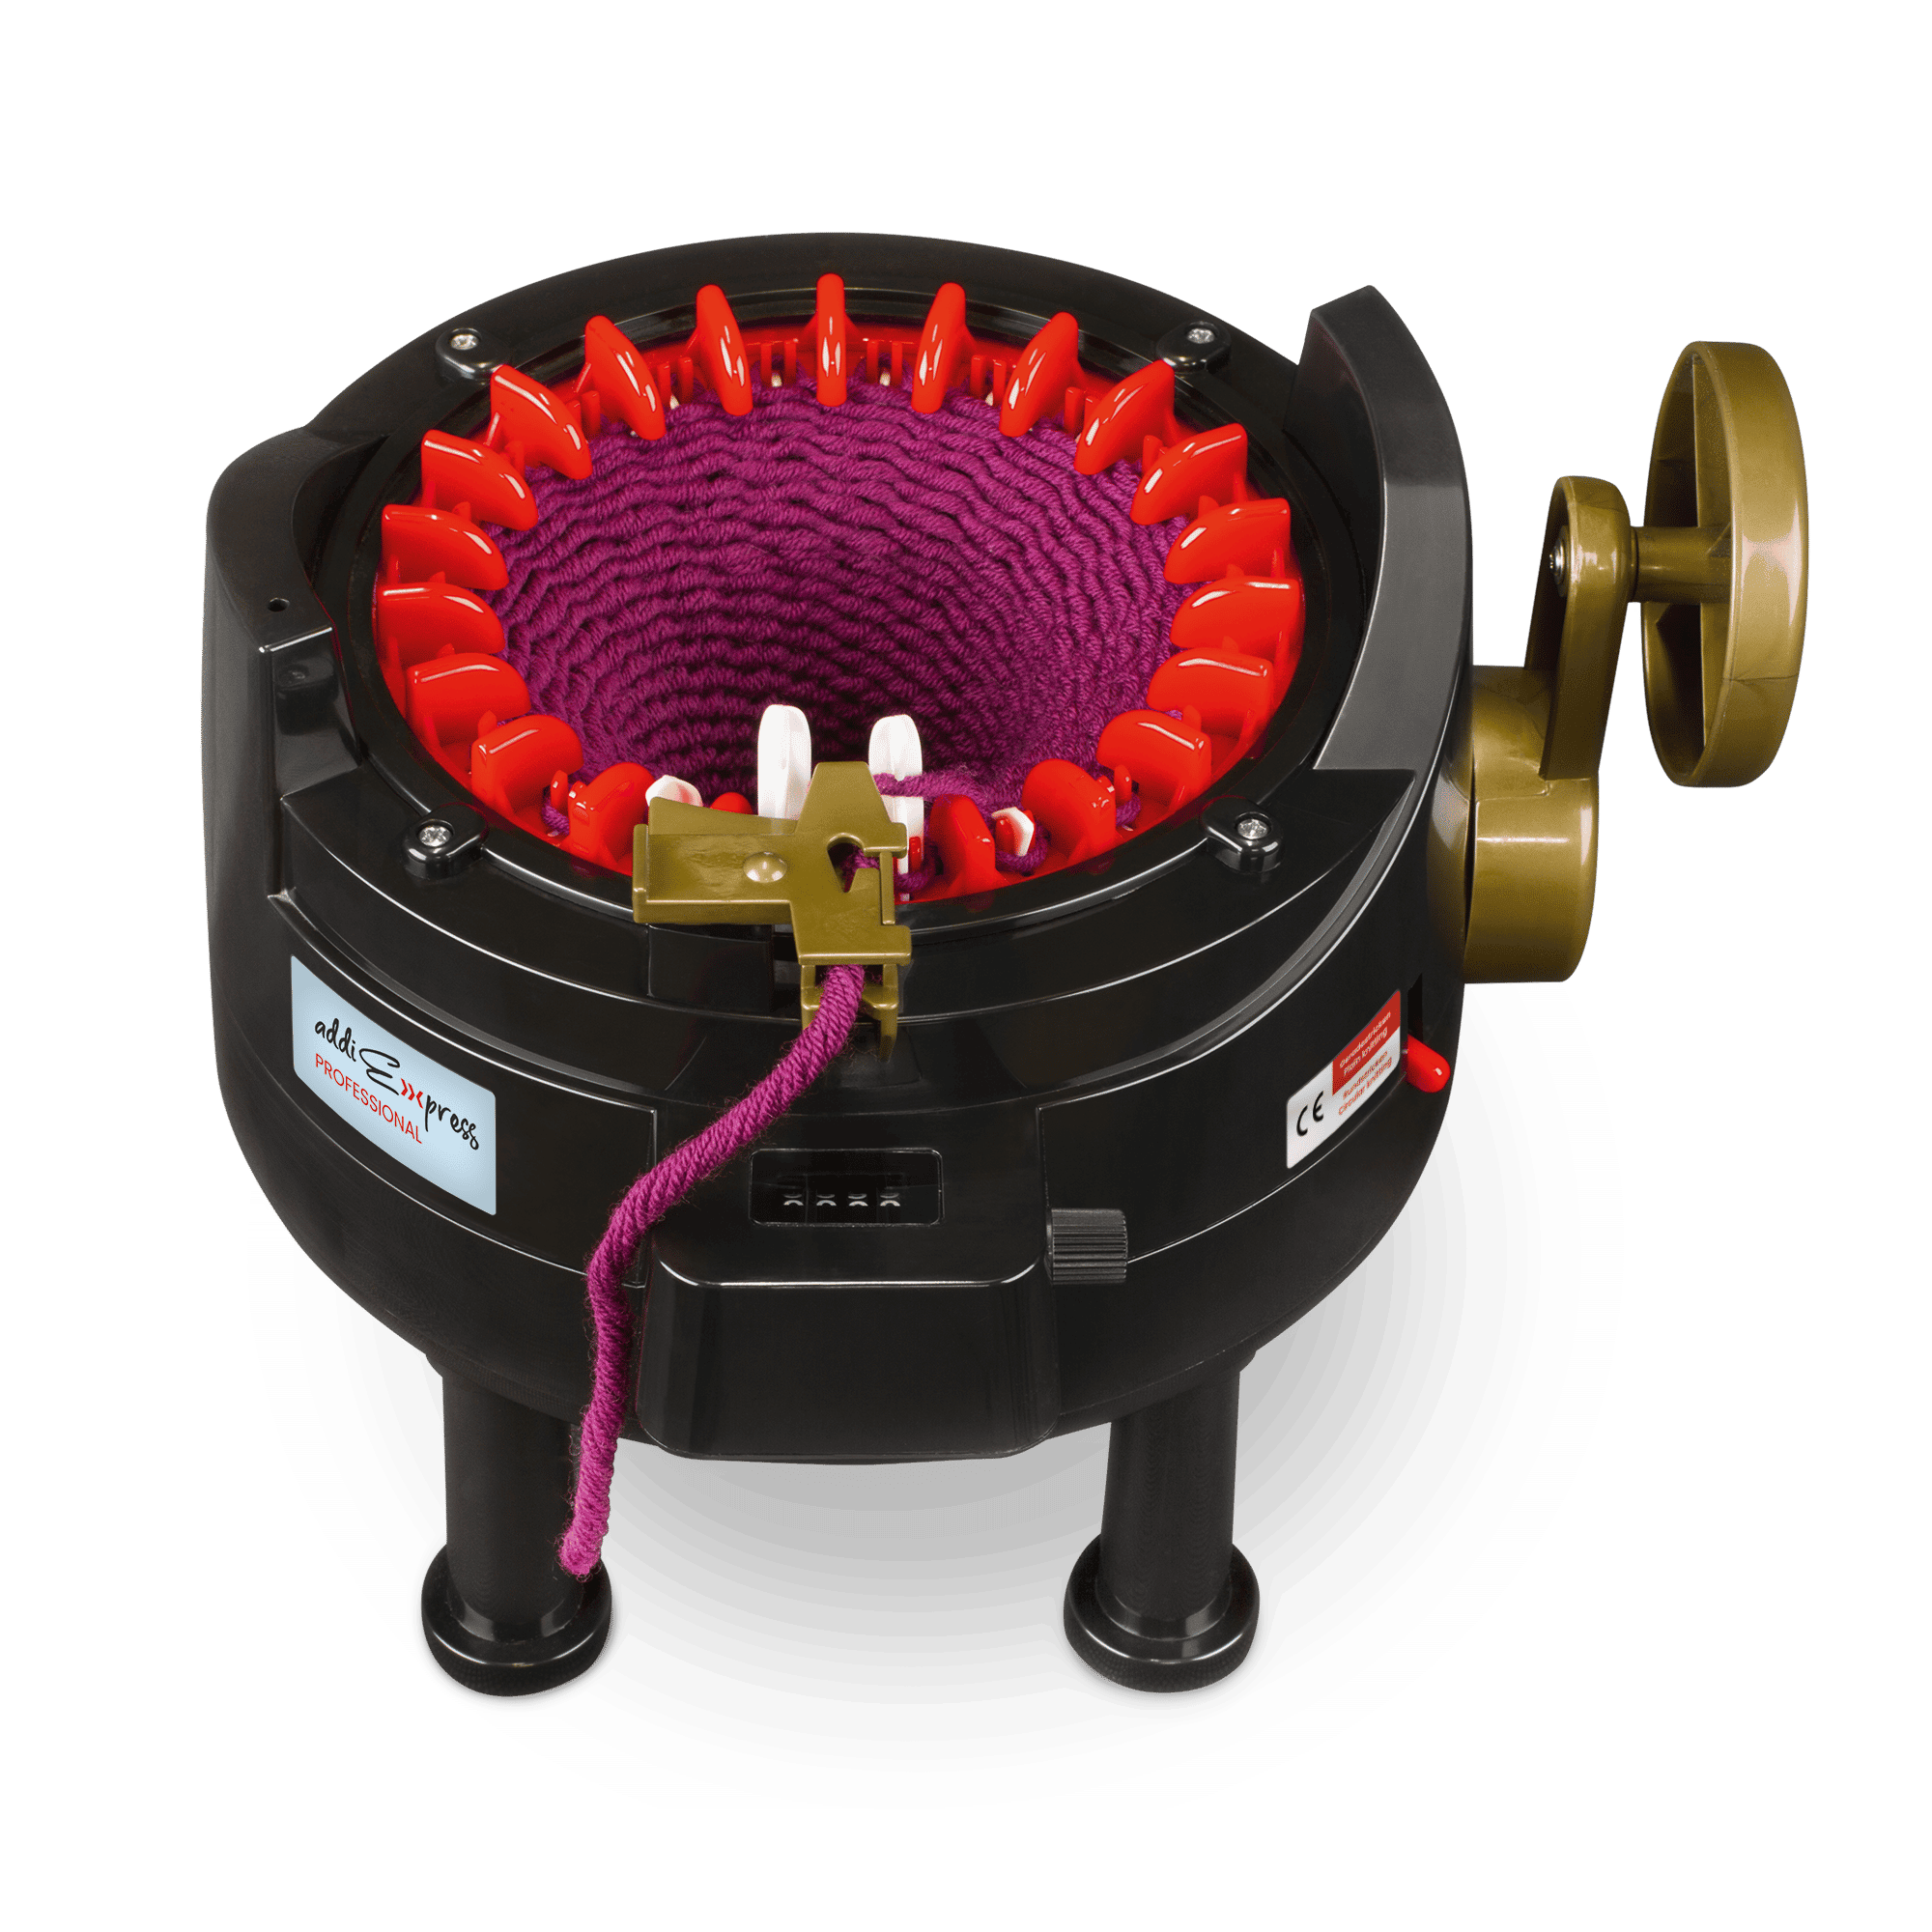
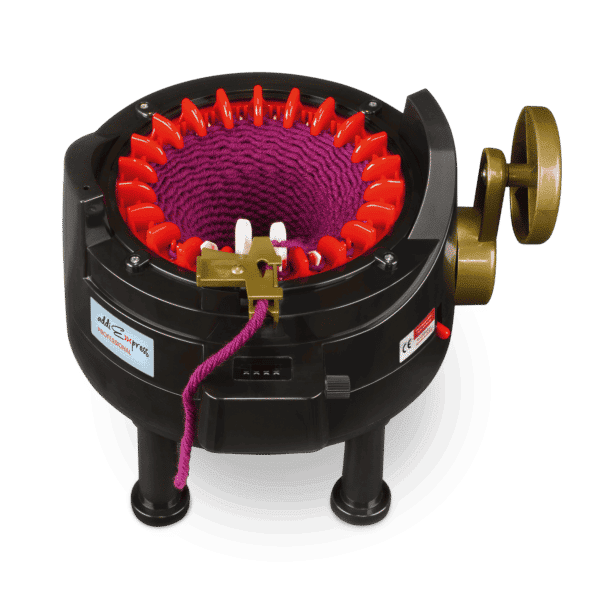
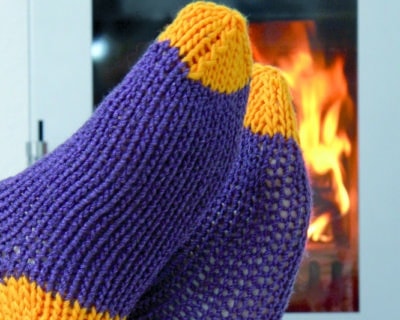
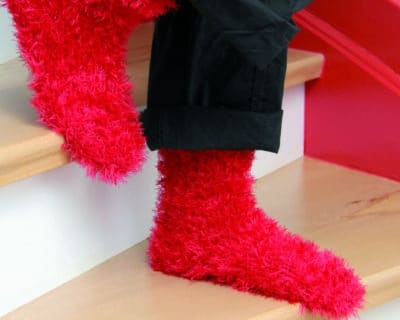
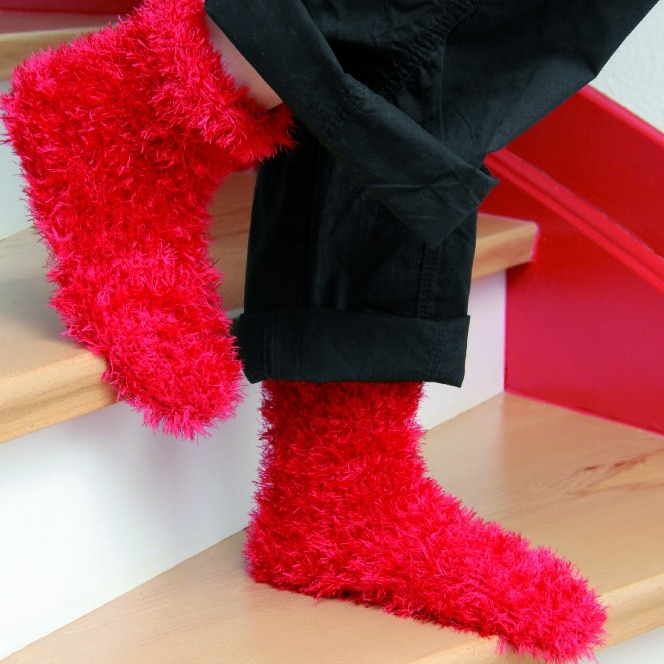
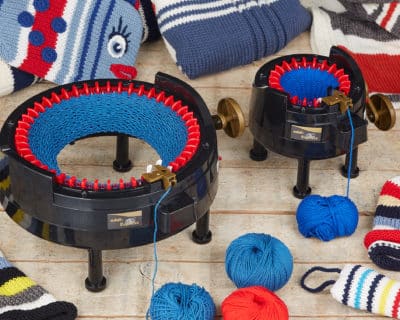
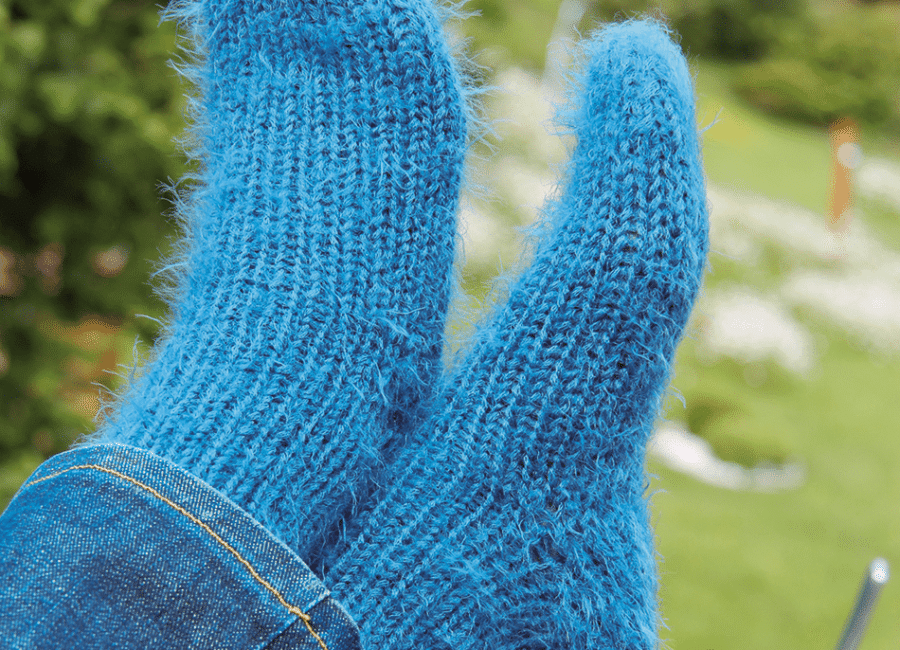
The addiExpress Professional knitting machine is perfect for winding chunky socks from the cuff to the toe.
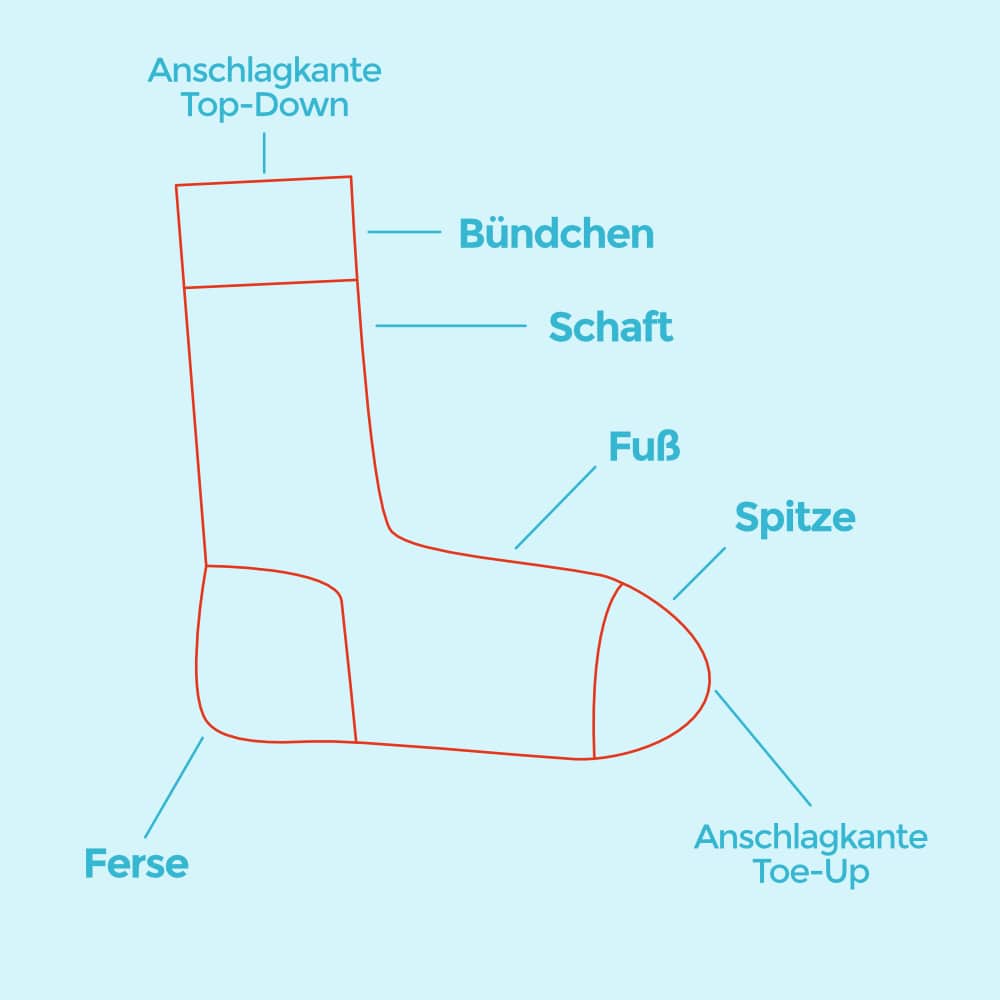
A tube is wound for this, starting from the cuff, winding through the heel with short rows and ending at the toe.
Due to the diameter, the socks only fit shoe sizes between approx. EU 35-42.
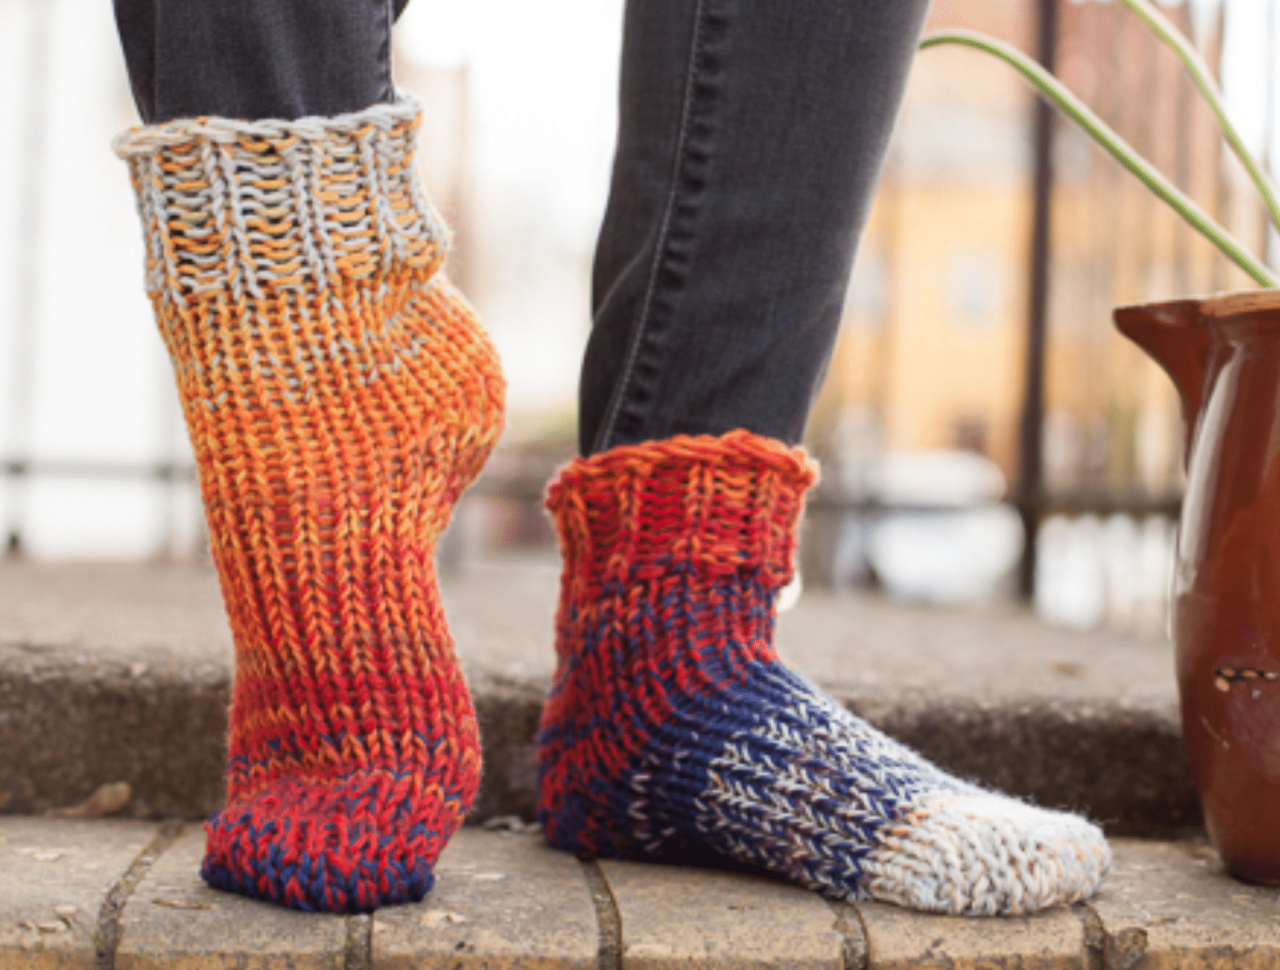
Table of contents
What you need:
- addiExpress Professional knitting machine (with 22 needles)
-
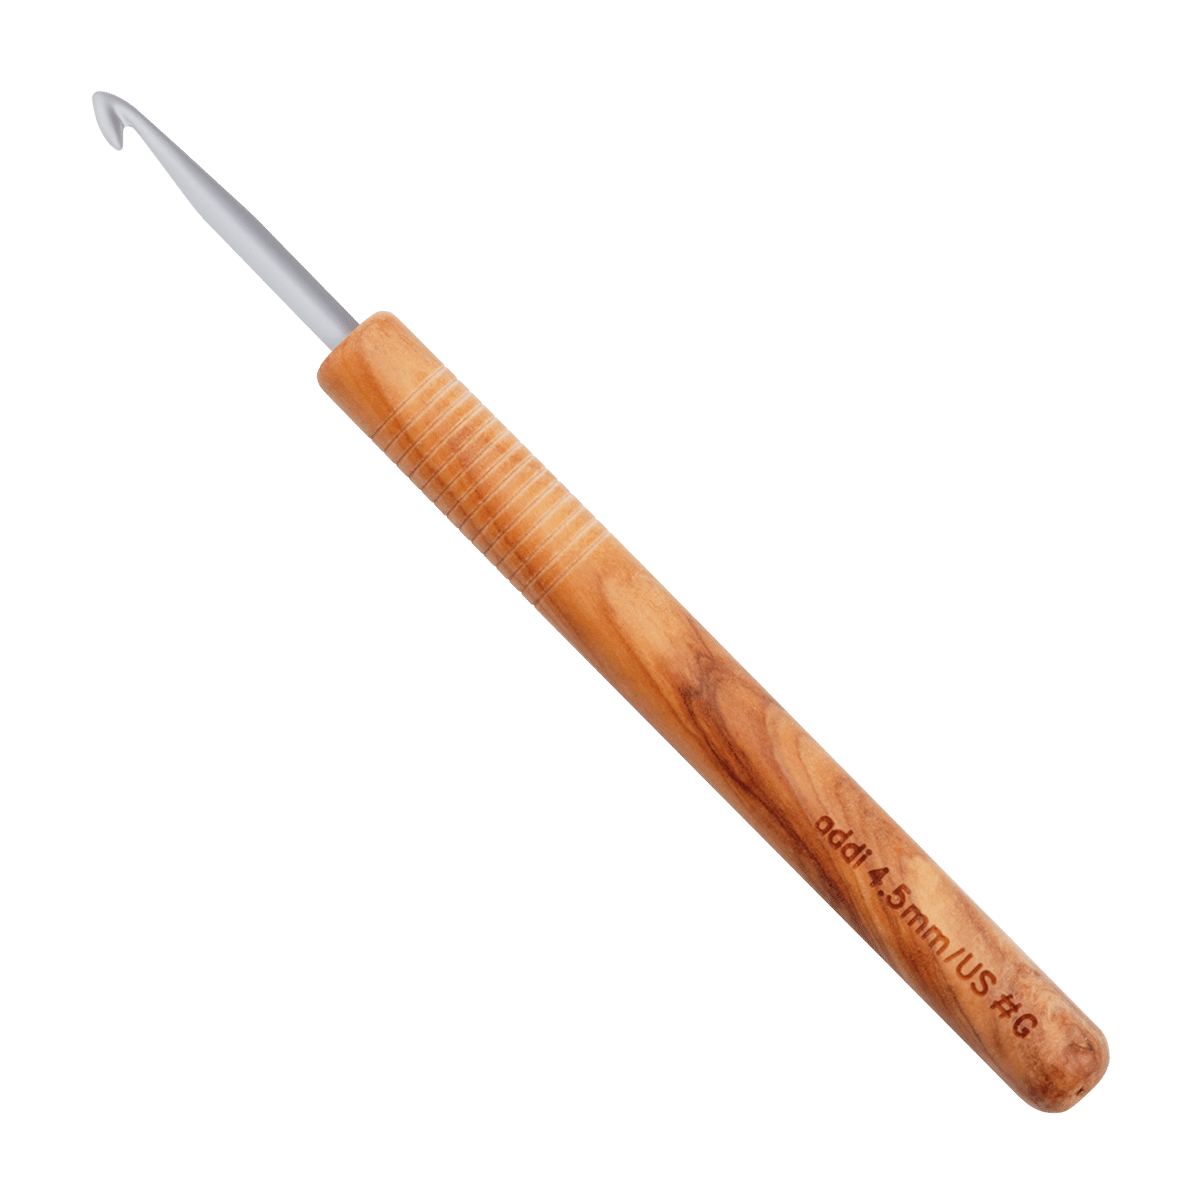
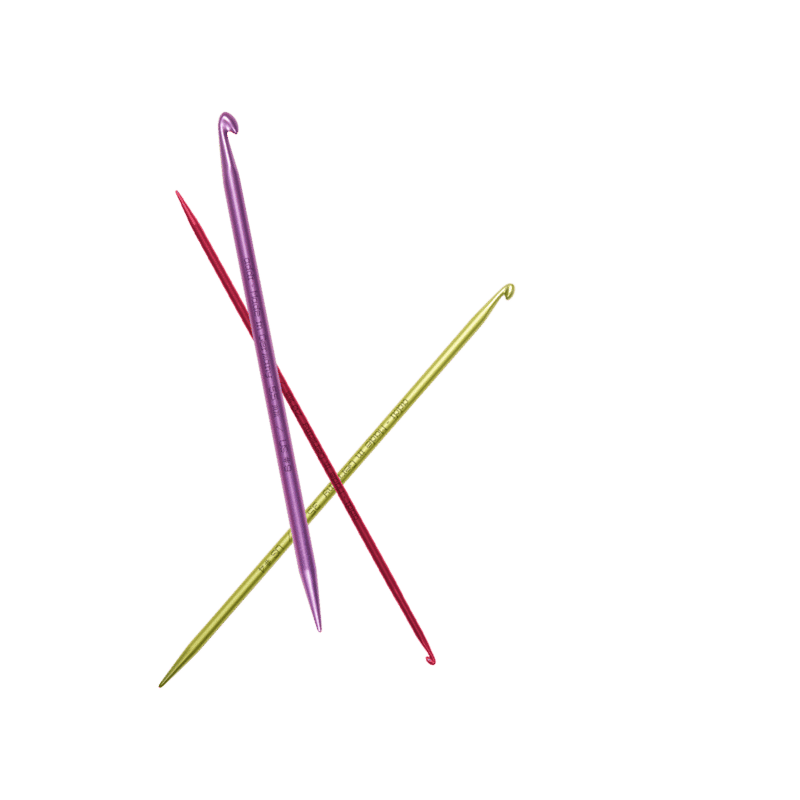
addiExpress hook
-
Crochet hook, 5-6 mm/ US 8-10
-
6-ply or 8-ply sock yarn, take twice
-
10 addiLove stitch markers, alternatively 10 safety pins
-
Darning needle
-
Contrast yarn for casting off
How it works – step 1
Winding chunky home socks with the addiExpress knitting machine
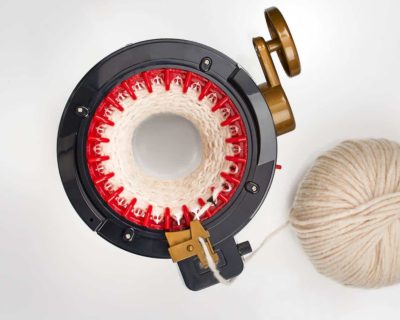
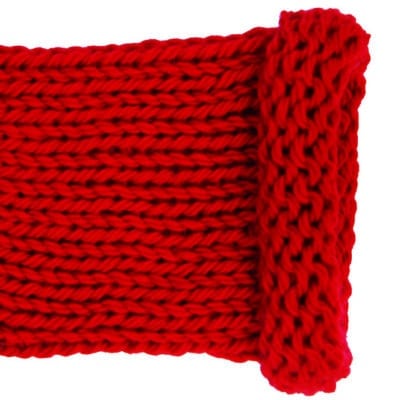
Start with a twist stop on the addiExpress. Loosely wrap the double thread around each needle in an anti-clockwise direction without placing it in the thread holder.
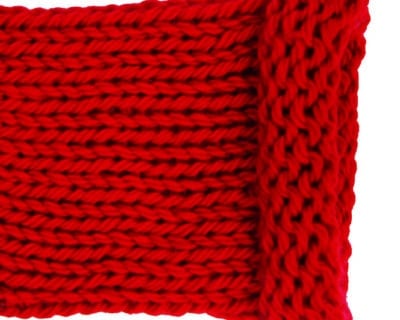
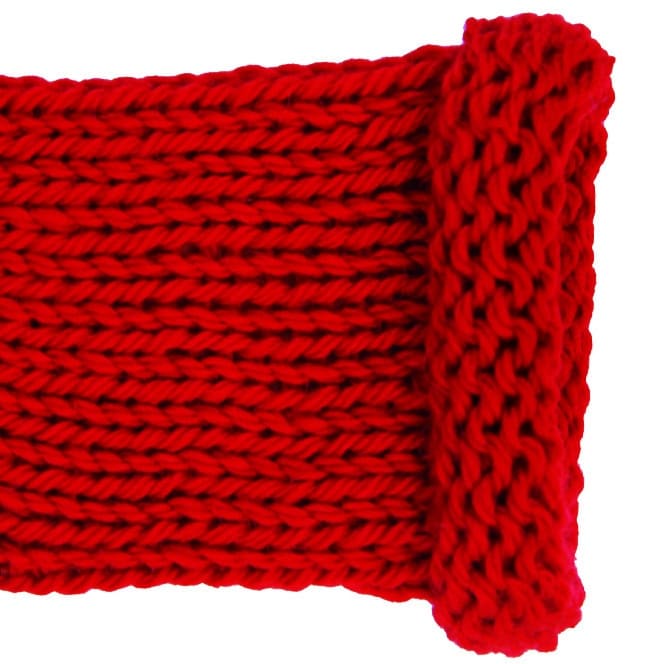
Now place the thread in the provided holder. Then wind 11 rounds or longer for the cuff (rolled hem). If you want a longer cuff you will have to crank more rounds.
Für ein Bündchen mit Rippenmuster der Beschreibung in Schritt 2 folgen.
Step 2
Ribbed cuff
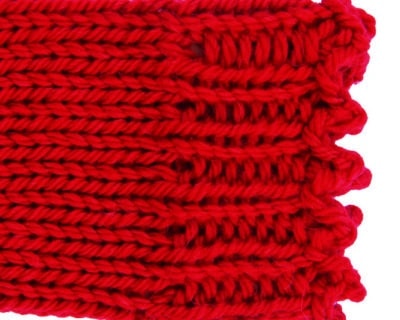
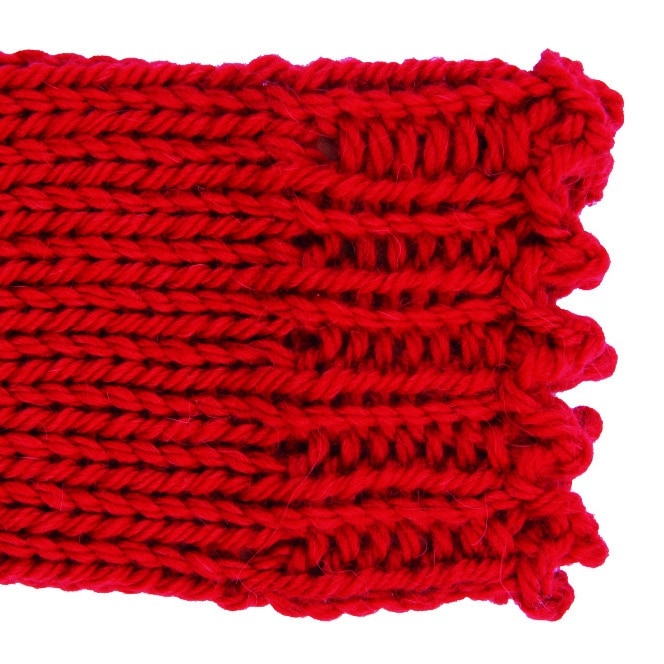
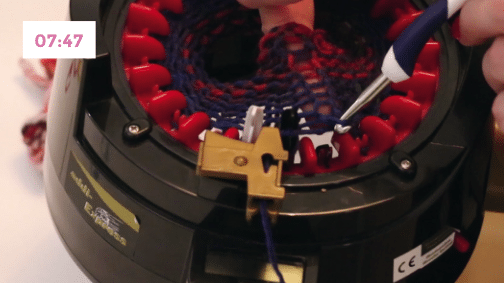
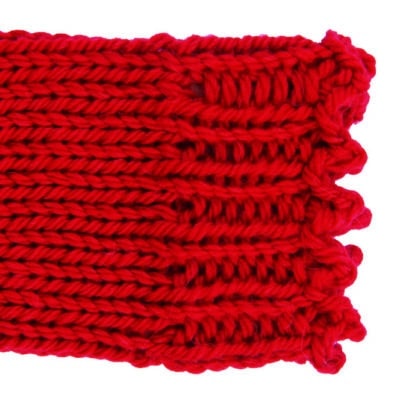
For the ribs, gradually lift every second stitch off the needle with the addi hook and slip it off. To prevent the stitch from unravelling completely, before unravelling the stitch, first prick the crochet hook into the beginning of the stitch above the stop and unravel the stitch to the crochet hook. Now crochet the stitch up again with the crochet hook to create a rib.
Lift the loop at the end back over the needle on the addiExpress and make sure that it does not fall down when you continue to wind. Now continue winding one stitch in the regular way and drop the following stitch again and crochet it up. Work the whole round once in this way and you will have worked 11 ribs.
Step 3
Wind the leg
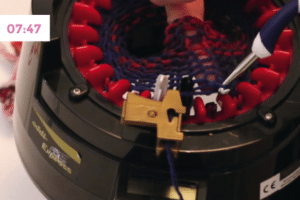
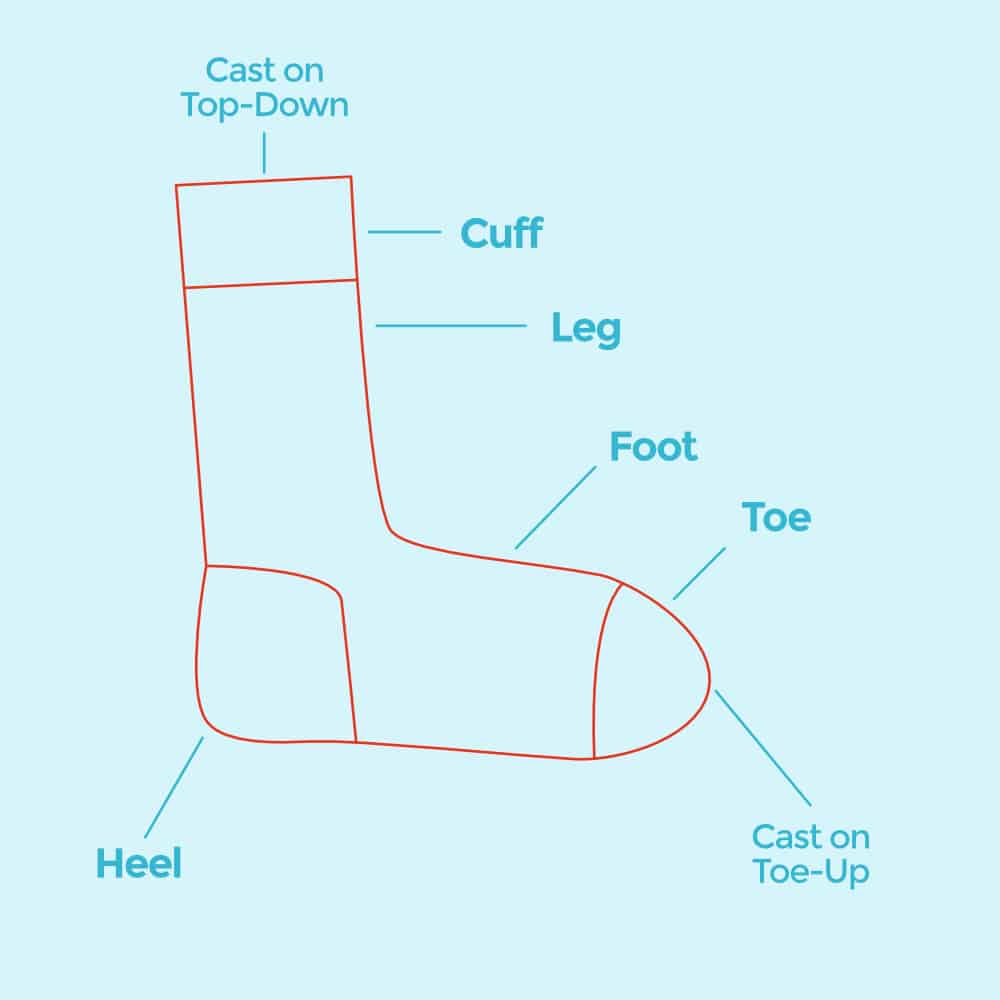
For the leg, set the counter back to 0 and work as many rounds as you want the sock to be long. In our example it is 15 rounds.
Step 3
Wind the leg
For the leg, set the counter back to 0 and work as many rounds as you want the sock to be long. In our example it is 15 rounds.
Step 4
Wind the heel
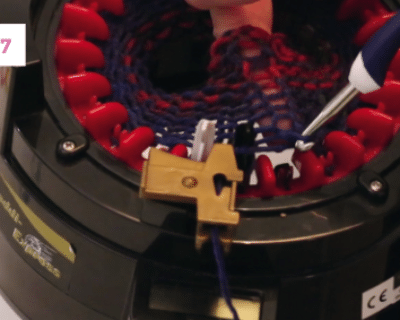
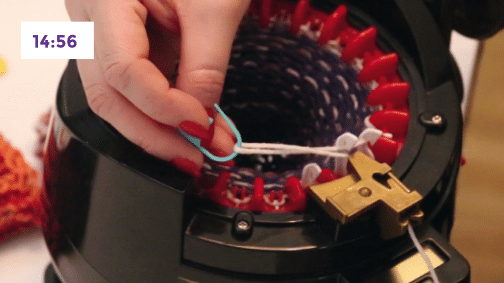
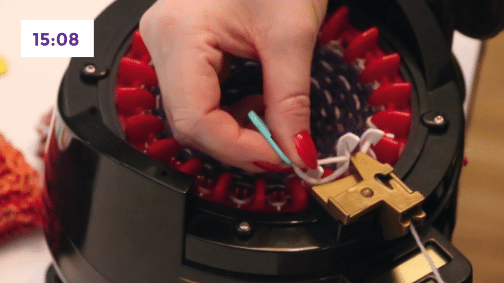
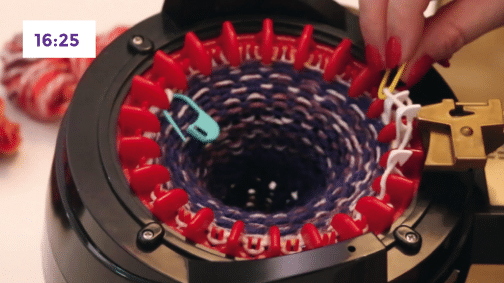
The stitch markers are needed for the heel. First wind to the middle of the black needles. Wind 8 stitches counting from the middle black needle.The 8th stitch is the stitch that is still next to the thread guide and is about to come up. Now take a stitch marker, grab the thread with it and guide it to the left in front of the needles.
Now twist the thread around itself so that a loop is formed. Now place this loop over the needles that is about to come up.
Now crank in the other direction, again up to the middle 3 black needles and from there also again counting from the middle black needle 8 needles to the right. Again, the 8th needle is the one coming straight up from the bottom. Now, with the next stitch marker, the working thread is taken again, passed in front of the needles and also turned around itself once. The loop that has now been created is placed over the needle that is now on the right just about to come up.
Once the needle is wrapped, it is wound again in the other direction, exactly to one needle BEFORE the last stitch marker. This means that the needle with the loop and the stitch marker remains sunk and the needle next to it that is just coming up is also wrapped as before by catching the working thread with a stitch marker and passing it in front of the needles,
turning it once and putting it over the needle as a loop.
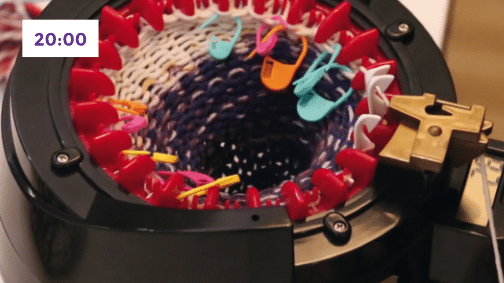
Now crank to the other side again and there also until one needle before the last marker. Keep going back and forth in this way until 5 stitch markers are worked in on both the right and left sides. Then carefully crank 2 complete rounds, taking care not to drop any stitches.
Then remove the stitch markers. Now move on to the second part of the heel. For this work again wind up to the middle 3 black stitches and counting from the middle black needle 4 needles to the left, with the 4th needle just coming up from the bottom and still carrying the thread in the hook.
Then take the working thread on a stitch marker and pass it in front of the needles, turn once in itself and put the loop over the needle that is just coming up from the bottom. Now work again in the other direction, counting from the middle black needle again 4 needles, with the 4th needle just coming up from the bottom. Take a new stitch marker and loop the needle as described before.
Crank again in the other direction, OVER the needle with the stitch marker, so that the needle comes straight up after the needle with the stitch marker. Wrap around the needle that has come up and crank again in the opposite direction, also one needle beyond the marked needle. Wrap this one as well and crank it again in the opposite direction.
Continue working one needle at a time in this way until 5 stitch markers are also worked on the right and left sides. Work one round over all stitches and then start the foot part.
Part 5
Wind the foot
For the foot, reset the row counter to 0 and crank the
foot length required. For size 39/40 you crank 25 round.
To go one size up, crank 4 more rows, to go one size
down, crank 4 rows less. While cranking, remove the
stitch markers one by one.
| Size | 35/36 | 37/38 | 39/40 | 41/42 | 43/44 | 45/46 |
| rows for foot | 17 | 21 | 25 | 29 | 33 | 37 |
Part 6
Wind the toe
For working the toe, we proceed similar to the steps
required for working the heel. However, the toe is
smaller and shorter and it is worked in the position
opposite the 3 black needles so that it can be closed at the sole.
We start by cranking a round and stopping 7 stitches
SHORT of the middle black needle. The 7th needle is
the one needle that is about to being lifted up. Now,
the working thread is wound around this needle in the
same way as described above for the heel. Then cont-
inue by cranking 11 stitches in opposite direction, with the 11th needle being the one that is just about to being lifted up. There again wind the working thread around the needle as was described for the heel.
Continue cranking back and forth winding thread around the needle BEFORE the needle marked in the last row. However, only 3 stitch markers are required on each side for the toe.
Then crank two full rounds and start working the
second part of the toe. Do not remove the previously
used stitch markers at this stage. They are a helpful
orientation for the second part of the sock toe. We also work this part similar to the second part of the heel. The needle on the left side that was last wound with yarn, now is the first to which a stitch marker and a new loop are wound. Do the same on the right side. After doing this, the 6 stitch markers previously used in the first part of the toe can be removed. Then continue working back and forth, always increasing the rows by one stitch, equal to the heel before. However, bear in mind that only 3 needles on each side are required for the toe.
The needle on the left side that was last wound with
yarn, now is the first to which a stitch marker. and a new loop are wound. Do the same on the right side. After doing this, the 6 stitch markers previously used in the first part of the toe can be removed.
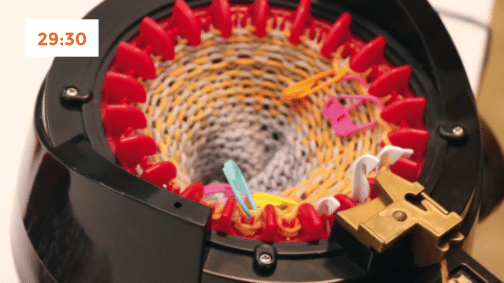
If you are finished working three needles on each
side, crank one complete round including all stitches.
This round does NOT end at the position of the black
needles but on the first needle with which the tip was
started.
Now you can cut the thread leaving an end of about
30 cm. Place this end thread in the middle of the
addiExpress so that it is still gripped by the last needle. Then, use a contrast yarn and insert it at the same position as the end thread. With the contrast yarn crank about 10 to 12 full rounds. Cut this thread as well and continue cranking until all stitches are cast off.
Video tutorial: Winding socks
Part 7
Wind socks: finishing
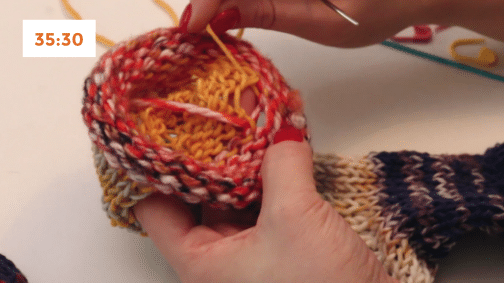
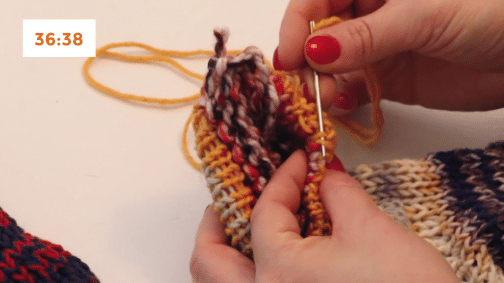
Using a darning needle, thread the end thread of the
sock yarn and bring it to the outside. Then fold the
contrast yarn rounds to the inside of the sock and sew together the stitches of the last sock yarn round using a Kitchener stitch.
Weave in all end threads, remove the contrast thread and remove the stitch markers, if you haven’t done that already. Finished!
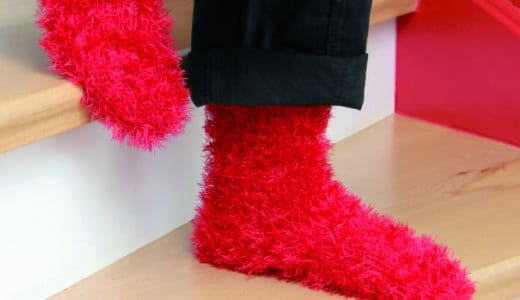
Have fun winding and wearing!
Part 7
Wind socks: finishing
Using a darning needle, thread the end thread of the
sock yarn and bring it to the outside. Then fold the
contrast yarn rounds to the inside of the sock and sew together the stitches of the last sock yarn round using a Kitchener stitch.
Weave in all end threads, remove the contrast thread and remove the stitch markers, if you haven’t done that already. Finished!
Have fun winding and wearing!
Design: CraSy Sylvie
Cover photo: © BPV Medien, Rheinfelden; Fotografin Sophie Jendreyko; Model: Jessica Berg Modelwerk; Styling: Julia Quante
