addiEgg basic instruction
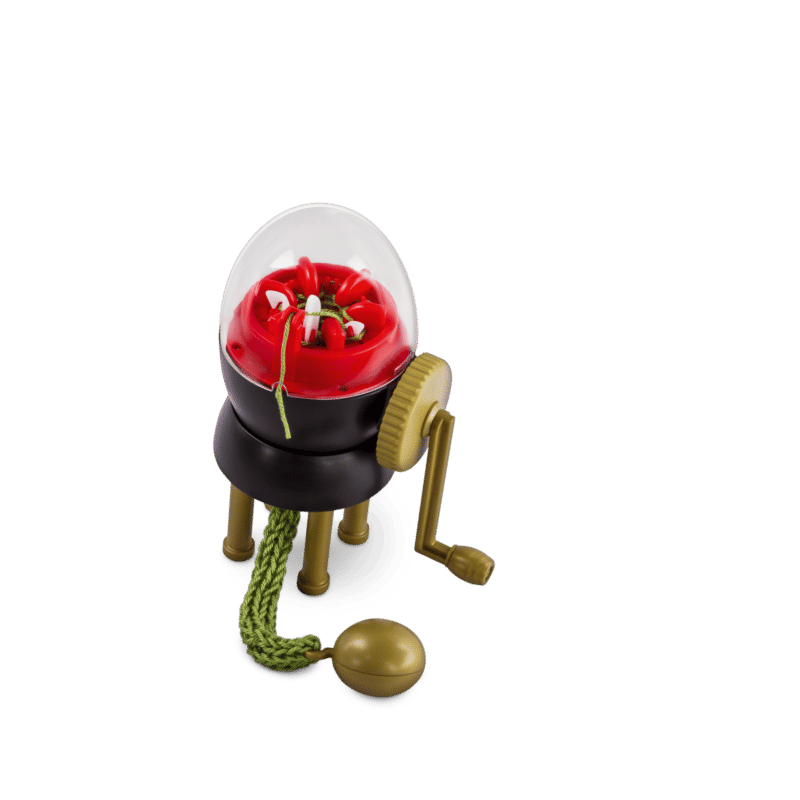
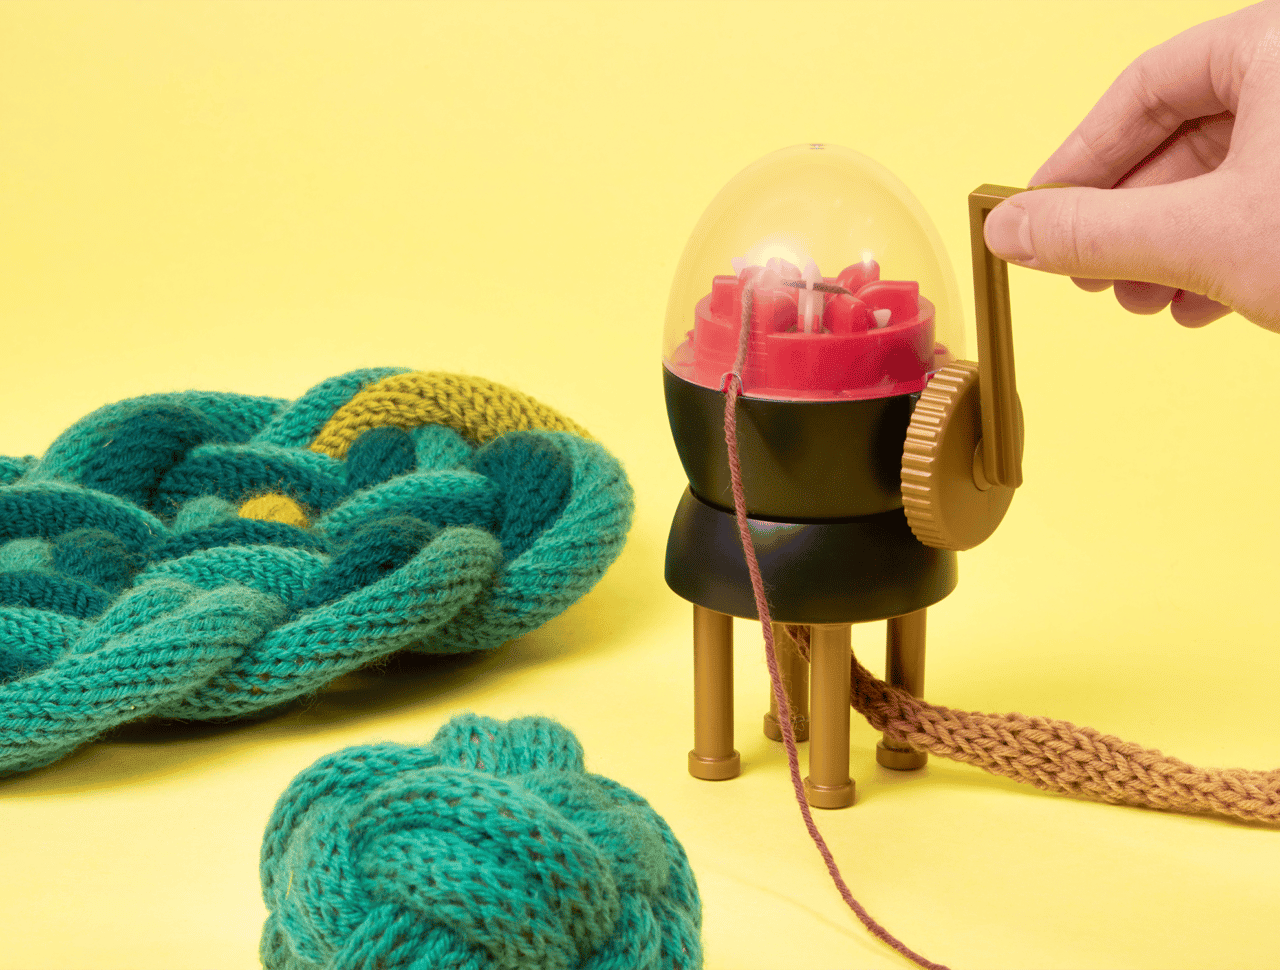
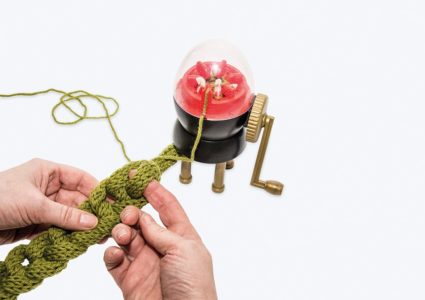
Not for consumption but for a lot of fun there is this small knitting machine with 6 needles for 3-4 mm thick yarn. Knitting cords are finished in no time.
The mini knitting machine for almost infinite knitting cords
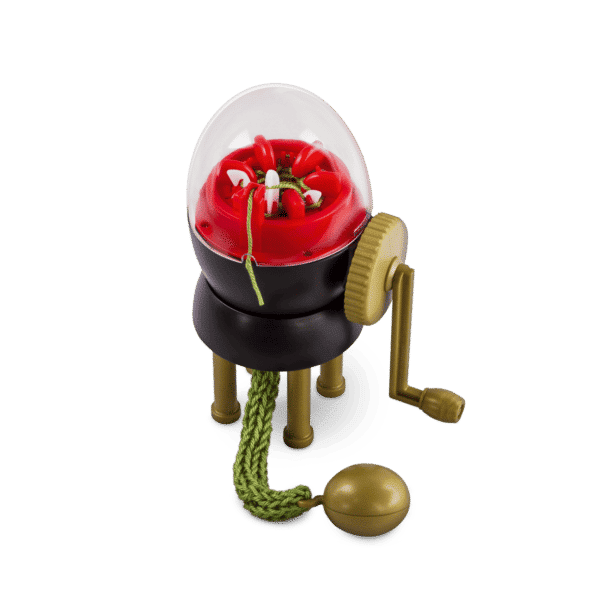
The mini model “addiEgg” has 6 needles for small knitting cords and accessories and is particularly suitable for yarns of medium thickness (recommendation for needle size 3-4 mm).
Even non-knitters simply turn the crank and create their first own cords in no time.
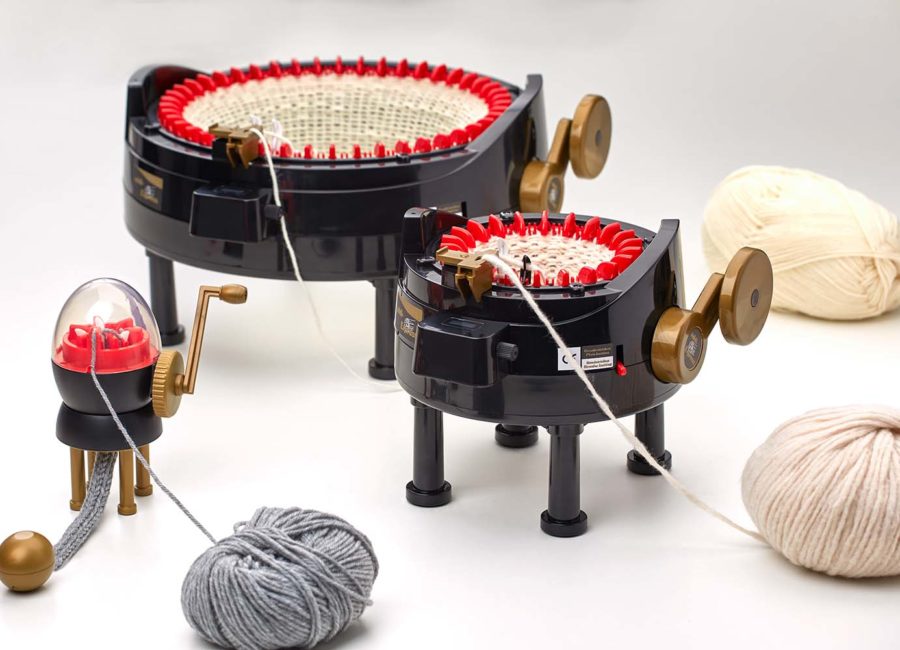
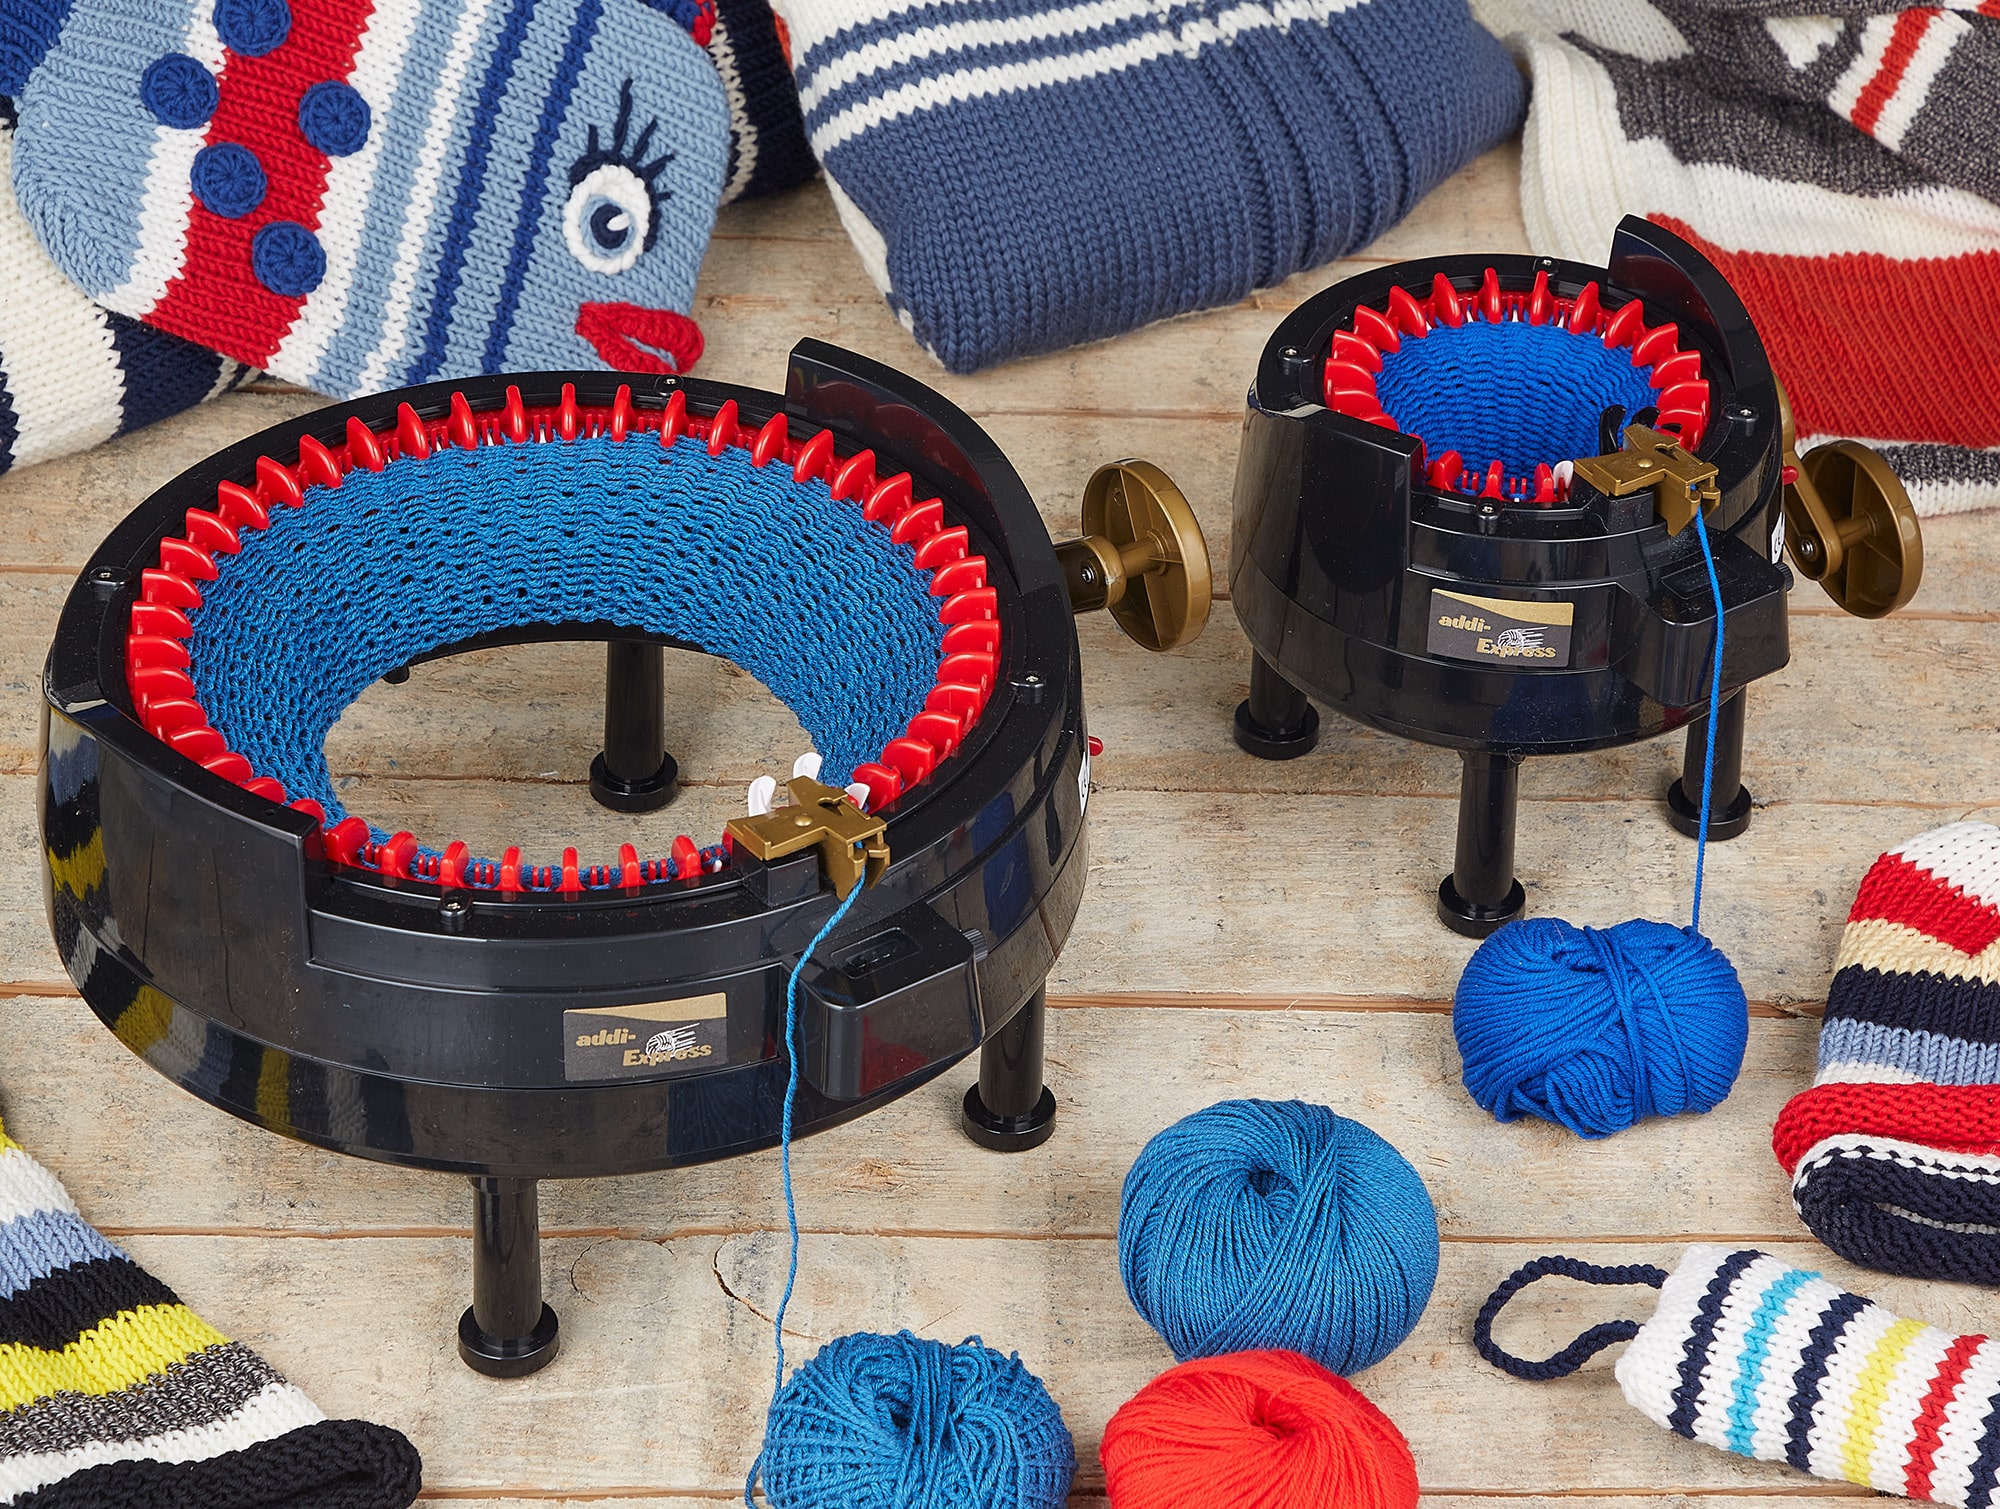
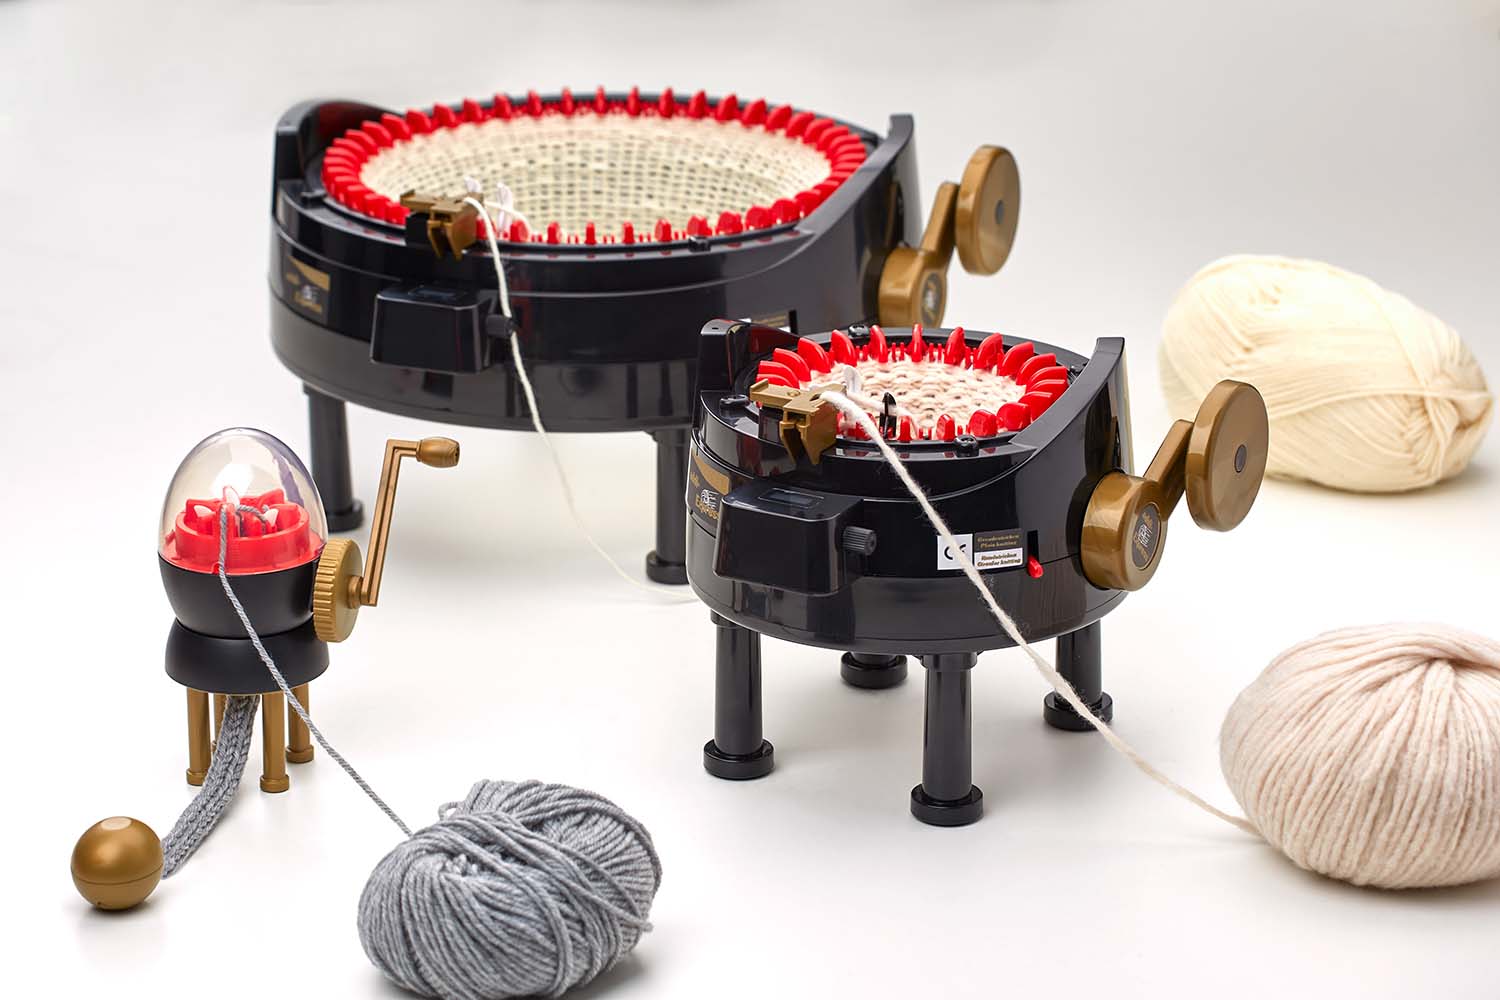
The popular addiExpress knitting machines have a new addition – the addiEgg. This completes the addi knitting machine family, and we can’t wait to see what addi fans conjure up with it.
In our free instruction booklet you will find free instructions and inspiration for knitting and crochet projects with the addiEi.
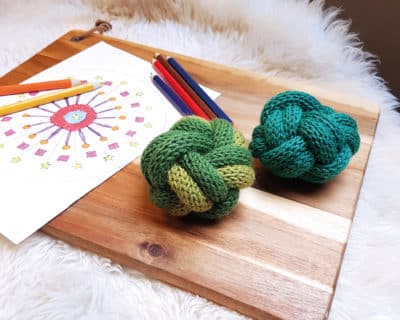
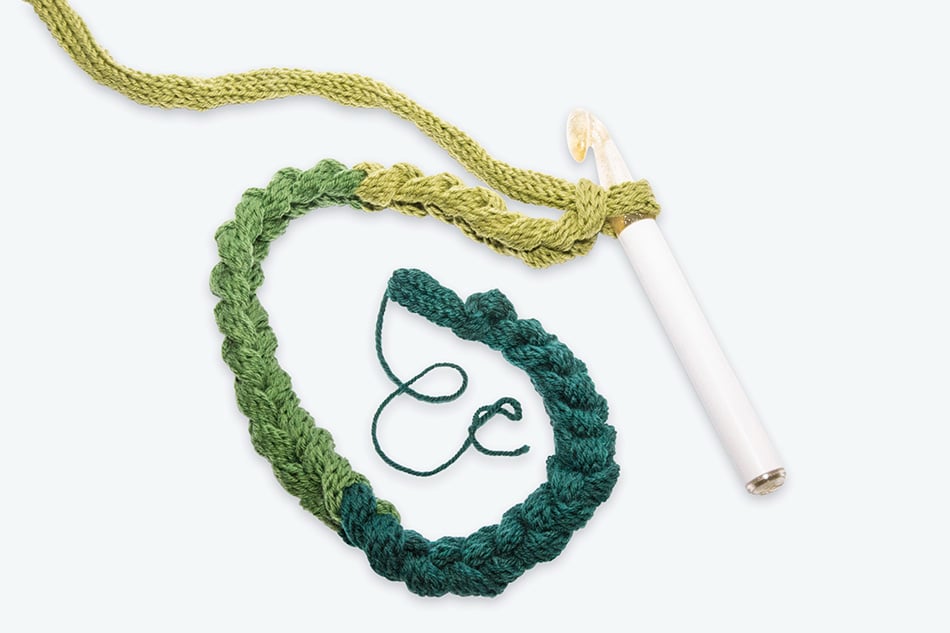
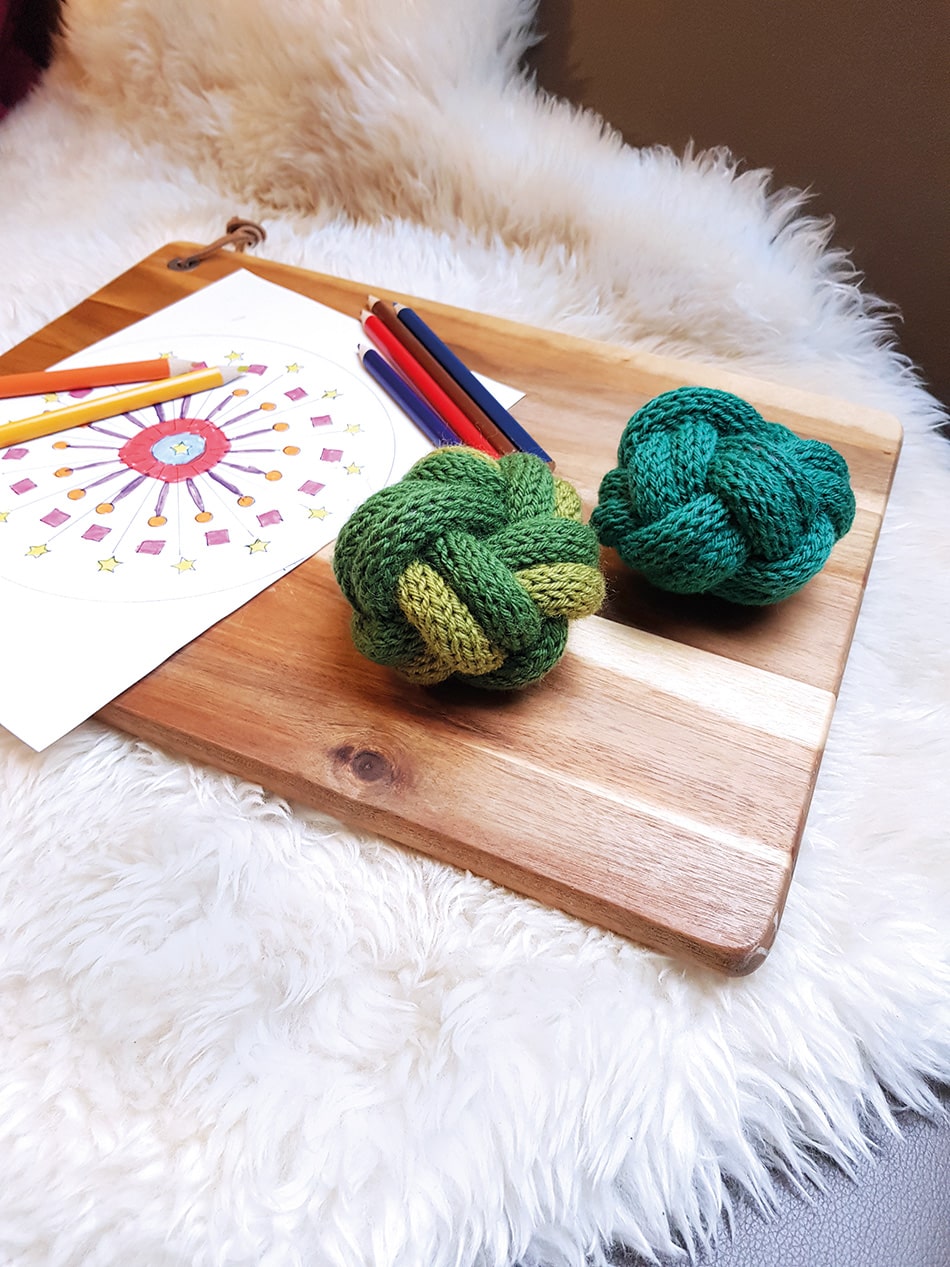
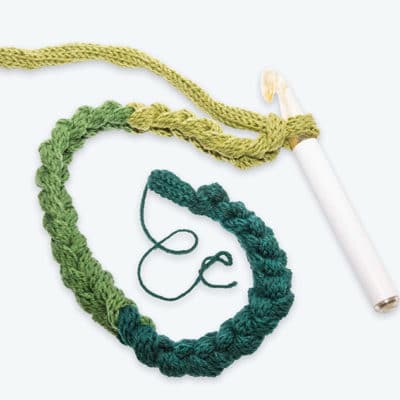
Whether filled tubes, a knitting cord as XL yarn or braiding the cords – let your creativity run wild!
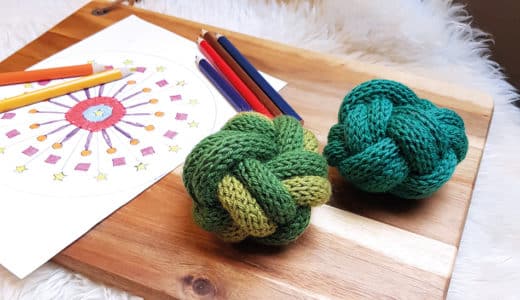
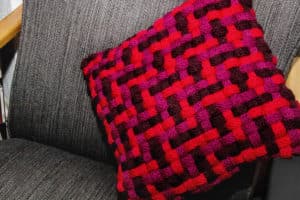

In our free instruction booklet you will find free instructions and inspiration for knitting and crochet projects with the addiEi.
Whether filled tubes, a knitting cord as XL yarn or braiding the cords – let your creativity run wild!
This is how it works:
Set up
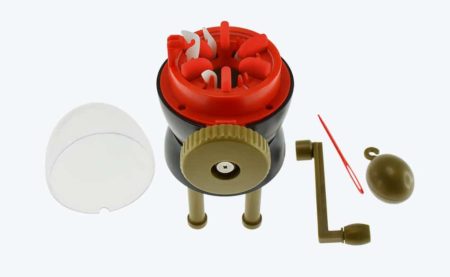
First prepare all the parts. Cover, addiEi, crank, weight and needle as well as twisted yarn (e.g. 6-ply sock wool) in gauge 3-5.
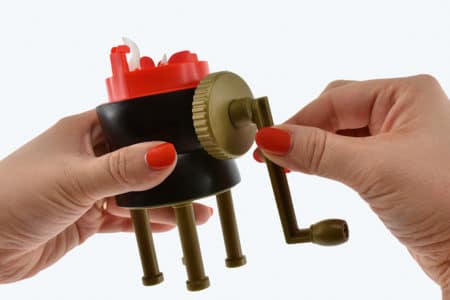
Simply place the crank firmly on the turntable
pin on.
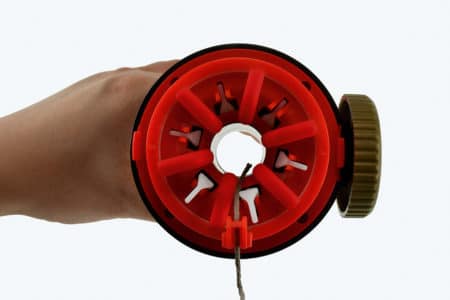
Threading the thread
Now pass the thread through the hole in the
Thread the thread guide. Whoever has problems here
If you have a needle, you can use it to help you. Pass the thread through the large hole in the middle so that it hangs out of the bottom of the addiEi.
Now knot a loop at the bottom and tie the
Hook in weight.
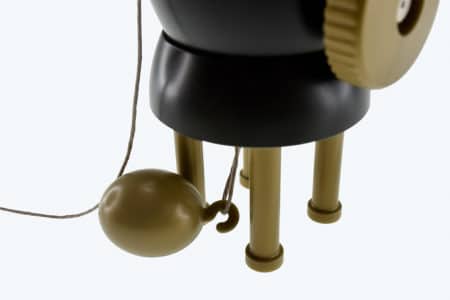
Now pull out the thread at the top so that a loop is formed between the hole in the middle and the thread guide. Make sure that the weight does not fall out of the loop at the bottom.
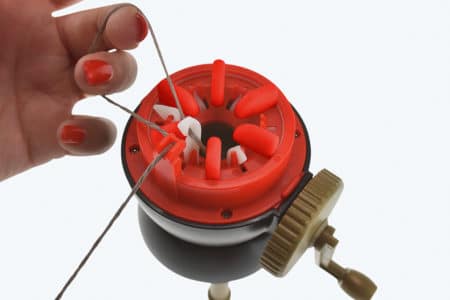
To cast on the stitches, now work on the
Turn the crank clockwise and pull the thread
slide under the first hook.
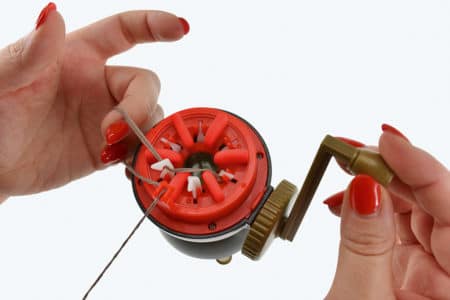
Then turn the crank further and turn the
Pass the thread behind the second hook.
Now turn again and alternately pass the thread once under the hook and once behind the hook.
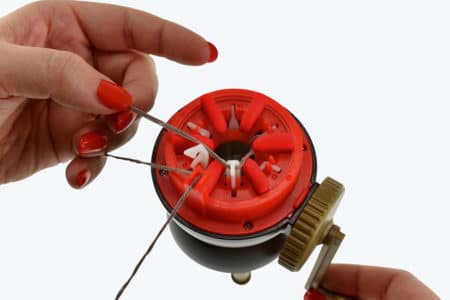
Back at the beginning you can
release the loop and pass the thread through the
Pull the guide tight.
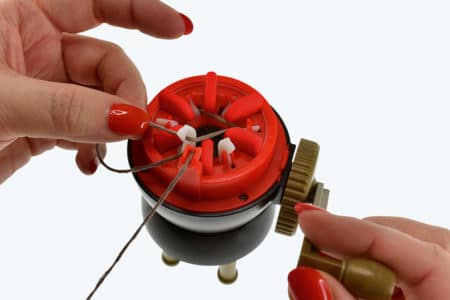
Now put on the protective cover while
Make sure that the thread passes through the small
The cover is guided through the recess in the protective cover.
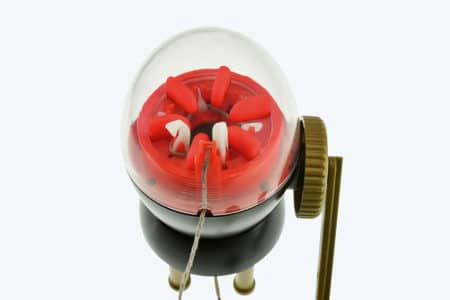
Crank cord
Now simply turn the crank and the
Cord comes out at the bottom.
When the cord with the weight touches the floor, the weight must be hung over.

If the thread does not go under the red bars, the
If the yarns do not slide but stand high on them, the yarn tension is too low and the weight must be hung further up. The yarn tension is important for a good knitting result.

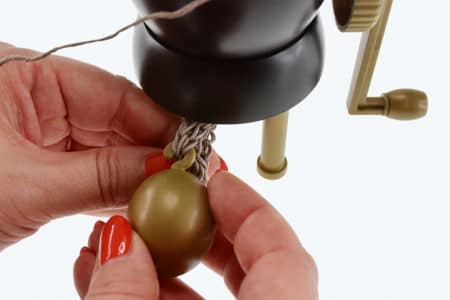
Take out the weight to transfer
and hook into 2 stitches next to each other so that there is no pulling thread here.
End cord
If the cord is long enough, the thread
simply cut it off. The end of the thread should have a remaining length of about 15 cm for sewing.
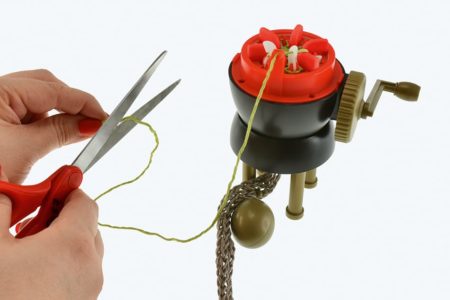
Now pull the thread from the inside through the thread guide with a darning needle and thus take it out of the thread guide.
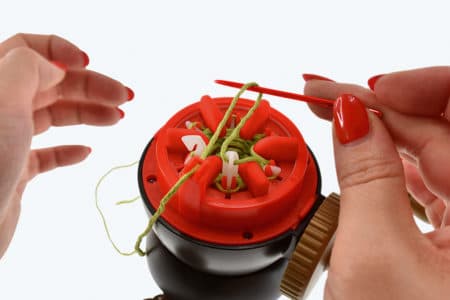
Place the end thread to the back so that it can no longer be gripped by any hook. Now turn the crank until all the stitches are
fallen off the hooks and the pins
are.
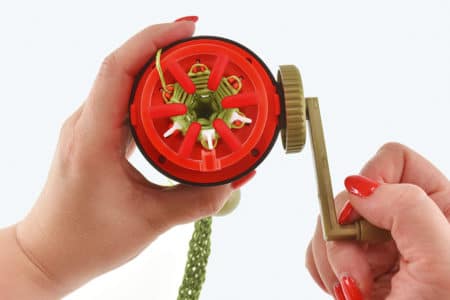
Now carefully remove the cord from the bottom of the
addiEi out, making sure that the end thread does not get caught anywhere.
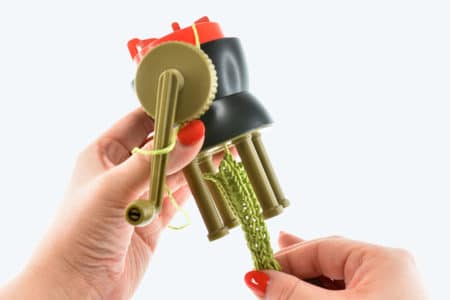
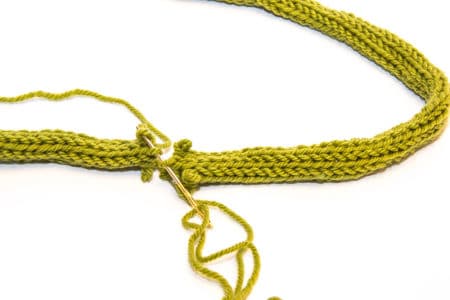
Attach the end thread to the needle
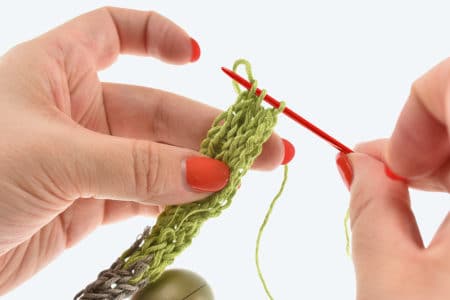
and now first through the first
Pull through the 3 open stitches to secure them. Then pull through the last 3 open stitches and the cord is finished.
Tips and tricks:
Crank
Make sure that you turn the crank with tight
Apply pressure so that it does not come loose.

Egg weight
Use the egg weight and the lid from
Start at the beginning to achieve an even knitting pattern and to simplify cranking.
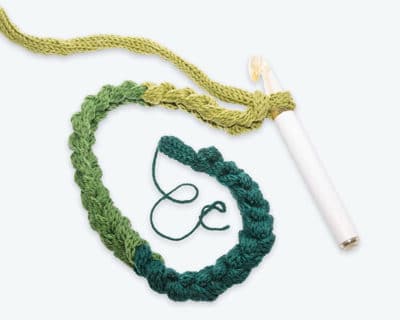
Alternatively, you can crochet an air stitch chain from the knitted tube and hook the egg weight into the giant air stitch at the top.

Connect cords
Join the individual tubes together in a stitch.