
Stockinette stitch for beginners: how to succeed with this popular pattern
Stockinette stitch is a simple and popular technique that creates a smooth knit front and a textured purl back. In this tutorial, you will learn how the pattern is created and what it is particularly well suited for. Perfect for beginners and versatile knitting projects!
Difficulty in rows: ♥♥♡♡♡♡
Difficulty in rounds: ♥♡♡♡♡

What does stockinette stitch mean?
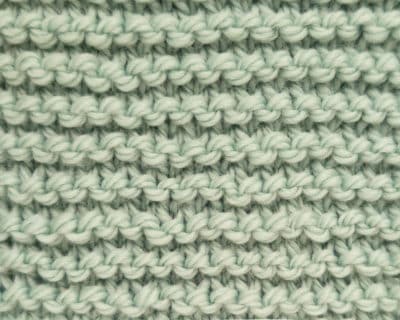
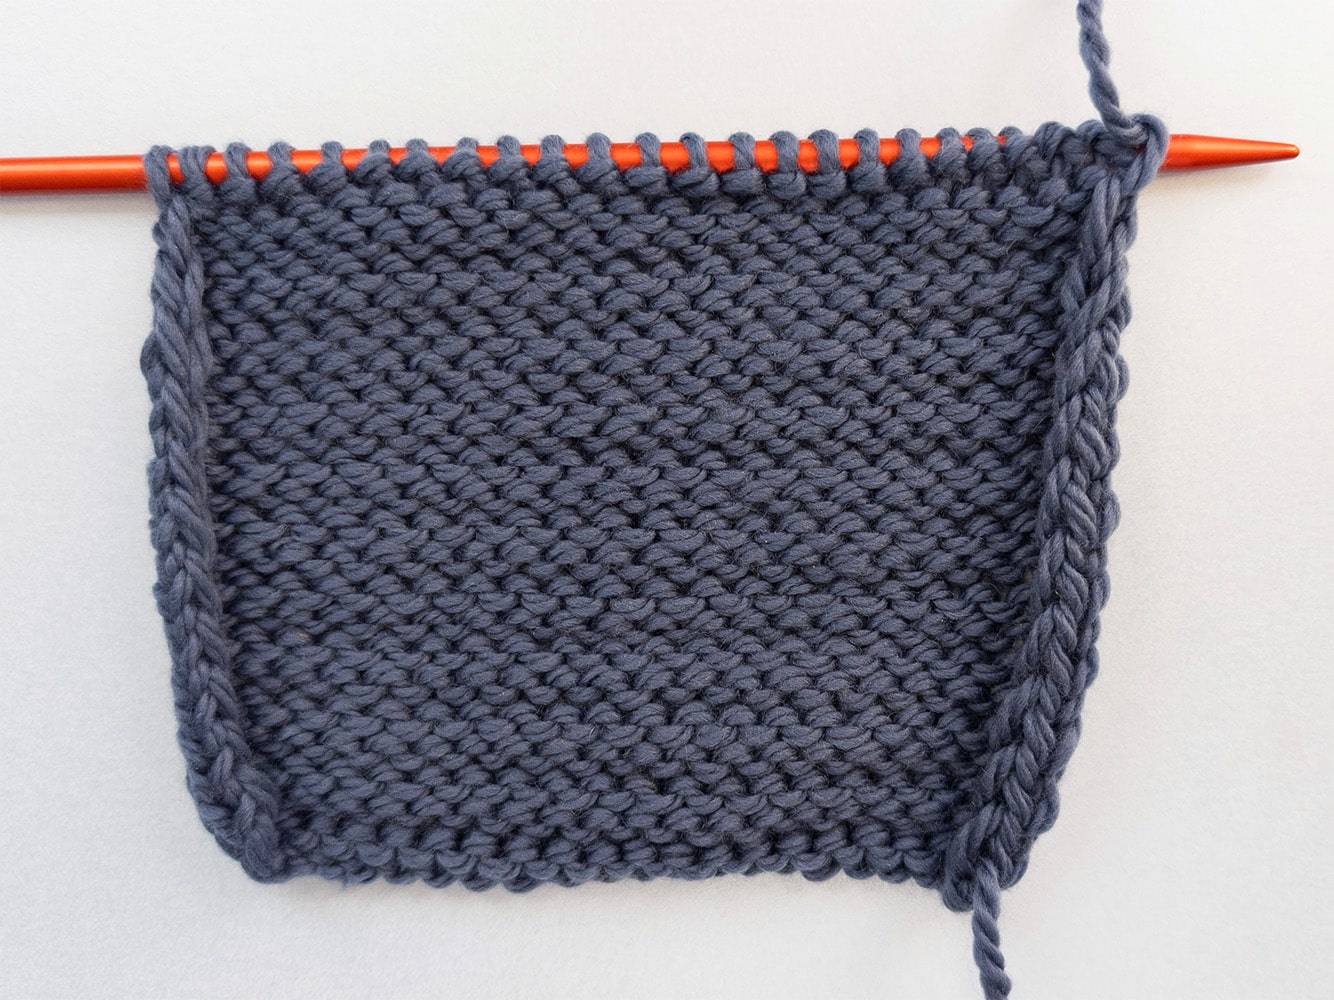
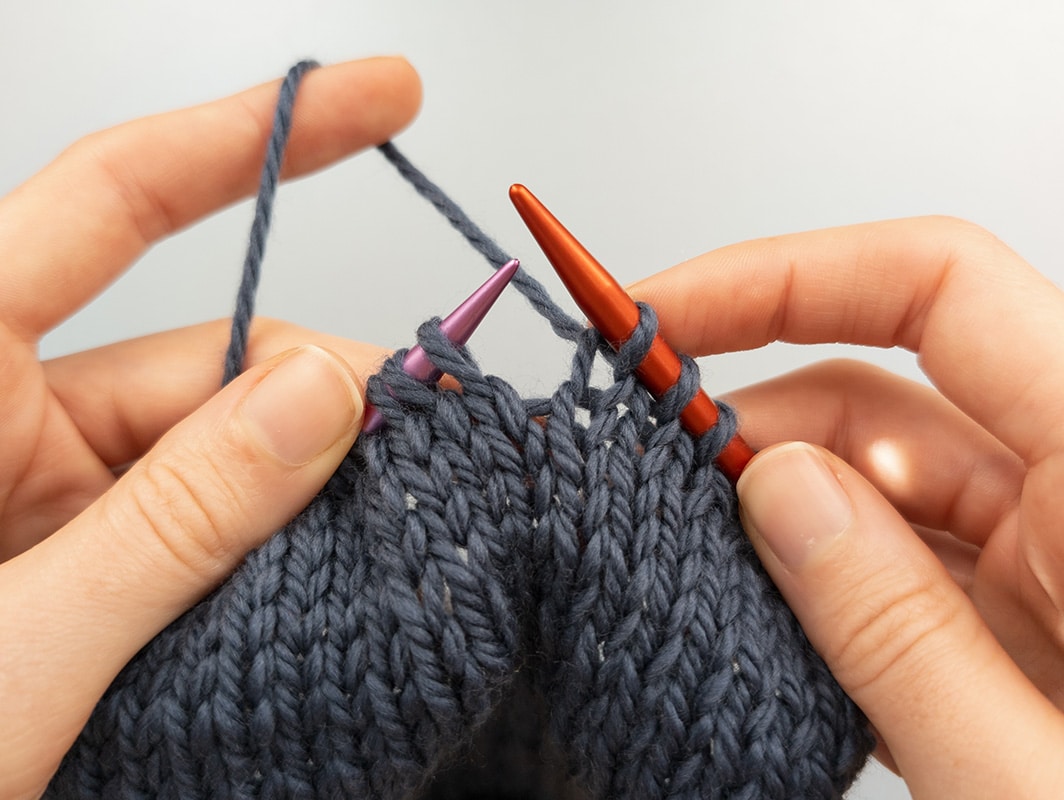
Stockinette stitch is a popular knitting pattern that gives the knitted piece a very even look. The small “V”-shaped stitches line up neatly on top of each other and create a clean, flat stitch pattern. On the back, however, a wavy pattern (purl stitches) is created, characterised by the typical small bumps.
This pattern is created by alternately knitting knit stitches in the right-side row and purl stitches in the wrong-side row. This alternation gives the knitted piece its characteristic texture: smooth and neat on the front, wavy and textured on the back.
Stockinette stitch –
Step by Step
Stockinette stitch in rows
The basic principle of stockinette stitch is very simple: one row of knit stitches and one row of purl stitches are knitted alternately.
Step 1: Knit stitches in the right-side row
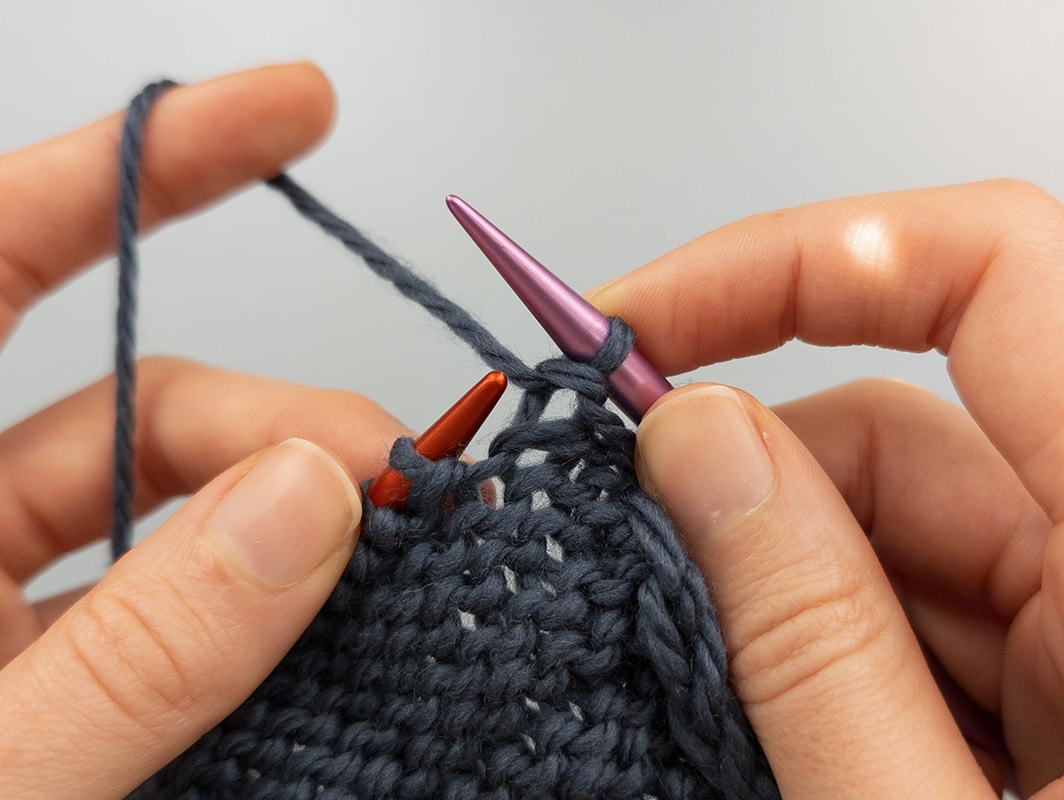
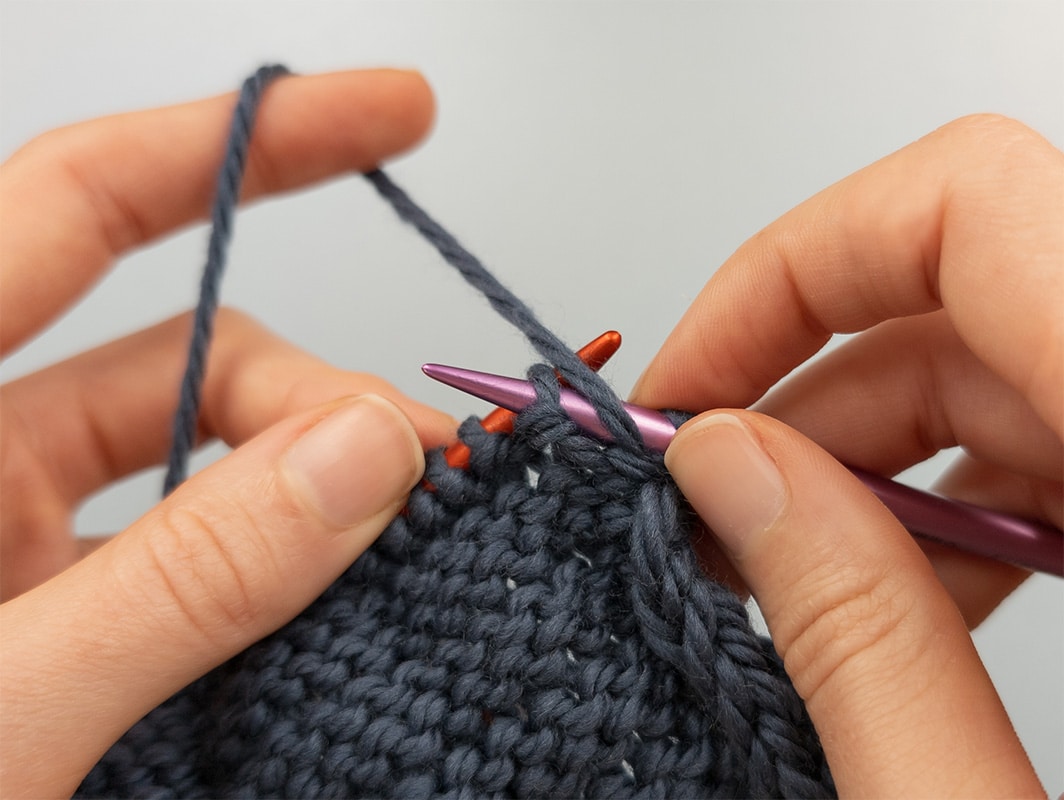
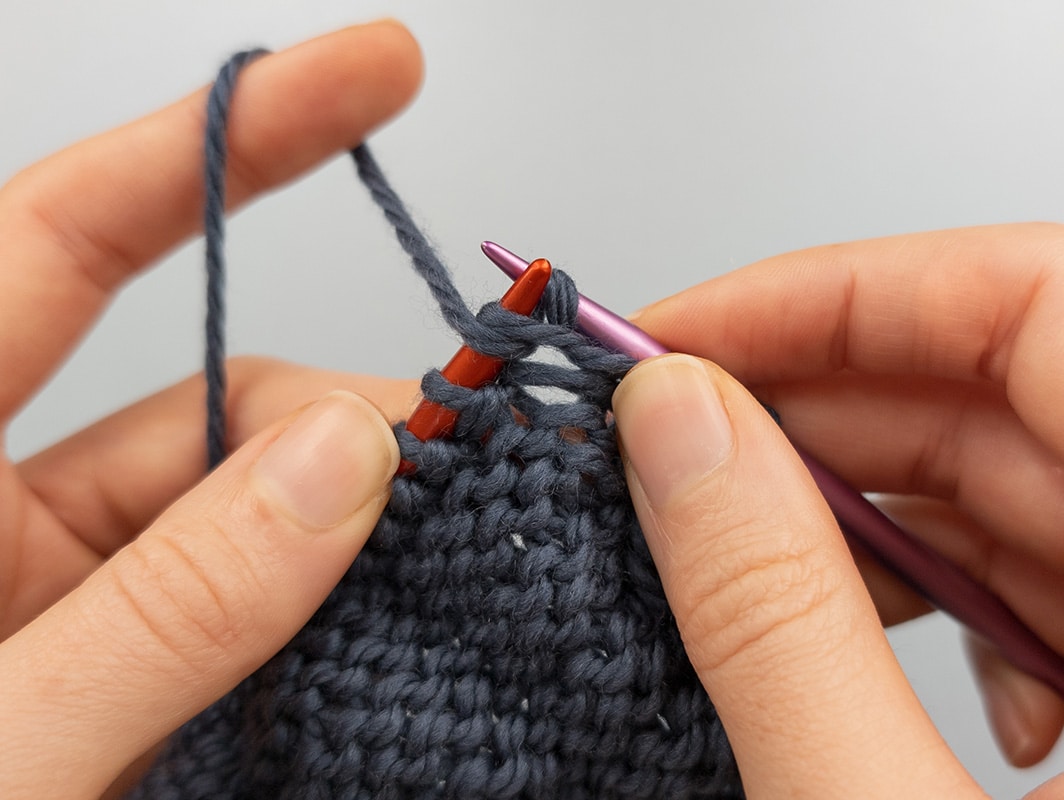
Start by knitting all stitches in the right-side row as knit stitches. The needle with the stitches is held in the left hand, and the stitches are worked with the right needle. Insert from front to back and pull the yarn through – this is how a knit stitch is worked. This creates the “V”-shaped texture on the front of the knitted piece.
Step 2: Turn the work
As soon as the right-side row is finished, the knitted piece is turned so that the back of the work faces you.
Step 3: Purl stitches in the wrong-side row
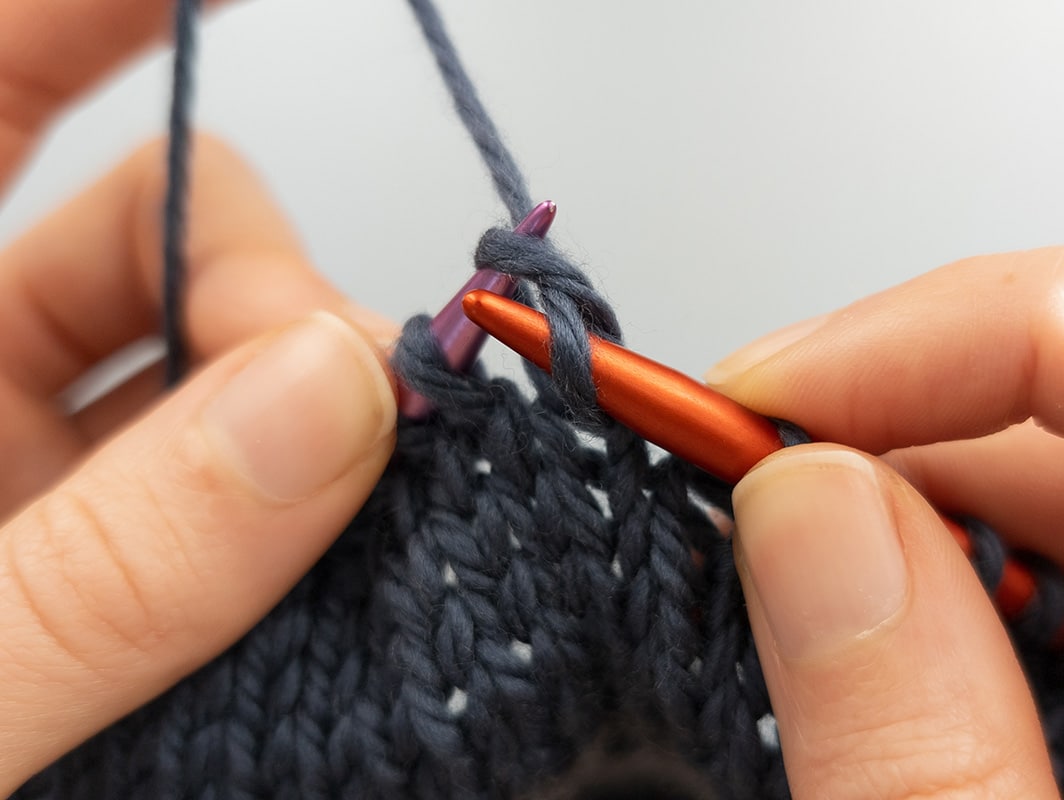
In the wrong-side row, all stitches are now knitted as purl stitches. The working yarn is placed in front of the needle, the needle is inserted through the stitch from right to left, the yarn is wrapped around the needle and pulled through the stitch. This creates the wavy texture on the back of the knitted piece.
Step 4: Repeat
This alternation of a right-side row of knit stitches and a wrong-side row of purl stitches is continued until the knitted piece has reached the desired length. The result is a smooth front and a textured back.


Stockinette stitch in rows
The basic principle of stockinette stitch is very simple: one row of knit stitches and one row of purl stitches are knitted alternately.
Step 1: Knit stitches in the right-side row
Start by knitting all stitches in the right-side row as knit stitches. The needle with the stitches is held in the left hand, and the stitches are worked with the right needle. Insert from front to back and pull the yarn through – this is how a knit stitch is worked. This creates the “V”-shaped texture on the front of the knitted piece.
Step 2: Turn the work
As soon as the right-side row is finished, the knitted piece is turned so that the back of the work faces you.
Step 3: Purl stitches in the wrong-side row
In the wrong-side row, all stitches are now knitted as purl stitches. The working yarn is placed in front of the needle, the needle is inserted through the stitch from right to left, the yarn is wrapped around the needle and pulled through the stitch. This creates the wavy texture on the back of the knitted piece.
Step 4: Repeat
This alternation of a right-side row of knit stitches and a wrong-side row of purl stitches is continued until the knitted piece has reached the desired length. The result is a smooth front and a textured back.








When do you use stockinette stitch?
Stockinette stitch is particularly popular for knitting projects that require a smooth and even surface . Here are some examples of where it can be used:
- Jumpers and cardigans: Stockinette stitch creates an elegant and even surface that is particularly suitable for garments. It combines well with different yarns and colours.
- Blankets and scarves: The simple, smooth pattern makes stockinette stitch the ideal choice for warm knitting projects such as scarves or blankets, especially when coloured yarns are used.
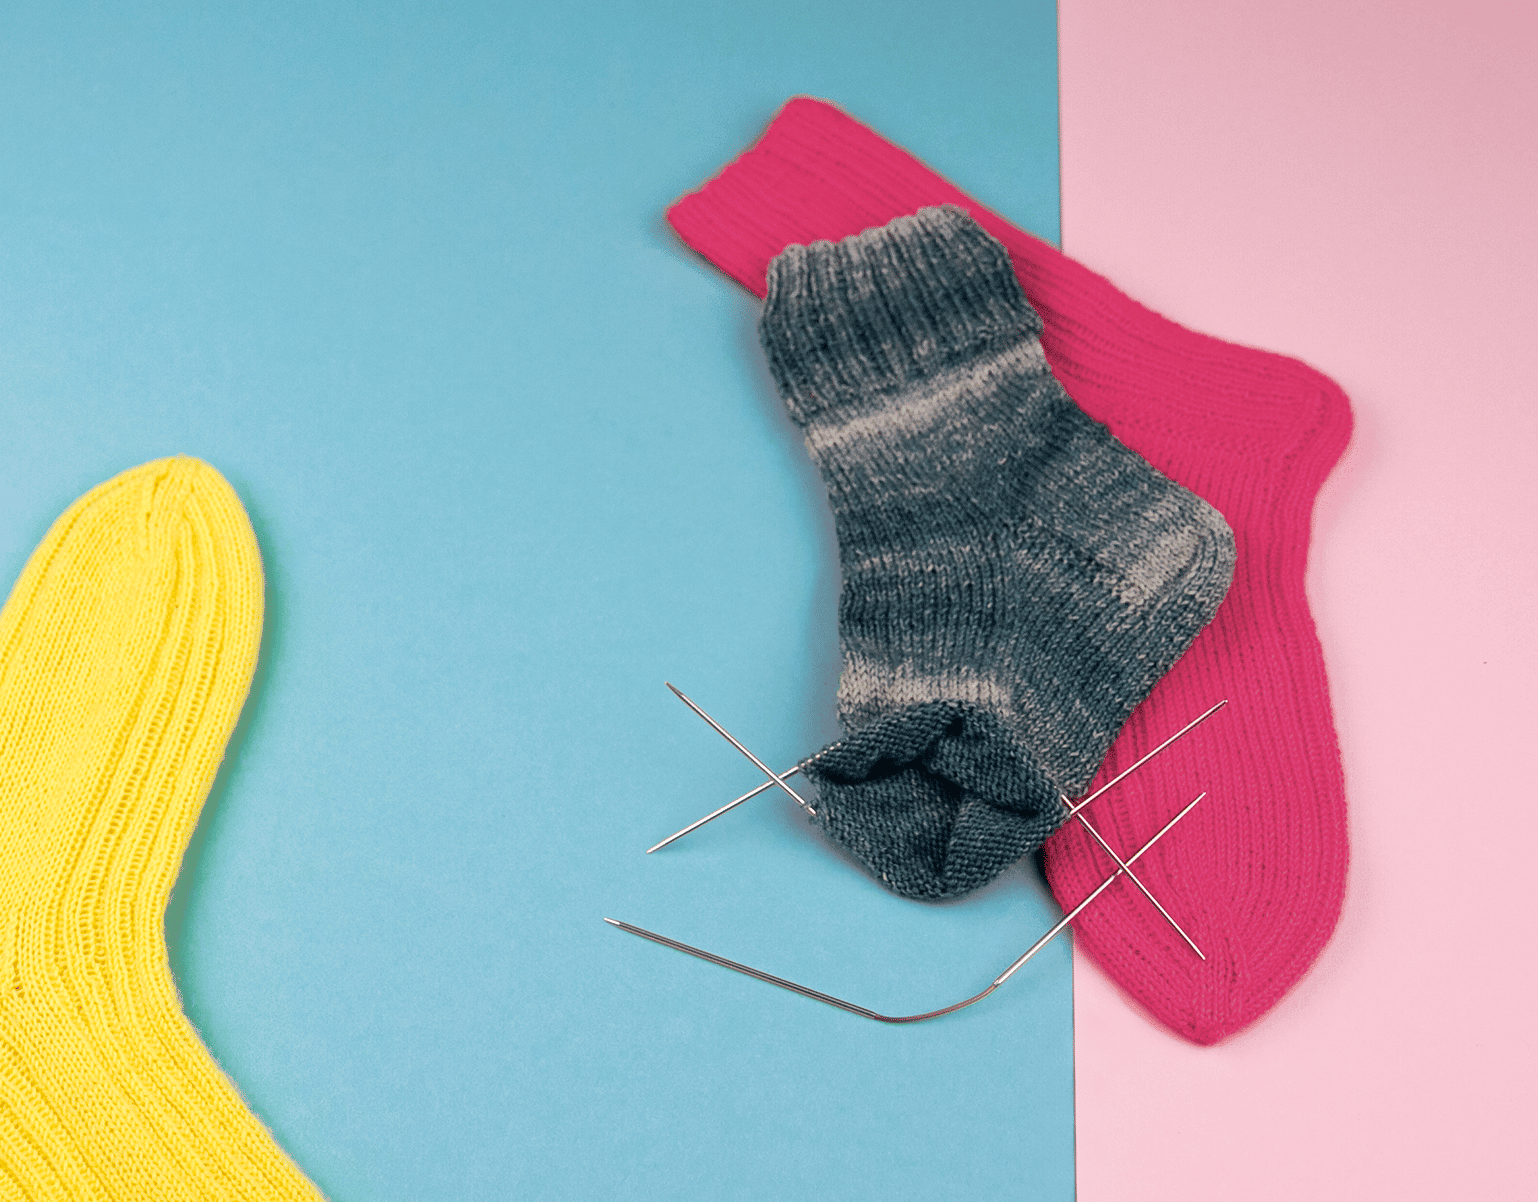
- Socks and children's clothing: Pieces knitted in stockinette stitch lie particularly smoothly on the skin, making them perfect for baby and children's clothing or sensitive feet.
The pattern is easy to knit and suits all kinds of yarn. Especially in colourful knitting projects, the colours show beautifully thanks to the even texture of stockinette stitch.
Stockinette stitch in rounds
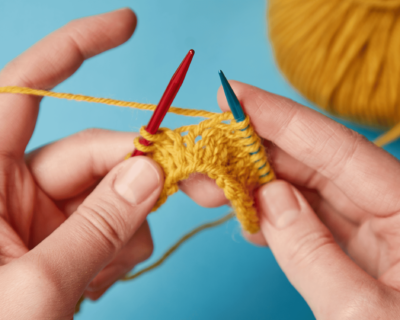
Stockinette stitch can be knitted not only in rows but also in rounds, for example for hats or cowls. The difference from knitting in rows is that the work is not turned, but worked continuously in one direction in a circle.
This is how stockinette stitch works in rounds:
- Knit rounds of knit stitches: When knitting in rounds, only knit stitches are used. As the knitted piece is not turned, there are no purl stitches, and every round consists only of knit stitches.
This technique is particularly suitable for projects such as socks or cowls, where the knitted piece should keep an even, smooth surface.


Stockinette stitch in rounds
Stockinette stitch can be knitted not only in rows but also in rounds, for example for hats or cowls. The difference from knitting in rows is that the work is not turned, but worked continuously in one direction in a circle.
This is how stockinette stitch works in rounds:
- Knit rounds of knit stitches: When knitting in rounds, only knit stitches are used. As the knitted piece is not turned, there are no purl stitches, and every round consists only of knit stitches.
This technique is particularly suitable for projects such as socks or cowls, where the knitted piece should keep an even, smooth surface.


Tips for stockinette stitch
- Knitting ribbing or an edge: For a neat edge that does not curl, it is a good idea to knit a few edge stitches in garter stitch or in knit-purl ribbing. This creates a clean and even edge that makes the knitted piece look more professional.
- Control the yarn tension: When switching between knit and purl rows (right-side and wrong-side rows), the yarn tension can change slightly. Make sure to guide the yarn evenly to prevent the stitches from becoming irregular or too loose.
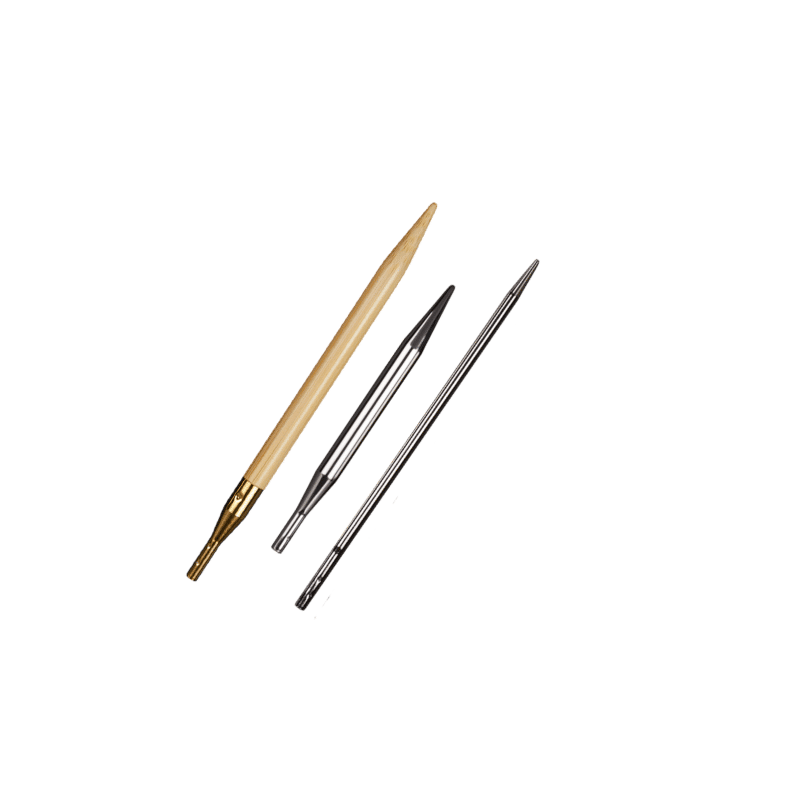
- If the wrong-side rows (purl stitches) are looser than the knit stitches: The result is an uneven stitch pattern. To avoid this, the knit stitches should be knitted more loosely. In addition, an interchangeable needle system such as addiClick can be used. The needle tip used to work the purl stitches can be chosen 1/2 to 1 needle size smaller than the other needle tip.