
Learning to knit purl stitches for beginners
Knitting purl stitches is one of the basic techniques. With this simple step-by-step tutorial for beginners, you will manage it effortlessly!
What are purl stitches?
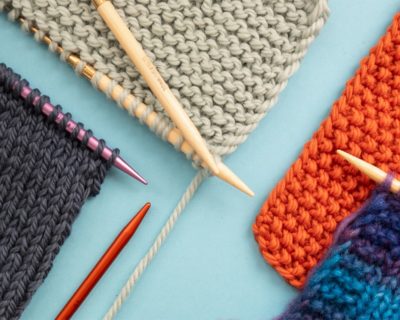
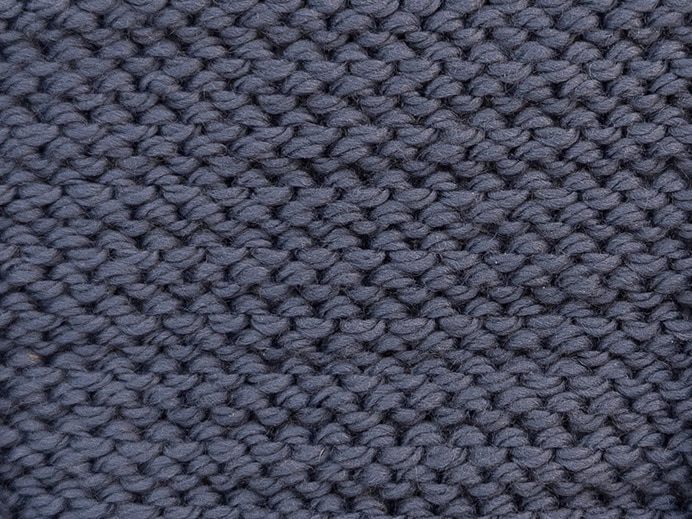
Purl stitches are one of the basic knitting techniques and, along with knit stitches , form the basis of almost all knitting patterns. Unlike knit stitches, where the yarn lies behind the needle, the working yarn is held in front of the needle for purl stitches. On the front, purl stitches create a textured, bumpy surface, while on the back they appear as a small “v”.

What are purl stitches?
Purl stitches are one of the basic knitting techniques and, along with knit stitches , form the basis of almost all knitting patterns. Unlike knit stitches, where the yarn lies behind the needle, the working yarn is held in front of the needle for purl stitches. On the front, purl stitches create a textured, bumpy surface, while on the back they appear as a small “v”.

Knitting purl stitches:
Step by Step
Preparing purl stitches
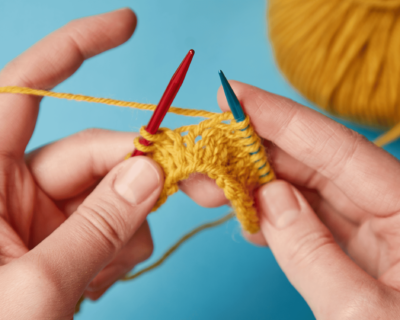
The needle with the stitches is held in the left hand, while the right hand guides the empty needle. The working yarn is placed in front of the needle so that it is on the front of the knitted piece.

Preparing purl stitches
The needle with the stitches is held in the left hand, while the right hand guides the empty needle. The working yarn is placed in front of the needle so that it is on the front of the knitted piece.
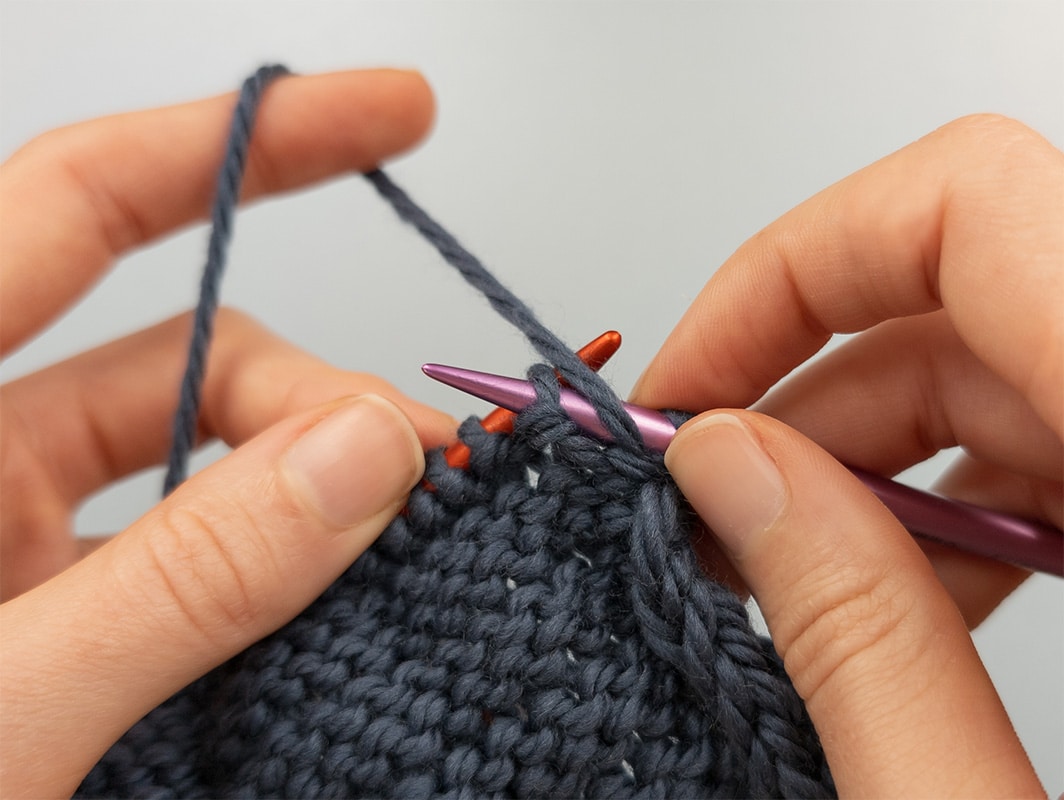
Bring the working yarn to the front
With the right needle, insert from right to left into the front loop of the first stitch on the left needle, in front of the yarn.
Bring the working yarn to the front
With the right needle, insert from right to left into the front loop of the first stitch on the left needle, in front of the yarn.
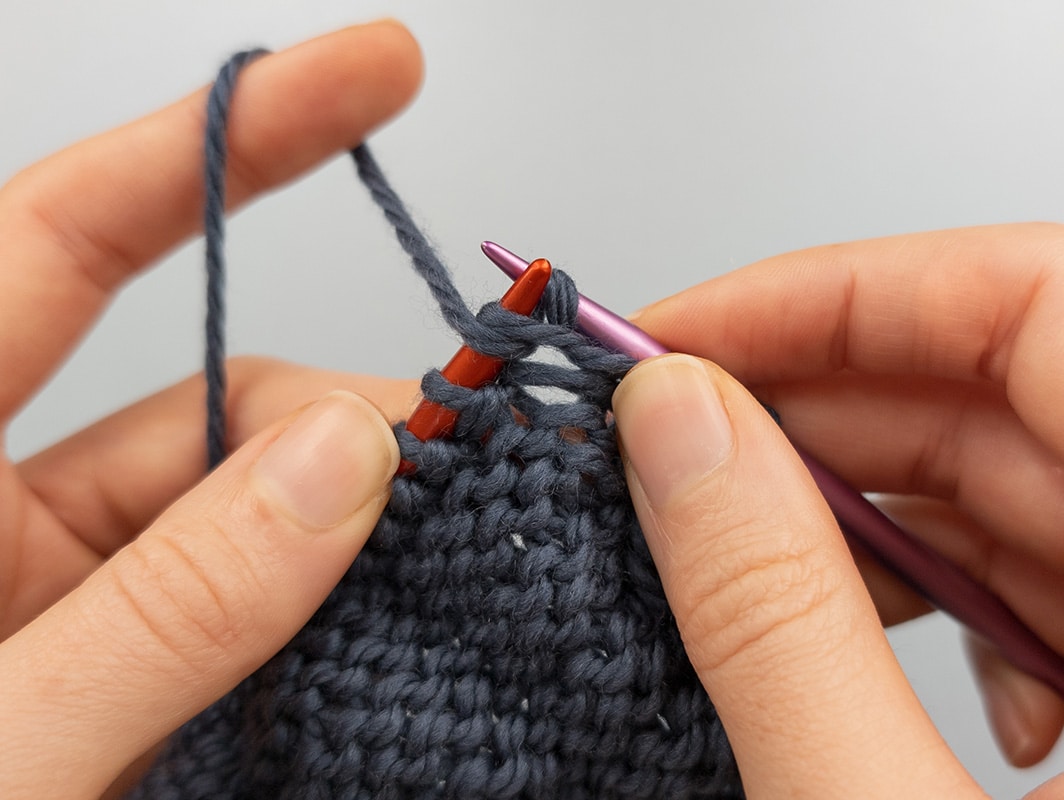
Wrap the yarn and pull it through
The yarn is wrapped around the right needle from back to front (anticlockwise). The right thumb can be used to stabilise the yarn so that it is easier to pull through the stitch. The yarn is then pulled through the loop with the right needle, creating a new stitch.

Wrap the yarn and pull it through
The yarn is wrapped around the right needle from back to front (anticlockwise). The right thumb can be used to stabilise the yarn so that it is easier to pull through the stitch. The yarn is then pulled through the loop with the right needle, creating a new stitch.

Slip the stitch off
The previous stitch is slipped off the left needle while the new stitch stays on the right needle. This is repeated for each stitch until all stitches have been knitted from the left to the right needle.

Slip the stitch off
The previous stitch is slipped off the left needle while the new stitch stays on the right needle. This is repeated for each stitch until all stitches have been knitted from the left to the right needle.
What are purl stitches used for?
Purl stitches are essential for creating many classic knitting patterns. They are often used in wrong-side rows to form stockinette stitch, or they alternate with knit stitches within a row to create elastic or textured patterns such as rib stitch. Seed stitch and other decorative patterns are also based on alternating purl and knit stitches.
What are purl stitches used for?
Purl stitches are essential for creating many classic knitting patterns. They are often used in wrong-side rows to form stockinette stitch, or they alternate with knit stitches within a row to create elastic or textured patterns such as rib stitch. Seed stitch and other decorative patterns are also based on alternating purl and knit stitches.
Knitting patterns with purl stitches
Countless knitting patterns can be created from knit and purl stitches for lots of variety in your knitting projects.
- Pattern II: This classic pattern is created by knitting knit stitches in the right-side row and purl stitches in the wrong-side row. This creates a smooth front with small “v”-shaped stitches and a textured back (particularly good for practising knit and purl stitches).
- Rib pattern: Alternating 1 knit and 1 purl stitch over several rows creates the rib pattern. It provides elasticity and is often used for ribbing because it contracts slightly.
- Seed stitch: This is created by knitting knit and purl stitches offset (ideally with an odd number of stitches). A knit stitch is followed by a purl stitch and vice versa.


Common mistakes when knitting purl stitches
- Wrong yarn position: A common mistake is holding the yarn incorrectly. The yarn should always be in front of the needle so that the stitch does not twist.
- Uneven yarn tension: Pay attention to even tension when knitting to prevent the stitches from becoming too tight or too loose. A relaxed hand position helps you find the right tension.
- Stitches that don't glide well: If the stitches are knitted too tightly or the needle size does not suit the yarn, they can be hard to slide off the needle. It helps not to knit the stitches too tightly and to use the right needle size. The materials of the yarn and the knitting needle may also not go well together and therefore not slide well, e.g. acrylic yarn and bamboo needles.