

Knitting Colorwork Mittens with a Triangle Pattern
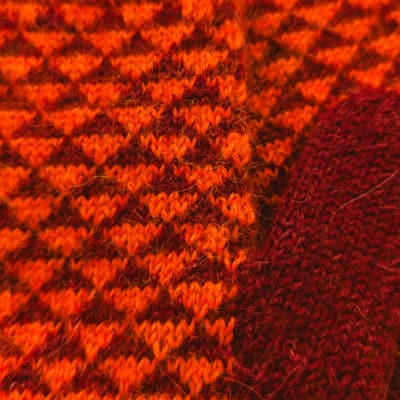
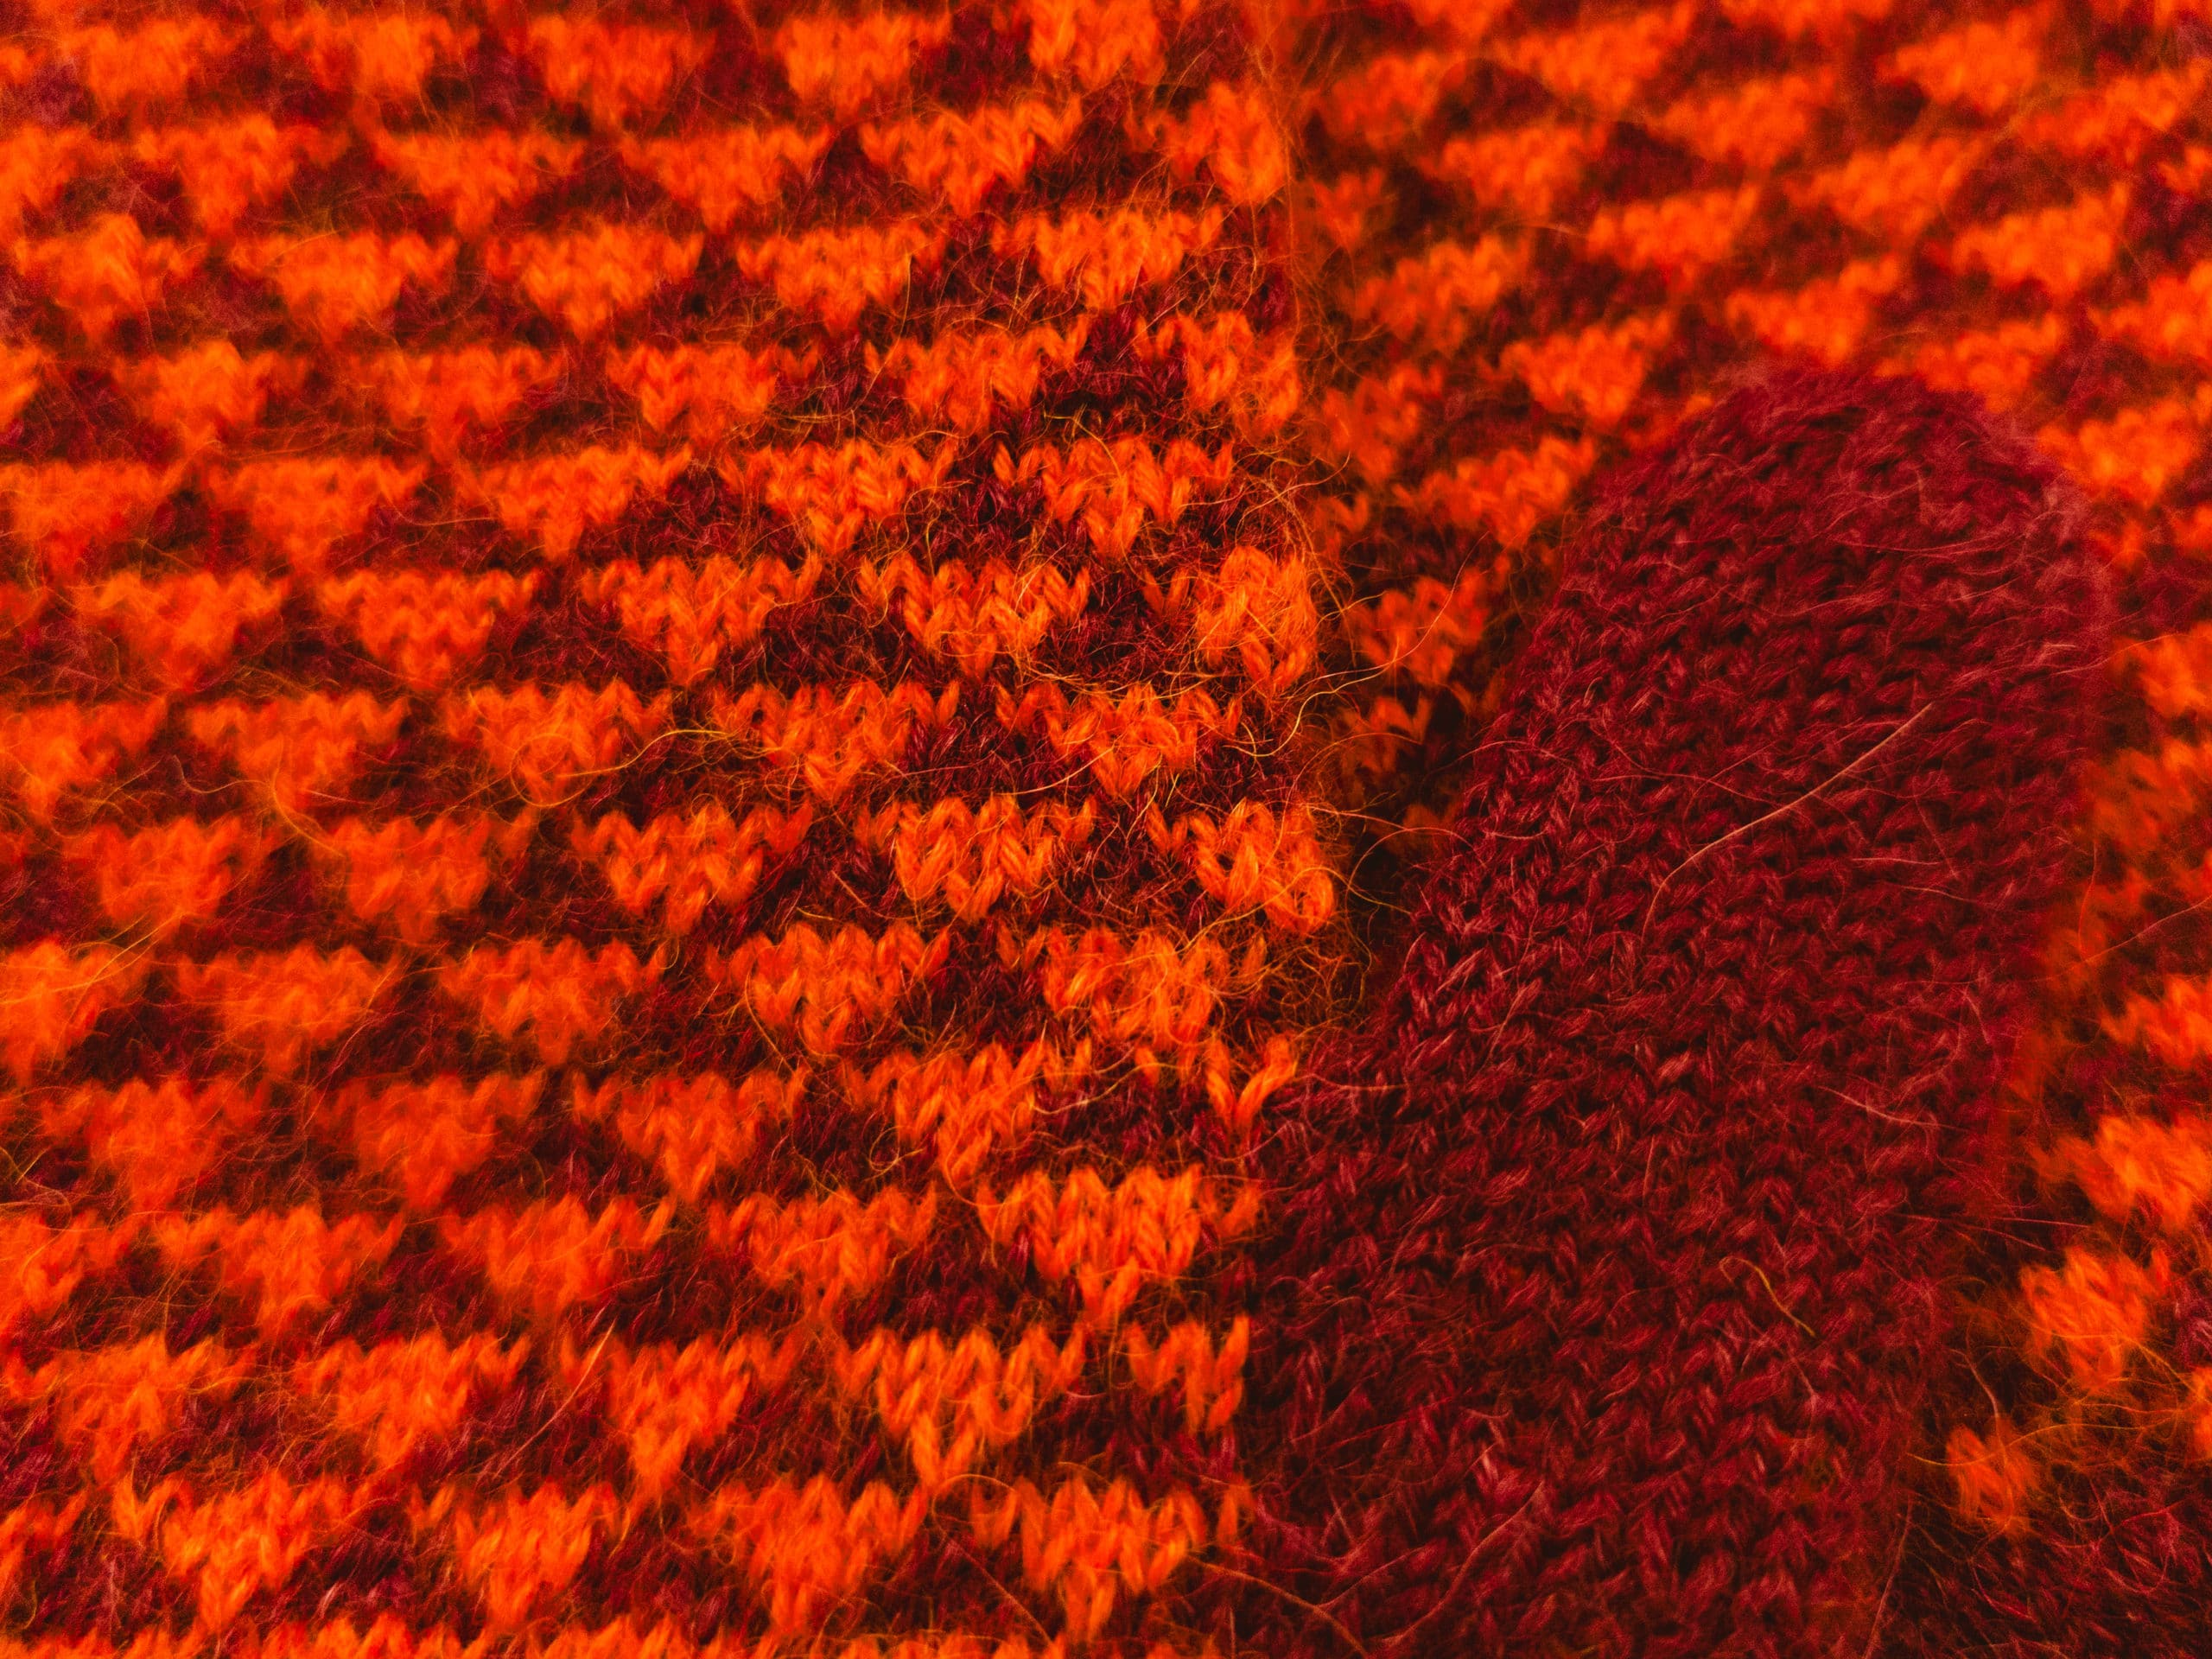
These straight-cut mittens with a triangular design are knitted in two colors using the colorwork technique. This makes them especially dense and warm.
Want to knit these cozy mittens yourself? This free pattern will walk you through the process step by step.
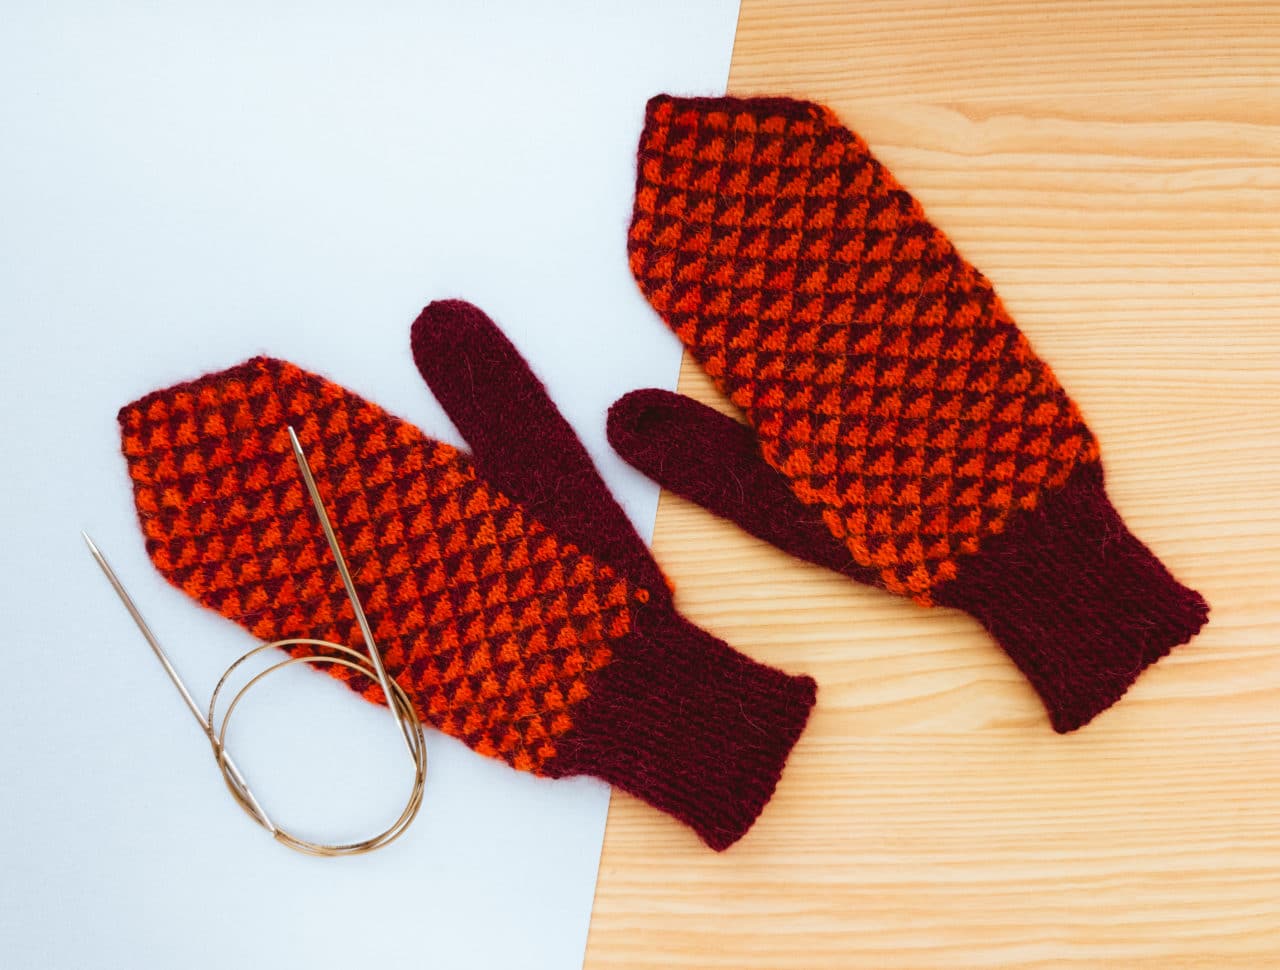
- Lang Alpaca Soxx, 4-ply, 390 m (427 yds) / 100 g (3.5 oz)
- 1 ball each of Colour 0062 – Main Colour (MC) and Colour 0059 – Contrasting Colour (CC)
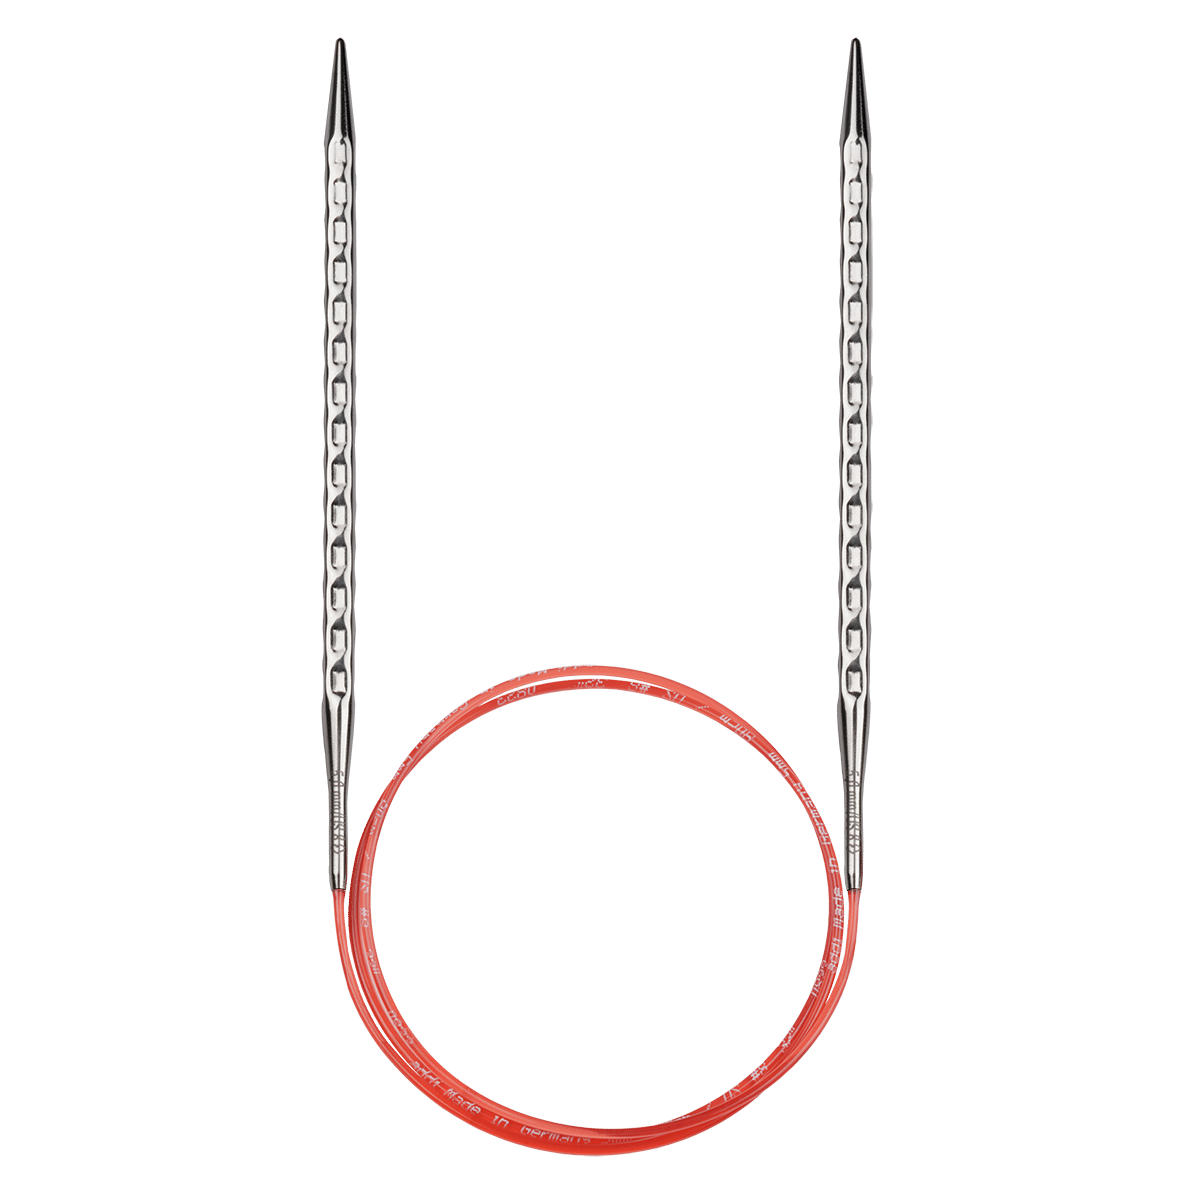
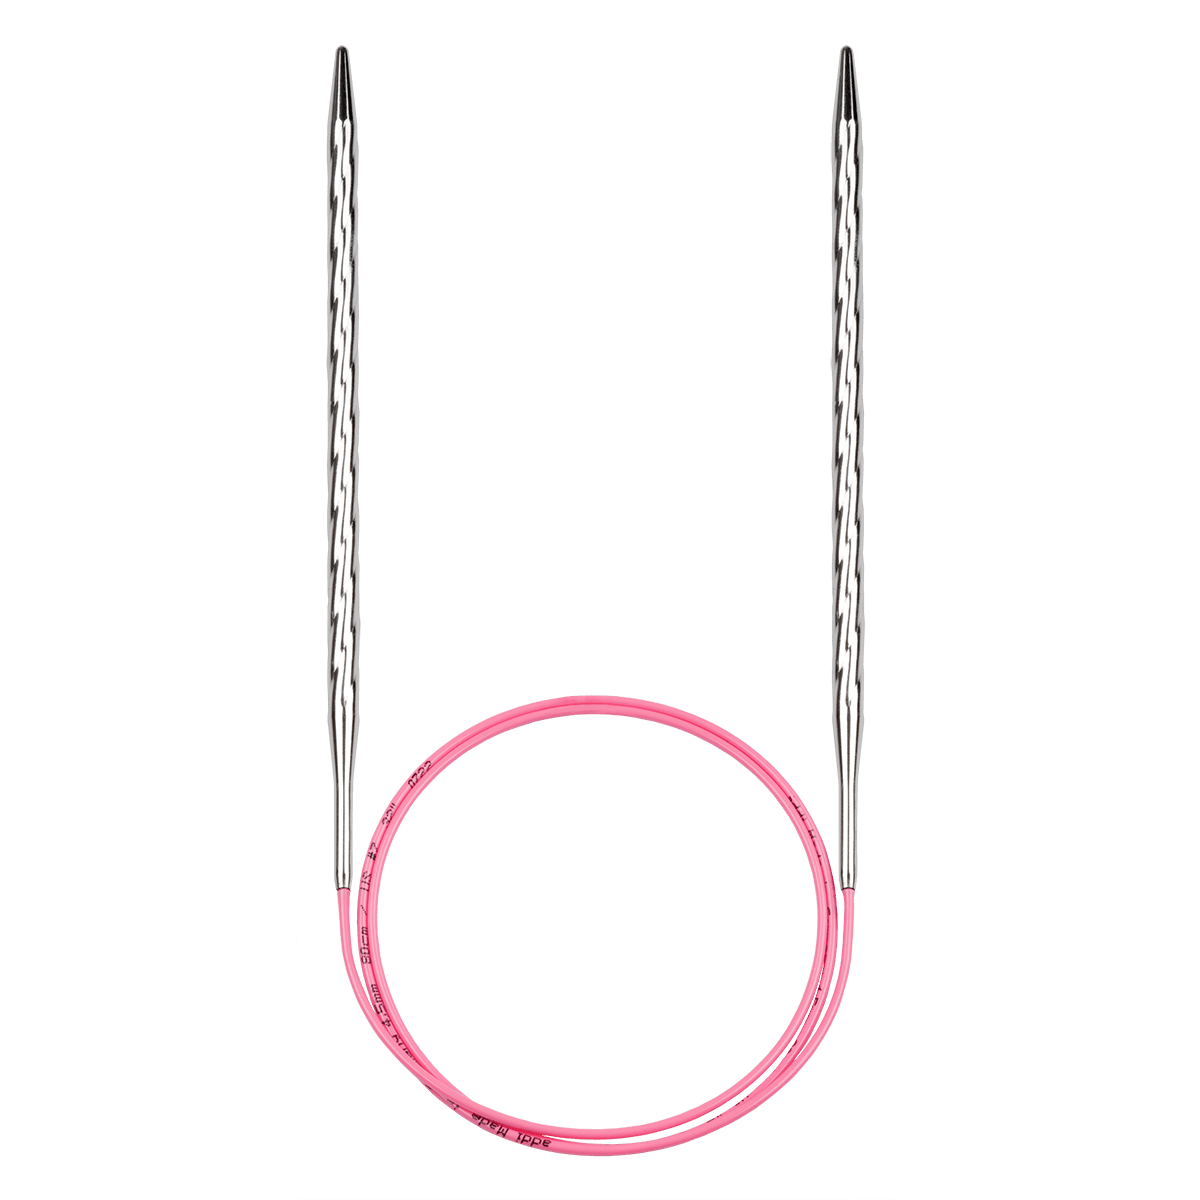
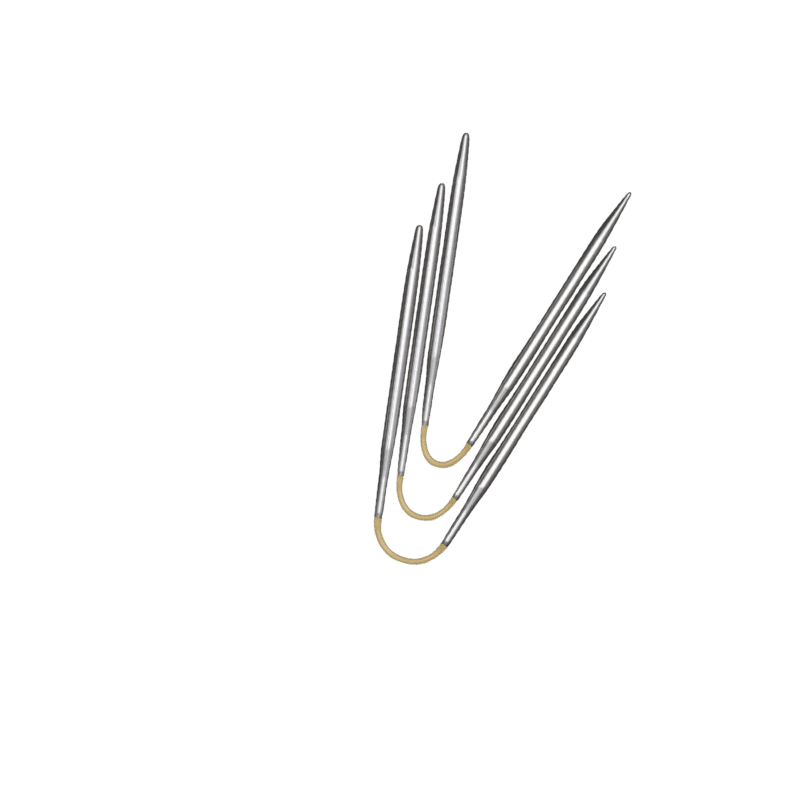
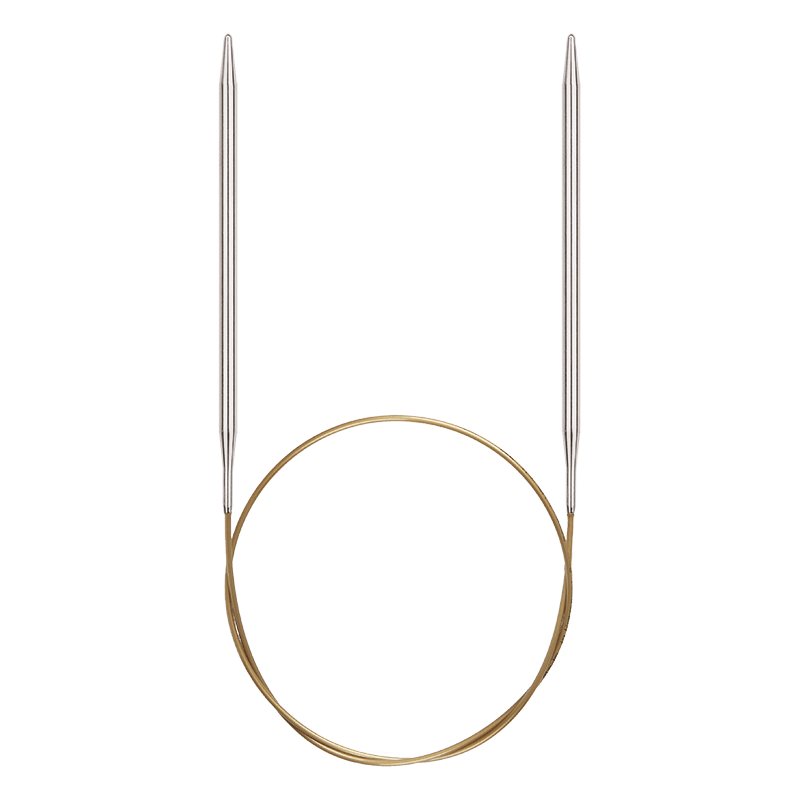
- addiPremium circular 2.5 mm (US 1)
- addiPremium circular 2.0 mm (US 0)
- 2 addiLove Stitch Markers
- addiSmyrna embroidery needle
- Waste yarn
Gauge:
- 10 cm × 10 cm = 33 sts and 43 rows Stockinette stitch, worked with 2.5 mm needles
Size EU:
- Women's, size M
- Palm width: 9 cm Measure Your actual palm width at the widest point without adding ease.
This pattern includes approximately 1 cm of positive ease.
Knitting Colorwork Mittens
Both mittens are knitted the same way, from the cuff to the tip.
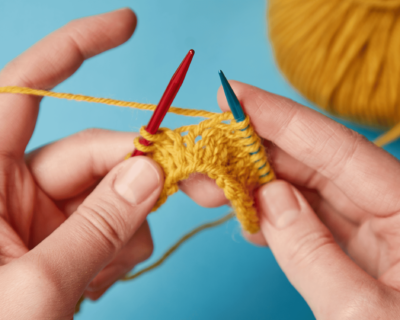
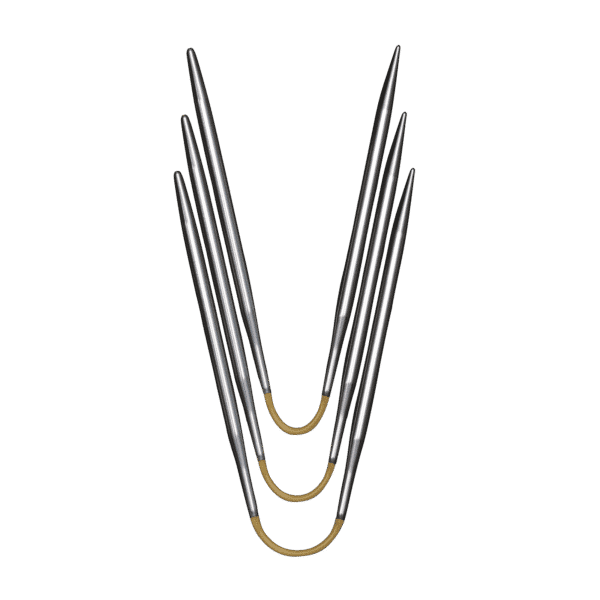
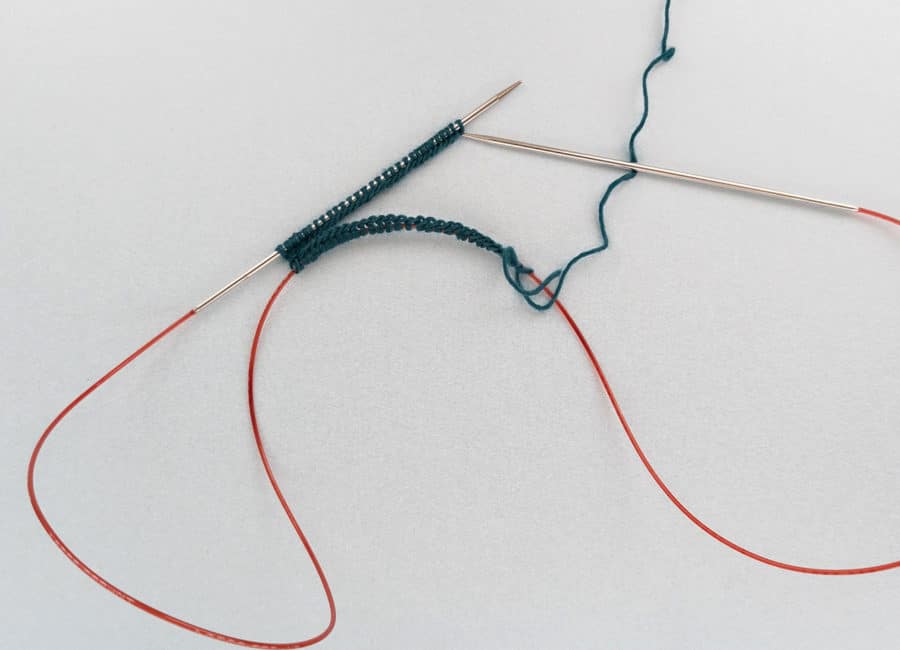
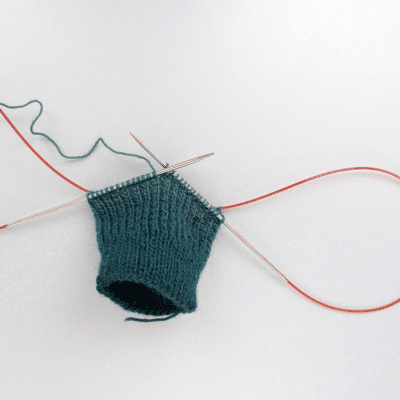
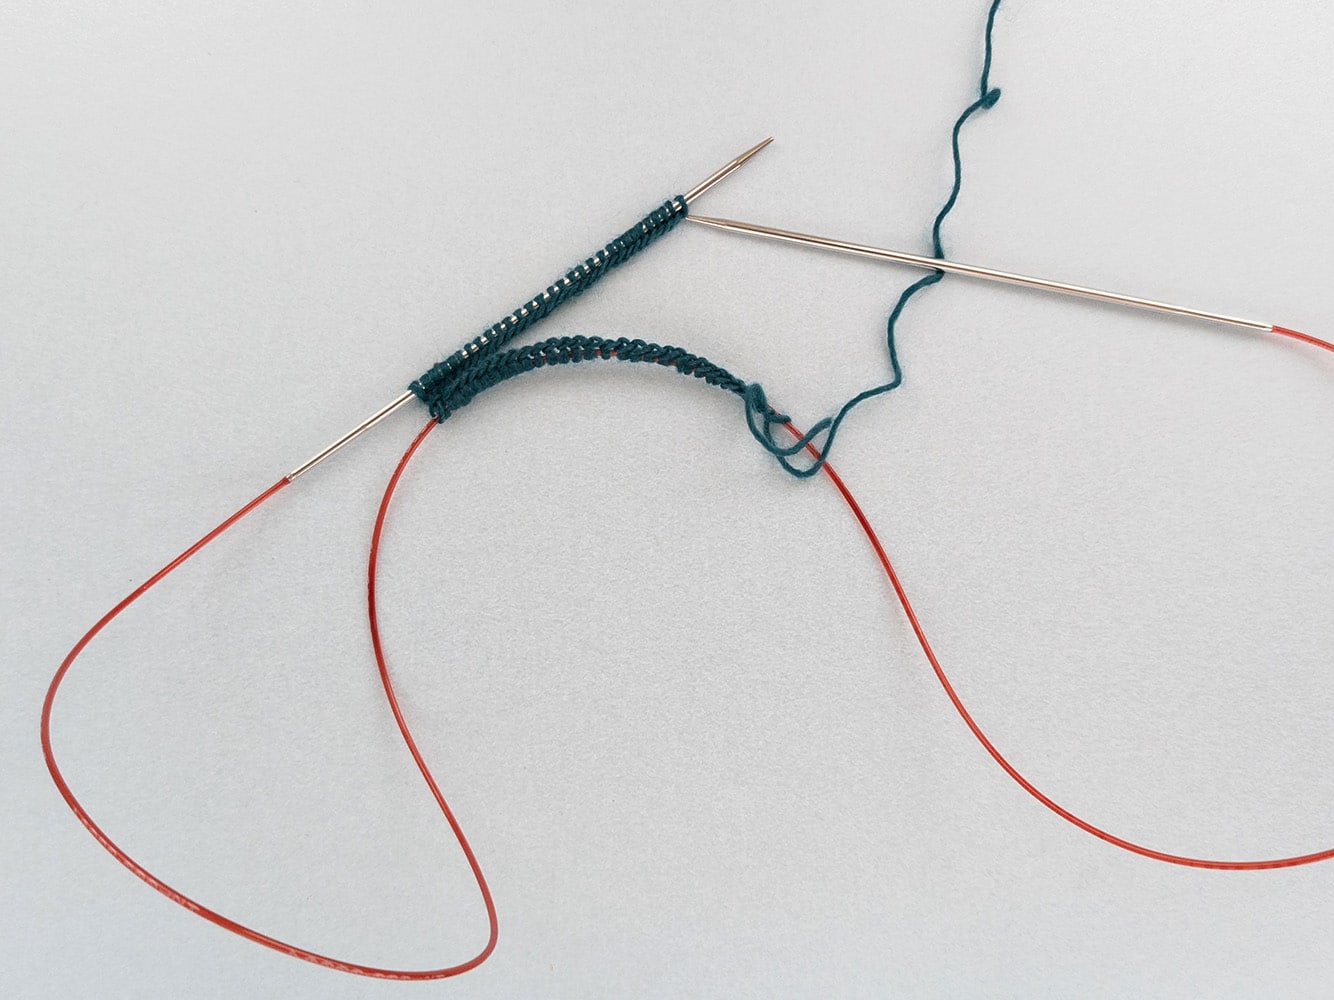
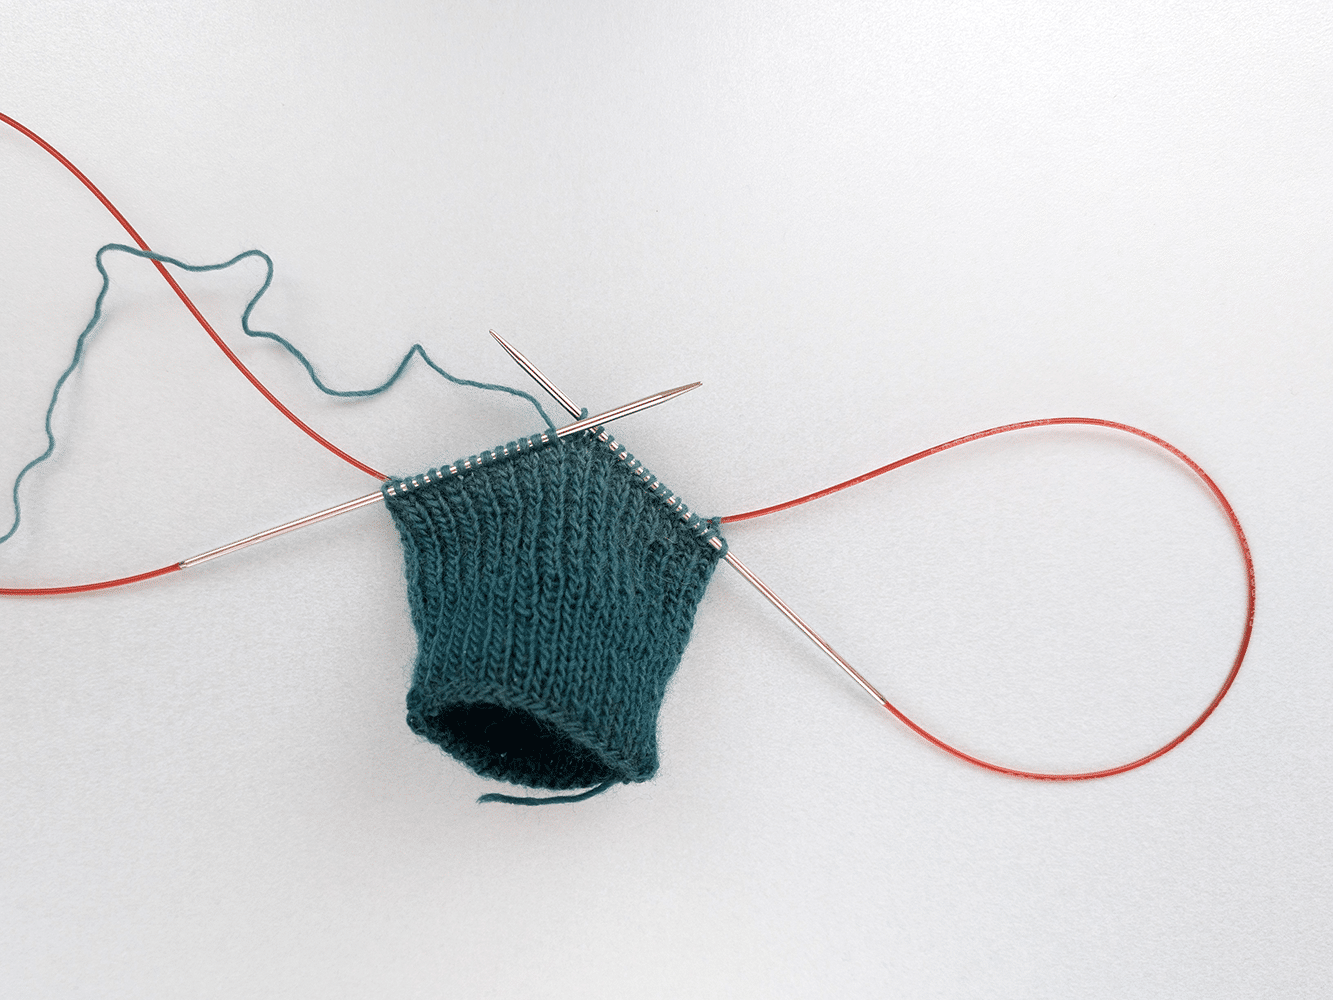
This pattern uses the Magic Loop method. Of course, you can also knit them using the addiCraSyTrio, Sockenwunder, or double-pointed needles.
Knitting Colorwork Mittens
Both mittens are knitted the same way, from the cuff to the tip.
This pattern uses the Magic Loop method. Of course, you can also knit them using the addiCraSyTrio, Sockenwunder, or double-pointed needles.


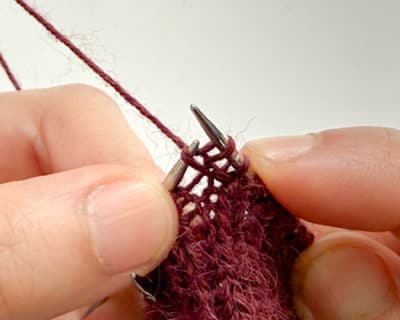
Knit the cuff
Using the smaller needles, cast on 70 sts, distributing them evenly across the needles. Use Your preferred cast-on method. Take care not to twist the sts, join to work in the round, and place a marker for the beginning of the round. Work 1×1 rib (k1, p1) for 7 cm.
Inc rnd: *Work in 1x1 rib 23 sts, M1; rep from * 2 more, work in rib to end. [=73 sts]
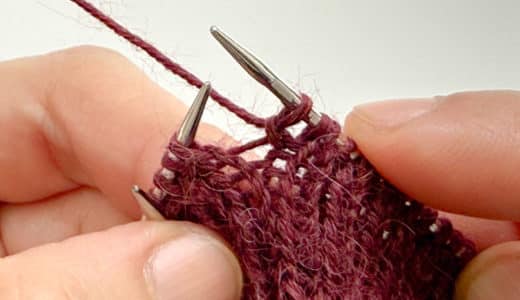
Knit the cuff
Using the smaller needles, cast on 70 sts, distributing them evenly across the needles. Use Your preferred cast-on method. Take care not to twist the sts, join to work in the round, and place a marker for the beginning of the round. Work 1×1 rib (k1, p1) for 7 cm.
Inc rnd: *Work in 1x1 rib 23 sts, M1; rep from * 2 more, work in rib to end. [=73 sts]


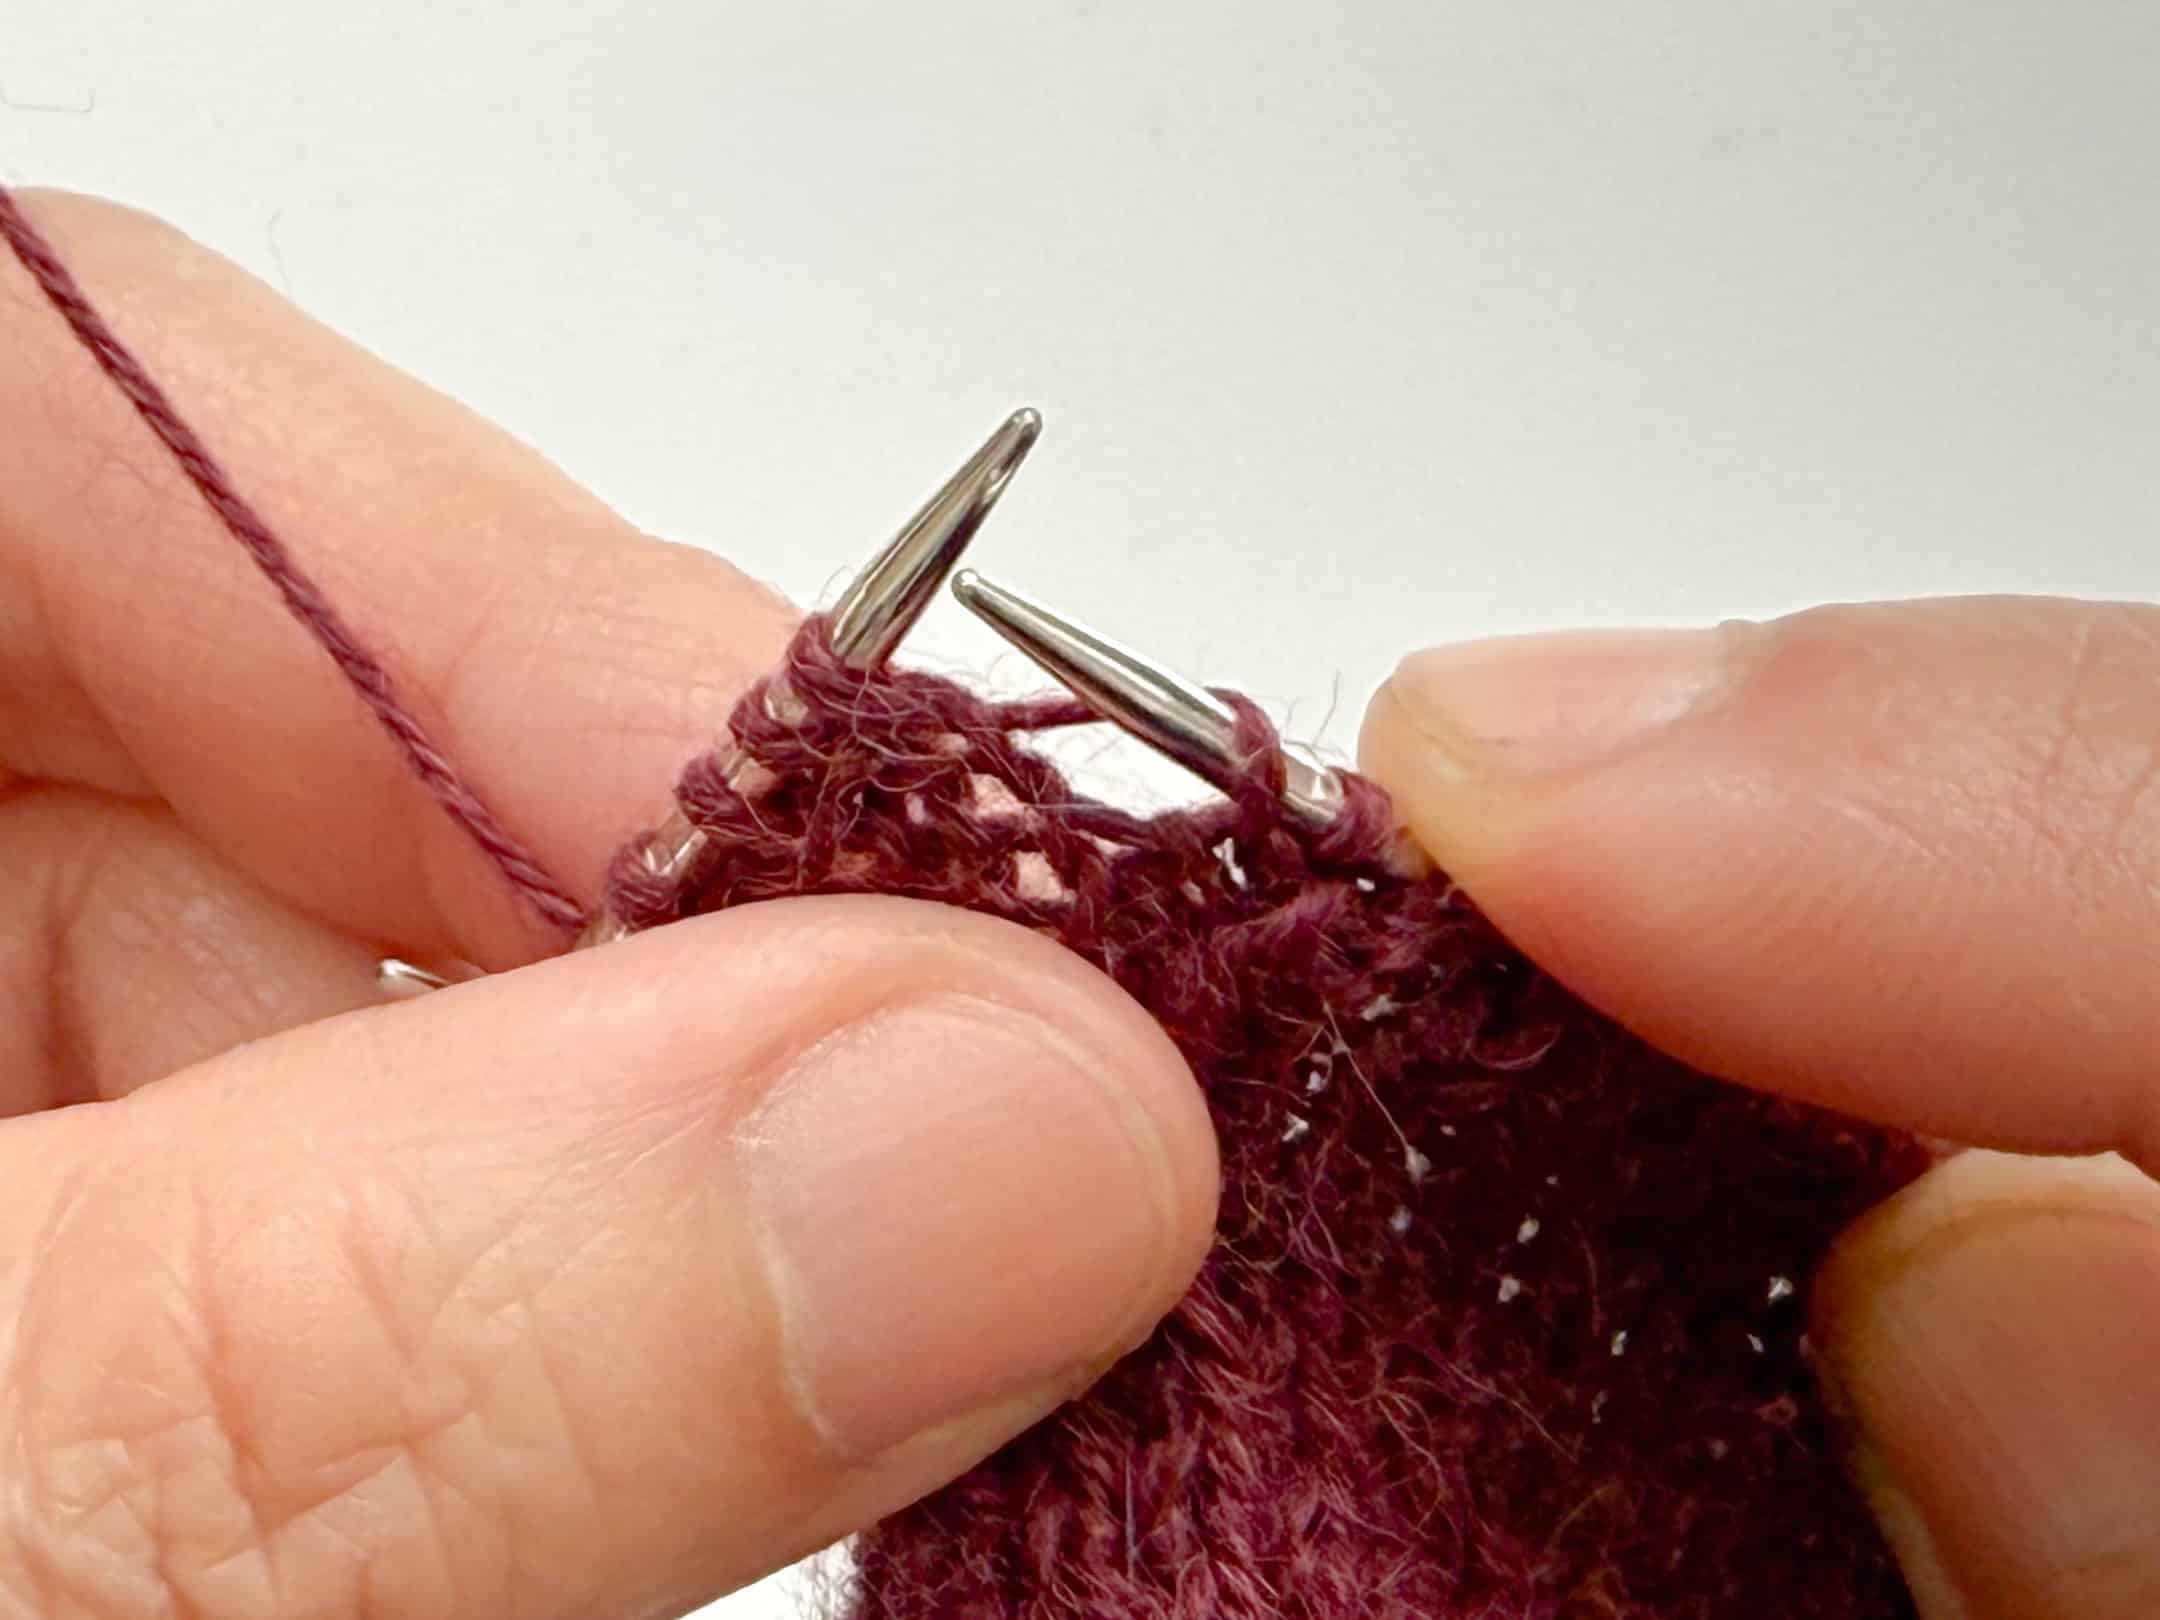
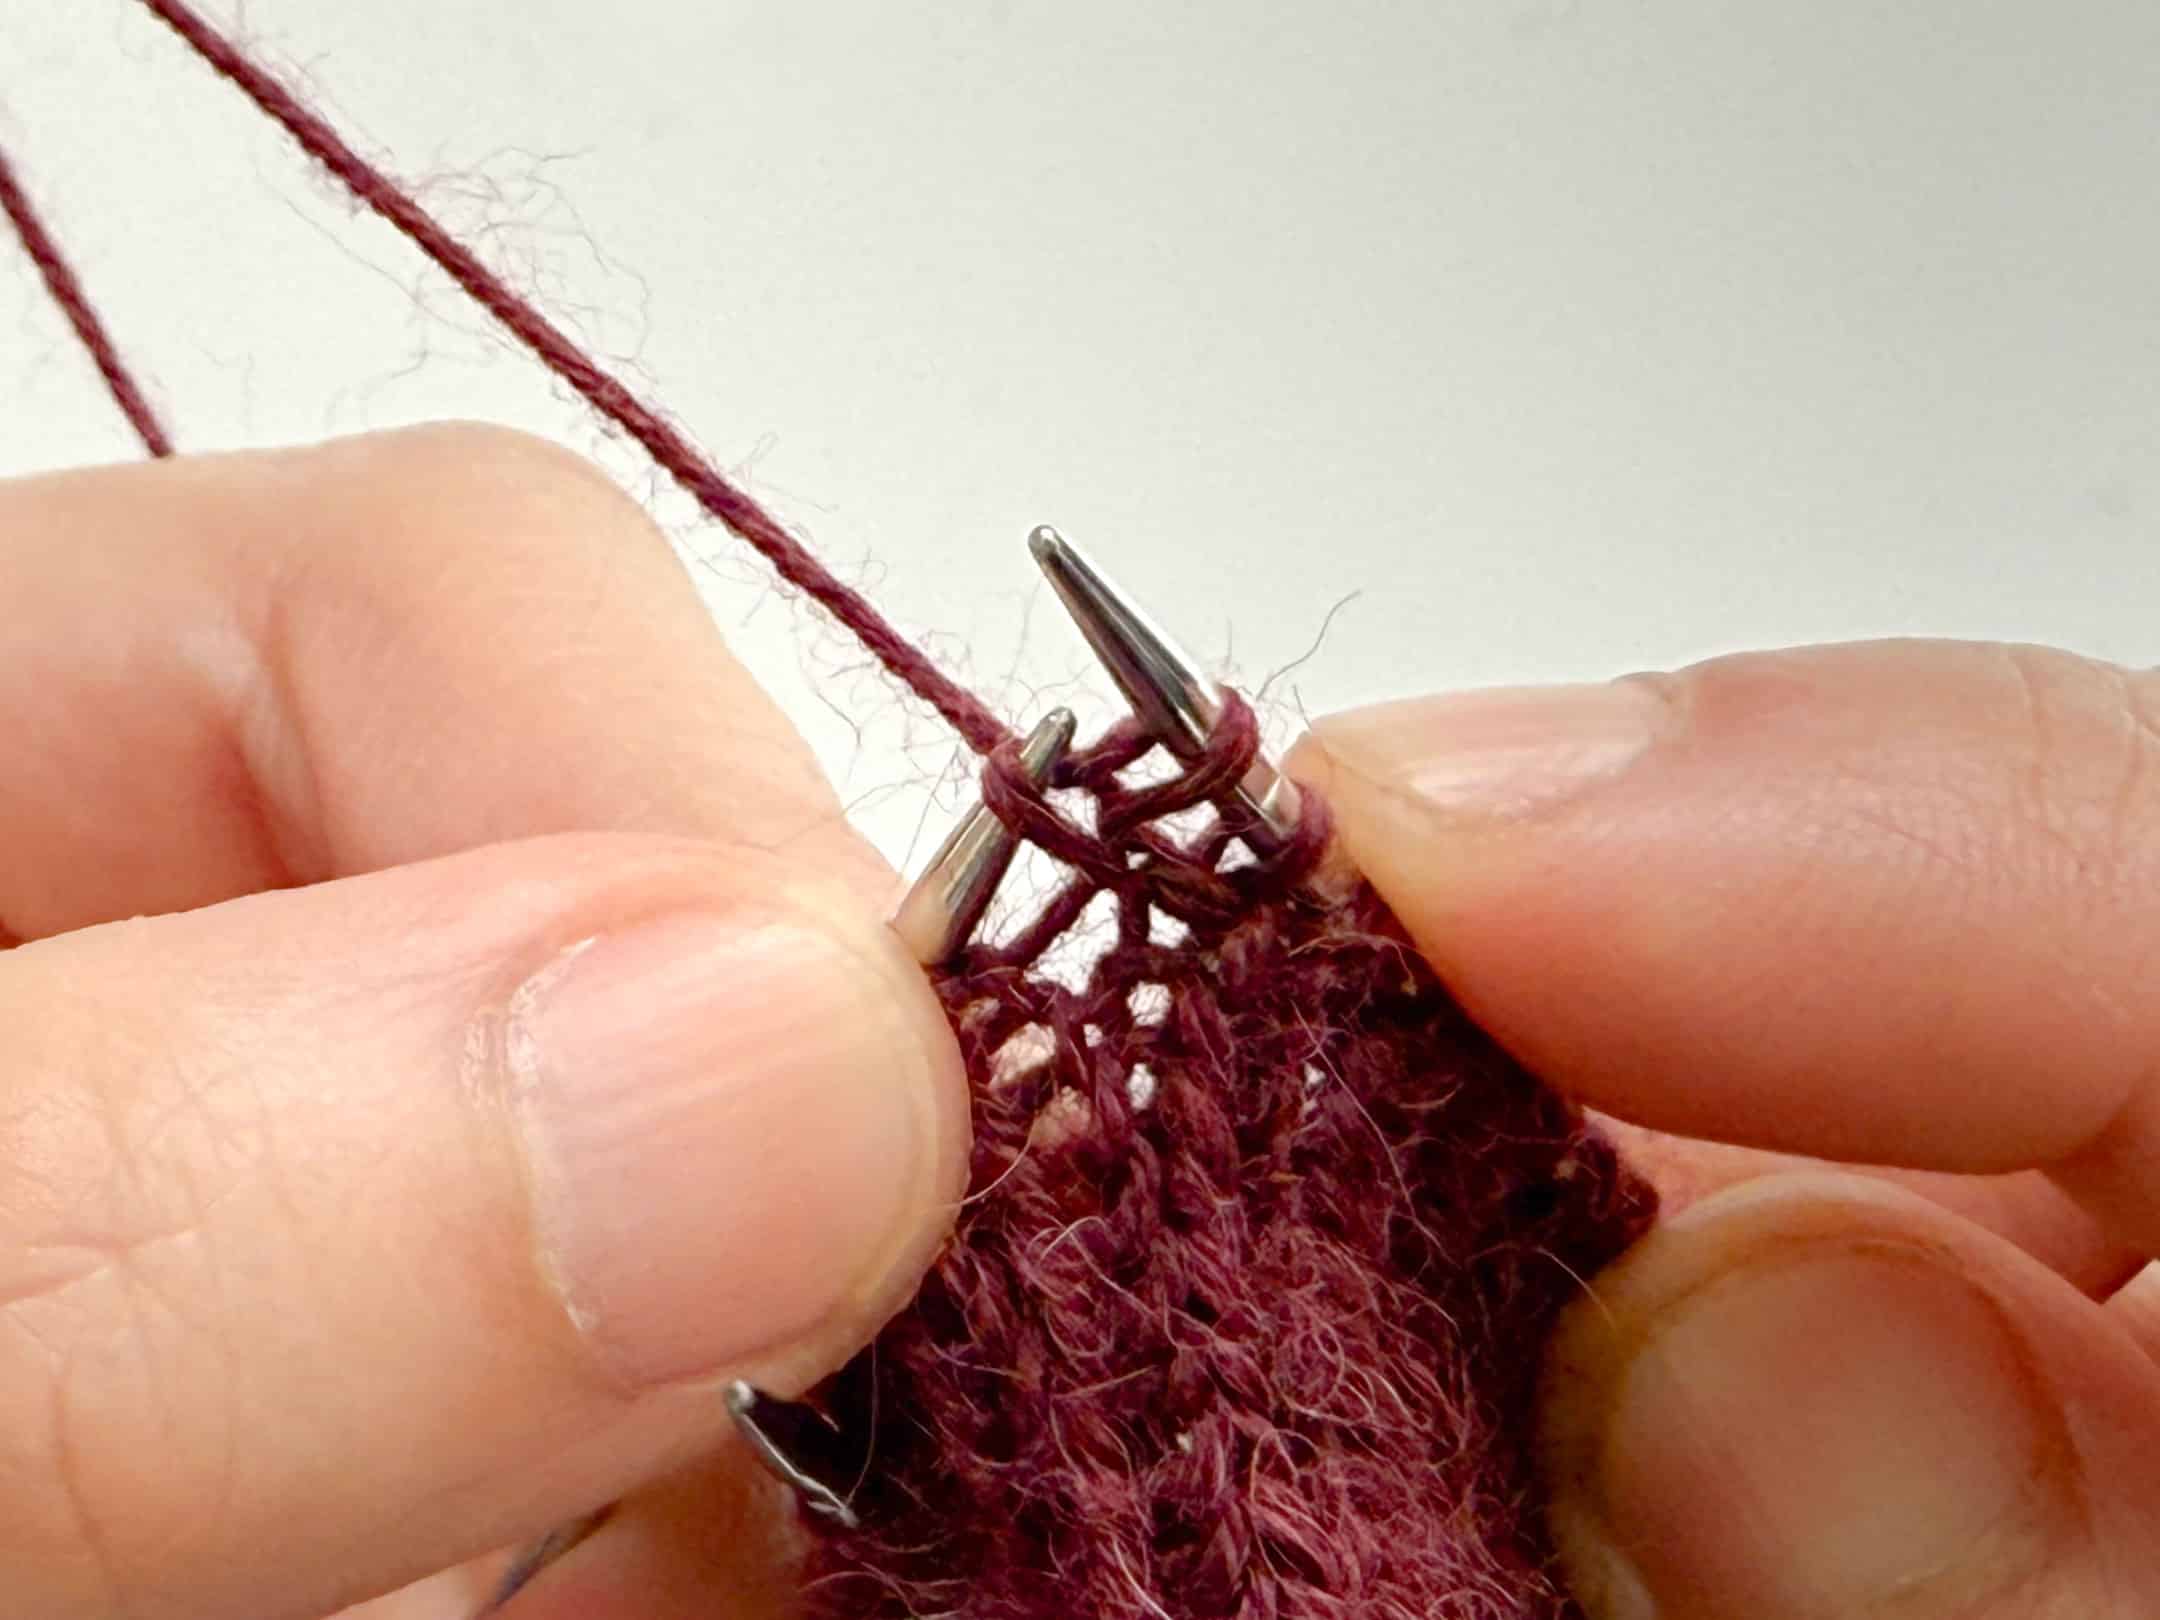
Thumb gusset shaping
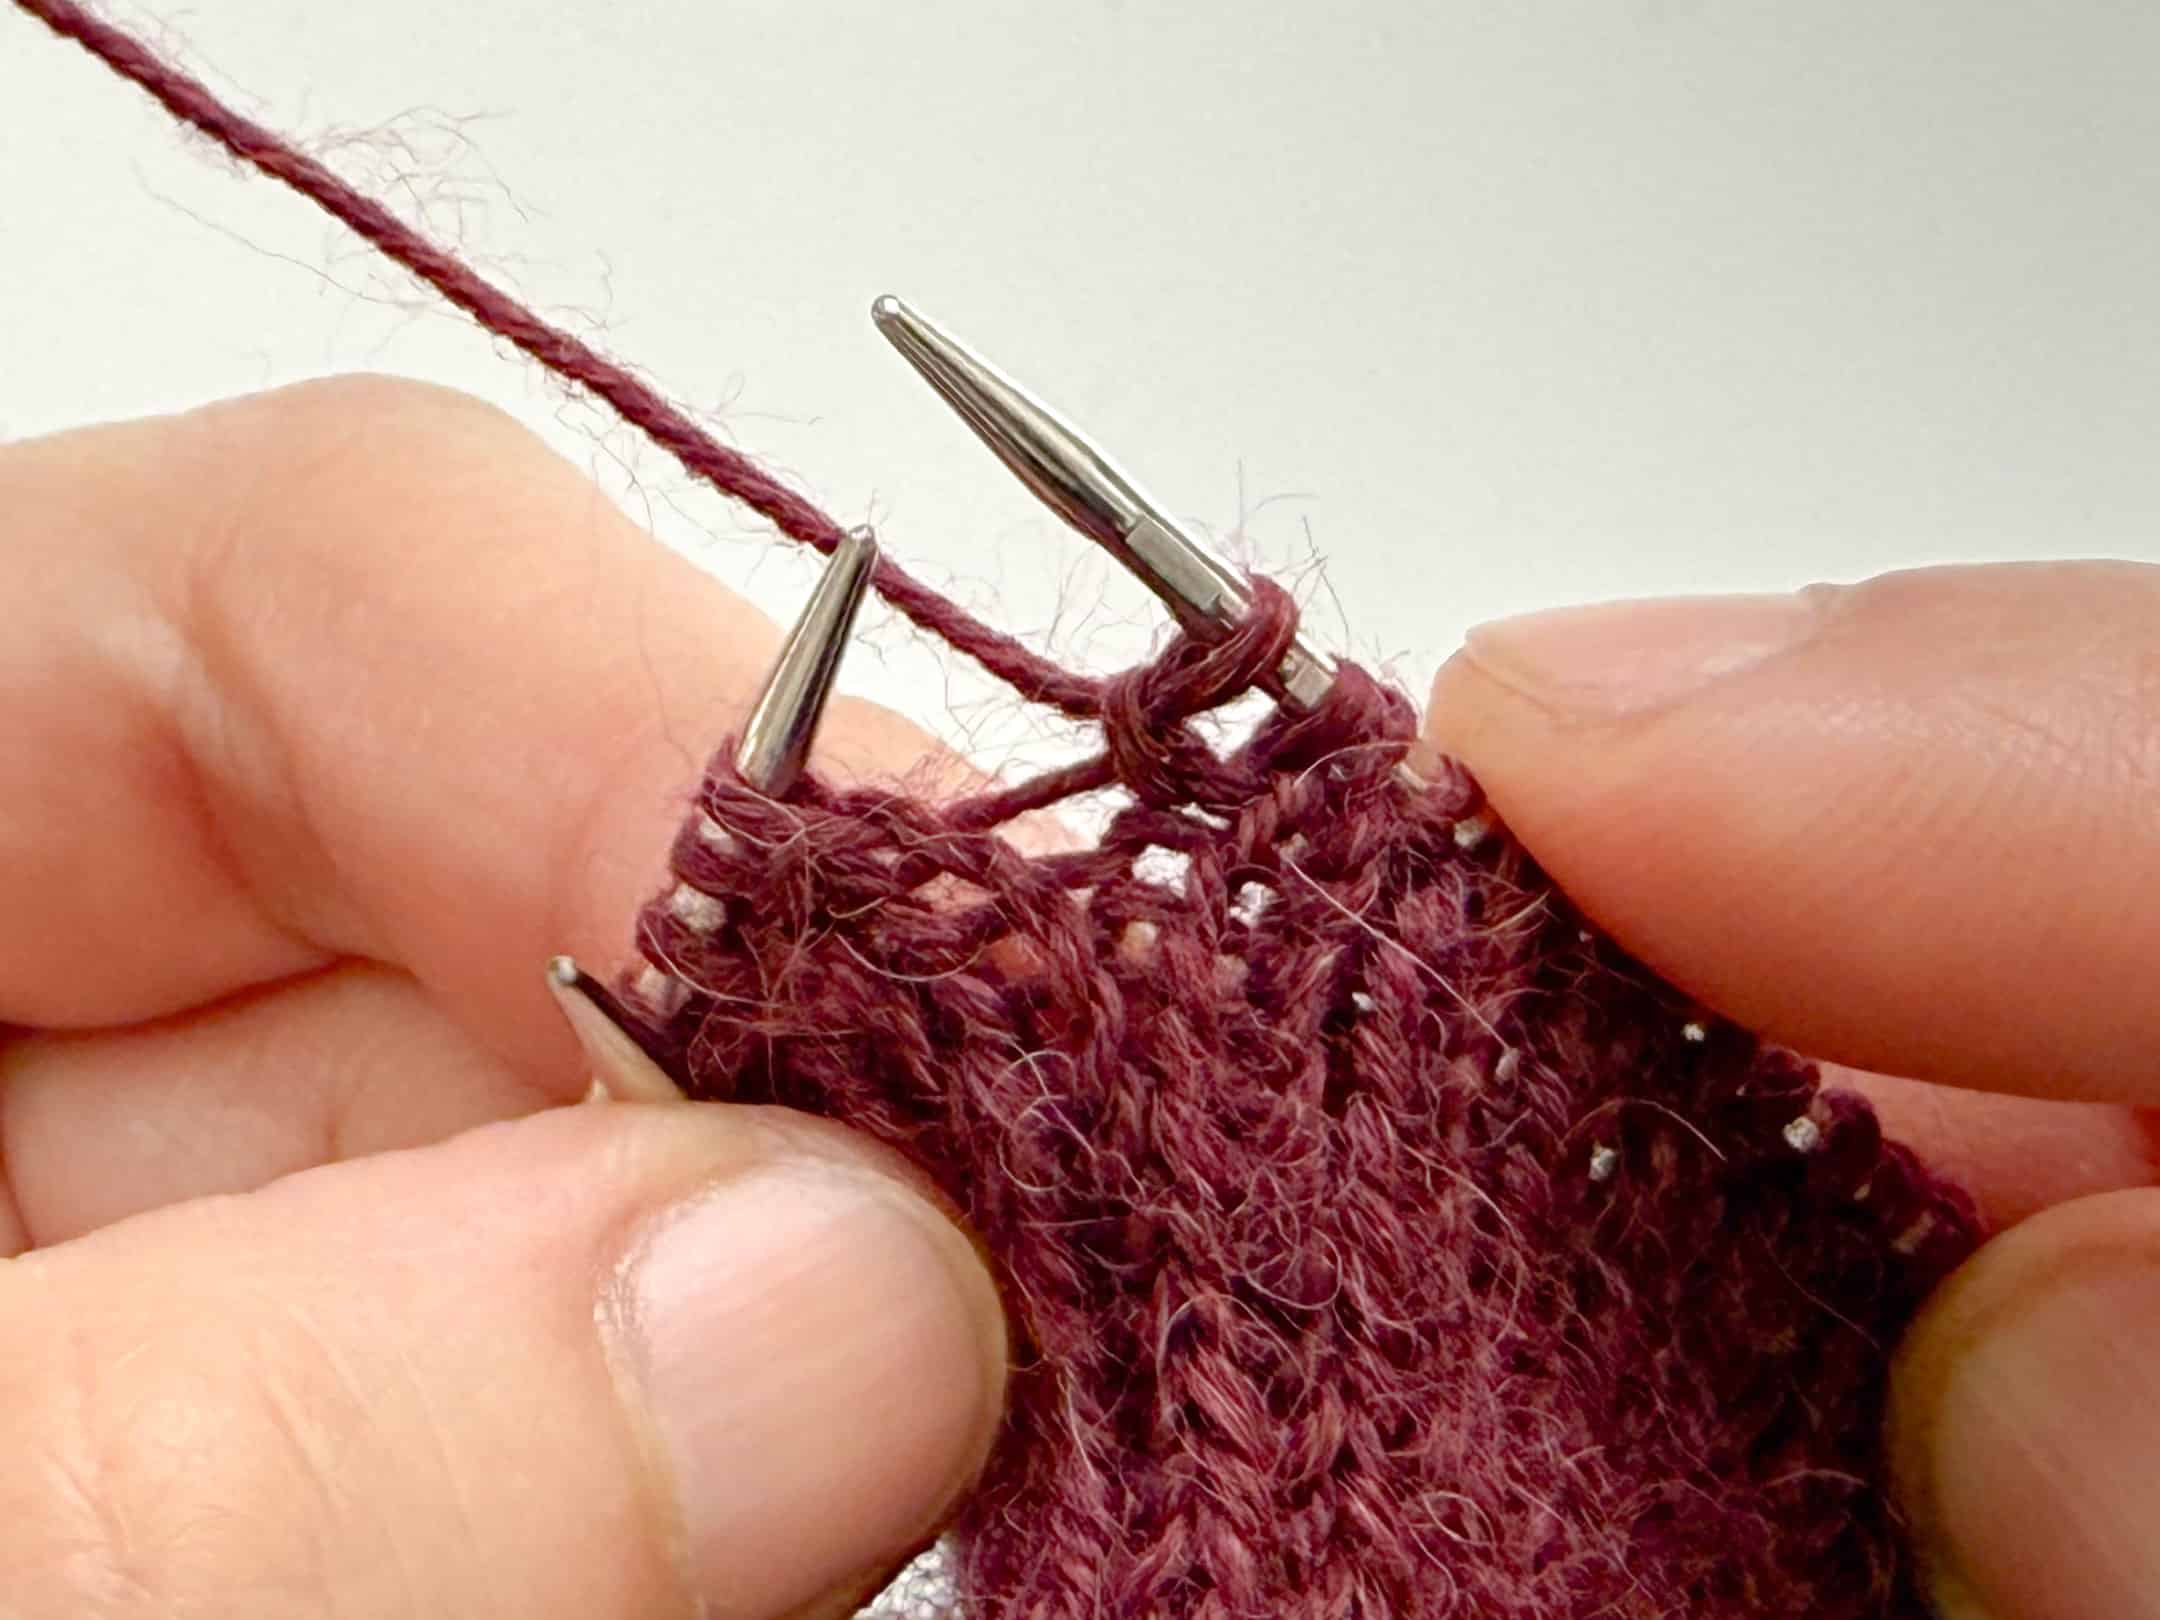
Pm after 36 sts and after 37 sts. The markers indicate the beg and the end of thumb gusset.
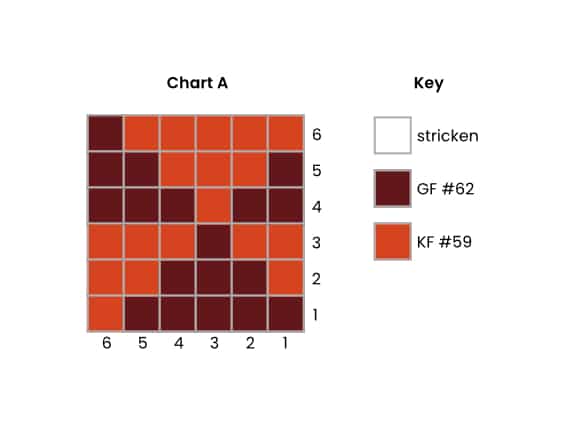
Change to the larger needles. You will now work Chart A and shape the thumb gusset at the same time. The thumb gusset is worked between the two markers.
Thumb gusset rounds:
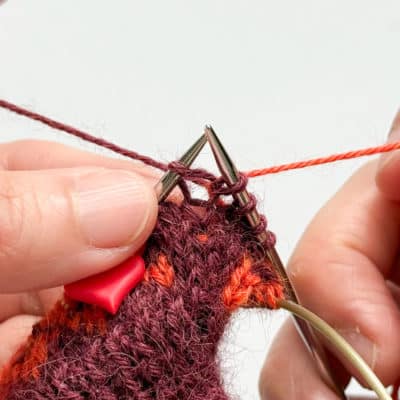
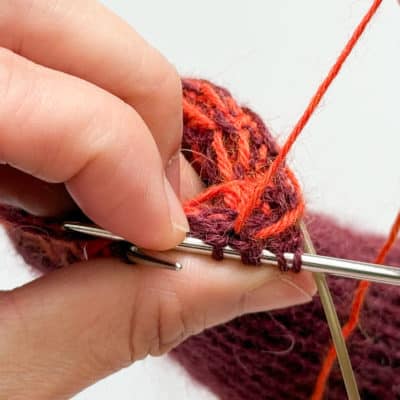
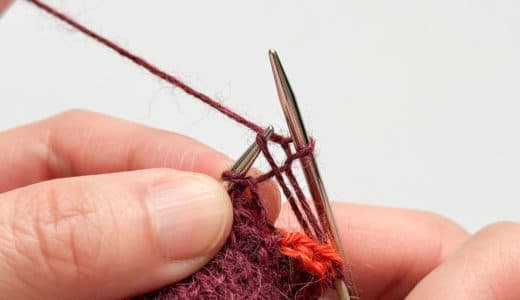
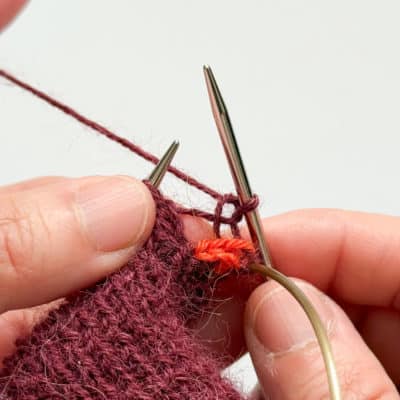
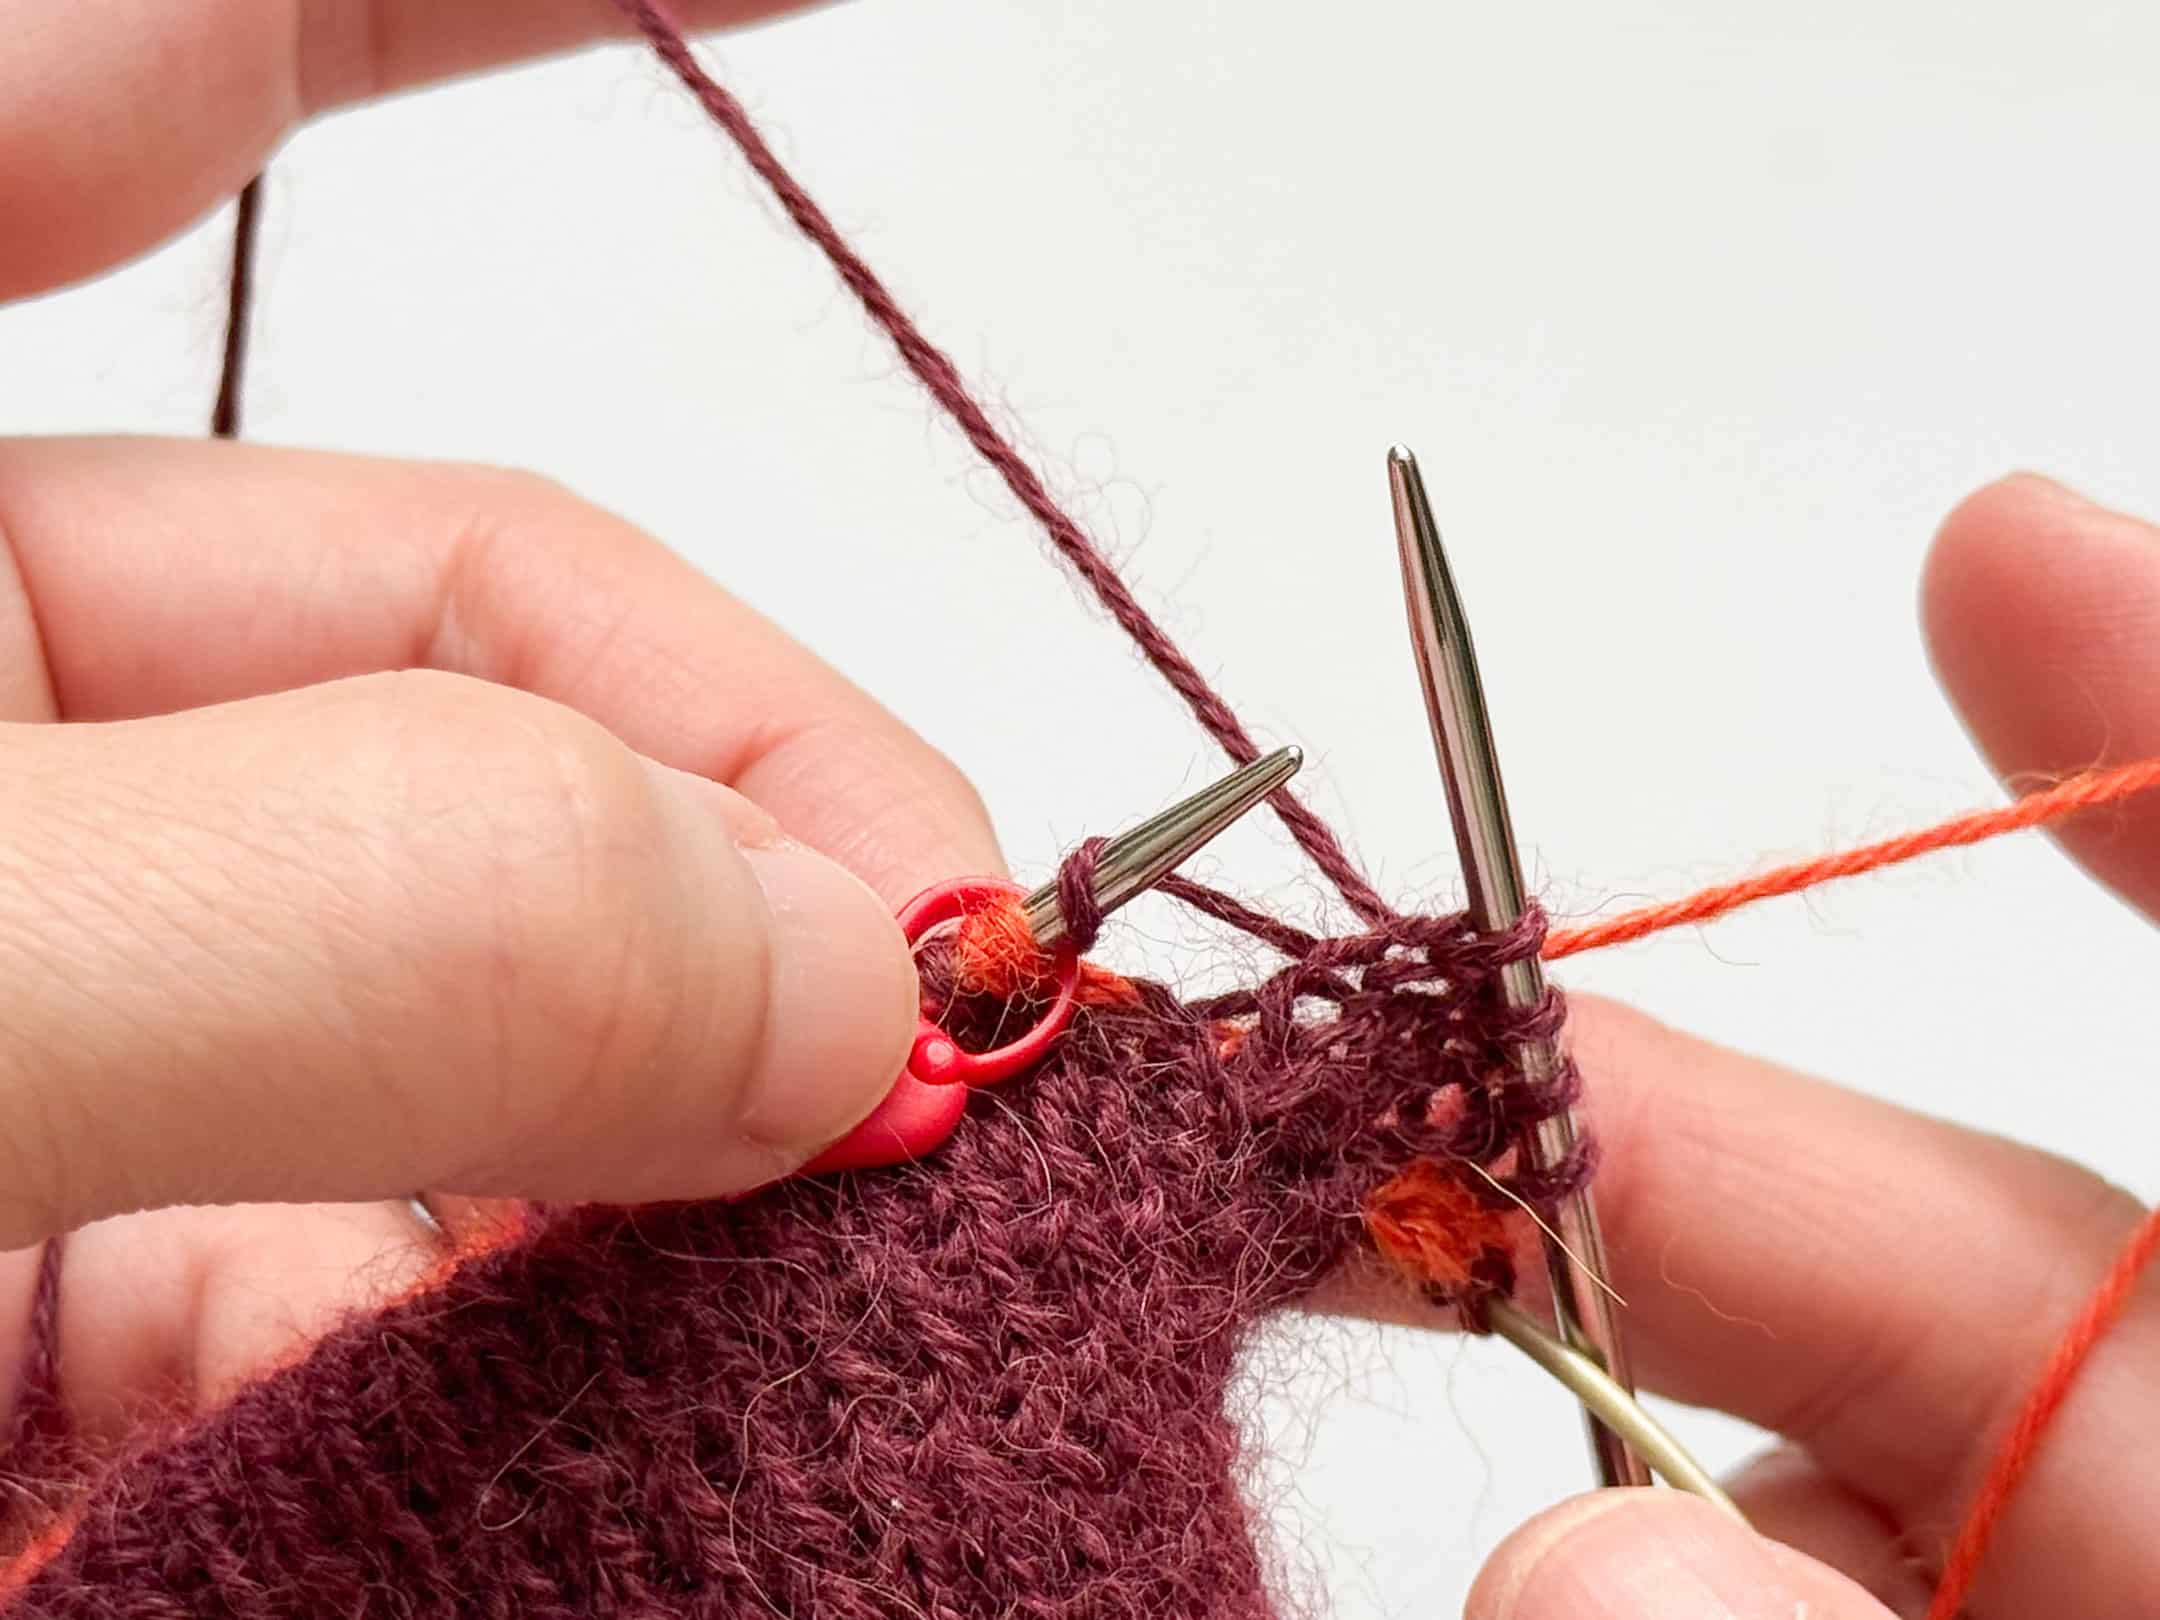
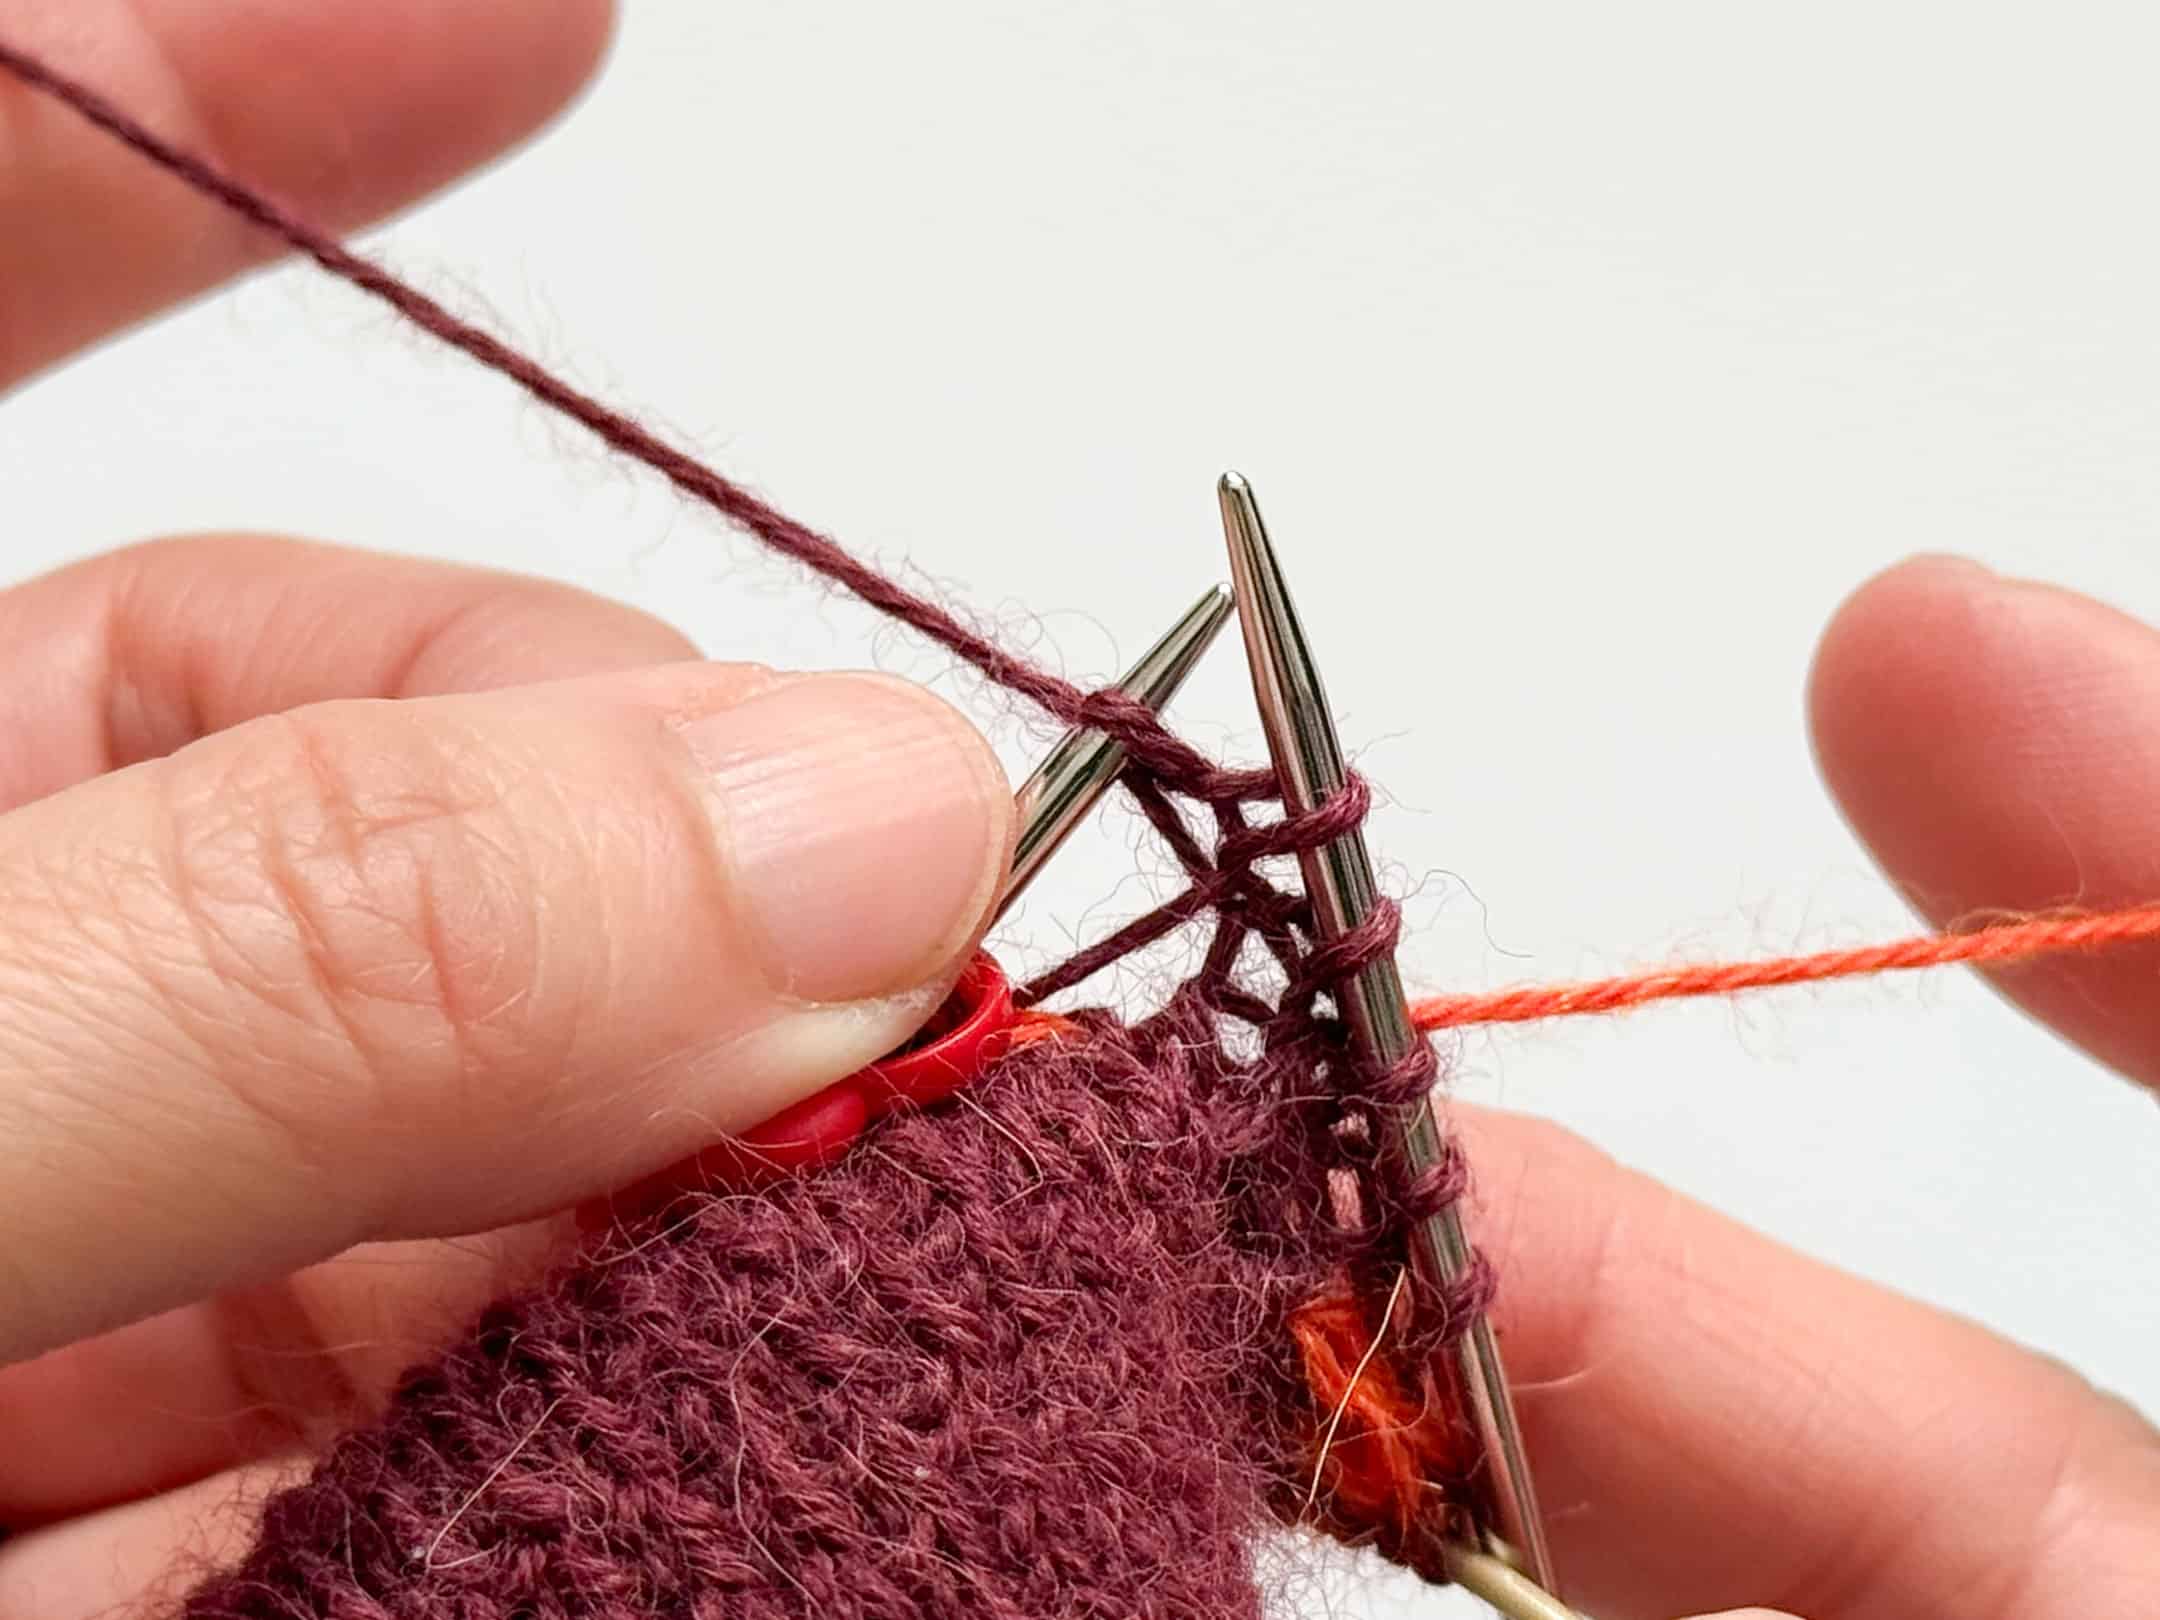
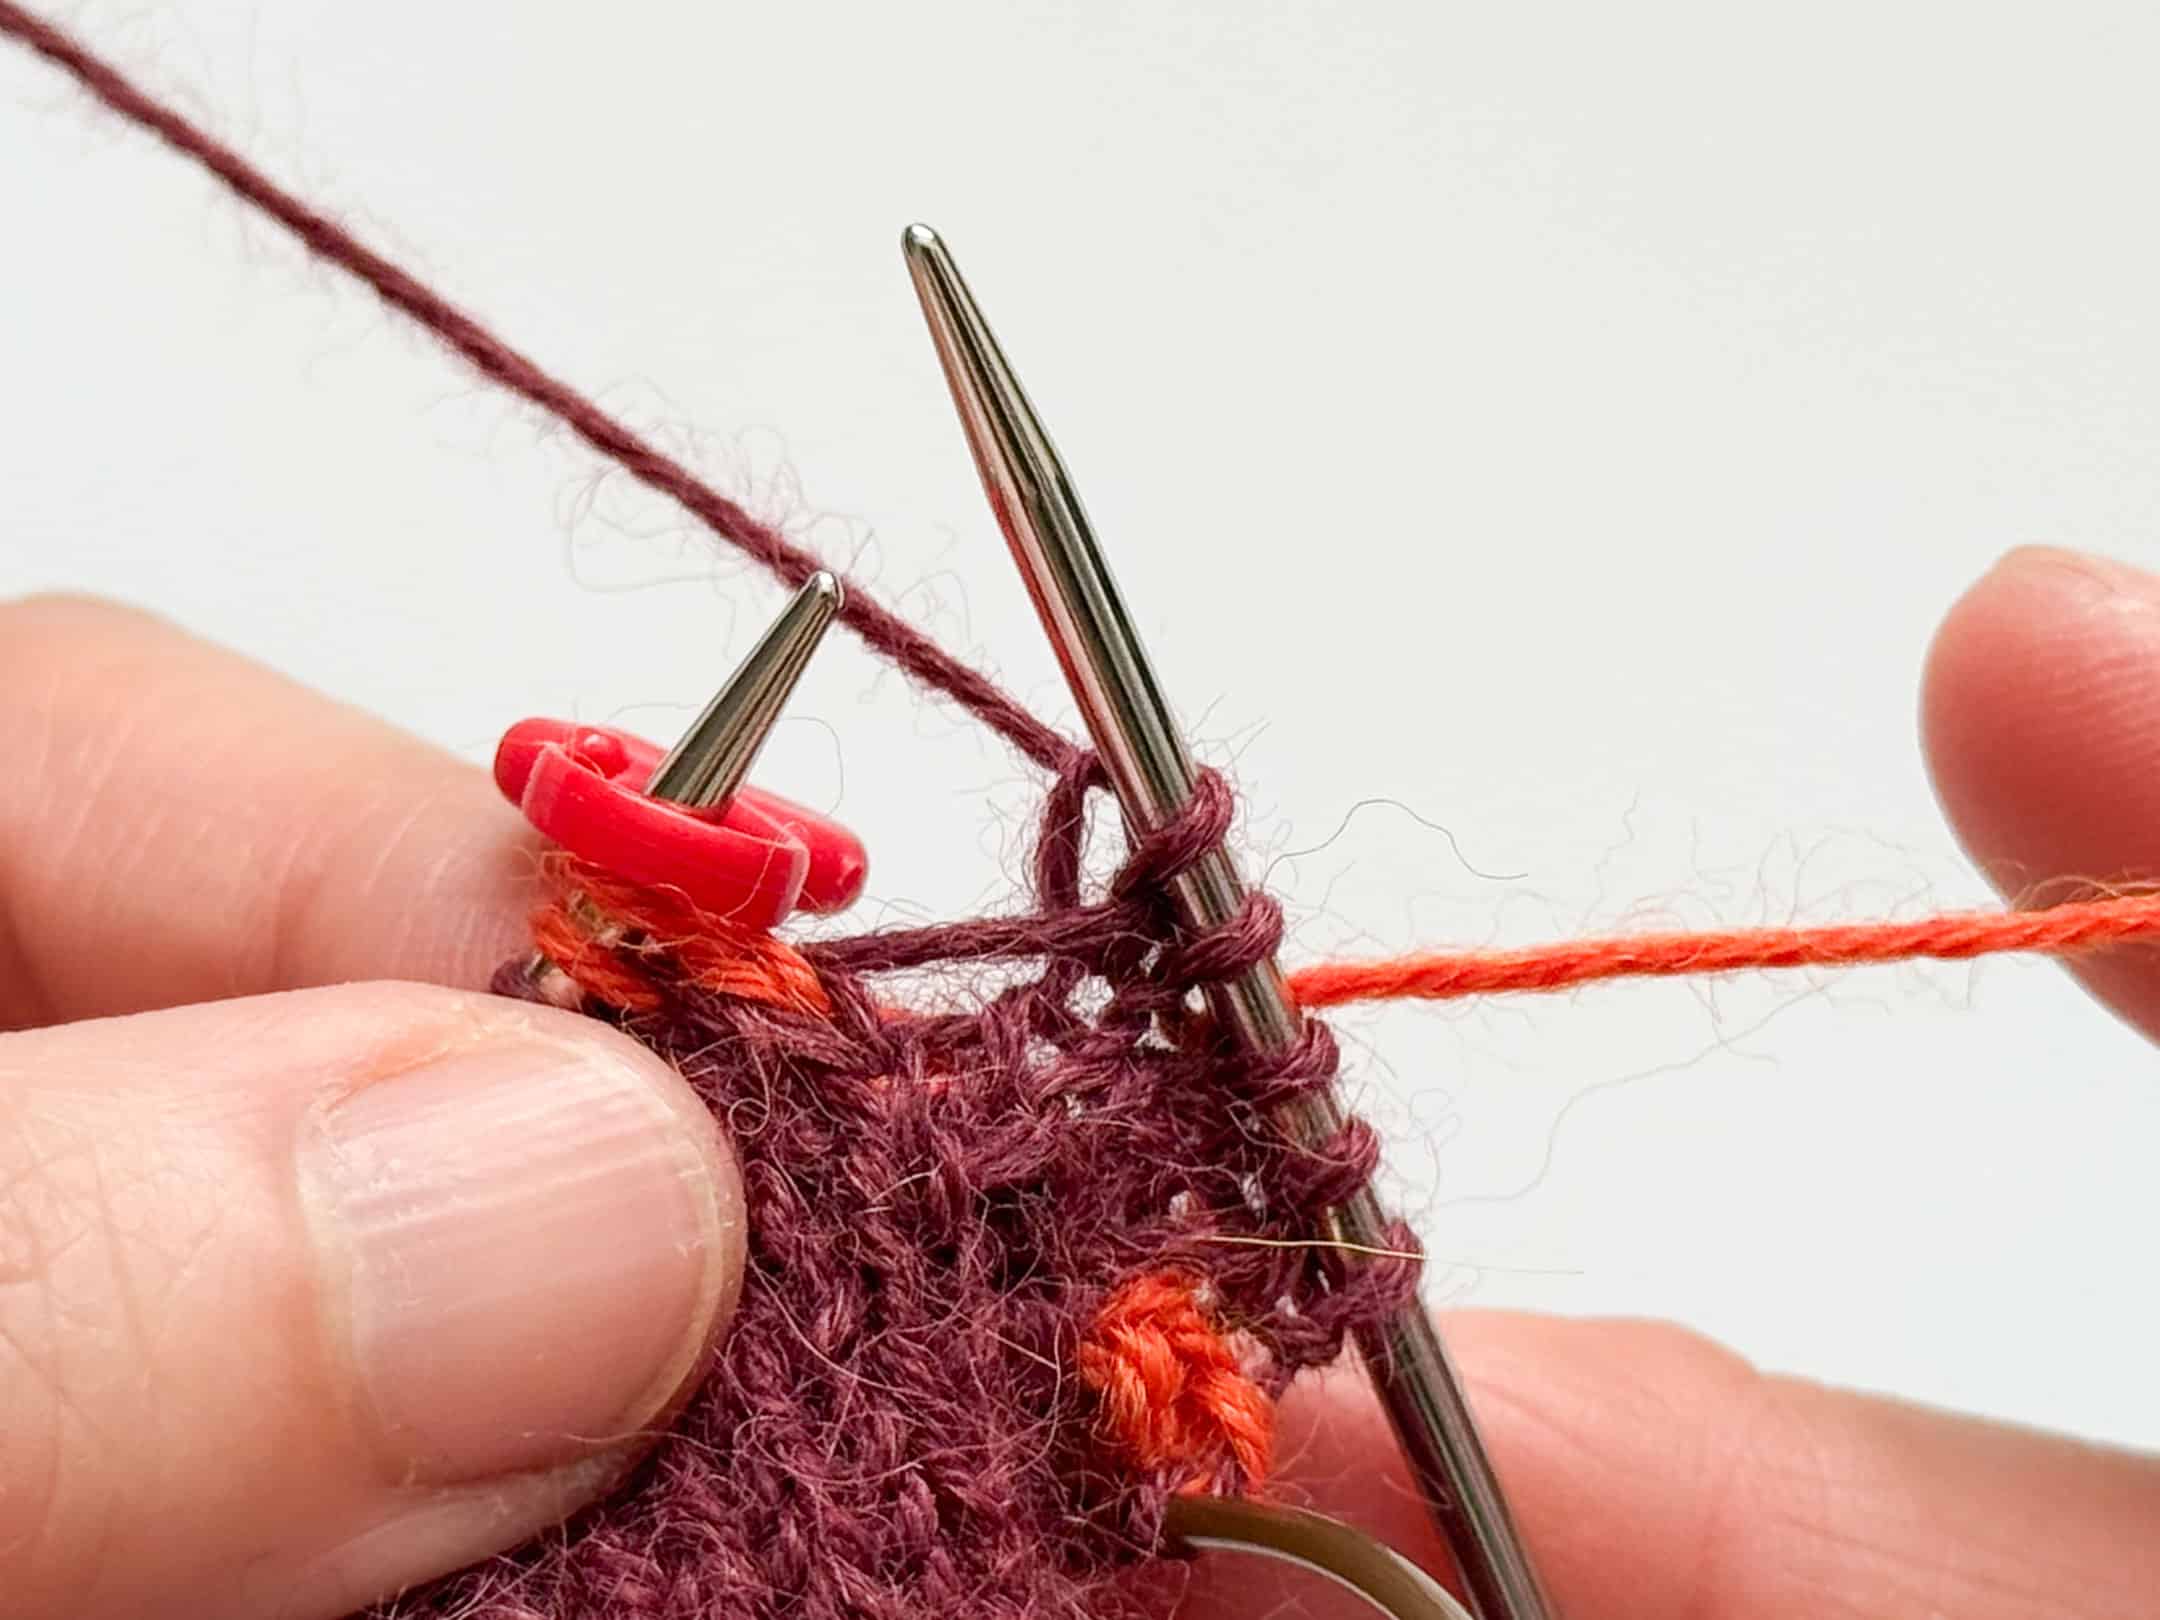
Inc rnd: Work in patt to marker, slm, M1L, knit to next marker, M1R, slm, work in pattern to end of round.
Non-inc rnd: Work in pattern to marker, slm, knit to next m, slm, work in pattern to end of round.
Work the thumb gusset inc rnd every 3rd rnds 7 time(s), then every 4th rnds 3 time.
A total of 20 sts are increased. There will now be 21 sts between the markers. [= 72 sts]
Thumb gusset shaping
Pm after 36 sts and after 37 sts. The markers indicate the beg and the end of thumb gusset.
Change to the larger needles. You will now work Chart A and shape the thumb gusset at the same time. The thumb gusset is worked between the two markers.
Thumb gusset rounds:
Inc rnd: Work in patt to marker, slm, M1L, knit to next marker, M1R, slm, work in pattern to end of round.
Non-inc rnd: Work in pattern to marker, slm, knit to next m, slm, work in pattern to end of round.
Work the thumb gusset inc rnd every 3rd rnds 7 time(s), then every 4th rnds 3 time.
A total of 20 sts are increased. There will now be 21 sts between the markers. [= 72 sts]

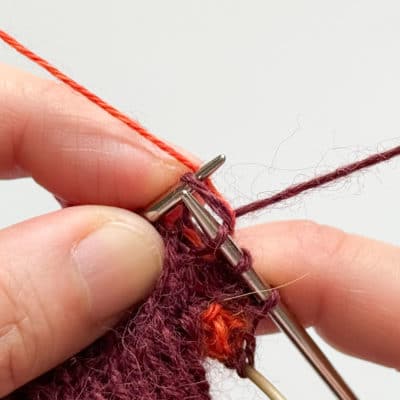
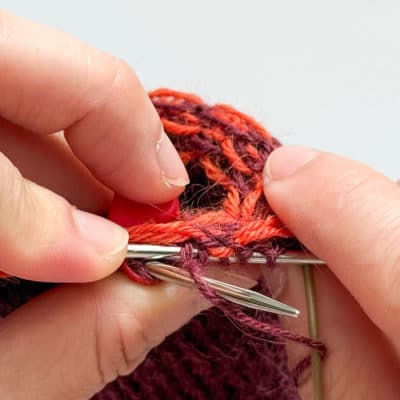
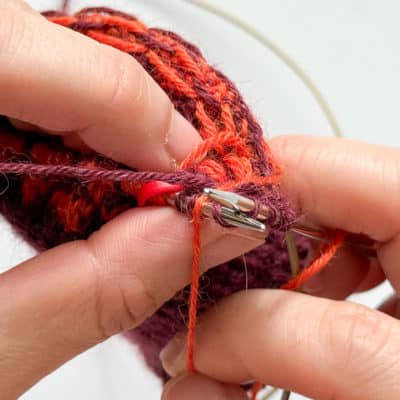
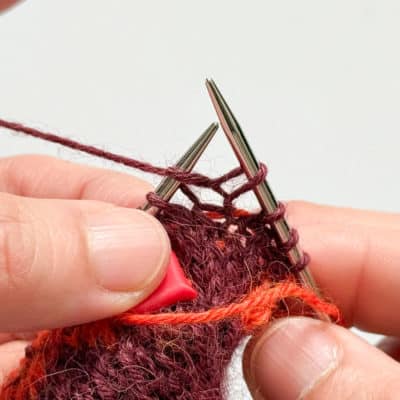
Note:
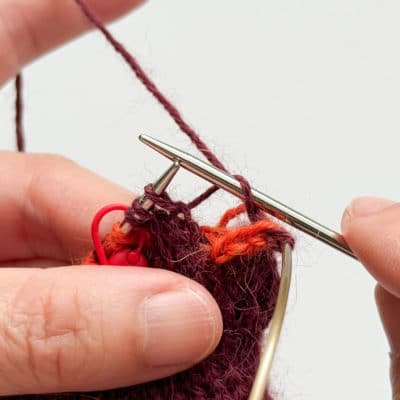
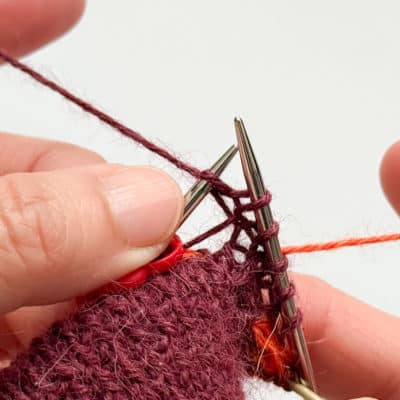
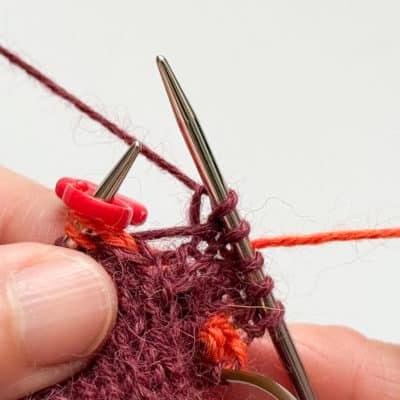
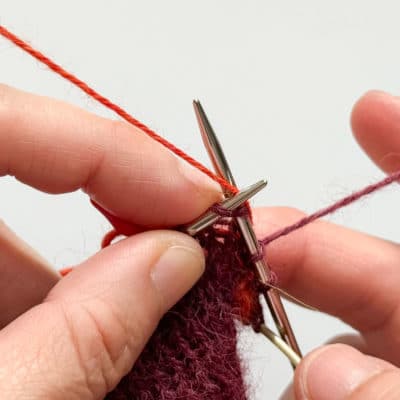
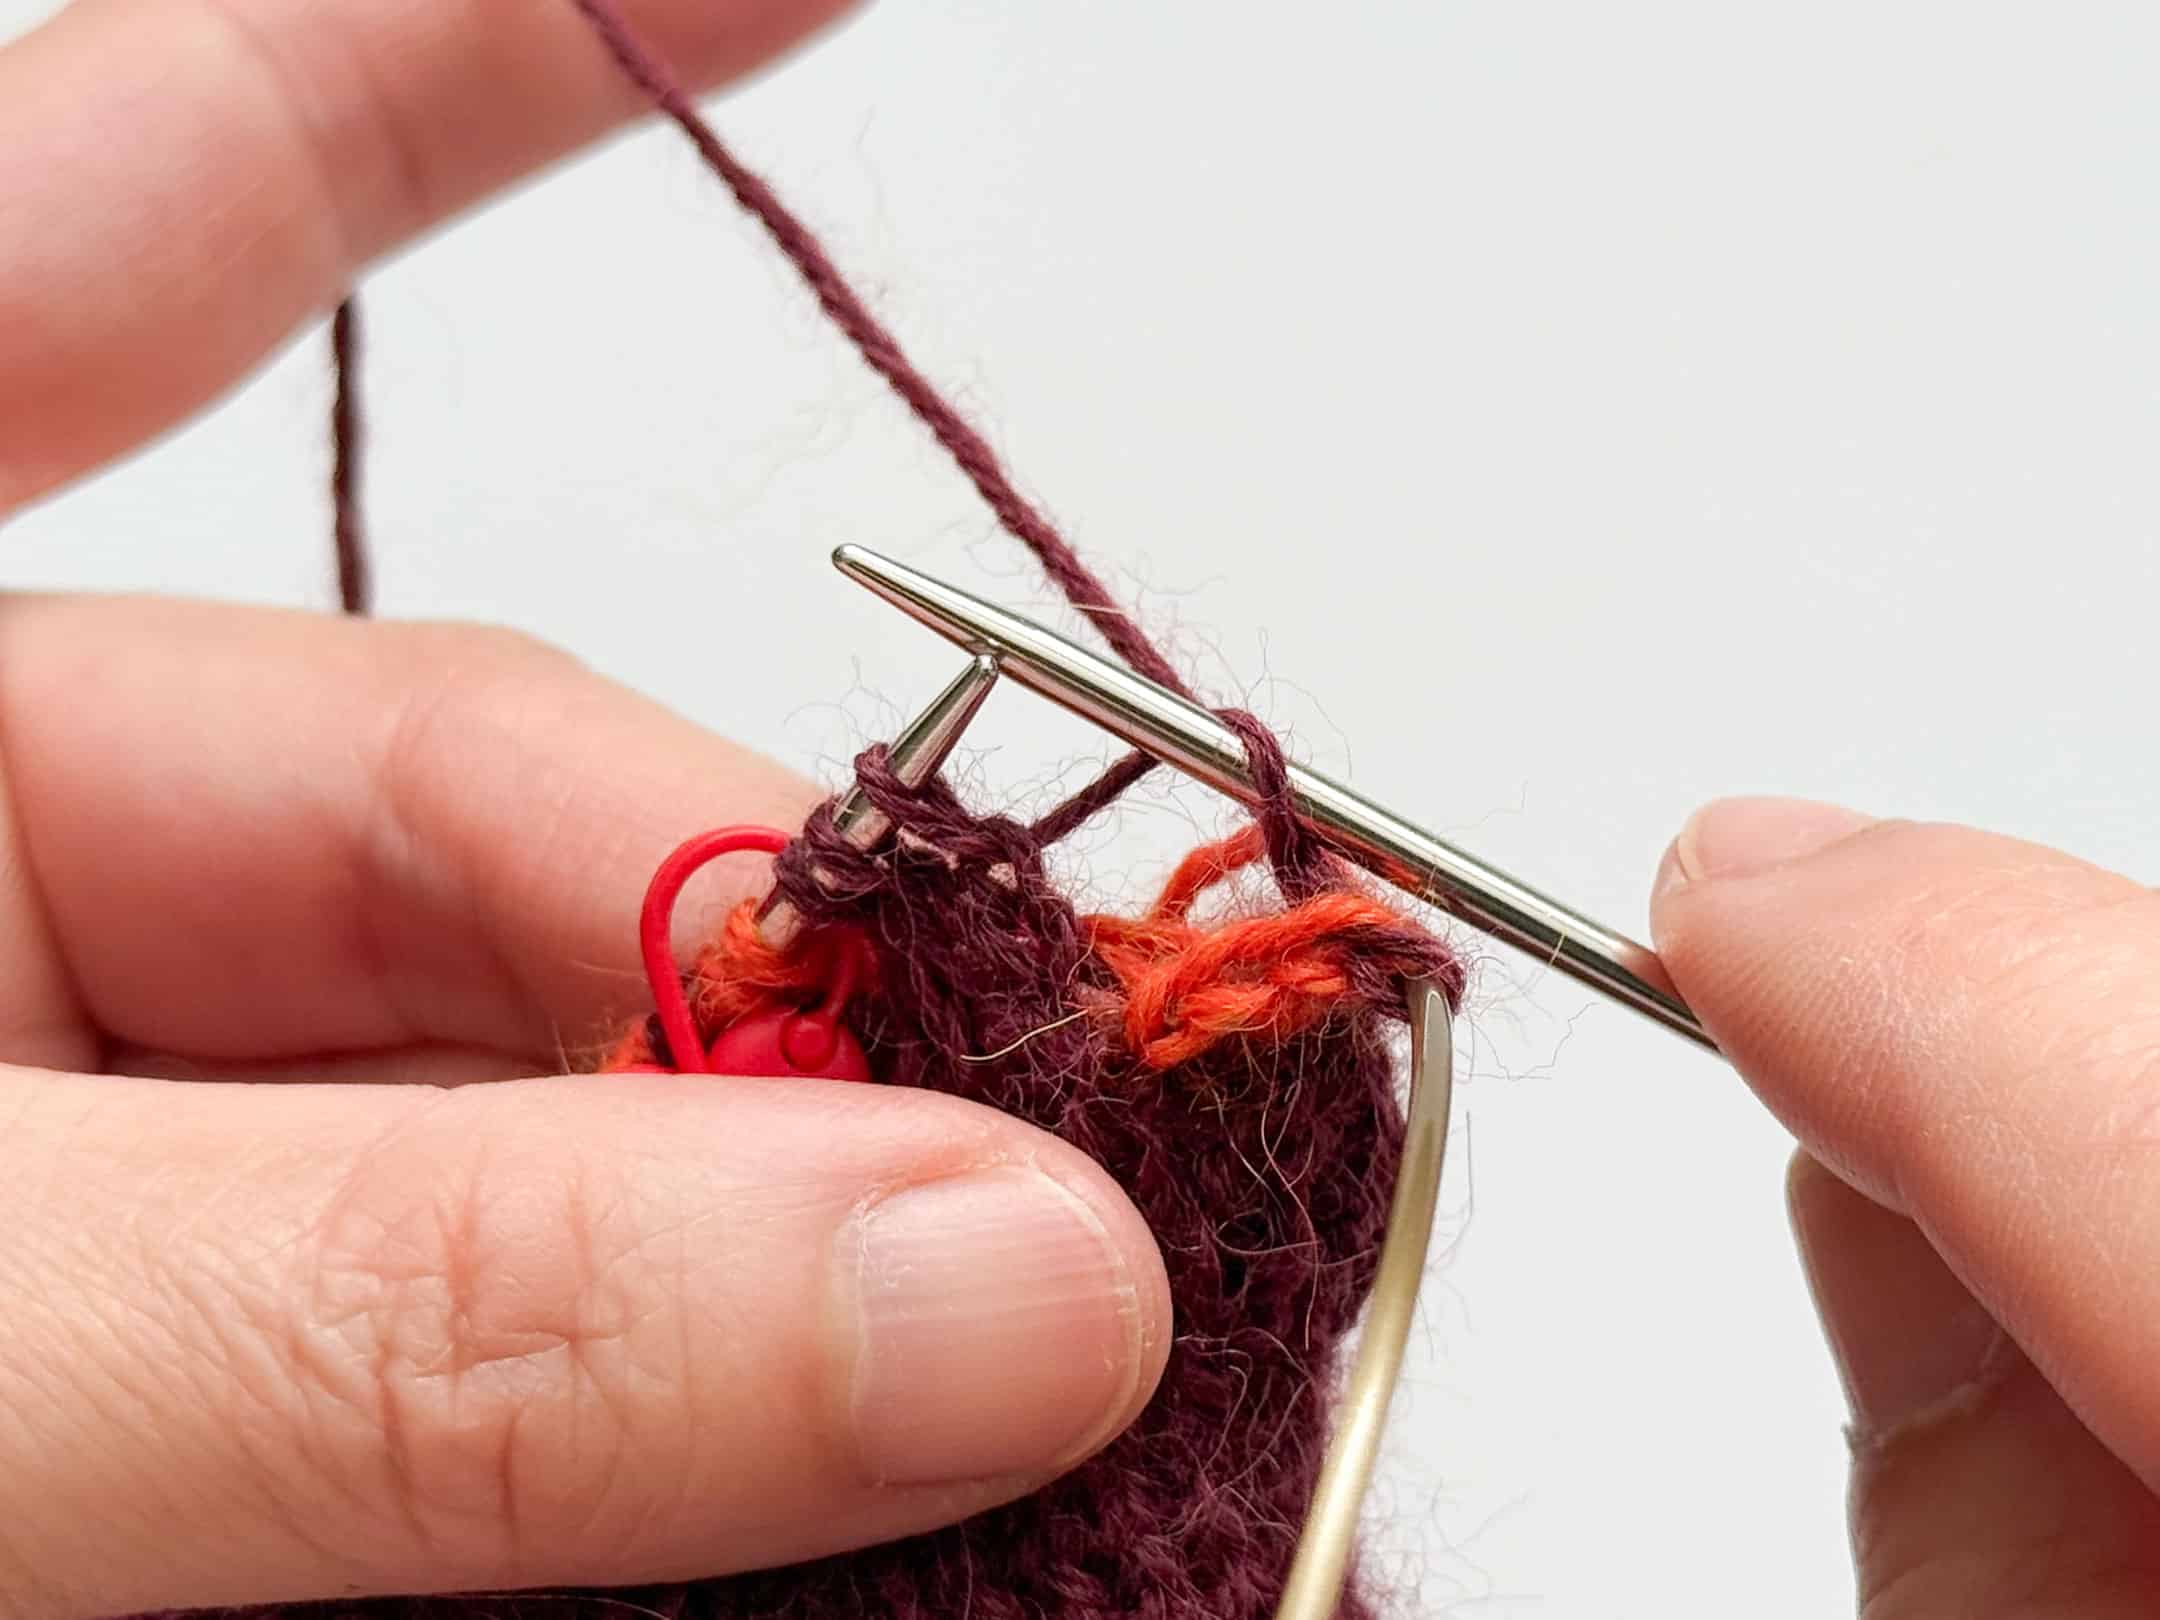
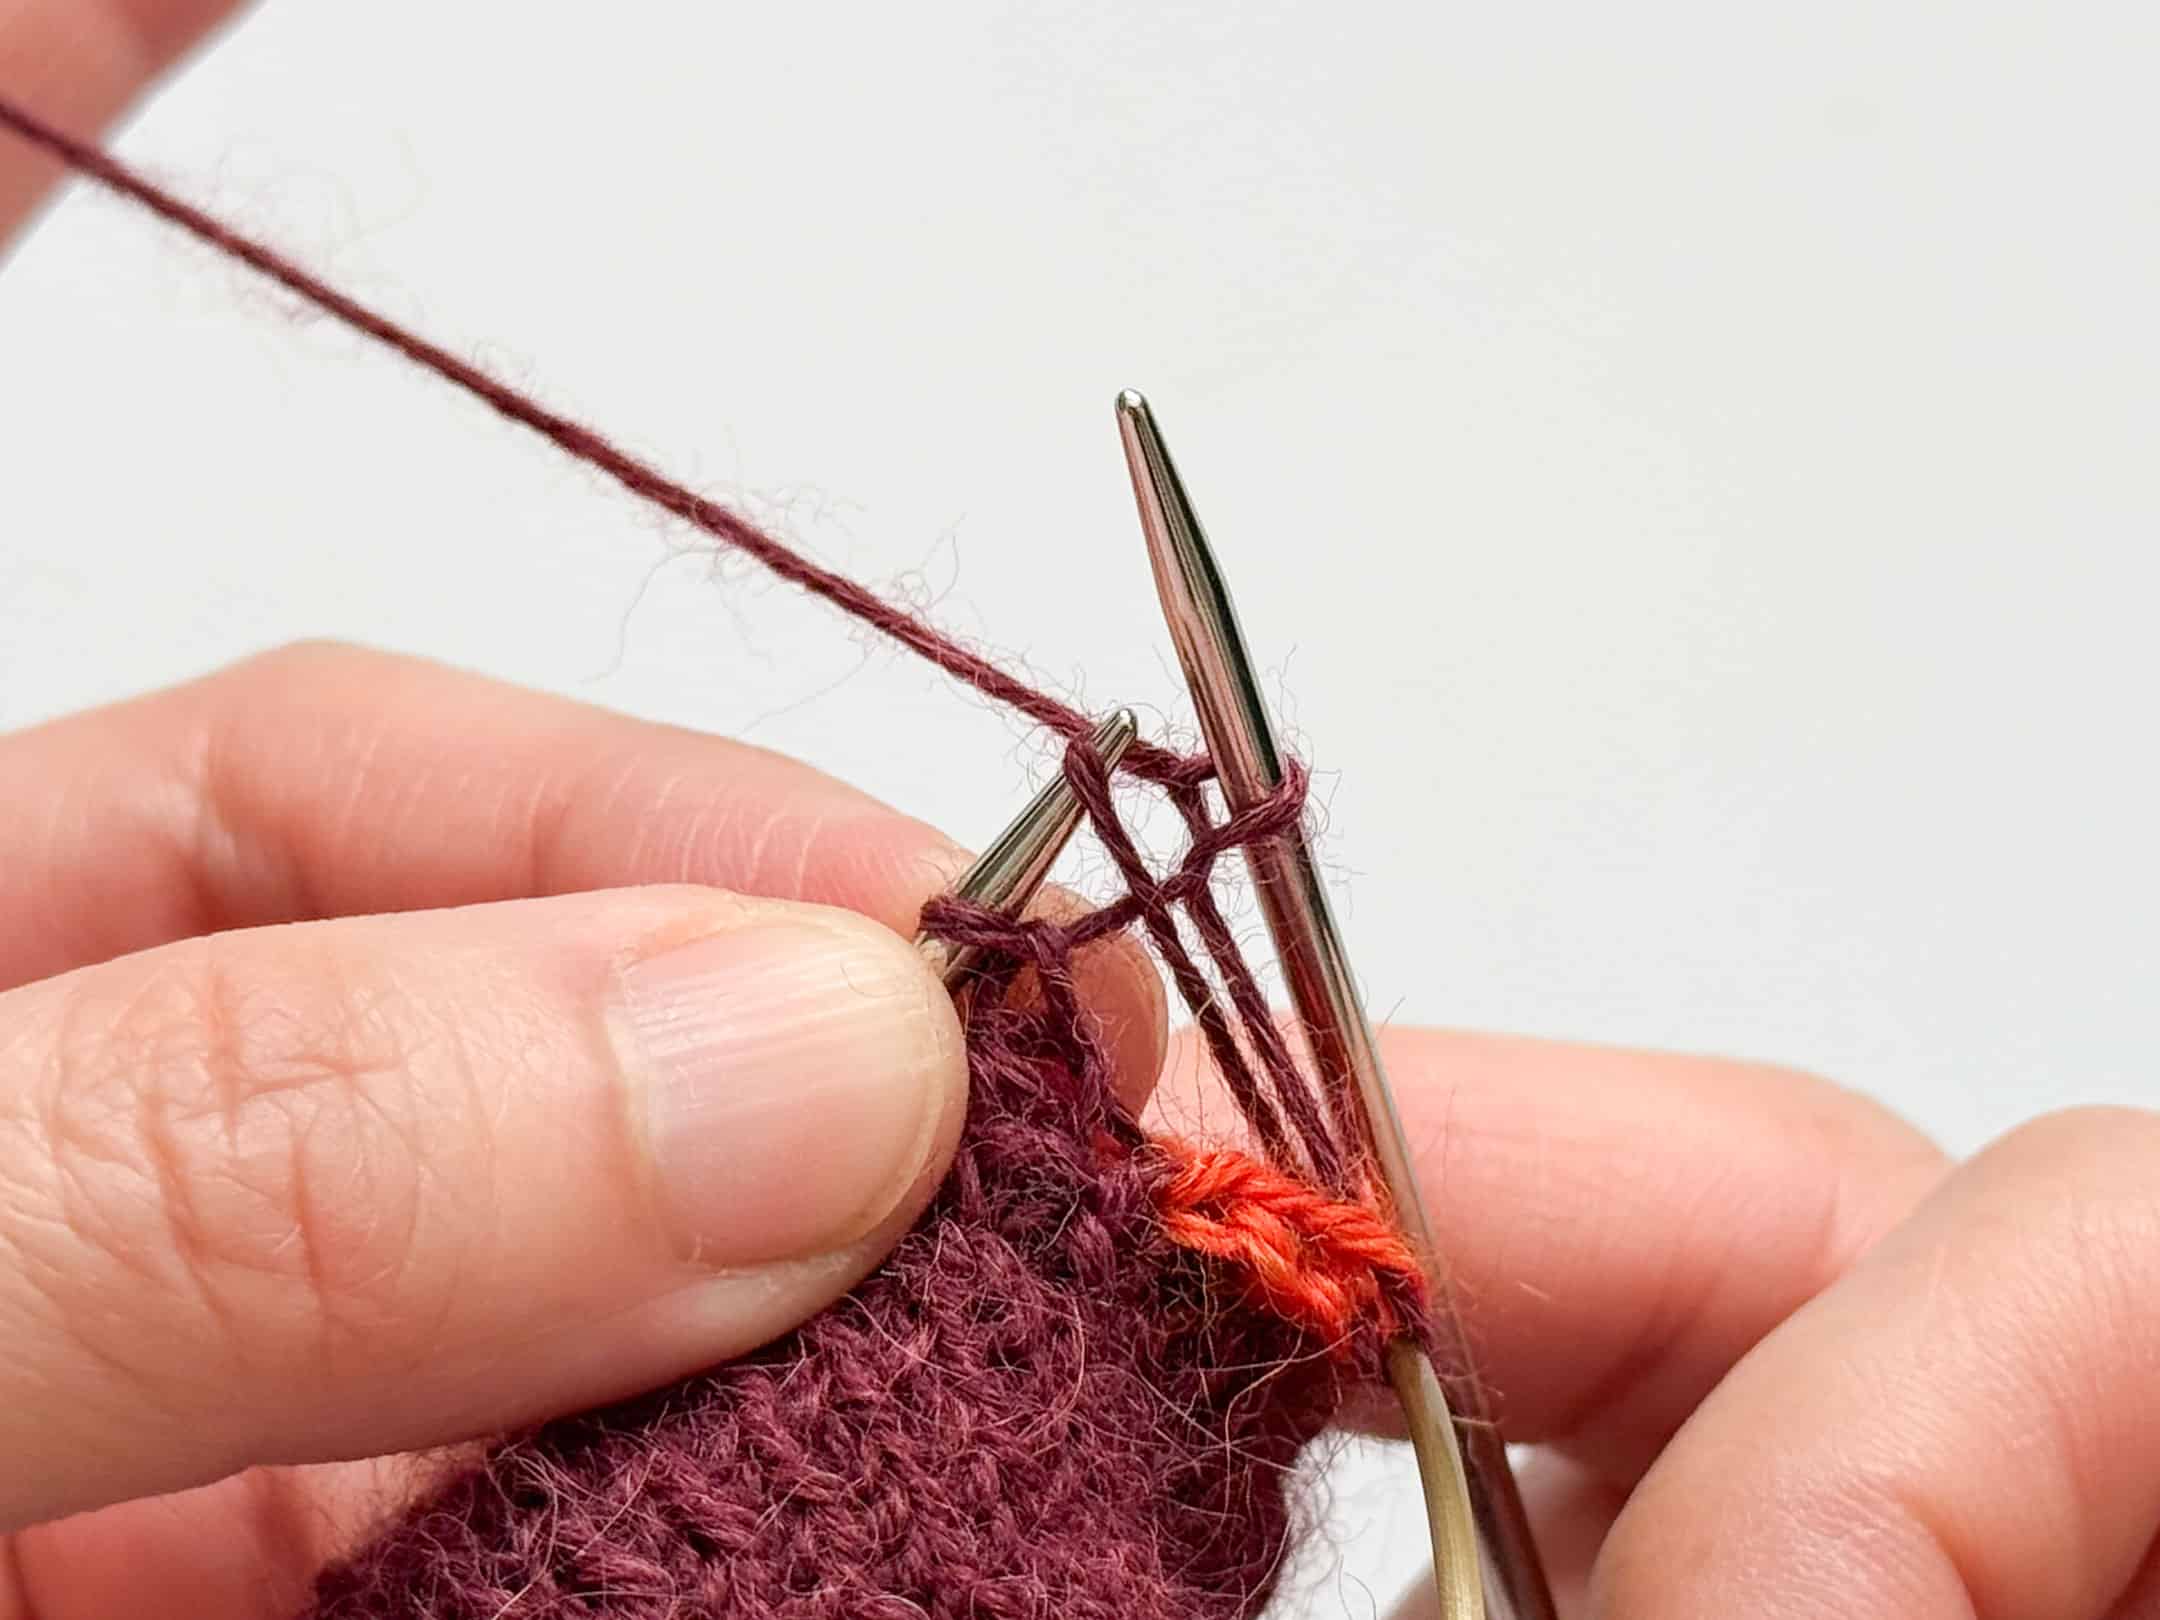
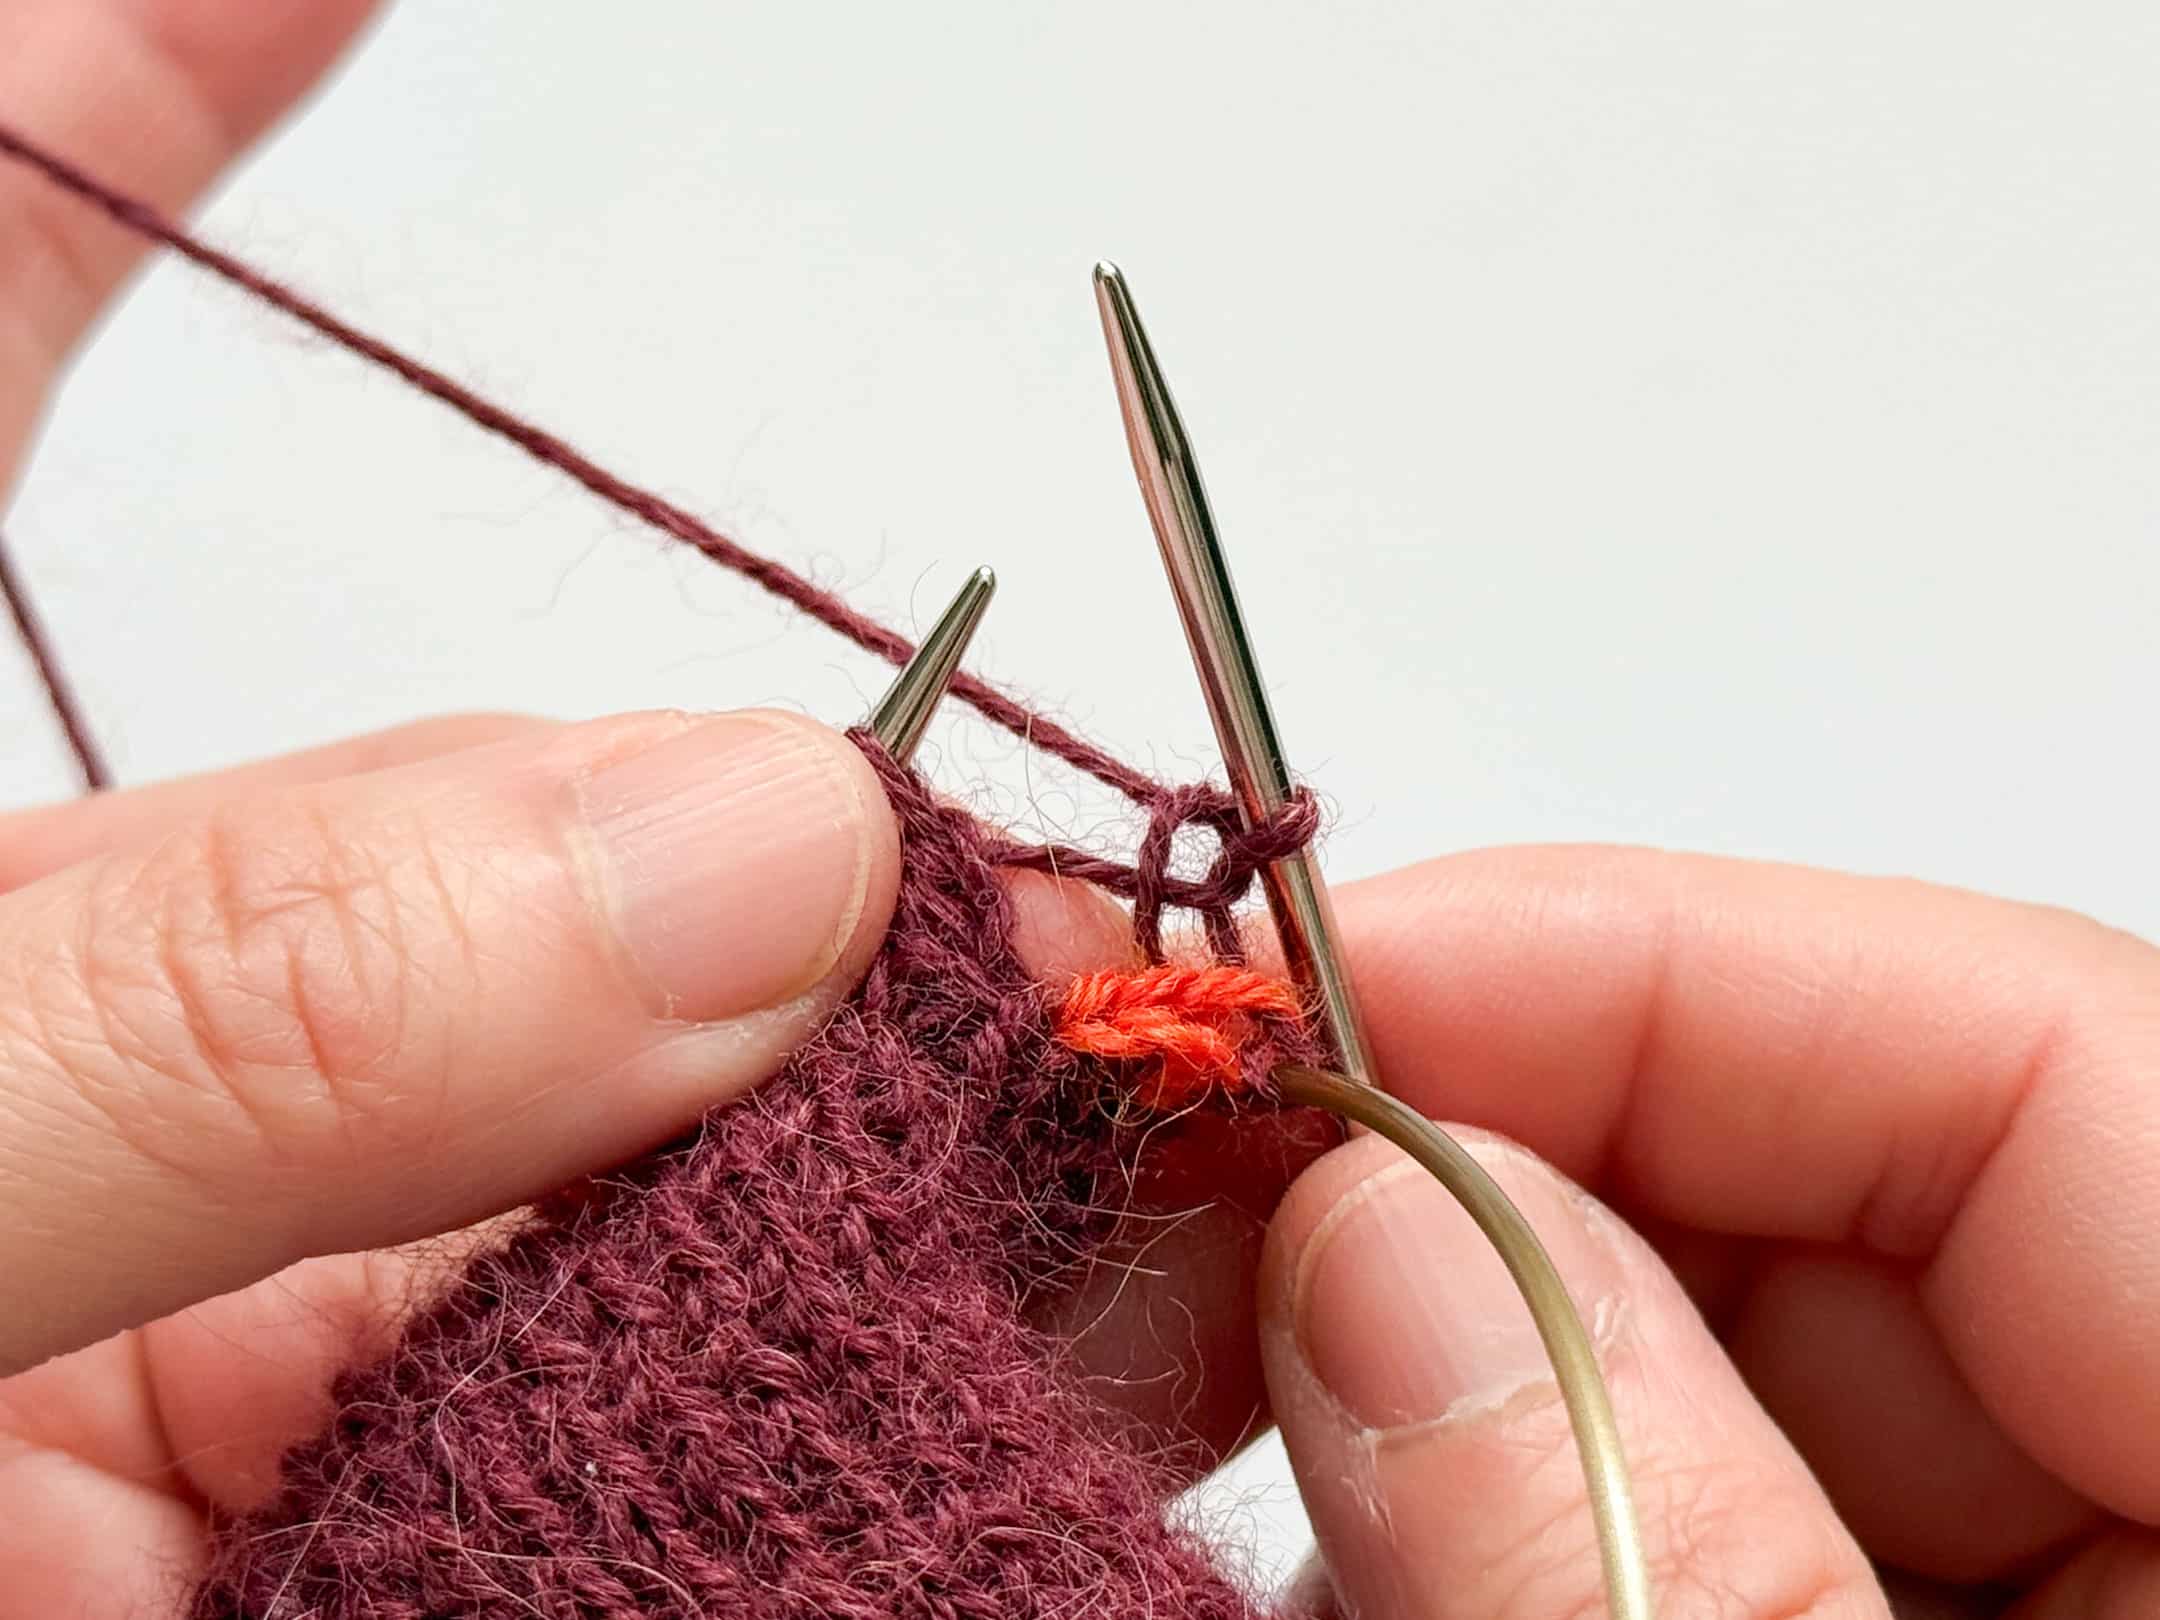
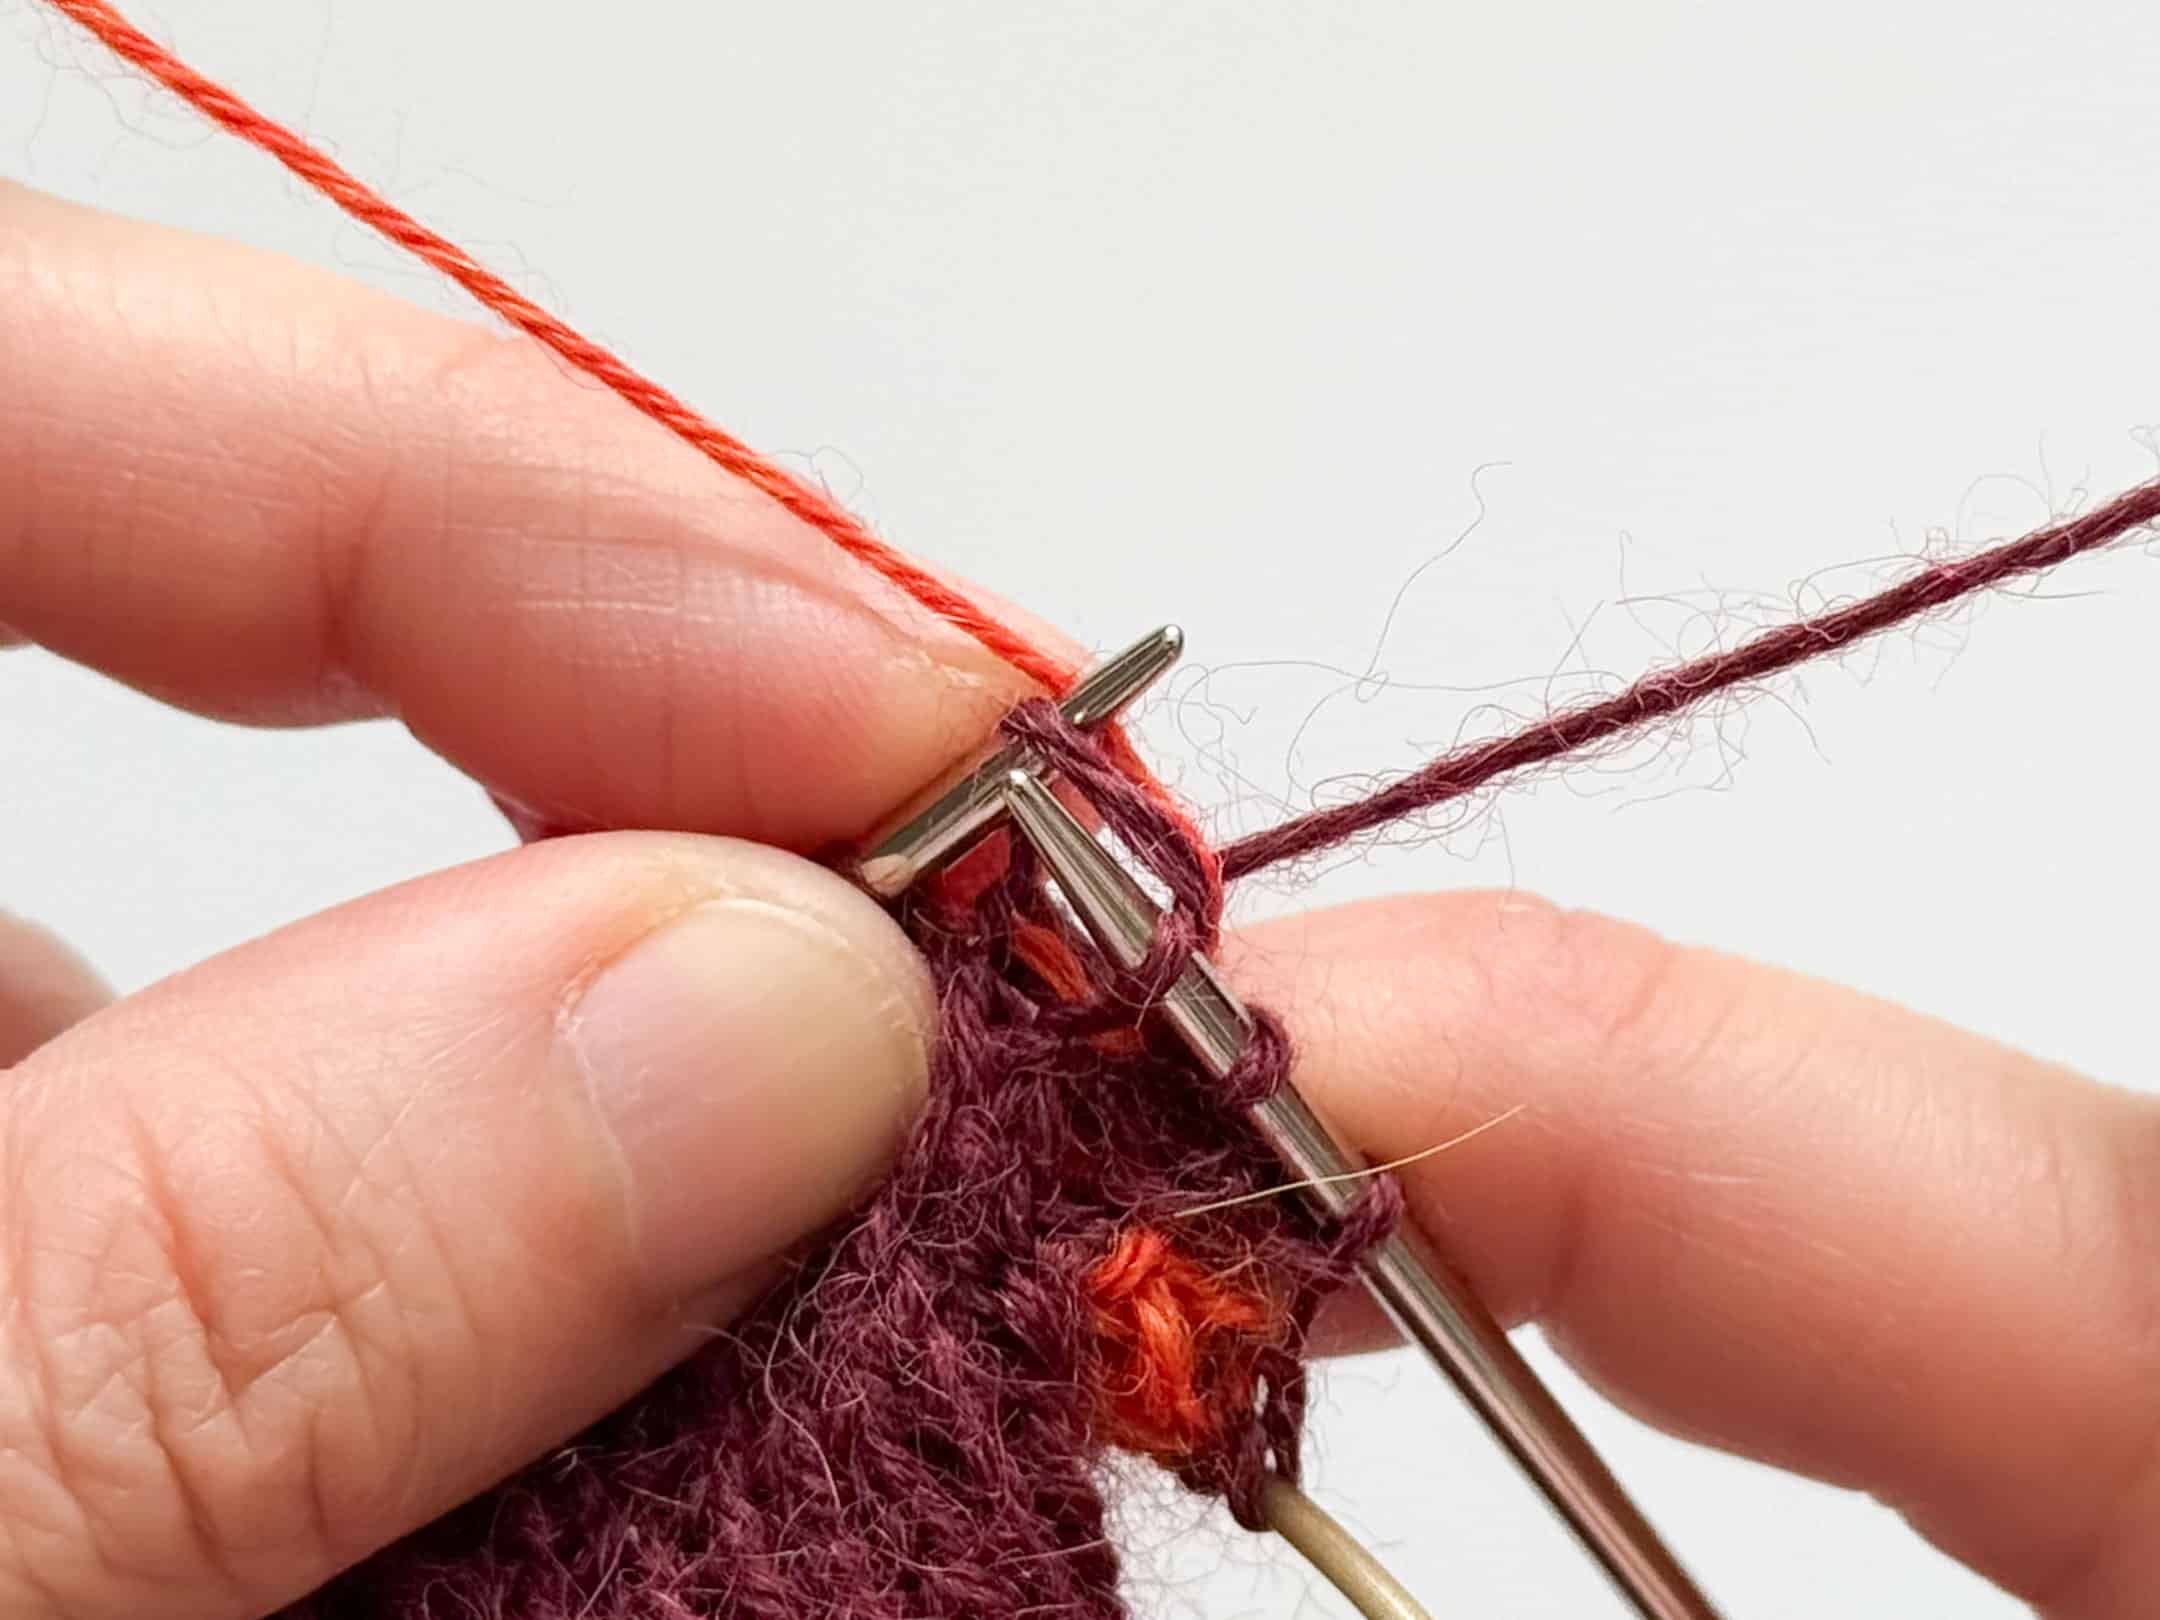
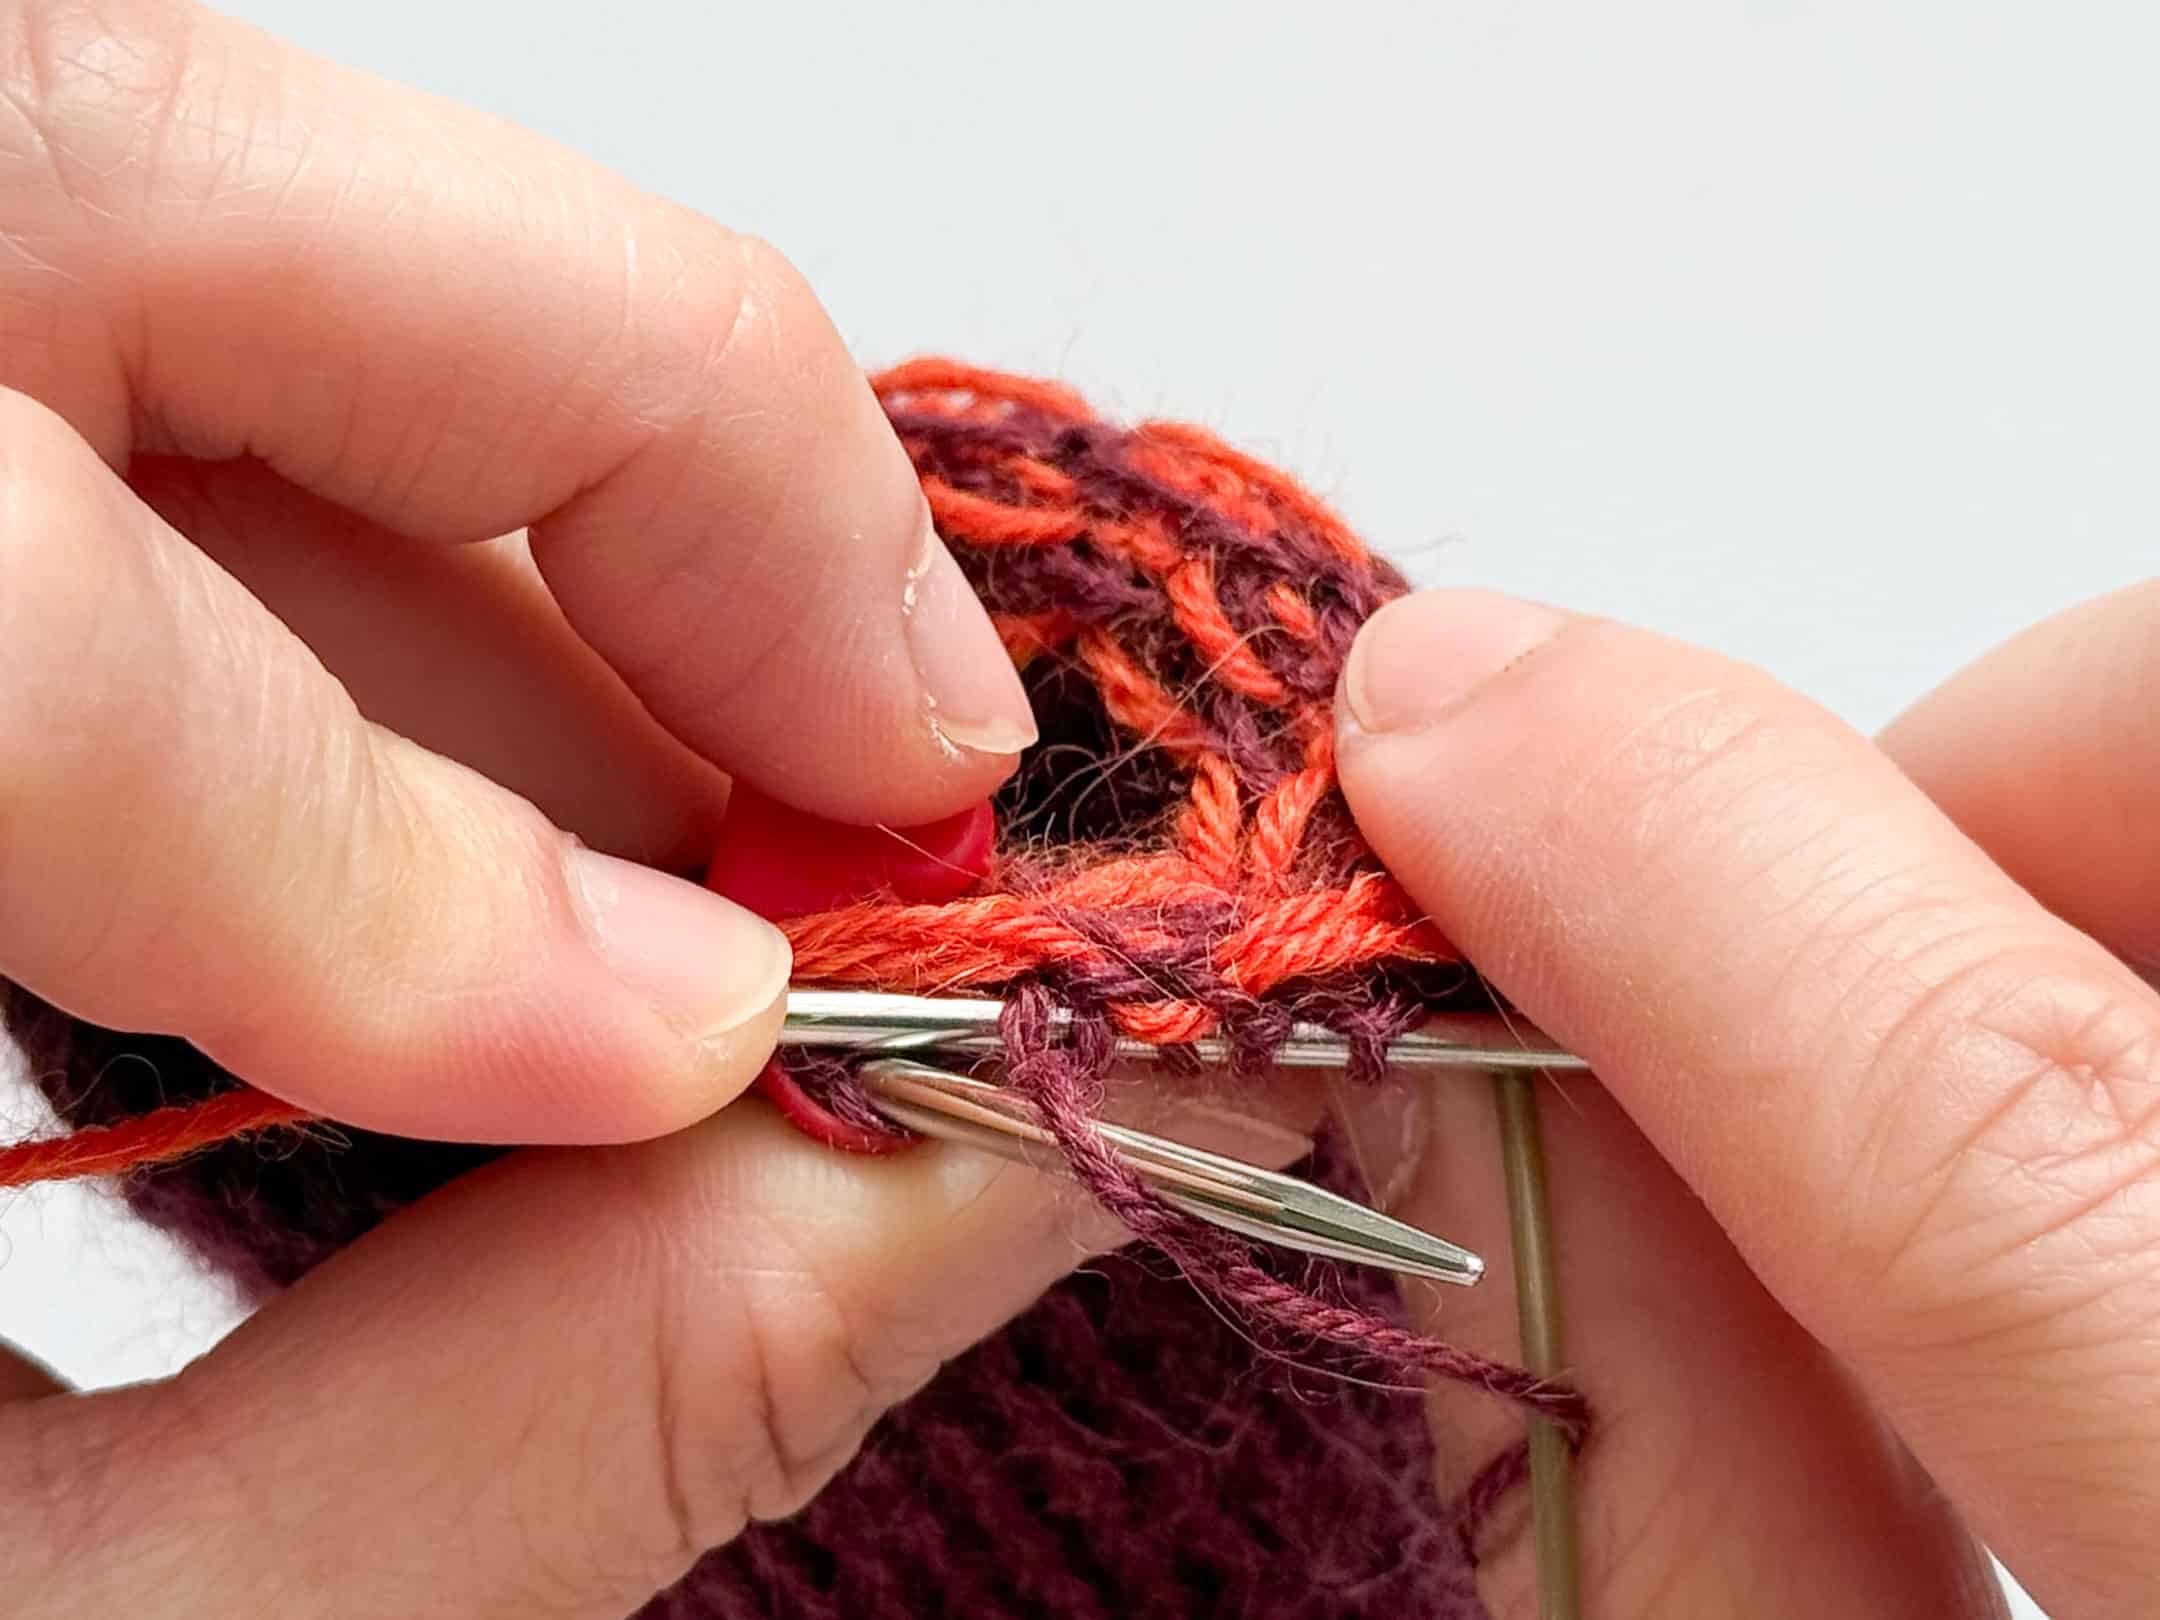
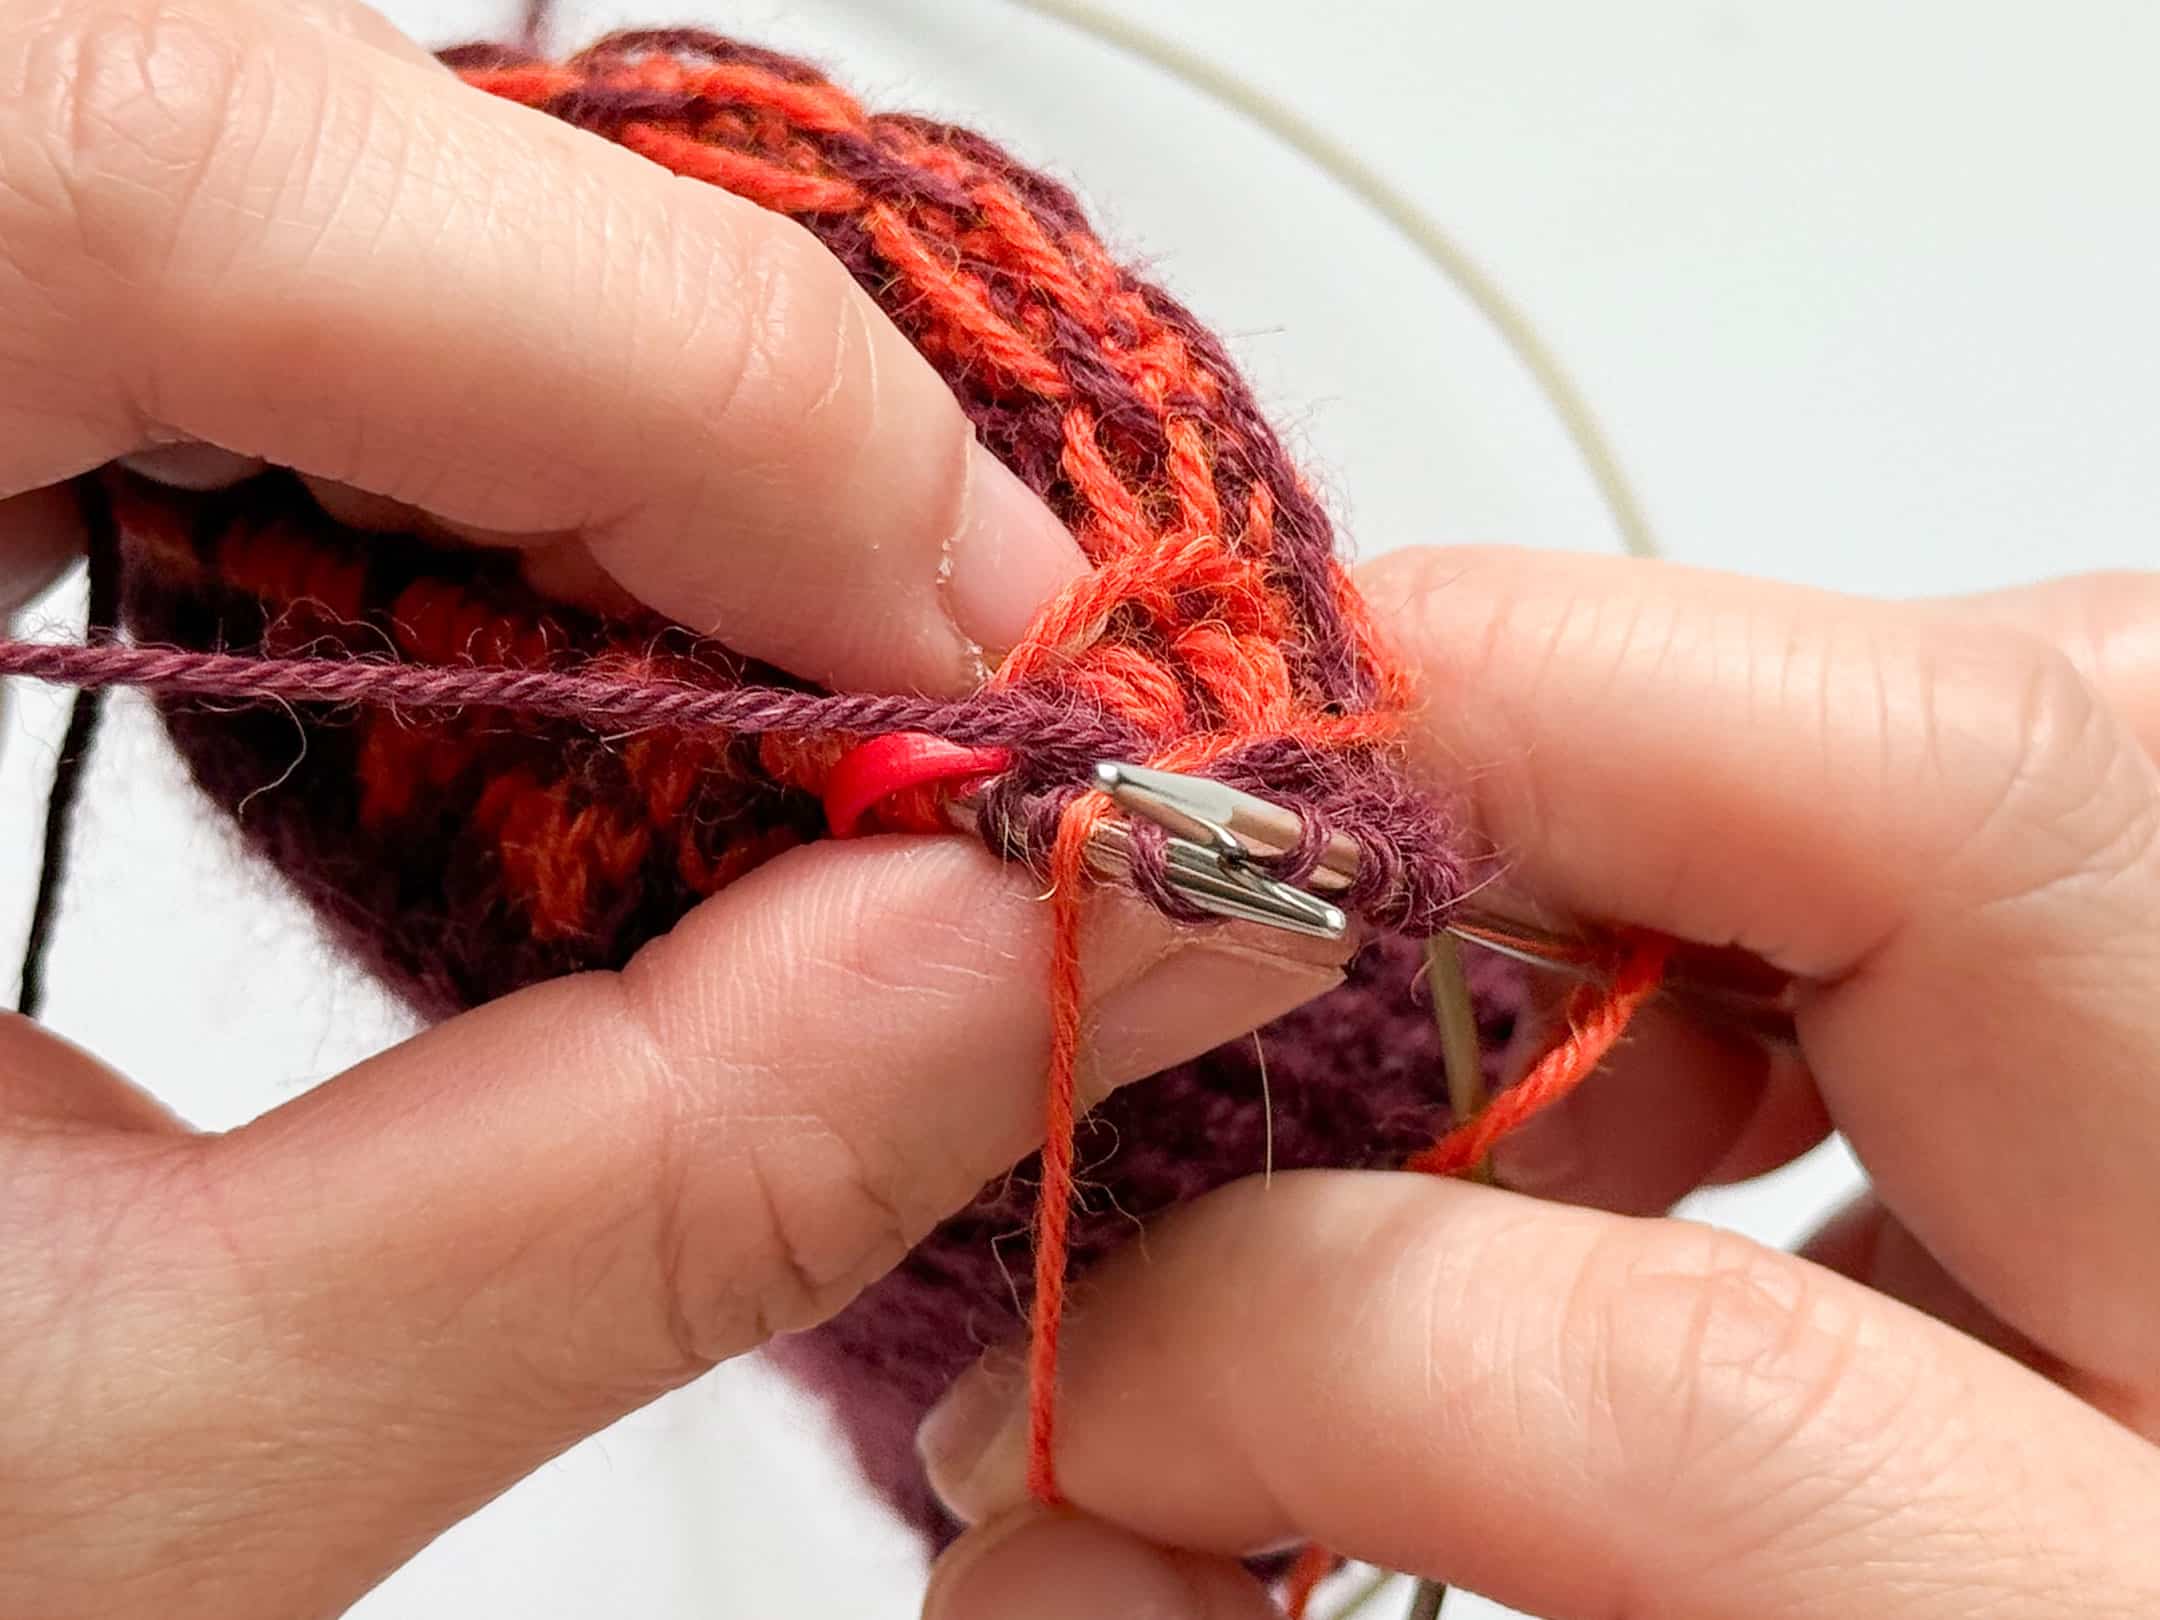
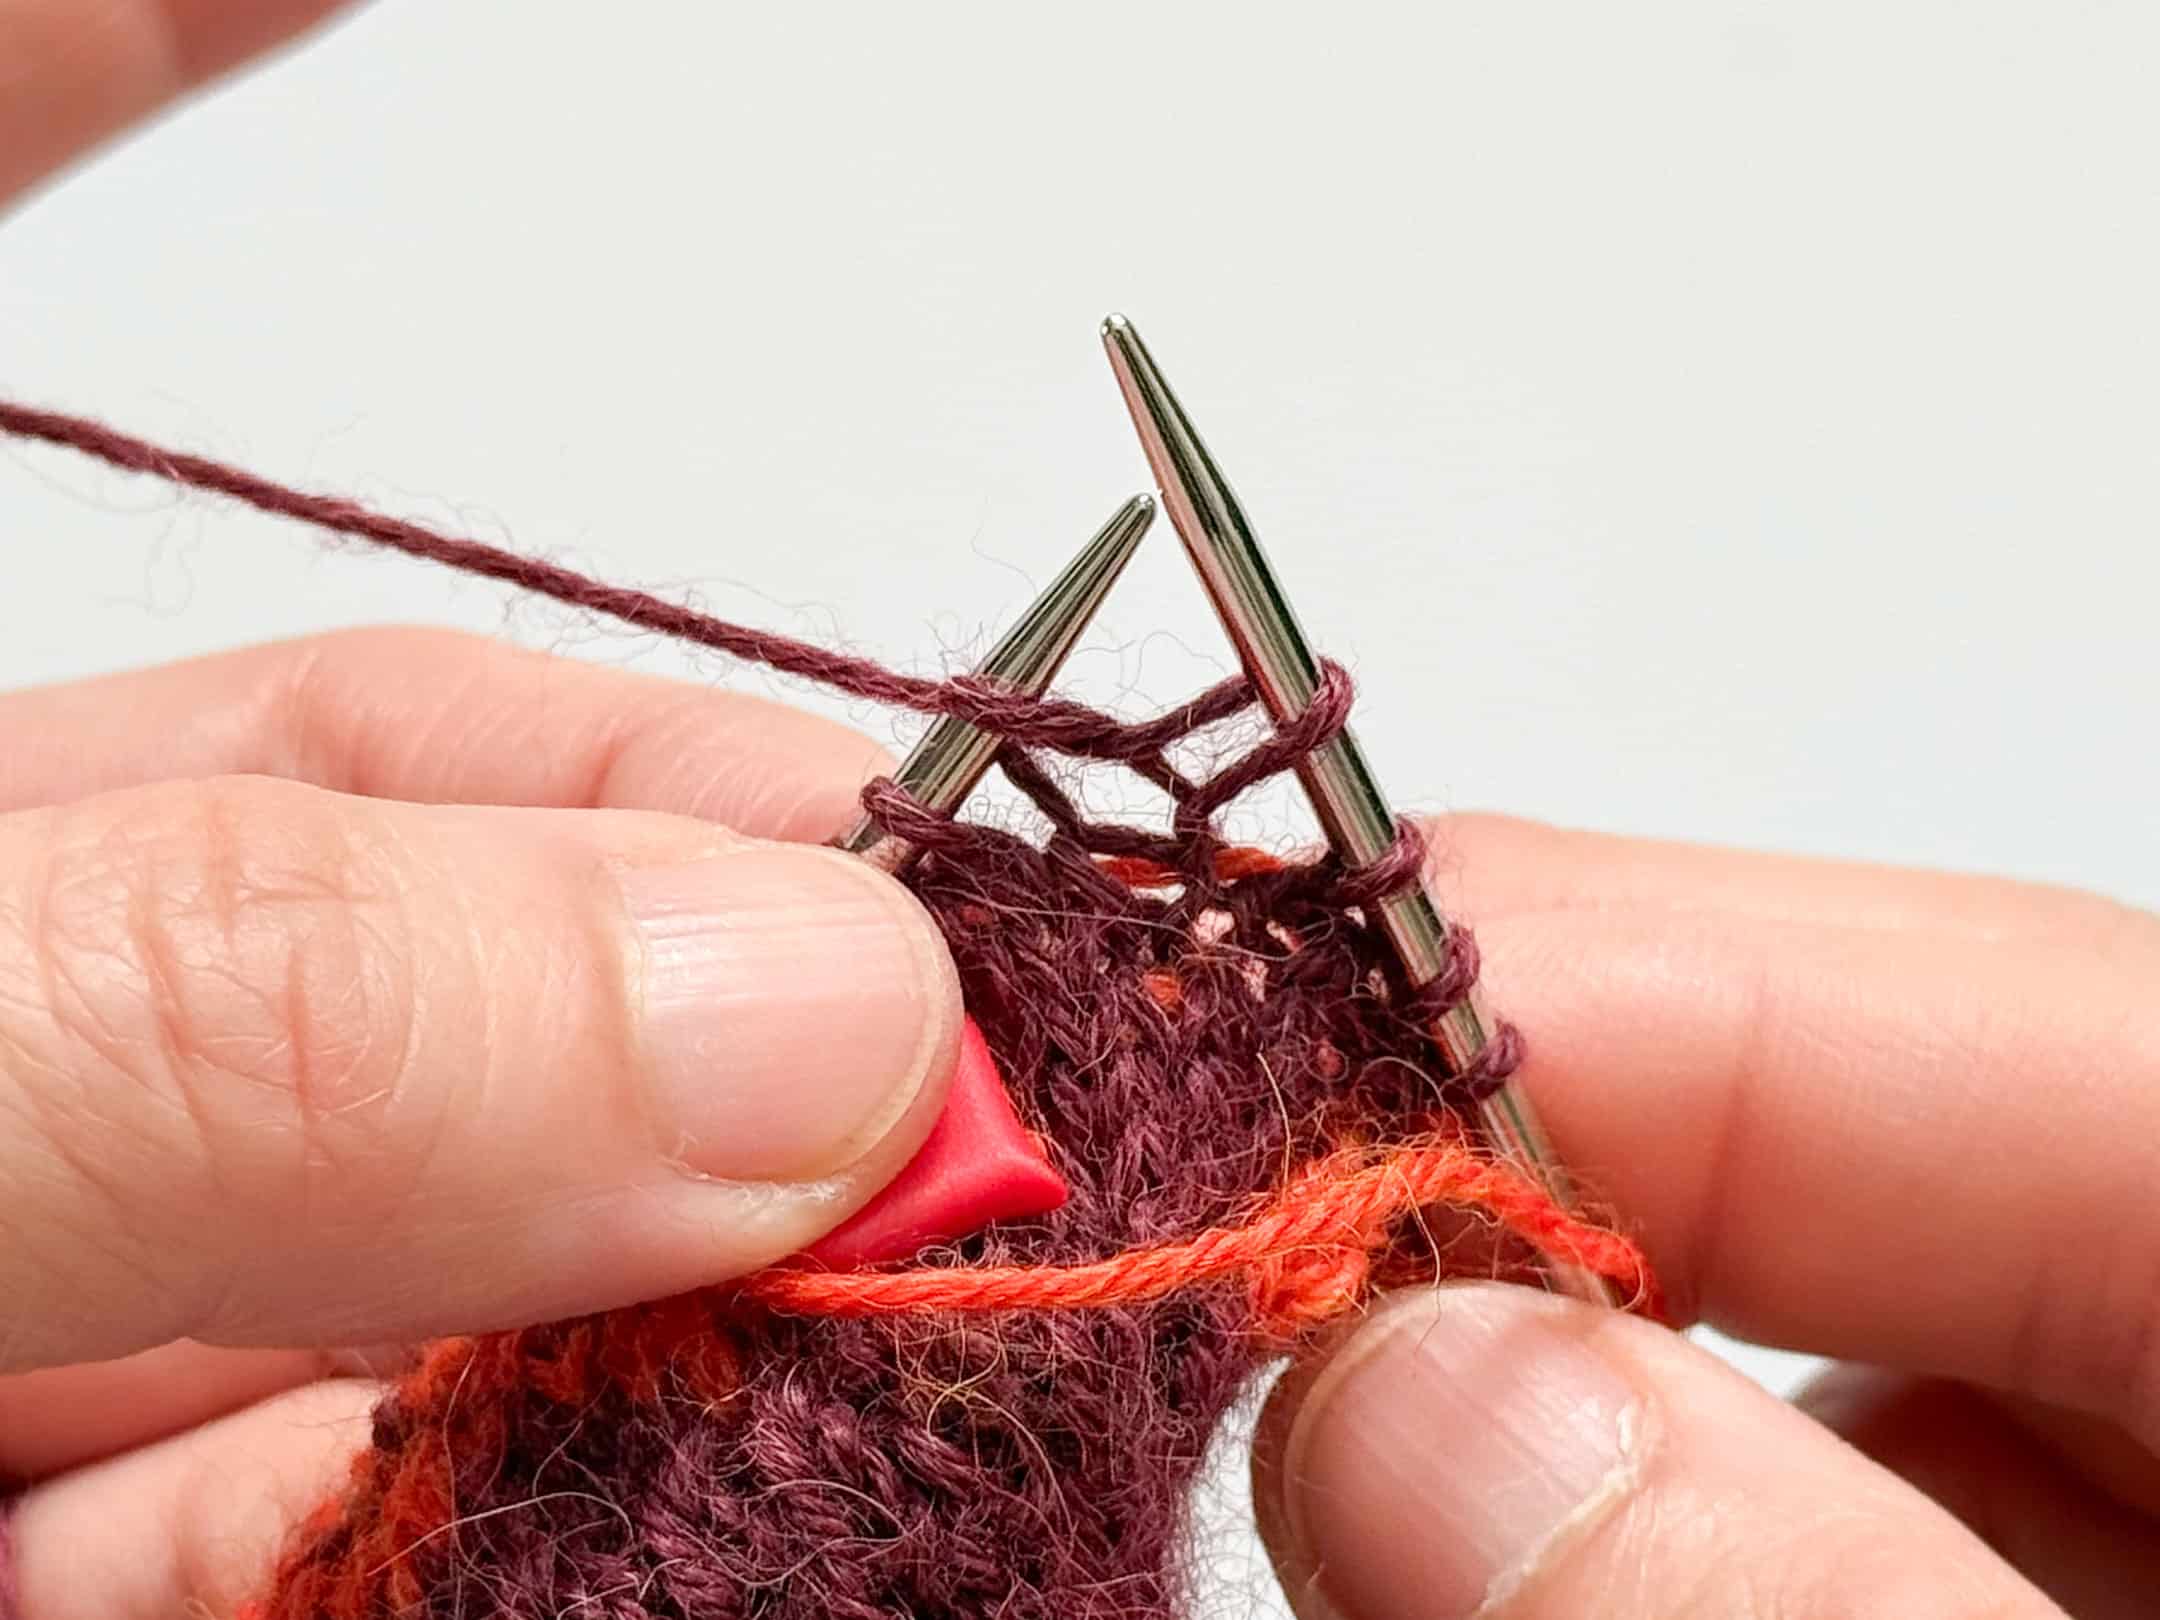
The thumb gusset is worked in the main colour (MC). When making M1L or M1R, use the strand of the MC to form the new stitch.
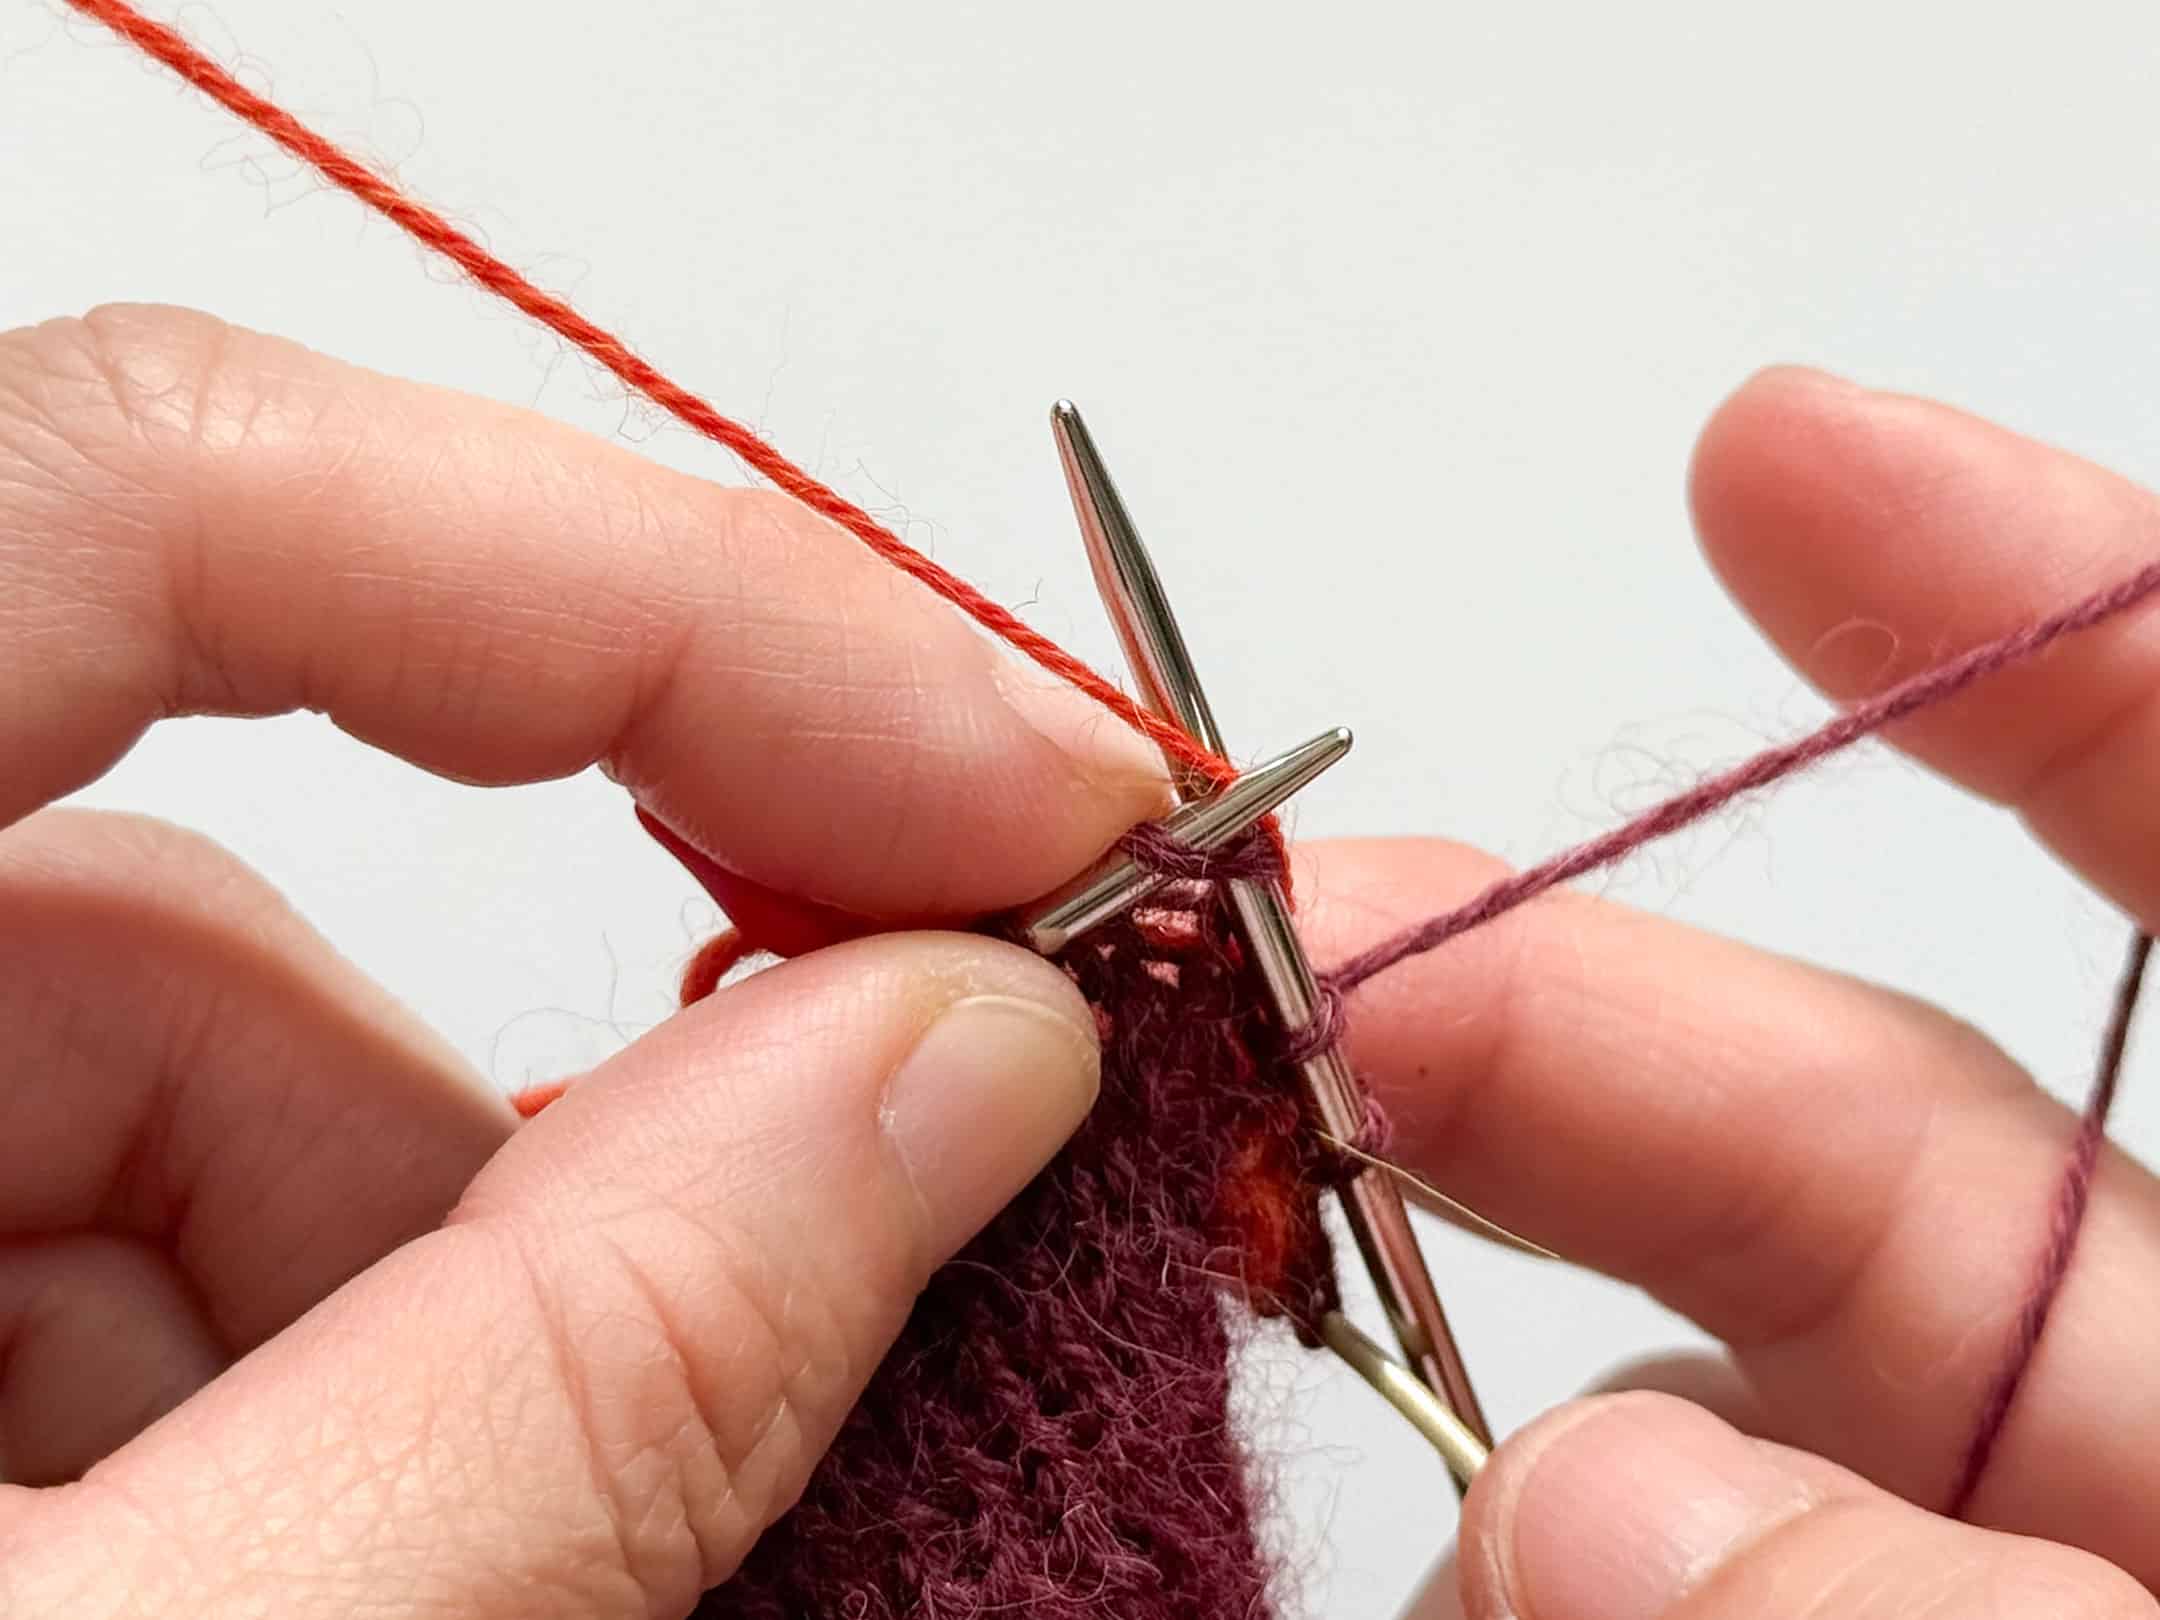
Whenever You knit more than 5 consecutive sts in MC, carry the contrasting colour (CC) loosely across the back of the work, catching the float as needed to avoid long strands.
Note:
The thumb gusset is worked in the main colour (MC). When making M1L or M1R, use the strand of the MC to form the new stitch.
Whenever You knit more than 5 consecutive sts in MC, carry the contrasting colour (CC) loosely across the back of the work, catching the float as needed to avoid long strands.


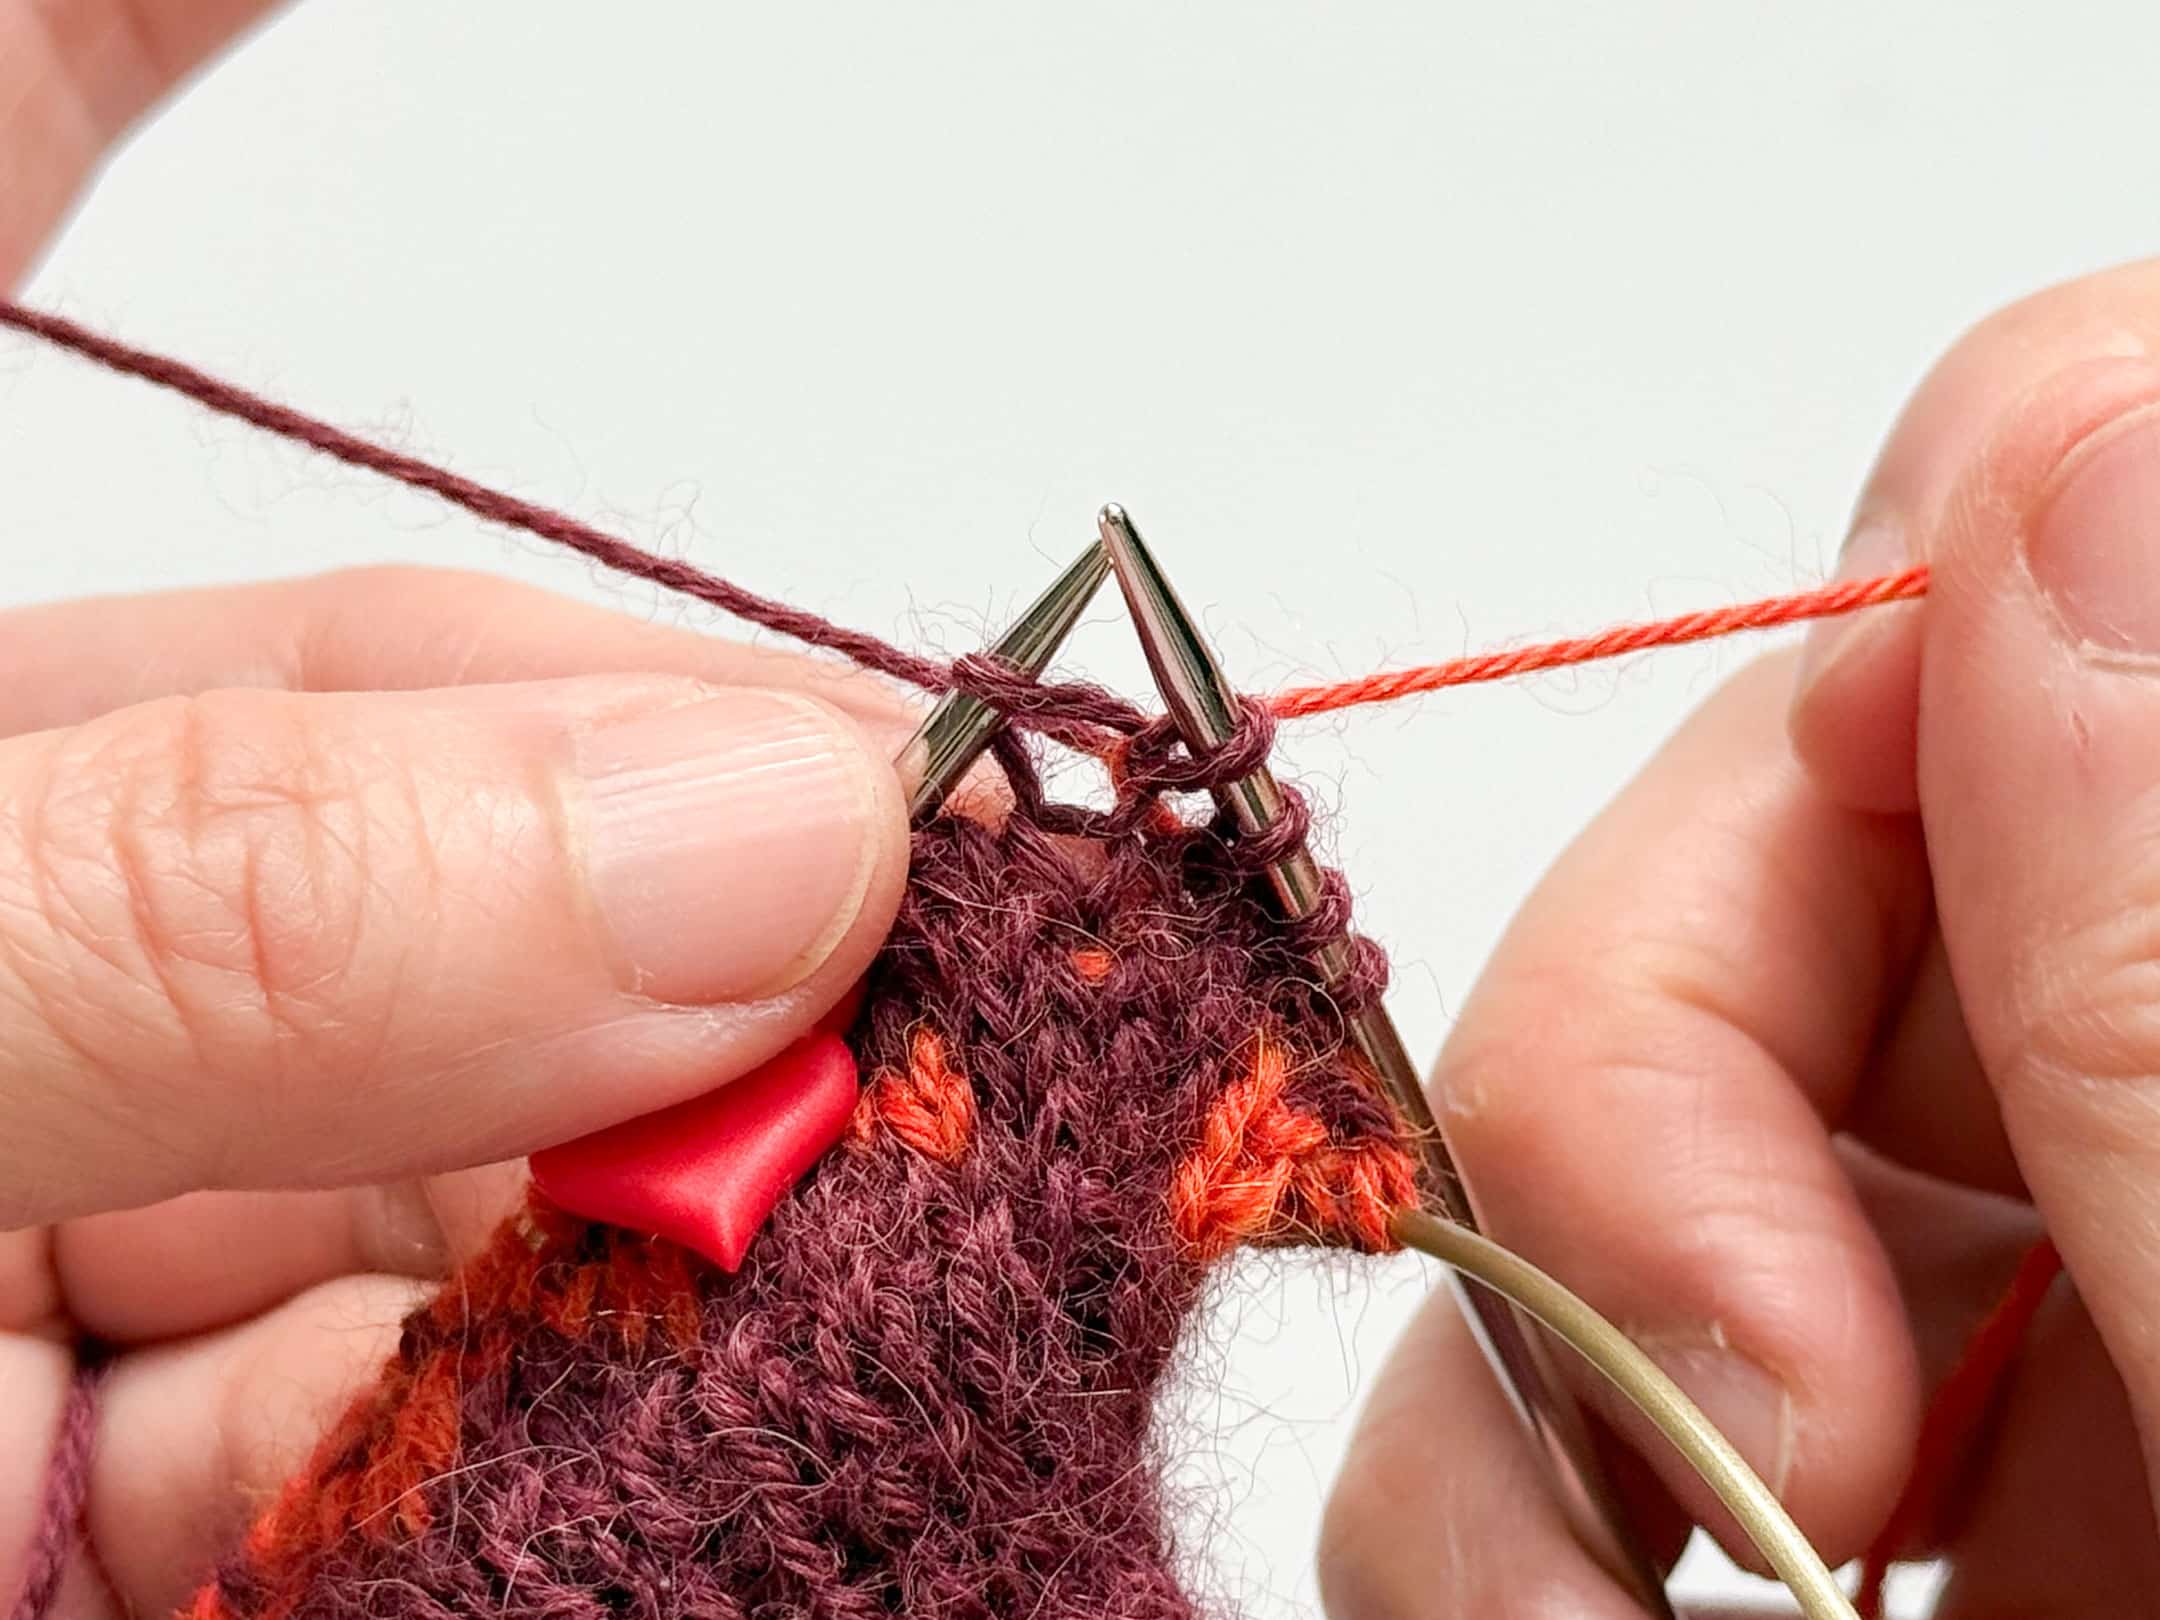
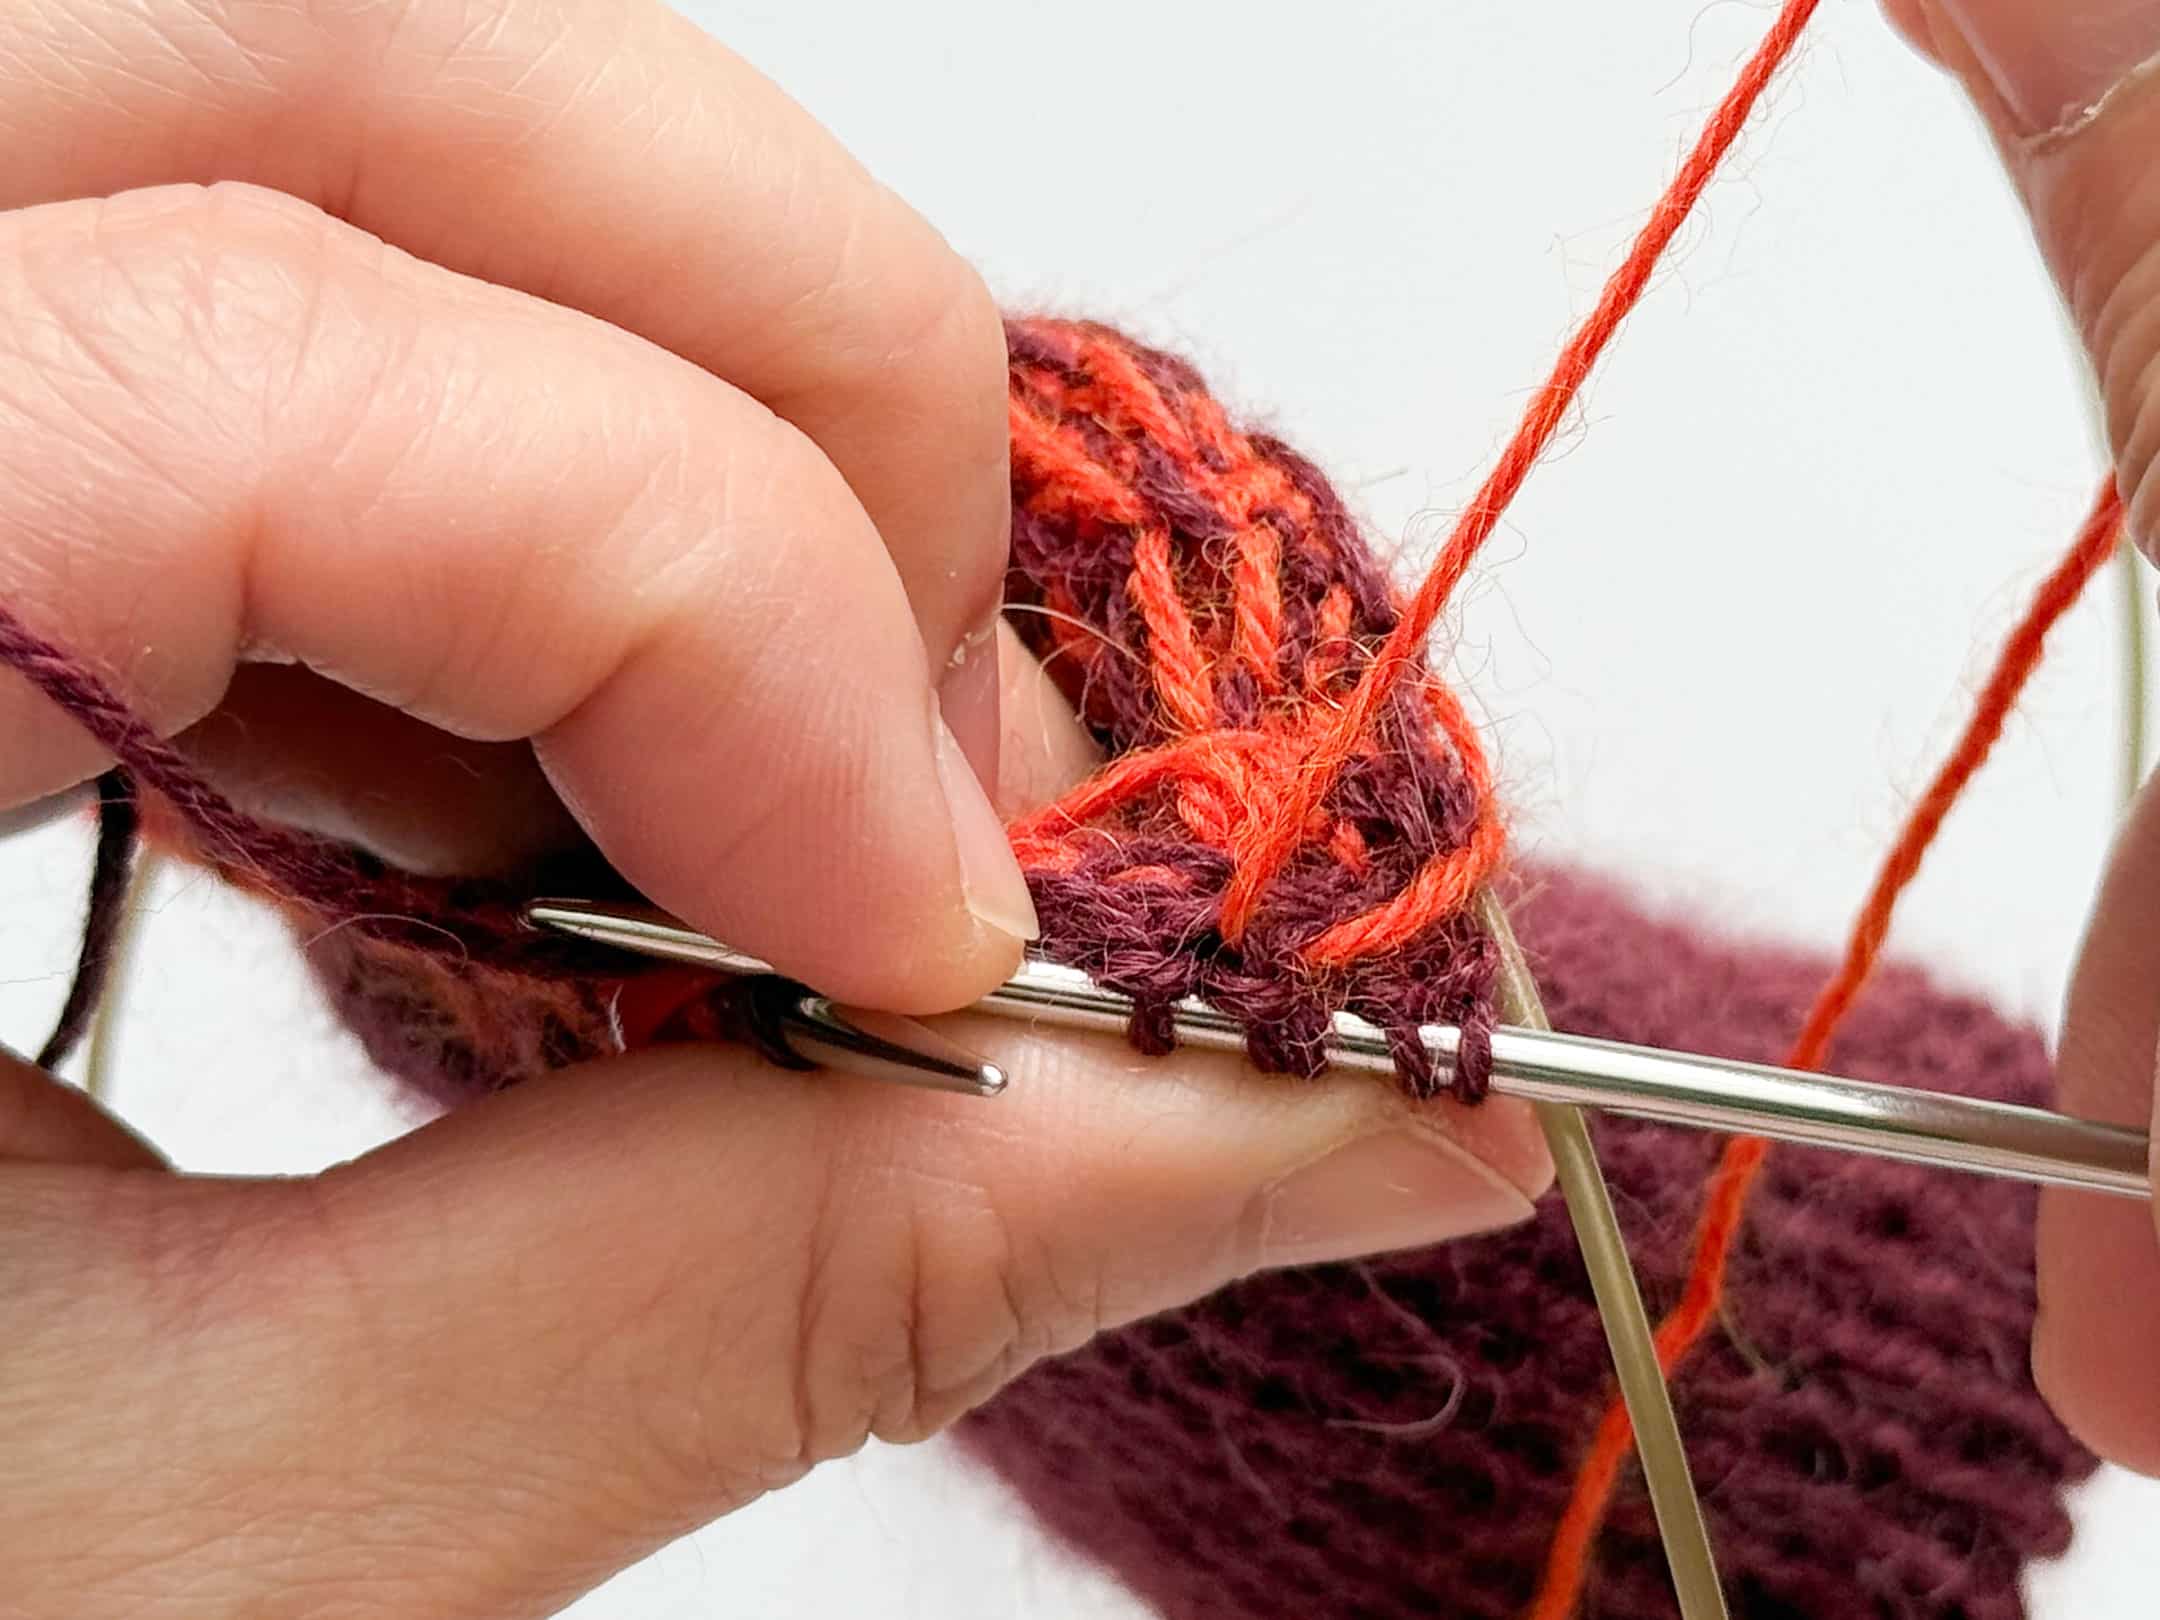
Setting Aside the Thumb
Next rnd: Work in patt to m, remove m, place the next 21 sts onto waste yarn, slm, work in patt to end of rnd. [= 72 sts]
The marker separates the front and back of the mitten.
Continue working in Chart A until the mitten measures approximately 15 cm from the cast-on edge, ending on round 6 of Chart A.
Shaping the top
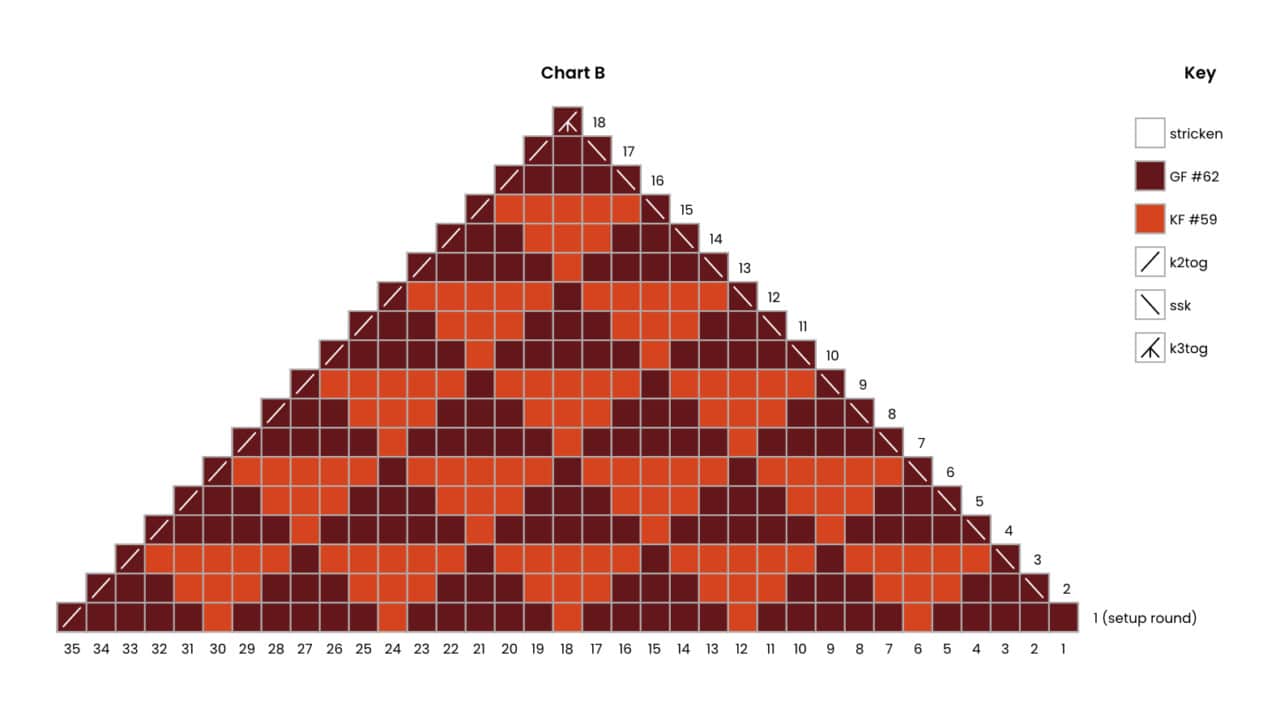
You will now work Chart B.
Set-up round (Rnd 1 of Chart B): Work in patt to 2 sts before m, k2tog in MC; repeat once more. [= 70 sts]
Mitten Top Shaping
Dec rnd: ssk in MC, work in patt to 2 sts before m, k2tog in MC; repeat once more. [= 4 sts decreased]
Repeat the decrease round every round until 6 sts remain (ending on Round 17 of Chart B).
Round 18 k3tog in MC twice. [= 2 sts]
Cut the yarn, leaving a tail. Thread the yarn through the remaining sts and pull tight to close the opening securely.
Shaping the top
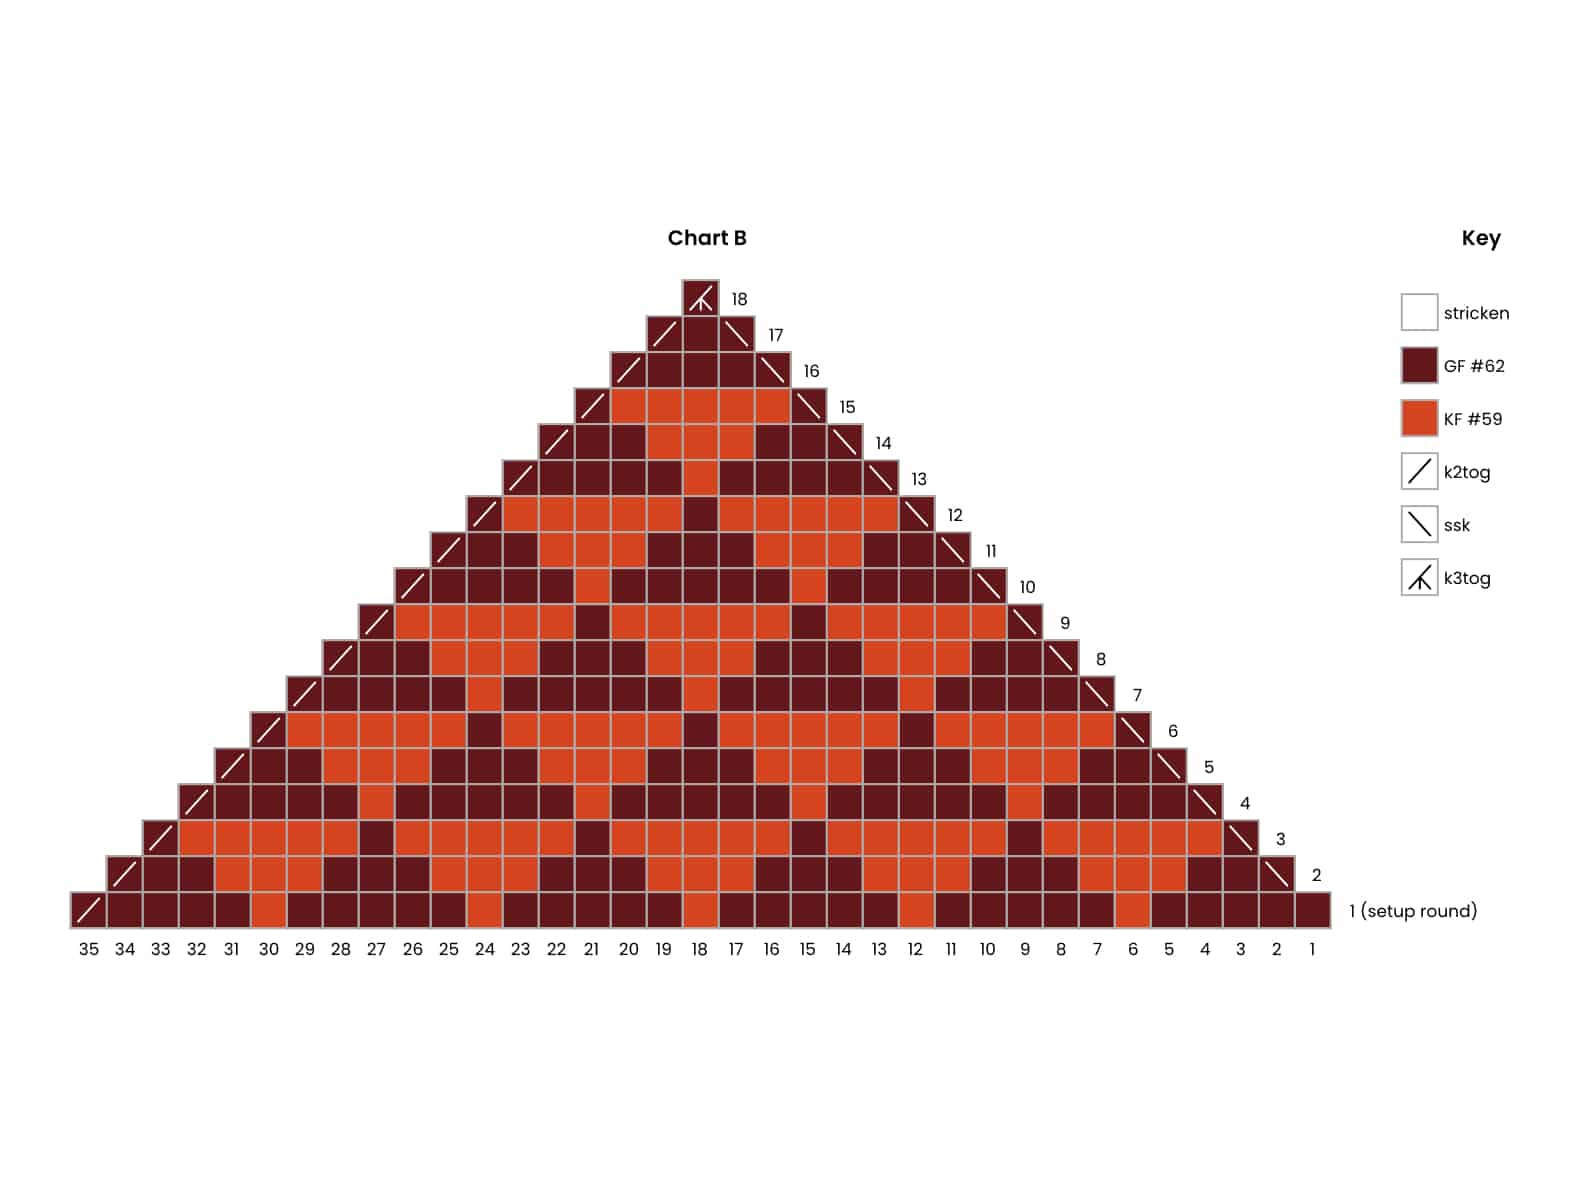
You will now work Chart B.
Set-up round (Rnd 1 of Chart B): Work in patt to 2 sts before m, k2tog in MC; repeat once more. [= 70 sts]
Mitten Top Shaping
Dec rnd: ssk in MC, work in patt to 2 sts before m, k2tog in MC; repeat once more. [= 4 sts decreased]
Repeat the decrease round every round until 6 sts remain (ending on Round 17 of Chart B).
Round 18 k3tog in MC twice. [= 2 sts]
Cut the yarn, leaving a tail. Thread the yarn through the remaining sts and pull tight to close the opening securely.

Thumb
Place the held sts from the waste yarn onto the larger needles. Rejoin the main colour (MC), leaving approximately 30 cm of yarn for finishing.
Knit to the end of the round, then pick up 1 st at the base of the index finger. [= 22 sts]
Work in stockinette stitch until the thumb measures approximately 6 cm from the base, about 26 rounds.
Dec rnd 1: K2tog 11 times. [= 11 sts]
Dec rnd 2: K2tog 4 times, k3tog once. [= 5 sts]
Cut the yarn, leaving a tail. Thread the yarn through the remaining sts and pull tight to close the top of the thumb.
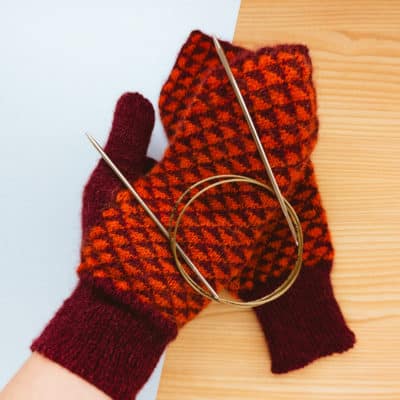
Finsihing
Weave in all loose ends neatly on the wrong side of the work. Use the thumb yarn tail to close any small gaps at the base of the thumb by weaving in and out as needed.
Gently block the mittens and lightly steam-press to finish.
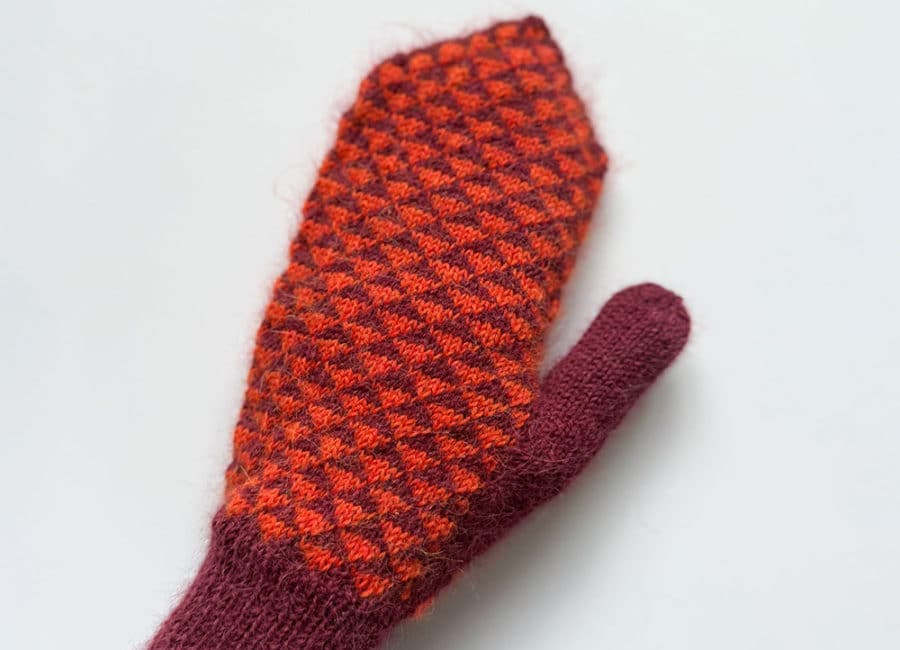
Finsihing
Weave in all loose ends neatly on the wrong side of the work. Use the thumb yarn tail to close any small gaps at the base of the thumb by weaving in and out as needed.
Gently block the mittens and lightly steam-press to finish.
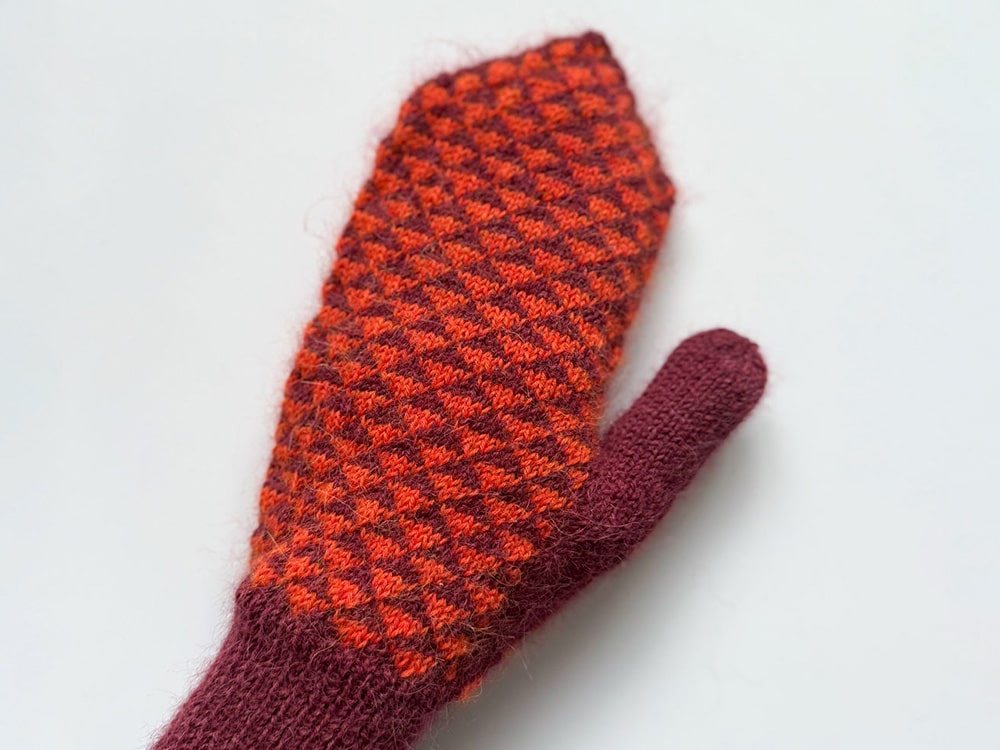

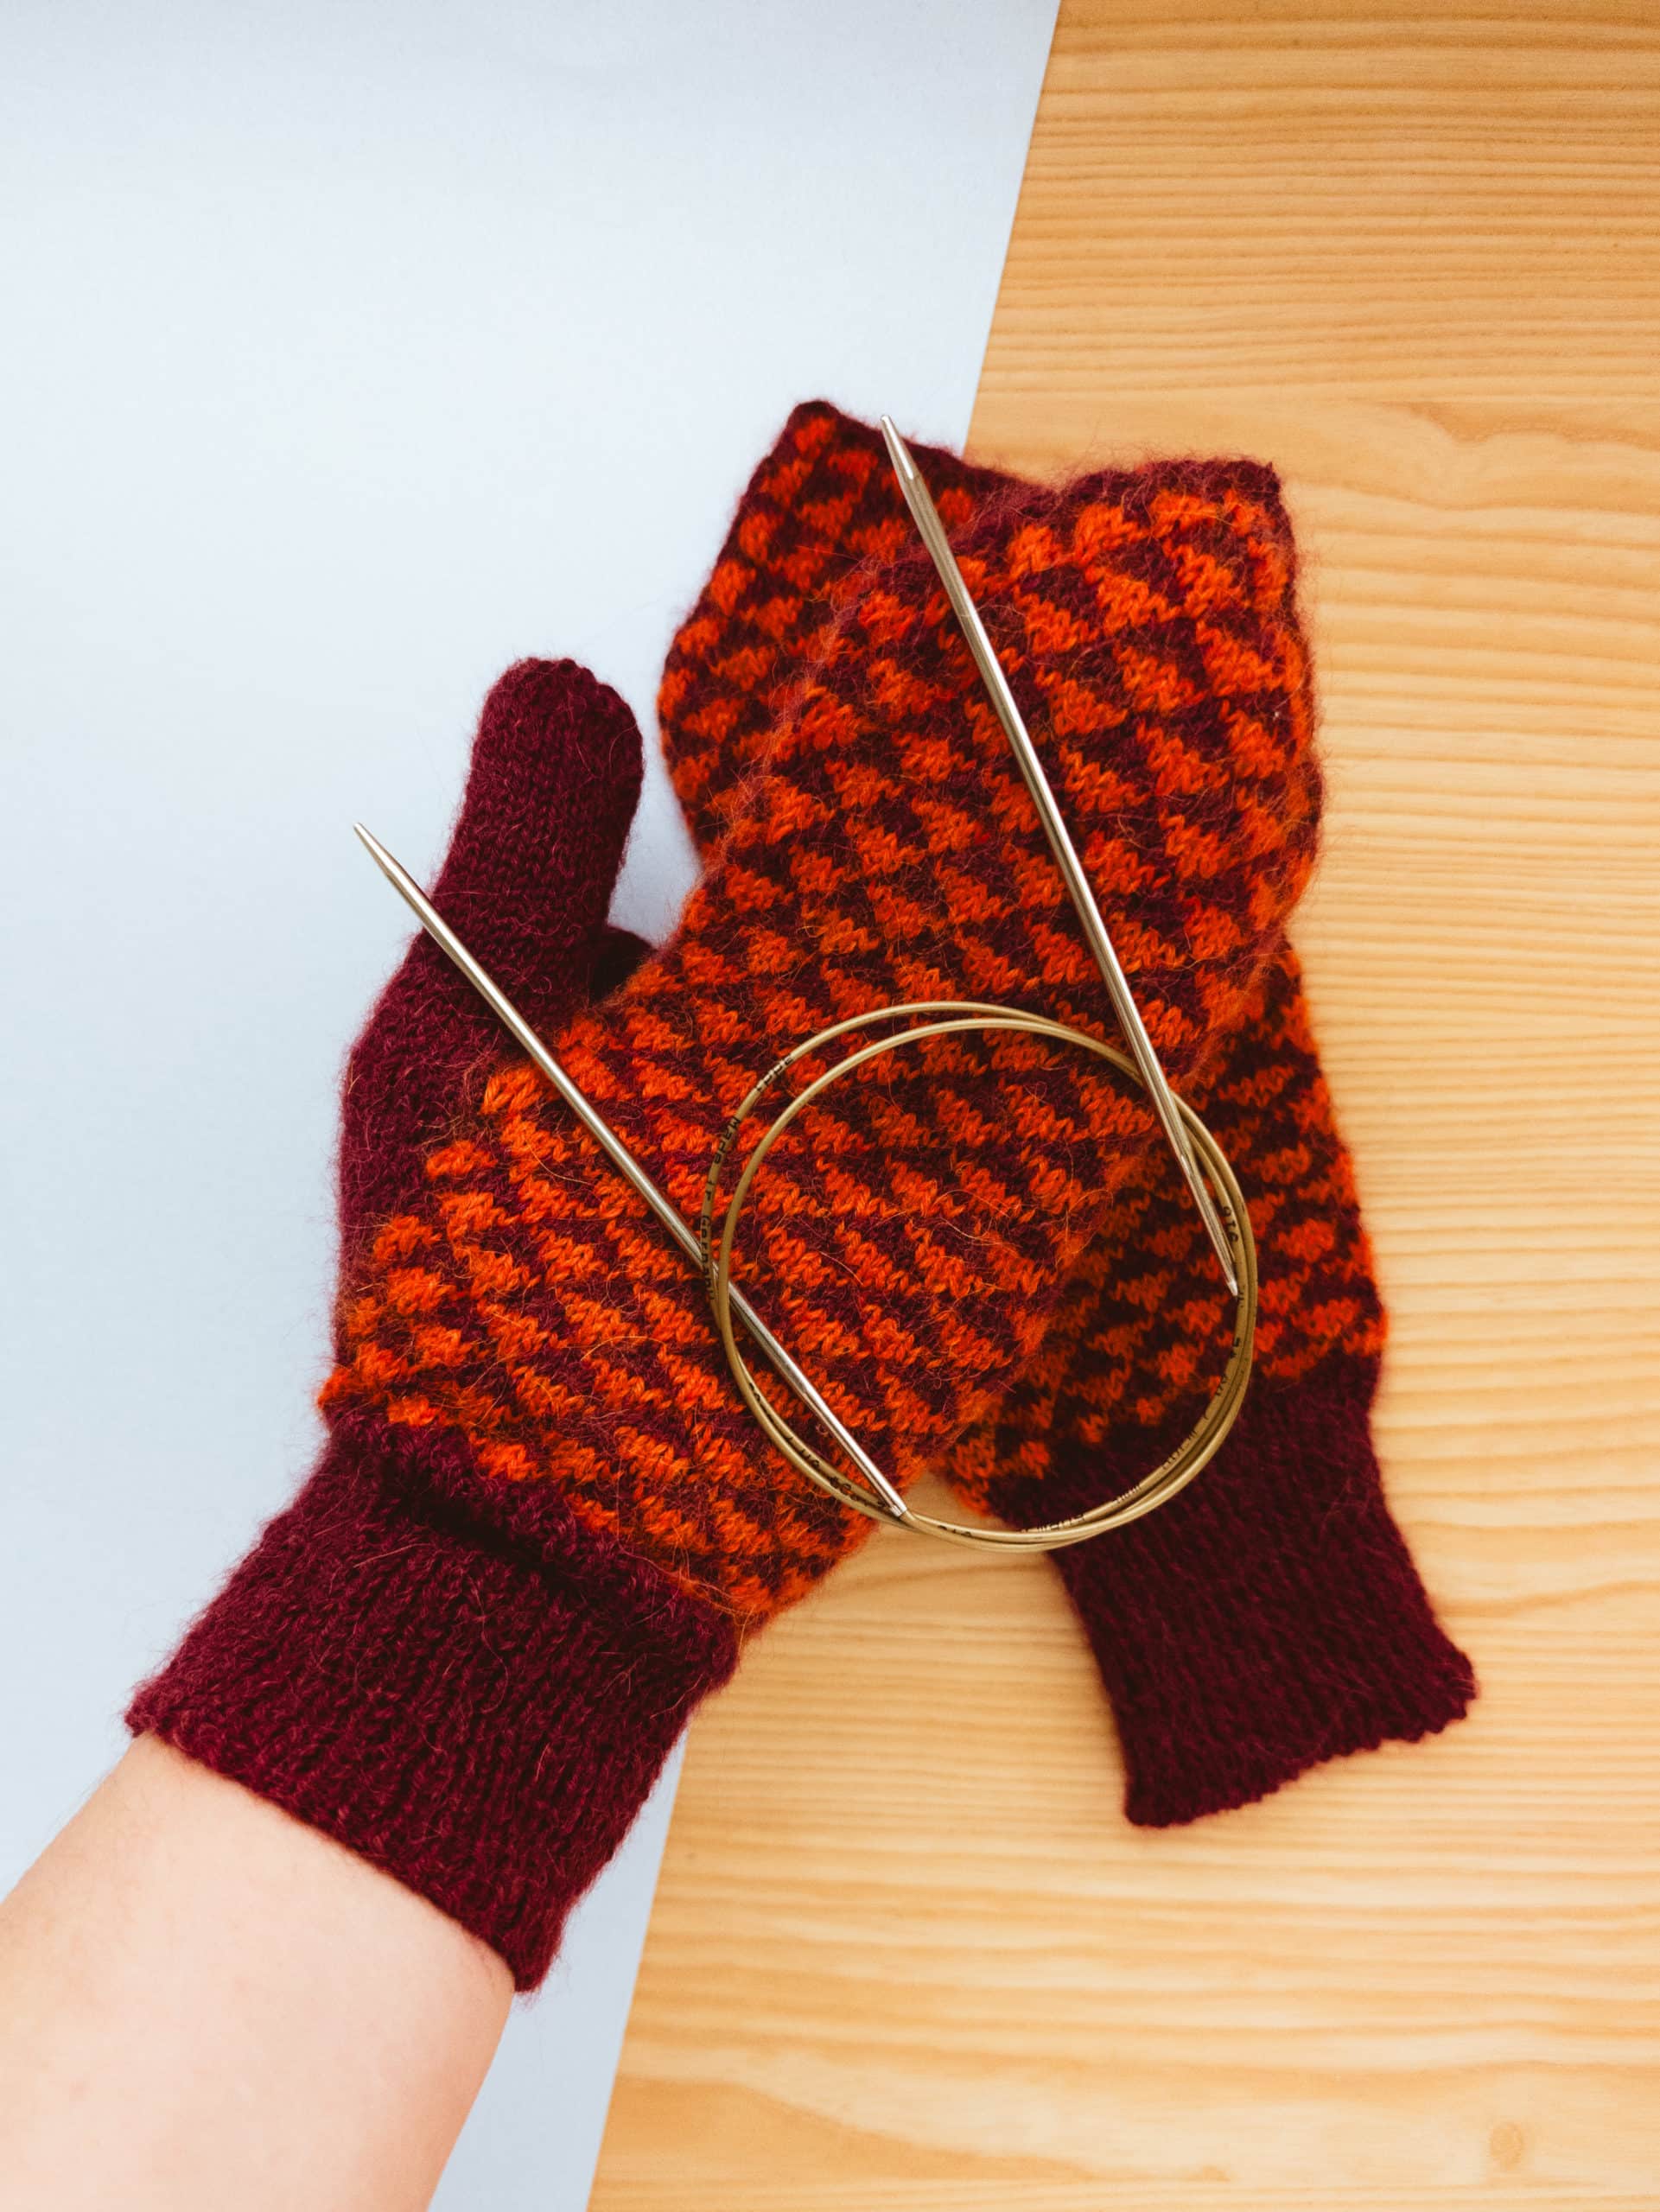
Share your progress with us:
Are you knitting this project currently? Share the result on Instagram at @addi_by_selter @glovegenie or share it with us in our Facebook group "addiFriends".