Kostenlose Anleitung für Anfänger: Schmetterling häkeln in drei Varianten
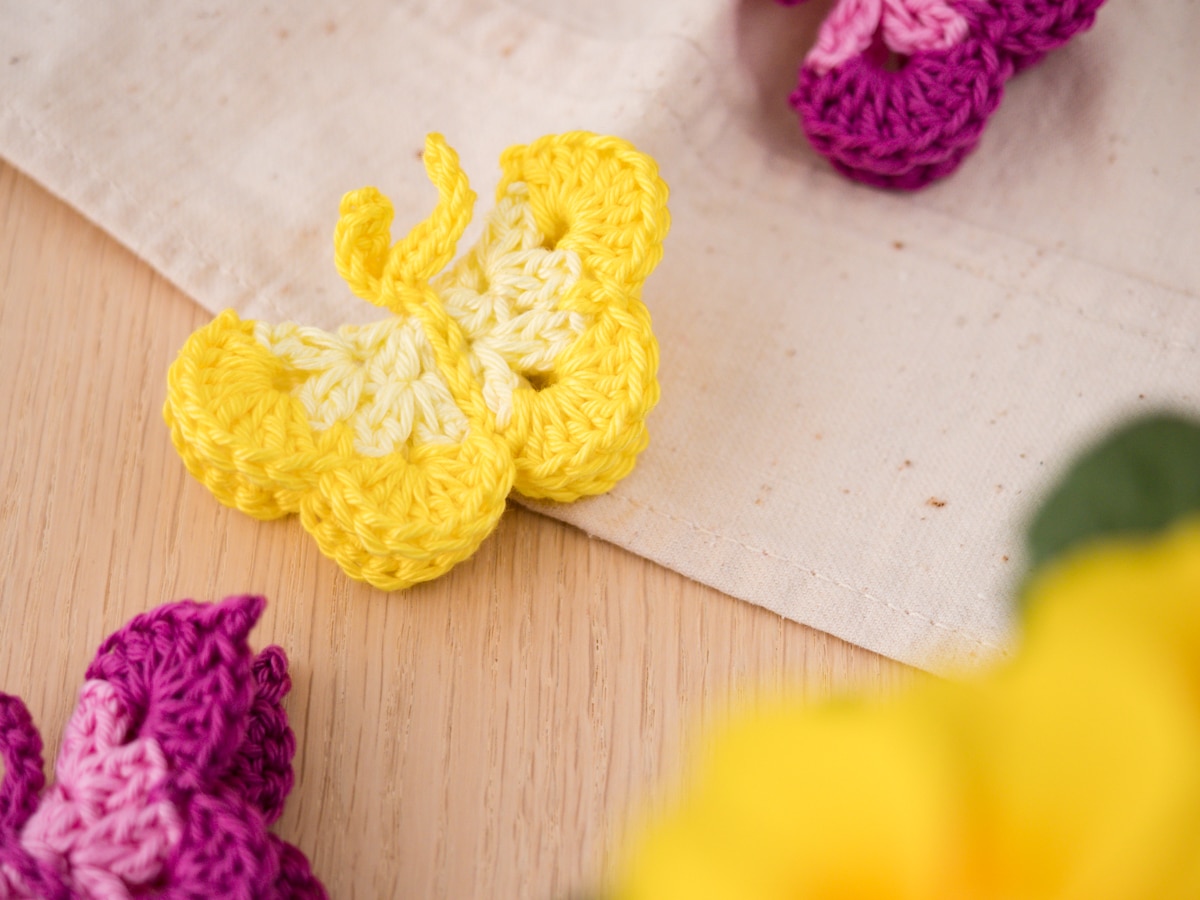
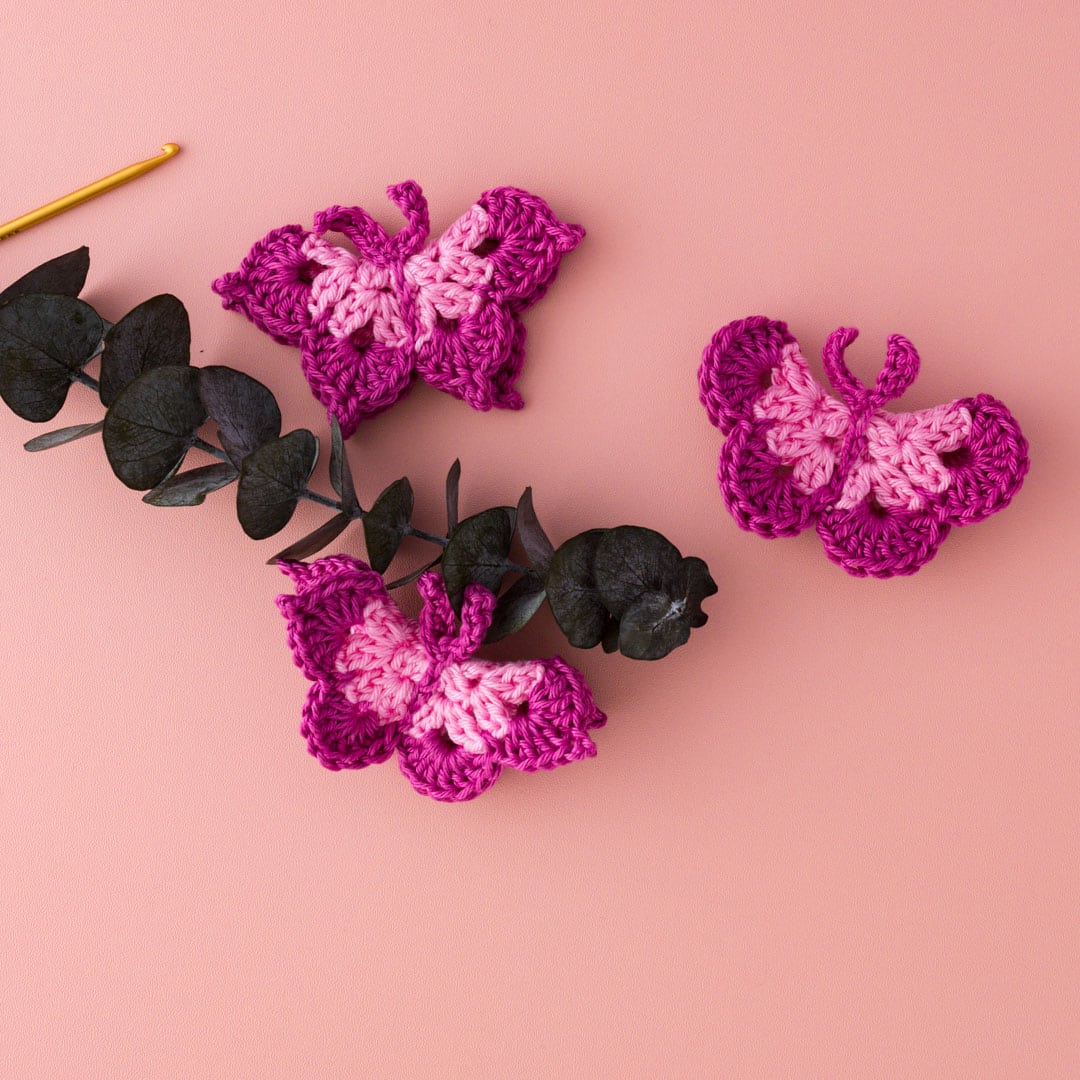
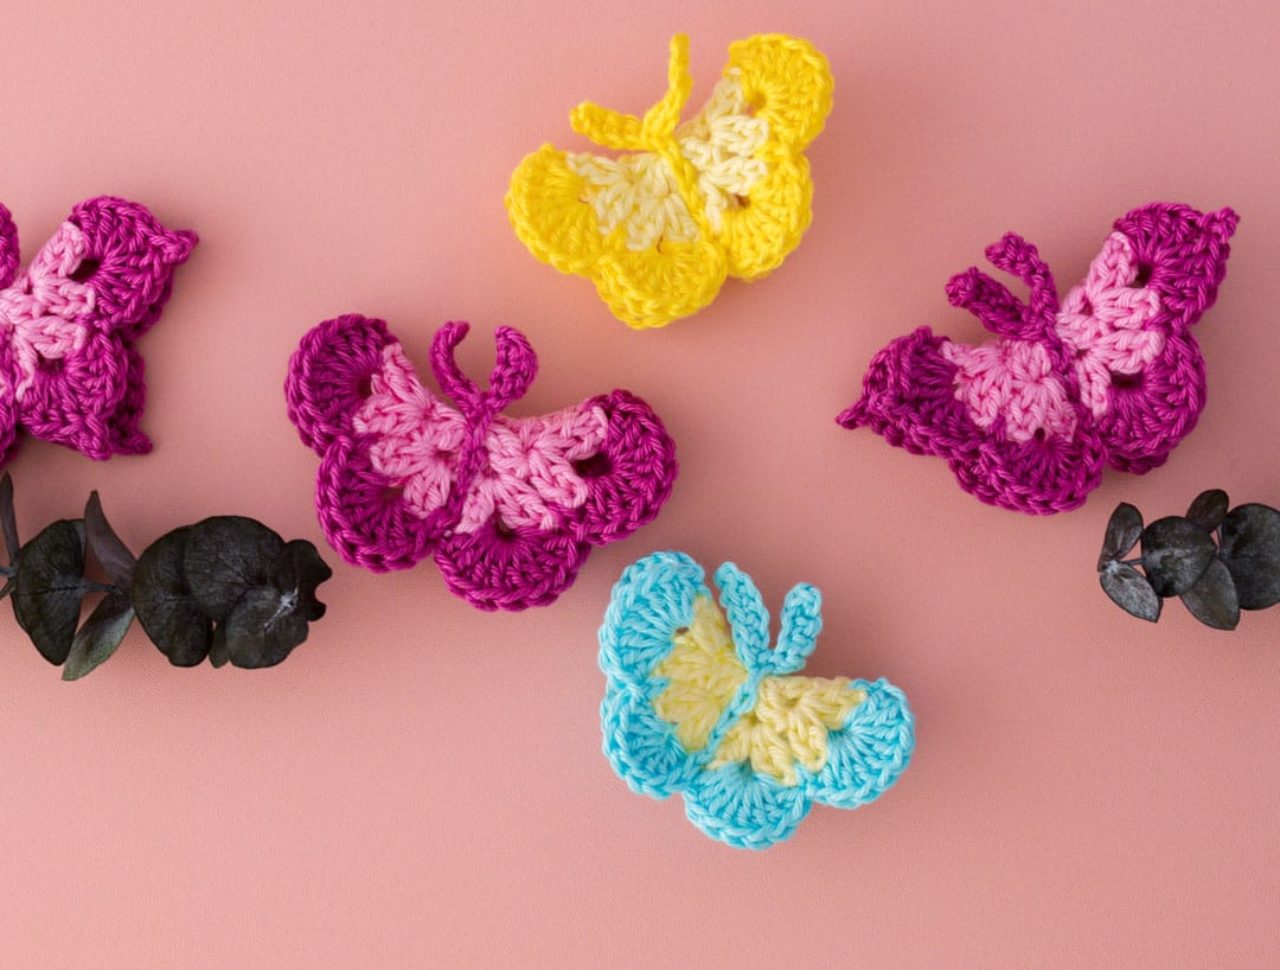
A small, simple butterfly in 3 variants – conjured up in a few minutes with a crochet hook.
Pattern with video tutorial by Sylvie Rasch.
- Cotton yarn with 125m/50g (137yd/1.75oz)
-
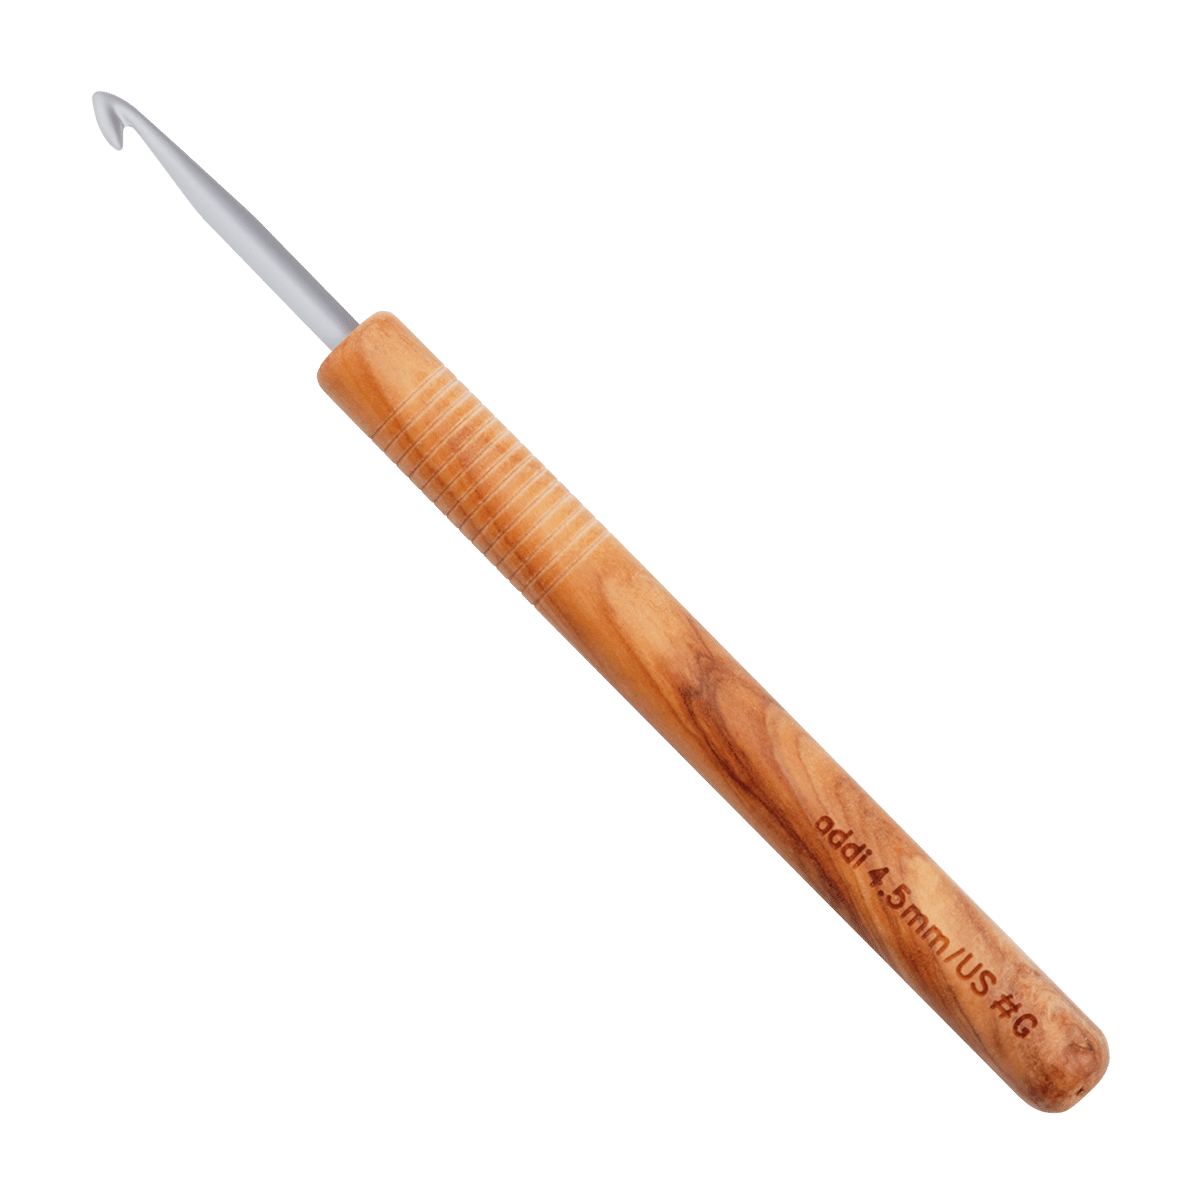
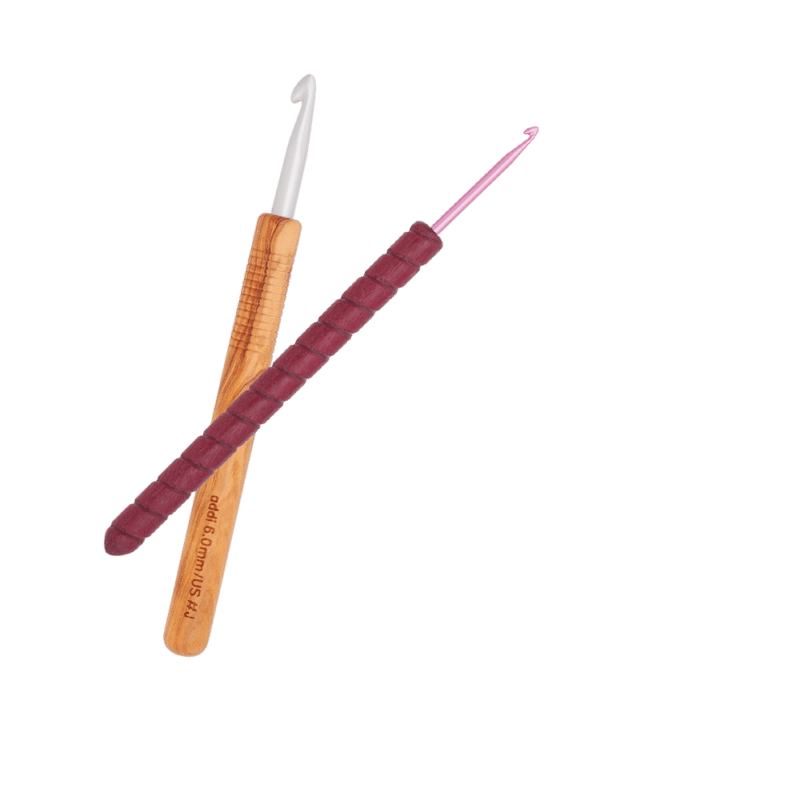
addi crochet hook 2.5 mm (US 2 B/C)
-
darning needle
-
Scissors
Abbreviations
- dc2tog – dc 2 together
- sl – slip
- tr – triple crochet
- sc – single crochet
- sl st – slip stitch
- ch – chain
- Picot – ch3, sl st in 1st ch
- rnd – round/s
- Rd = stitch/es
- dc – double crochet
- rep – repeat
- ib - in between
Crochet butterfly
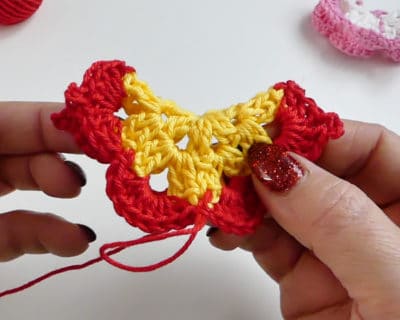
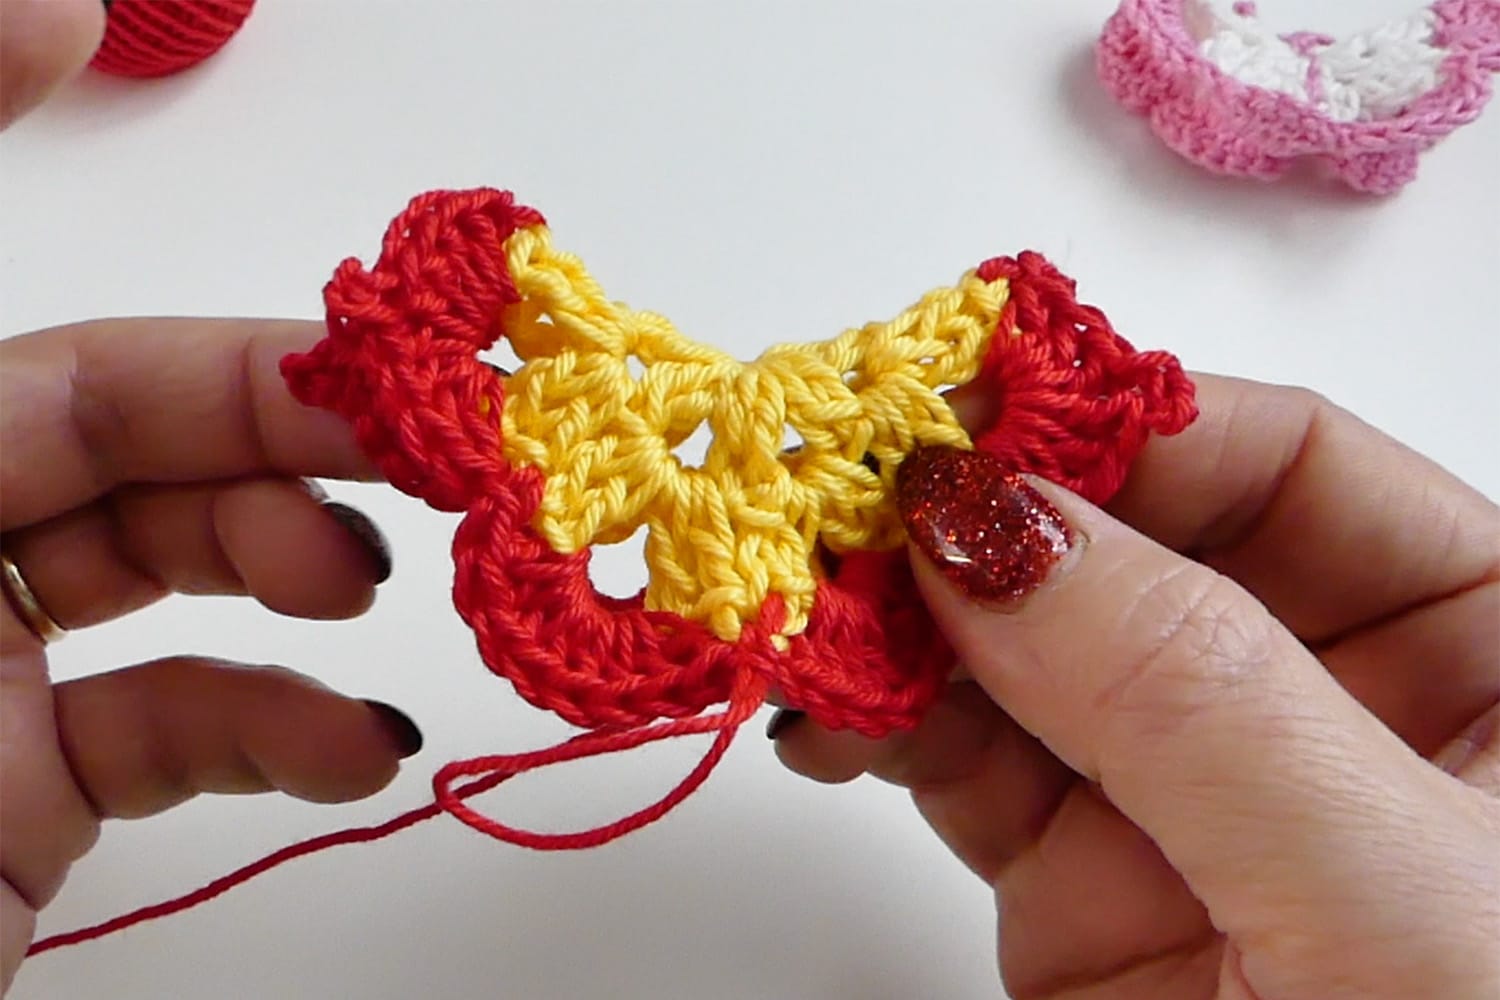
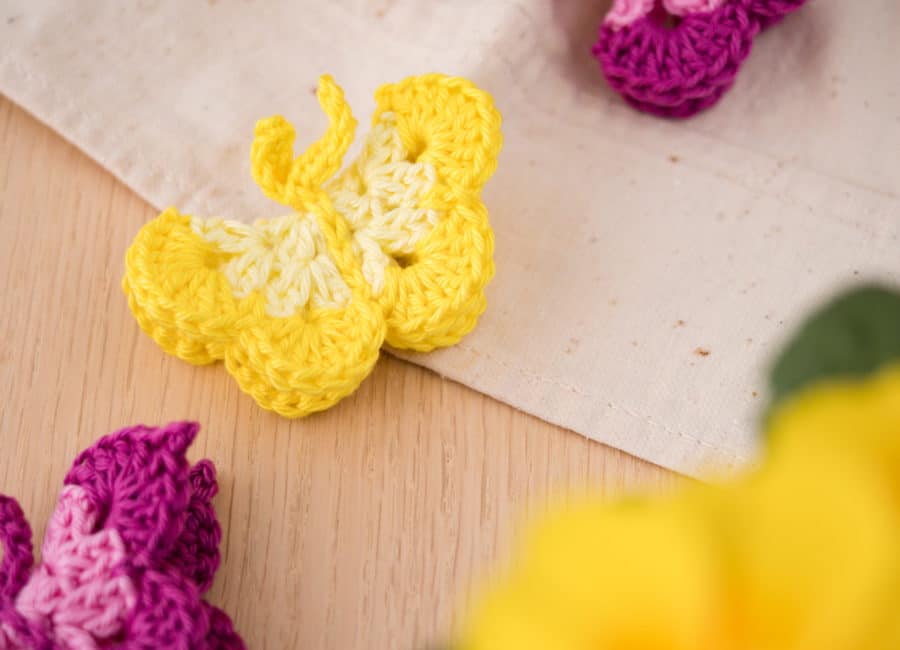
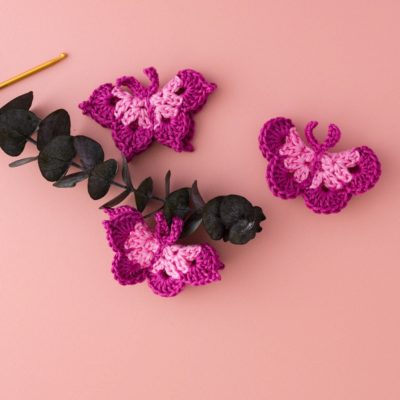
- Variant 1: With rounded wingtips.
- Variant 2: With pointed wingtips.
- Variant 3: With round wingtips at the bottom and pointed at the top.
In the end, the crochet circle is folded and shaped into a butterfly with slip stitches. Chains and slip stitches form the feelers, and an optional hanging loop can be attached for decoration.
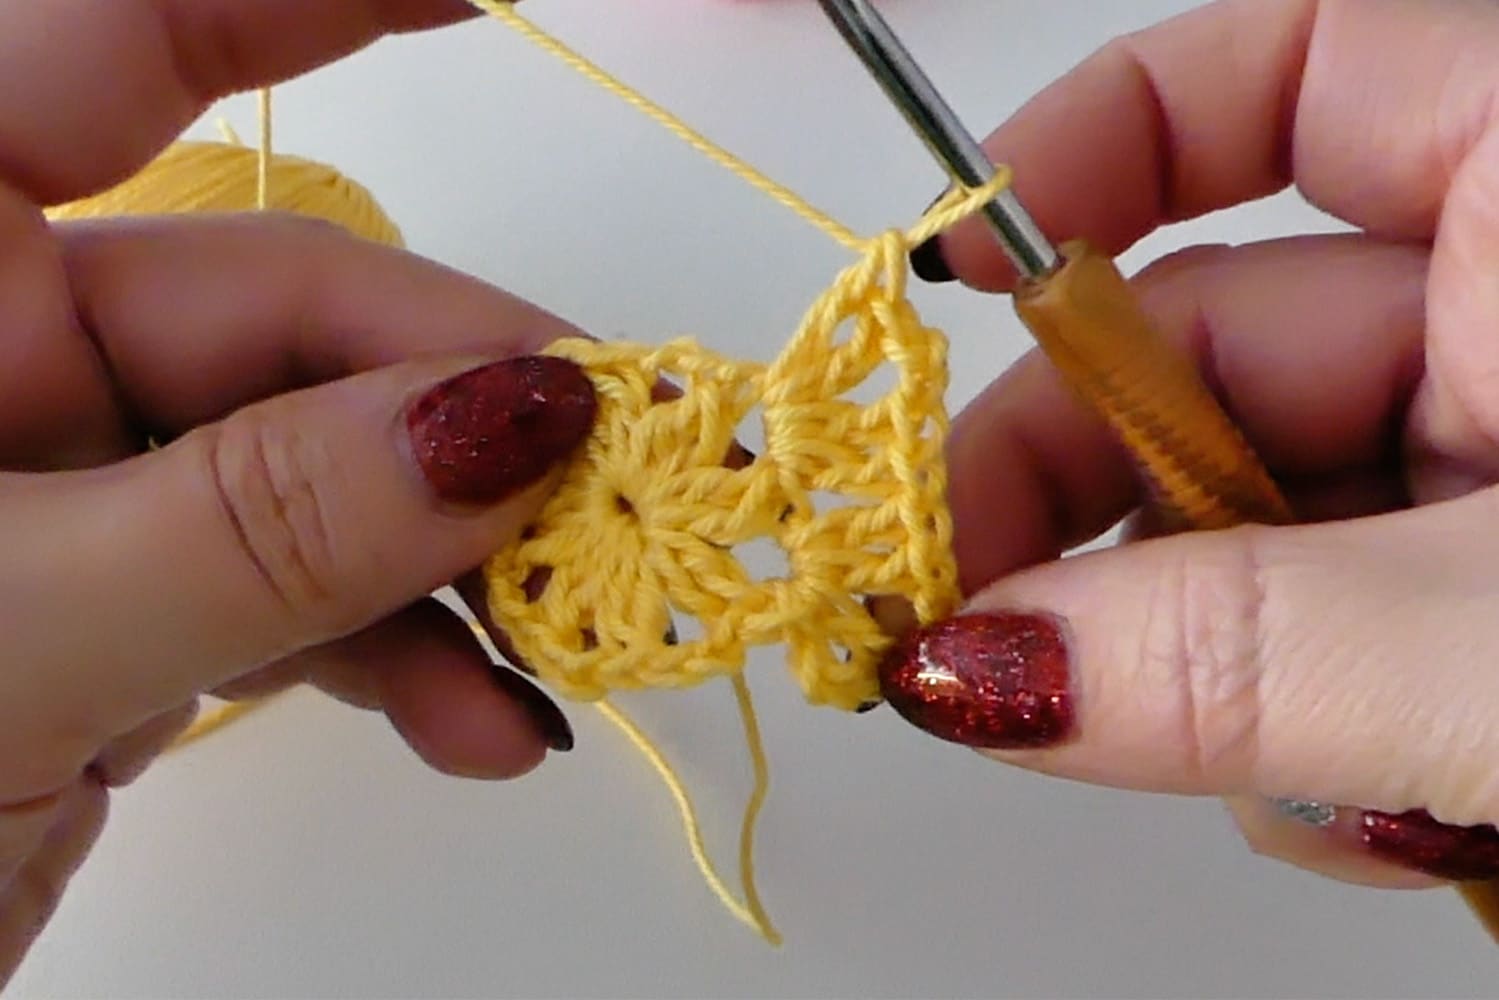
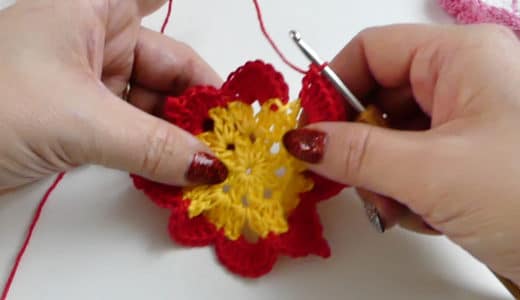
- Round 1: in a magic ring: ch 2, dc 1, 7 x (ch 2, dc2tog), end with ch 2, sl st in space between beginning-ch and 1st dc.
-
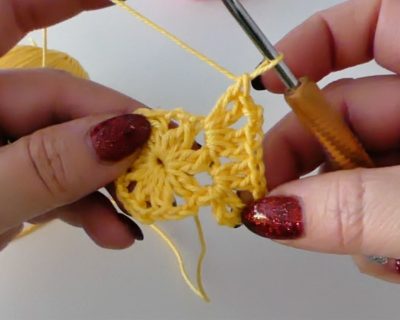
Round 2: sl st in ch-arc, (ch 3, dc 1, ch 3, dc 2) in same ch-arch, (dc 2, ch 3, dc 2) in every following ch-arch, end with sl st in 3rd beginning-ch.
-
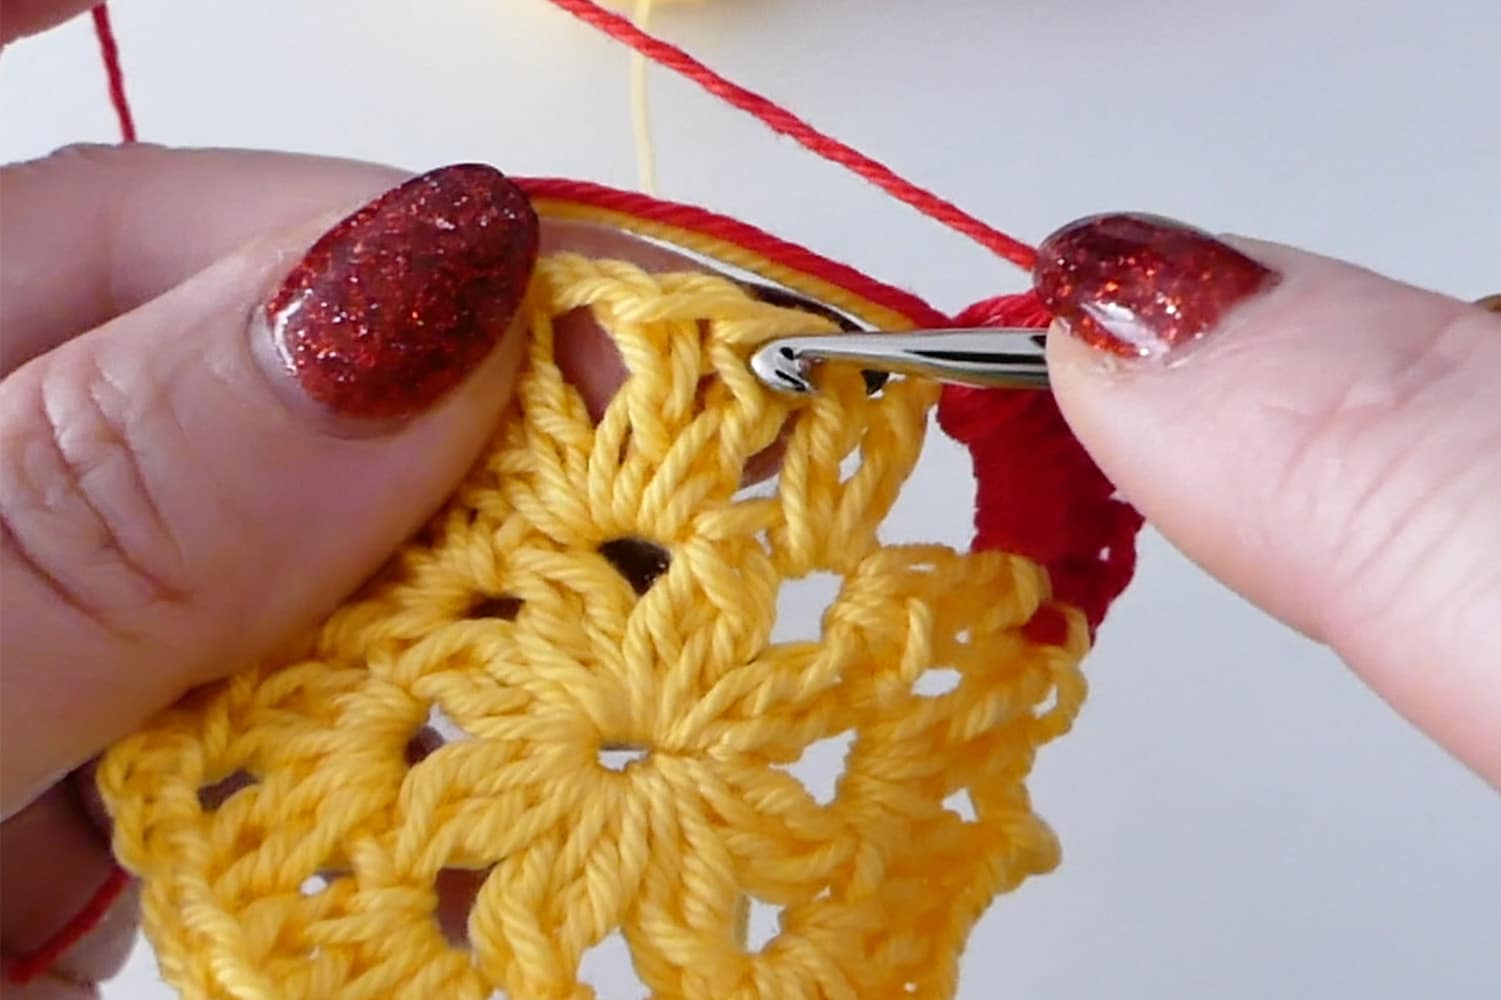
Round 3: (change color if desired):
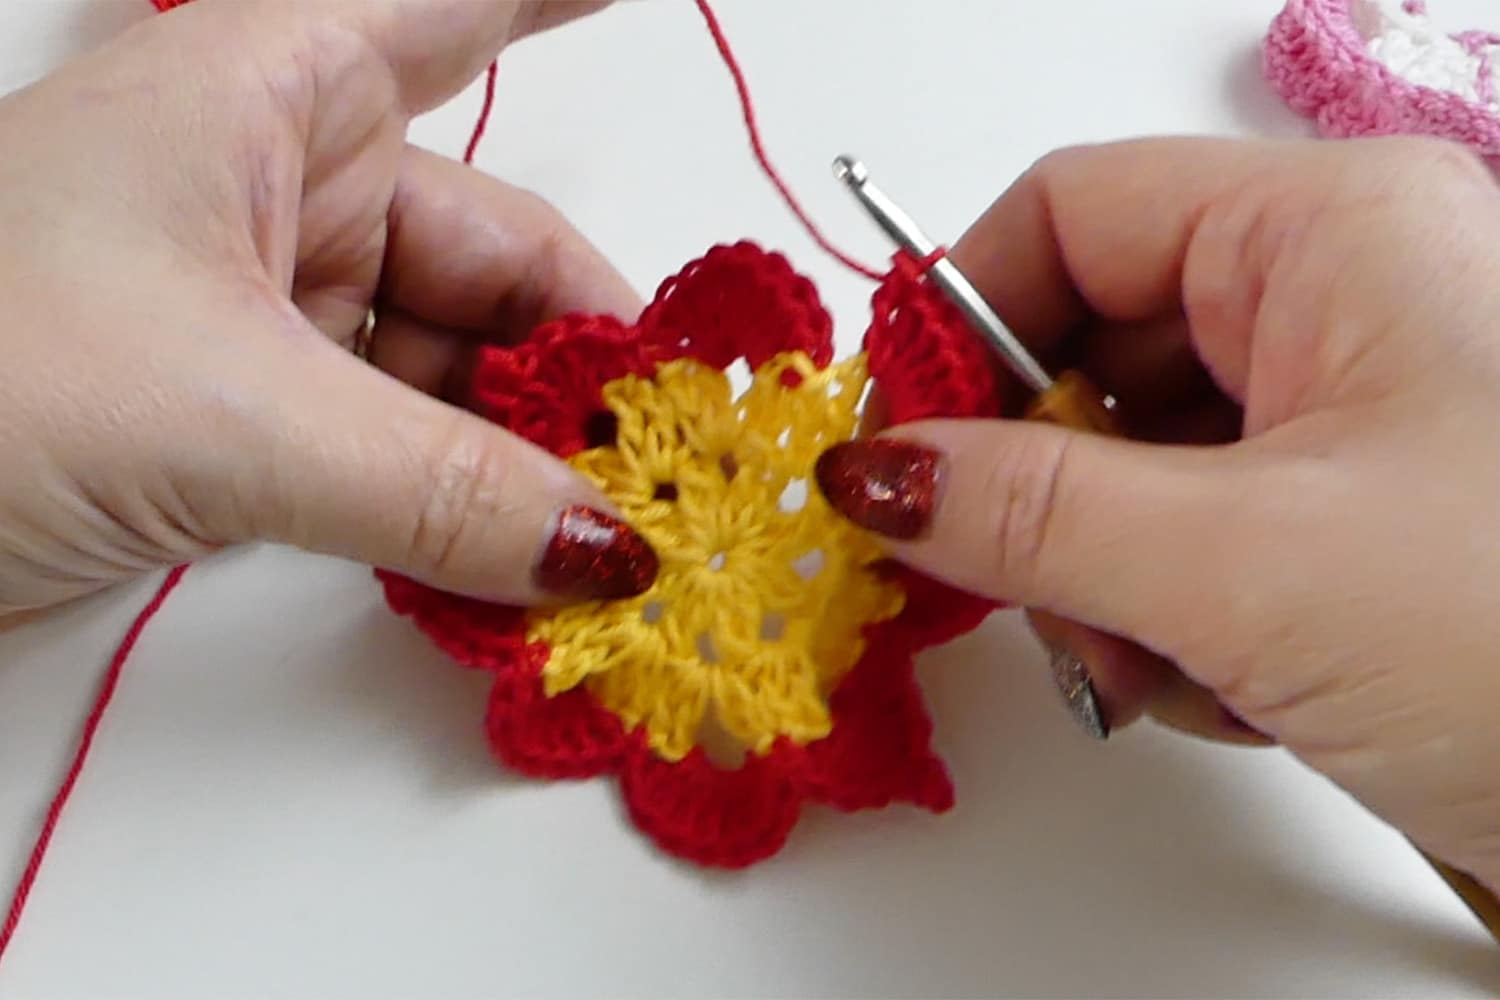
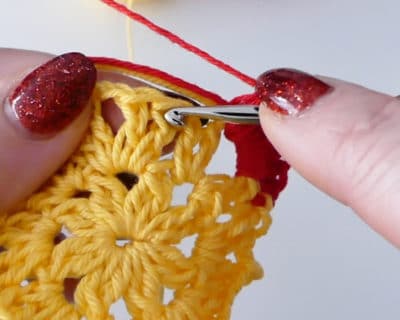
- Variant 1 – round wings: * 8 dc in following ch-arc, 1 sc in between the following 4 dc; rep from * to end of the rnd, sl st in sl st of preliminary rnd.
-
Variant 2 – pointed wings: * (dc 4, 1 picot, dc 4) in following ch-arc, 1 sc in between the following 4 dc; rep from * to end of the rnd, sl st in sl st of preliminary rnd.
-
Variant 3 – round wings below & pointed wings at the top: 8 dc in the following ch-arc, 1 sc in between the following 4 dc, * (4 Stb, 1 picot, 4 Stb) in the following ch-arc, 1 sc in between the following 4 dc **, rep from * to ** 1 more time, 2 x (8 dc in following ch-arc, 1 sc in between the following 4 dc), rep from * to ** 2 more times, end with 8 dc in following ch-arc, sl st in sl st of preliminary rnd.
Finishing
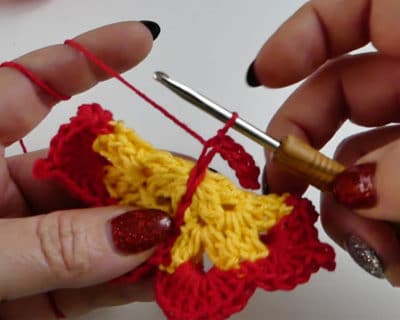
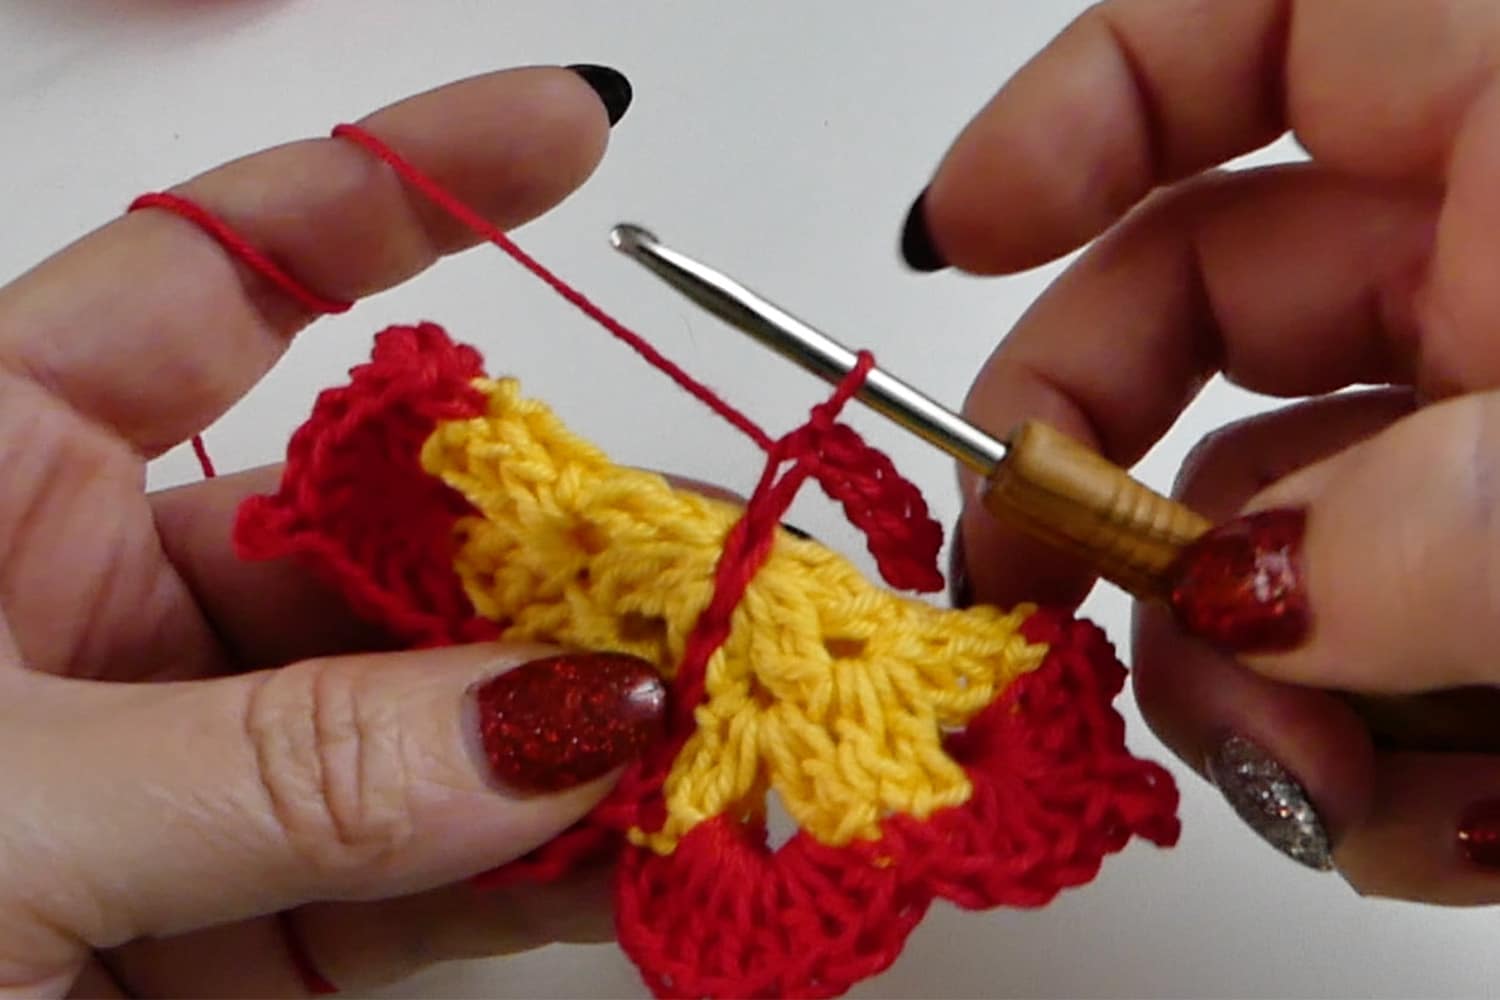
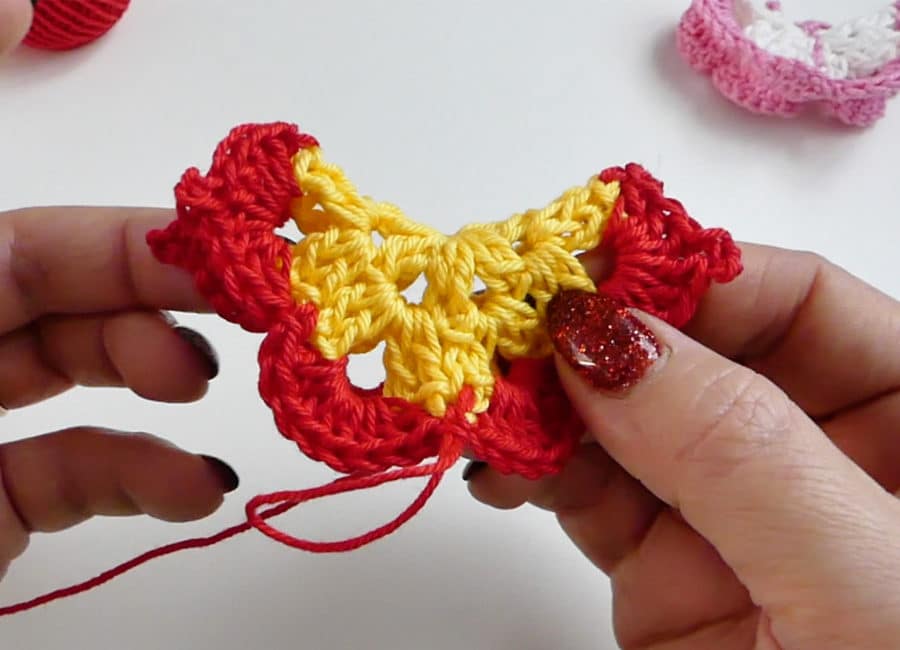
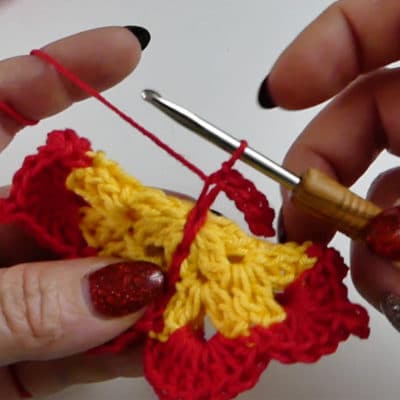
Weave in beginning end. Fold the butterfly in half so that the beginning of the row forms the middle below. Crochet with sl sts from the top down through both layers – to the magic ring. Feelers: * ch 6, turn and start in the 2nd ch, 1 sc in each ch, 1 sl st in the middle; rep from * 1 more time. Form a loop or chain and fasten it in the middle. Weave in remaining ends – done.
A tutorial by CraSy – Sylvie Rasch.
A tutorial by CraSy – Sylvie Rasch.
