

Knitting tutorial
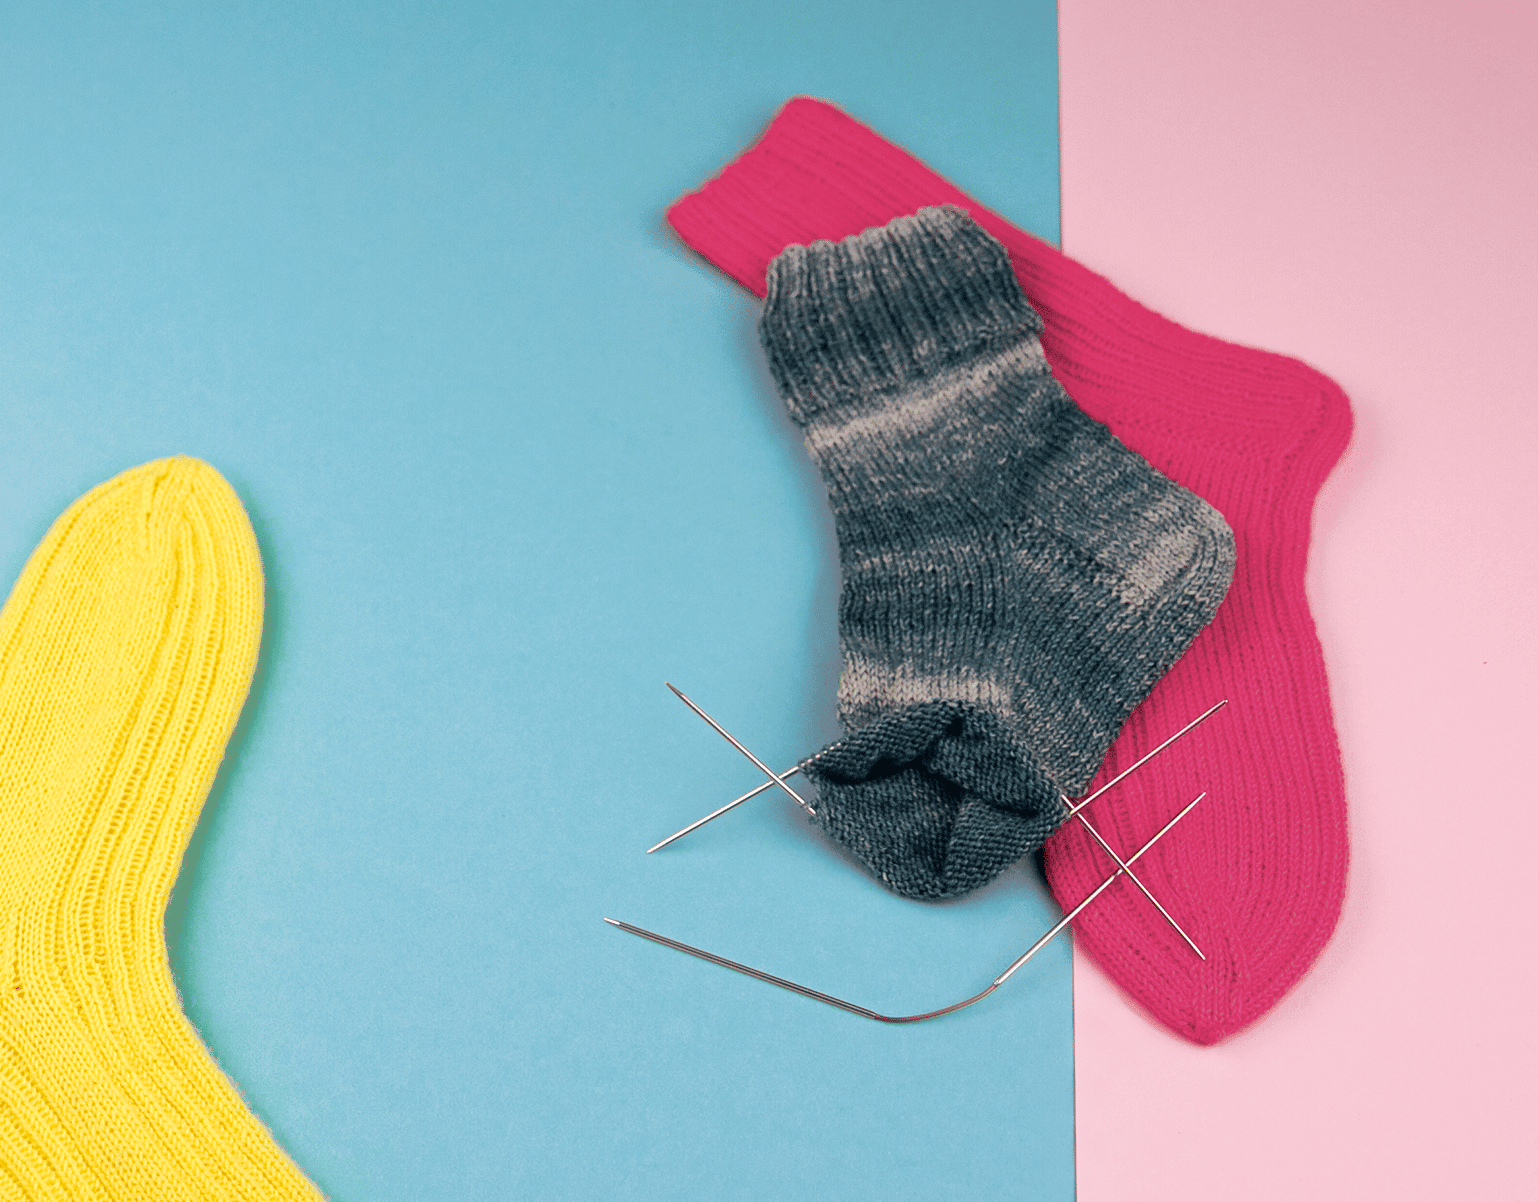
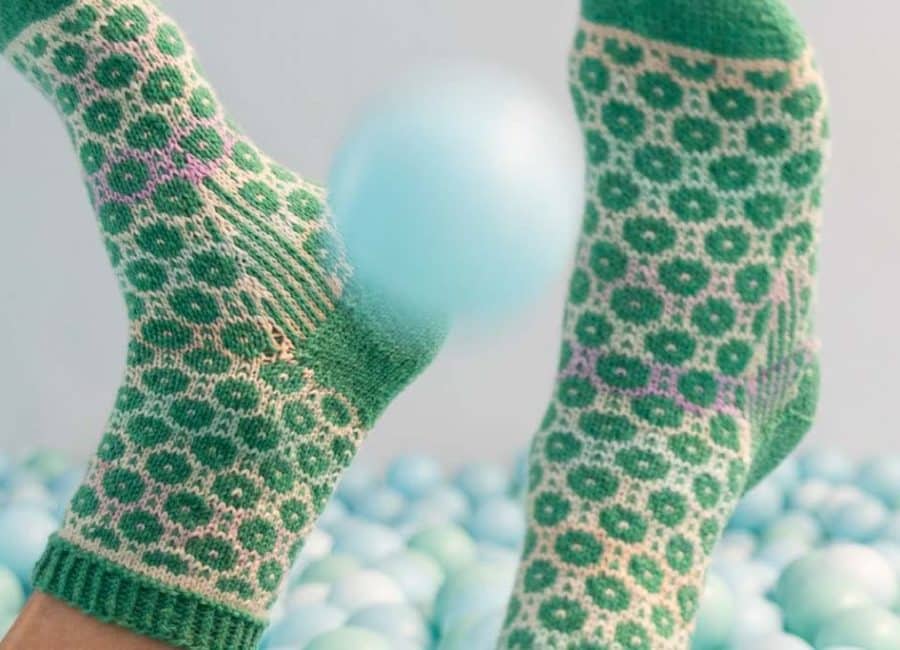
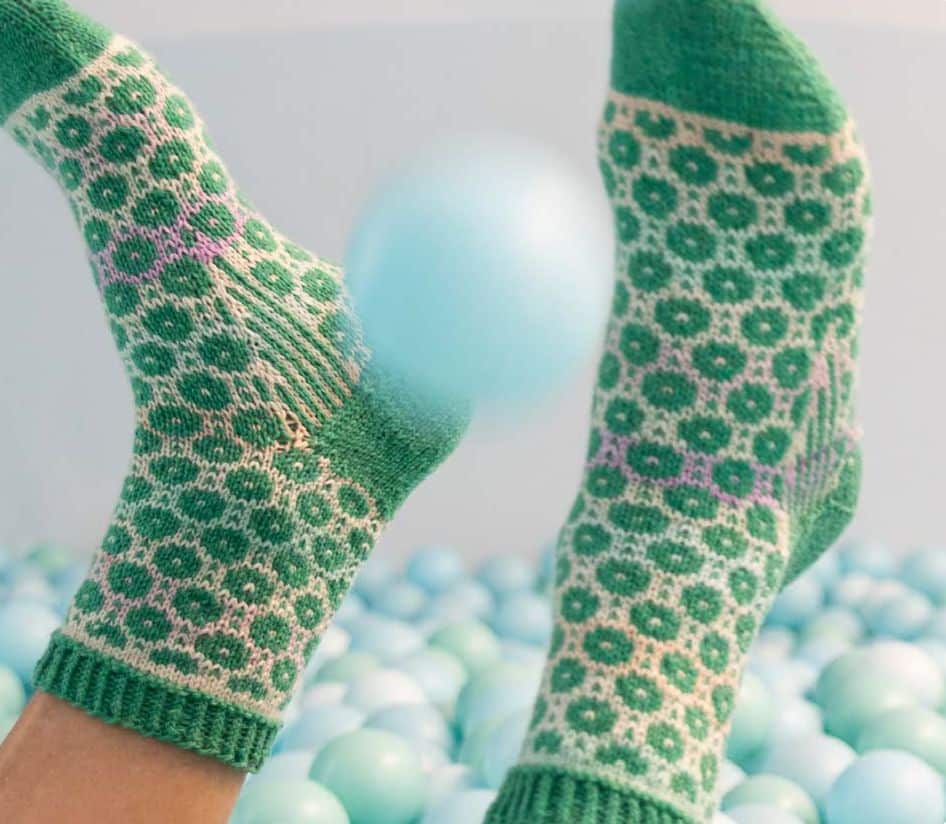
Hypnotic Socks
Would you like to knit your socks differently? These colourful socks with a jacquard pattern are knitted toe-up using circular needles and the magic loop technique. Fewer needle changes make knitting patterns with repeats quicker and easier.

Table of contents
This is what you need
Garn:
- Green version: Scheepjes Metropolis/ Scheepjes Downtown
- Yarn A 021 Rangpur x 1 (1: 2: 2: 2: 2) ball(s)
- Yarn B 413 Baker’s Corner x 1 (1: 1: 2: 2: 2) ball(s)
- Purple version: Scheepjes Metropolis/ Scheepjes Downtown
- Yarn A 053 Santiago x 1 (1: 2: 2: 2: 2) ball(s)
- Yarn B 402 Morning Mist x 1 (1: 1: 2: 2: 2) ball(s)
Gauge:
- 34 Stiches x 36 rows = 10 x 10 cm
(colourwork patt using 2.5mm needles)
Needles:
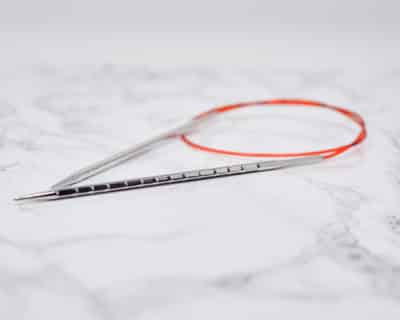
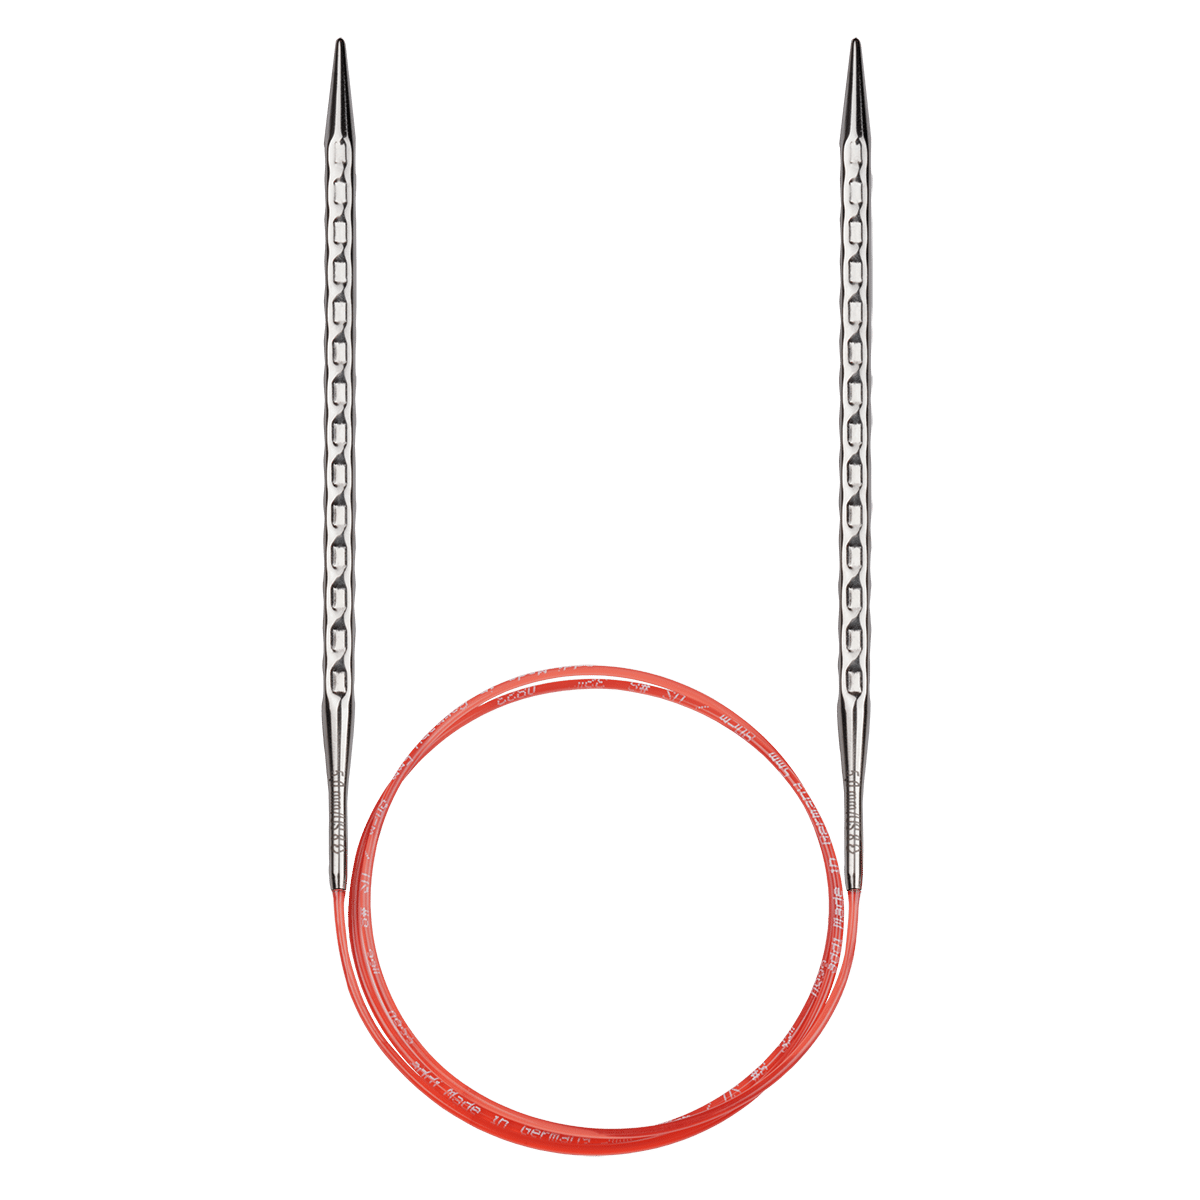
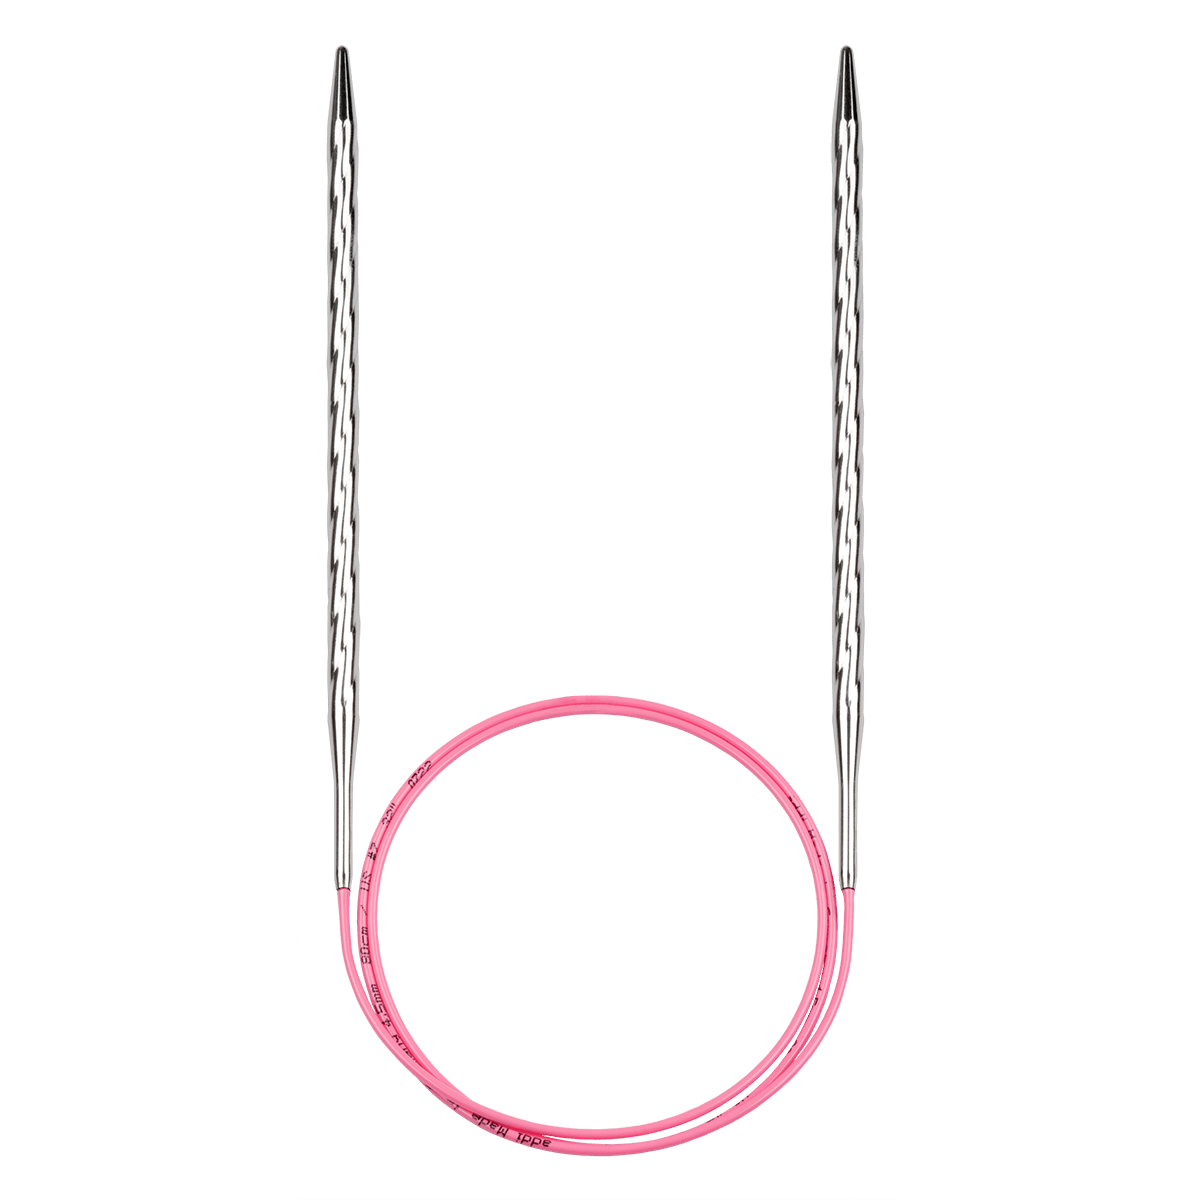
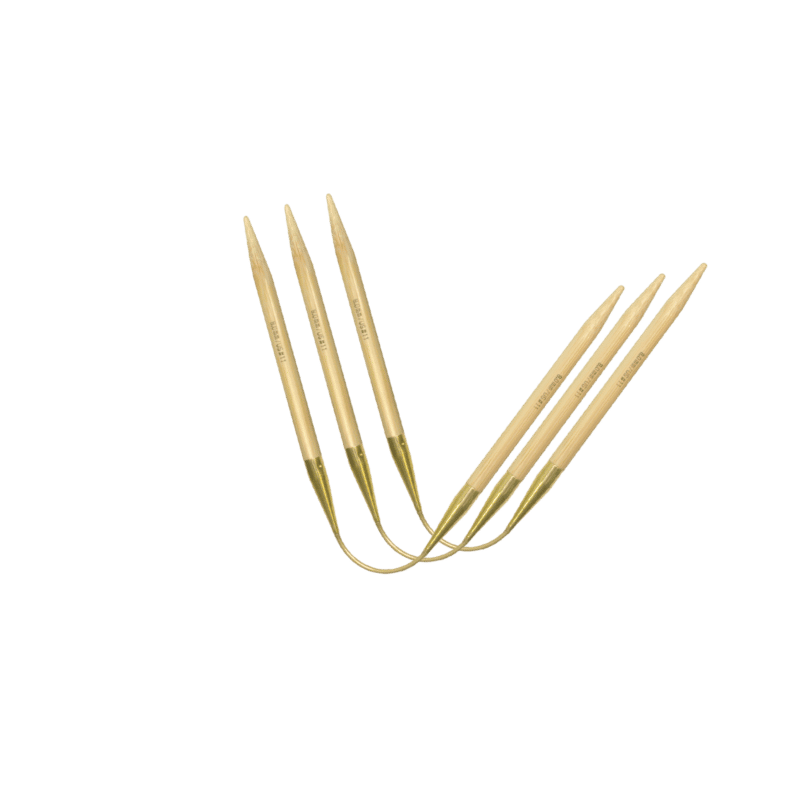
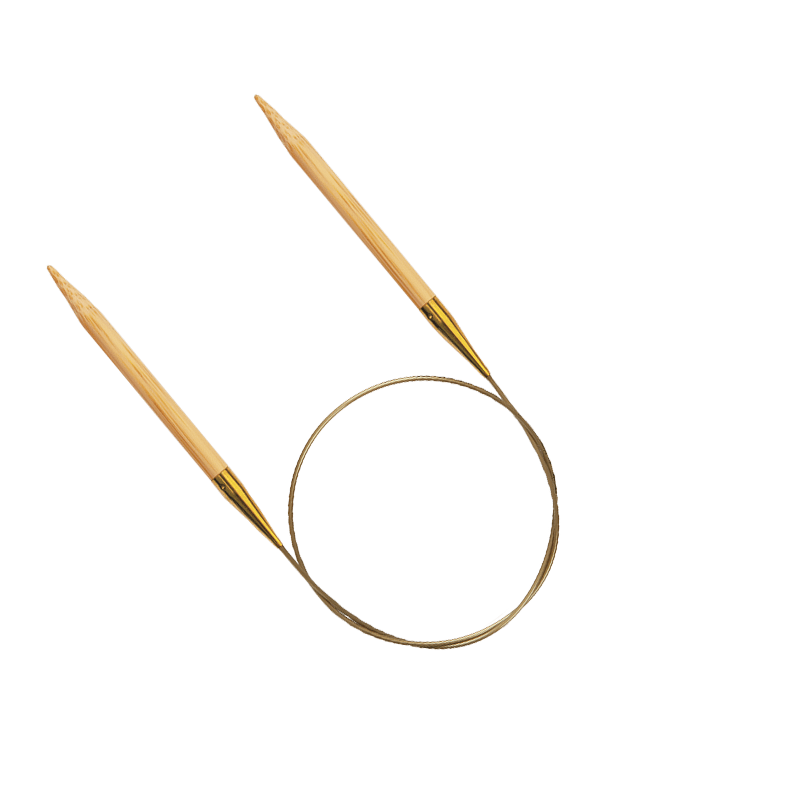
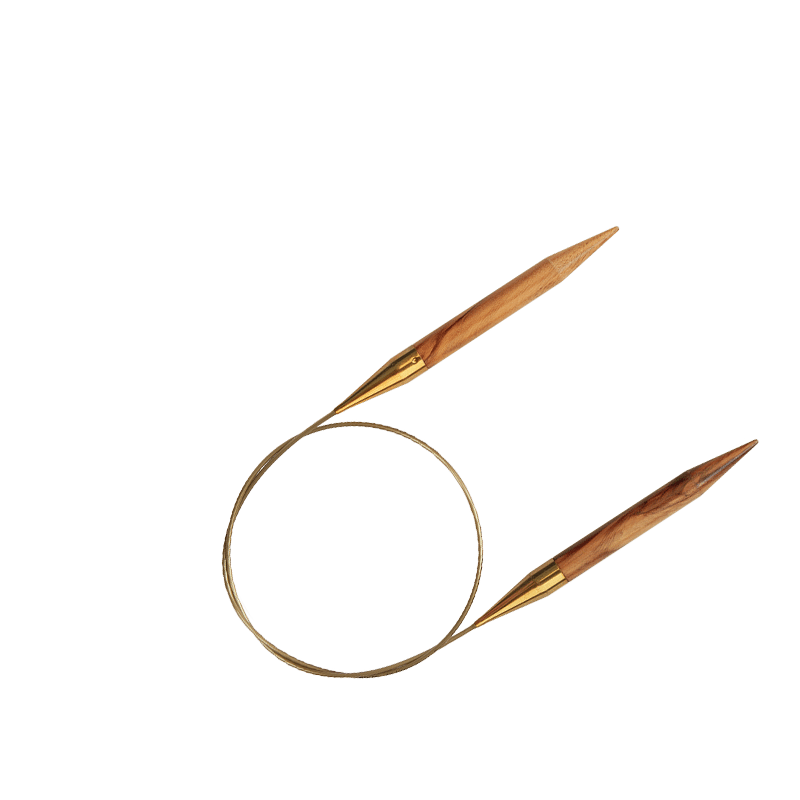
- 2.25 mm and 2.5 mm addiNovel Lace circular knitting needles, 80 cm
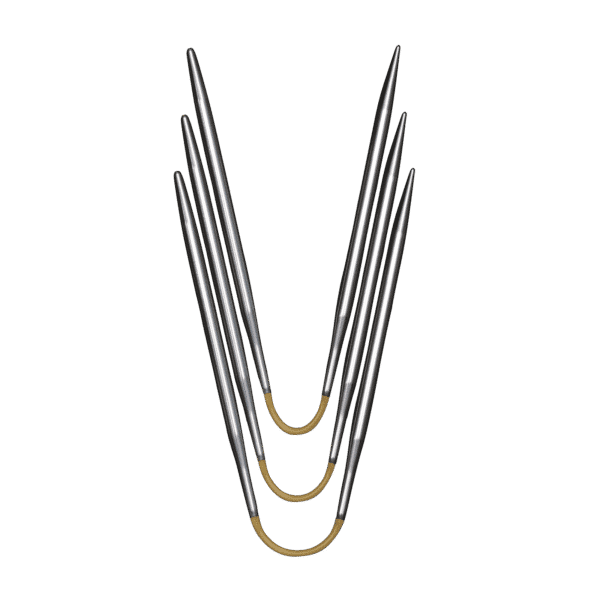
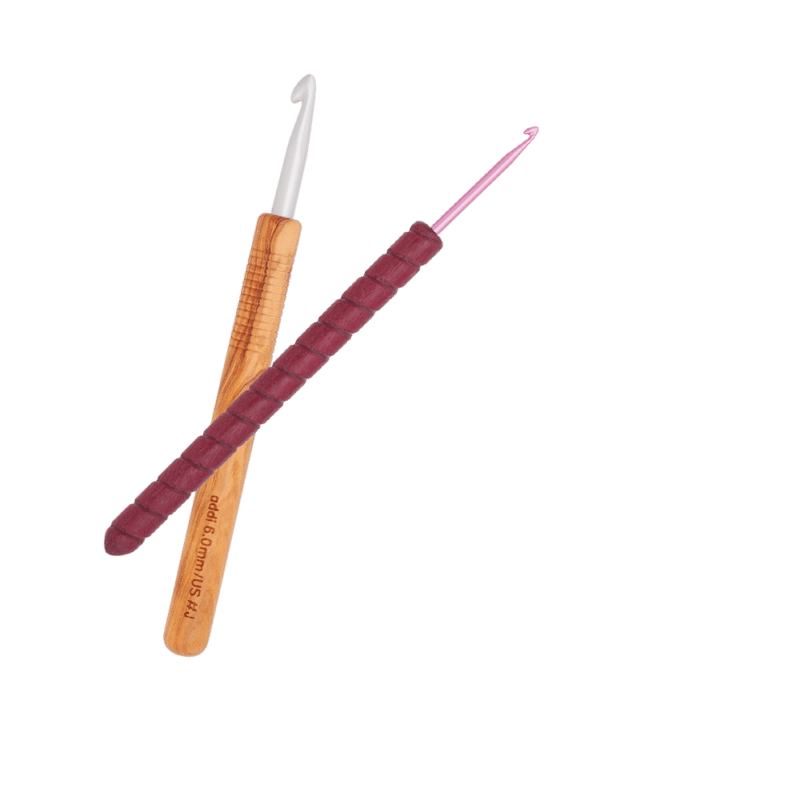
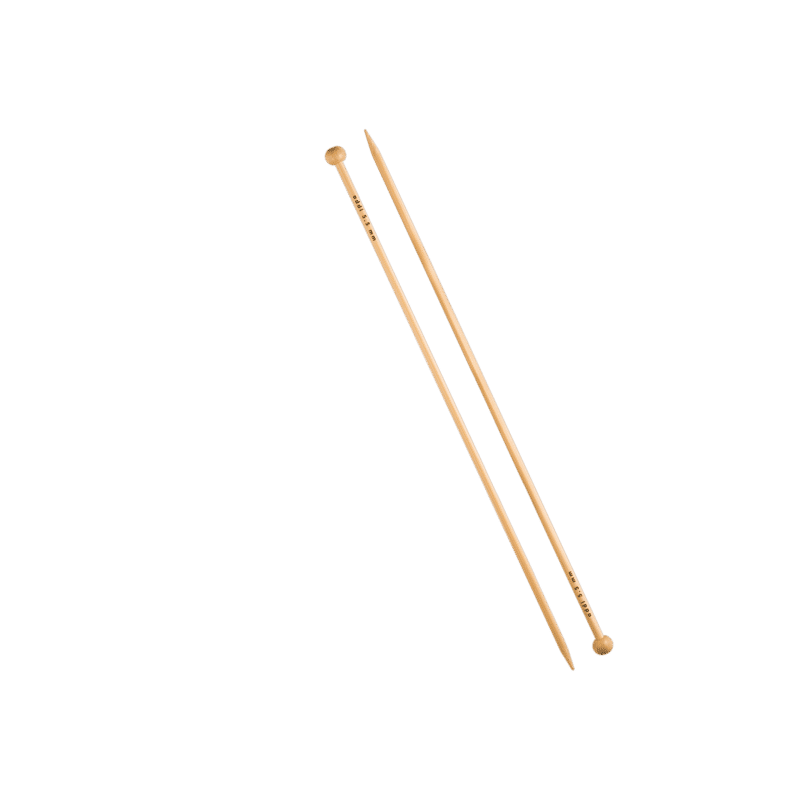
- Alternatively: addiNovel Quintet double-pointed needles or addiCraSyTrio Novel
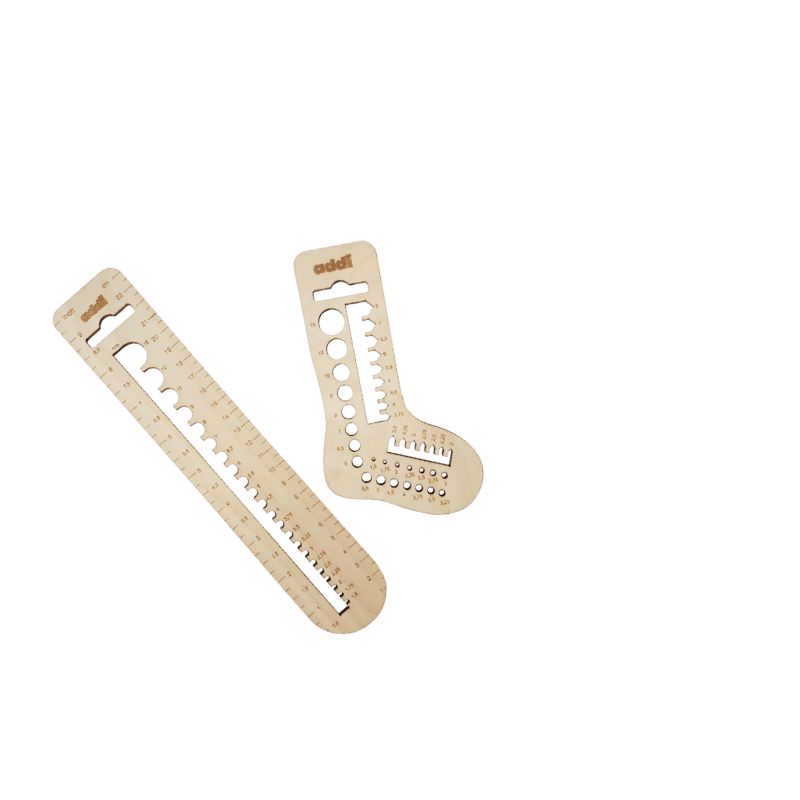
Size EU:
- D: 35-37/37-38/39-41/42-43/44-45/46-47
- US: 4,5-6,5/6,5-7,5/8-10/10,5-11,5/12-13/13,5-14,5
How it works
Notes on the tutorial:
- The socks are knitted from the toe up in rounds using circular needles and the magic loop method. Alternatively, you can use double-pointed needles or addiCraSyTrio and divide the stitches accordingly.
- Nadel 1 und Nadel 2 beziehen sich auf die beiden Spitzen der Rundstricknadel, nicht auf zwei separate Nadeln.
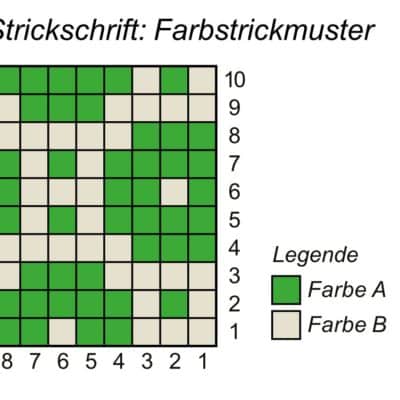
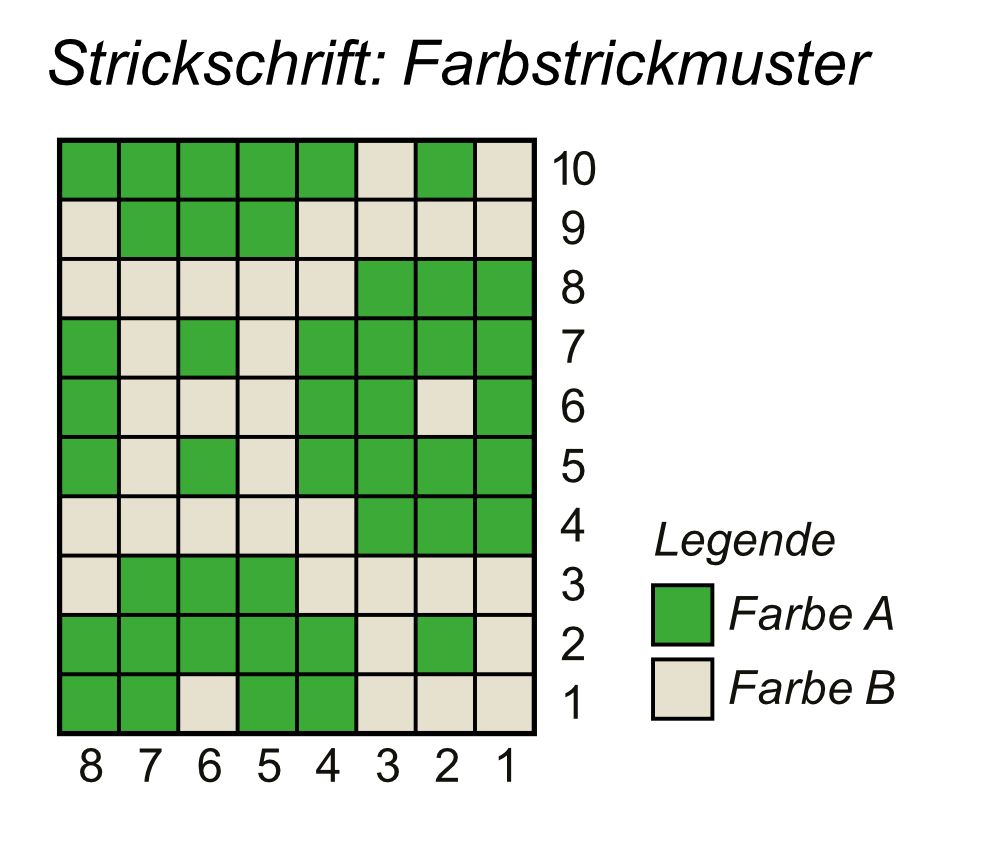
- Needle 1 and needle 2 refer to the two tips of the circular knitting needle, not to two separate needles. When knitting with double-pointed needles, it looks a little different: here, needle 1 refers to the first half of the stitches and needle 2 to the second half. The colour pattern (jacquard pattern) is knitted with two colours. See the knitting chart: Colour knitting pattern for foot and leg, and read the rows from right to left. Colour knitting makes the socks slightly less stretchy, so you should check your gauge and size carefully before you start. The gusset provides extra space over the instep/heel area. The heel is worked in back and forth rows with shortened rows. For Lori's Twisty Bind-Off method, follow the instructions below or watch this (
Step 1
Work the toe
Toe
Work with colour A. Cast on with Judy’s Magic Cast On 10 (10: 10: 12: 12: 12) sts on each needle
- Rd 1(RS): Knit. [20 (20: 20: 24: 24: 24) sts]
- Rd 2 (RS, inc): Kfb, k until 2 sts rem on Needle 1, kfb, k1; rep from * once more for Needle 2.
- Rep Round 1-2 until there are 64 (64: 64: 72: 72: 72) sts.
- Rep Round 1 once more.
- Do not break Yarn A. Using Yarn B, k 2 rounds.
- Change to 2.5mm circular needles and use throughout rest of patt.
Step 2
Foot
- Rd 1 (RS): Work Row 1 of chart, rep 8-st patt 8 (8: 8: 9: 9: 9) times around.
- Cont working through Rows 1-10 of Chart until Foot and Toe meas 11 (12: 13: 14: 15: 16)cm in total length.
- Cont to Gusset.
Step 2
Foot
- Rd 1 (RS): Work Row 1 of chart, rep 8-st patt 8 (8: 8: 9: 9: 9) times around.
- Cont working through Rows 1-10 of Chart until Foot and Toe meas 11 (12: 13: 14: 15: 16)cm in total length.
- Cont to Gusset.

Step 3
Gusset
Gusset sts will be inc on Needle 2 using M1. These sts are not worked in patt: use Yarn A in Yarn A sts and Yarn B in Yarn B sts (creating stripes).
- Rd 1 (RS, inc): K across Needle 1 as normal, turn to Needle 2; M1 in Yarn B, k across rem sts of Needle 2 as normal, M1 in Yarn B. [2 sts inc on Needle 2]
- Round 2 and all alt rounds: K across Needle 1 as normal, turn to Needle 2; k Gusset sts in colours as they appear, cont to k across rem sts on Needle 2 as normal.
- Rd 3 (inc): K across Needle 1 as normal, turn to Needle 2; M1 in Yarn B, k Gusset st(s) as they appear, k across rem sts on Needle 2 as normal, k next gusset st(s) as they appear, M1 in Yarn B. [after Round 3: 2 Gusset sts on each side in Yarn B]
- Note: in first set of Gusset sts you will knit first st, M1, then knit across other Gusset sts. In second set of gusset sts you will knit across Gusset sts until 1 st left, M1, then knit last st.
- Rep Rounds 2-3, alternating Yarns A and B, until 11 (11: 11: 13: 13: 13) Gusset sts on each side.
- Cont knitting Sock in patt until it reaches desired length (see Measurements Table).
- Rd 4: Work next 32 (32: 32: 36: 36: 36) sts from next row of chart, working across sts of first Gusset, then work rem 32 (32: 32: 36: 36: 36) sts to second Gusset in Yarn A only.
- Break Yarn B, turn work to knit in rows.
Step 4
Heel
This section is worked over sts between Gussets only, using Yarn A only.
- Rd 1 (WS): Wyif, sl1p and lift yarn from front upwards over RH needle to back of work, tugging firmly (forms double st), wyif, p all sts to Gusset (does not include Gusset sts), turn.
- Rd 2 (RS): Wyif, sl1p and lift yarn to back as before, wyif, p all sts to next double st. Rep Rows 2-3 until 14 (14: 14: 12: 12: 12) sts left between double sts, ending with a RS row.
- Rd 3: Wyif, sl1p and lift yarn to back as before, wyif, p all sts to next double st. Rep Rows 2-3 until 14 (14: 14: 12: 12: 12) sts left between double sts, ending with a RS row.
- Do not turn, cont as follows:
- Rd 1 (RS): K first double st as if 1 st, turn.
- Rd 2 (WS): Sl1p (tugging firmly), p to next double st, p as if 1 st, turn.
- Rd 3: Sl1p (tugging firmly), k to next double st, k as if 1 st.
- Rep Rows 2-3 until all double sts worked (last double st should be on a WS row).
Note: if you end on a RS row, beg with Row 2 in following instructions.
Part 5
Heel Flap
Gusset sts are dec in this section and form Heel Flap (panel on back of Heel).
- Rd 1 (RS): Sl1p, k to 1 st before gap (gap will be visible), ssk, turn.
- Rd 2 (WS): Sl1p, *p1, sl1p; rep from * to 1 st before gap, p2tog, turn.
- Rd 3: Sl1p, *k1, sl1p; rep from * to 1 st before gap, ssk, turn.
- Rep Rows 2-3 until all Gusset sts have been dec and you have 32 (32: 32: 36: 36: 36) sts on this side of Sock again.
Note: in Rows 2-3, each st will be worked at least once; a st that was slipped in Row 2 will be knitted in Row 3, a st that was slipped in Row 3 will be purled in Row 2.
- Last Gusset st dec occurs on a WS row. After turning back to RS:
- Next row (RS): Using Yarn A, K across 32 (32: 32: 36: 36: 36) sts.
- Join Yarn B, beg working from chart as set.
Note: to avoid gaps on either side of Heel, pick up 1 st between instep and sole and knit this st together with next st.
Part 6
leg
Cont as set until leg meas approx. 10cm in length (or adjust length as desired).
- - Using Yarn B, k 2 rounds. Break Yarn B.
The cuff
- Use Yarn A throughout.
- Round 1 (RS): Knit.
- Round 2 (RS): Purl.
- Round 3: Knit.
- Rounds 4-10: *K1tbl, p1; rep from * around.
- Cast off using Lori’s Twisty Bind-Off or your preferred cast-off method.
Note: for this cast-off method, twist RH needle (if you are knitting right-handed); it may be
easier to use a separate needle for this.
Part 7
Lori´s Twisty Bind-off Methode
Knit the first stitch as usual.
- For the second stitch (purl stitch): Turn the needle once counterclockwise (towards you) before inserting it, then purl the stitch.
- Lift the knit stitch over the purl stitch you just knitted.
- Now you have a purl stitch on the right needle.
- The next stitch is a knit stitch:
- Turn the needle clockwise (away from you) once before inserting it, then knit the stitch through the back loop.
- Lift the previous purl stitch over the current knit stitch.
- Continue in this manner, turning the needle anticlockwise for purl stitches and clockwise for knit stitches, until only one stitch remains on the needle.
- Cut the yarn and pull the last stitch through until the end comes through.
Finishing
Block to measurements then weave in all ends.
Have fun knitting and wearing!
Tutorial also available for download and in the addi2go app
You can find the written instructions to print out in German, Dutch and English from our partner Scheepjes.
Design by Carmen Jorissen @newleafdesigns
You can also find the instructions digitally in our addi2go app. There you can save the instructions in a project with row counters and notes.
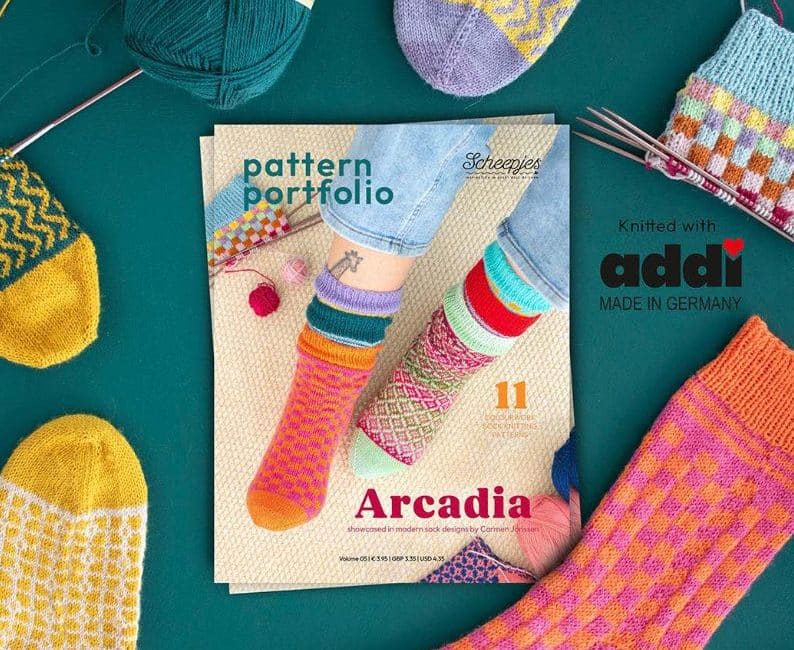
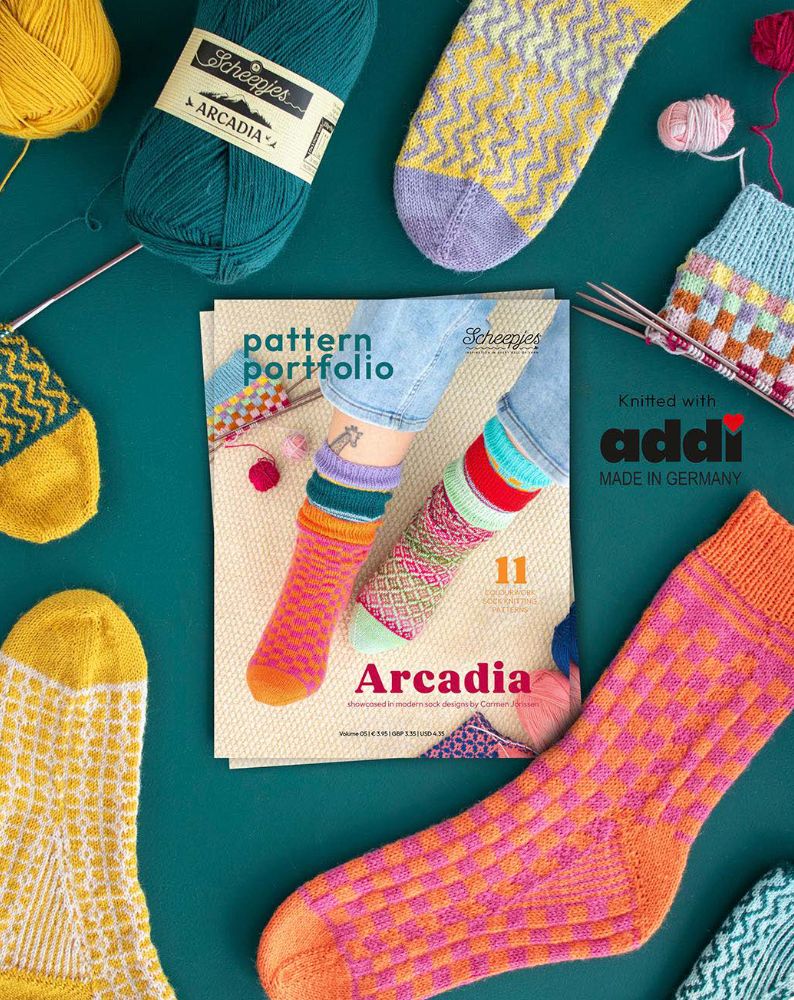
More patterns for socks here: Pattern portfolio