
Tutorial: Seed stitch for beginners
Seed stitch is easy to knit with knit and purl stitches. It is particularly suitable for flat knitted projects such as scarves or dishcloths, as it does not curl and becomes nicely dense.
Difficulty: ♥♥♡♡♡

How is seed stitch created?
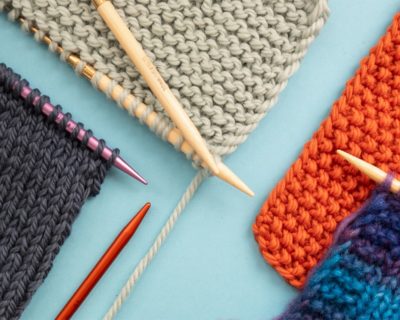
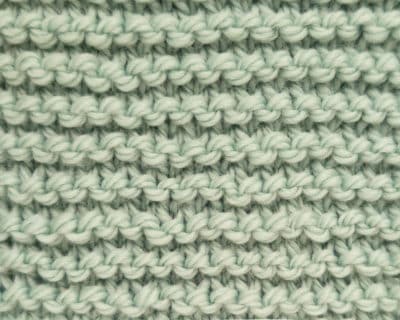
Seed stitch, also known as “moss stitch”, gets its name from its beautiful texture of knit and purl stitches arranged in an offset pattern. The purl stitches appear as small bumps, or pearls.
The knitting pattern is simple and effective to knit, it is voluminous and looks the same on both sides. This makes it particularly suitable for scarves, shawls and other projects that are seen from both sides and should not curl.
Seed stitch properties:
- Knitted the same in right-side and wrong-side rows (odd number of stitches)
- Does not contract
- Edges lie flat (no curling)
- Can be knitted in rounds and rows
- Consists only of purl and knit stitches
Seed stitch –
Step by Step
Seed stitch in rows
The principle of seed stitch is very simple: cast on an odd number of stitches and knit one stitch knit and one purl in the right-side and wrong-side rows. Thanks to the number of stitches, the pattern is offset like a chessboard.
Step 1: Right-side row
Knit one knit stitch (V-shaped) and one purl stitch (bump). Keep repeating these two stitches alternately until you reach the end of the row.
Step 2: Turn the work
As soon as the right-side row is finished, the knitted piece is turned so that the back of the work faces you.
Step 3: Wrong-side row
In the wrong-side row, one knit stitch and one purl stitch are again knitted alternately. It is important to be able to tell the purl and knit stitches apart.
Tip: Whenever you see a bump (purl stitch), knit a knit stitch. For every knit stitch (V), knit a purl stitch.
Step 4: Repeat
This alternation of right-side and wrong-side rows is continued until the knitted piece has reached the desired length. The result is a beautiful pattern with offset stitches.


Seed stitch in rows
The principle of seed stitch is very simple: cast on an odd number of stitches and knit one stitch knit and one purl in the right-side and wrong-side rows. Thanks to the number of stitches, the pattern is offset like a chessboard.
Step 1: Right-side row
Knit one knit stitch (V-shaped) and one purl stitch (bump). Keep repeating these two stitches alternately until you reach the end of the row.
Step 2: Turn the work
As soon as the right-side row is finished, the knitted piece is turned so that the back of the work faces you.
Step 3: Wrong-side row
In the wrong-side row, one knit stitch and one purl stitch are again knitted alternately. It is important to be able to tell the purl and knit stitches apart.
Tip: Whenever you see a bump (purl stitch), knit a knit stitch. For every knit stitch (V), knit a purl stitch.
Step 4: Repeat
This alternation of right-side and wrong-side rows is continued until the knitted piece has reached the desired length. The result is a beautiful pattern with offset stitches.


Randmaschen stricken
To create a neat edge, the first stitch of each row can be worked as an edge stitch. To do this, simply slip the first stitch of each row with the yarn in front of the needle by lifting it from behind with the right needle without knitting it. The last stitch of the row is ALWAYS knitted. This creates a neat and even edge (V edge as in the photos).


Video tutorial: Knitting seed stitch in rows

By loading the video you accept the privacy policy of YouTube.
Learn more
Seed stitch in rounds
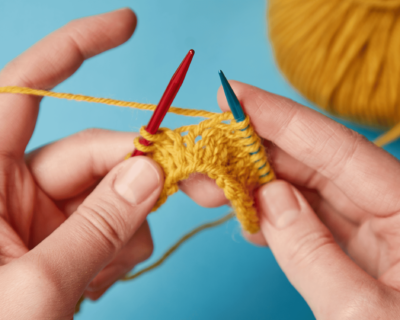
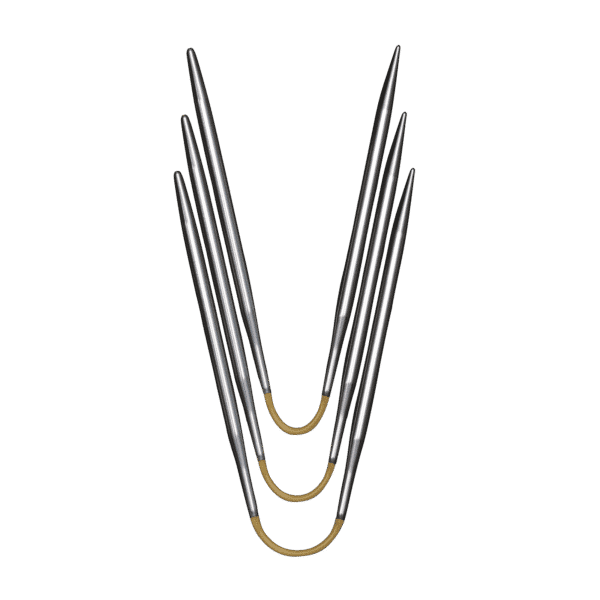
Seed stitch can be knitted not only in rows but also in rounds, for example for sleeves, wrist warmers or jumpers. To do this, cast on an odd number of stitches and knit one stitch knit and one purl in each round. Thanks to the number of stitches, the pattern is offset like a chessboard.
This is how stockinette stitch works in rounds:
- Round 1:
Knit one knit stitch (V-shaped) and one purl stitch (bump). Keep repeating these two stitches alternately until you reach the end of the row. - Round 2:
Because of the odd number of stitches, the second round now begins with a purl stitch – so one purl stitch (bump) and one knit stitch (V-shaped) are knitted.
Both rounds are repeated continuously. The pattern is particularly suitable for projects that should keep an even, smooth surface without contracting.
Where is seed stitch used?
Seed stitch is particularly popular for knitting projects that should lie flat and wide without contracting and that should look nice on both sides . Here are some examples of where it can be used:
- Jumpers and cardigans: Seed stitch creates a lively look that is well suited to garments that should not fit tightly. It works particularly well with solid-coloured yarns or gentle colour gradients.
- Blankets and scarves: The decorative pattern feels voluminous, ideal for warm knitting projects such as scarves or blankets. Especially with solid-coloured yarns.
- Dishcloths or towels: Particularly flat without curling and with a pearl texture that is also very useful in the household.
The pattern is easy to knit and suits all kinds of yarn. The pattern shows beautifully, especially in solid-coloured and simple knitting projects.