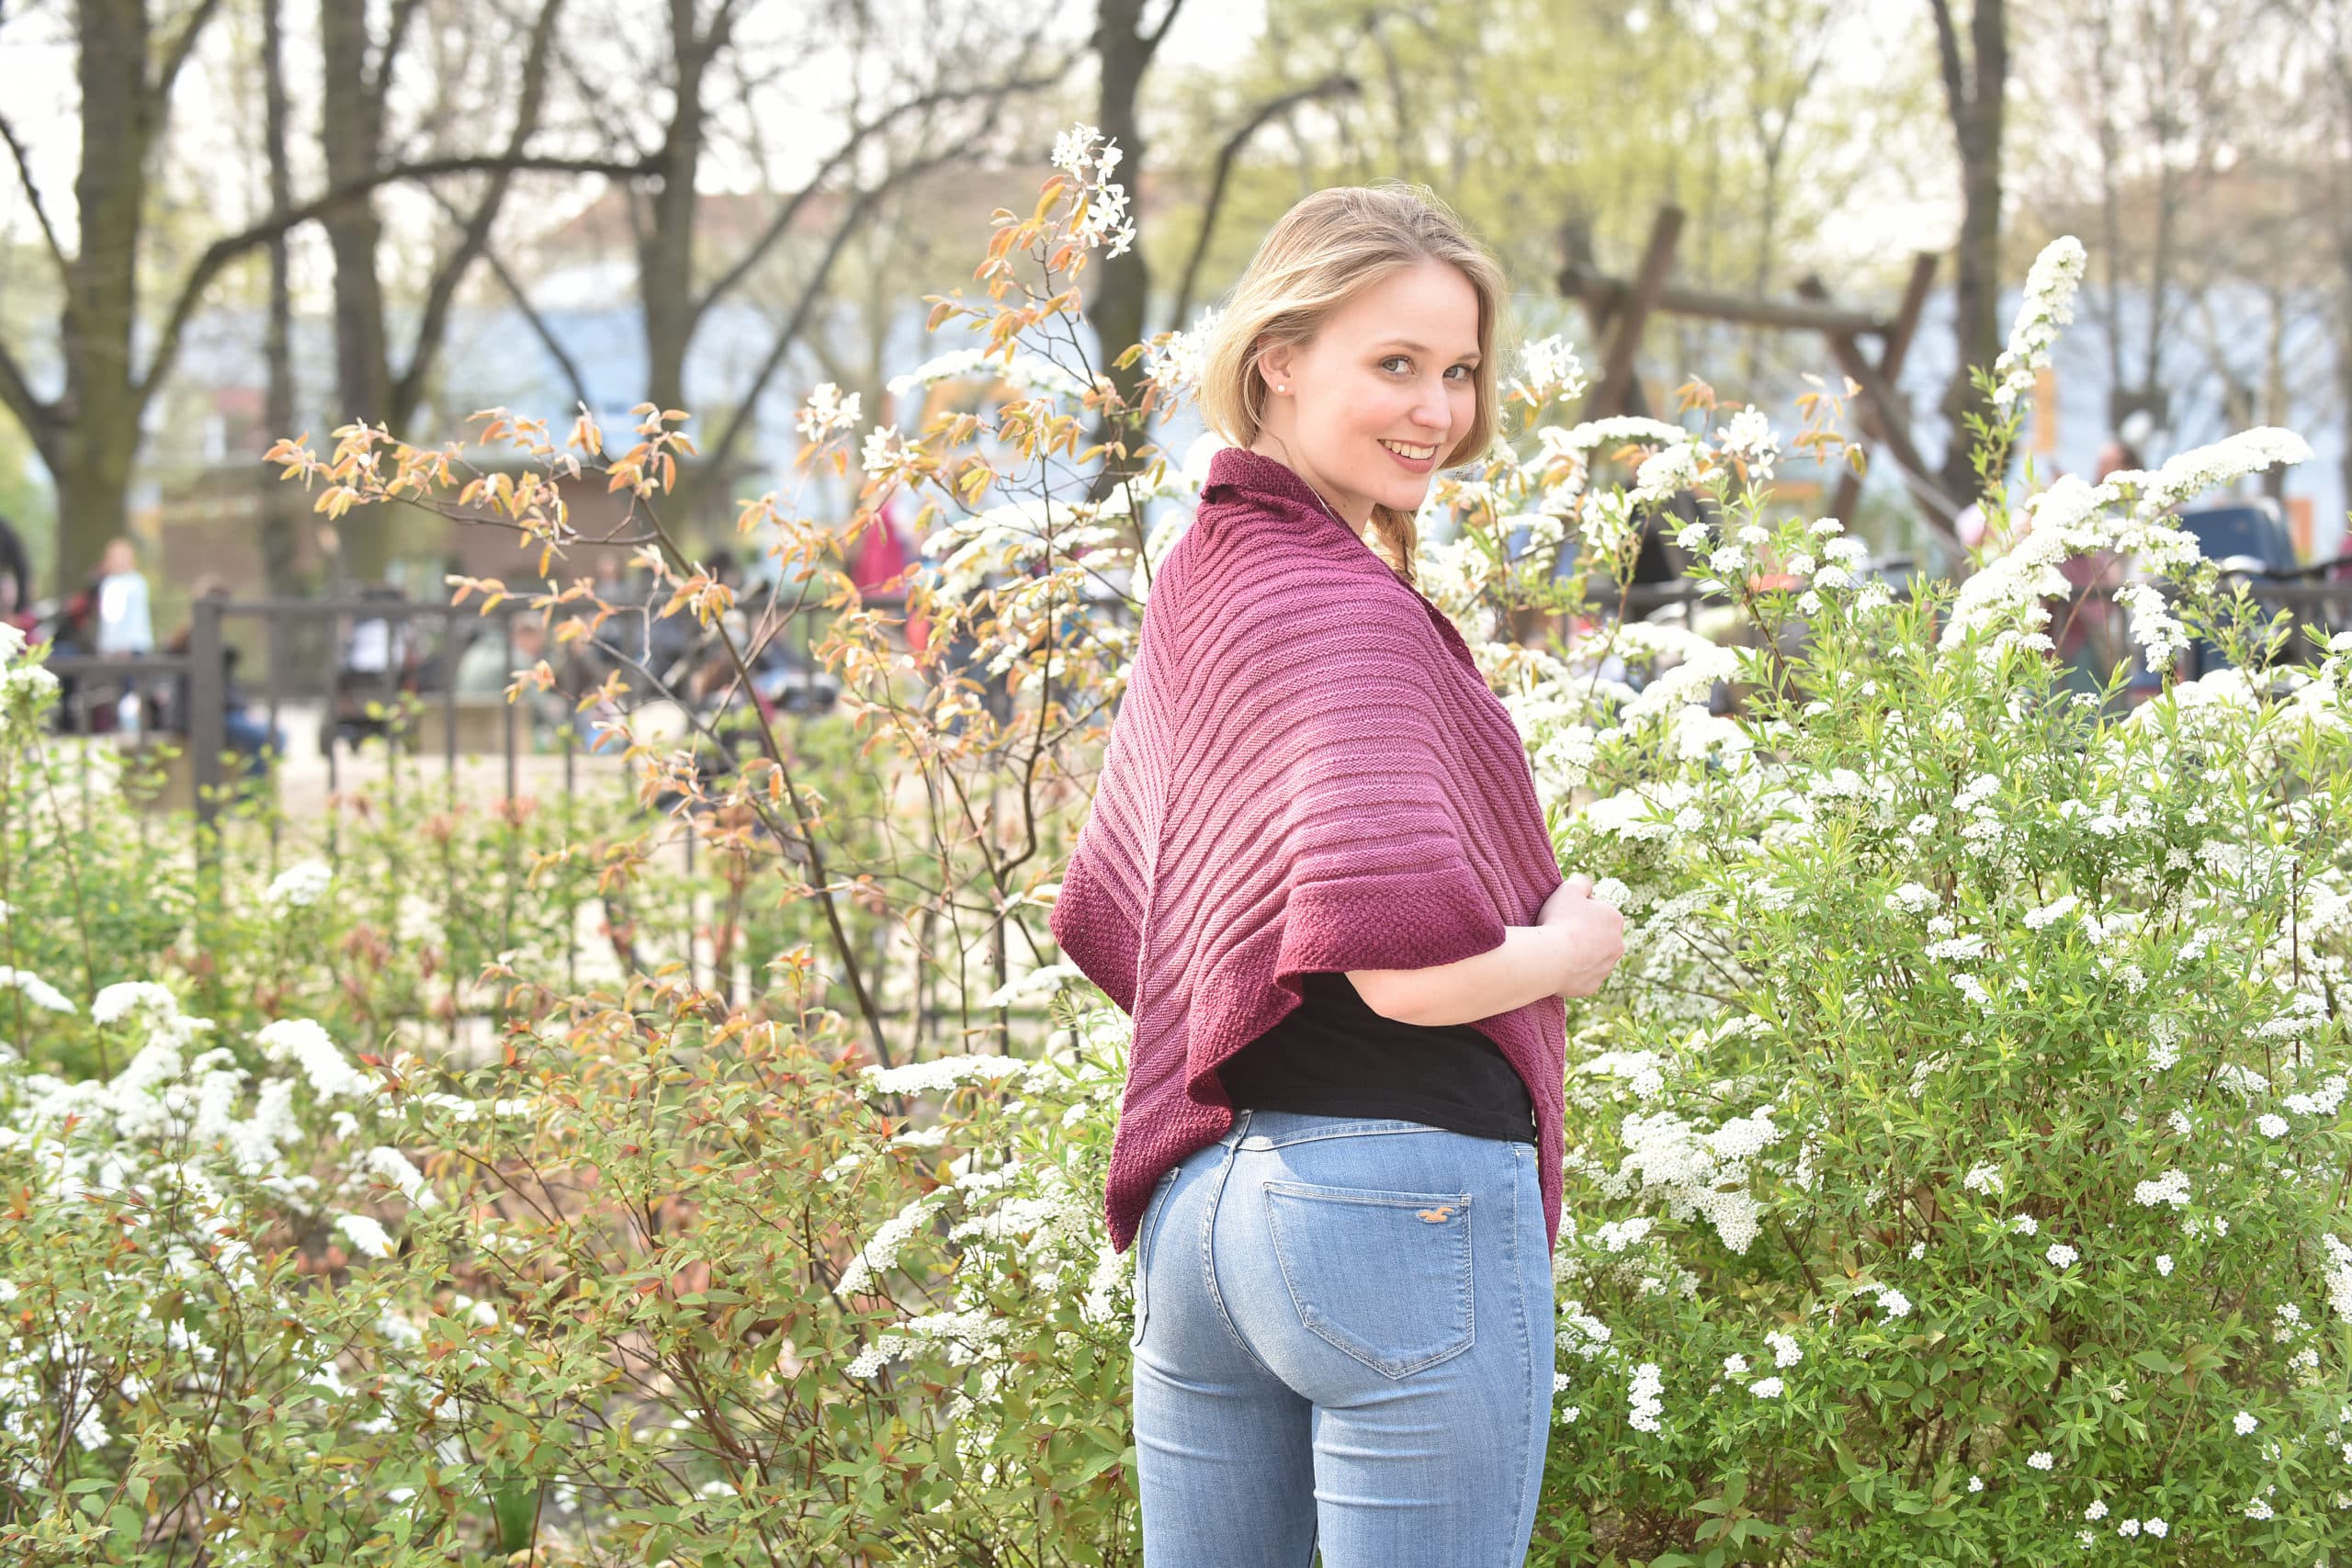
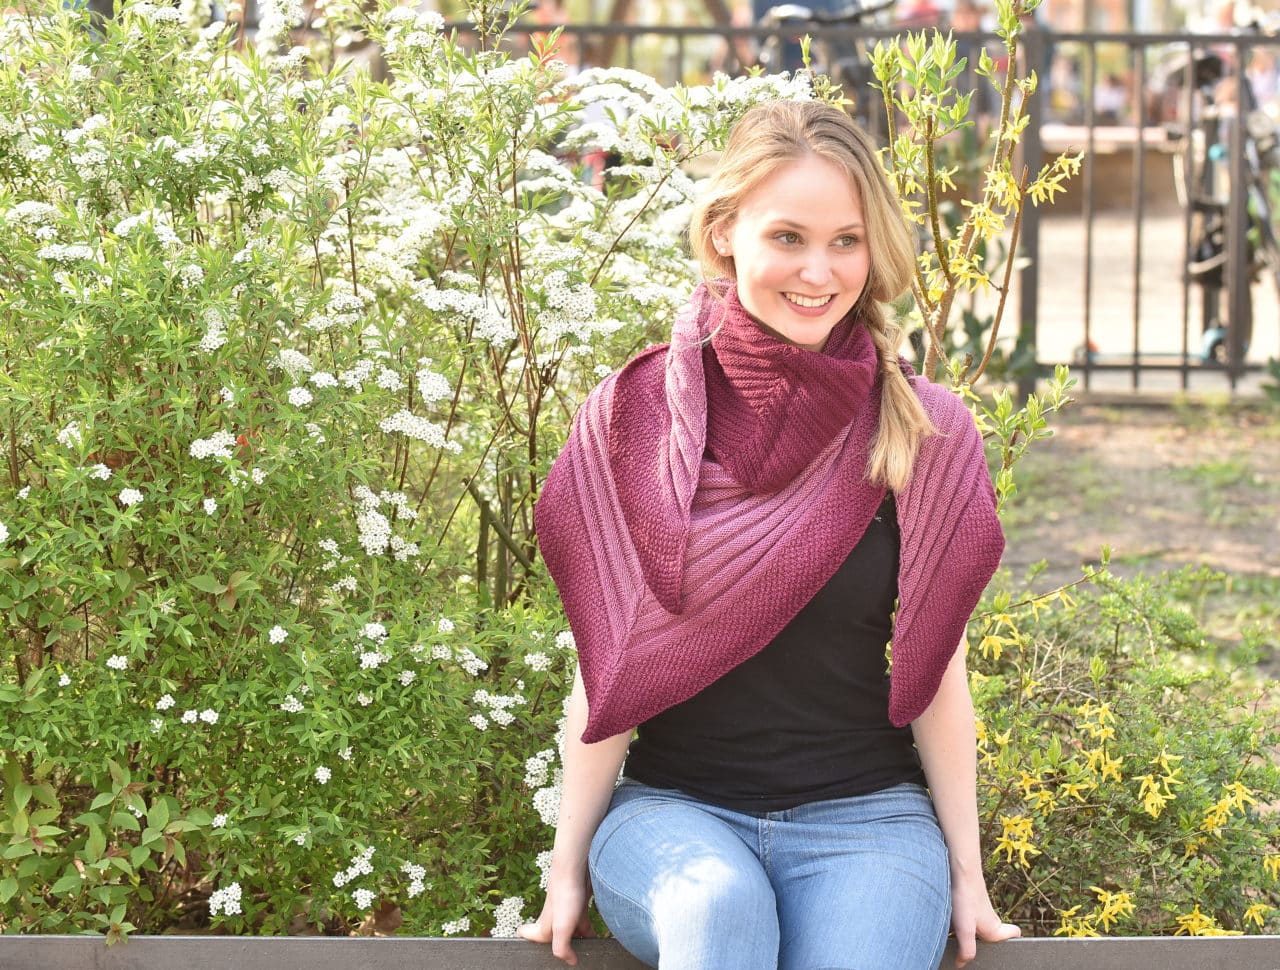
Kostenlose Anleitung: Dreieckstuch stricken mit Muster „Streifenpaule“
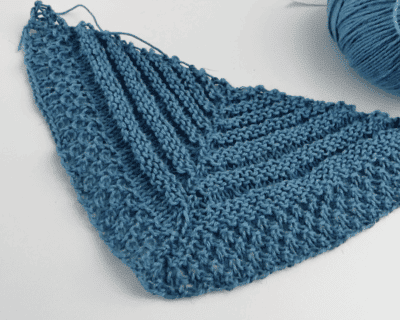
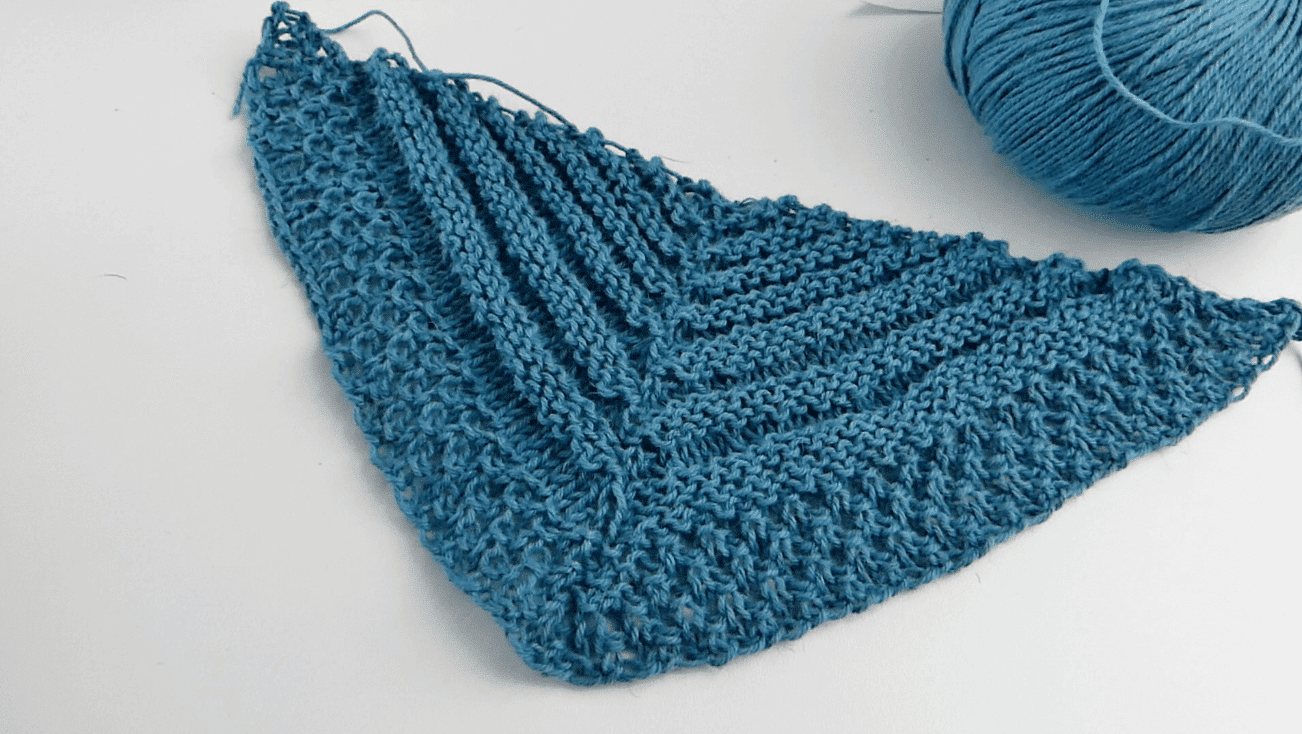
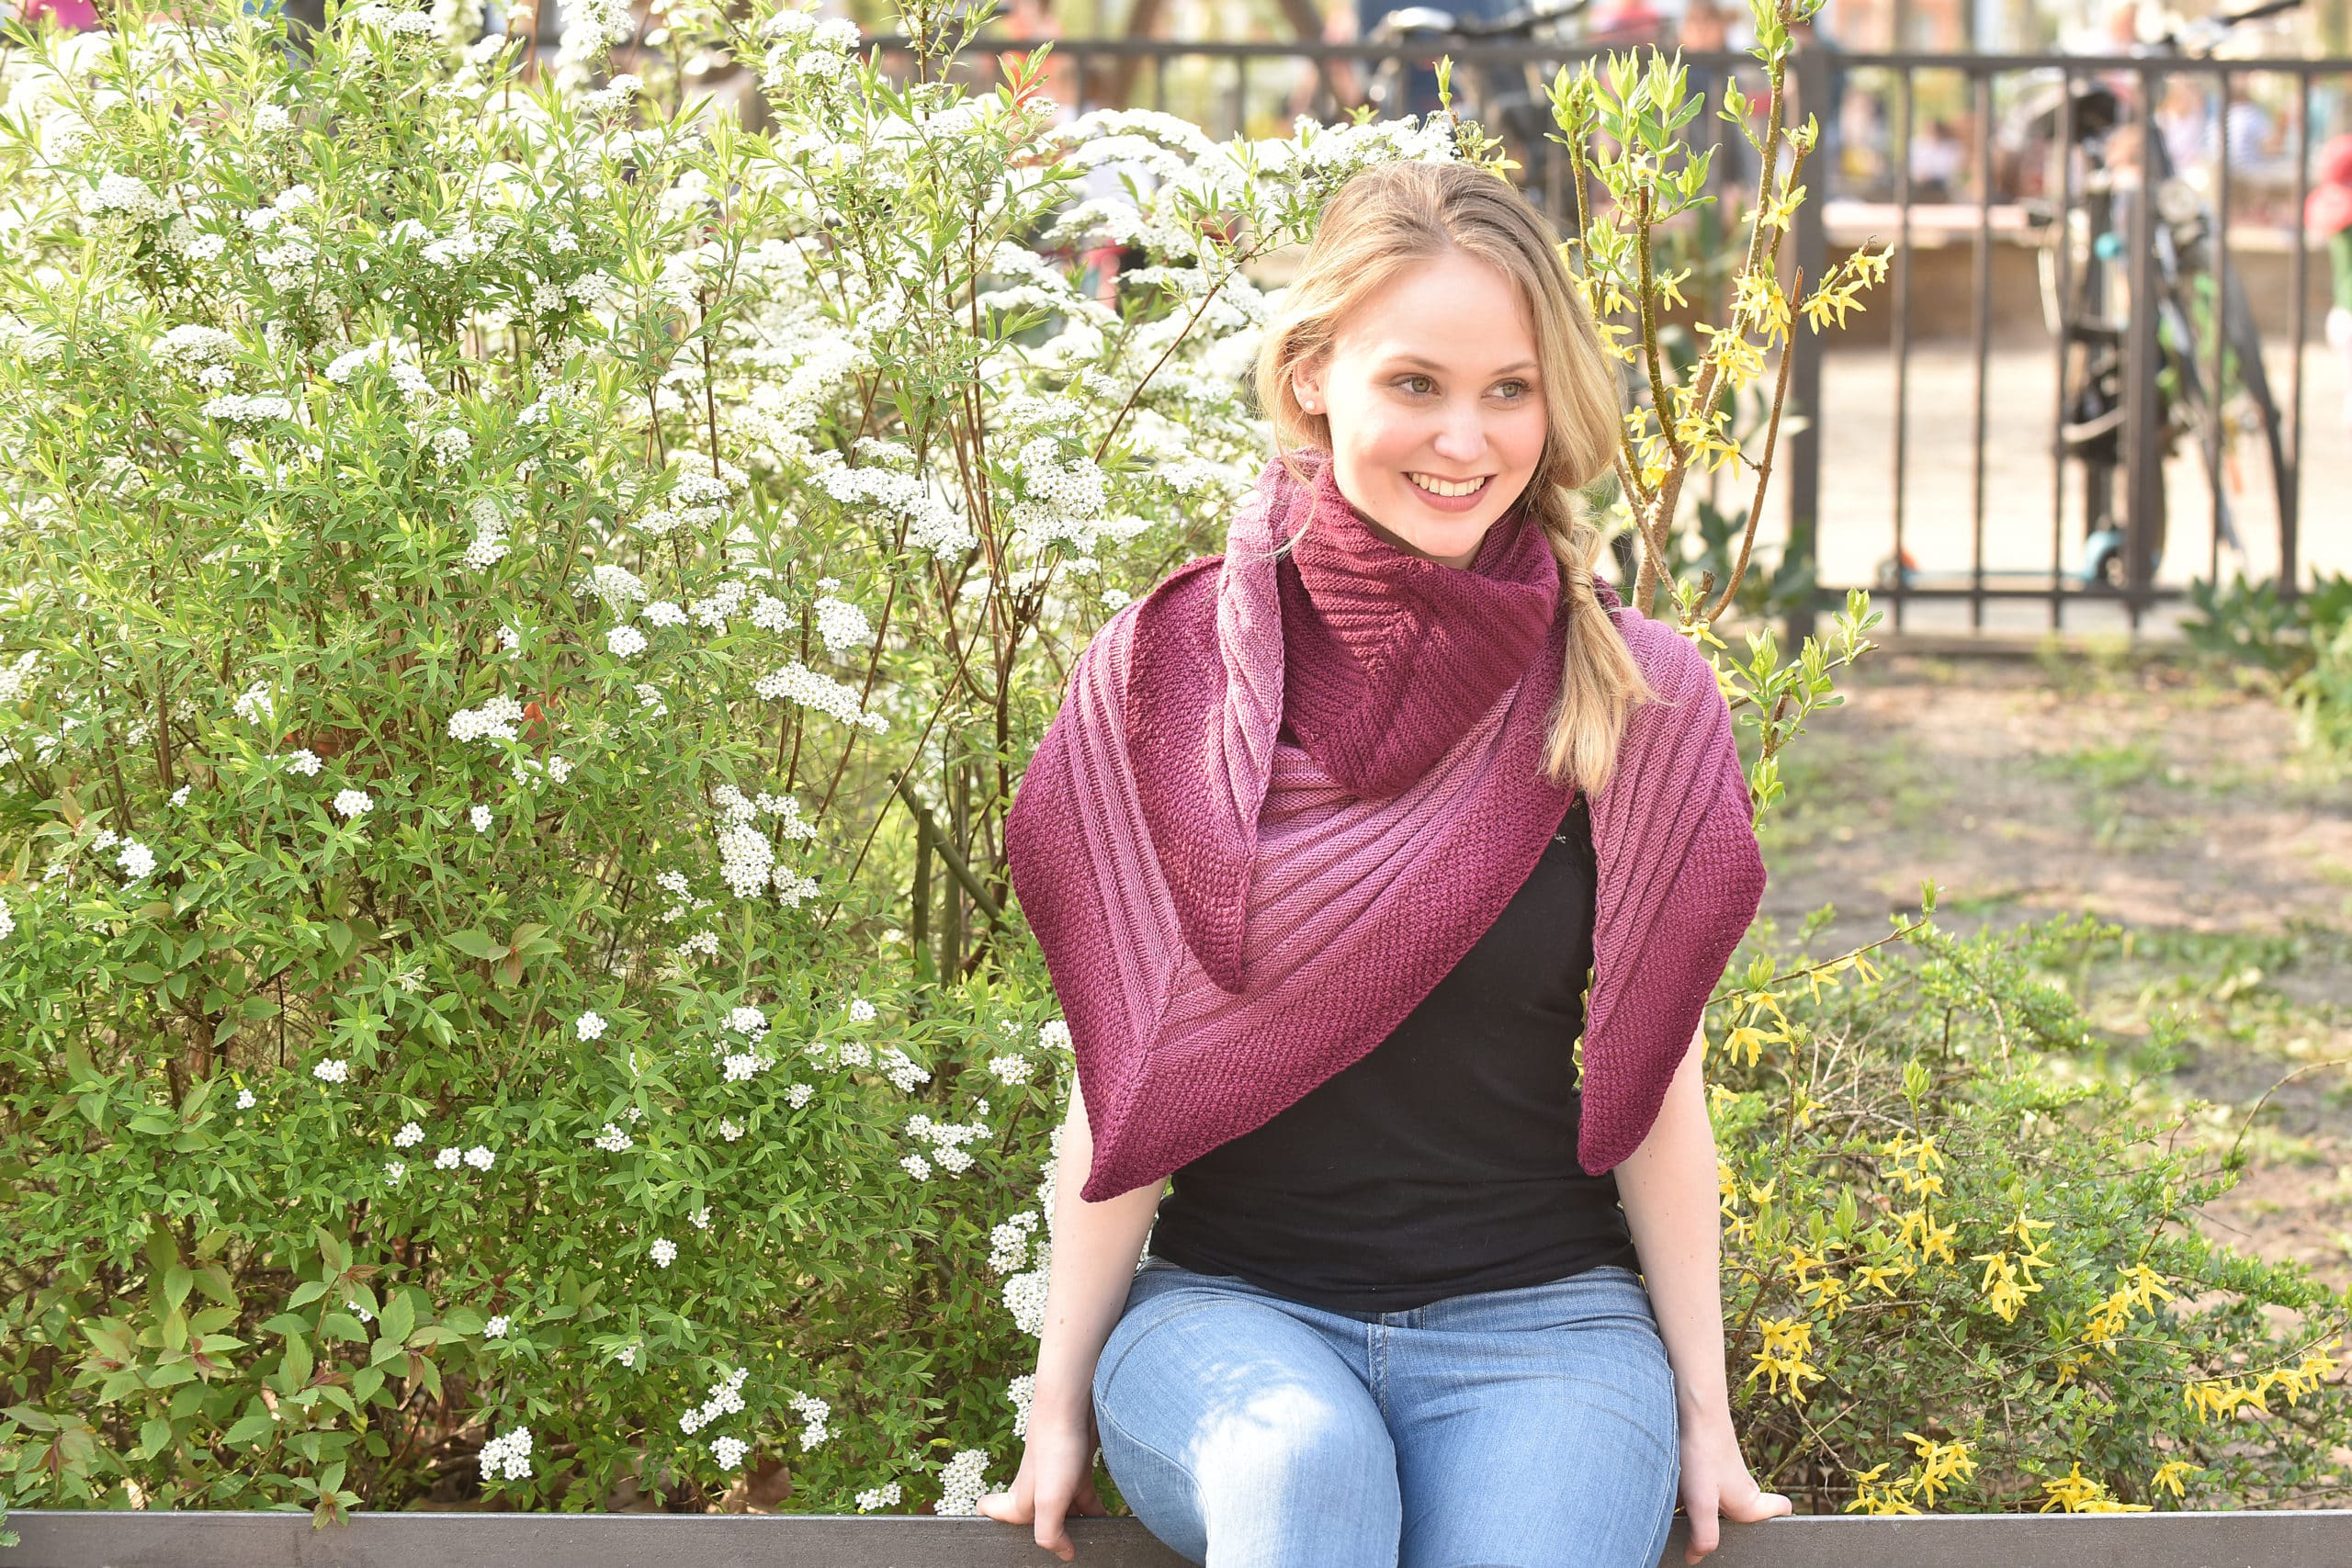
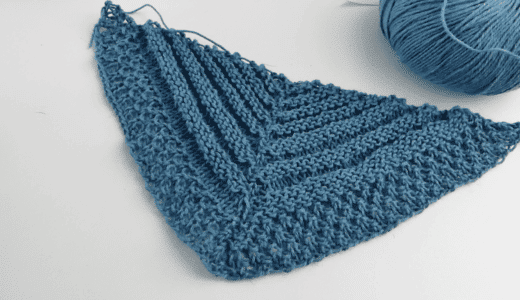
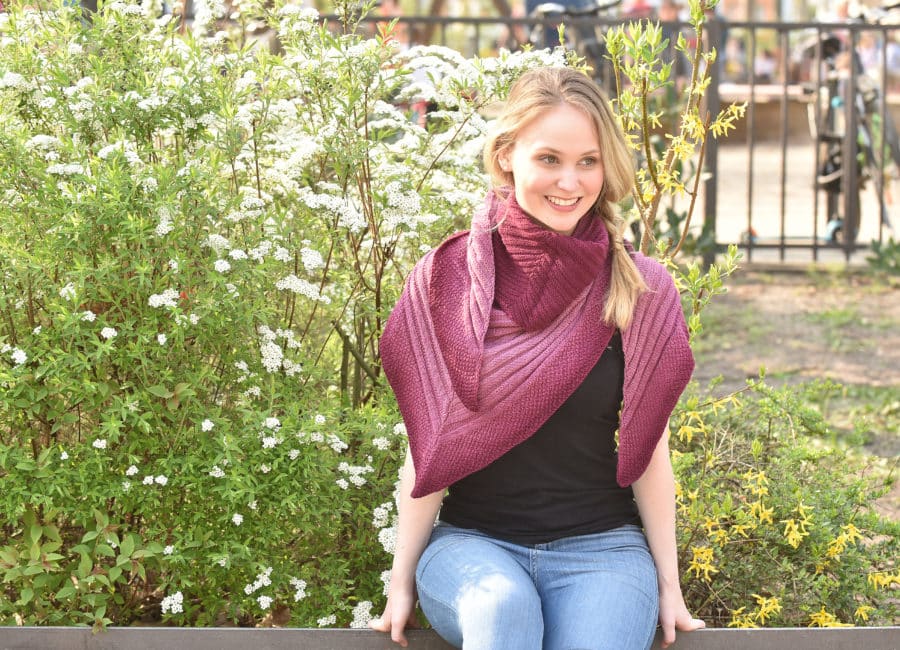
Zum Entspannen gibt es heute wieder ein schickes Tuch. Dieses Dreieckstuch strickst du ganz einfach mit rechten und linken Maschen – das Muster entsteht wie von selbst. Die kostenlose Anleitung für ein Dreieckstuch gibt es von CraSy – Sylvie Rasch.
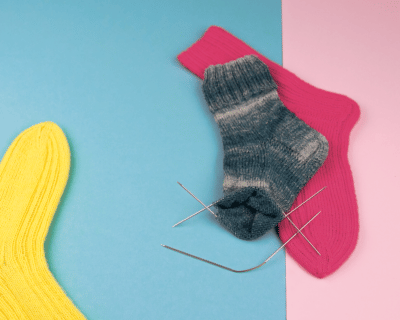
- Wool for needles US 2-11 (3-8 mm) approx. 800-1000 m
- e.g. 5-6 Ball of “Pascuali Puno Vinikunia” (70% cotton, 30% alpaca) 1.8oz/218 yd (blue Balls in the Video)
- or 2 Balls gradient yarn
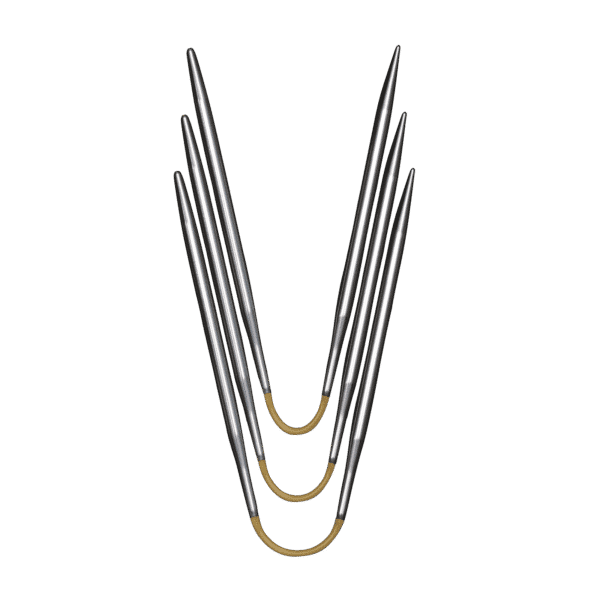
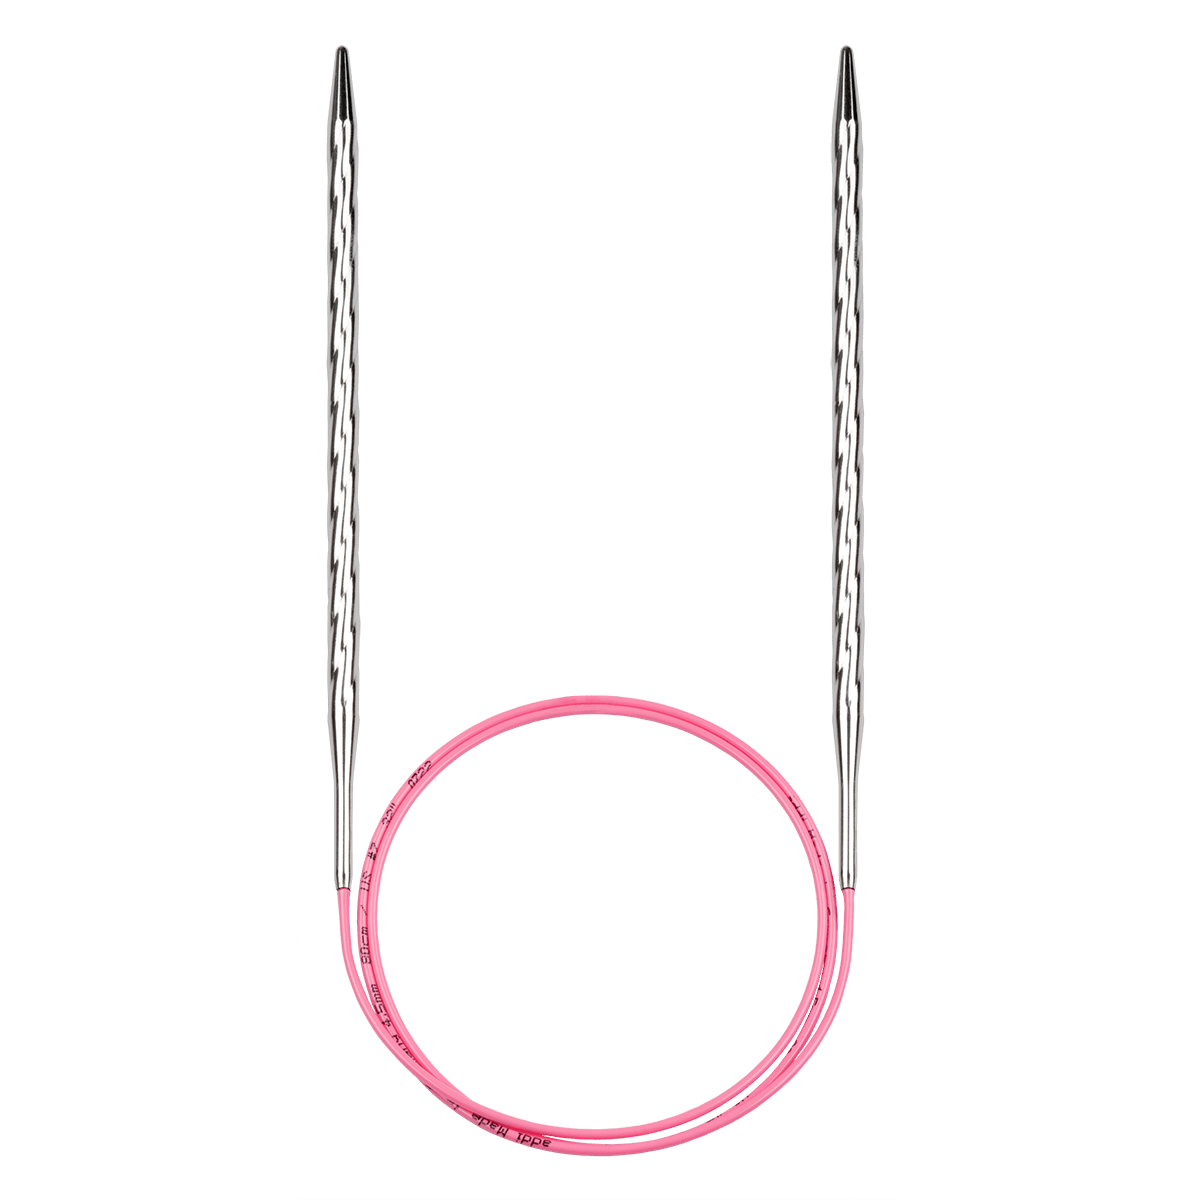
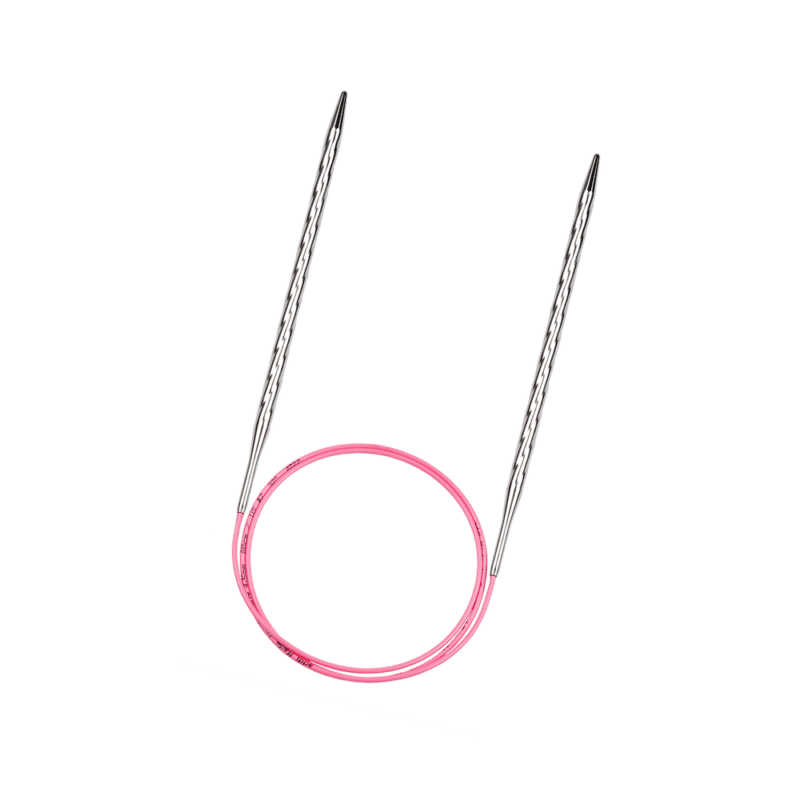
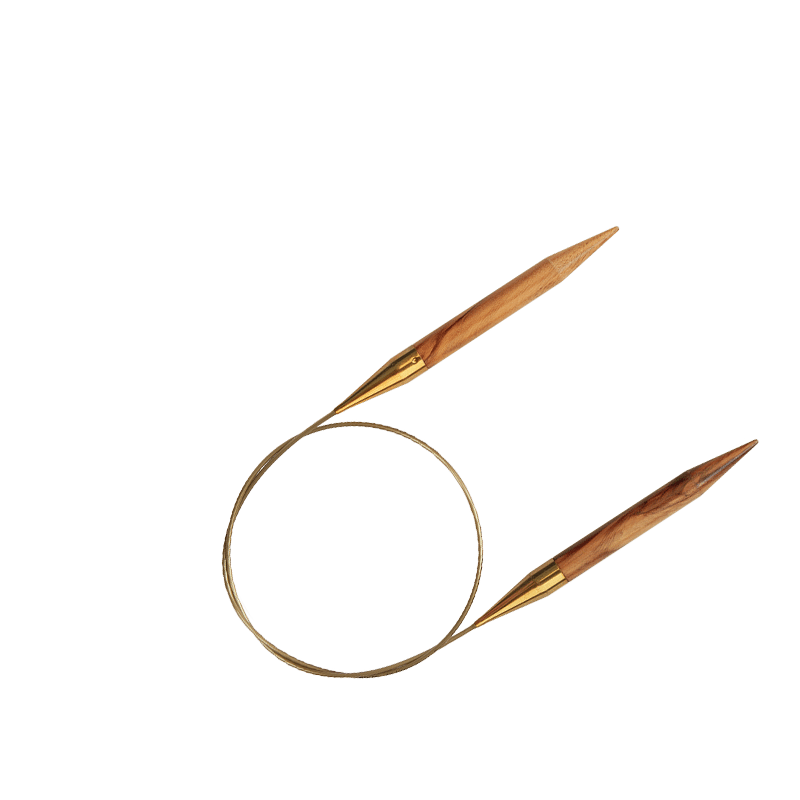
- addi circulars 32″ – 40″
- stitch marker
- Wool needle
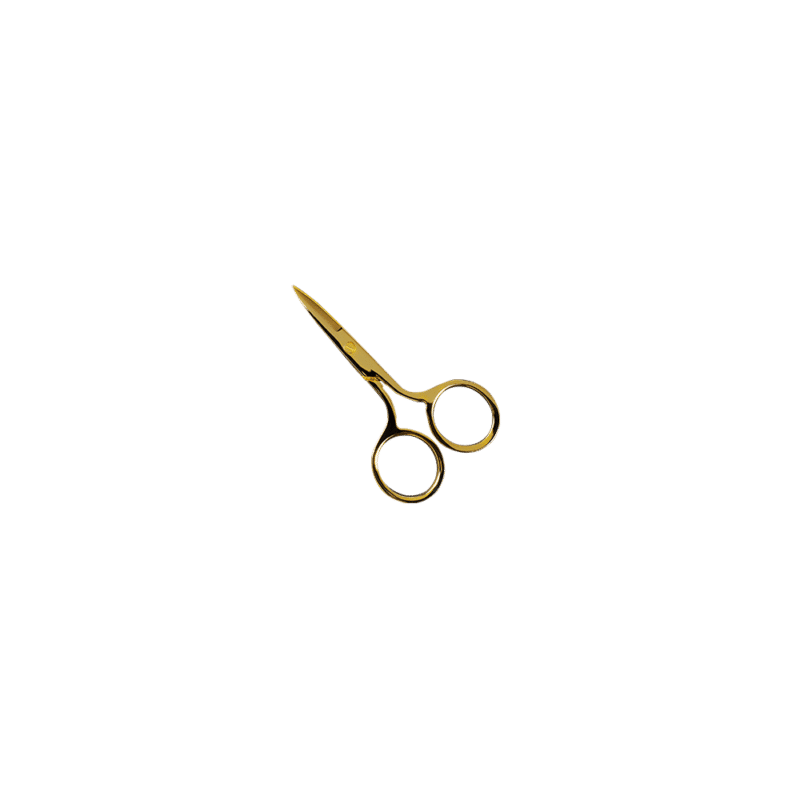
- Scissors
- sts = stitches
- sm = stitch marker
- kfb = knit into the front and back of the next stitch
- r = row
- k = knit
- p = purl
- pfb = purl into the front and back of the next stitch
- sts = stitches
- sm = stitch marker
- kfb = knit into the front and back of the next stitch
- r = row
- k = knit
- p = purl
- pfb = purl into the front and back of the next stitch
Die passende Nadel zum Stricken des Dreieckstuchs
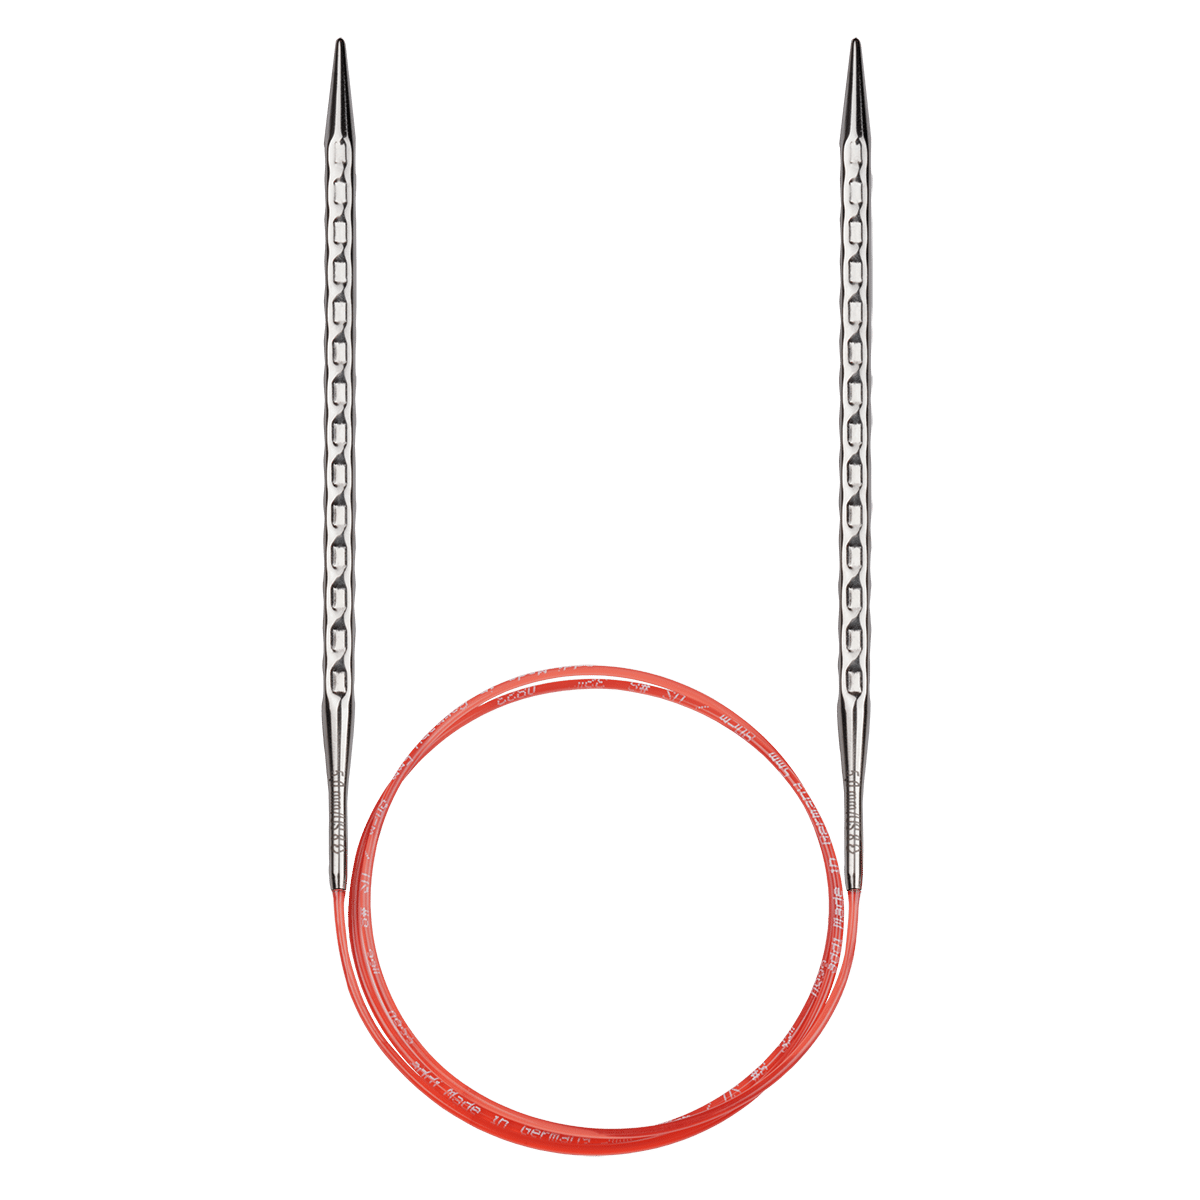
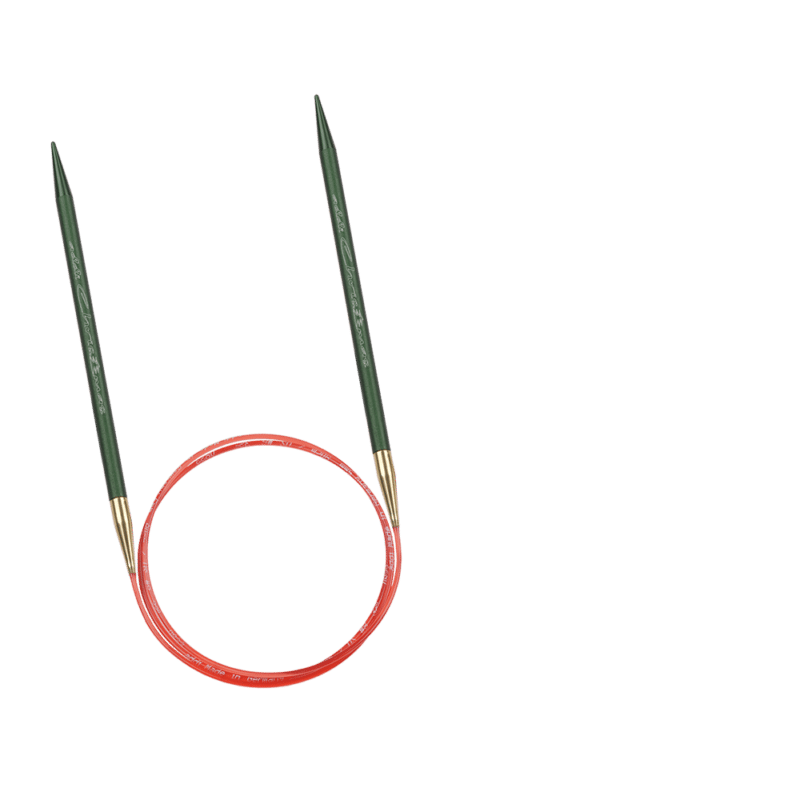
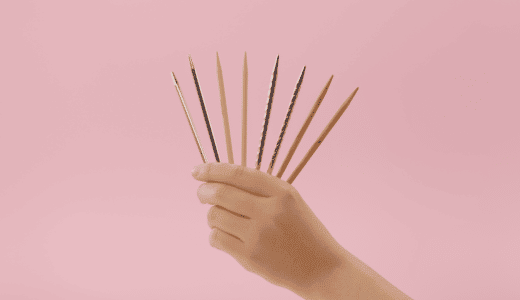
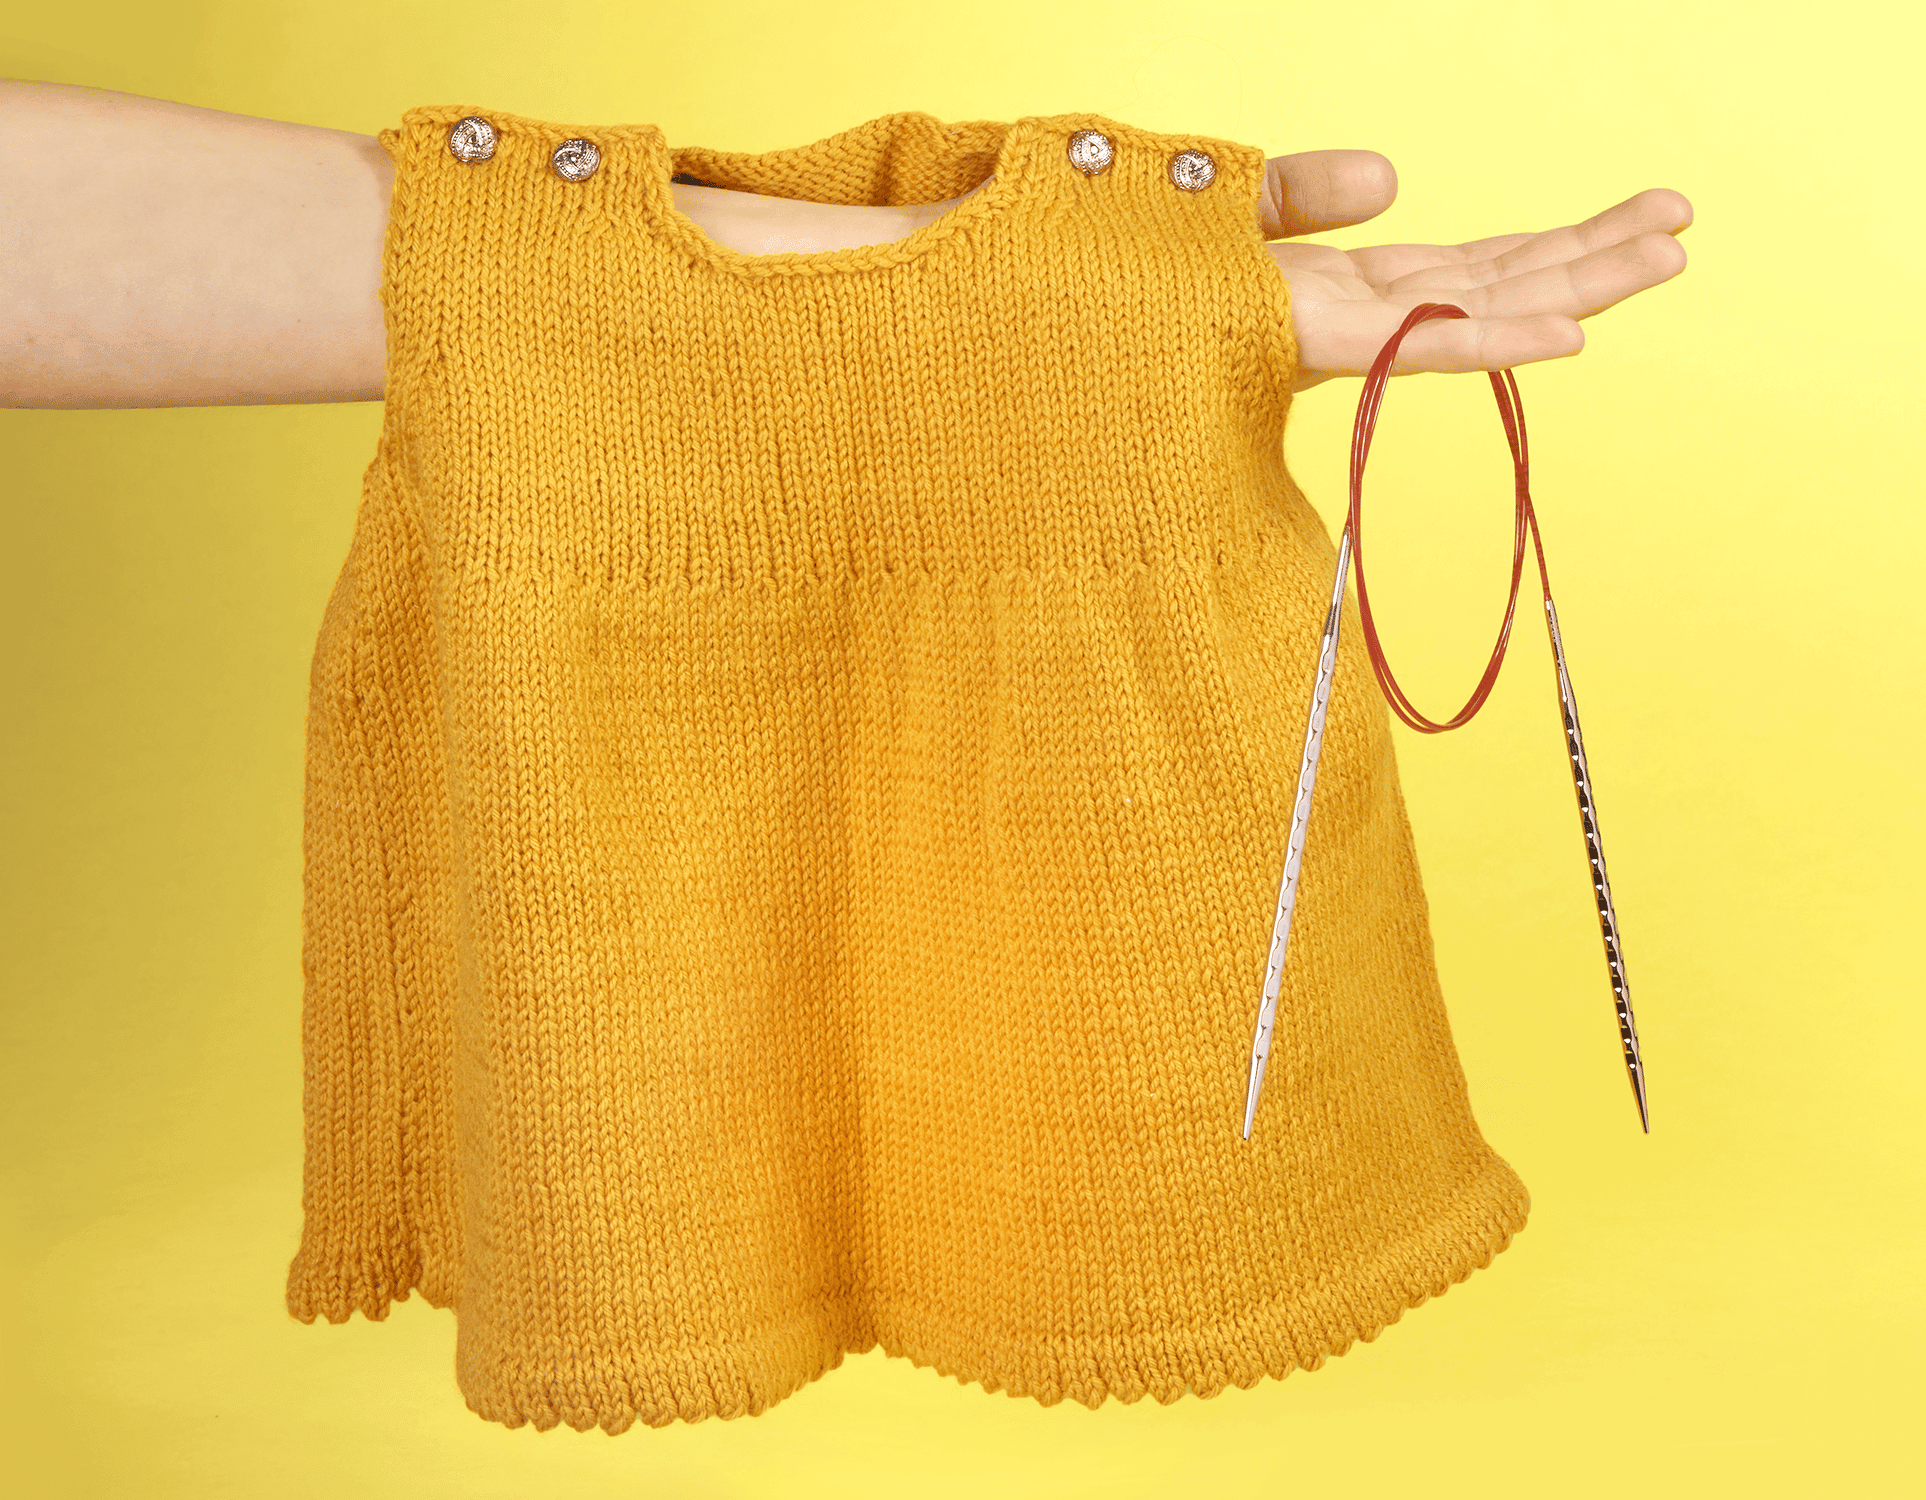
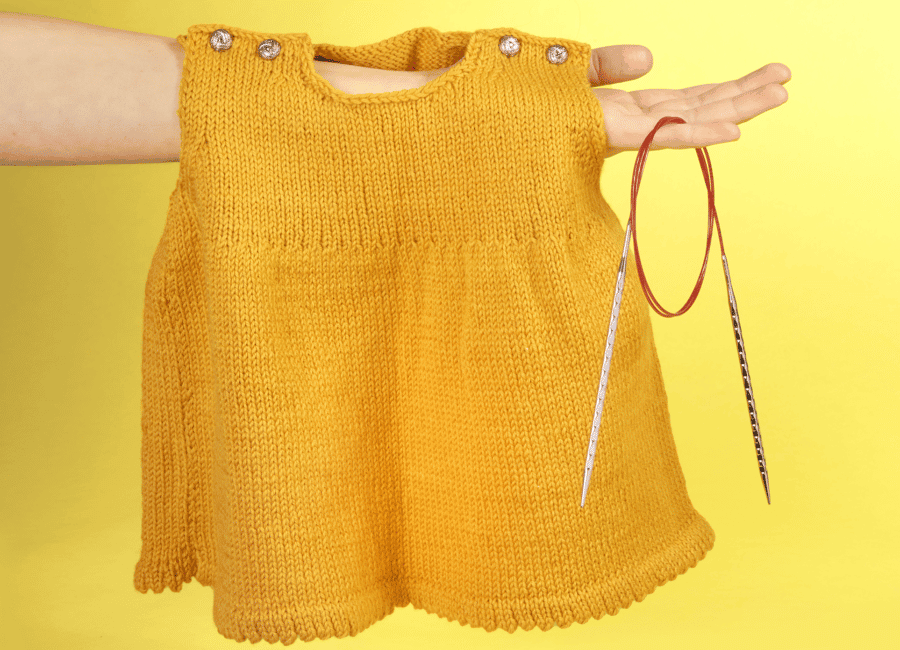
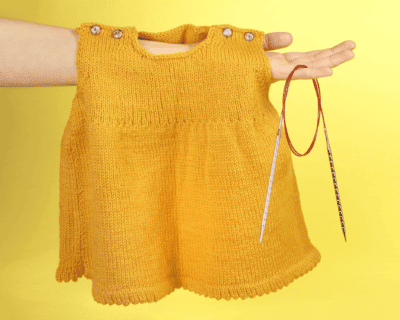
For this project we recommend the addiNovel circulars in a square design with round edges. The lace tips with the Novel surface structure enable fatigue-free knitting, are easy on the joints, relieve elbows and shoulders and also massage the hands.
Durch die Struktur wird ein gleichmäßigeres Strickbild garantiert – perfekt für ein schickes Dreieckstuch.
Der Aufbau des Dreieckstuchs
Der Aufbau des Dreieckstuchs
Dreieckstuch Anleitung
Sequences:
Dreieckstuch Anleitung
Sequences:
- Here you now knit small ribs. This results in cross ribs at a height of 2 rows.
-
To do this, make 2 x sequence 1, followed by 2 x sequence 2. The rights and wrong side really look completely the same.
-
Für das abgebildet Dreieckestuch strickst du das insgesamt 11 Mal, so hast du 11 Querrippen.
- Your ribbed knitting will now be wider, so you simply repeat your sequences more often.
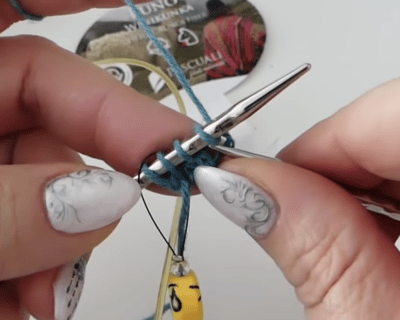
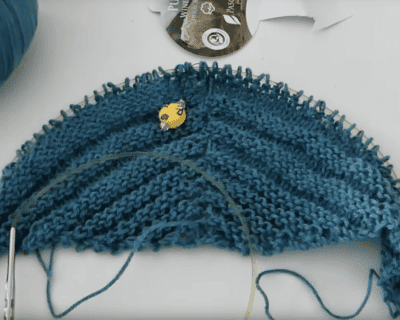
- 3 x sequence 1, followed by 3 x sequence 2.
- This creates a height of 3 rows in the cross ribs.
- Im abgebildeten Dreieckstuch insgesamt 8 Mal gestrickt.
- 4 x sequence 1, followed by 4 x sequence 2.
-
This creates a height of 4 rows in the cross ribs.
-
Im abgebildeten Dreieckstuch insgesamt 6 Mal gestrickt.
- 5 x sequence 1, followed by 5 x sequence 2.
- This creates a height of 5 rows in the cross ribs.
- Im abgebildeten Dreieckstuch insgesamt 4 Mal gestrickt.
- 6 x Sequenz 1, gefolgt von 6 x Sequenz 2.
-
This creates a height of 6 rows in the cross ribs.
-
Im abgebildeten Dreieckstuch insgesamt 2 Mal gestrickt.
The last rows can be knitted as a Highligt in a large seed stitch.
Bind off

Bind off
A tutorial by CraSy – Sylvie Rasch.
Original instructions from the book „CraSy EaSyness“
Photos: Manja Elsässer
A tutorial by CraSy – Sylvie Rasch.
Original instructions from the book „CraSy EaSyness“
Photos: Manja Elsässer
