


Crochet tutorial
Crochet a vintage scarf with granny squares
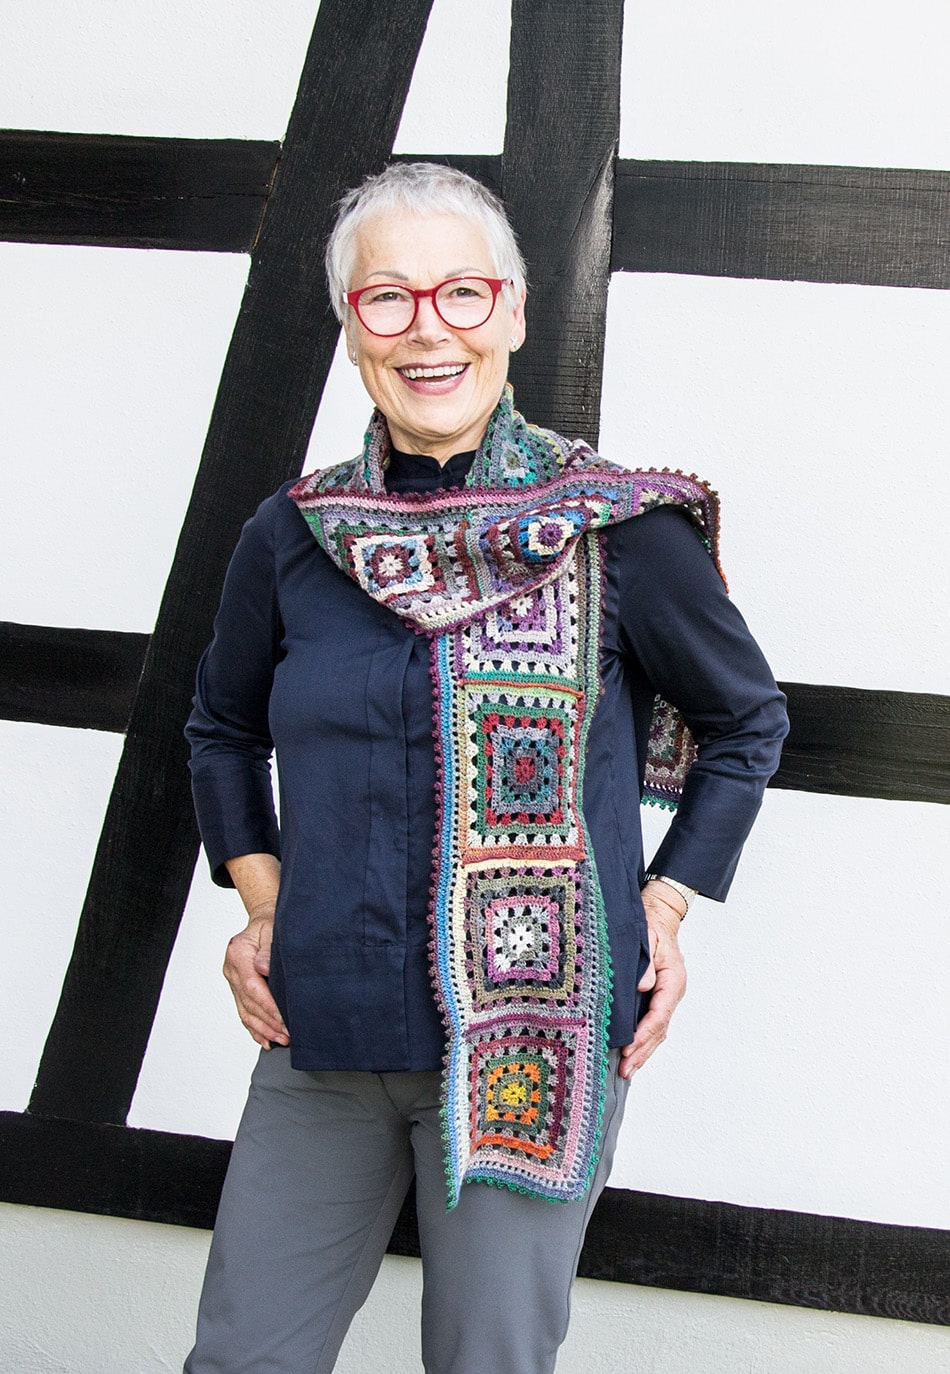
This scarf will be the envy of everyone! The crocheted scarf made from granny squares is a real eye-catcher and a perfect project for working with colourful yarns in a variety of colour combinations.
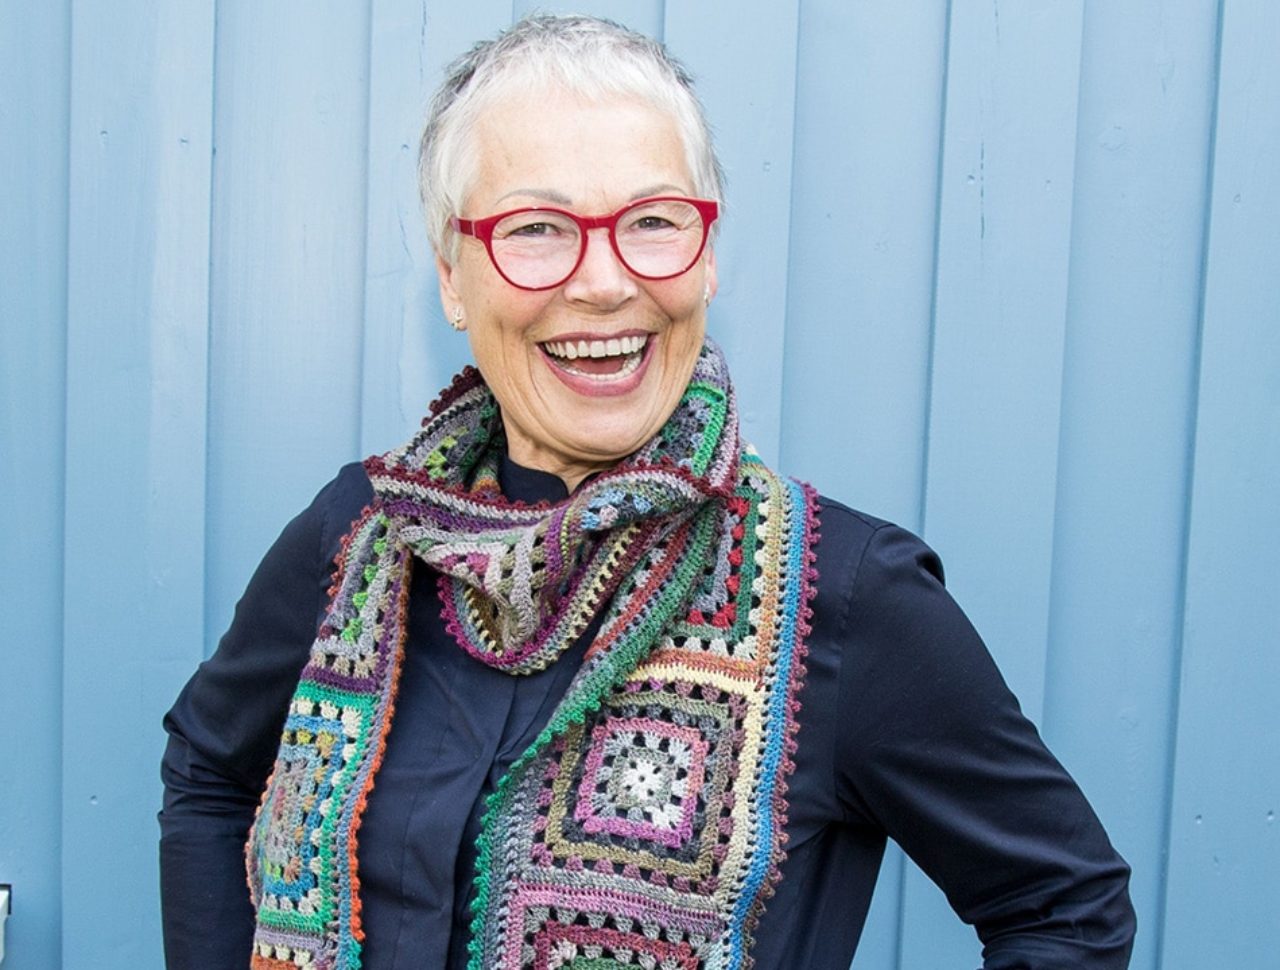
Table of contents
What you need:
- Gradient yarn (210 m/50 g)
- 75% Virgin wool superwash (Merino), 25% polyamide
- 50 g beige/grey/sand
-
50 g green/purple/orange
-
50 g pink/orange/purple/green
-
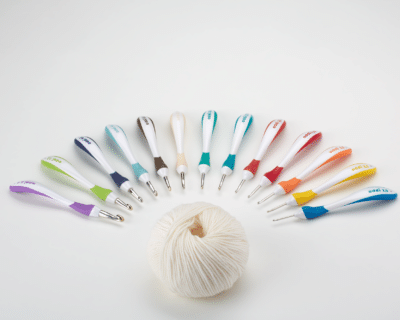
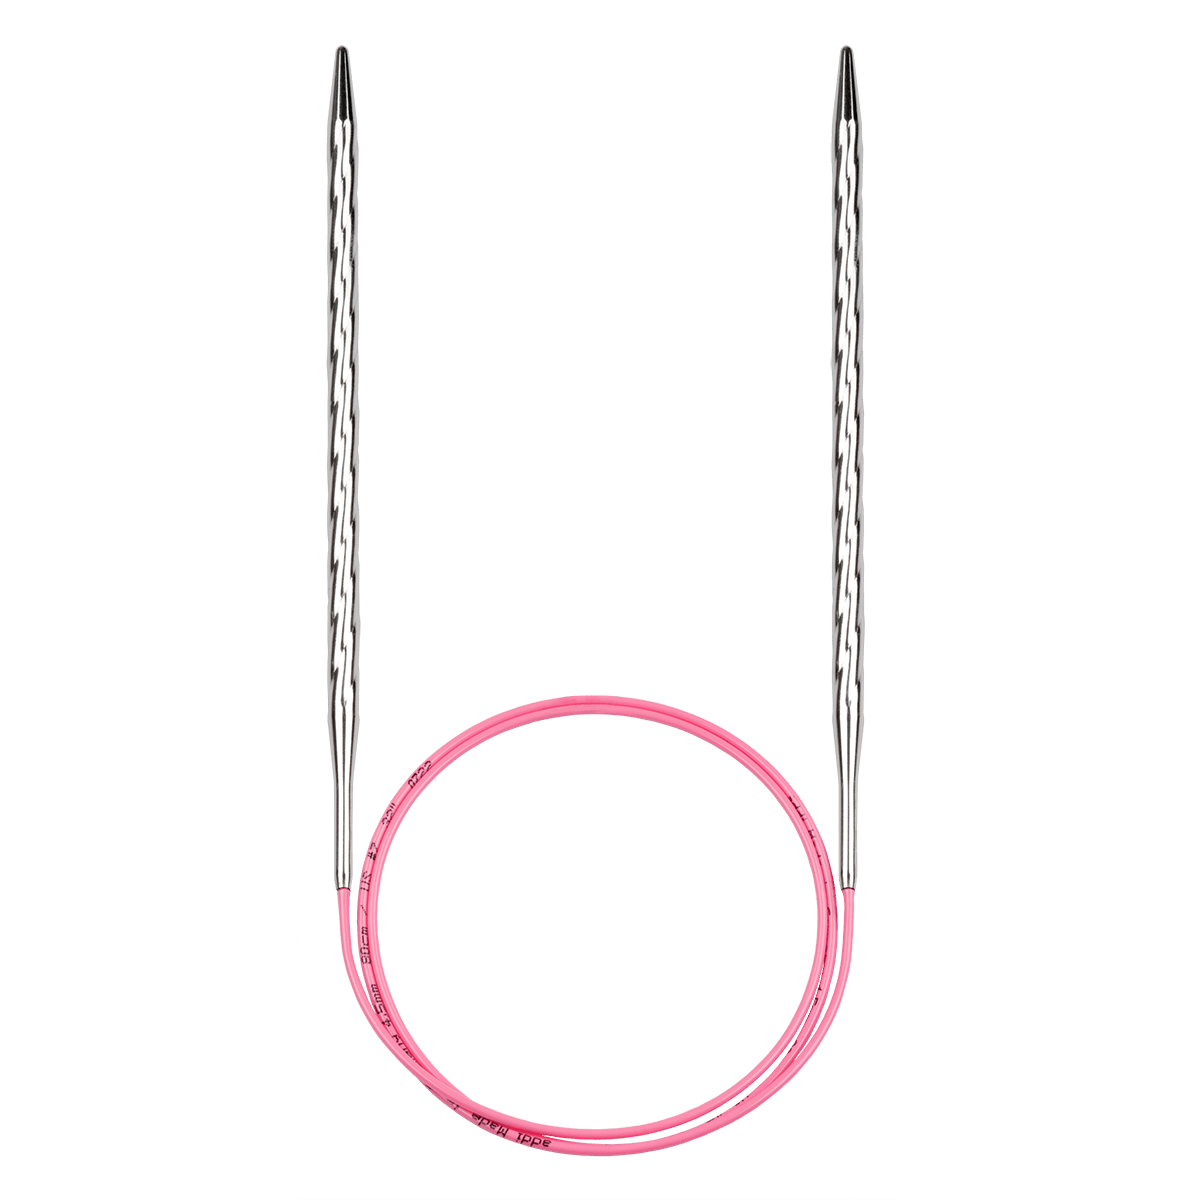
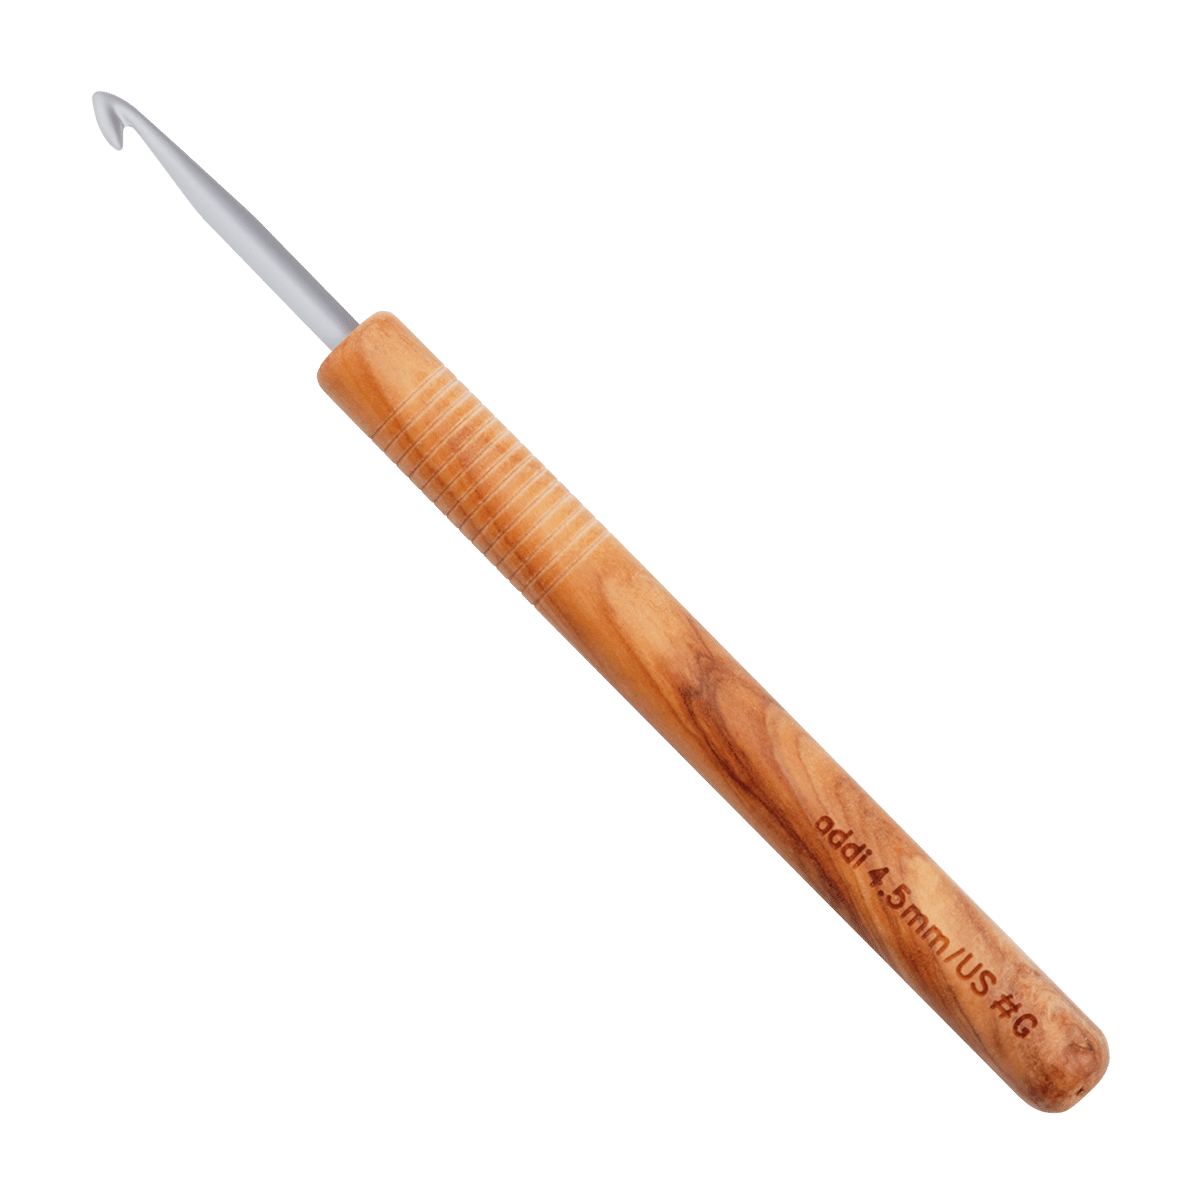
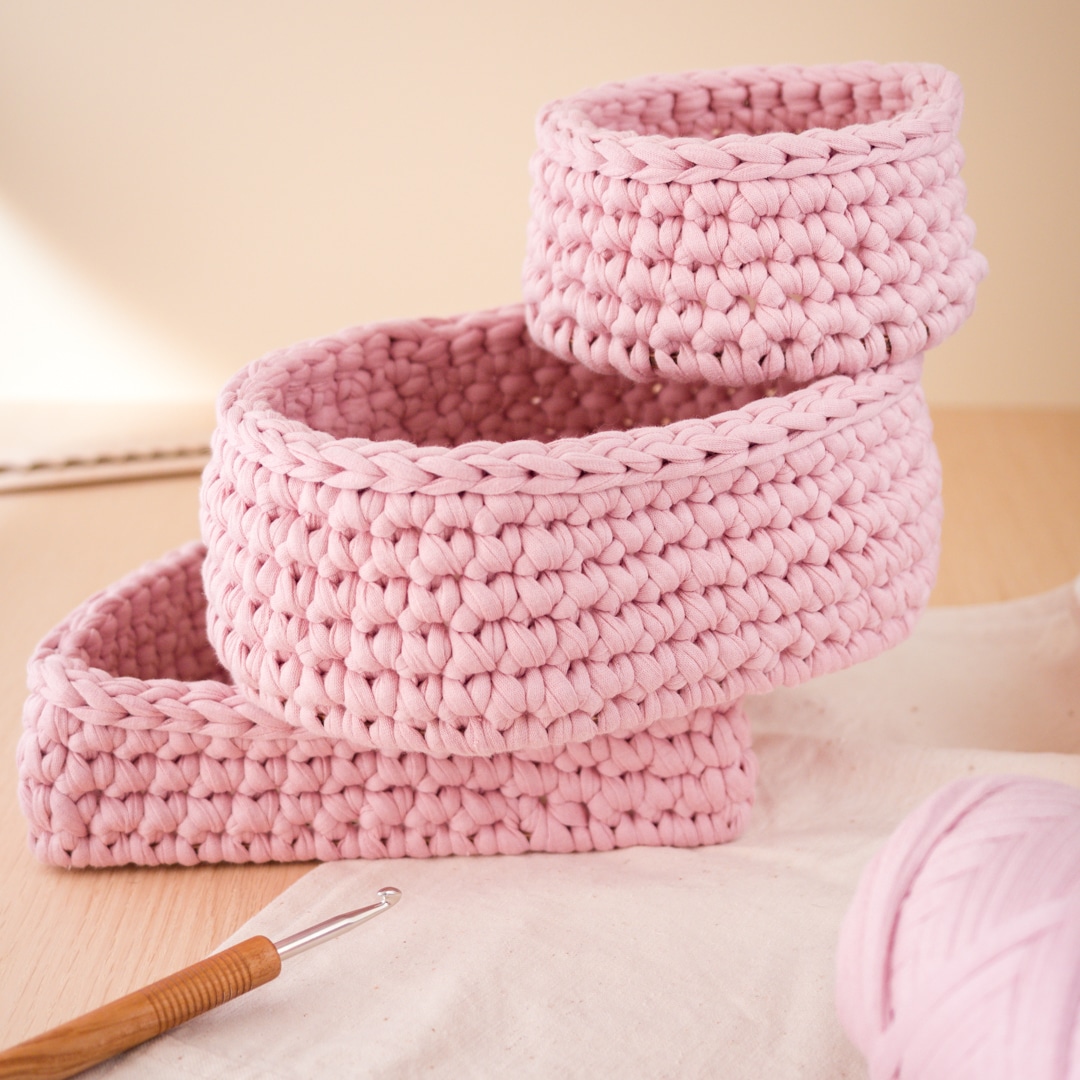
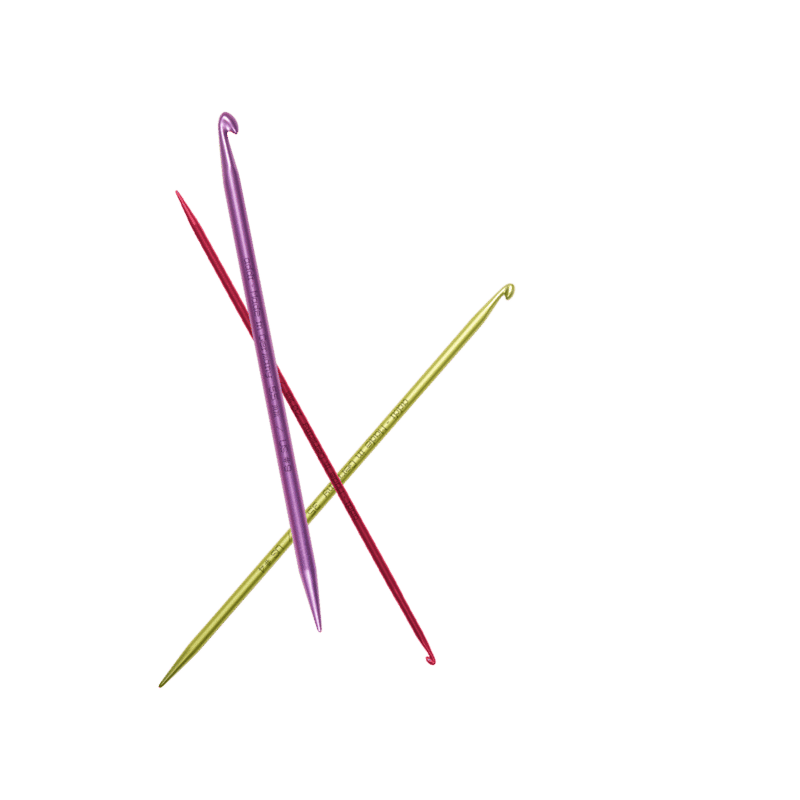
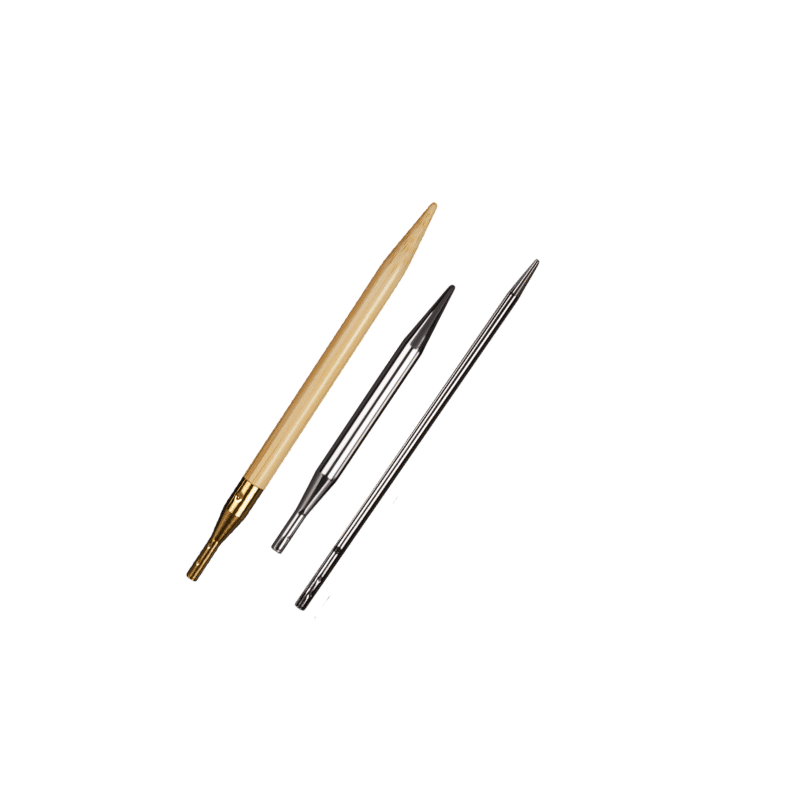
Crochet hook 3mm (US 2) e.g addiNature Olive Wood
-
Embroidery needle with tip e.g. addiLoop
-
Scissors e.g. addiGoldmarie
Crochet:
- Chain (ch)
-
Single crochet (sc)
-
Double crochet (dc)
-
Slip stitch (sl st)
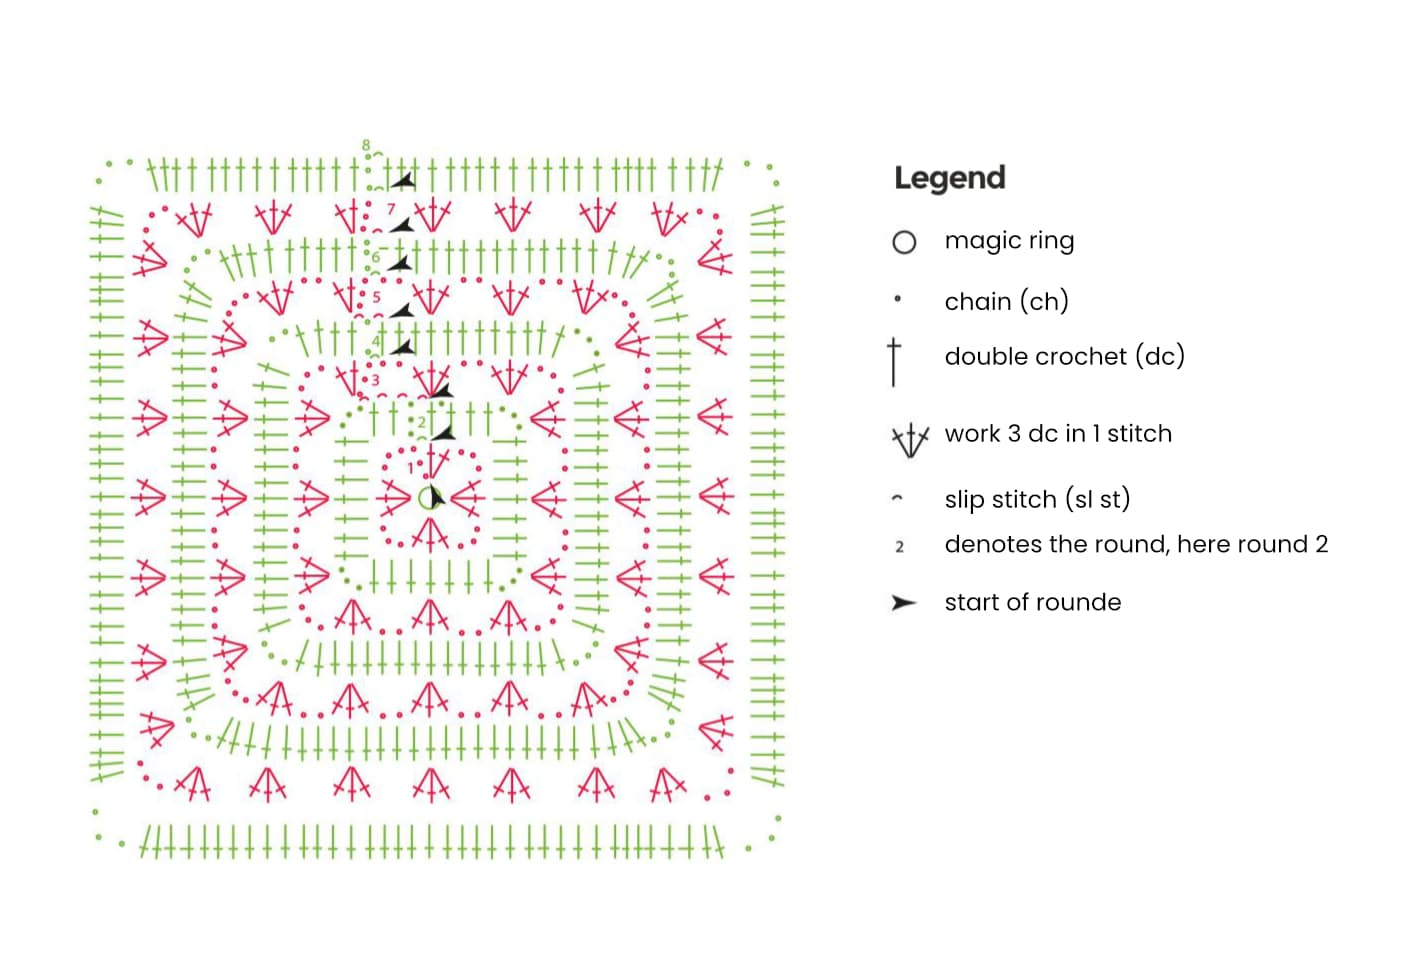
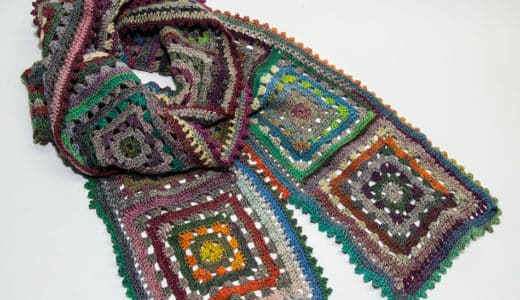
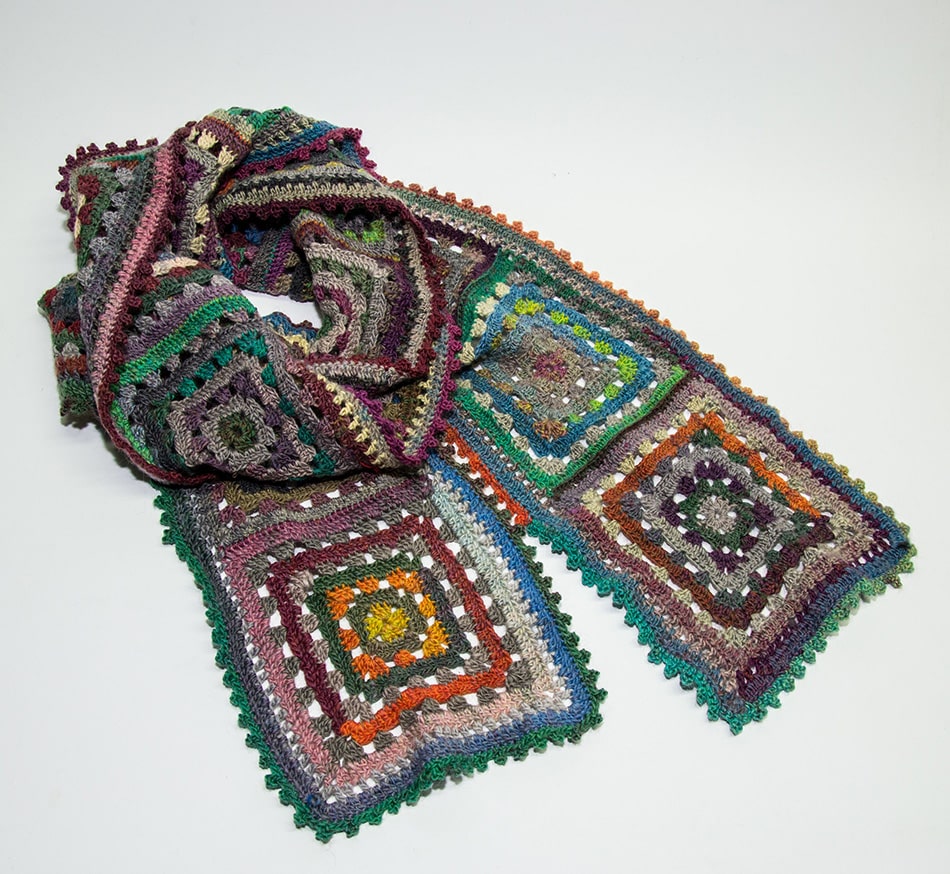
Crochet granny squares
Size approx. 14 cm x 14 cm
Crochet granny squares
Size approx. 14 cm x 14 cm
How it works – step 1
Crochet a vintage scarf with granny squares:
First work 12 squares according to the crochet pattern.
Crochet each round in a different color position (see above),
so that there are nice color contrasts
between the rounds.
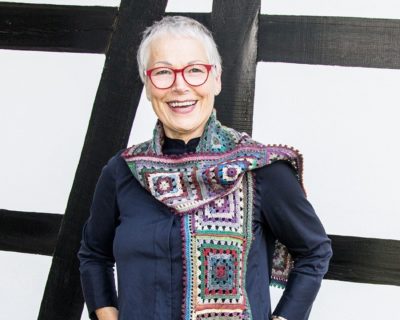
The finished scarf fits perfectly into any wardrobe.
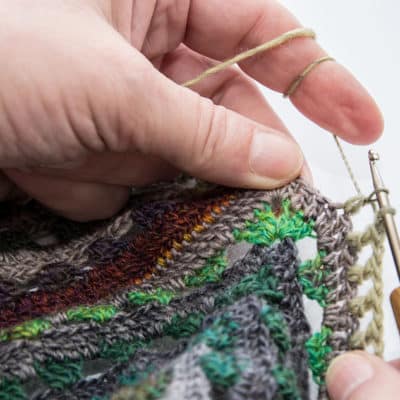
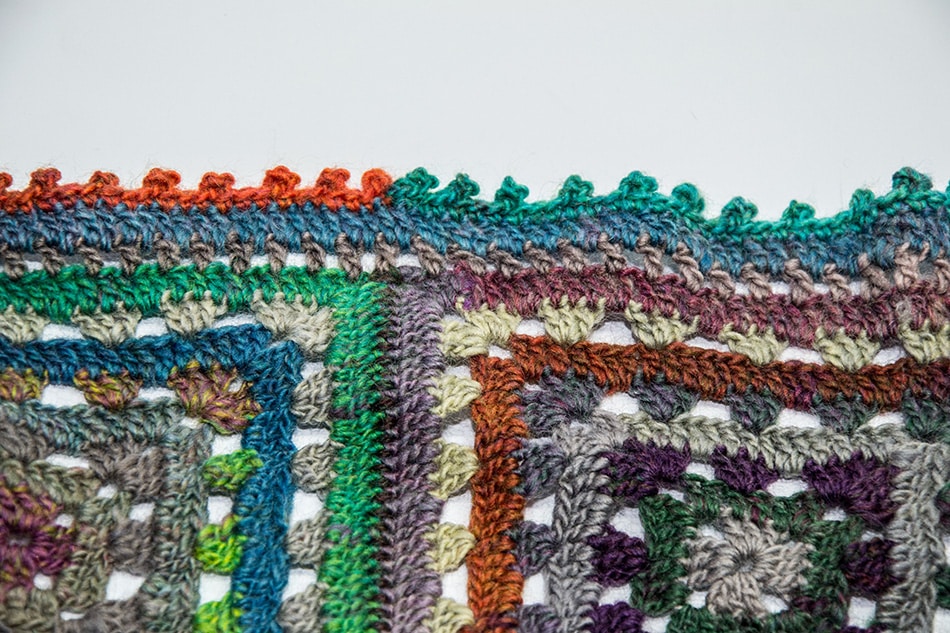
Step 2
Connect Grannies
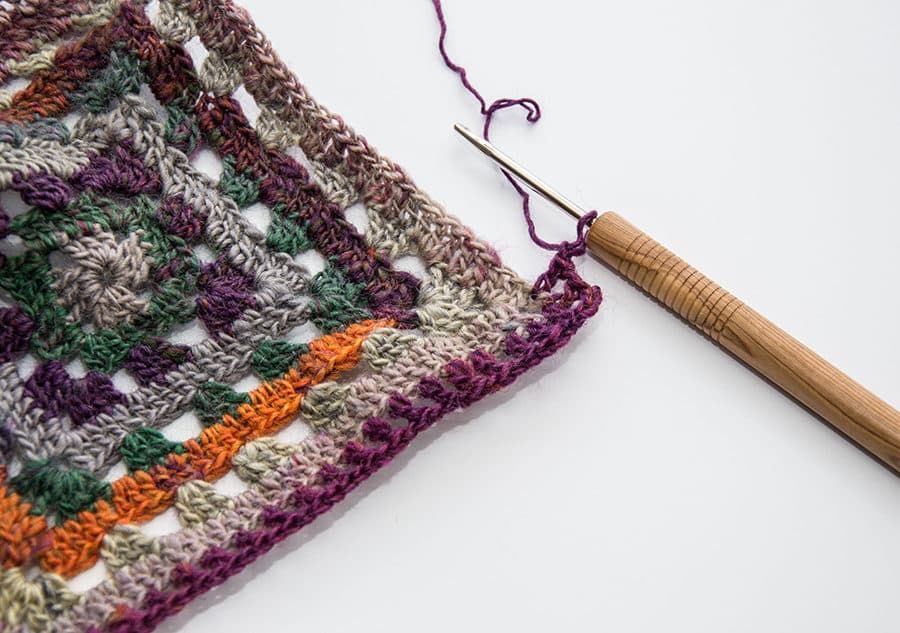
- Sew the threads of the squares.
- Crochet all 12 squares together in a line at one edge. To do this, place the squares right sides together and crochet together stitch by stitch with chain stitches. Crochet together.
Tip: Do not crochet too tightly, so that the seam remains flexible.
On the front side, you will see the color of the thread that is
used to crochet together, like a rough rustic embroidery stitch.
Sew the threads. The scarf now has a measurement of about 168 cm/ 66″.

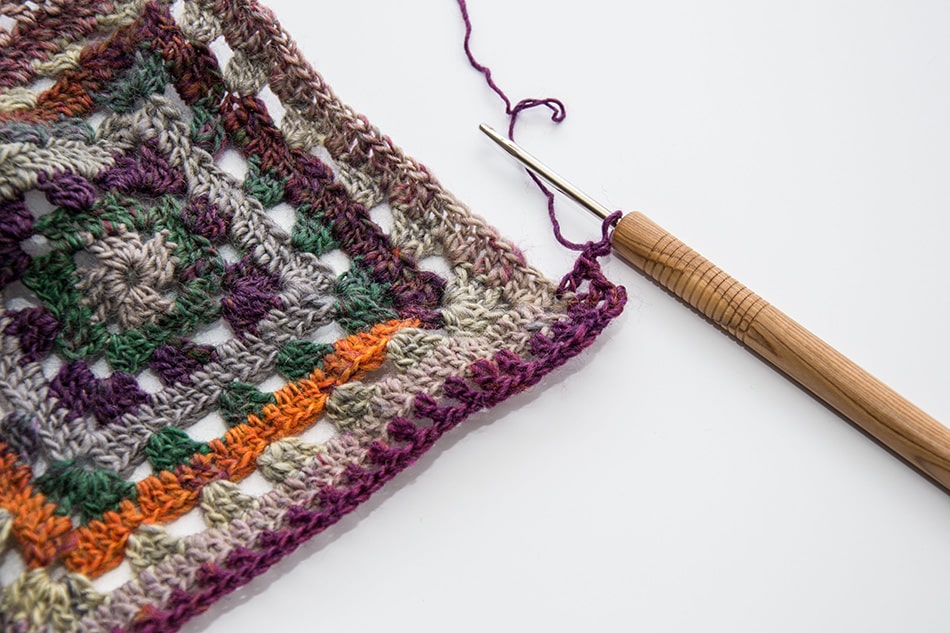
Step 2
Connect Grannies
- Sew the threads of the squares.
- Crochet all 12 squares together in a line at one edge. To do this, place the squares right sides together and crochet together stitch by stitch with chain stitches. Crochet together.
Tip: Do not crochet too tightly, so that the seam remains flexible.
On the front side, you will see the color of the thread that is
used to crochet together, like a rough rustic embroidery stitch.
Sew the threads. The scarf now has a measurement of about 168 cm/ 66″.
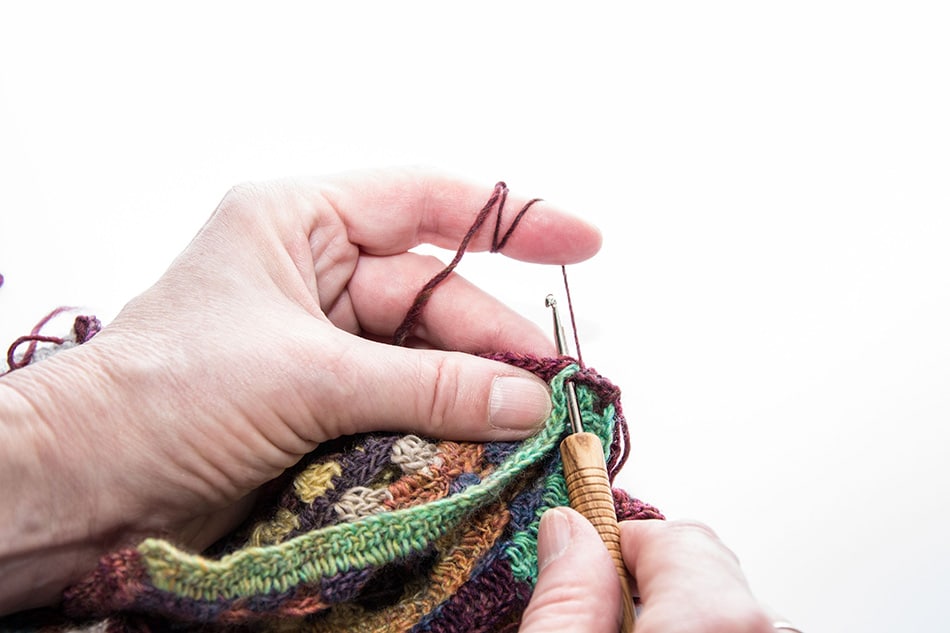

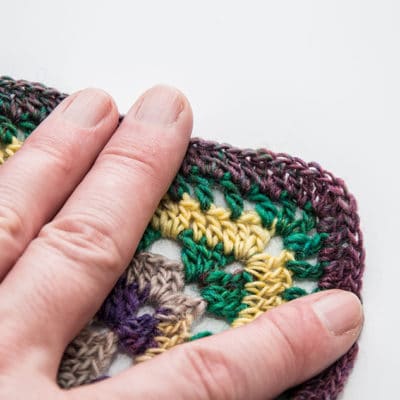
Step 3
Crochet edges
Now crochet a decorative edge around the entire scarf:
- *1 dc, 1 ch, passing over one st, repeat from *. End with 1 dc in front of one corner.
- Now crochet 1 ch, 1 dc, 1 ch, 1 dc, 1 ch, 1 dc into the corner.
Continue with 1 ch, 1 dc, 1 ch, etc. as just described.
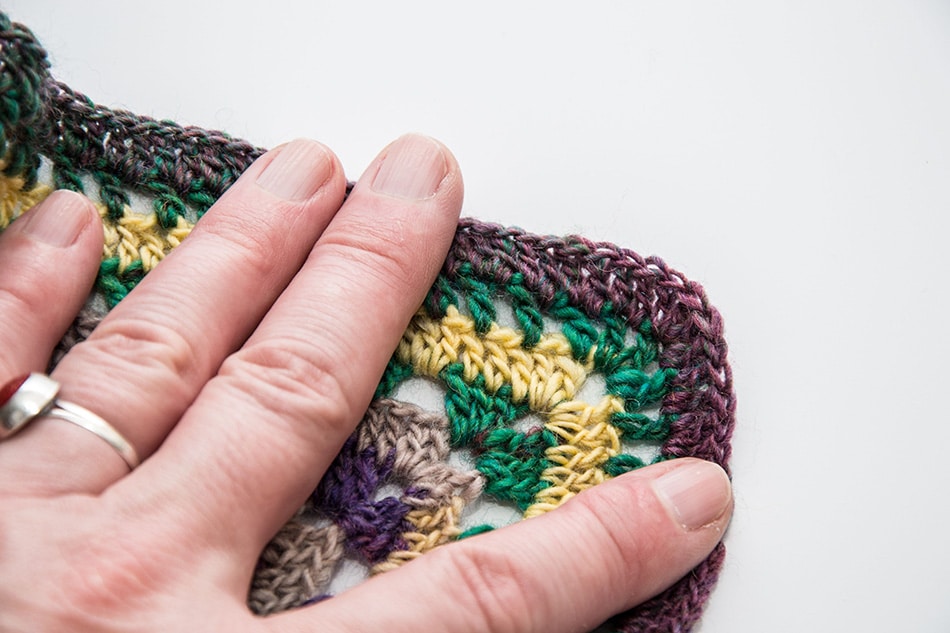
Step 3
Crochet edges
Now crochet a decorative edge around the entire scarf:
- *1 dc, 1 ch, passing over one st, repeat from *. End with 1 dc in front of one corner.
- Now crochet 1 ch, 1 dc, 1 ch, 1 dc, 1 ch, 1 dc into the corner.
Continue with 1 ch, 1 dc, 1 ch, etc. as just described.
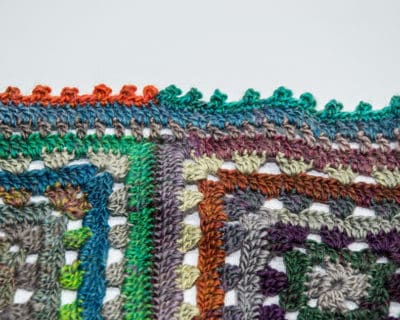
Step 4
Closing edge
Then crochet a round of dc (choose a ball of matching contrasting color for this).
- Crochet 1 dc in each dc and one each space between dc.
Now the scarf can still be decorated with a pretty finishing edge: now crochet picots / mouse teeth for this:
- *1 dc, 3 ch, slip stitch in foot of dc and crochet a sl st, skip 1 st. From *continue in dc.
Enjoy wearing it!
Step 4
Closing edge
Then crochet a round of dc (choose a ball of matching contrasting color for this).
- Crochet 1 dc in each dc and one each space between dc.
Now the scarf can still be decorated with a pretty finishing edge: now crochet picots / mouse teeth for this:
- *1 dc, 3 ch, slip stitch in foot of dc and crochet a sl st, skip 1 st. From *continue in dc.

Enjoy wearing it!
A tutorial by Ute Krugmann.