

Knitting tutorial
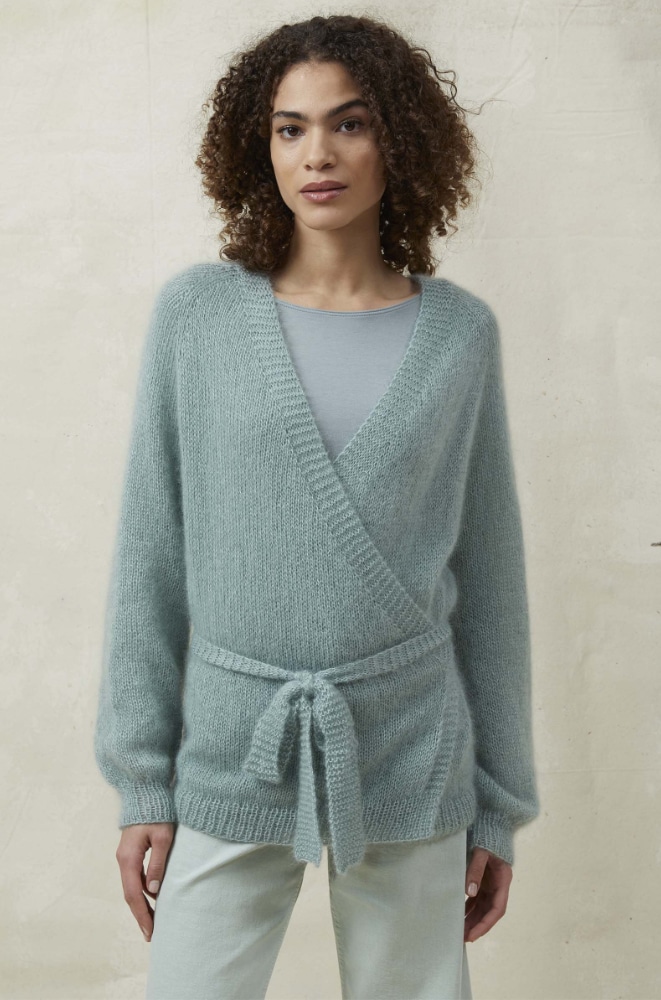
Wrapover cardigan
This wrap jacket impresses with its timeless design and cosy yarn – three strands of Lang Yarns LACE. It is knitted from the top down with a circular yoke. Instructions from Lang Yarns.
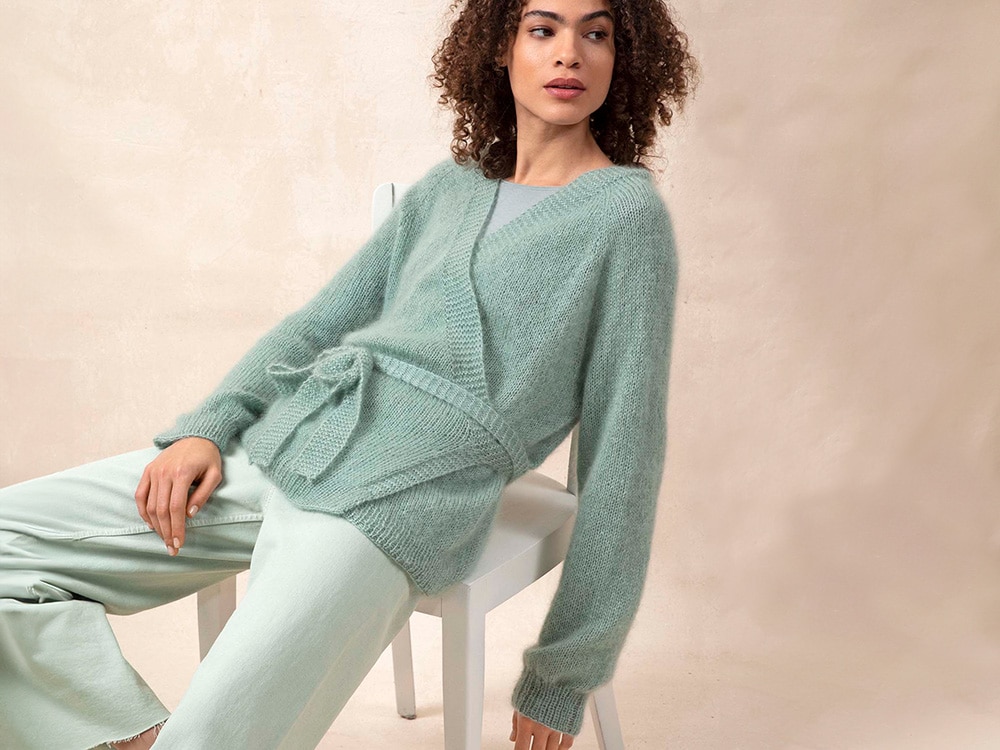
Table of contents
This is what you need
- Lang Yarns LACE (super kid mohair, silk), (25g/310m)
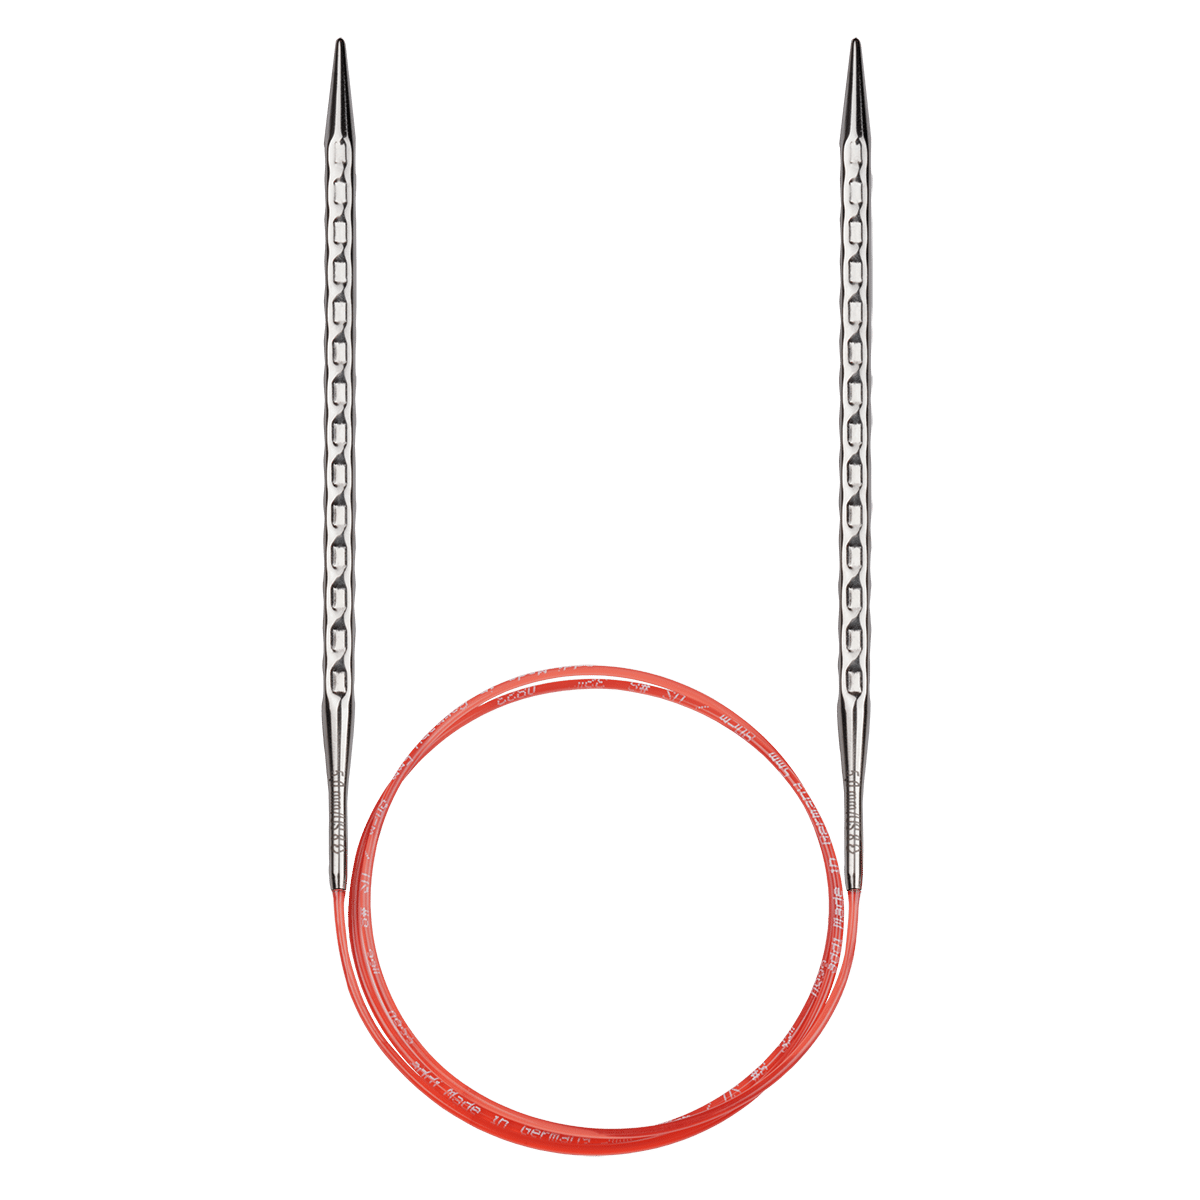
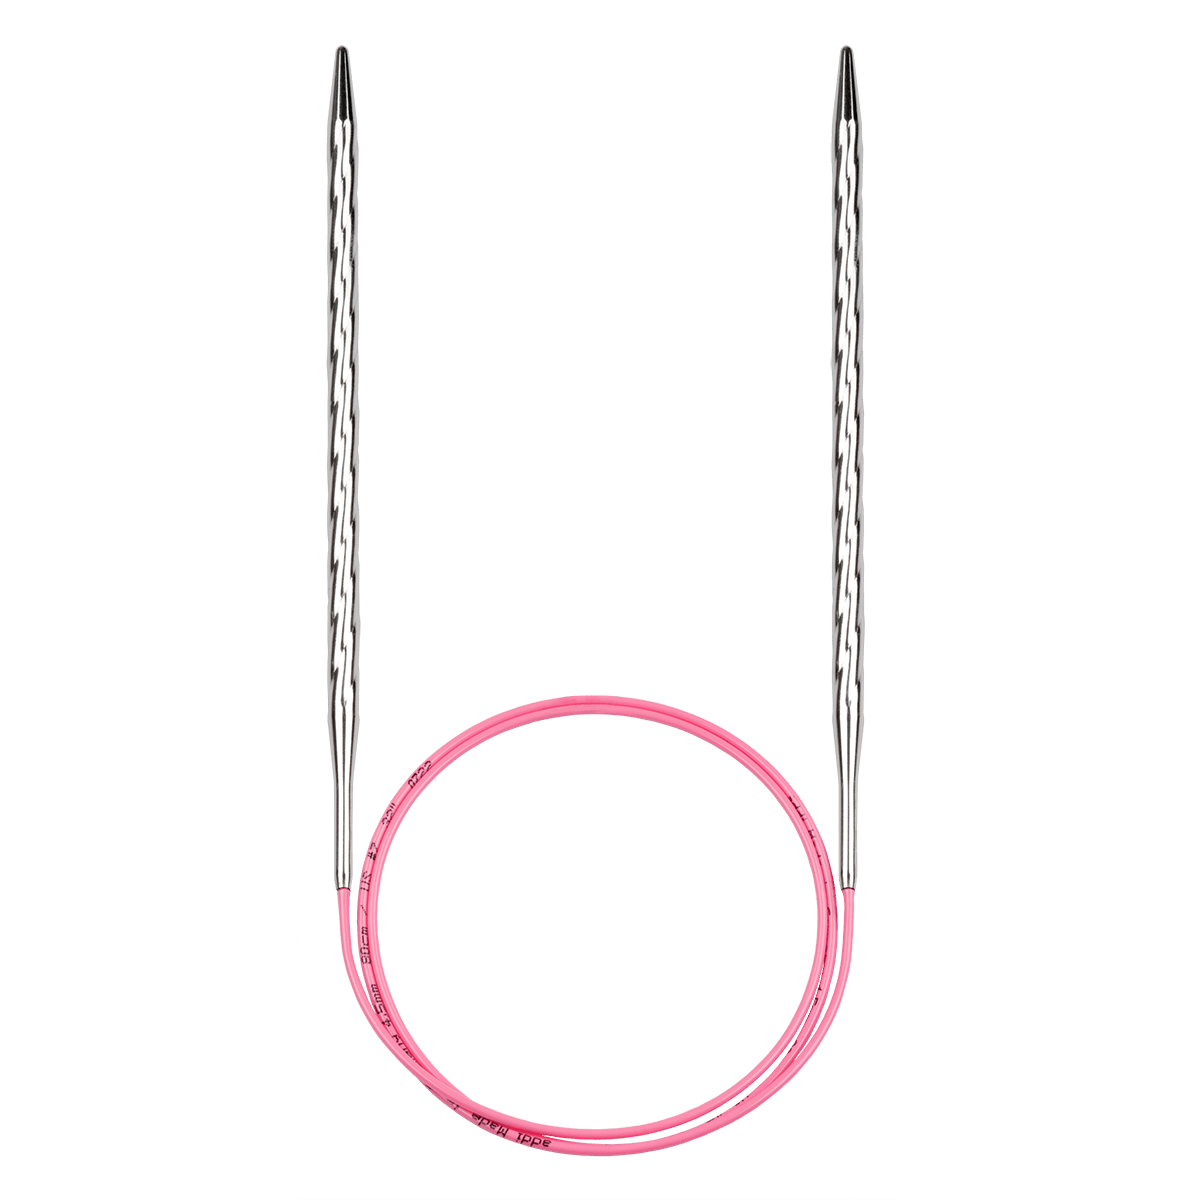
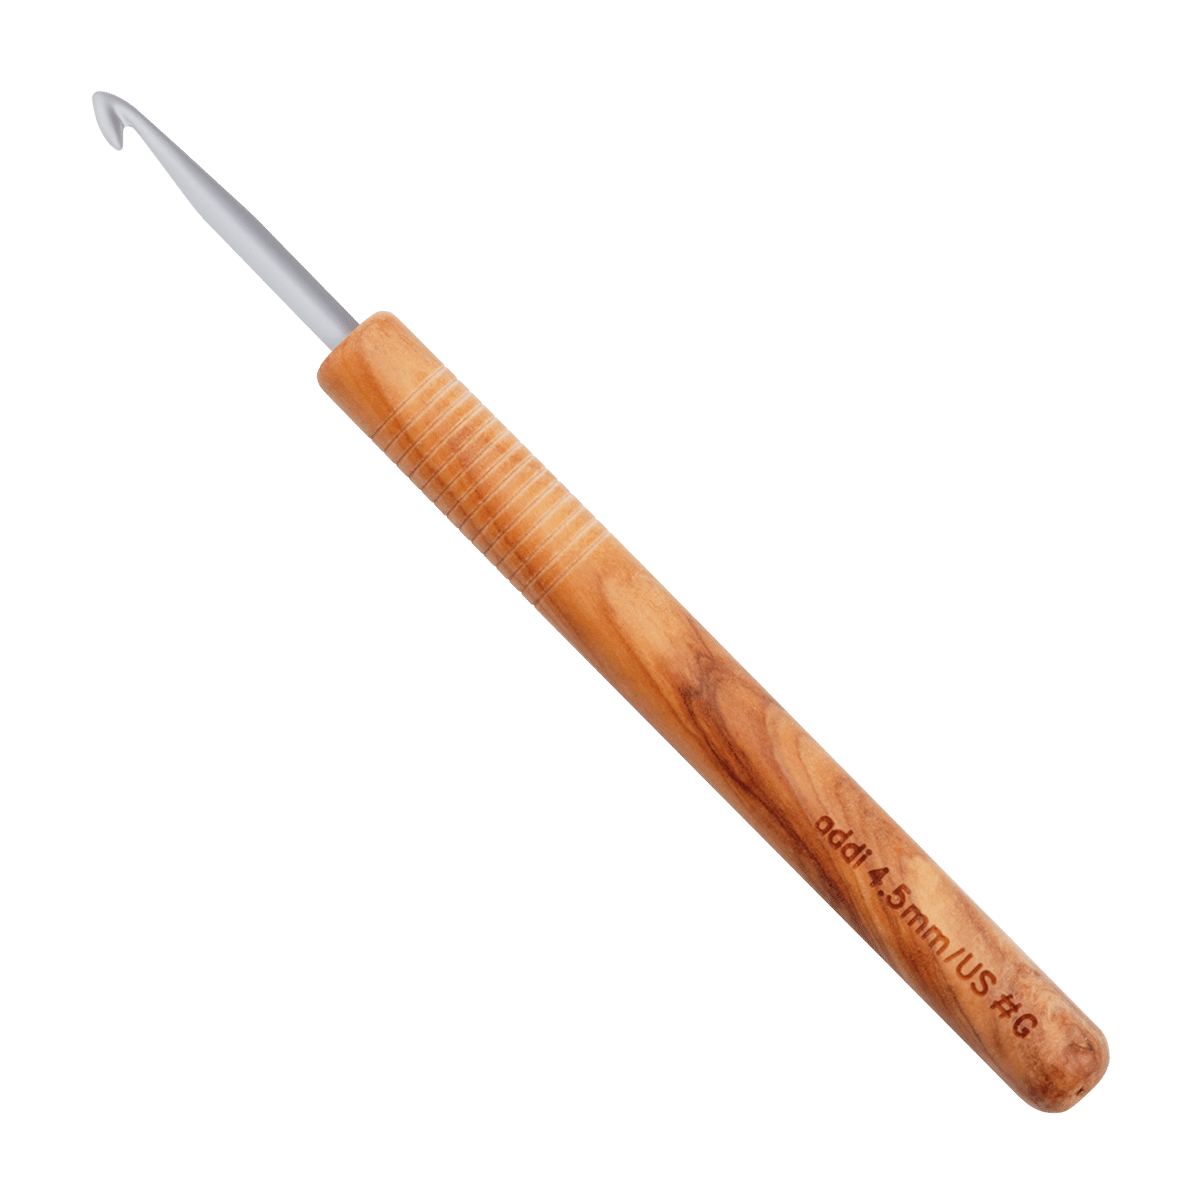
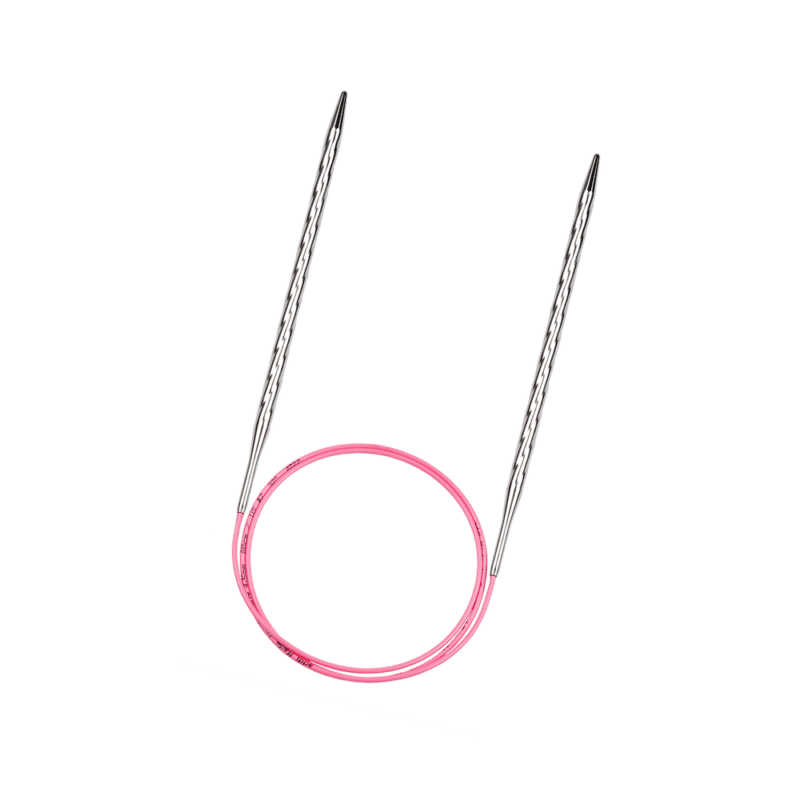
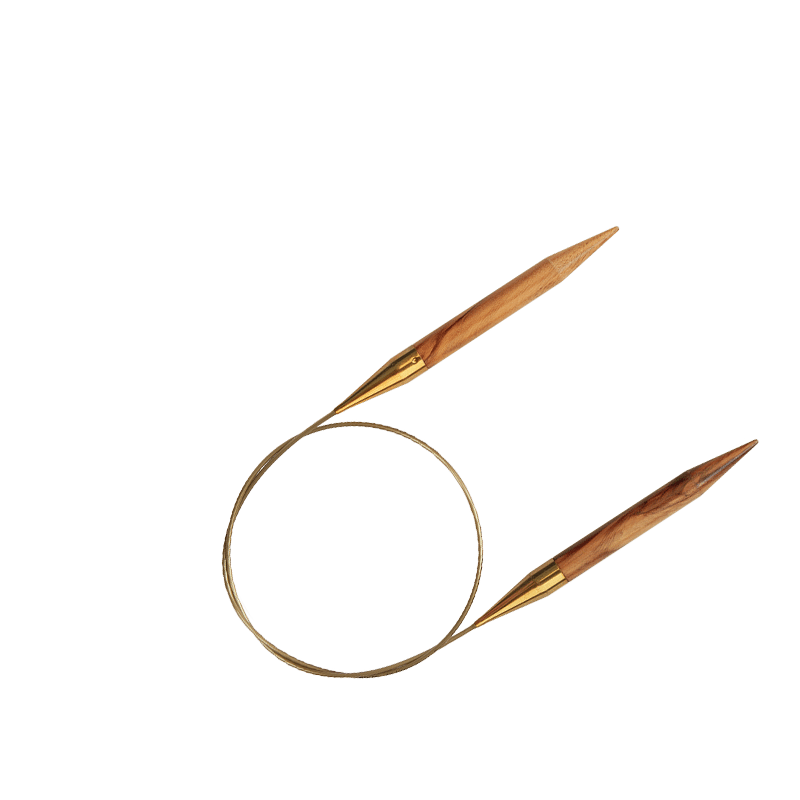
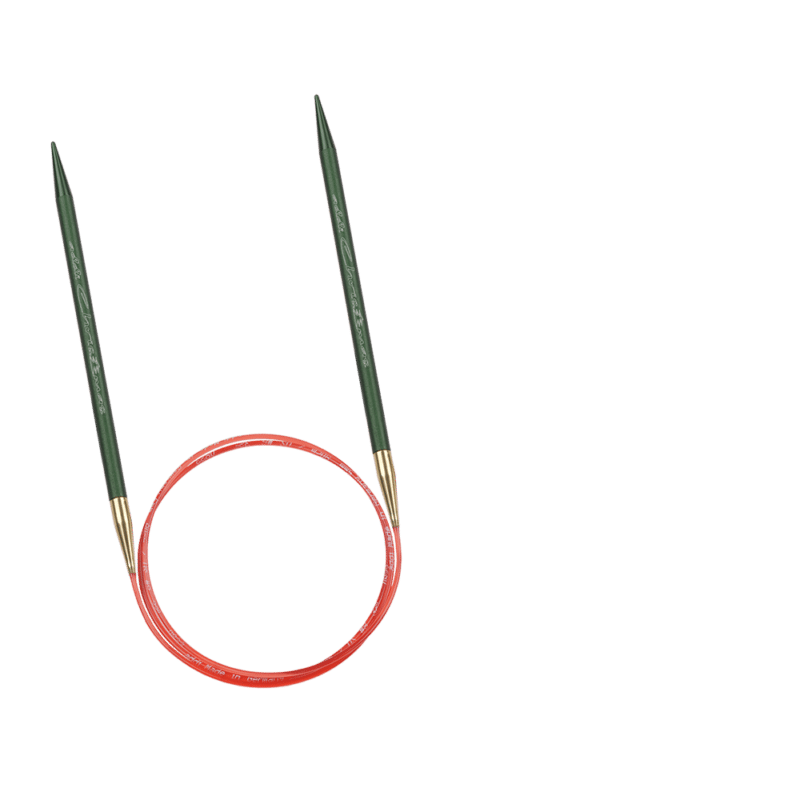
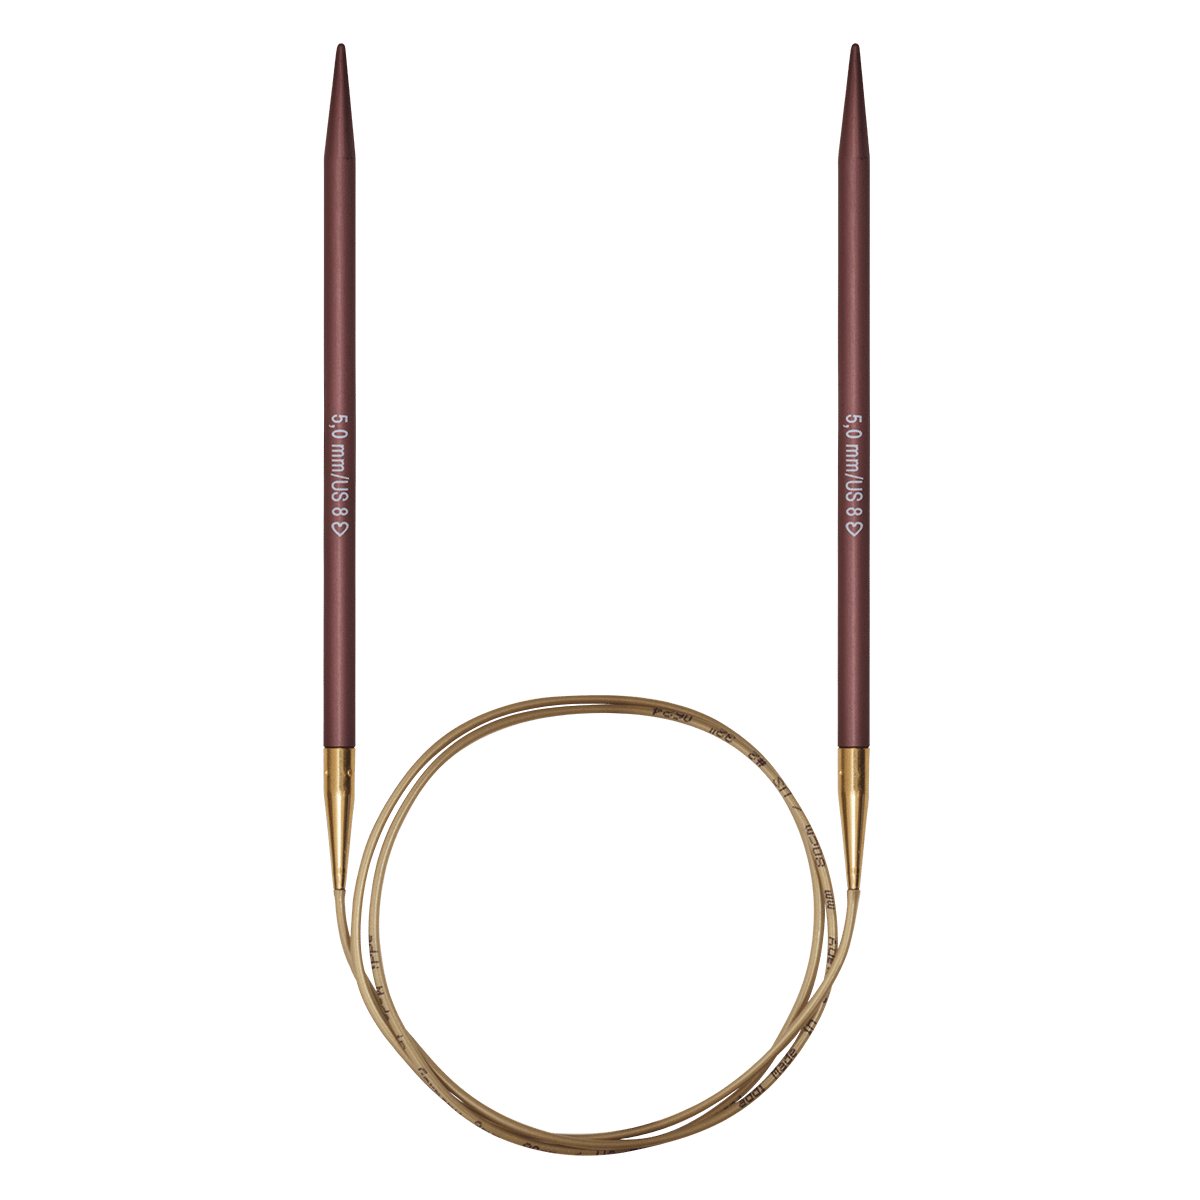
- addi circular knitting 4 + 4,5 mm
- double-pointed needles 4 + 4,5 mm
- 1 stitch marker
Dimensions:
- Bust: 41“/43¼“/45¾“/48“ (104/110/116/122 cm)
- Length approximately: 26¾”/27¼”/27½”/28” (68/69/70/71 cm)
Yarn consumption:
- 250/275/300/325 g = 10/11/12/13 balls
- colour: pastel green 992.0091
Gauge: Stockinette st, US 7 (4.5mm) needles
- 16 sts = 4” (10 cm), 24 rows = 4” (10 cm).
Muster und Tipps
Garter st: needle US 7 (4,5 mm):
- In rows = k on RS and WS. Work 1 edge st in k at the beginning and end of every row.
- In the round = k1 rnd, p1 rnd.
Stockinette st: needle US 7 (4,5 mm):
- In rows = k on RS, p on WS. Work 1 edge st in k at the beginning and end of every row.
- In the round = k all sts.
Raglan inc: needle US 7 (4,5 mm):
- Row 1 (RS): yo, k2, yo.
- Row 2 (WS): purl through the back of the yarn over (on subsequent rows work this st in Stockinette), p2, purl through the back of the yarn over (on subsequent rows work this st in Stockinette).
- 3rd row: k2.
- 4th row: yo, p2, yo.
- 5th row knit through the back of the yarn over (on subsequent rows work this st in Stockinette), k2, knit through the back of the yarn over (on subsequent rows work this st in Stockinette).
- 6th row p2.
Rep rows needle US 6 (4 mm):
- 1 - 6.
Tip 2: The cardigan is knitted from the top down, with 3 strands of Lace held together throughout.
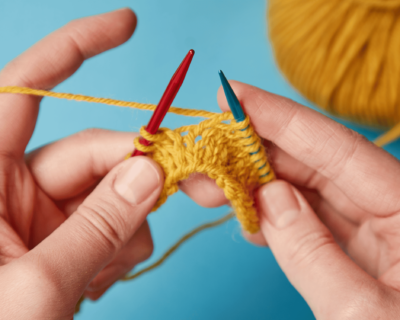
Step 1
How to do it: Knitting a wrap jacket
The wrap jacket is knitted from top to bottom. First, knit the neckline, then pick up stitches for the round yoke. Continue knitting everything together before separating the sleeves, back and front.
NECKBAND
- Cast on 9 sts with US 7 (4.5mm) needles and 3 strands of yarn.
-
Work Garter st for 49/50/51/52 rows and leave the sts.
-
Pick up 9 sts along the cast-on edge. Work Garter st for 50/51/52/53 rows.
YOKE
- Now directly along the side of the neckband pick up 49/50/51/52 sts (= 1 st every 2 rows), work the 9 sts of the other end in pattern = 67/68/69/70 sts. 67/68/69/70 M.
- Turn and work back as follows (WS): k1 (edge st), k8 (Garter st), place marker, yo, p17, pfb 15/16/17/18 times, p17, yo, place marker, k8 (Garter st), k1 (edge st) = 84/86/88/90 sts. = 84/86/88/90 M.
- Now inc either side of the 2 markers by the neck: on RS knit through the back of the yarn over (then on subsequent rows work this st in Stockinette), on WS work a yo.
- Rep the 2 rows of the inc 48/50/52/54 times. - Arrange pattern as follows: k1 (edge st), 8 sts Garter st, 1 st Stockinette (to begin with), 2 sts Raglan inc, 13 sts Stockinette (to begin with), 2 sts Raglan inc, 30/32/34/36 sts Stockinette (to begin with), 2 sts Raglan inc, 13 sts Stockinette (to begin with), 2 sts Raglan inc, 1 st Stockinette (to begin with), 8 sts Garter st, k1 (edge st).
- The number of Stockinette sts will increase each time you work the Raglan inc. After 54/57/60/63 rows, from beginning of neckband, you will have 280/294/306/320 sts. Leave the sts as follows: front 55/58/60/63 sts, sleeve 51/53/55/57 sts, back 68/72/76/80 sts, sleeve 51/53/55/57 sts, front 55/58/60/63 sts. = 280/294/306/320 M.
Tip 3: Removing the neckline: At both marks in the row on the front, knit the U sts together (continue knitting these sts in pattern II), in the row on the back, knit 48x/50x/52x/54×1 U sts.
Divide the stitches:
- Front section 55/58/60/63 M
- Sleeves 51/53/55/57 sts
- Back section 68/72/76/80 sts
- Sleeves 51/53/55/57 sts
- Front piece 55/58/60/63 sts.
Now place the stitches for the sleeves onto separate circular needles. All other stitches remain together in the order of the division at the top of a circular needle. The sleeves and body are now knitted separately.

Step 2
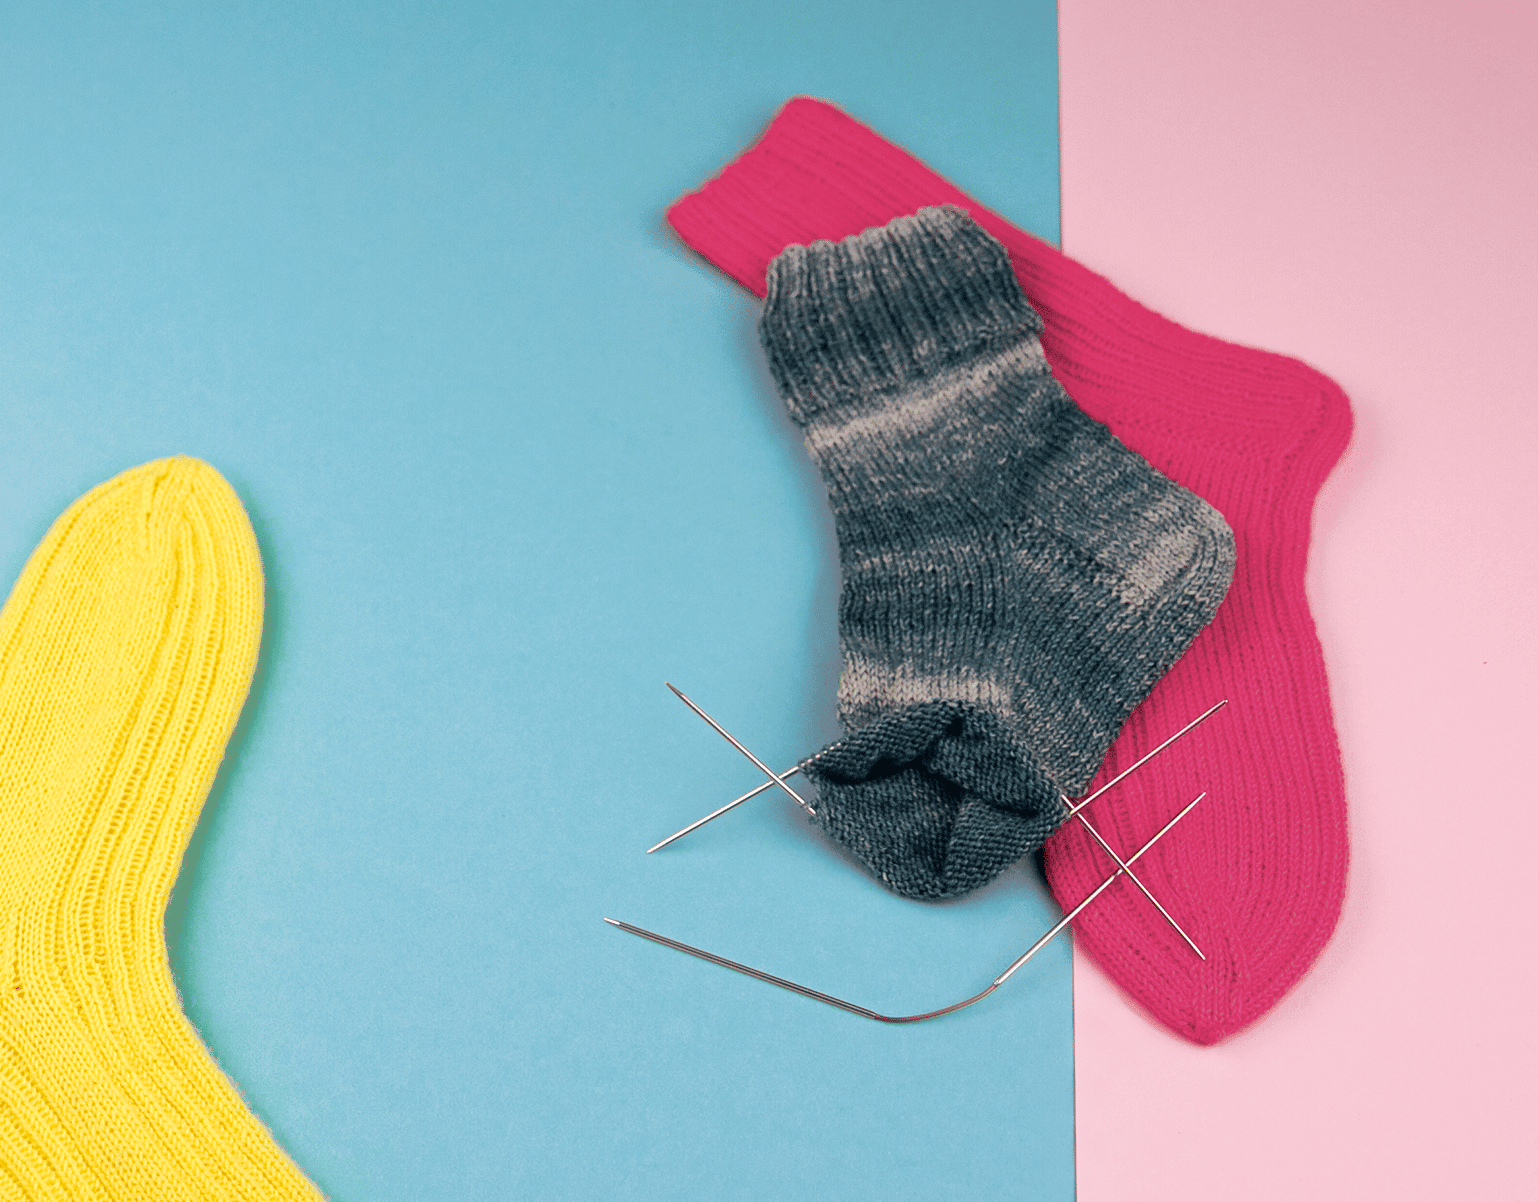
Sleeves of the wrap jacket
Both sleeves are now placed on separate needles and knitted separately from the body.
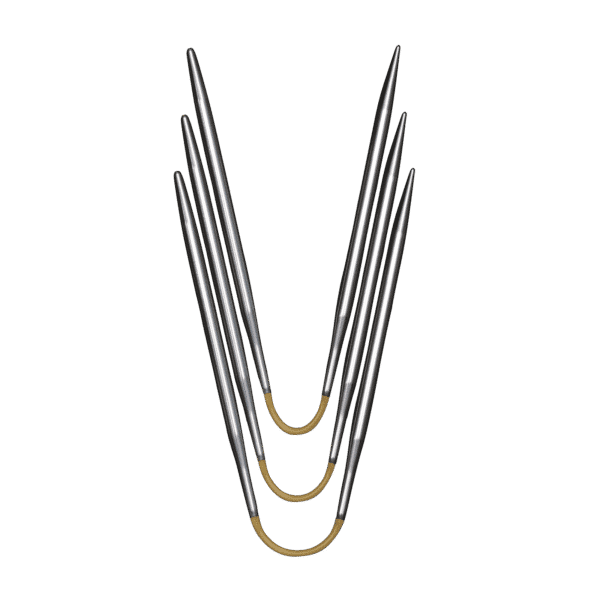
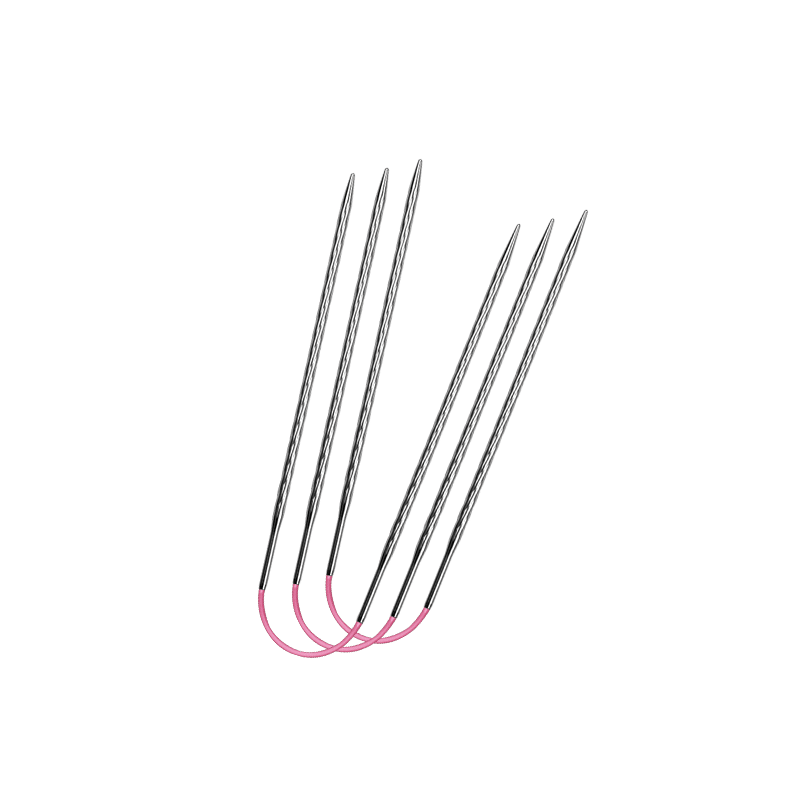
Tip: Small diameters can be knitted using a 40 cm circular knitting needle, a long circular knitting needle with Magic Loop, the addiCraSyTrio or double-pointed needles.
- With US 7 (4.5mm) needles, continue working 51/53/55/57 sts for first sleeve. Work Stockinette (k on RS, p on WS) for 8/10/12/14 rows, increasing at the end of every row: work to the last st kfb – 1 st increased. Rep inc 8/10/12/14 times. When all increases have been completed you aill have = 59/63/67/71 M.
- Now with US 7 (4.5mm) short circular needle or double-pointed needles, close to work in the rnd.
- Place a marker for beginning of rnd (= underarm) and work Stockinette st in the round (k all sts).
- When you have worked in the rnd for 15“/14½“/14¼“/13¾“ (38/37/36/35 cm) change to US 6 (4mm) double-pointed needles. Dec 15 sts evenly over the next rnd, work Rib st in the rnd with 44/48/52/56 sts: *p1, k1, rep from * around. When ribbing measures 2¼” (6 cm) loosely bind off all sts in pattern.
- Work the second sleeve in the same way.

Step 2
Sleeves of the wrap jacket
Both sleeves are now placed on separate needles and knitted separately from the body.
Tip: Small diameters can be knitted using a 40 cm circular knitting needle, a long circular knitting needle with Magic Loop, the addiCraSyTrio or double-pointed needles.
- With US 7 (4.5mm) needles, continue working 51/53/55/57 sts for first sleeve. Work Stockinette (k on RS, p on WS) for 8/10/12/14 rows, increasing at the end of every row: work to the last st kfb – 1 st increased. Rep inc 8/10/12/14 times. When all increases have been completed you aill have = 59/63/67/71 M.
- Now with US 7 (4.5mm) short circular needle or double-pointed needles, close to work in the rnd.
- Place a marker for beginning of rnd (= underarm) and work Stockinette st in the round (k all sts).
- When you have worked in the rnd for 15“/14½“/14¼“/13¾“ (38/37/36/35 cm) change to US 6 (4mm) double-pointed needles. Dec 15 sts evenly over the next rnd, work Rib st in the rnd with 44/48/52/56 sts: *p1, k1, rep from * around. When ribbing measures 2¼” (6 cm) loosely bind off all sts in pattern.
- Work the second sleeve in the same way.


Step 3
Work body
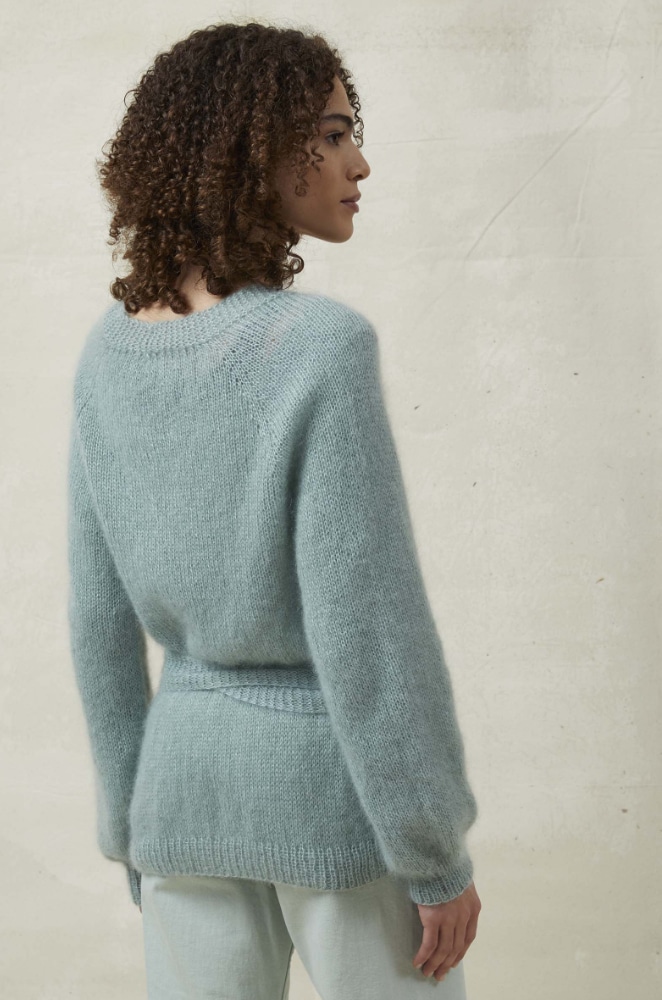
Back:
- With US 7 (4.5mm) needles, continue working 68/72/76/80 sts for back. Work Stockinette st, increasing at the beginning and end of every RS row as follows: Inc Row (RS): pick up 1 st from the sts increased for the sleeve, work sts of back, pick up 1 st from the sts increased for the sleeve – 2 sts increased.
- Rep inc every RS row 4/5/6/7 times (up to the marker for underarm), so that you have 76/82/88/94 sts after 8/10/12/14 rows. = 76/82/88/94 M.
- Finish with a RS row.
Back and Front:
- Next work the sts of the 2 front pieces and the back for the body. With US 7 (4.5mm) needles, continue working as follows: pick up 4/5/6/7 sts from the sts increased for the right sleeve, work the 55/58/60/63 sts of the right front, on the next row (WS) pick up 4/5/6/7 sts from the sts increased for the left sleeve and work across the 55/58/60/63 sts of the left front.
- Continue working in pattern as set and complete all 48/50/52/54 raglan increases either side of the markers so that you have 238/252/266/280 sts.
- Leave sts.
Ties:
- With US 7 (4.5mm) needles, work across the 9 sts of the front band.
- Work Garter st for 35½”/37½”/39¼”/41¼” (90/95/100/105 cm).
- Tightly bind off all sts in pattern.
Back and Front:
- With US 7 (4.5mm) needles, pick up 7 sts along the edge of the left tie, work across the 238/252/266/280 sts of the body (work 155/165/175/185 sts, k2tog, yo twice, k2tog, work to end), pick up 7 sts along the edge of the right tie = 252/266/280/294 sts.
- Now arrange pattern as follows: k1 (edge st), 6 sts Garter st, 238/252/266/280 sts Stockinette (purl the yarn overs of the previous row), 6 sts Garter st, k1 (edge st).
- Work in pattern as set for 6¼“ (16 cm).
- Dec 1 st on the next row (= 251/265/279/293 sts) and work Rib st: *k1, p1, rep from * to the last st, k1.
- When ribbing measures 2¼“ (6 cm) bind off all sts in pattern.
Finishing
- Sew in all ends. If necessary sew up any small holes at underarm, where the body meets the yoke. Block as desired.


Step 3
Work body
Back:
- With US 7 (4.5mm) needles, continue working 68/72/76/80 sts for back. Work Stockinette st, increasing at the beginning and end of every RS row as follows: Inc Row (RS): pick up 1 st from the sts increased for the sleeve, work sts of back, pick up 1 st from the sts increased for the sleeve – 2 sts increased.
- Rep inc every RS row 4/5/6/7 times (up to the marker for underarm), so that you have 76/82/88/94 sts after 8/10/12/14 rows. = 76/82/88/94 M.
- Finish with a RS row.
Back and Front:
- Next work the sts of the 2 front pieces and the back for the body. With US 7 (4.5mm) needles, continue working as follows: pick up 4/5/6/7 sts from the sts increased for the right sleeve, work the 55/58/60/63 sts of the right front, on the next row (WS) pick up 4/5/6/7 sts from the sts increased for the left sleeve and work across the 55/58/60/63 sts of the left front.
- Continue working in pattern as set and complete all 48/50/52/54 raglan increases either side of the markers so that you have 238/252/266/280 sts.
- Leave sts.
Ties:
- With US 7 (4.5mm) needles, work across the 9 sts of the front band.
- Work Garter st for 35½”/37½”/39¼”/41¼” (90/95/100/105 cm).
- Tightly bind off all sts in pattern.
Back and Front:
- With US 7 (4.5mm) needles, pick up 7 sts along the edge of the left tie, work across the 238/252/266/280 sts of the body (work 155/165/175/185 sts, k2tog, yo twice, k2tog, work to end), pick up 7 sts along the edge of the right tie = 252/266/280/294 sts.
- Now arrange pattern as follows: k1 (edge st), 6 sts Garter st, 238/252/266/280 sts Stockinette (purl the yarn overs of the previous row), 6 sts Garter st, k1 (edge st).
- Work in pattern as set for 6¼“ (16 cm).
- Dec 1 st on the next row (= 251/265/279/293 sts) and work Rib st: *k1, p1, rep from * to the last st, k1.
- When ribbing measures 2¼“ (6 cm) bind off all sts in pattern.
Finishing
- Sew in all ends. If necessary sew up any small holes at underarm, where the body meets the yoke. Block as desired.


Tutorial also available in the addi2go
Design by Lang Yarns.
The instructions are also available digitally in our addi2go app There you can save the instructions in a project with row counters and notes.