Knitting socks with a circular knitting needle (magic loop method)
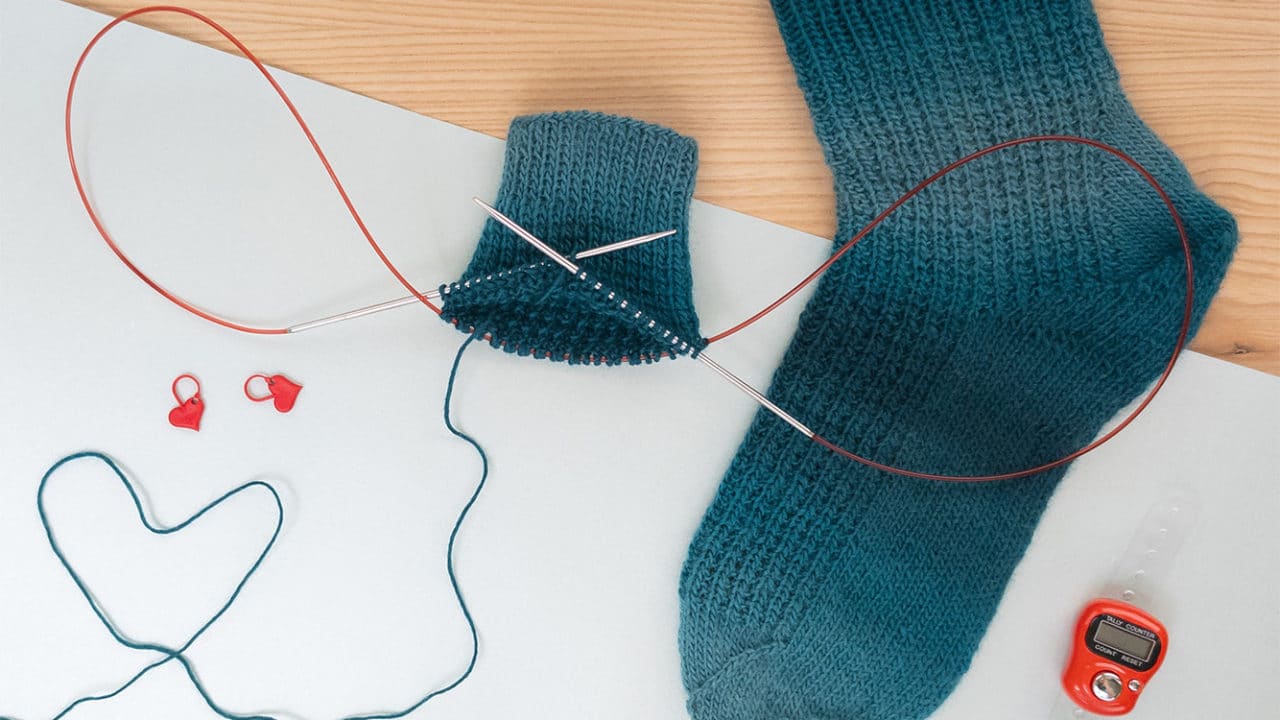
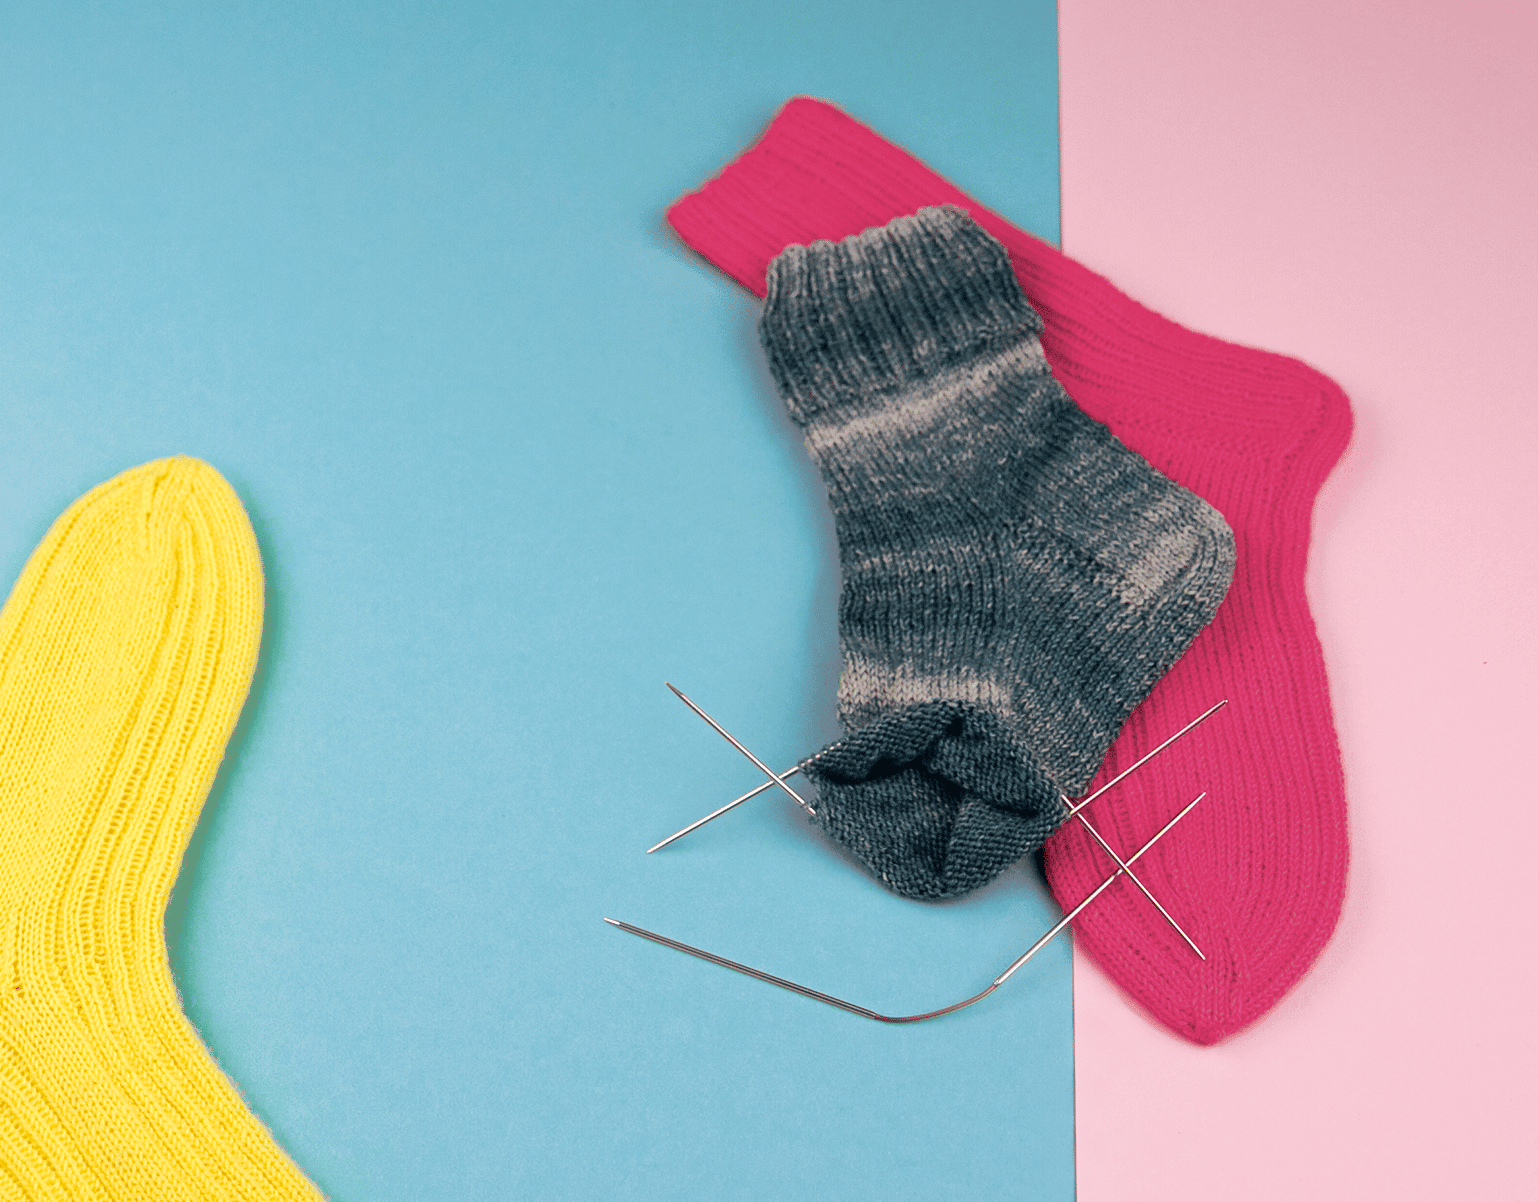
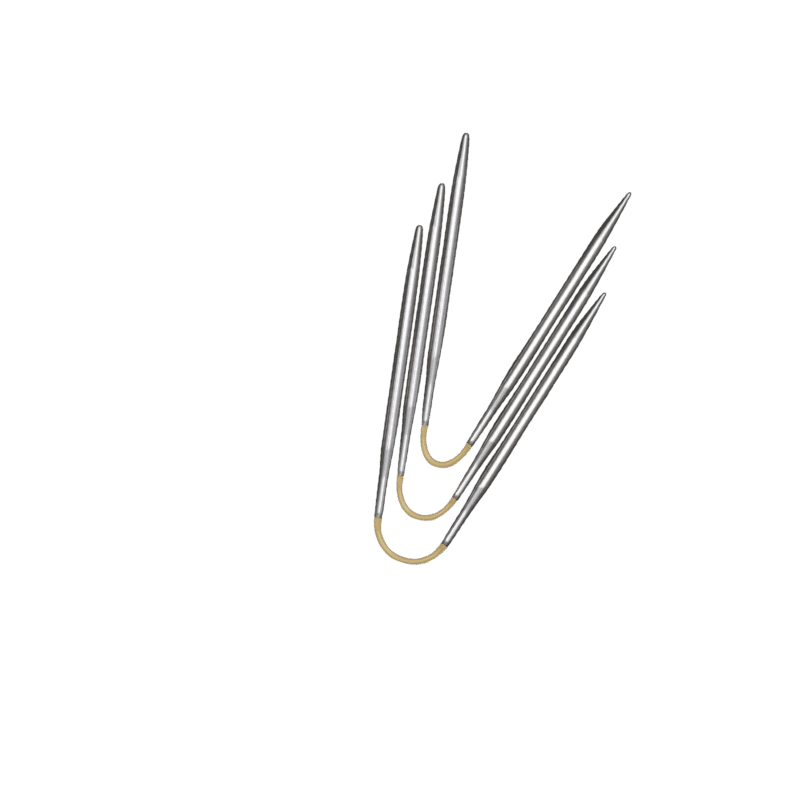
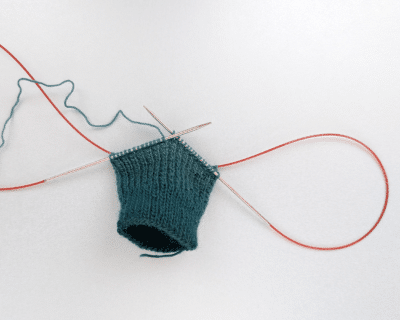
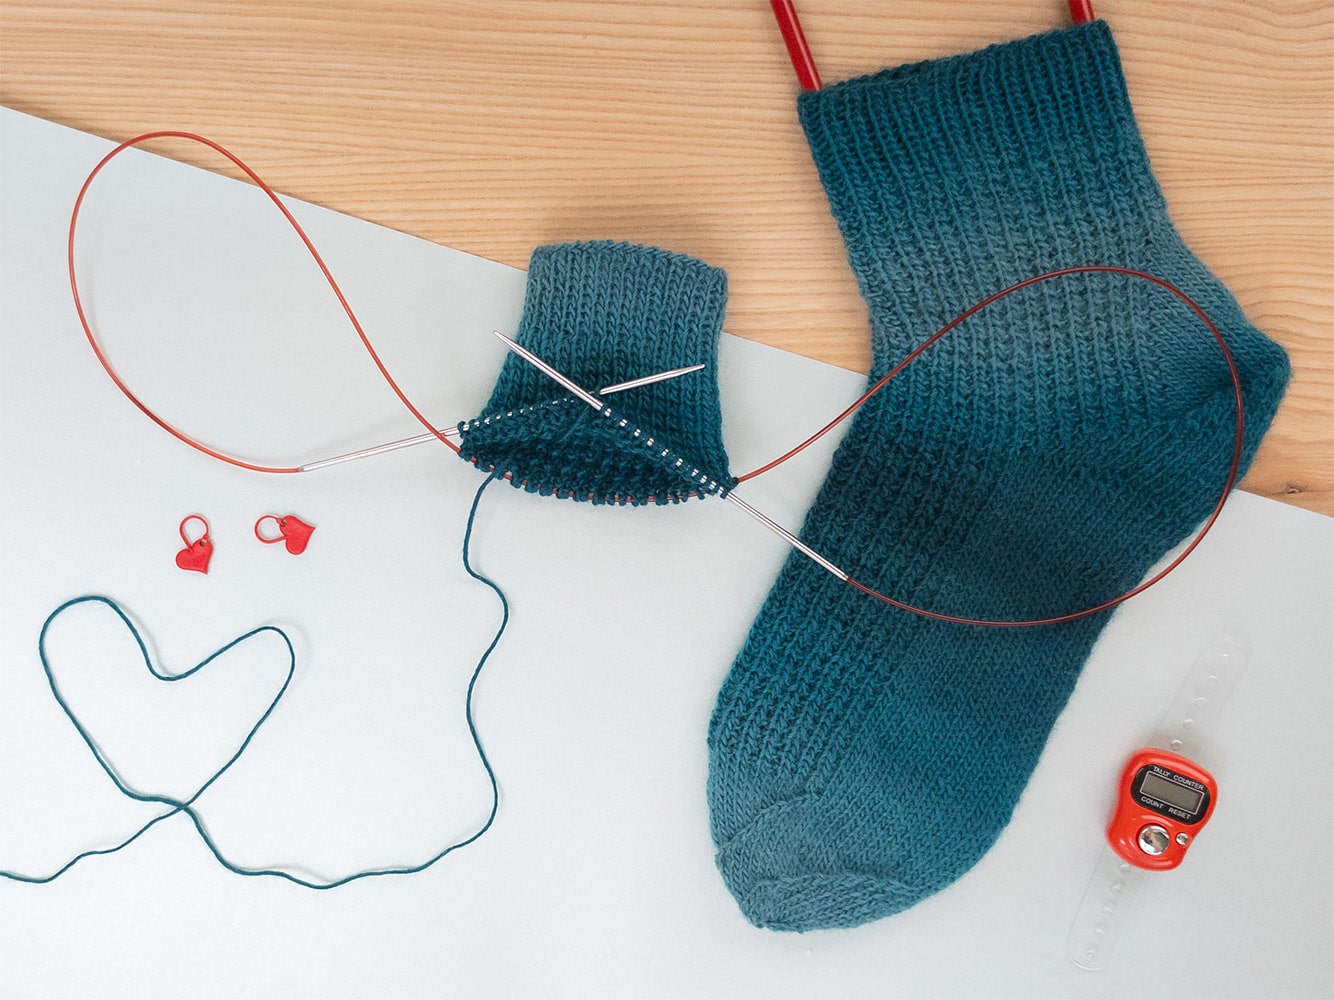
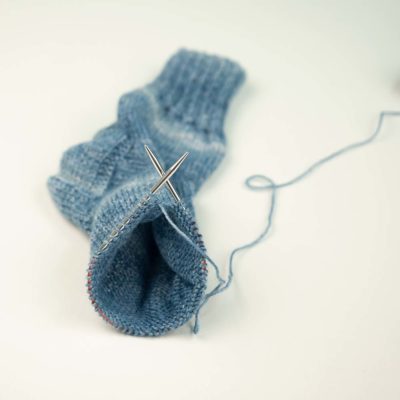
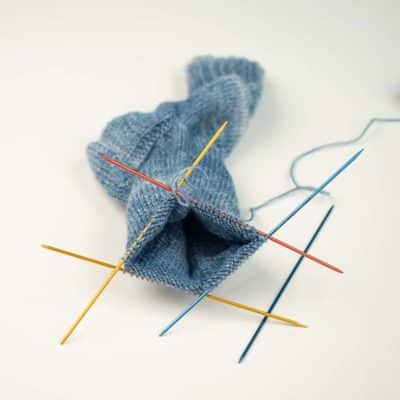
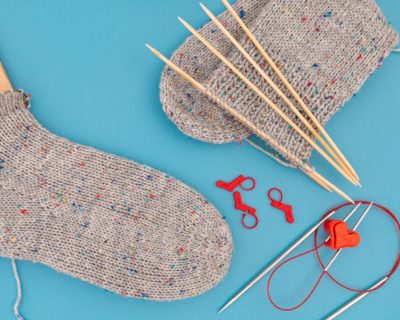
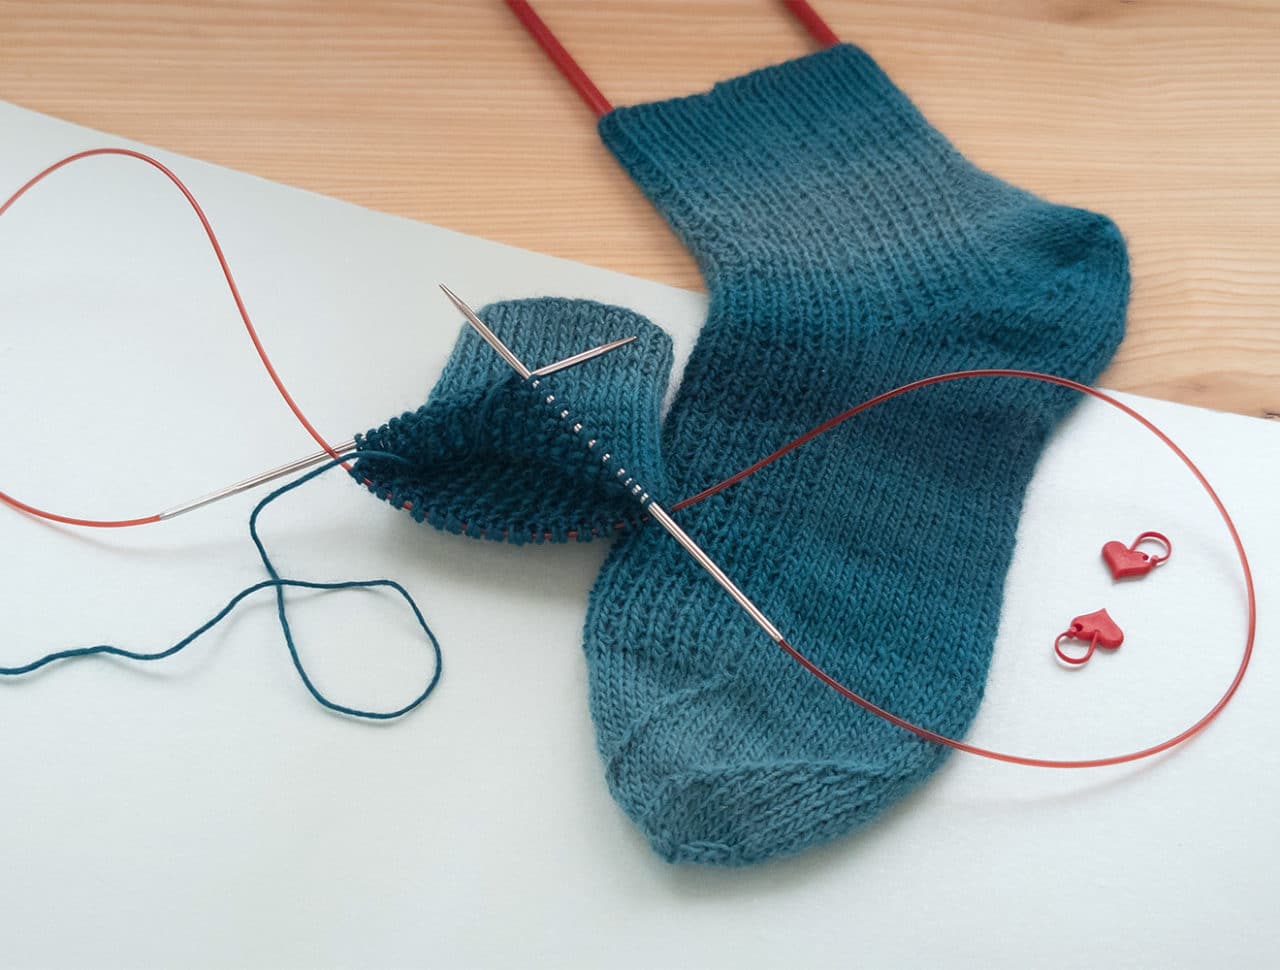
The basic instruction to knitting socks with a circular knitting needle (magic loop method).The stitches are divided in two on a circular knitting needle – one lies on the cord, the other on the needle. This means that small diameters can be knitted with a classic circular knitting needle.
There is no need to change the needle, the cord is simply pulled further twice per round.
- Sock yarn 4-ply, 6-ply or 8-ply
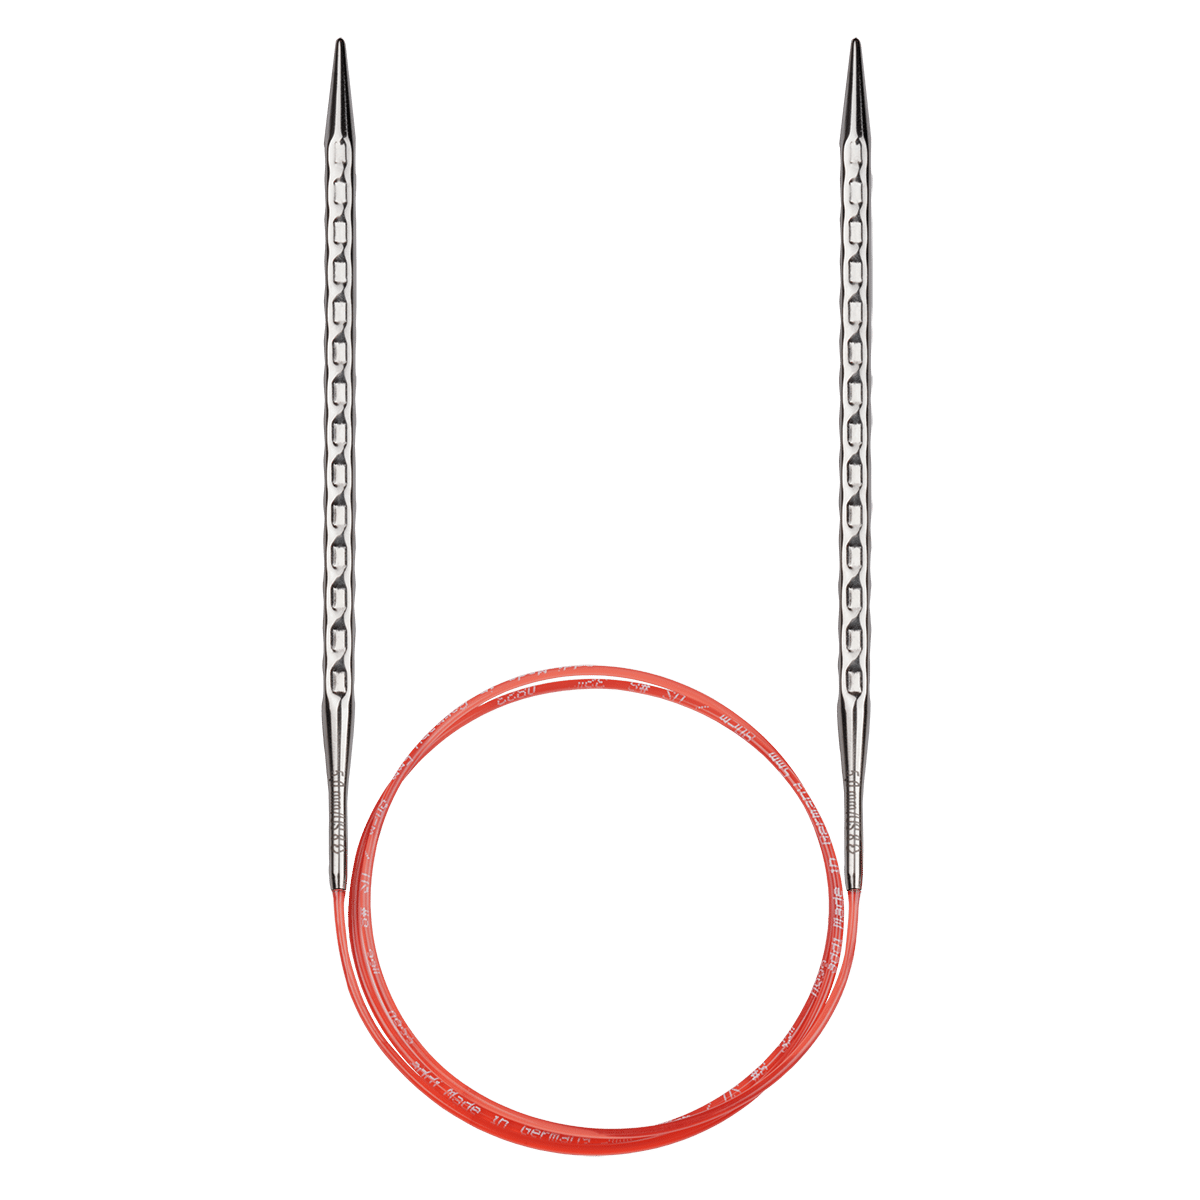
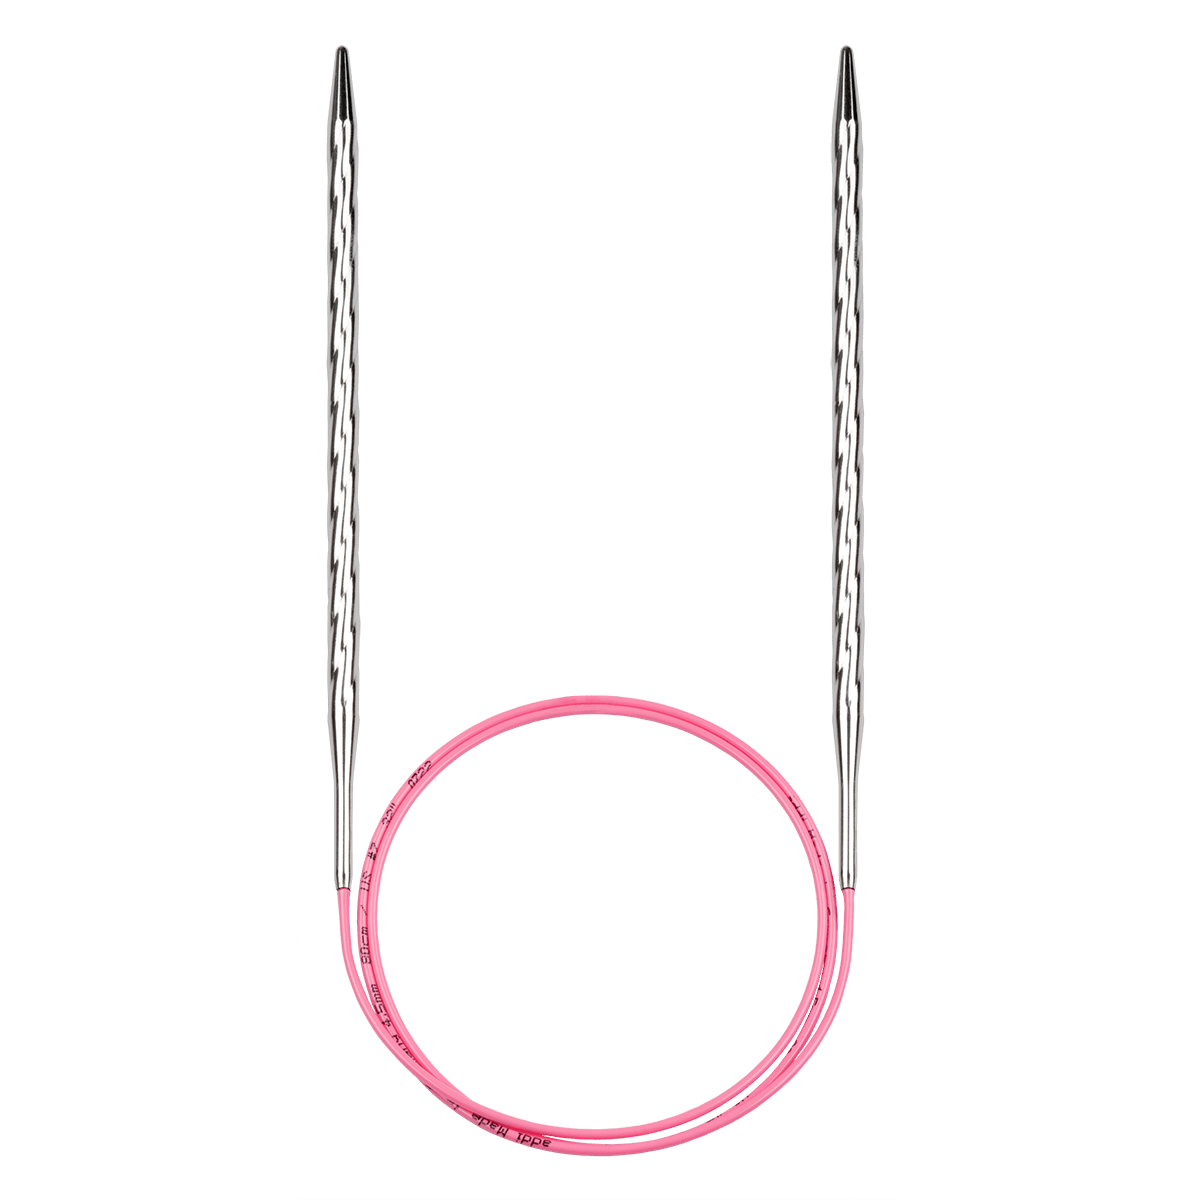
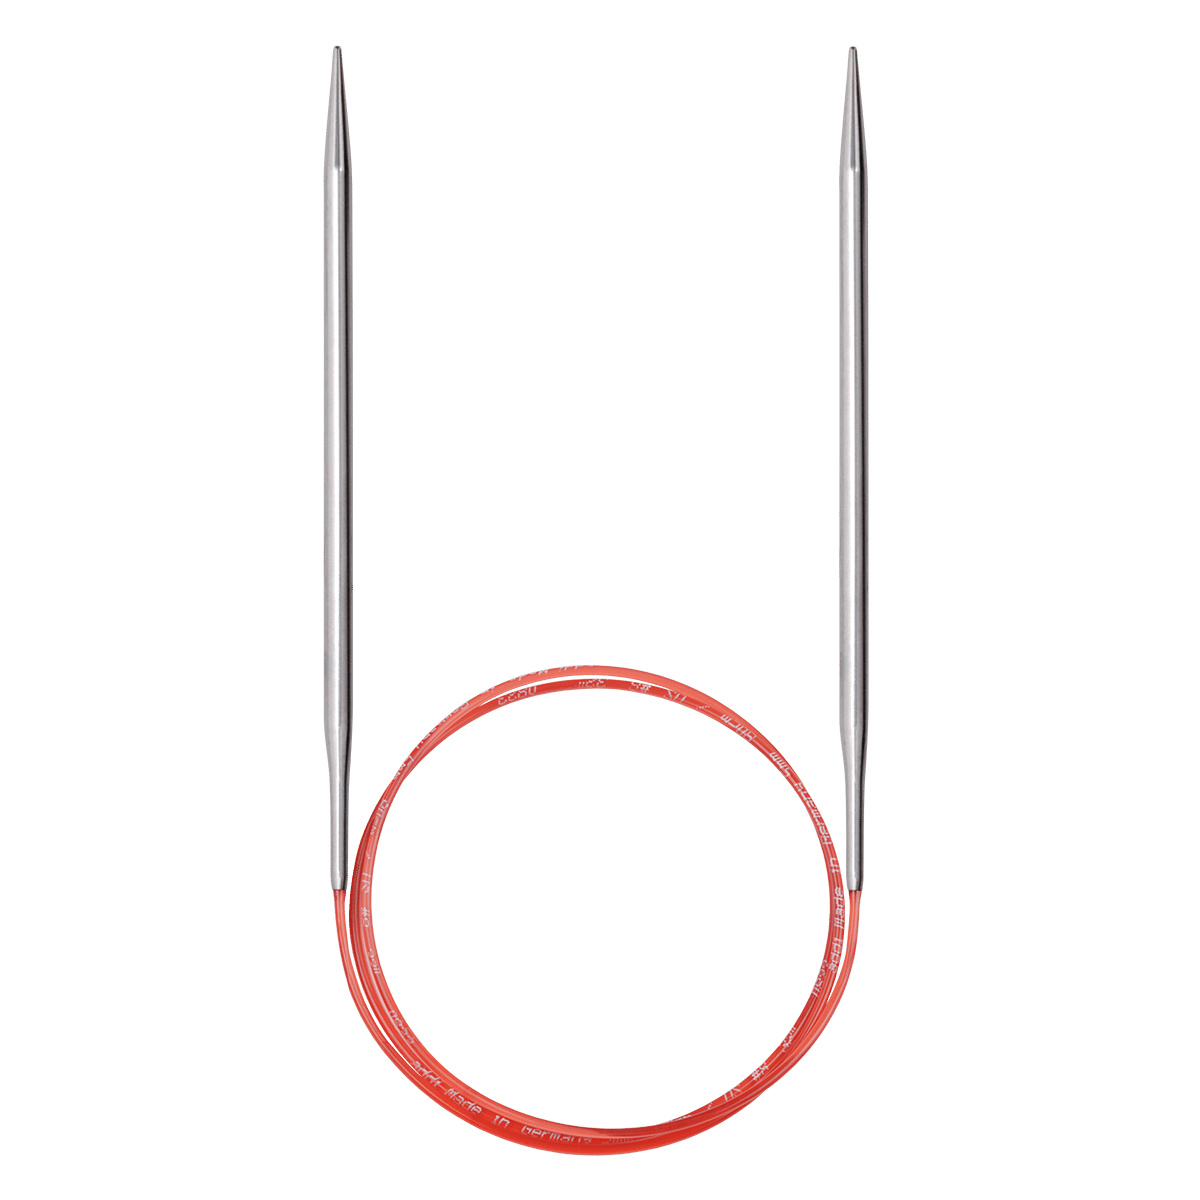
- Circular knitting needles in the matching size for the yarn, from 80 cm in length:
- addiPremium Lace (fine tips)
- addiNovel Lace (fine tips)
- addiUnicorn (basic tips)
- addiNature Bamboo (basic tips)
- optional stitch marker
What is the Magic Loop method?
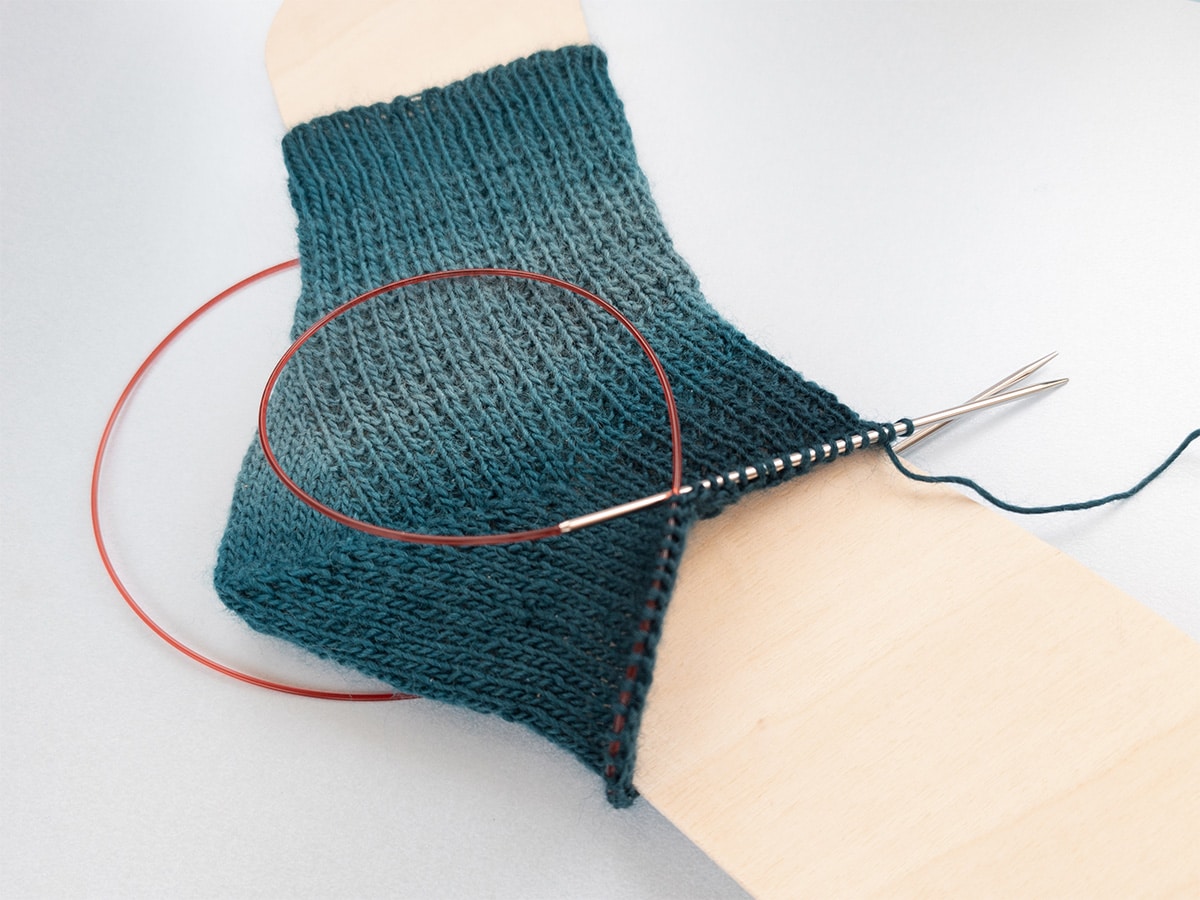
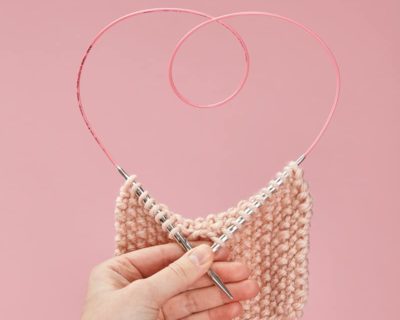
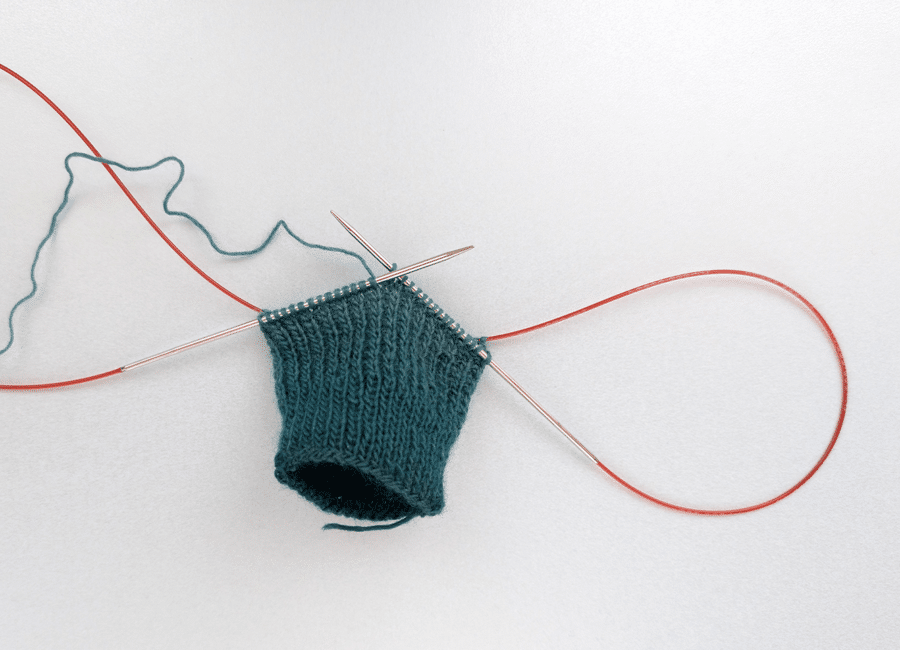
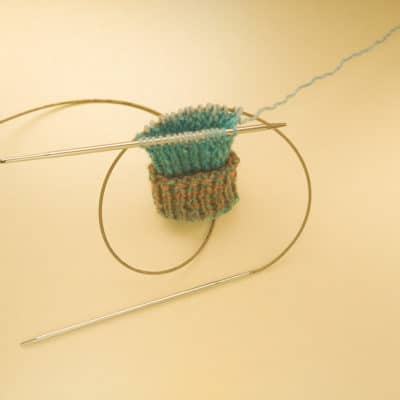
The magic loop method is a technique for knitting small diameters with a classic circular knitting needle. Half of the stitches are knitted on the needle tip, while the other half is on the cord – interrupted by a cord loop.
When knitting with the Magic Loop , the loops between the front and back halves of the stitch allow you to work small diameters without interruption using just one circular knitting needle. After knitting the first half of the stitches, the loop is simply pulled out again after the second half.
What wool do I need to knit socks?
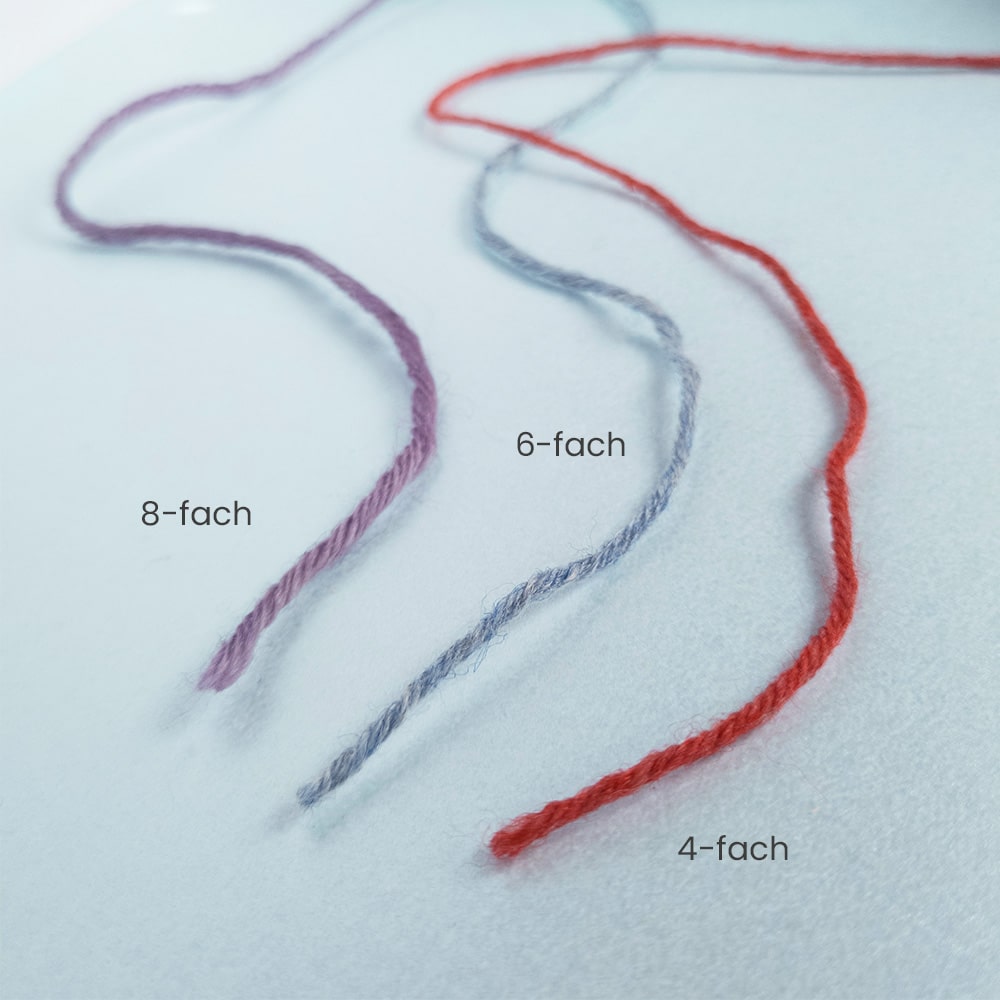
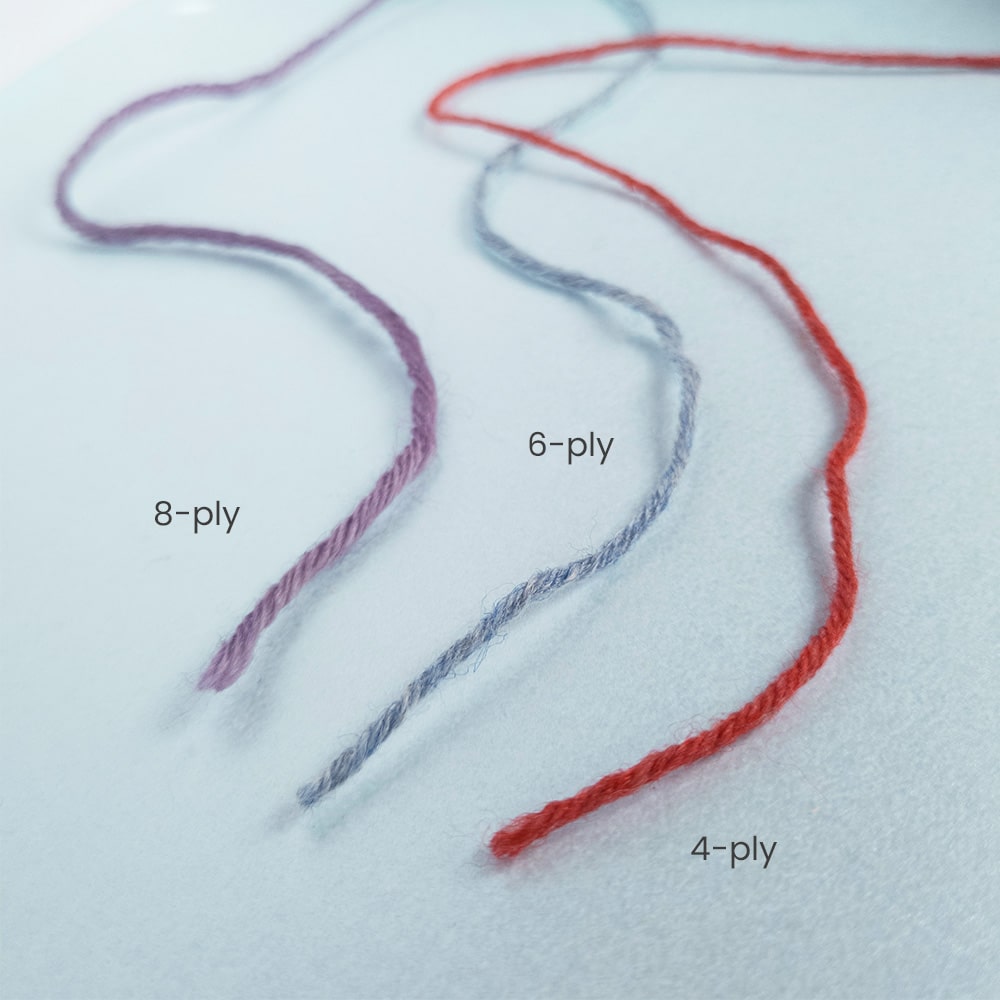
Sock yarns come in three different strengths:
- 4-ply
- 6-ply
- 8-ply
The designation means that 4, 6 or 8 very thin threads have been spun into one yarn. Therefore, 8-ply sock wool is about twice as strong as the 4-ply version.
The regular sock yarns are usually 4-ply, but 6-ply yarns for thicker socks can also be found in many shops.
8-ply sock yarns are rarer to get. Because of their thickness, these are used more for house socks, as the socks are knitted very quickly but do not fit well in shoes.
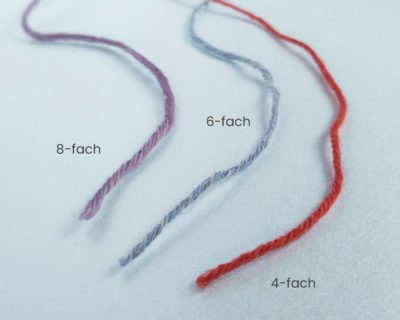
Attributes of the different sock-wool qualities:
4-ply
- Sock yarns come in three different strengths.
- 4-ply is the standard yarn for socks. It is the thinnest sock yarn, which is why it is also knitted with fine needles (needle size 2.5 - 3.0 mm), so that the sock is tight.
- Due to a higher number of stitches (see sock chart 4-ply) needed to knit your corresponding shoe size according to the sock chart, you will need a little longer than with a thicker yarn.
- Advantage: of 4-ply sock wool: The socks can be worn in all shoes because they are rather thin.
- For a pair of socks you usually need about 100g of sock wool (up to size 46). This usually corresponds to one ball.
6-ply
- Sock yarns come in three different strengths.
- The 6-ply yarn is a medium weight for somewhat thicker socks. It can be knitted with needle size 3.0 - 4.0 mm.
- Advantage: Due to its strength, fewer stitches are needed (see sock chart 6-ply) and knitting socks is a little faster - ideal for beginners.
- For a pair of socks you usually need about 150g of sock wool (up to size 46). This usually corresponds to one ball.
8-ply
- Sock yarns come in three different strengths.
- The 8-ply yarn is the thickest quality and particularly suitable for home socks that are not worn in shoes. It can be knitted with a needle size of 4.0 - 5.0 mm.
- Advantage: With the thick sock wool, even large socks can be knitted particularly quickly.
- For a pair of socks you usually need 150g of sock wool (up to size 42) and approx. 200g (up to size 46). A ball usually contains 150g.
This is how it works:
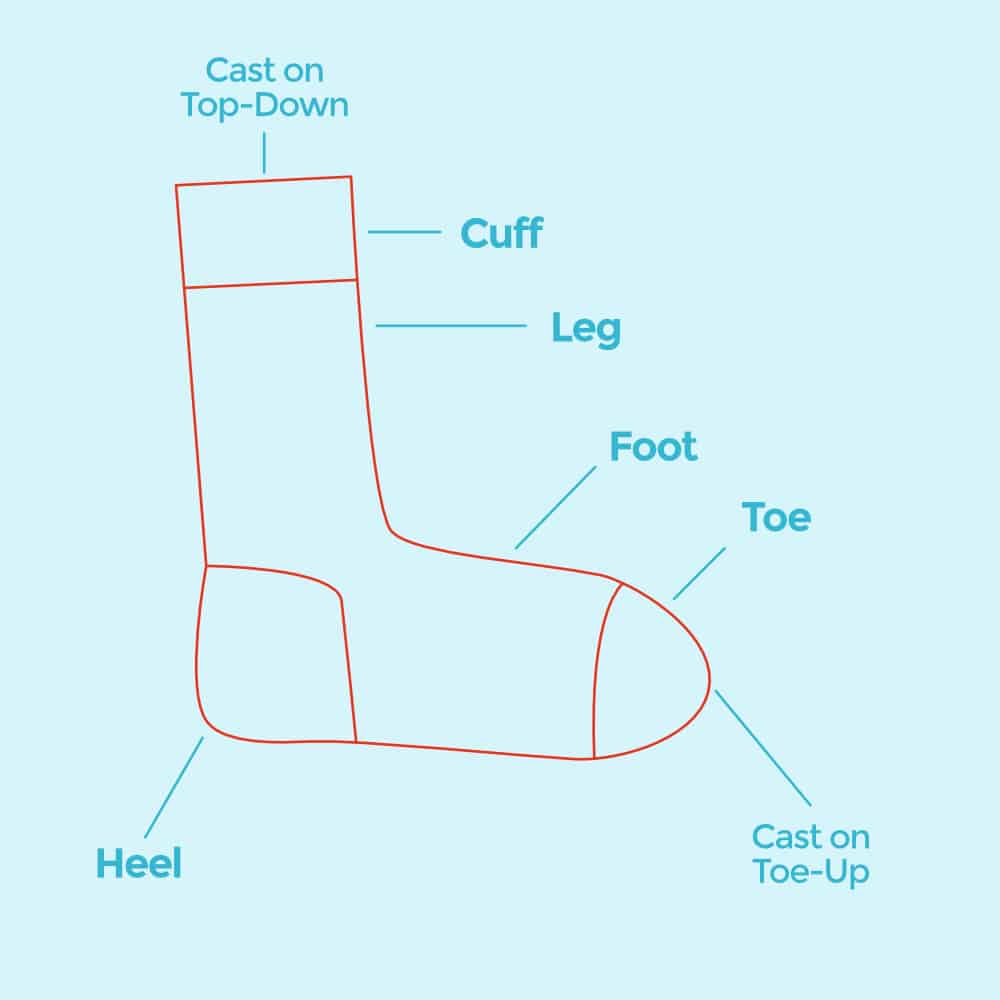
This is how it works:
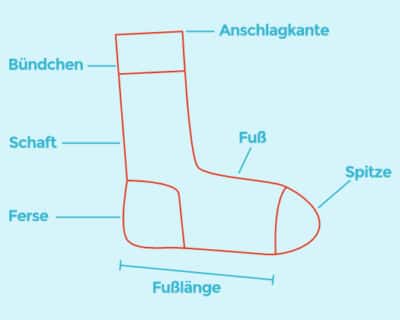
Sock chart Top-Down
(from the cuff to the toe)
Sock chart Top-Down 4-ply:
- Sock wool 4‐ply (420m, 100g) (384 yd, 3.5 oz)
- Gauge: 30 stitches/ 42 rows = 4″x4″ (10×10 cm)
| Shoe size EU | 17/18 | 19/20 | 20/21 | 22/23 | 24/25 | 26/27 | 28/29 | 30/31 | 32/33 | 34/35 | 36/37 | 38/39 | 40/41 | 42/43 | 44/45 | 46/47 | 48/49 |
| Stitches total CO | 36 | 36 | 40 | 40 | 44 | 48 | 48 | 52 | 52 | 56 | 56 | 60 | 60 | 64 | 68 | 72 | 76 |
| Sts per needle addiCraSyTrio | 18 | 18 | 20 | 20 | 22 | 24 | 24 | 26 | 26 | 28 | 28 | 30 | 30 | 32 | 34 | 36 | 38 |
| Sts per needle dpn | 9 | 9 | 10 | 10 | 11 | 12 | 12 | 13 | 13 | 14 | 14 | 15 | 15 | 16 | 17 | 18 | 19 |
Sock chart Top-Down 6-ply:
- Sock wool 6‐ply (380m, 150g) (347 yd, 5.3 oz)
- Gauge: 22 stitches/ 30 rows = 4″x4″ (10×10 cm)
| Shoe size EU | 17/18 | 19/20 | 20/21 | 22/23 | 24/25 | 26/27 | 28/29 | 30/31 | 32/33 | 34/35 | 36/37 | 38/39 | 40/41 | 42/43 | 44/45 | 46/47 | 48/49 |
| Stitches total CO | 28 | 28 | 32 | 32 | 36 | 36 | 40 | 40 | 44 | 44 | 48 | 48 | 52 | 52 | 56 | 56 | 60 |
| Sts per needle addiCraSyTrio | 14 | 14 | 16 | 16 | 18 | 18 | 20 | 20 | 22 | 22 | 24 | 24 | 26 | 26 | 28 | 28 | 30 |
| Sts per needle dpn | 7 | 7 | 8 | 8 | 9 | 9 | 10 | 10 | 11 | 11 | 12 | 12 | 13 | 13 | 14 | 14 | 15 |
Sock chart Top-Down 8-ply:
- Sock wool 8‐ply (300m, 150g) (274 yd, 5.3 oz)
- Gauge: 20 stitches/ 28 rows = 4″x4″ (10×10 cm)
| Shoe size EU | 17/18 | 19/20 | 20/21 | 22/23 | 24/25 | 26/27 | 28/29 | 30/31 | 32/33 | 34/35 | 36/37 | 38/39 | 40/41 | 42/43 | 44/45 | 46/47 | 48/49 |
| Stitches total CO | 24 | 24 | 28 | 28 | 32 | 32 | 36 | 36 | 40 | 40 | 44 | 44 | 48 | 48 | 52 | 52 | 56 |
| Sts per needle addiCraSyTrio | 12 | 12 | 14 | 14 | 16 | 16 | 18 | 18 | 20 | 20 | 22 | 22 | 24 | 24 | 26 | 26 | 28 |
| Sts per needle dpn | 6 | 6 | 7 | 7 | 8 | 8 | 9 | 9 | 10 | 10 | 11 | 11 | 12 | 12 | 13 | 13 | 14 |
Knitting cuff and leg
This is how you knit a magic loop:
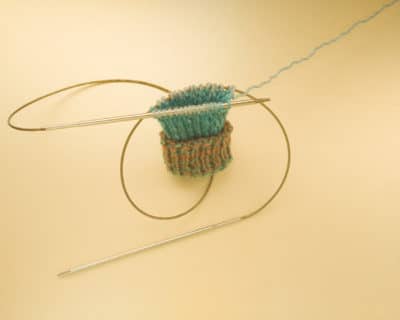
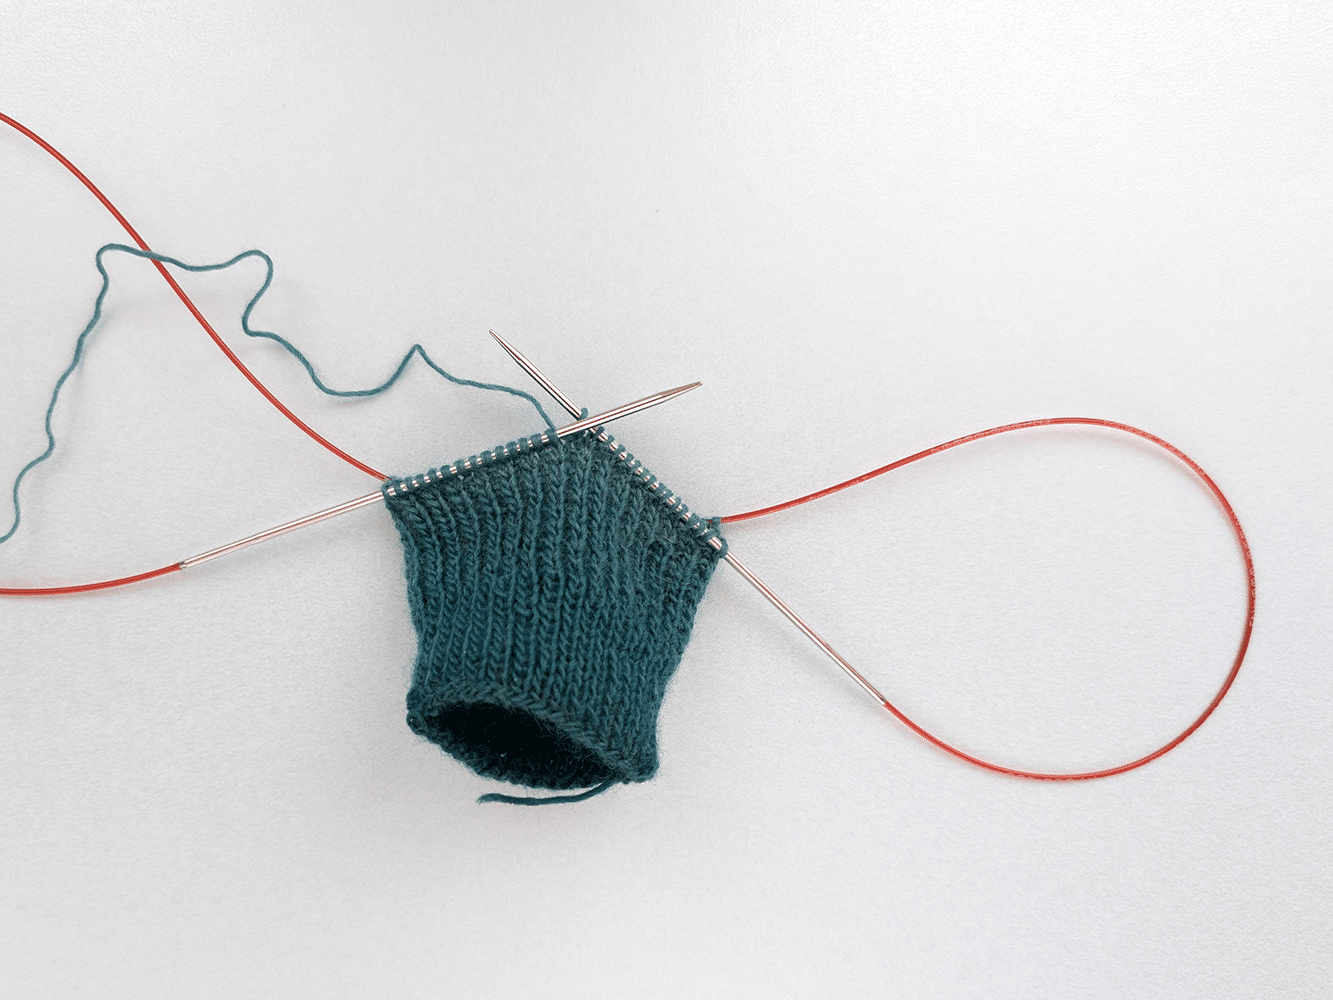
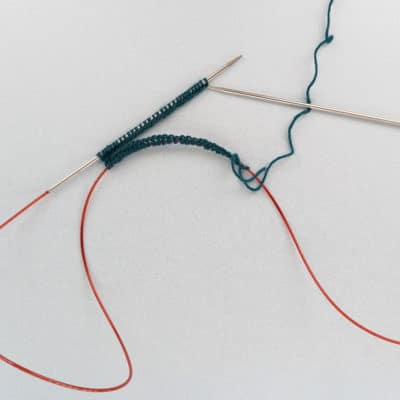
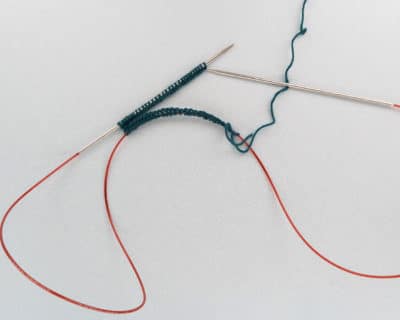
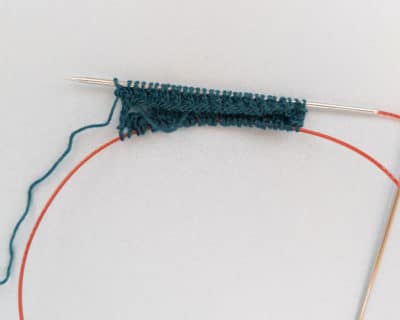
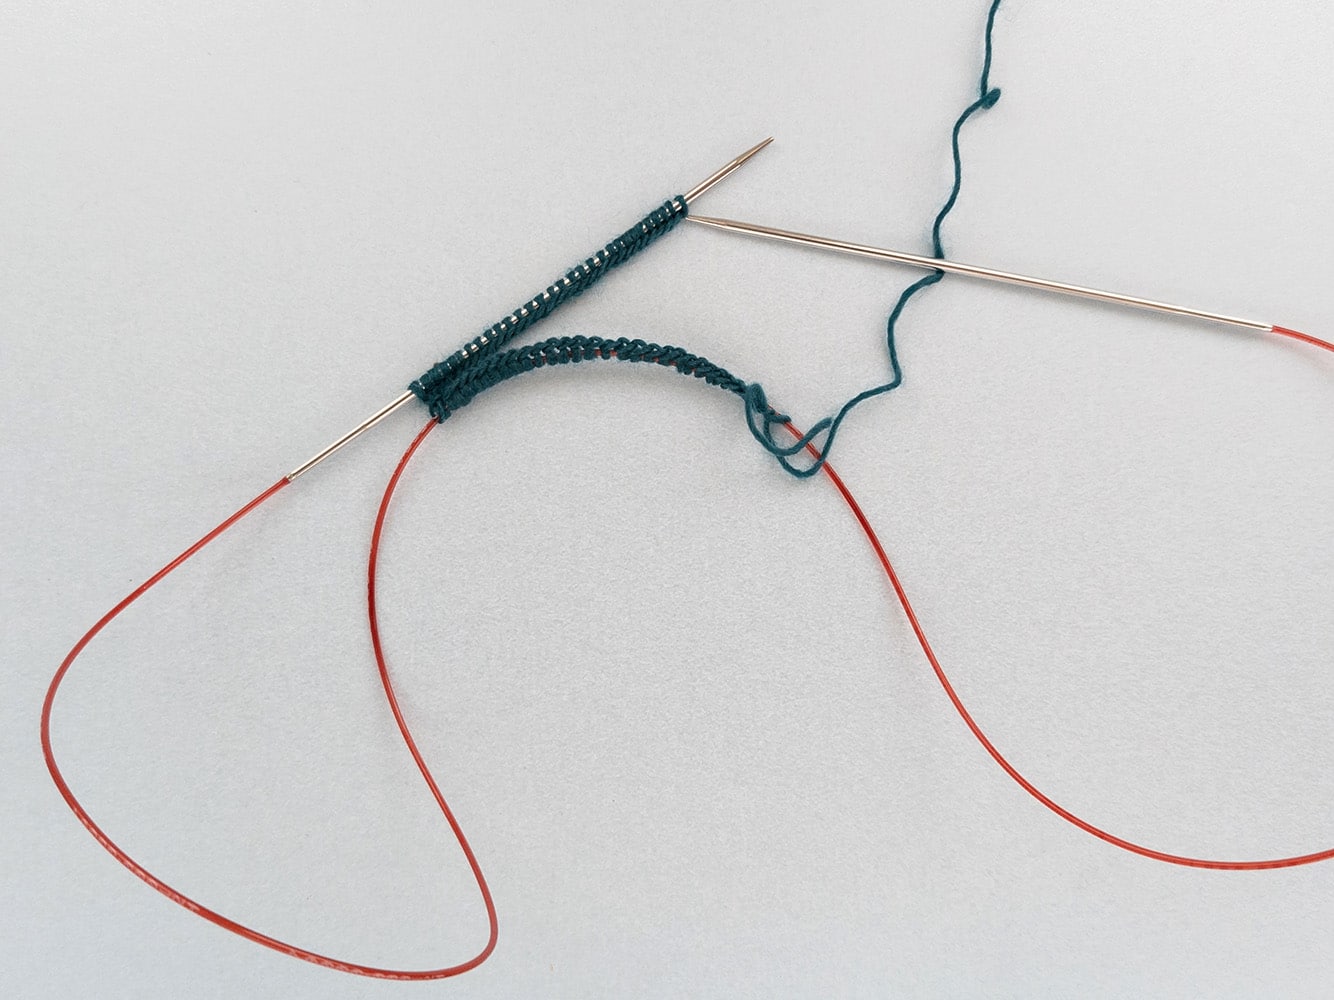
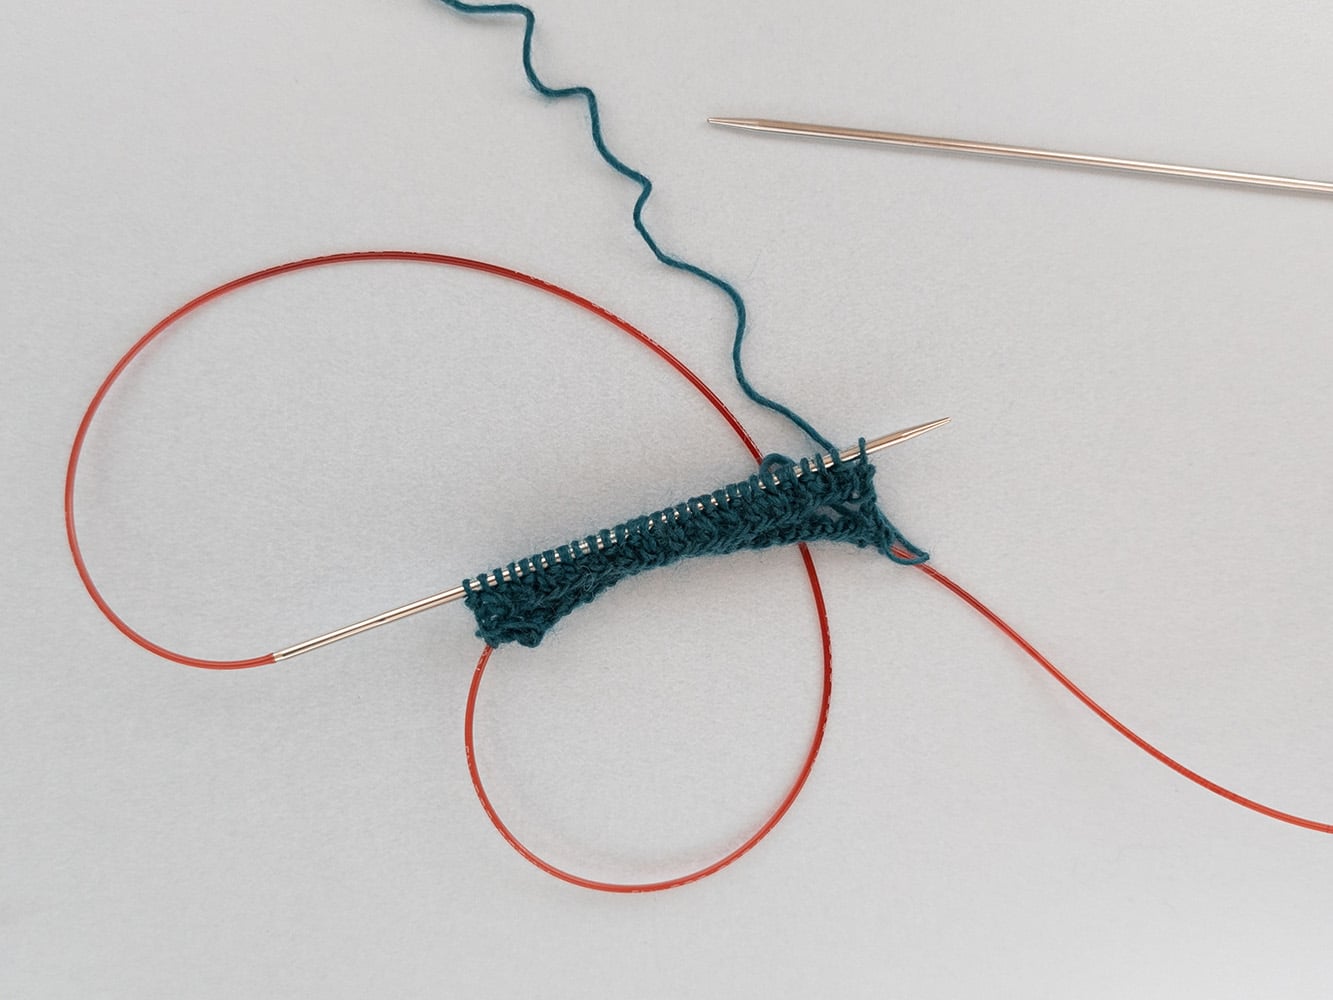
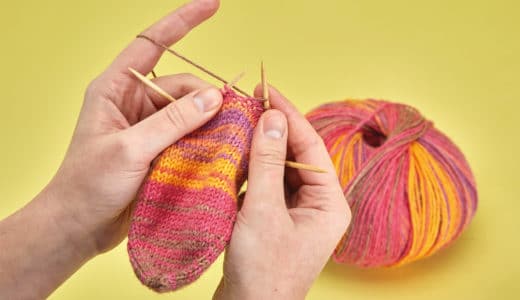
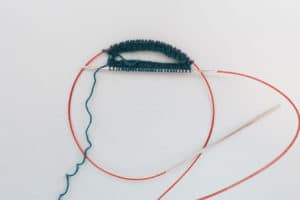
- Die erforderliche Maschenanzahl „Stitches total CO“ auf der Rundstricknadel anschlagen und anschließend nach der Hälfte der Maschen das Seil herausziehen, so dass jeweils die Hälfte der Maschen auf der linken Nadelspitze und die andere auf dem Seil liegt. Die rechte Nadelspitze bleibt frei (Bild 1). Darauf achten, dass sich das Gestrick nicht verdreht.
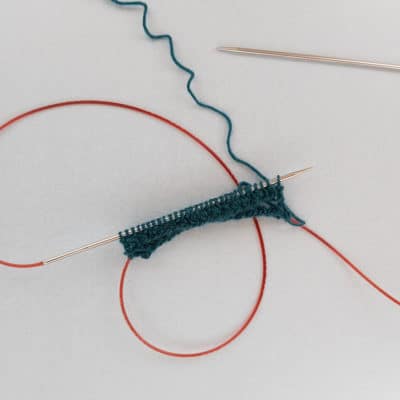
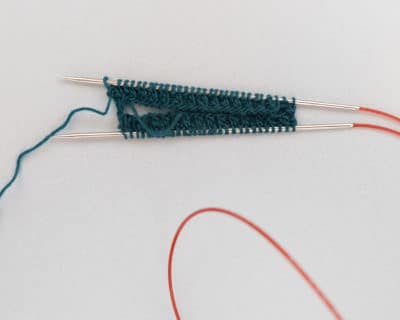
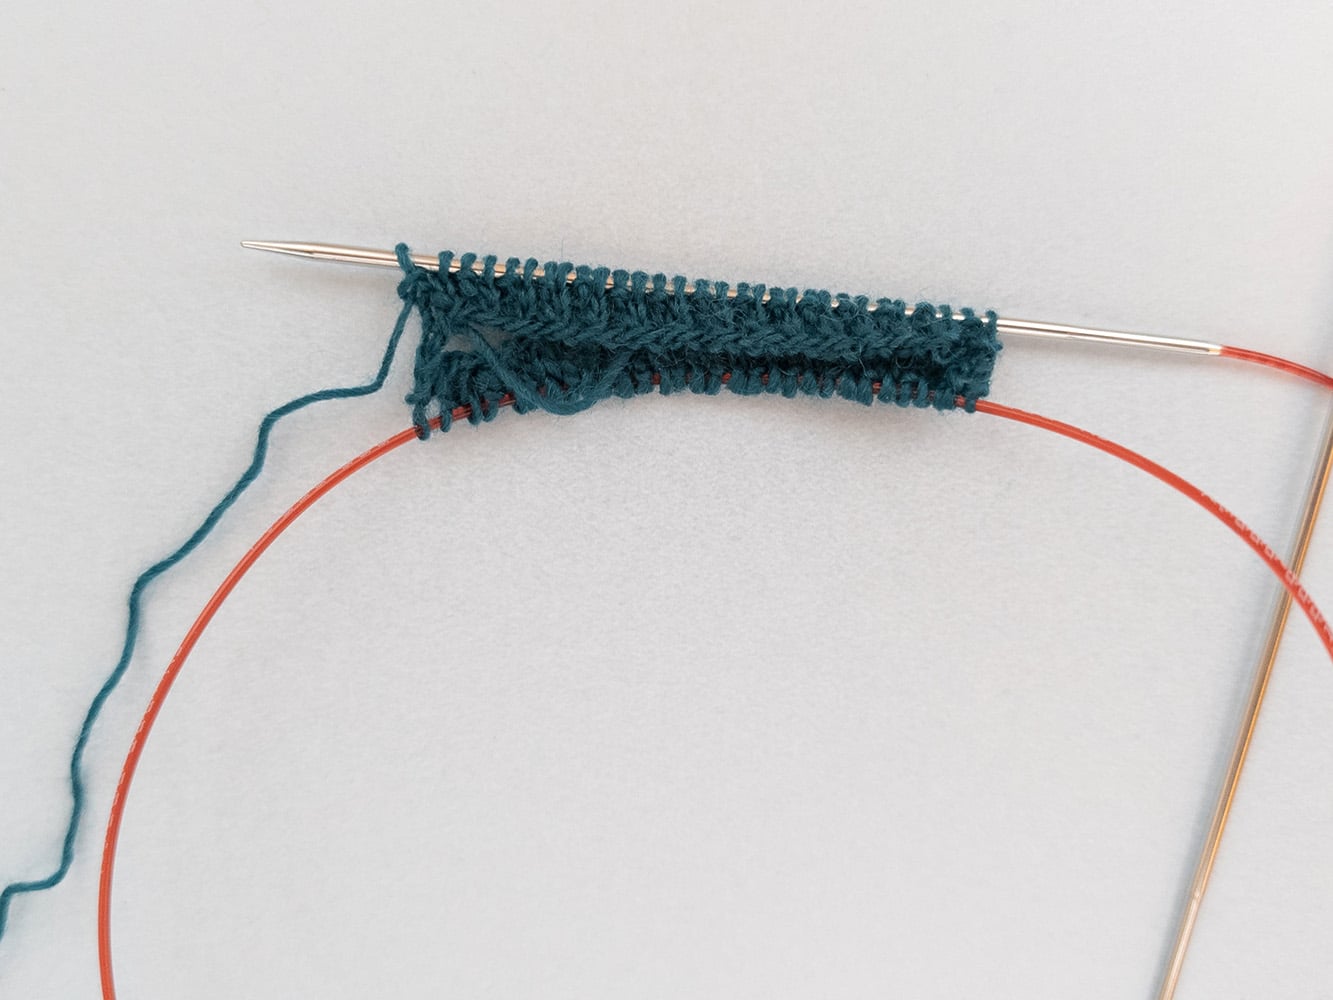
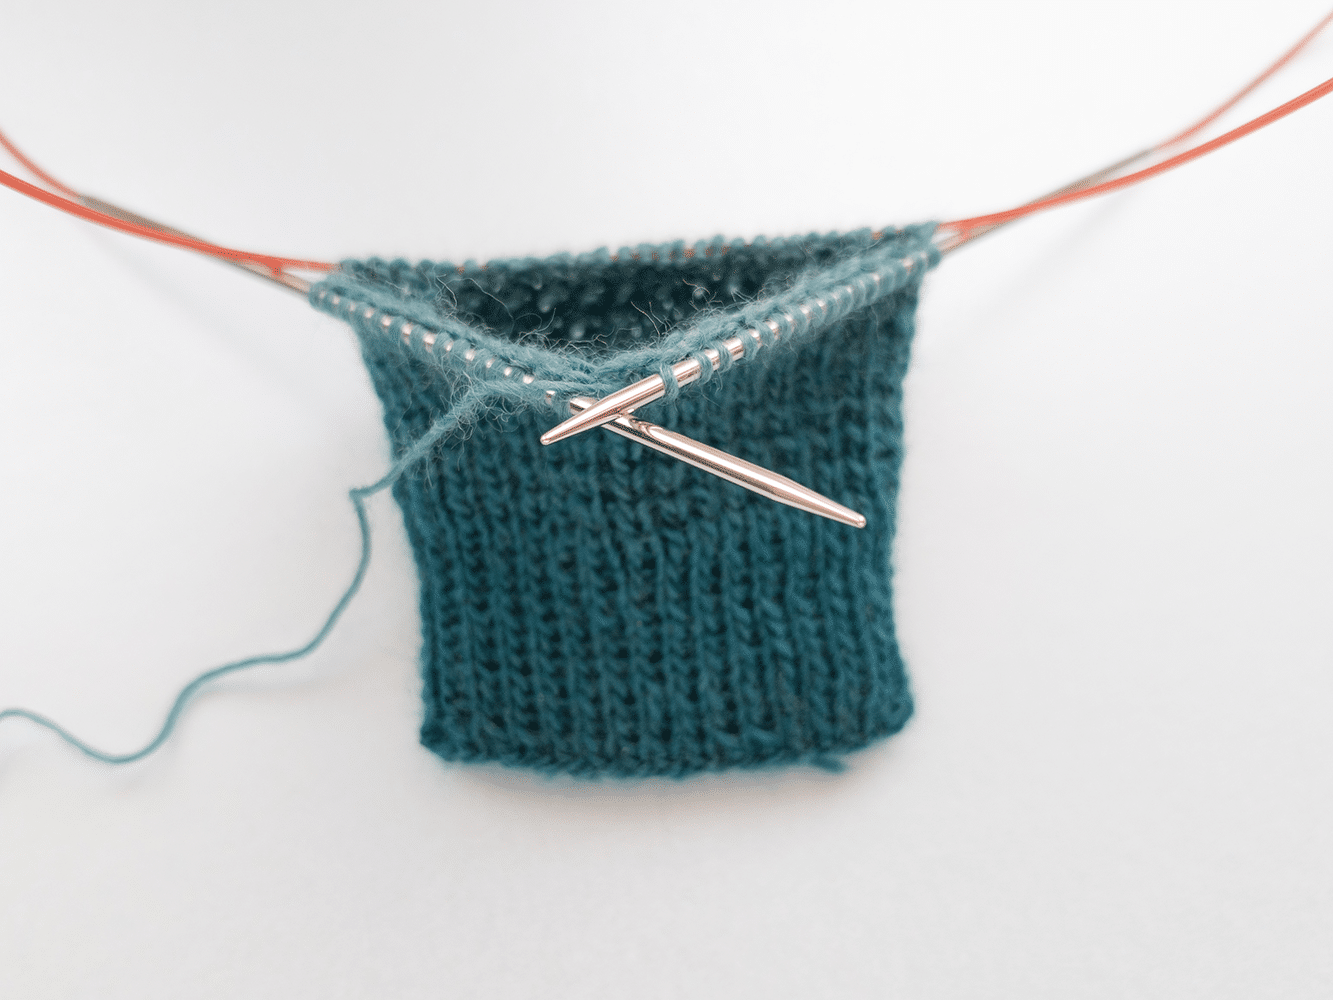
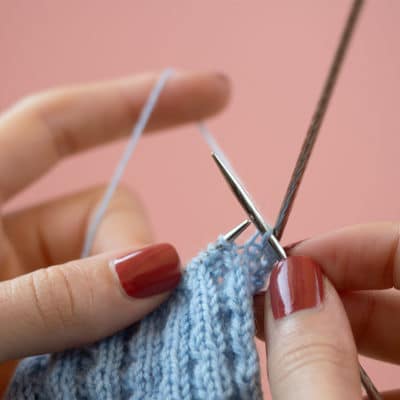
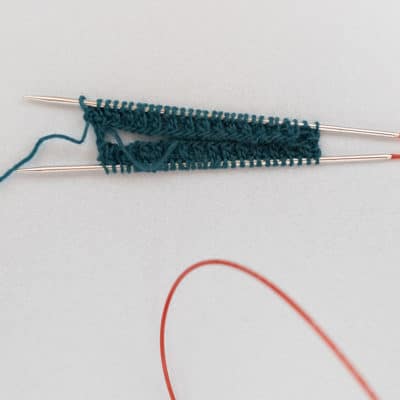
- Now work in rounds, knitting the stitches of the left needle tip with the right needle tip. These are now on the right needle tip (Fig. 2).
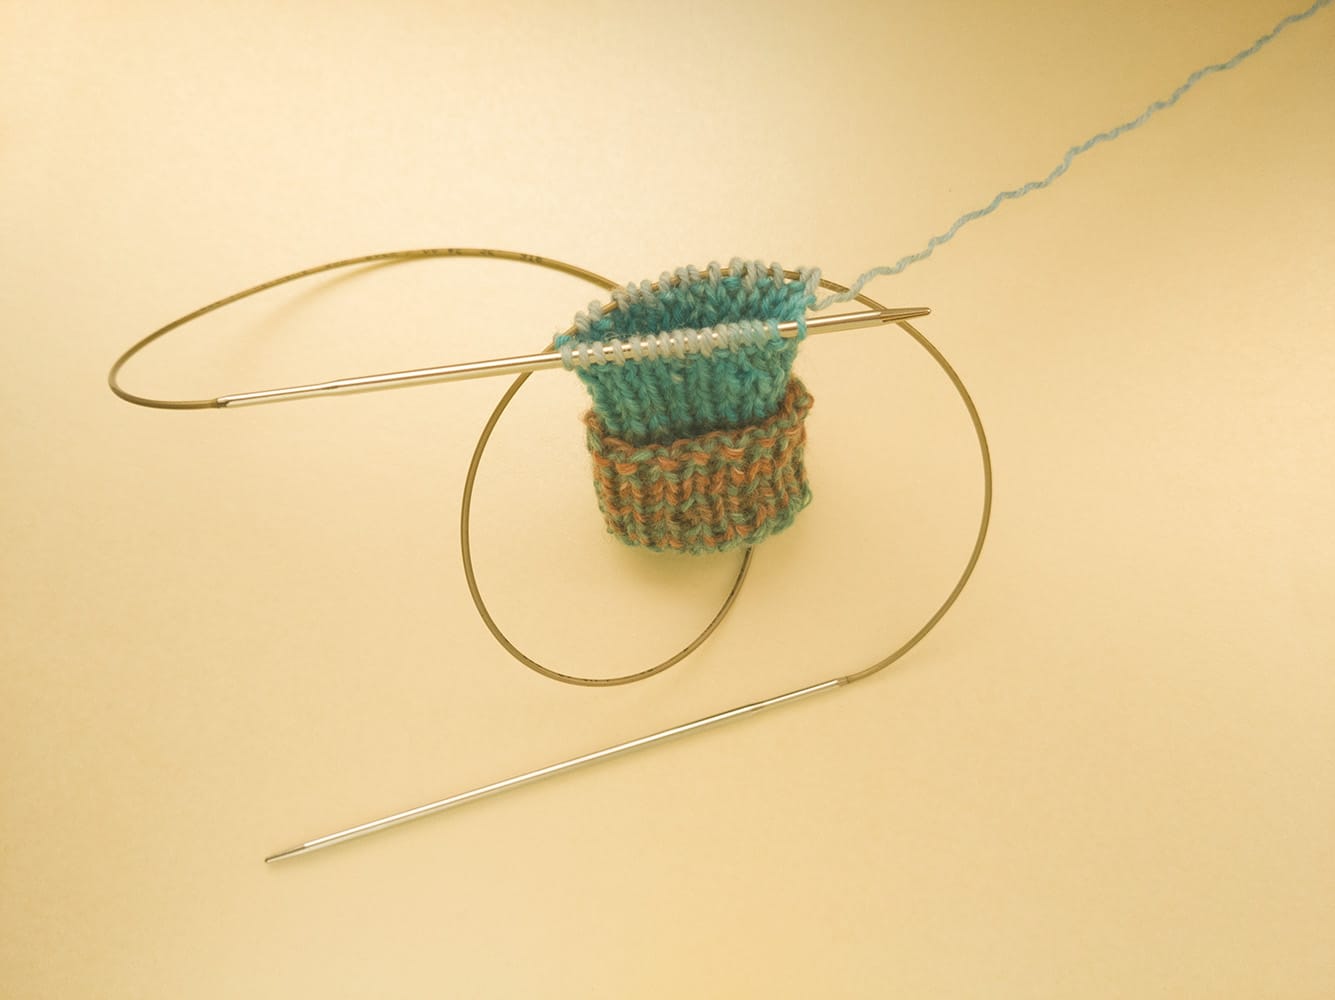
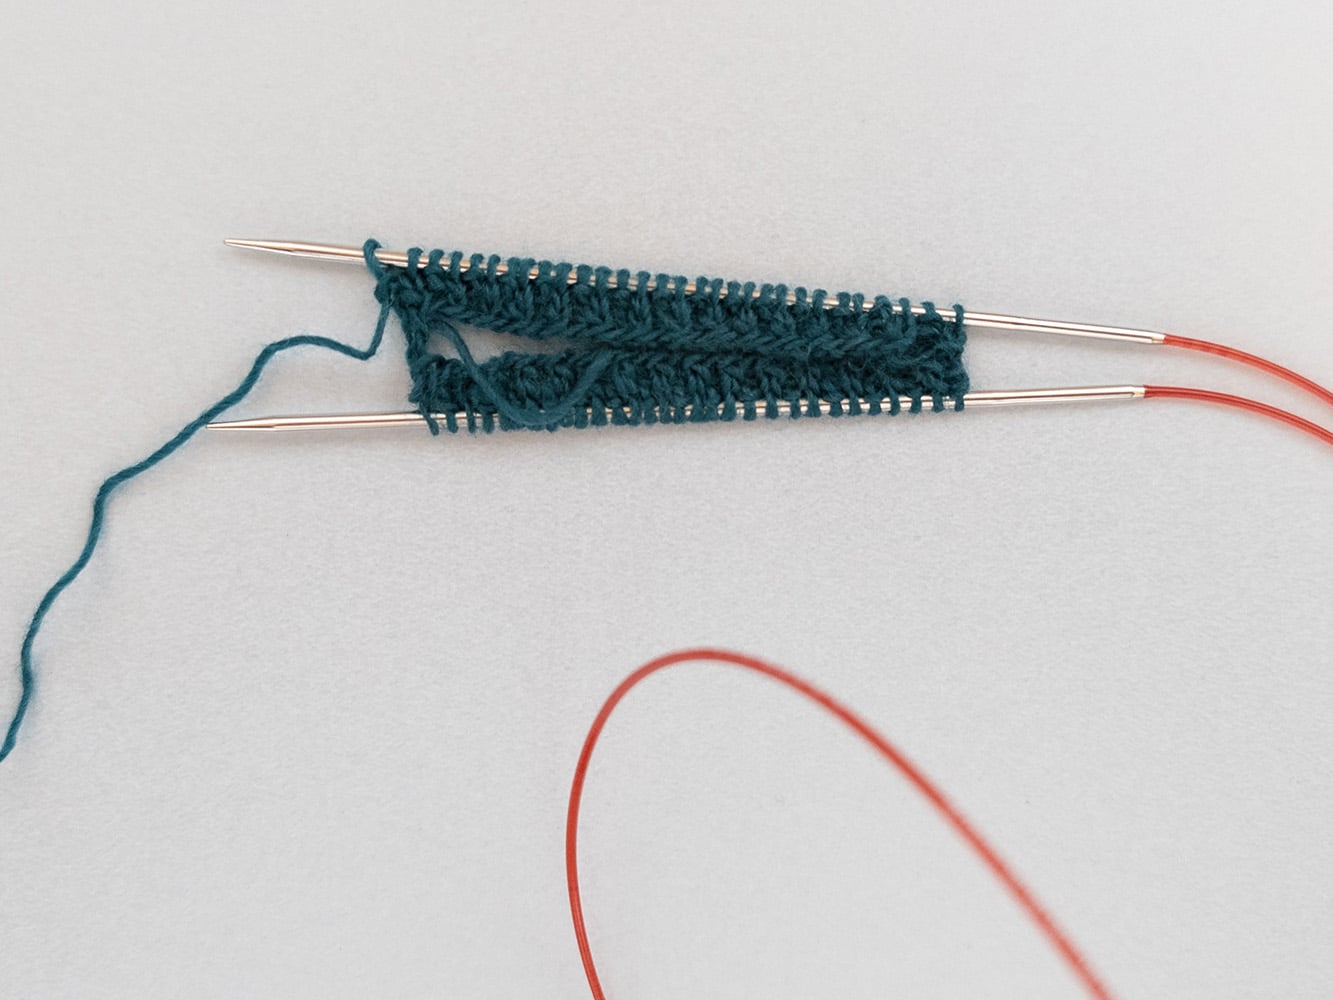
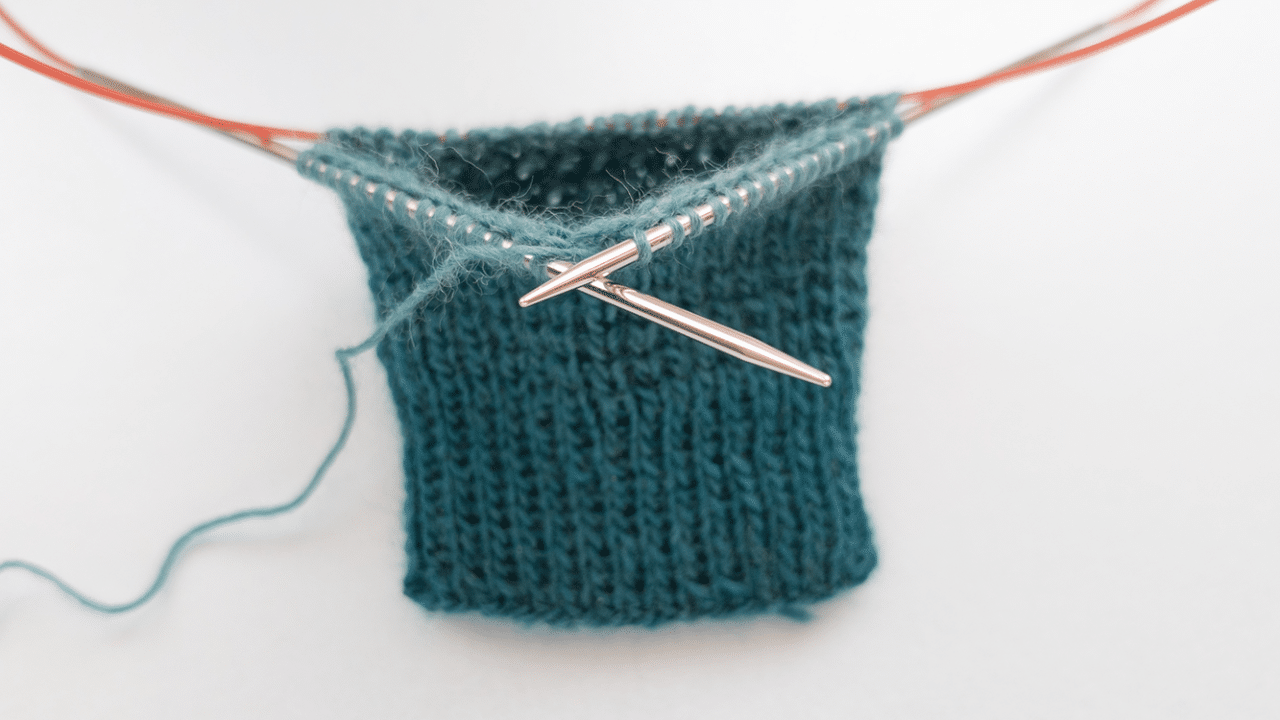
- Now move the next half of the stitches to the left needle tip to knit them off. To do this, proceed as follows:
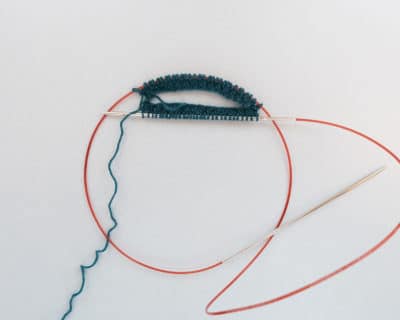
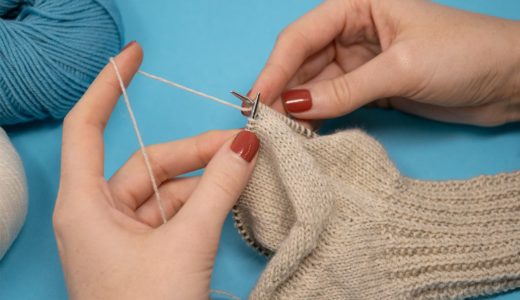
- Slide the cord through the stitches on the cord (at the bottom of the picture) until the stitches are on the needle tip. Now both needle tips are parallel in the stitches.
- In the next step, pull the right needle tip (in the picture above) out of the stitches that have already been knitted.
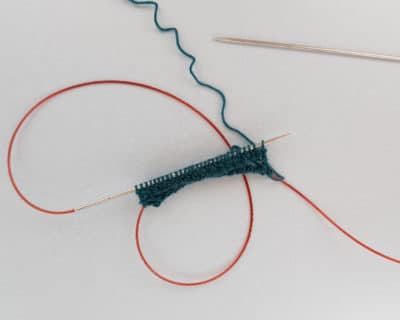
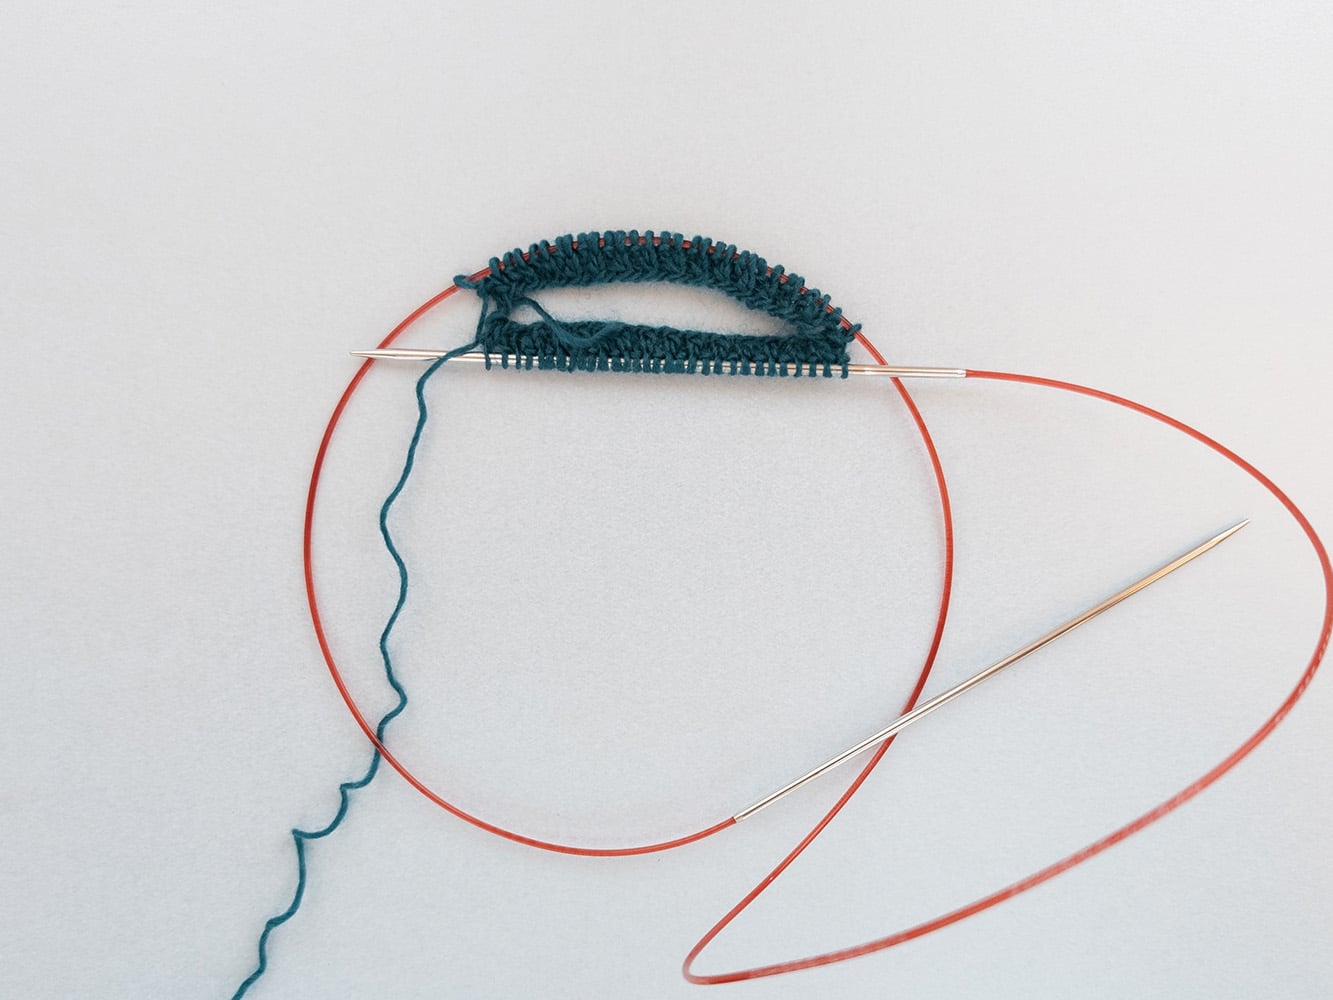
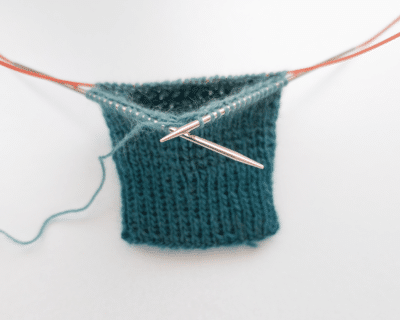
- Now turn over the knitted fabric so that the needle tip with the new stitches is on the left again and the cord with the stitches is at the bottom.
- The entire sock is now knitted using this magic loop technique.
Das Bündchen und den Schaft im gewünschten Muster und in gewünschter Länge stricken. Eine Fausregel besagt, dass Bündchen und Schaft etwa so lang sein sollten, wie der Fuß.
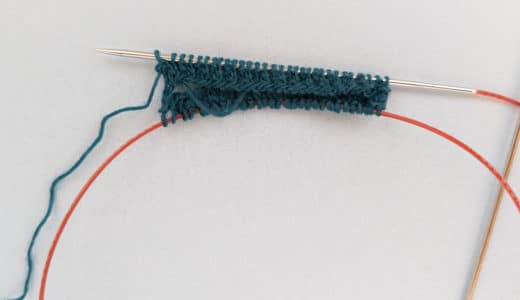
Knitting the heel
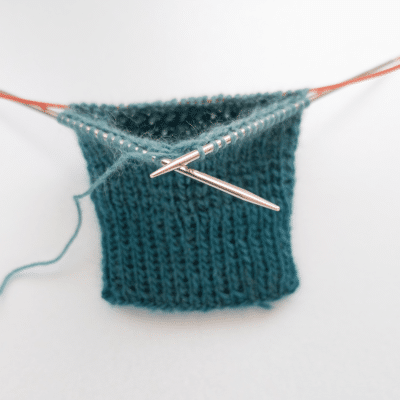
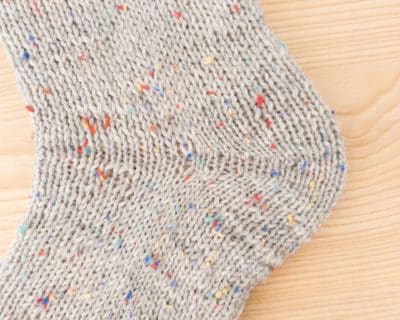
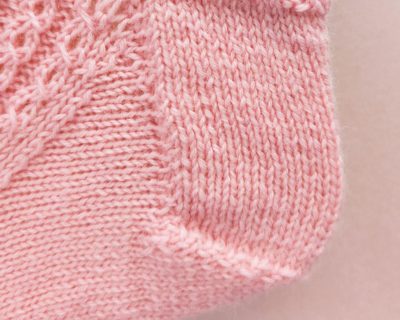
After the cuff follows the heel; With the Magic Loop method, any heel is possible. In this technique (for most techniques), only half of the stitches are worked forwards and backwards in rows. The other half rests on the cord.
The division is similar to knitting with the addiCraSyTrio – here too, the front half of the stitches remains on one needle and the back half is worked forwards and backwards.

Instructions for different heels
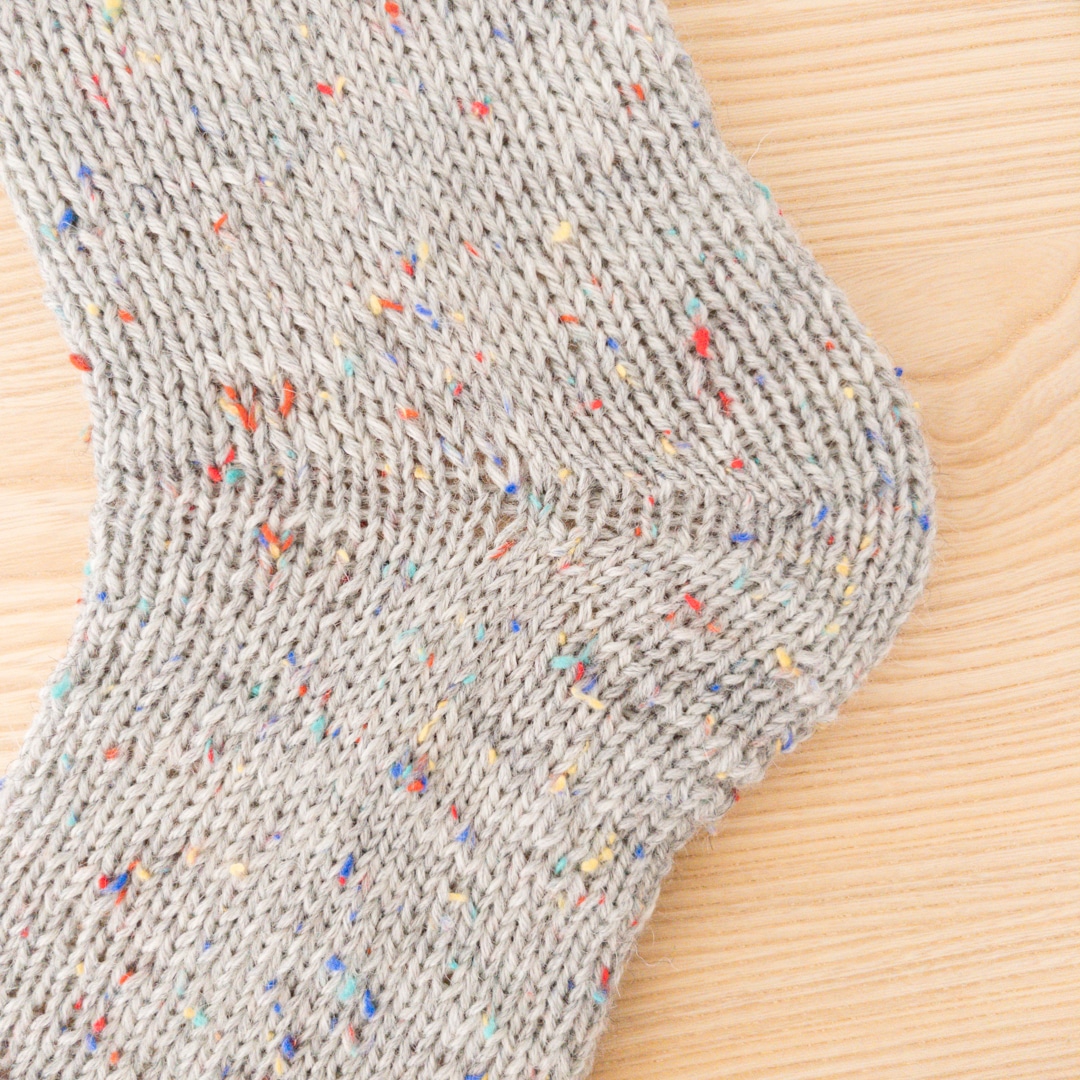
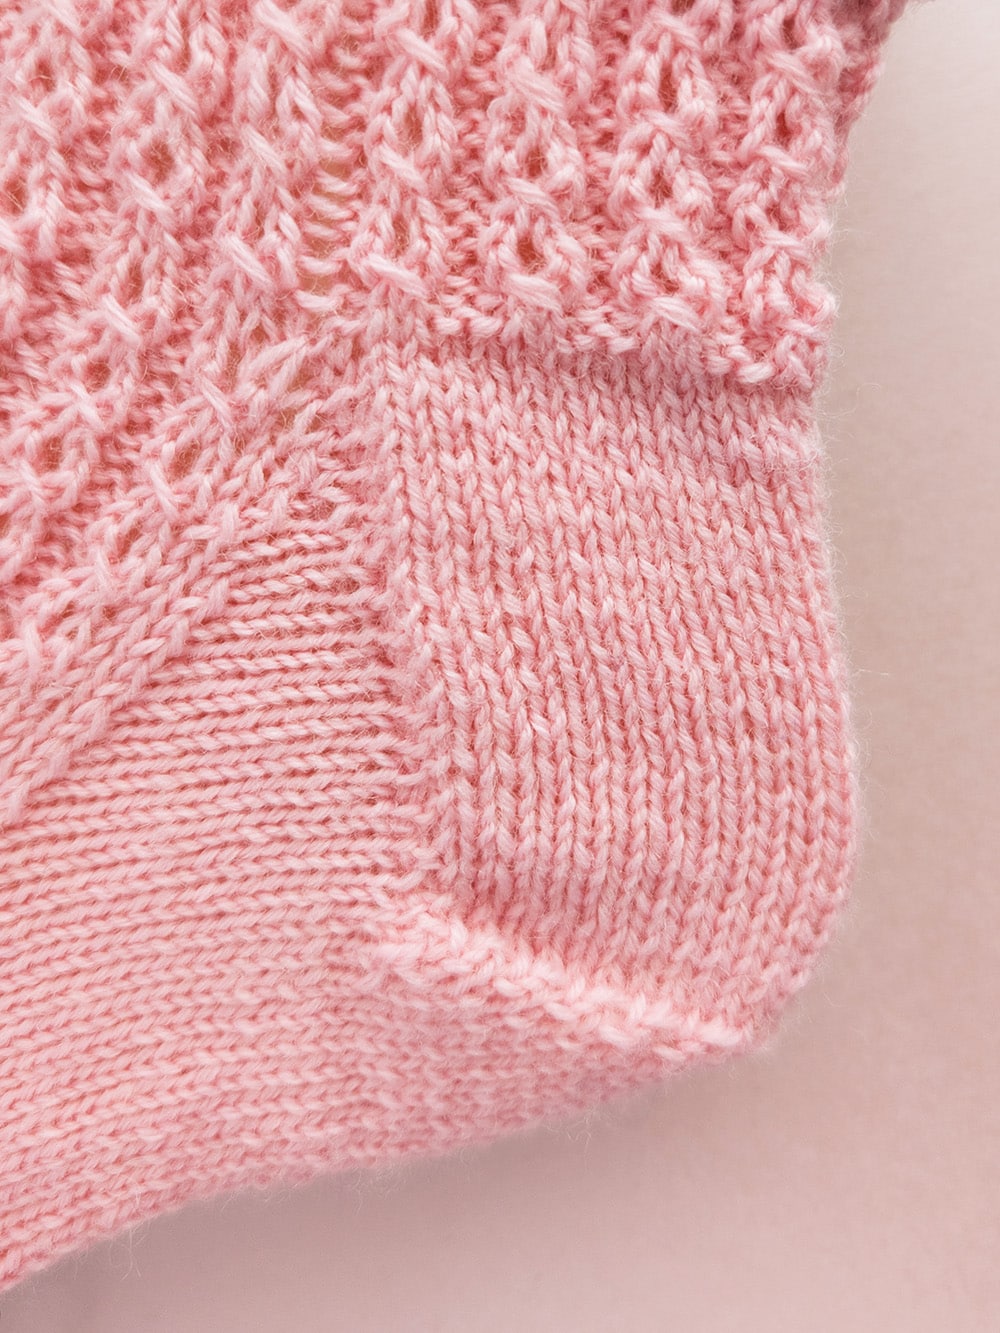
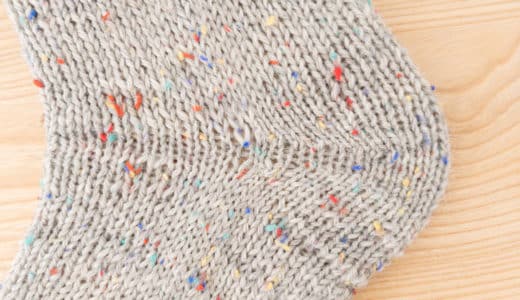
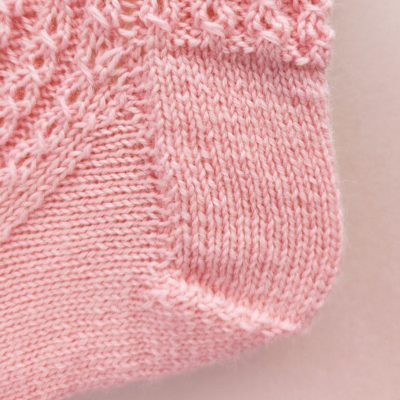
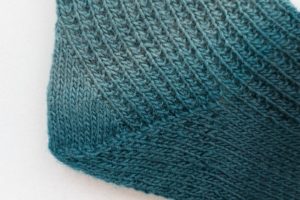
Classic heel, Bumrang heel or fleegl heel – no matter which variant you choose, the beautiful loop technique can be used for any heel.
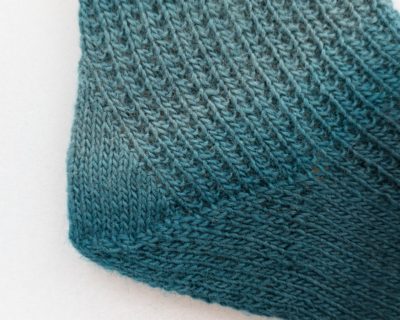
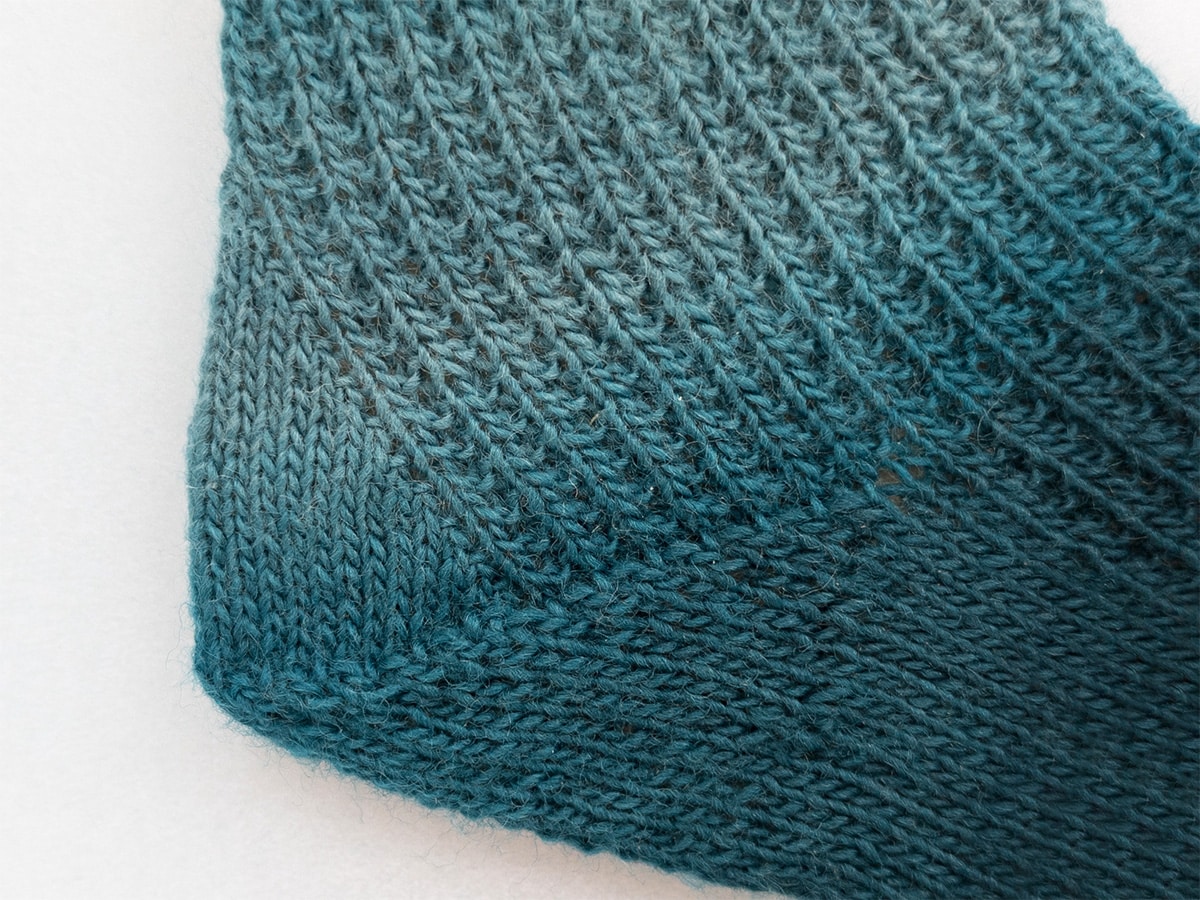
We are knitting our cyan sock in the photos with a heel increase.
On our website, you will find instructions for many different types of heels:
Knitting the foot
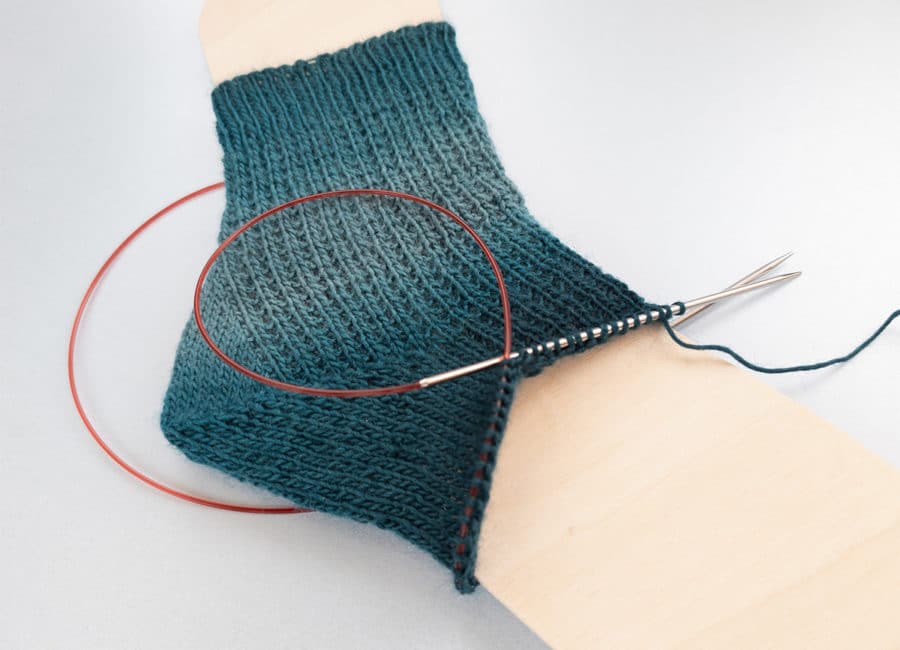
When you have finished the heel, the foot part is knitted. This can be worked in stockinette stitch or with a pattern. Work your foot part as long as required for your shoe size according to the chart.
- Now you are working the foot in rounds until the desired length (see chart) is reached.
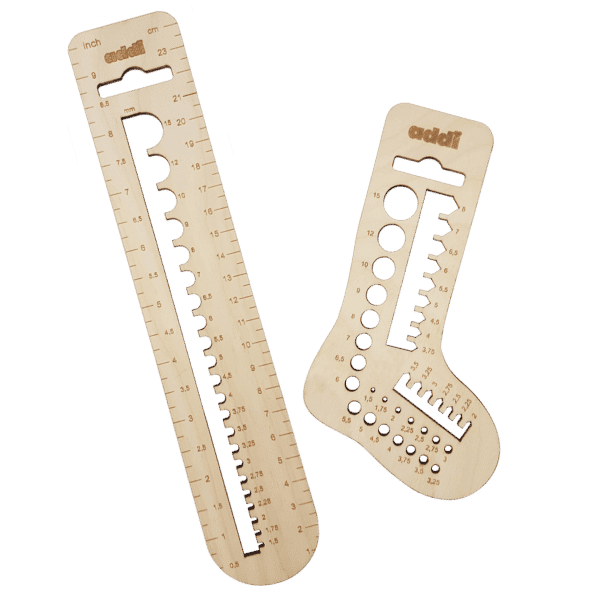
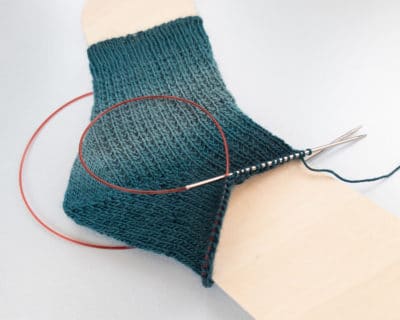
Tip: The length of the foot can be easily measured using the long, rounded wooden measuring pin with centimetre and inch scale. To do this, push the rounded end up to the heel and read off the length.
Knitting the toe
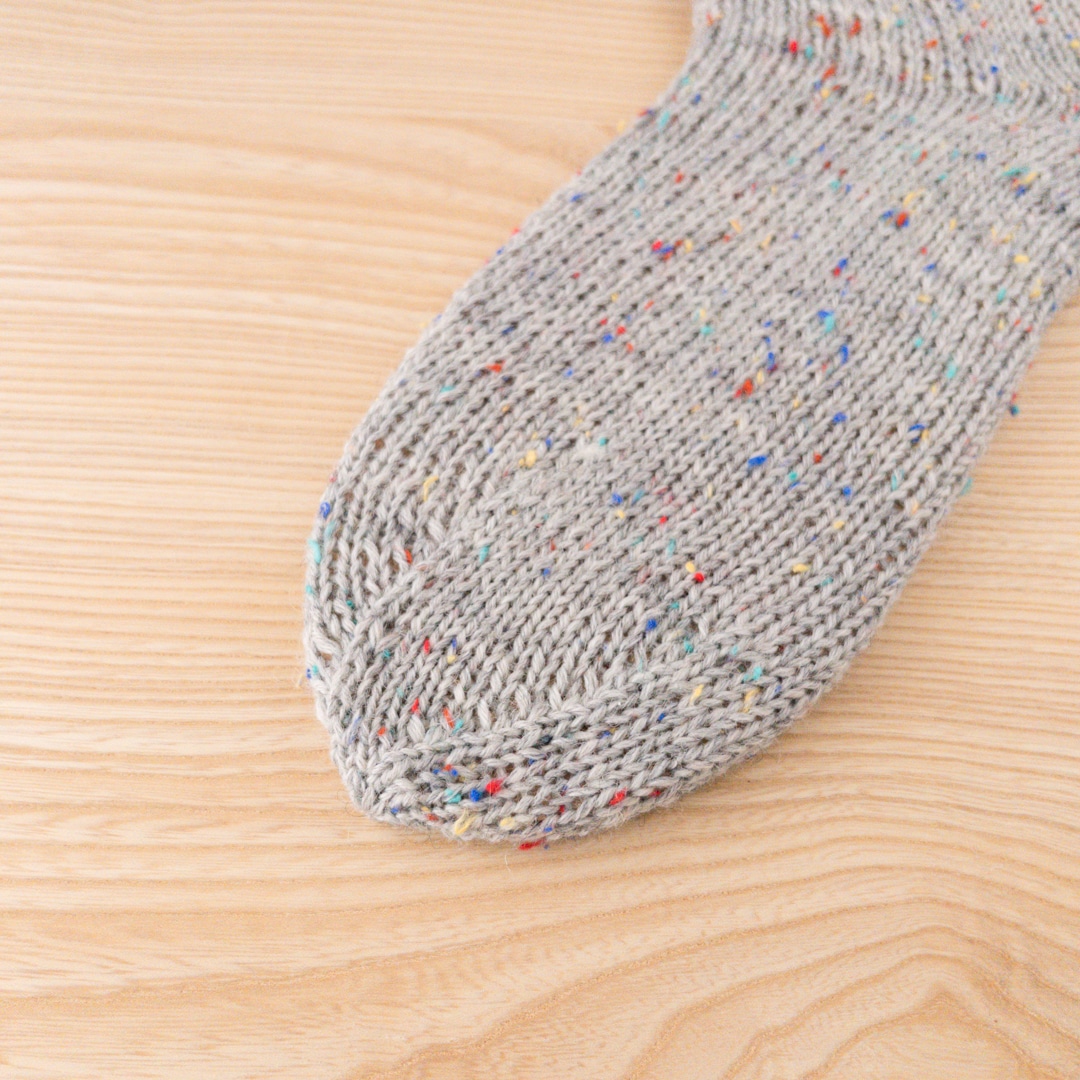
Finally, a toe is worked. Here again, all toes are possible.
- The classic heel is formed at the beginning and end of each half of the stitch.
- Stitch markers are used at several points on the propeller tip to mark the points for the decreases.
The two best-known tips are presented here as instructions:
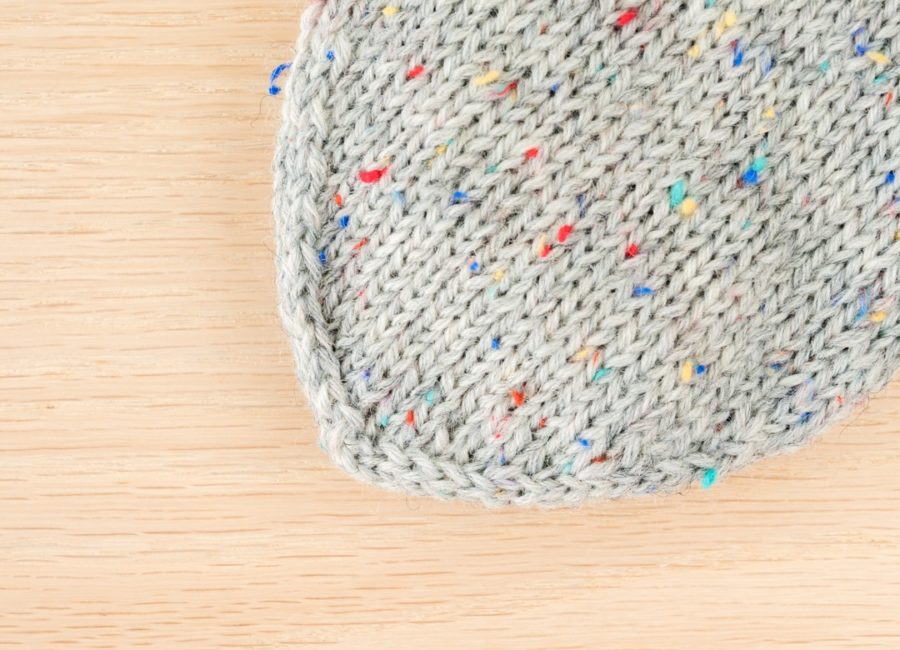
- Classic Rounded Toe
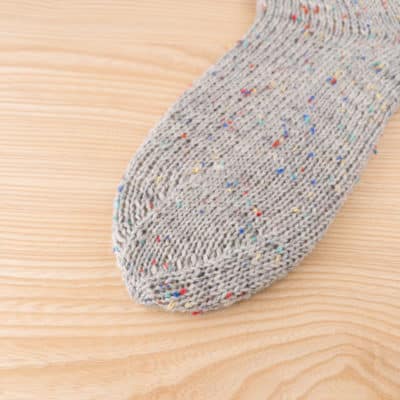
- Star Toe
