10 Einfache Anleitungen: Bündchenmuster stricken
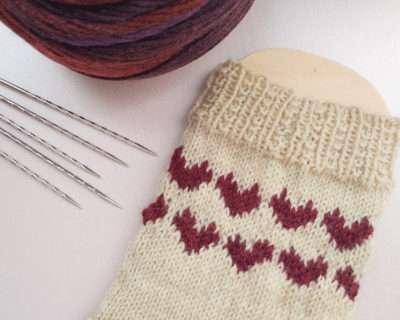
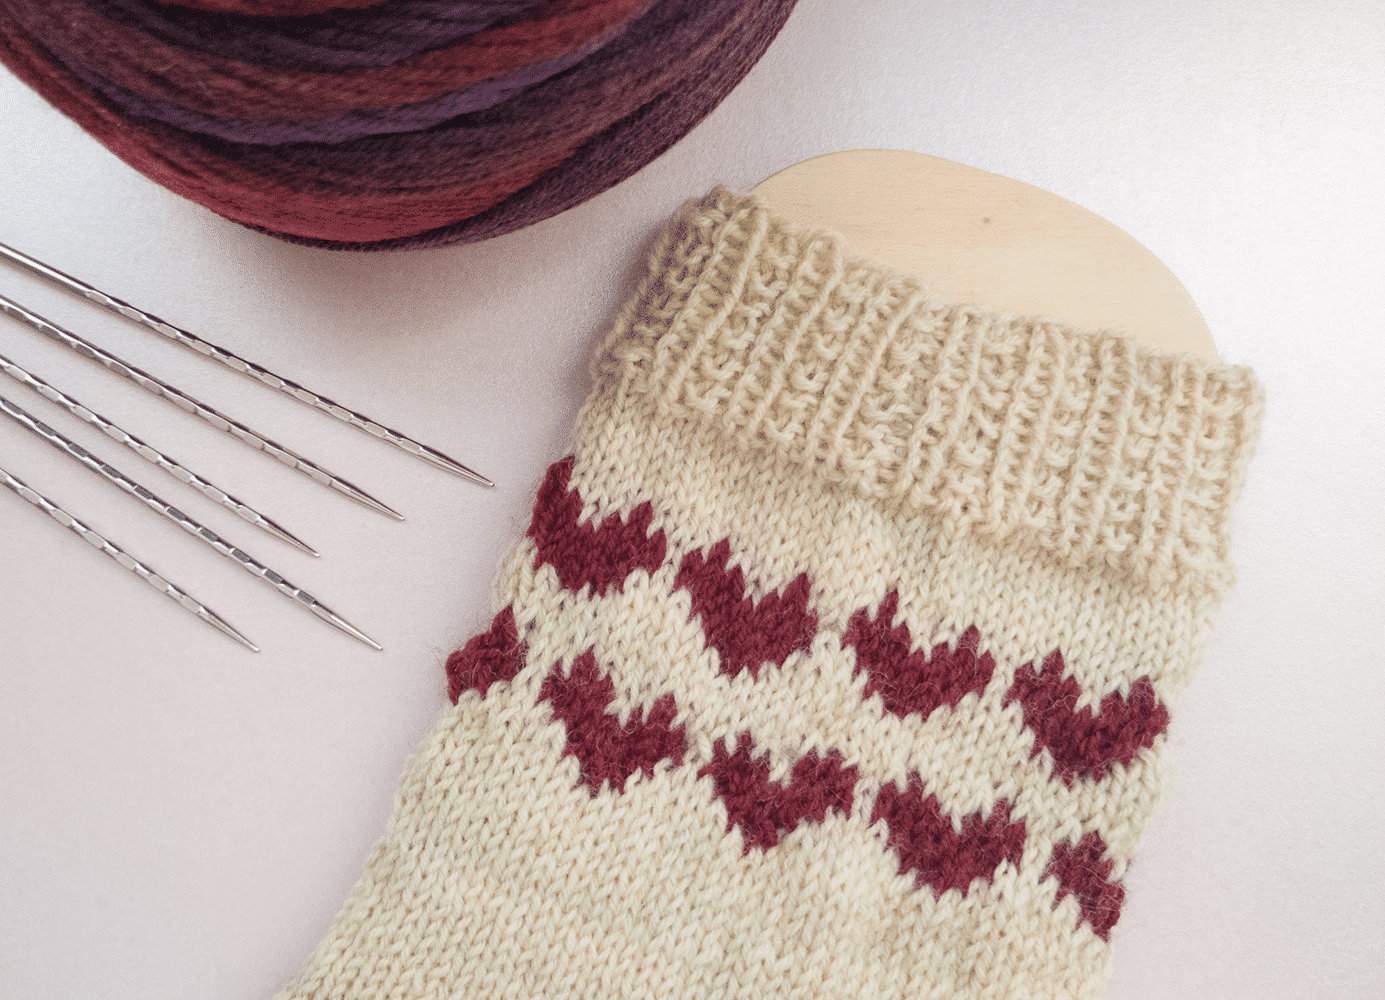
A small collection of simple cuff patterns, from classics to varied variations. There is something here for beginners and sock professionals - for classic top-down socks or toe-up.
Los gehts mit 10 Bündchenmuster für Socken. Sockenbündchen einfach mal anders stricken!
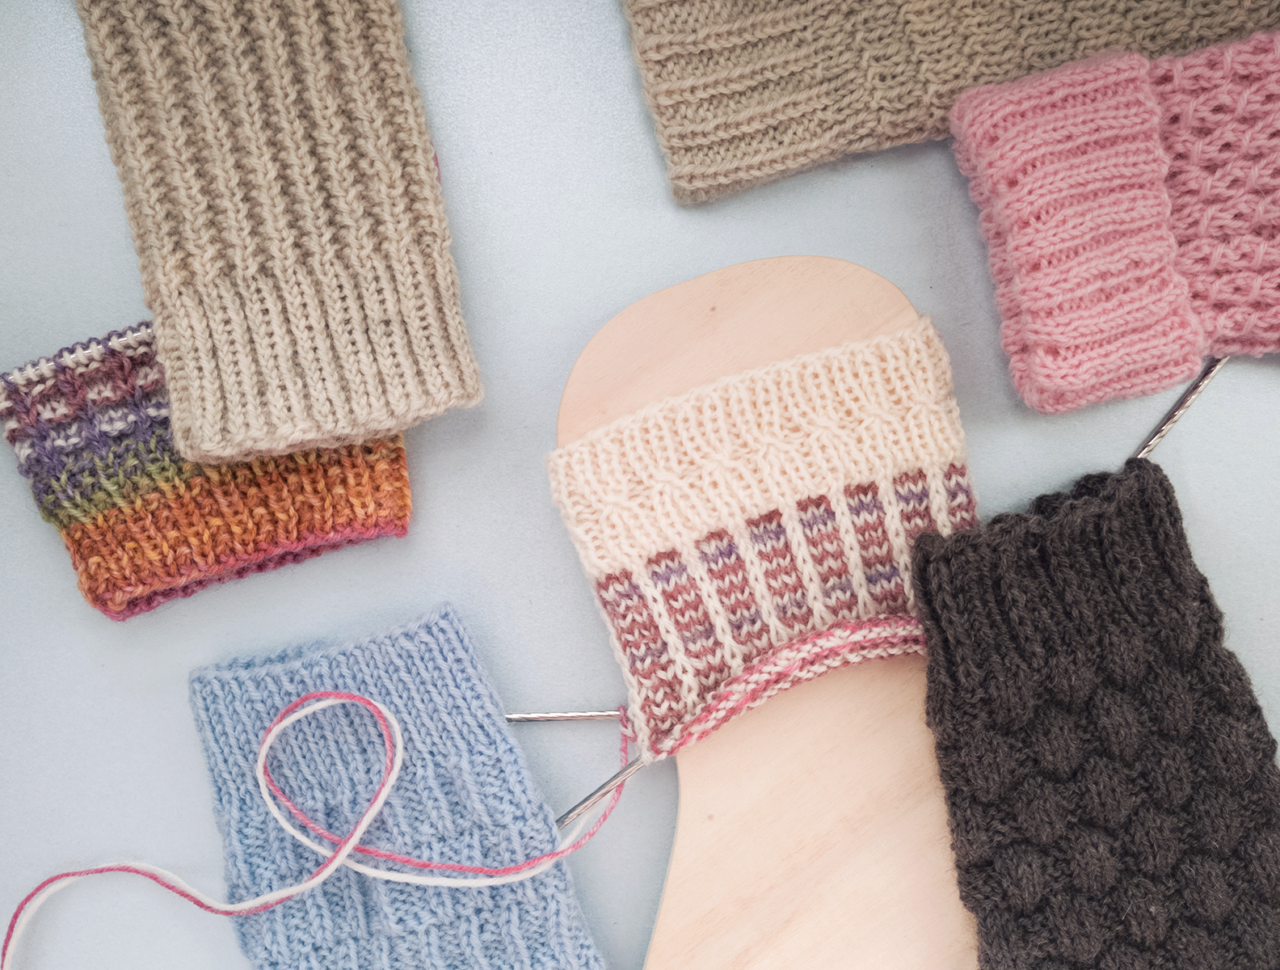
Bündchen für Socken stricken
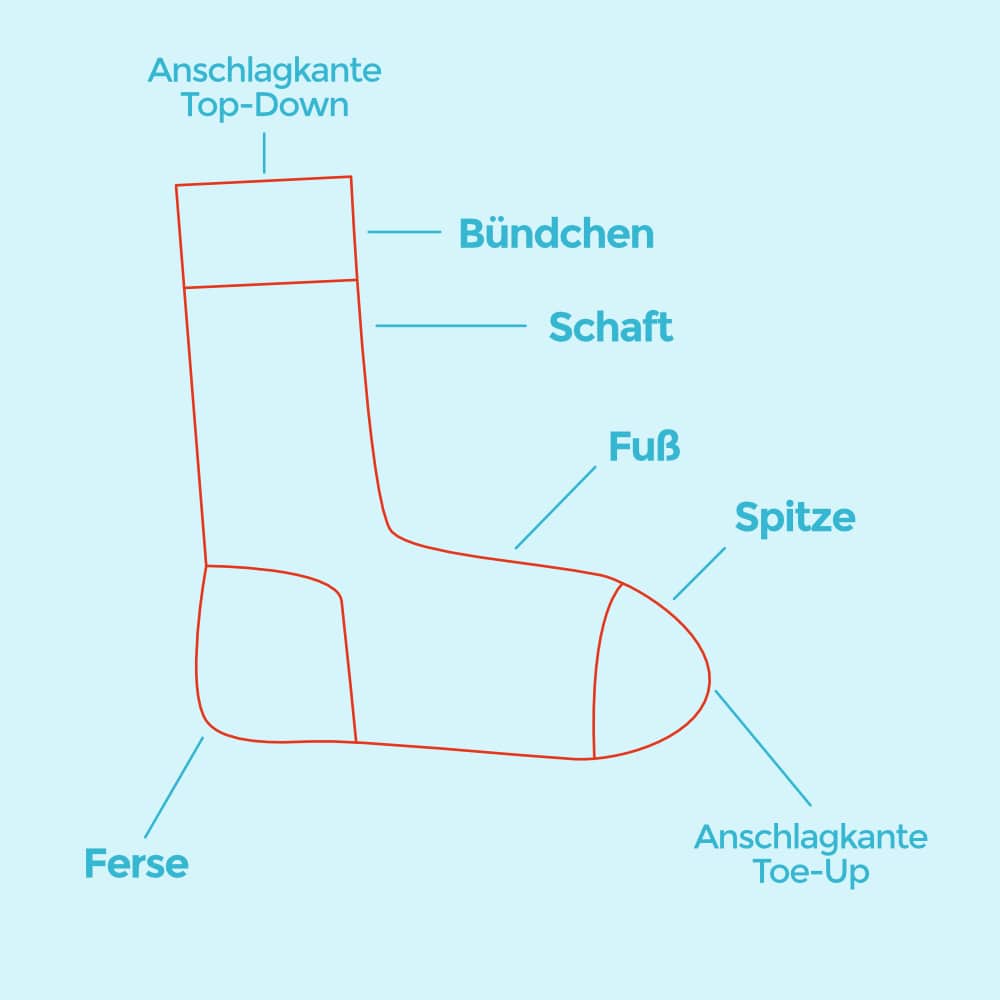
The sock cuff is usually knitted approx. 3-4 cm (1.2-1.5") and then replaced by a sock pattern or simply by a stocking stitch.
Due to its elasticity, the pattern can also be knitted over the entire leg up to the beginning of the heel, if the sock should fit very well and tightly without slipping.
Tip: All cuff patterns can also be knitted for toe-up socks (from toe to cuff). To do this, bind off the cuff elastically at the end, for example with Italian bind-off for 1+1 cuff patterns.
Cast on stitches
There are different ways to cast on the stitches at the beginning of the sock. Any cast-on technique works here, it should just be nice and elastic and not cast on too tightly. A classic cast-on technique is, for example Long Tail Cas On (video german).
Tip:You can find the right number of stitches for your shoe size in our Sock charts here on the website or in the sock calculator in our addi2go app.
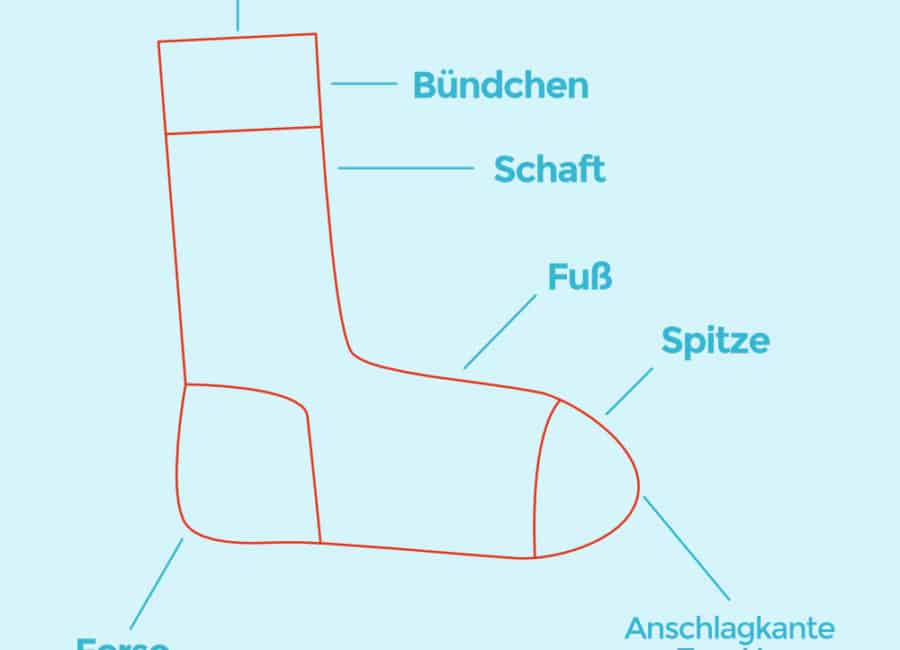
Abbreviations:
- sts = stitch(es)
- rd = round(s)
- k = knit
- p = purl
- *…* Repeat information written between the asterisks the whole round
Tip:
Would you like to learn how to knit socks from scratch or try out a different toe or heel? You can find step-by-step sock instructions with various heel and toe instructions on our page classic Top-Down, as well as Toe-Up.
Tip: je nachdem welches Sockenmuster nach dem Bündchen gestrickt werden soll, kann das Bündchen in seiner Aufteilung passend zum Muster gewählt werden. Inspiration dazu findest du im beitrag „10 Einfache Sockenmuster“ in dem auch unsere hier vorgestellten Bündchen zum Einsatz kommen.
Knit simple cuff patterns:
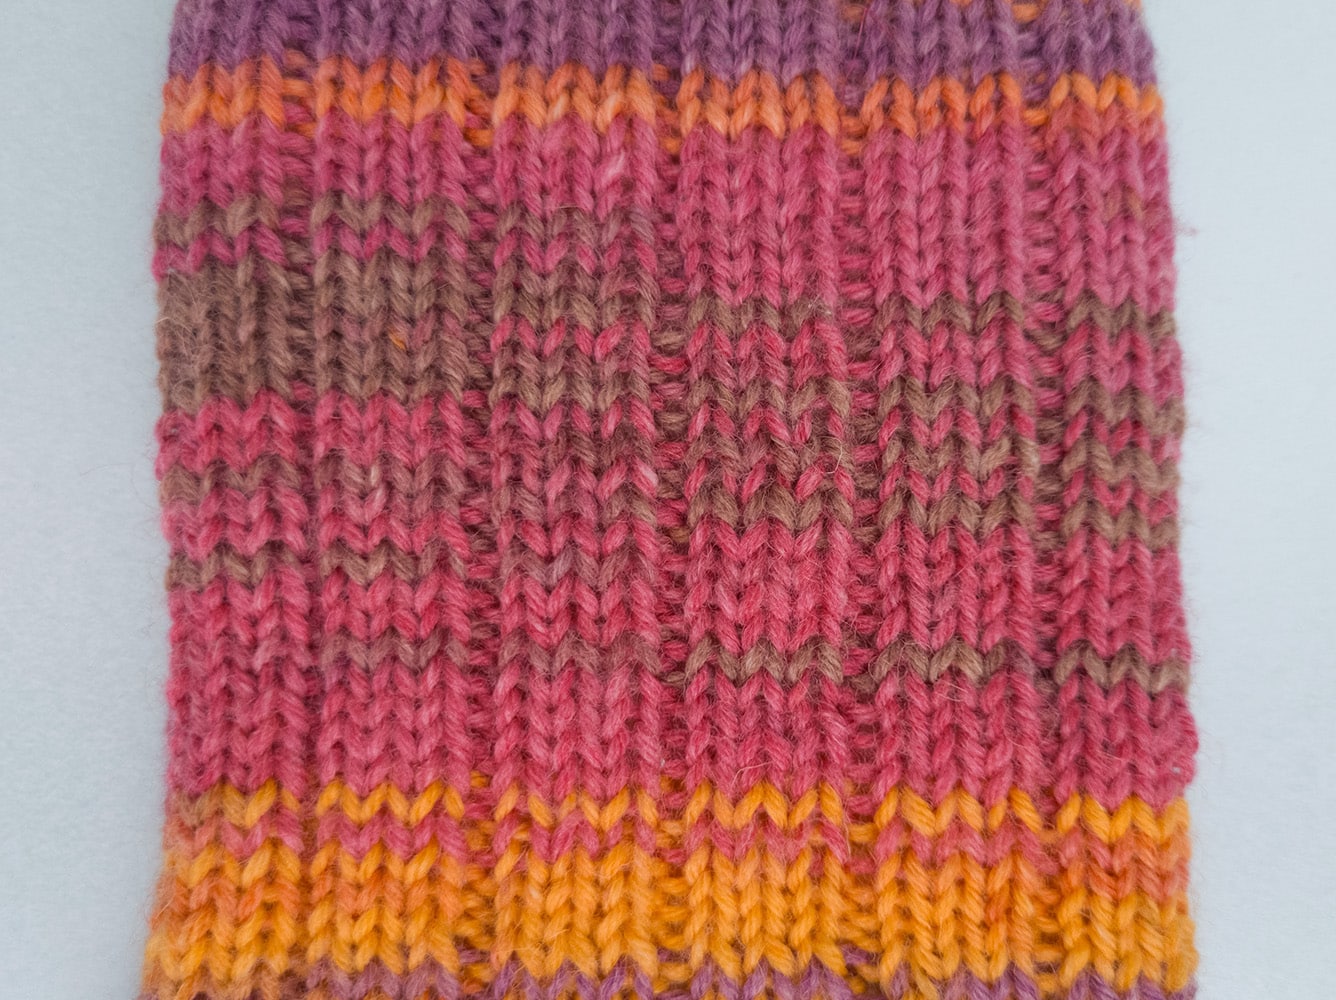
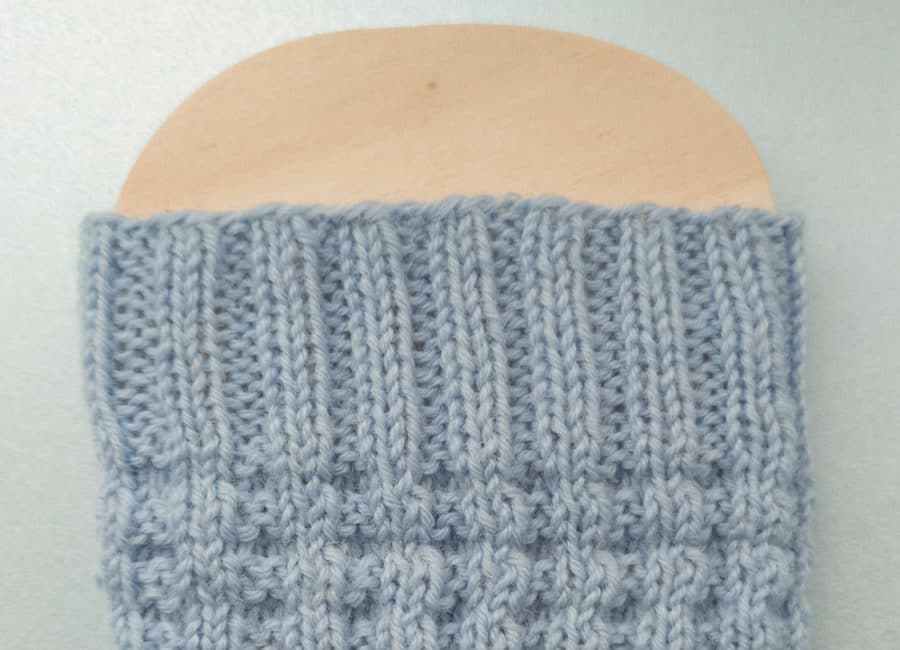
Classic ribbed pattern 2+2
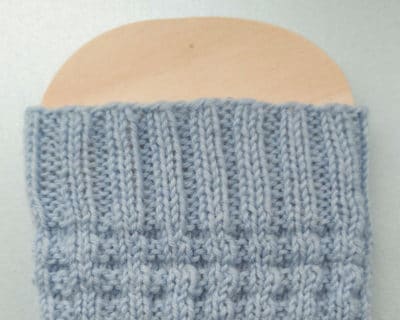
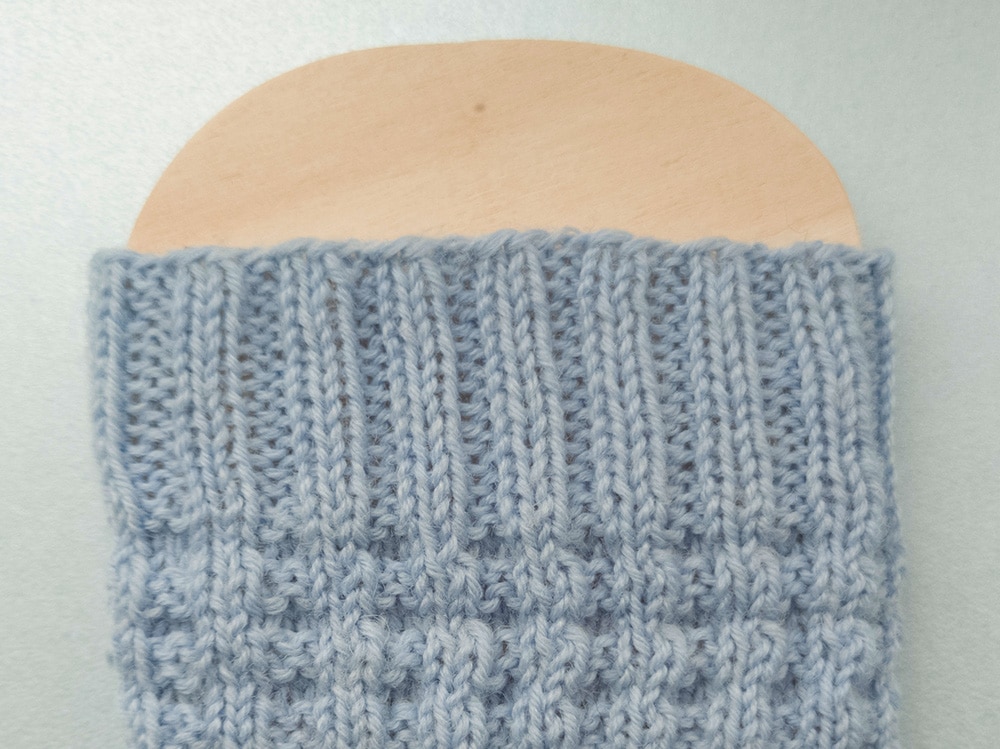
The classic cuff pattern has a clear advantage - it is extremely elastic and stretches very well. More elasticity is hardly possible. The cuff pattern is ideal for combining with sock patterns that are divisible by four (or a multiple of four).
Repeat: 4 stitches, 1 row
- Rd 1: alternating *k2, p2*
Repeat this round continuously.
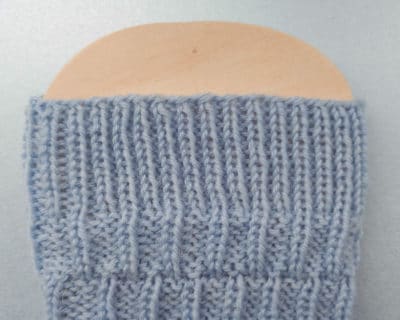
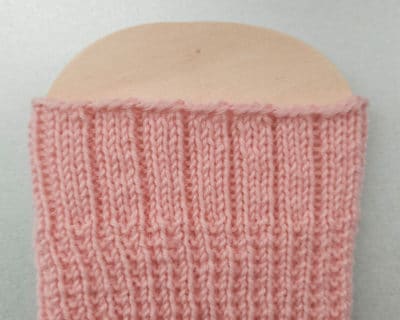
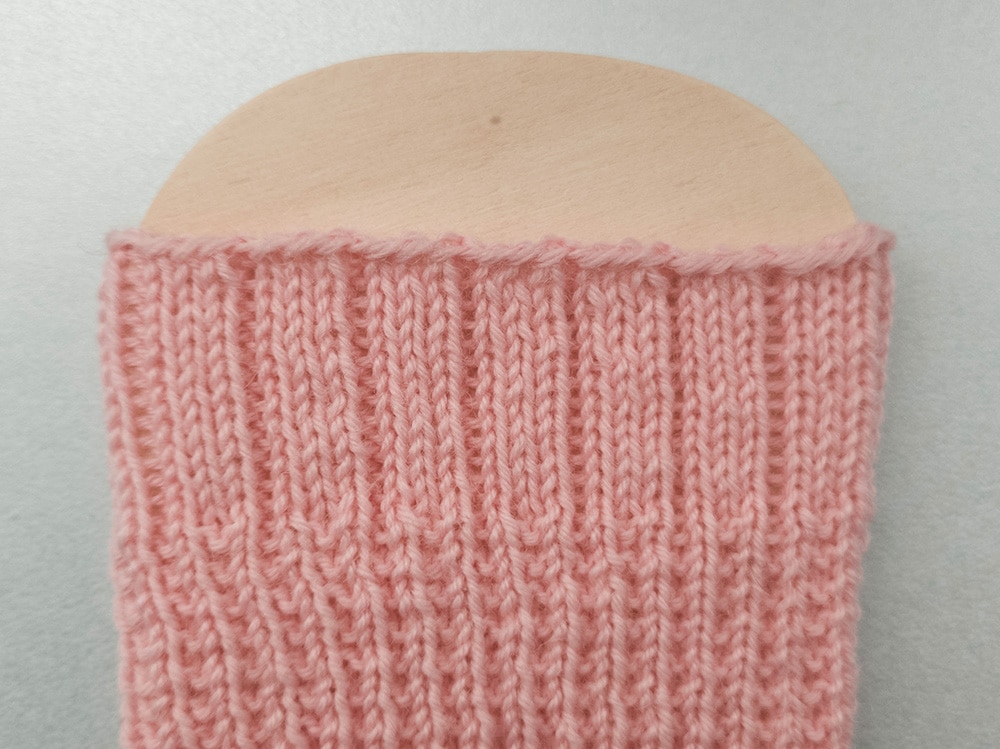
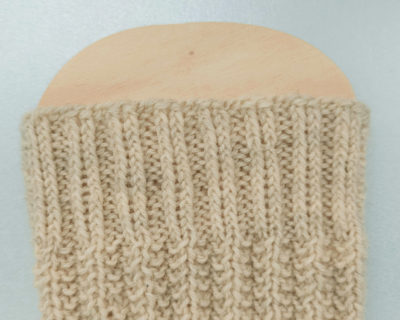
Twisted ribbed pattern 2+2
A different take on the classic. If the knit stitches are knit into the back loop, the ribs are more structured.
Repeat: 4 stitches, 1 row
- Rd 1: alternating *k2 TBL, p2
Repeat this round continuously.
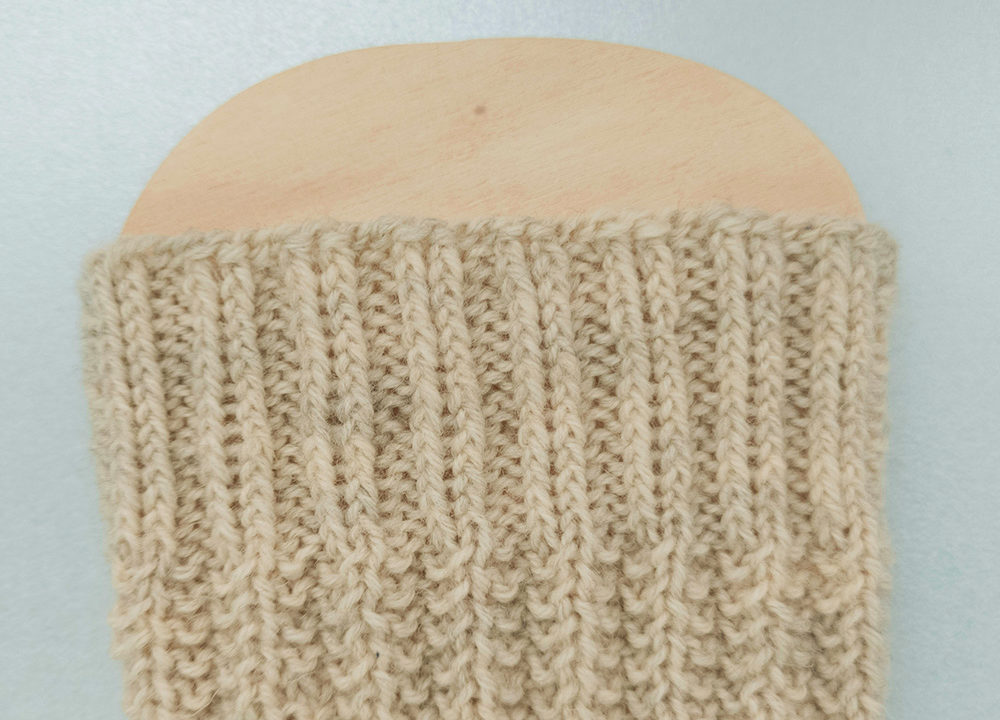
Twisted ribbed pattern 2+2
A different take on the classic. If the knit stitches are knit into the back loop, the ribs are more structured.
Repeat: 4 stitches, 1 row
- Rd 1: alternating *k2 TBL, p2
Repeat this round continuously.
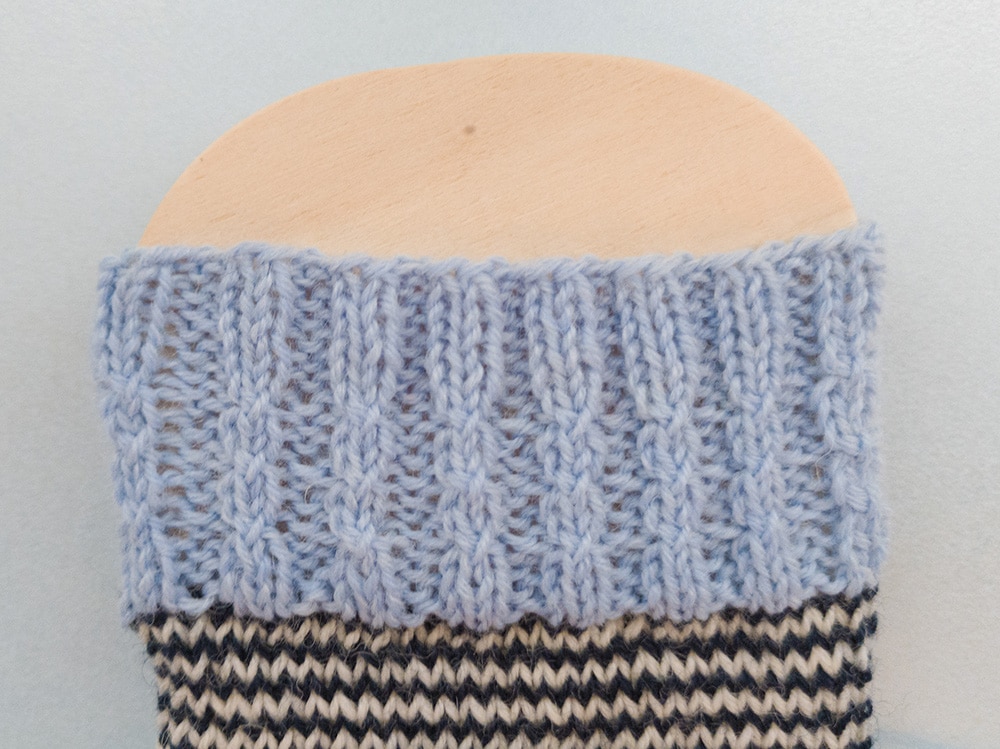
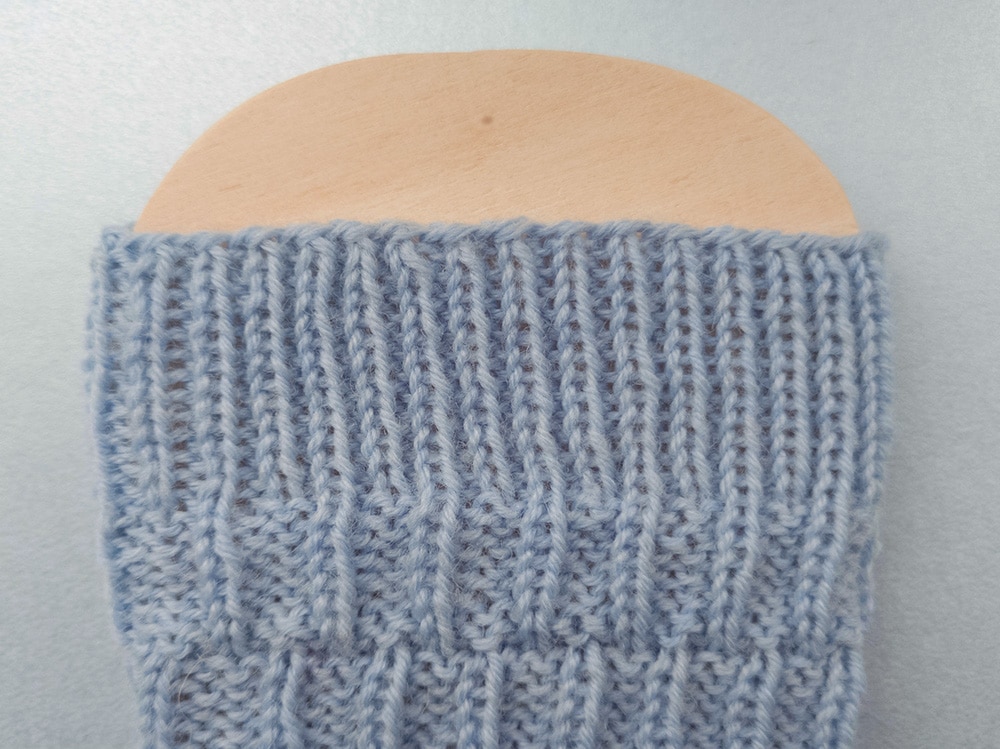
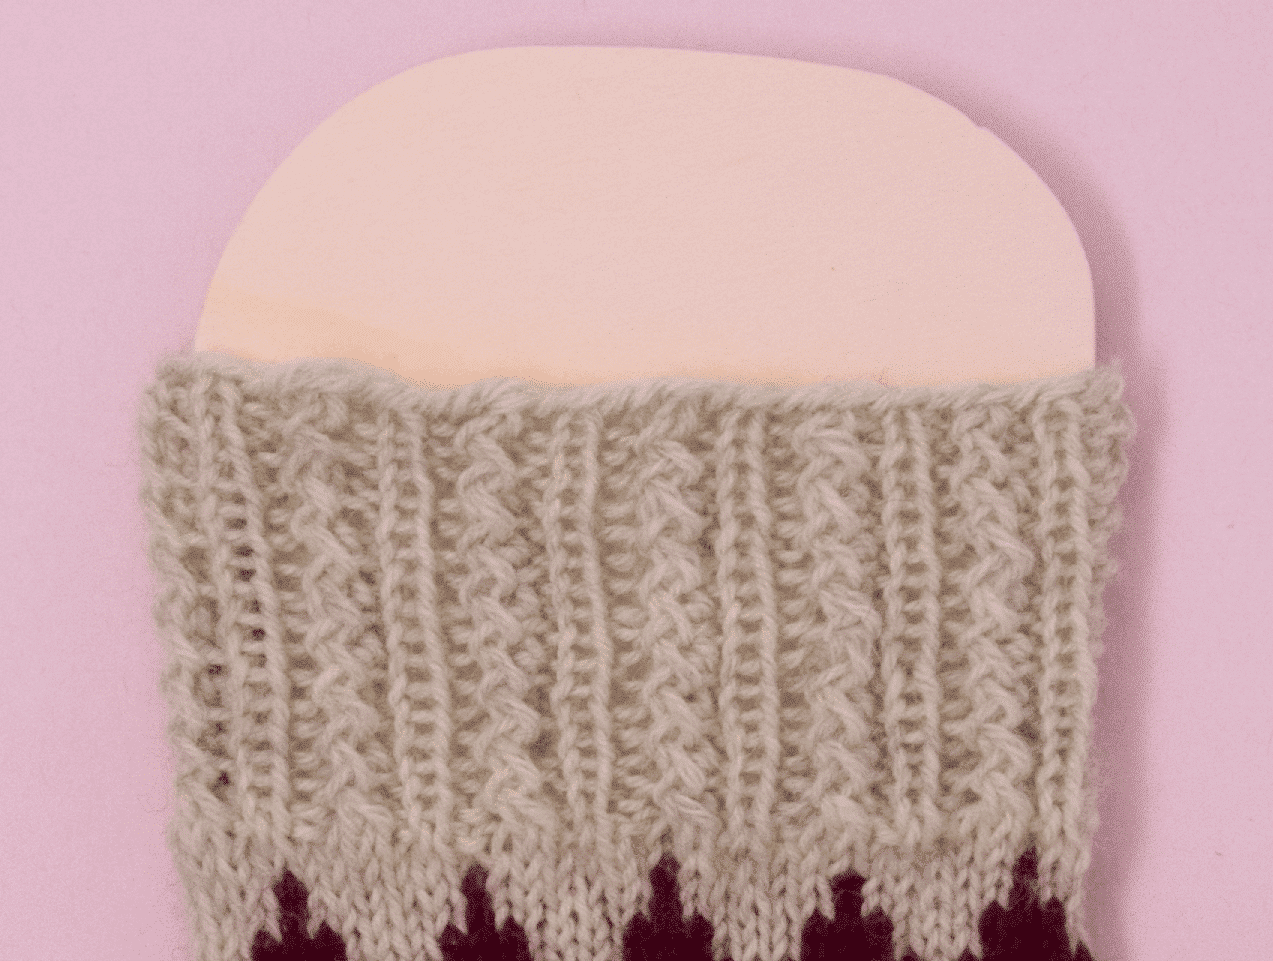
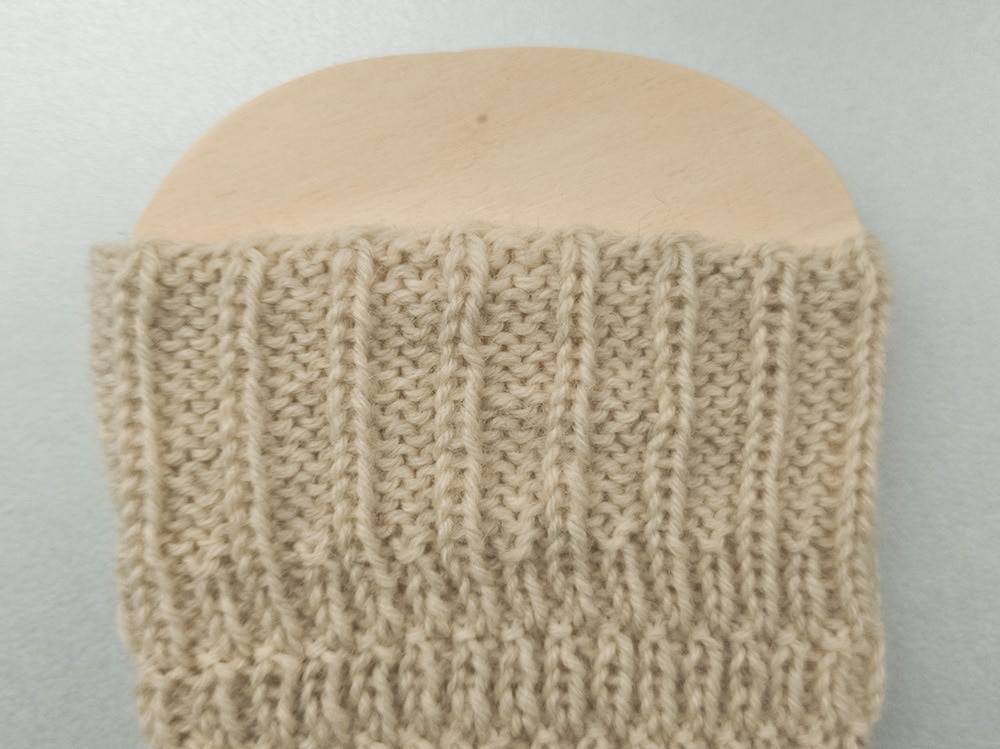
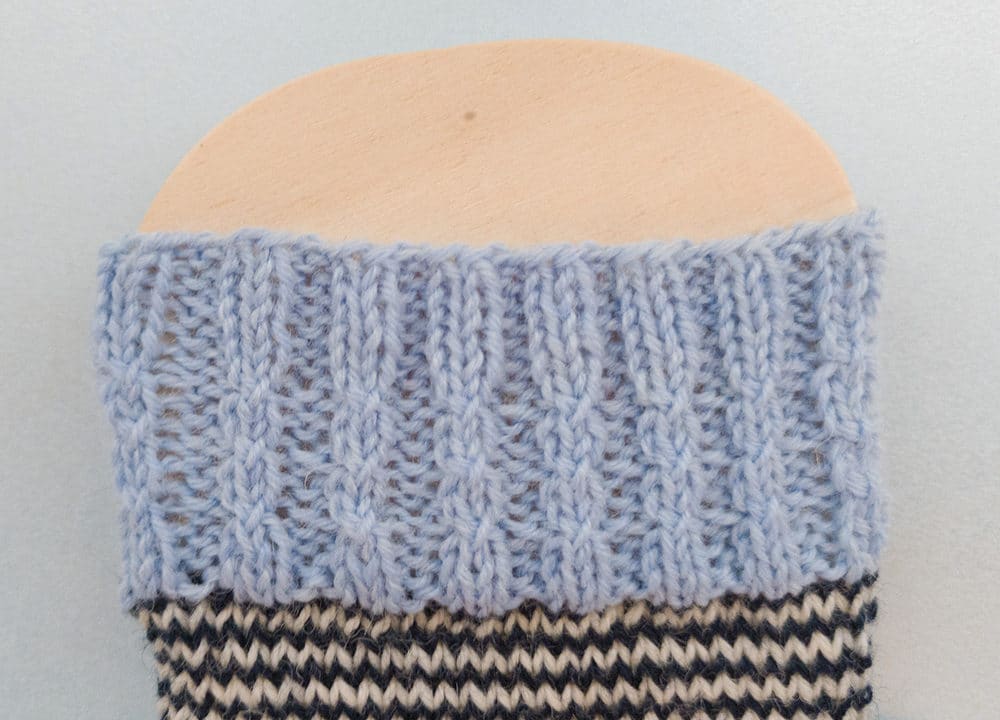
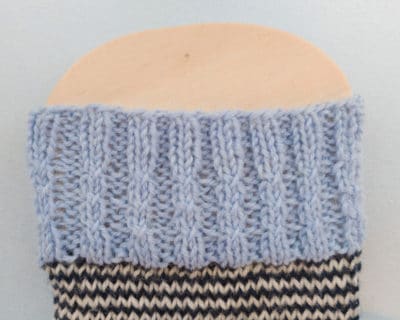
Ribbed pattern with fake cables
Another way to make a 2+2 rib cuff is by using false cable patterns that can be knitted without an extra needle.
Rapport: 4 stitches, 4 rounds
- Rd 1-6: alternating *k2, p2*
- Rd 7 (cable): **kbl second st and pass over the first st to the right hand needle, then k the first st (which is still on the left needle), p2
- Rd 8-10: alternating *k2, p2*
Repeat rounds 7-10 as desired. To finish, you can repeat rounds 1-6 or continue the pattern for the leg.
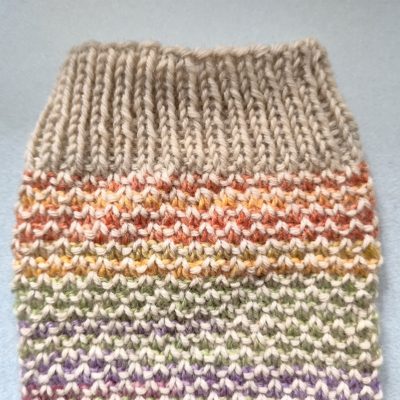
Classic ribbed pattern 1+1
Another classic among the cuff patterns - this pattern is always a good choice for subsequent sock patterns that cannot be divided by four. It also stretches well.
Repeat: 2 stitches, 1 row
- Rd 1: alternating *k1, p1*
Repeat this round continuously.
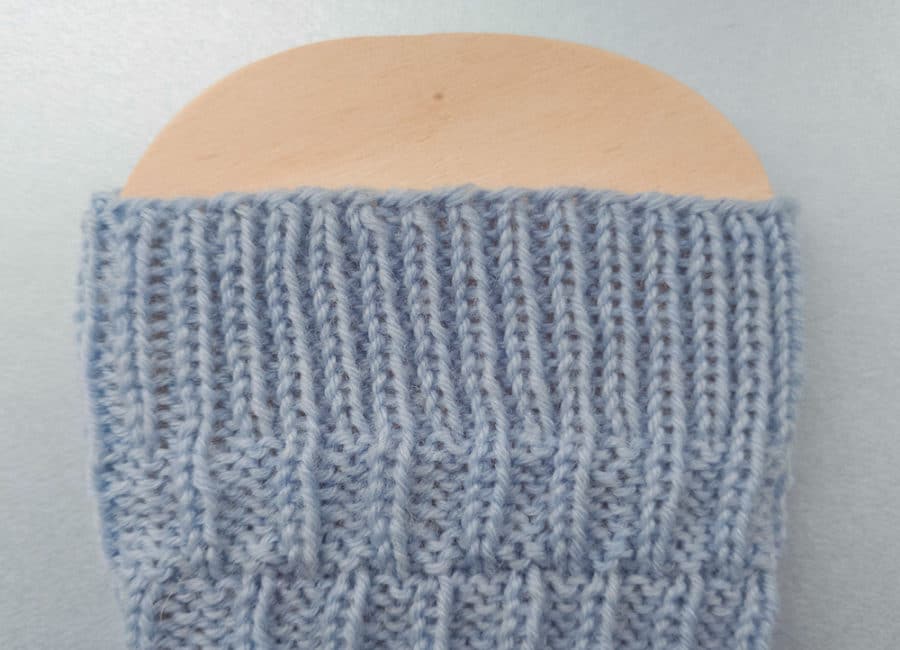
Classic ribbed pattern 1+1
Another classic among the cuff patterns - this pattern is always a good choice for subsequent sock patterns that cannot be divided by four. It also stretches well.
Repeat: 2 stitches, 1 row
- Rd 1: alternating *k1, p1*
Repeat this round continuously.
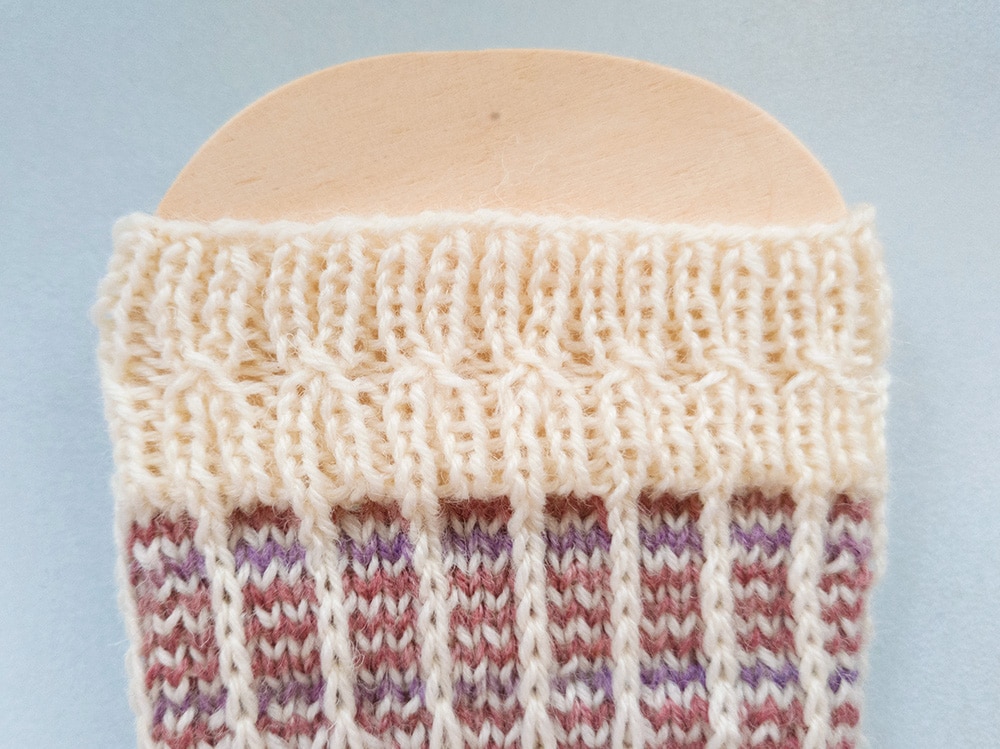
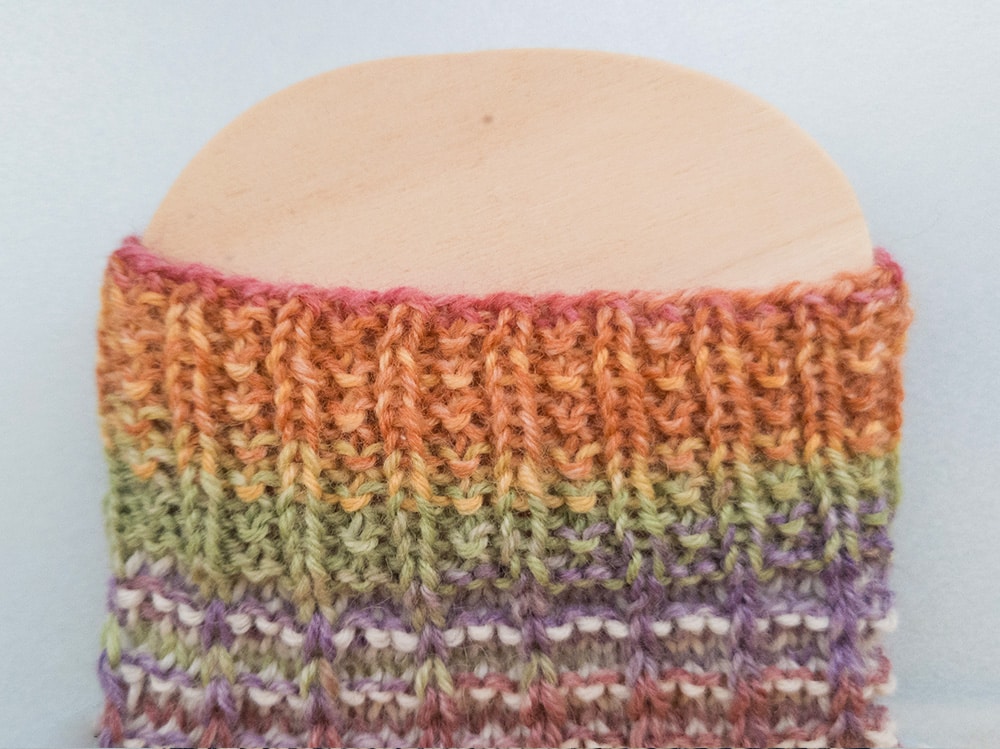
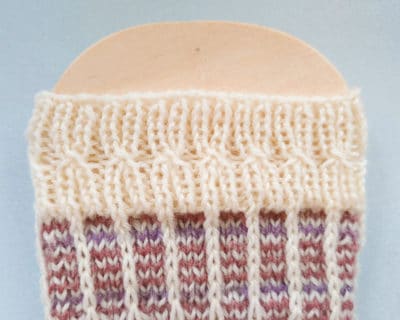
Sylvie's criss-cross cuffs
This effective cuff pattern is also secretly just a 1+1 rib pattern, but the kbl and a small cables make it look completely different.
Repeat: 4 stitches (or 6), 13 rows
- Rd 1-6: *k1, p1, k1, p1, (for 6 sts repeat: 1kbl, p1)
- Rd 7 verkreuzen: *sl1 kw, sl2 kw, k3 TBL (the 3 already knitted sts), do not let the stitch slide off the left needle tip, yo, k3 TBL again and slip them to the right hand needle, p1. (for 6 sts repeat also: 1 kbl, p1)
- Rd 8-13: Repeat rows 1-6.
If you want to knit the cuff longer than 13 rounds, you can repeat rounds 1-6 and 8-13 more often. Row 7 should always be knitted in the middle of the cuff.
Tip: The Video by Sylvie Rasch (german) to see exactly how it works.
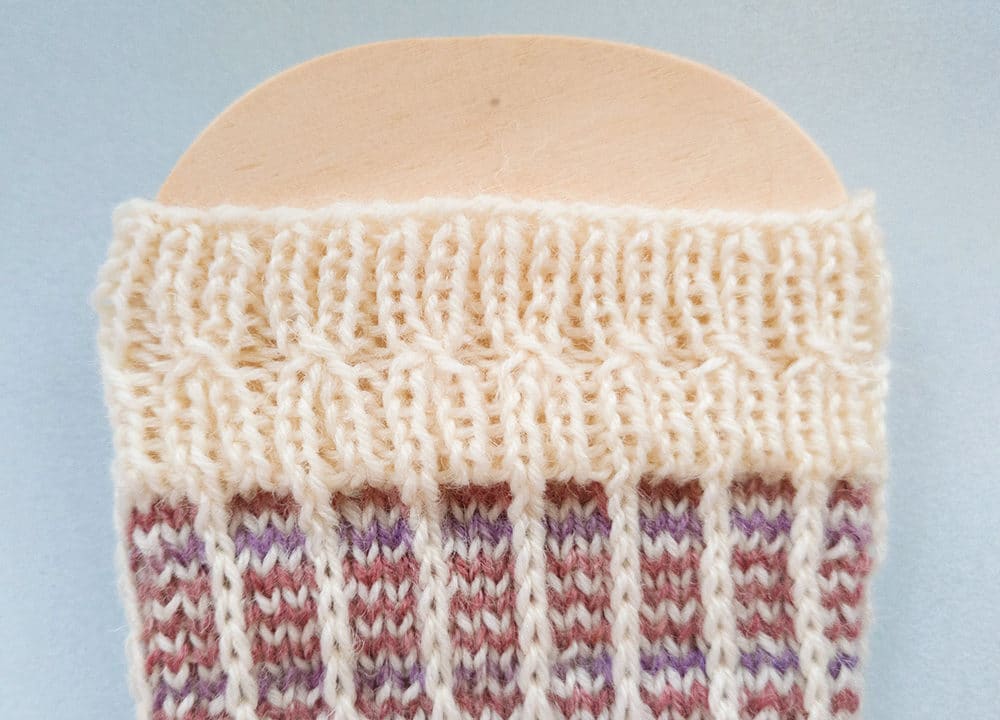
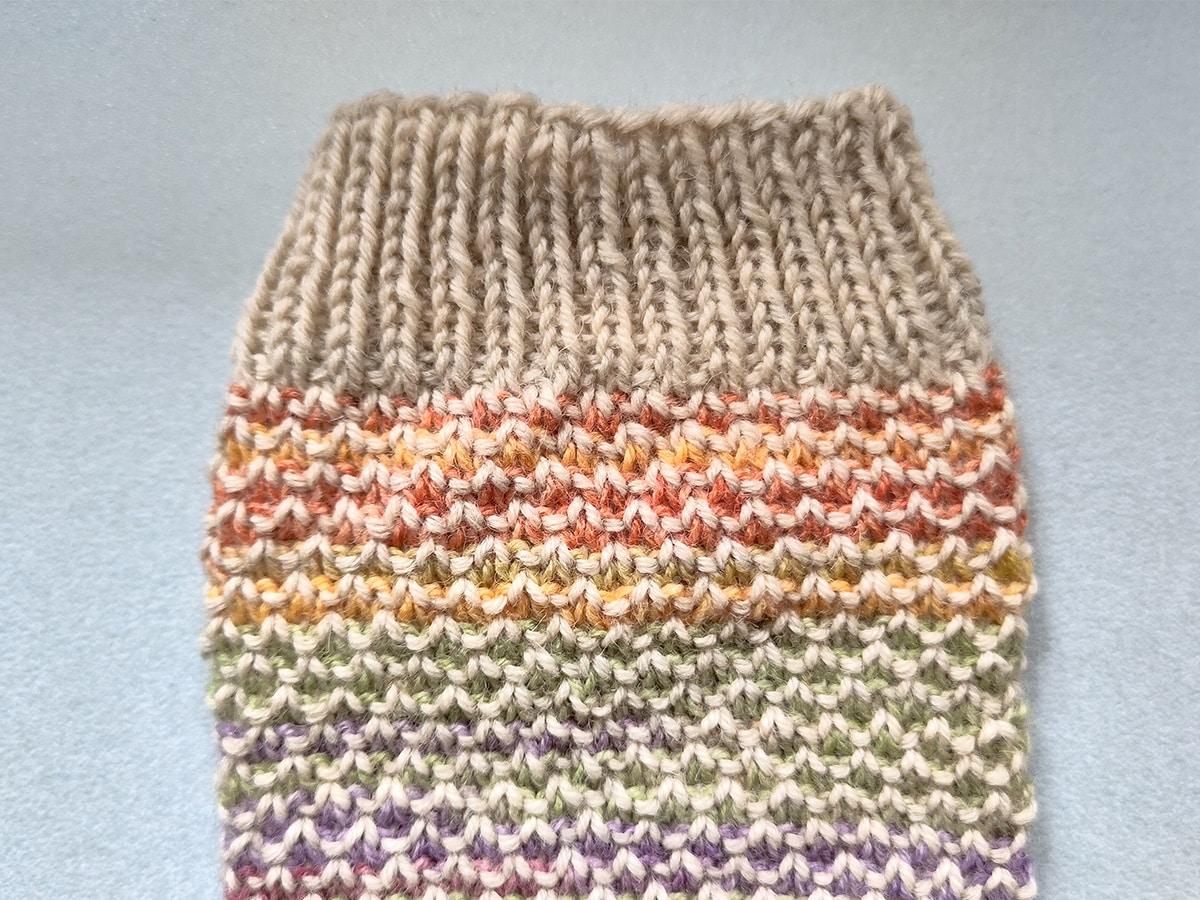
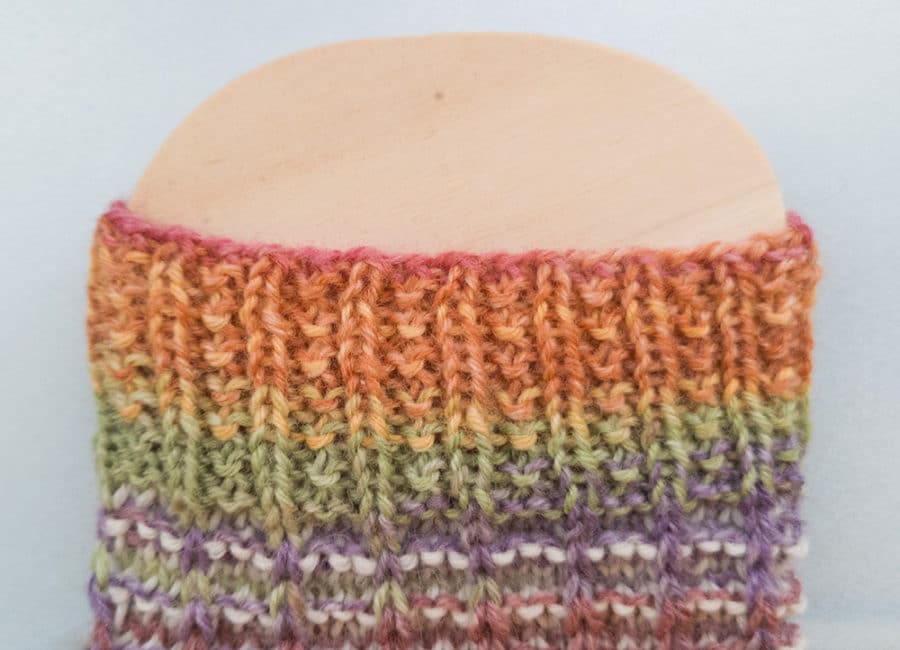
Sylvie's dotted stripe cuffs
Want a little more variation for the simple ribbed cuff? Simply knit every second rib with a little more effect.
Rapport: 4 stitches, 2 rounds
- Rd 1: alternating *k1, p1*
- Rd 2: alternately * k1, p3*
Repeat this round continuously.
Tip: The Video by Sylvie Rasch (german) to see exactly how it works.
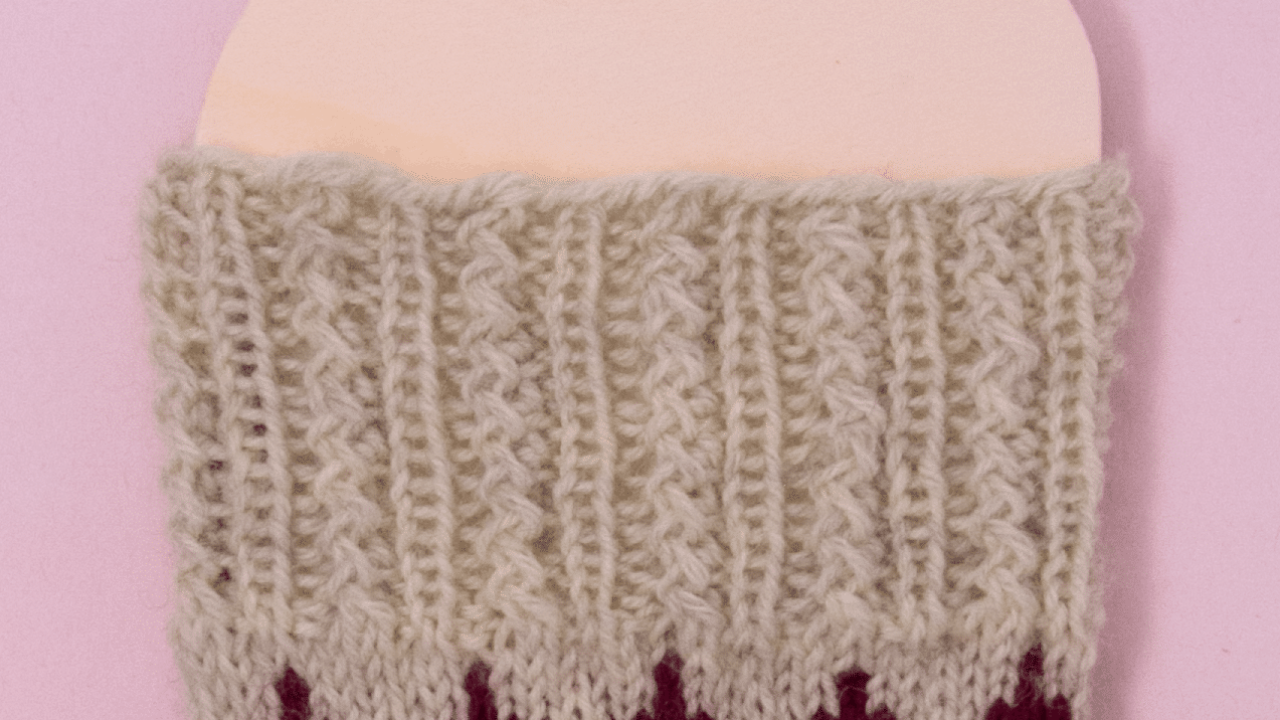
Sylvie's jagged and ribbed pattern
A 1+1 ribbed cuff becomes even more sculptural with zig-zag knitting effects.
Repeat: 5 stitches (or 8), 2 rows
- Preparation round: *k2, p1, k1, p1
- (or *k2, p2, k2, p2)
- Rd 1: *Cable right leaning 2 sts, p1, k1, p1
- (or *cable right leaning 2 sts, p2, k2, p2)
- (or *cable right leaning 2 sts, p2, k2, p2)
- Rd 2: *Cable left leaning 2 sts, p1, k1, p1
- (or *cable left leaning 2 sts, p2, k2, p2
Repeat these two rounds continuously.
Cable right leaning Knit the 2nd stitch on your left needle and leave it on the left needle. Now knit the first stitch and slip both stitches onto the righthand needle.
Cable left leaning Knit to back loop the 2nd stitch on your lefthand needle. Leave this stitch on the left needle. Now knit the first stitch and slip both stitches onto the righthand needle.
Tip: The Video by Sylvie Rasch (german) to see exactly how it works.
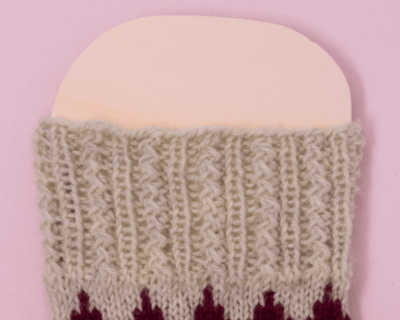
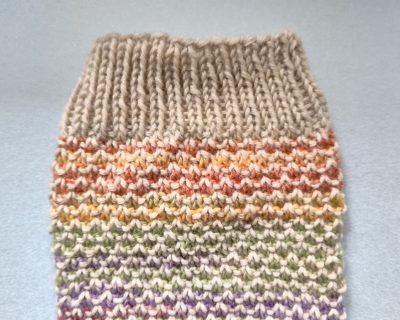
Ribbed pattern 1+3
Does the uniform 1+1 rib pattern have too little contrast to the leg pattern? Then it can also be varied and adapted very well by larger spacings.
Tip: If more than three stitches are knitted next to each other, there is a risk that the cuff will curl and not be stretchy enough.
Repeat: 4 stitches, 1 row
- Rd 1: alternately * k1, p3*
Repeat this round continuously.
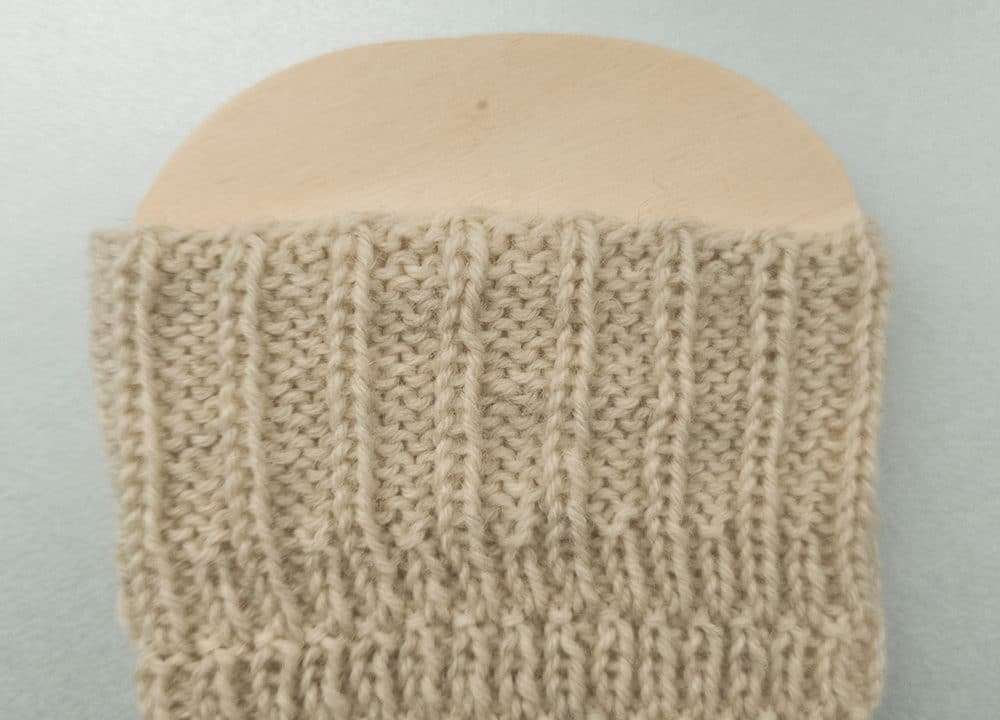
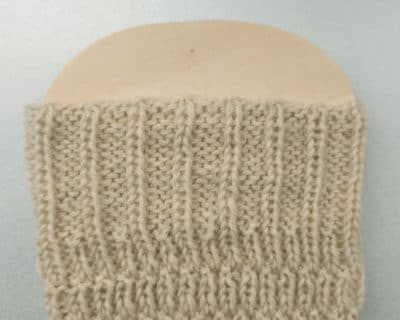
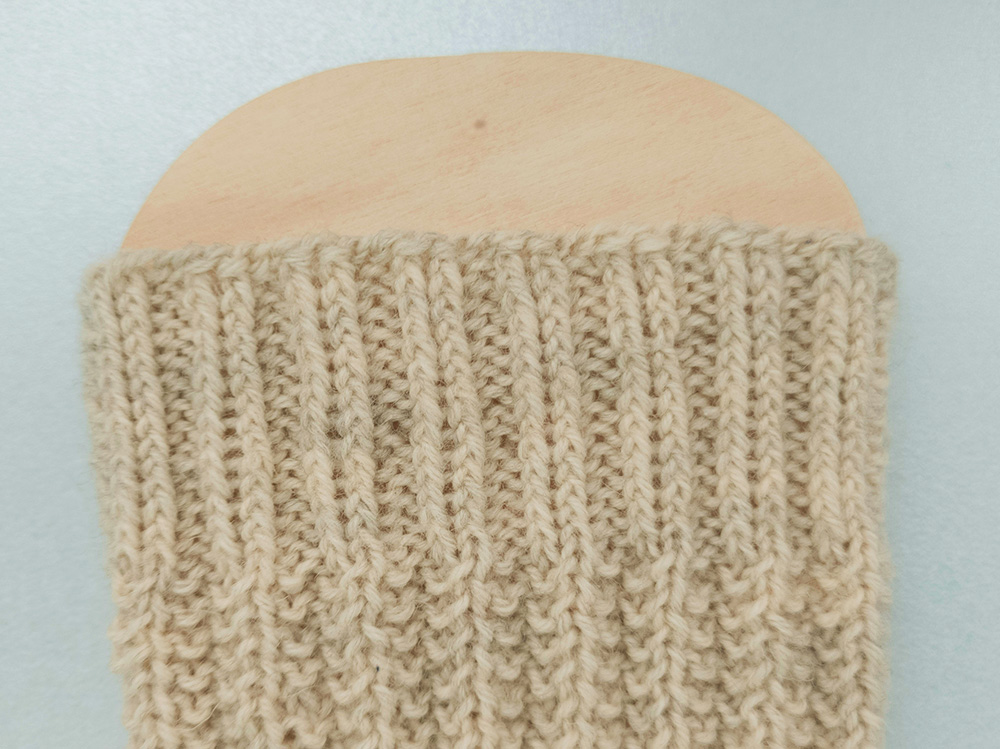
Classic ribbed pattern 3+1
You can also do it the other way way around, then the rib pattern looks like this.
Repeat: 4 stitches, 1 row
- Rd 1: alternately * k3, p1*
Repeat this round continuously.
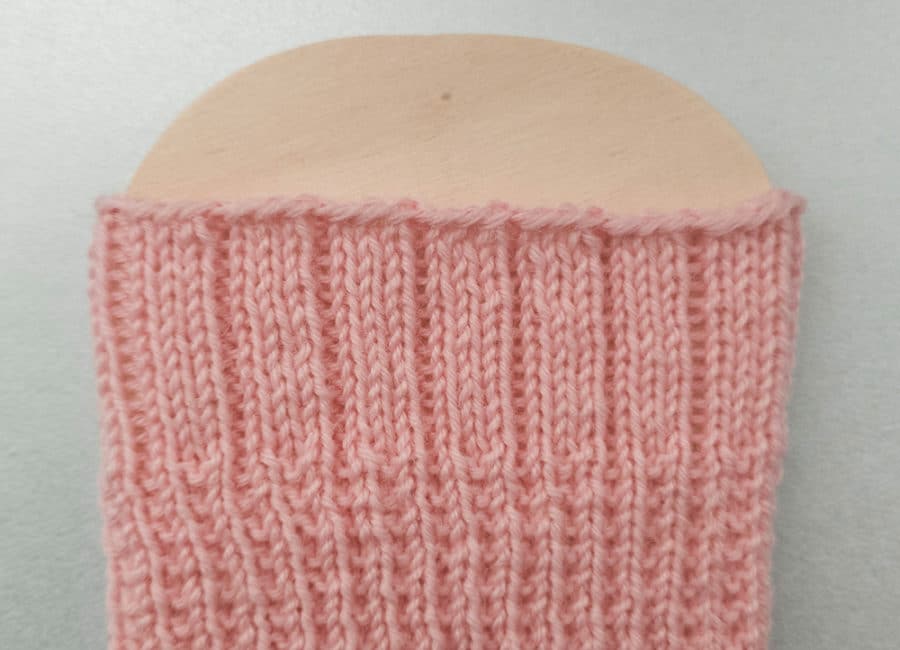
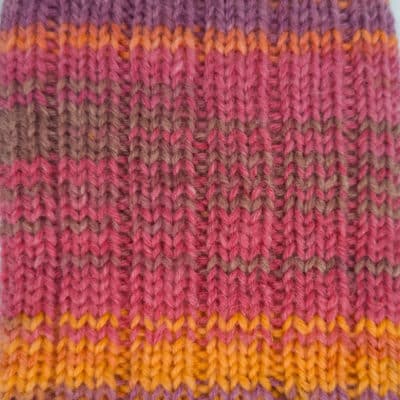
Classic ribbed pattern 3+1
You can also do it the other way way around, then the rib pattern looks like this.
Repeat: 4 stitches, 1 row
- Rd 1: alternately * k3, p1*
Repeat this round continuously.
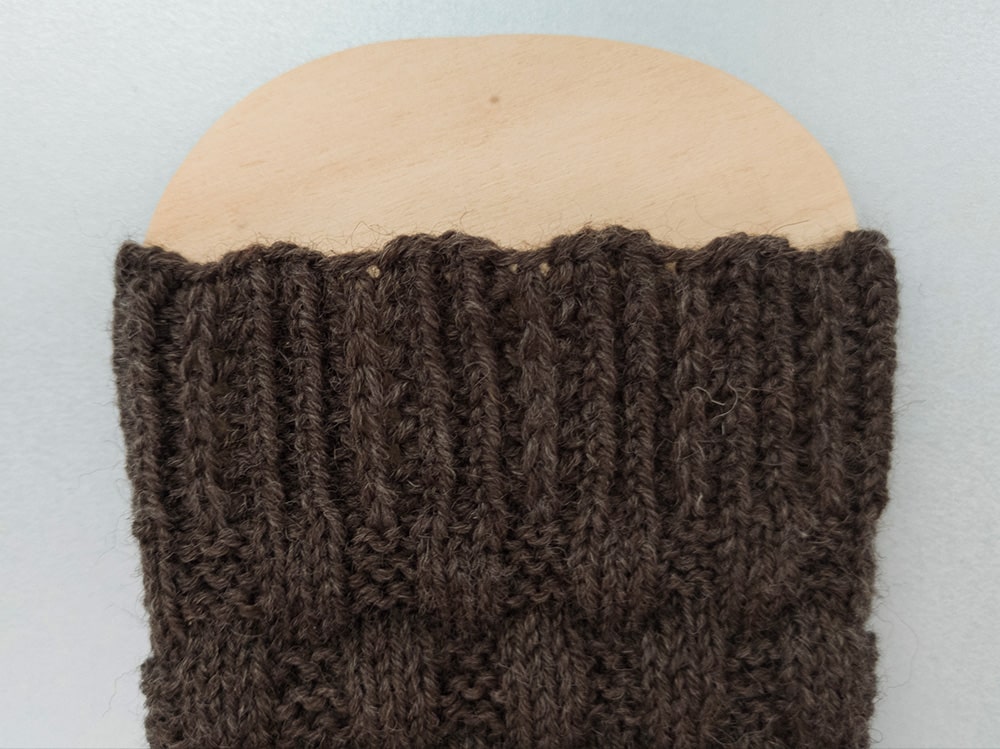
Sylvie's special cuffs No. 4
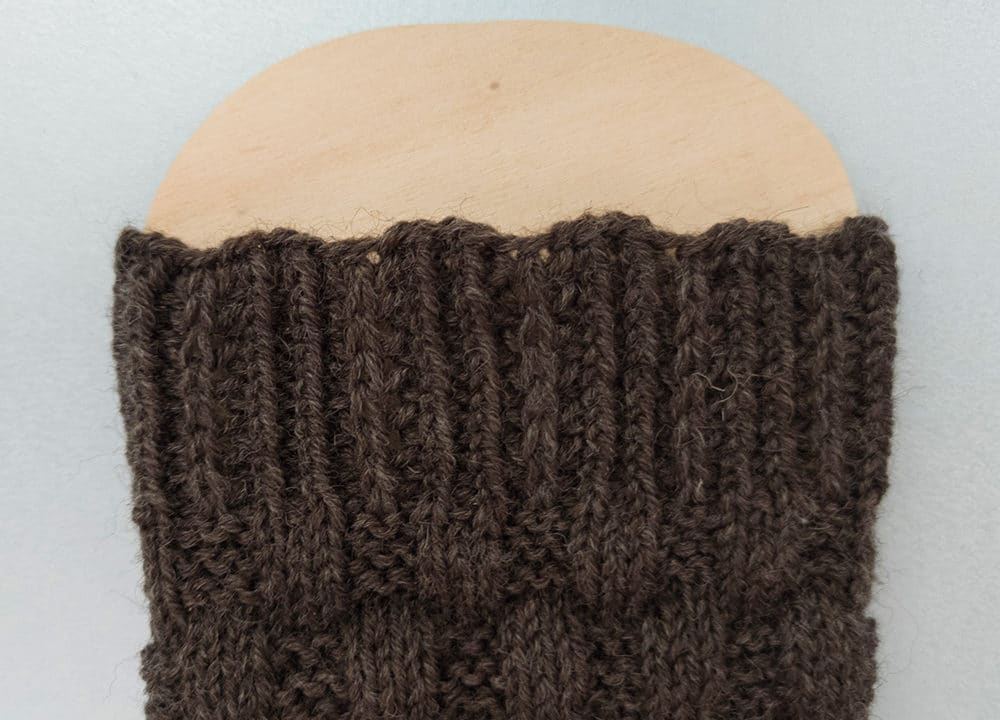
Bündchenmuster mal anders stricken: Sylvies Spezialbündchen bildet durch Hebemaschen einen dekorativen Wellenrand und unterschiedlich strukturierte Rippen.
Repeat: 6 stitches, 2 rows
- R 1: * k1TBL, p1, k1TBL, p1, sl1yo , p1*
- R 2: *k1TBL, p1, k1TBL, p1, k1 st with yo, p1*
Tip: The Video by Sylvie Rasch (german) to see exactly how it works.
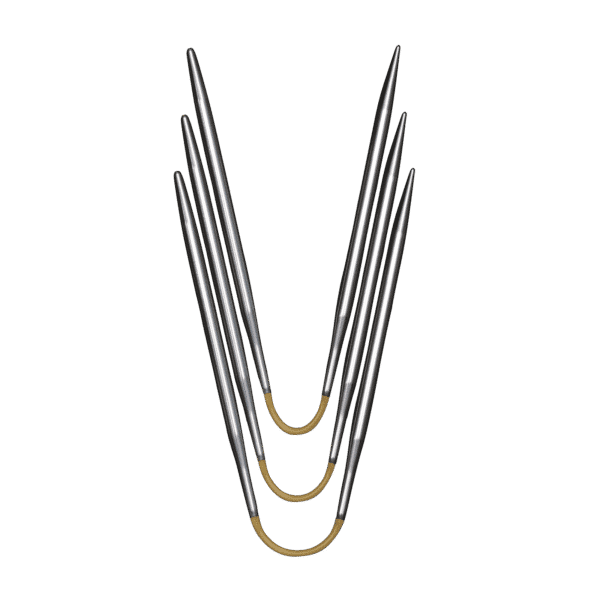
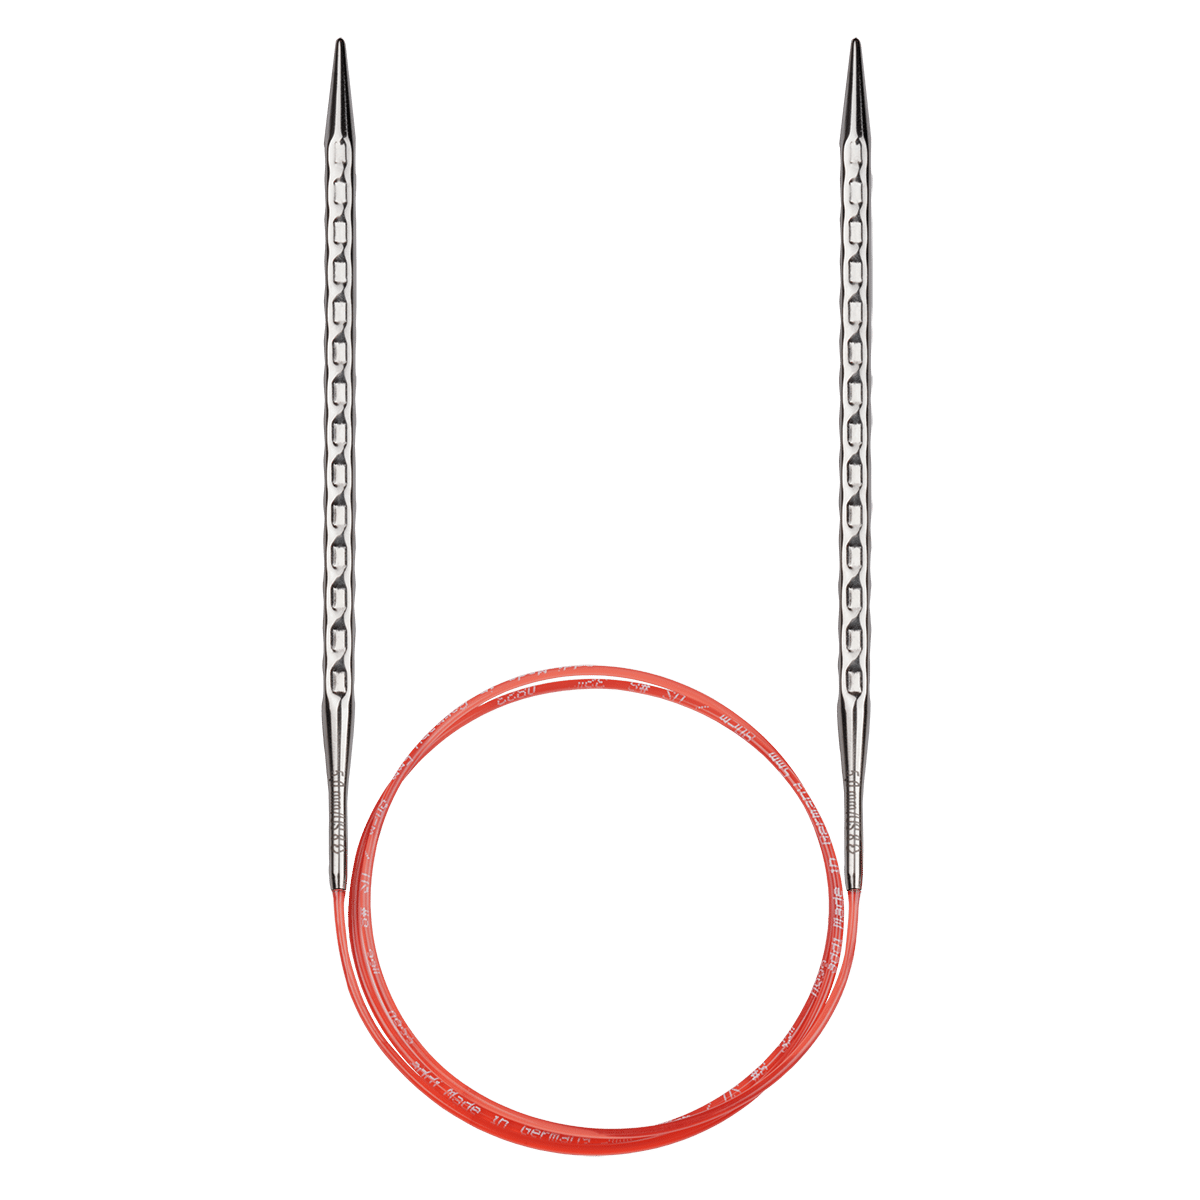
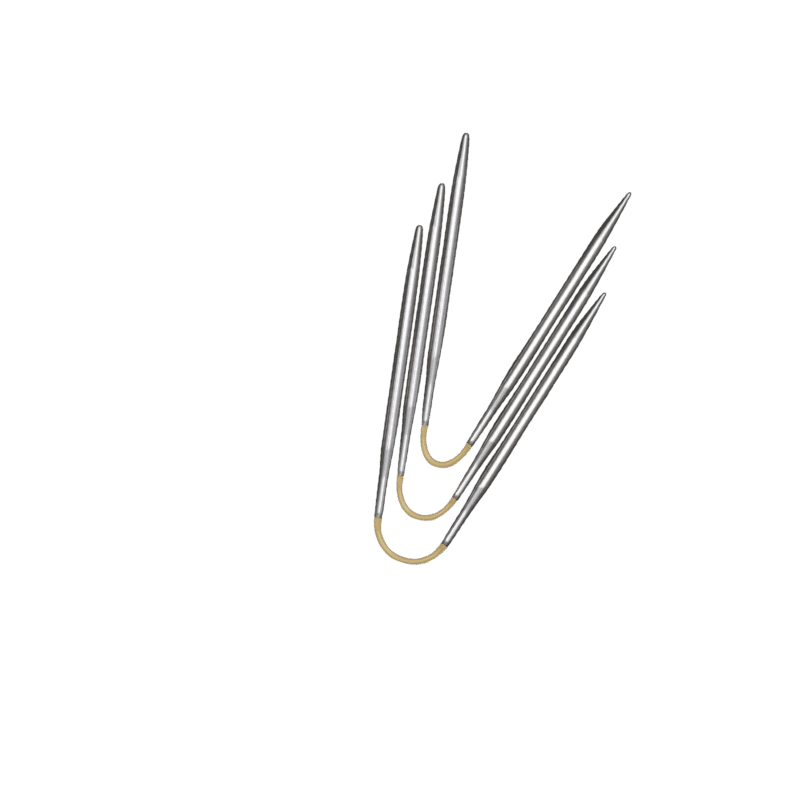
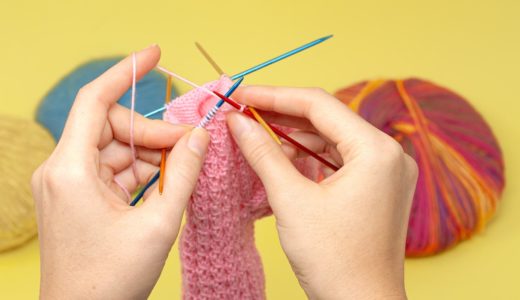
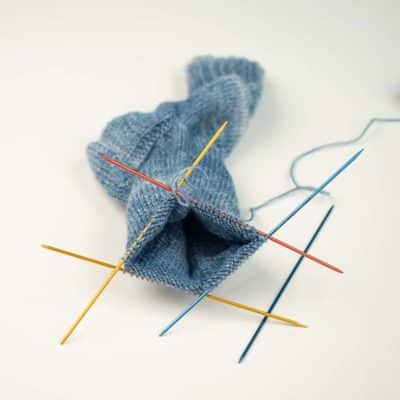
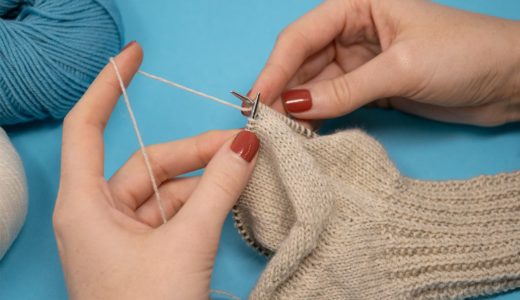
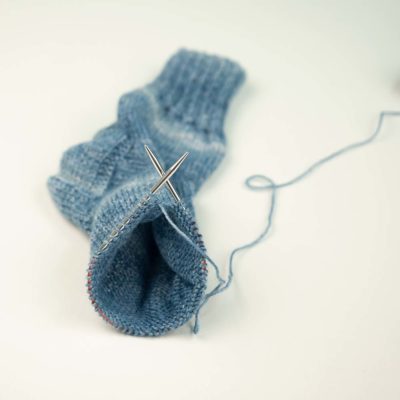
Do you knit your socks with a double pointed needle set, the addiCraSyTrio, addiSockenwonder or with circular needles?
Falls du mal anders stricken willst, und eine andere Nadel ausprobieren möchtest, haben wir die Vor- und Nachteile sowie Empfehlungen zur passenden Stricknadel und Material hier für jede Nadelart einmal zusammengefasst.
Did you like our small collection of samples? Then remember and share it e.g. in our Facebook group "addiFriends"
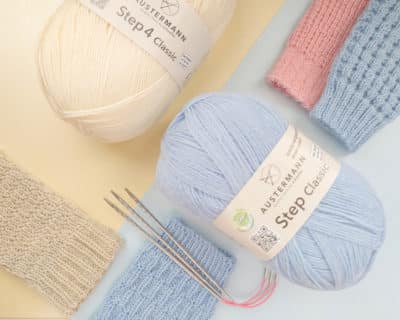
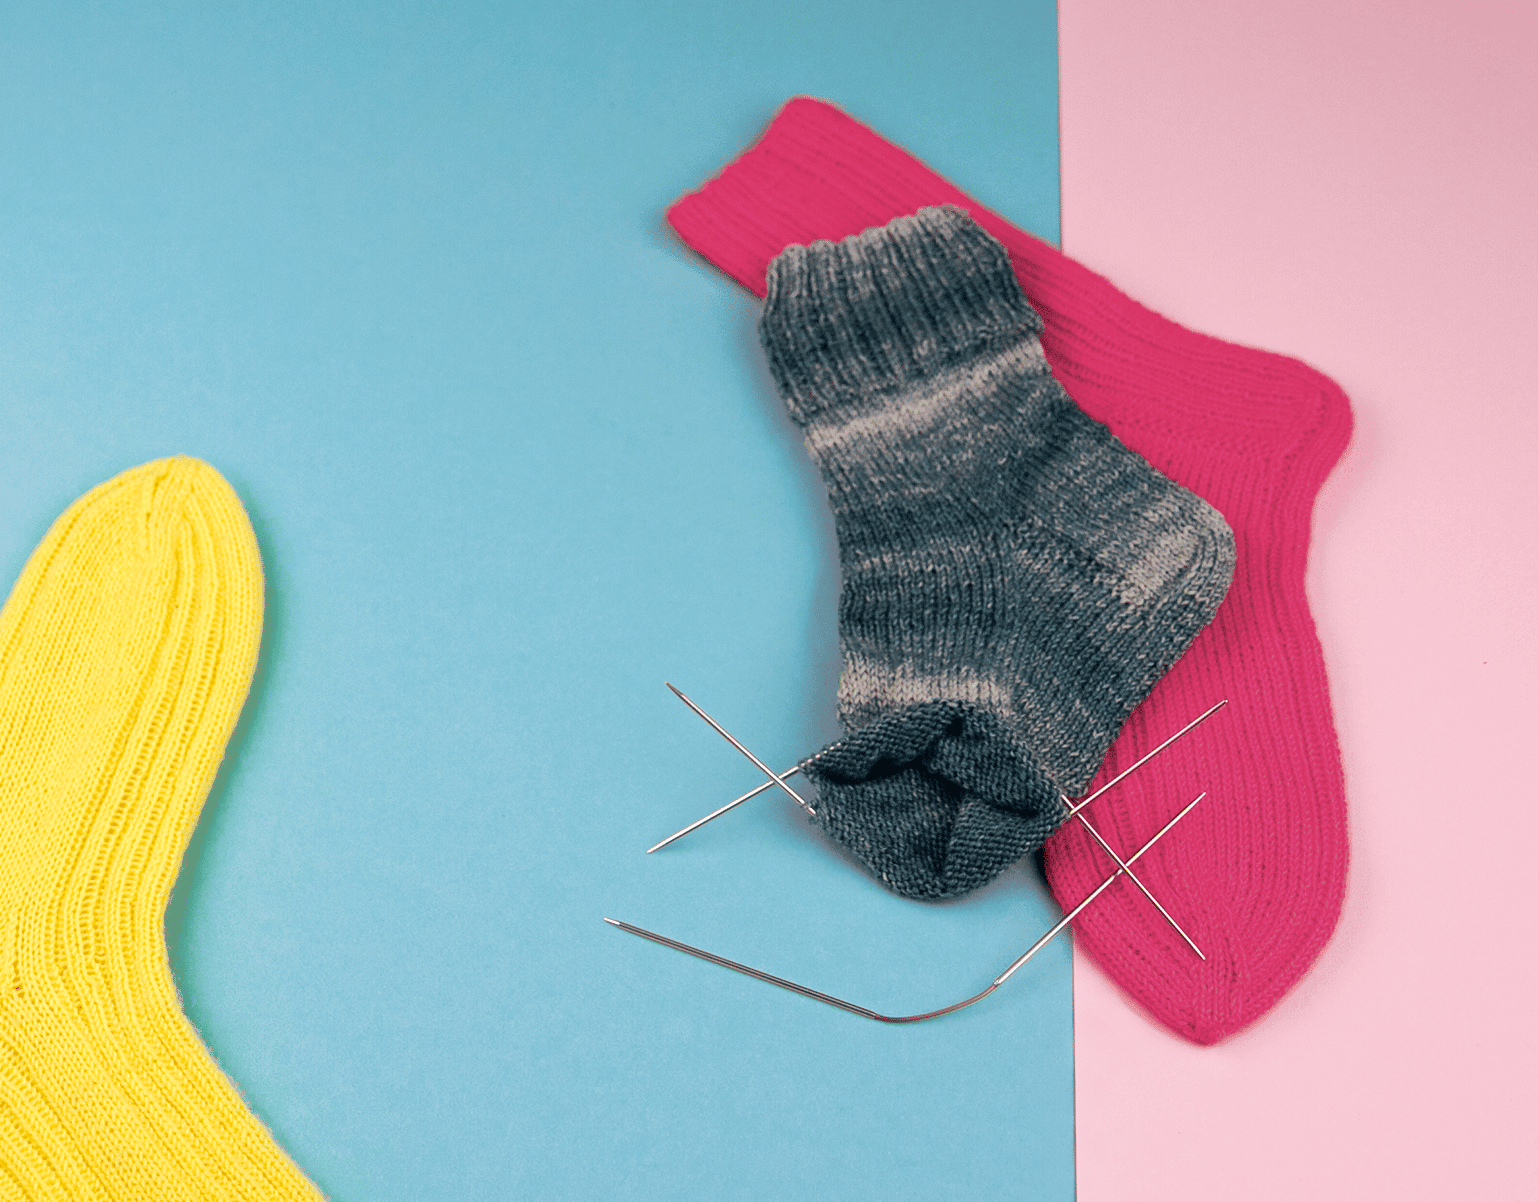
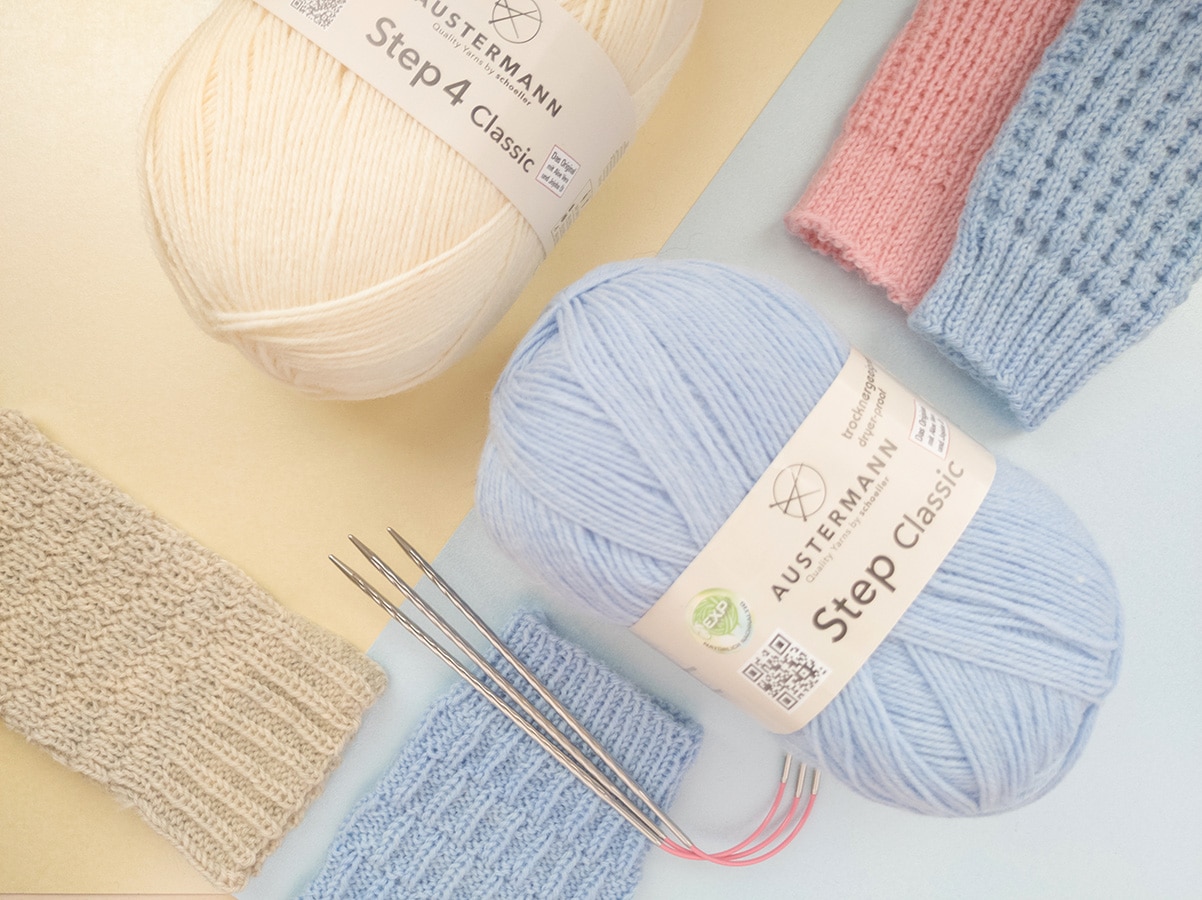
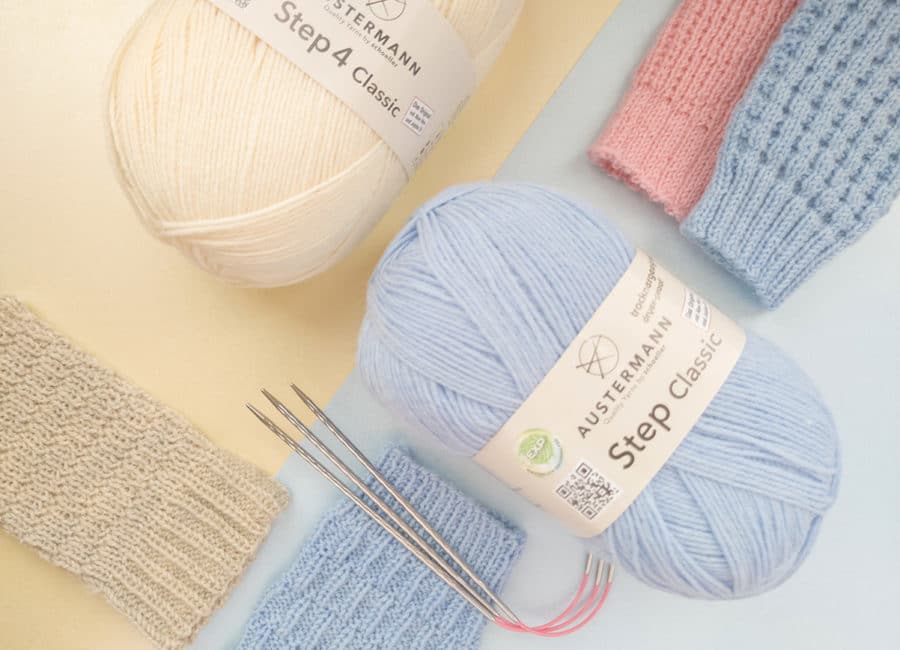
Used materials: The 4-thread, single-colour sock yarns used for these instructions are environmentally friendly EXP process hergestellten “Step Classic" qualities by Austermann.
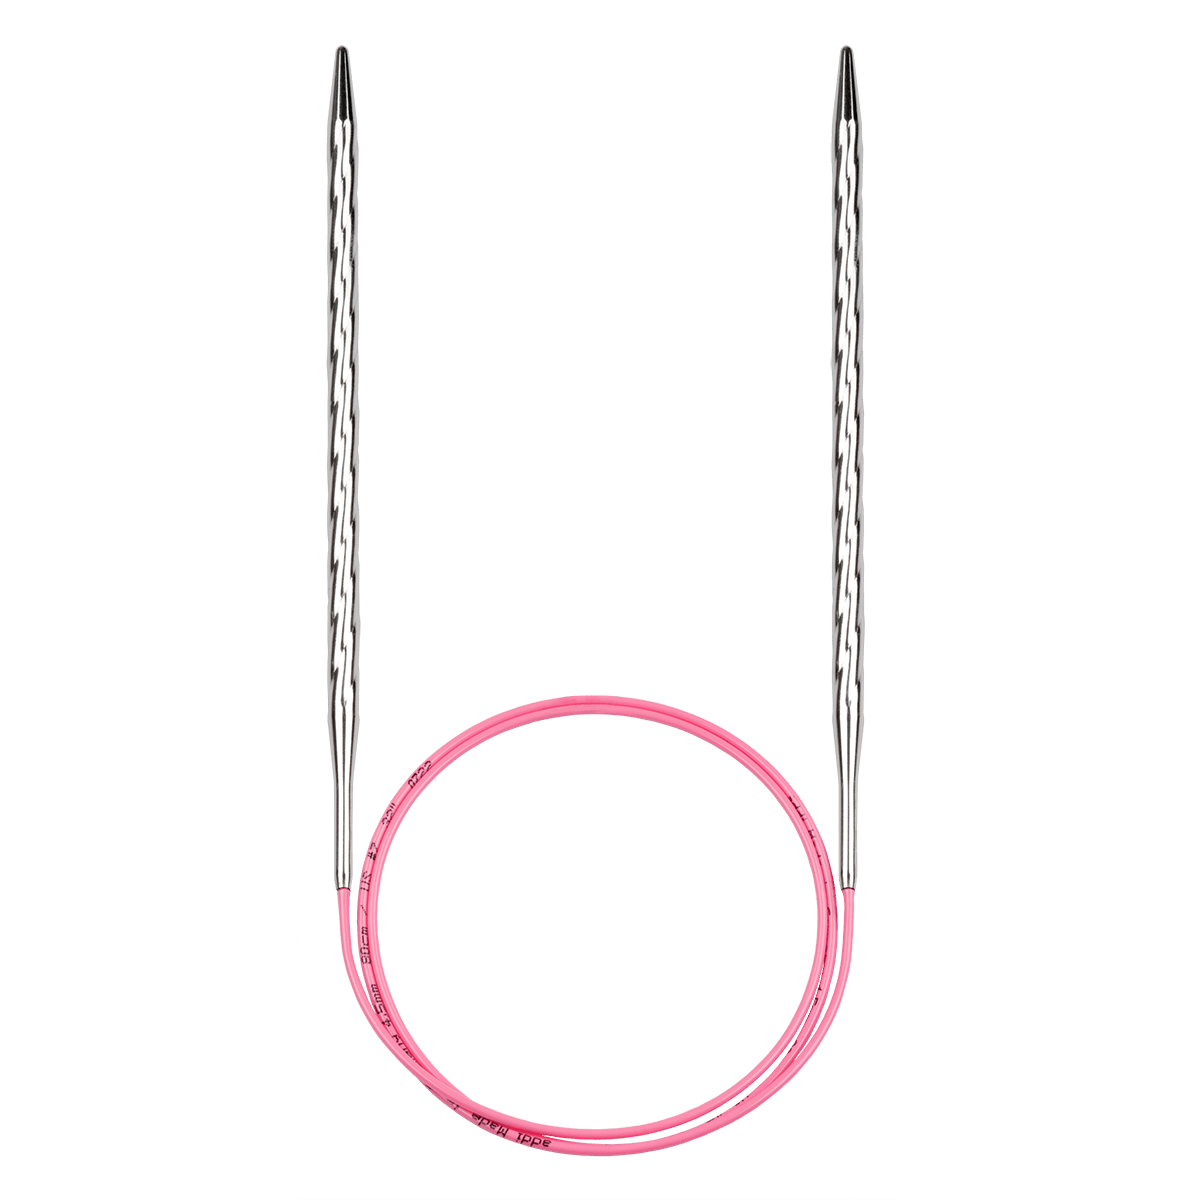
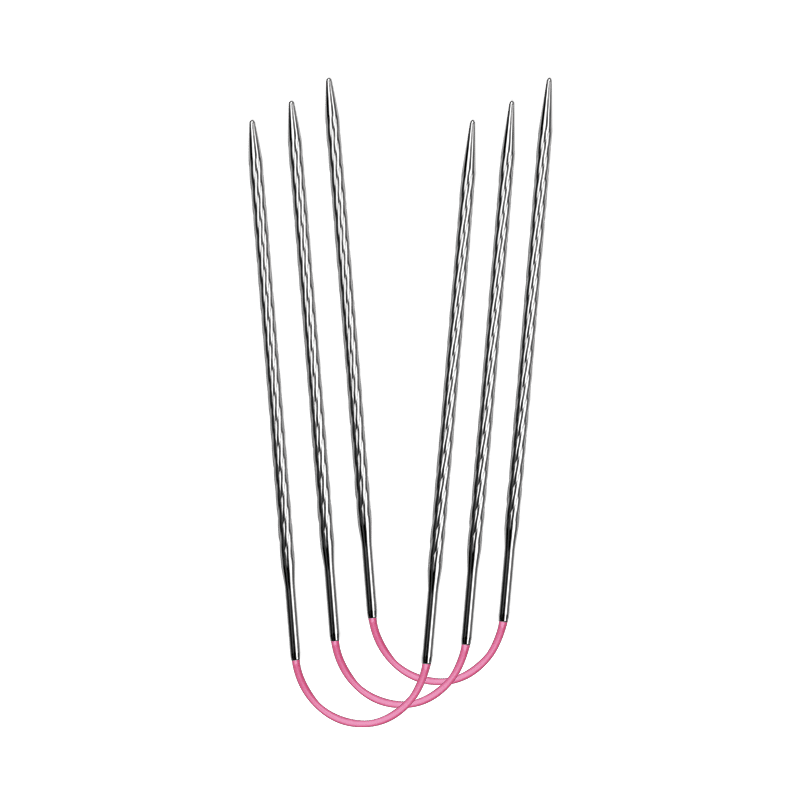
Our pattern pieces were knitted with our addiCraSyTrio Unicorn Long with spiral structured tips.
