
Crocheting slip stitches: simple tutorial for beginners (sl st)
Along with single crochet and double crochet, slip stitches are among the basic techniques that everyone who wants to learn to crochet should know. They ensure neat finishes and help join individual crochet pieces together. In this tutorial, you will learn how to crochet slip stitches and use them in many ways.

What are slip stitches and what are they used for?
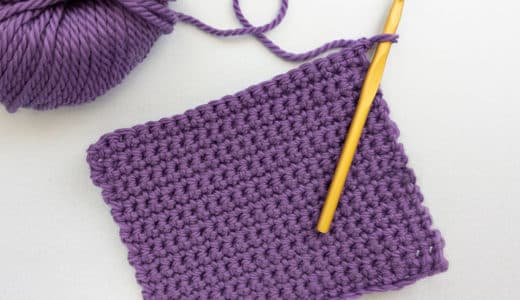
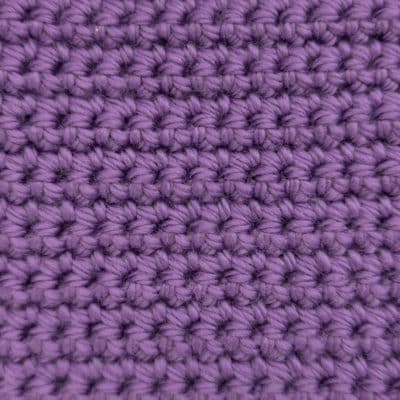
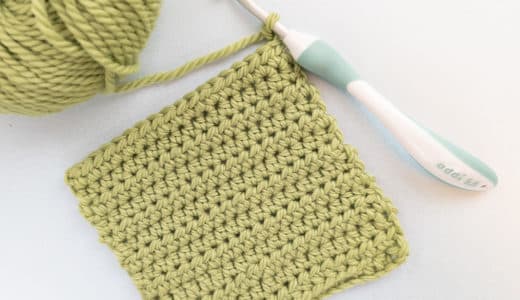
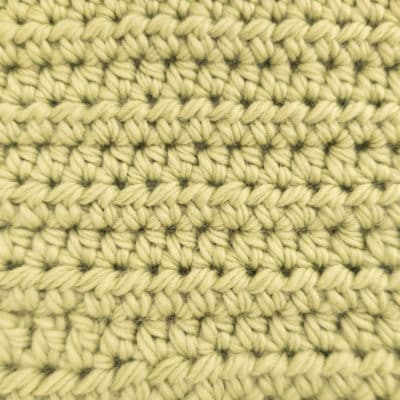
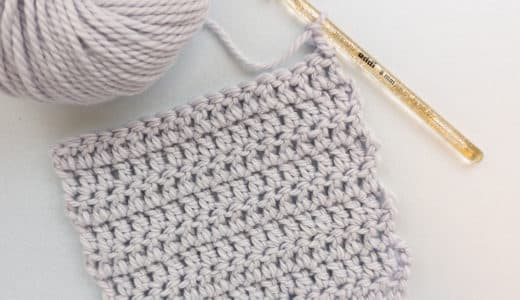
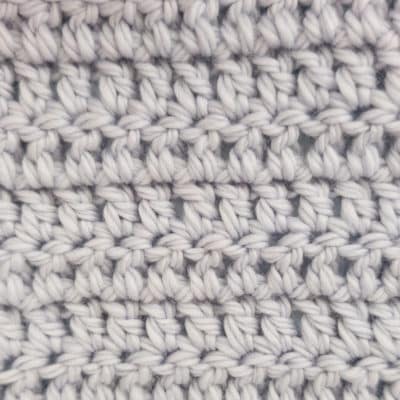
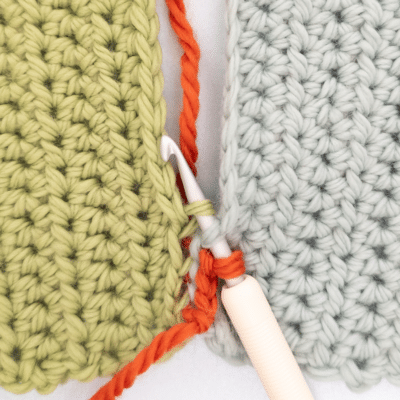
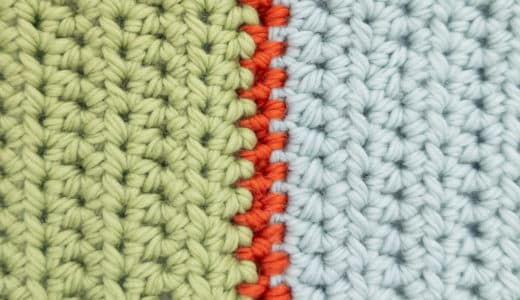
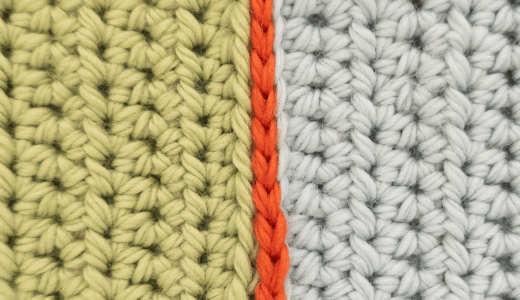
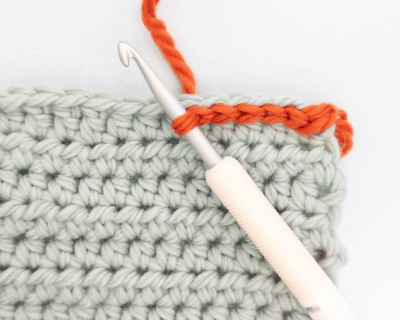
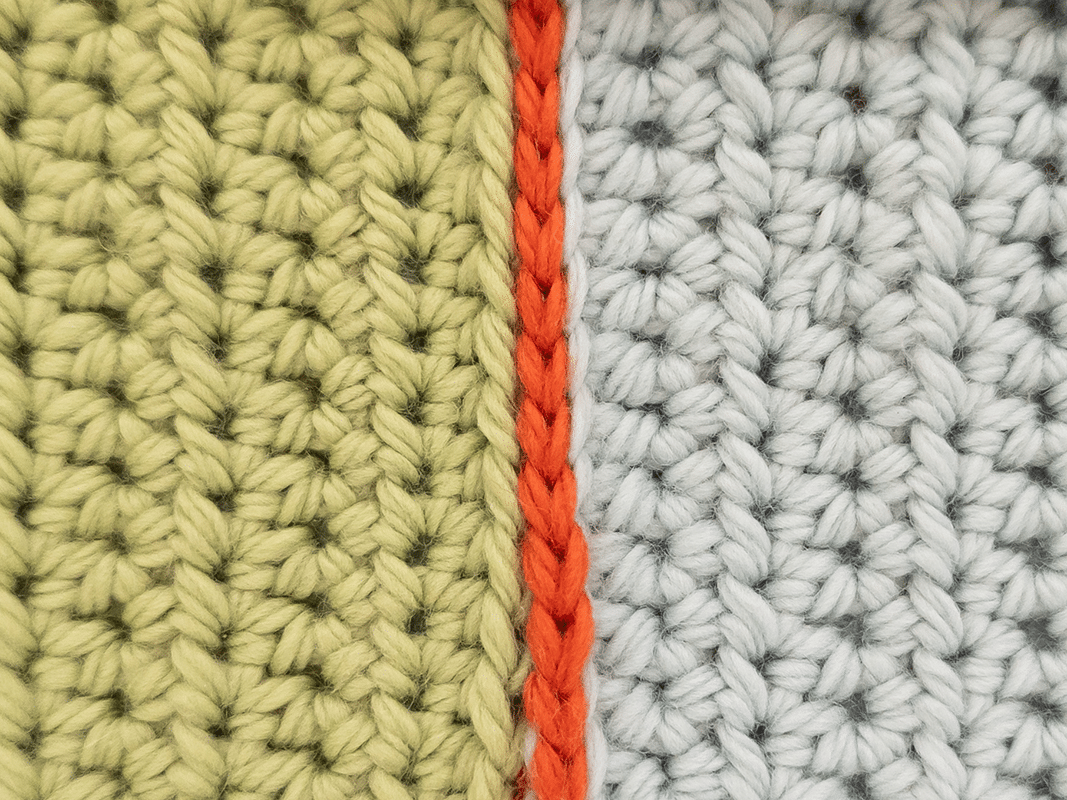
Slip stitches (sl st) are particularly flat and compact stitches that lie directly against the crochet work. They are often used to close crochet rounds neatly or to join different crochet pieces together. As they have hardly any height, you can also use slip stitches to get to a specific point within a crochet piece without changing the stitch pattern. They are also excellent for creating borders or other decorative edges. Although slip stitches are small and inconspicuous, they offer a wide range of creative uses and are easy to learn.
Other names:
- Slip stitches (sl st) (US/UK)

What are slip stitches and what are they used for?
Slip stitches (sl st) are particularly flat and compact stitches that lie directly against the crochet work. They are often used to close crochet rounds neatly or to join different crochet pieces together. As they have hardly any height, you can also use slip stitches to get to a specific point within a crochet piece without changing the stitch pattern. They are also excellent for creating borders or other decorative edges. Although slip stitches are small and inconspicuous, they offer a wide range of creative uses and are easy to learn.
Other names:
- Slip stitches (sl st) (US/UK)

Step by step
Work slip stitches
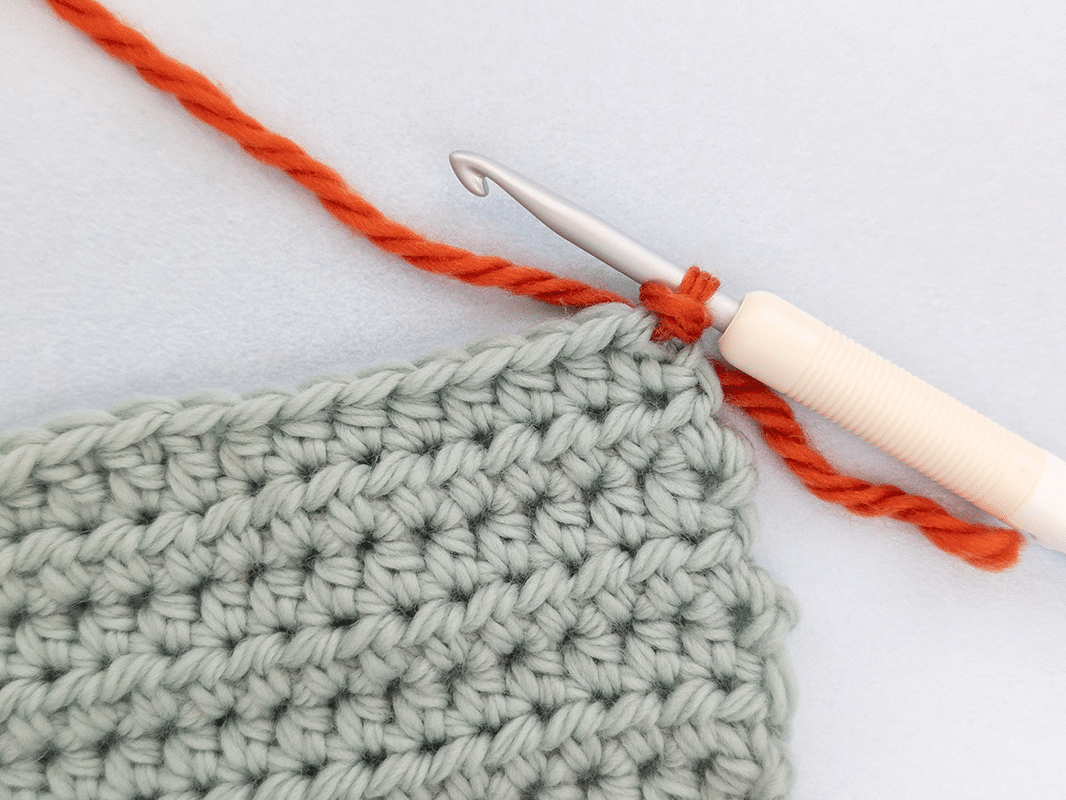
Inserting into the stitch
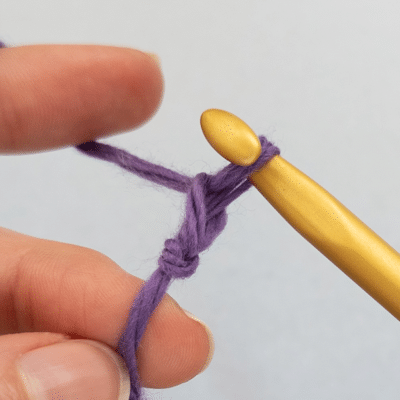
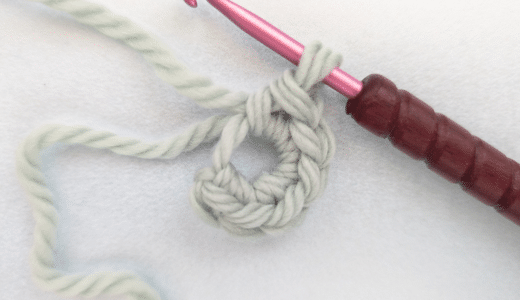
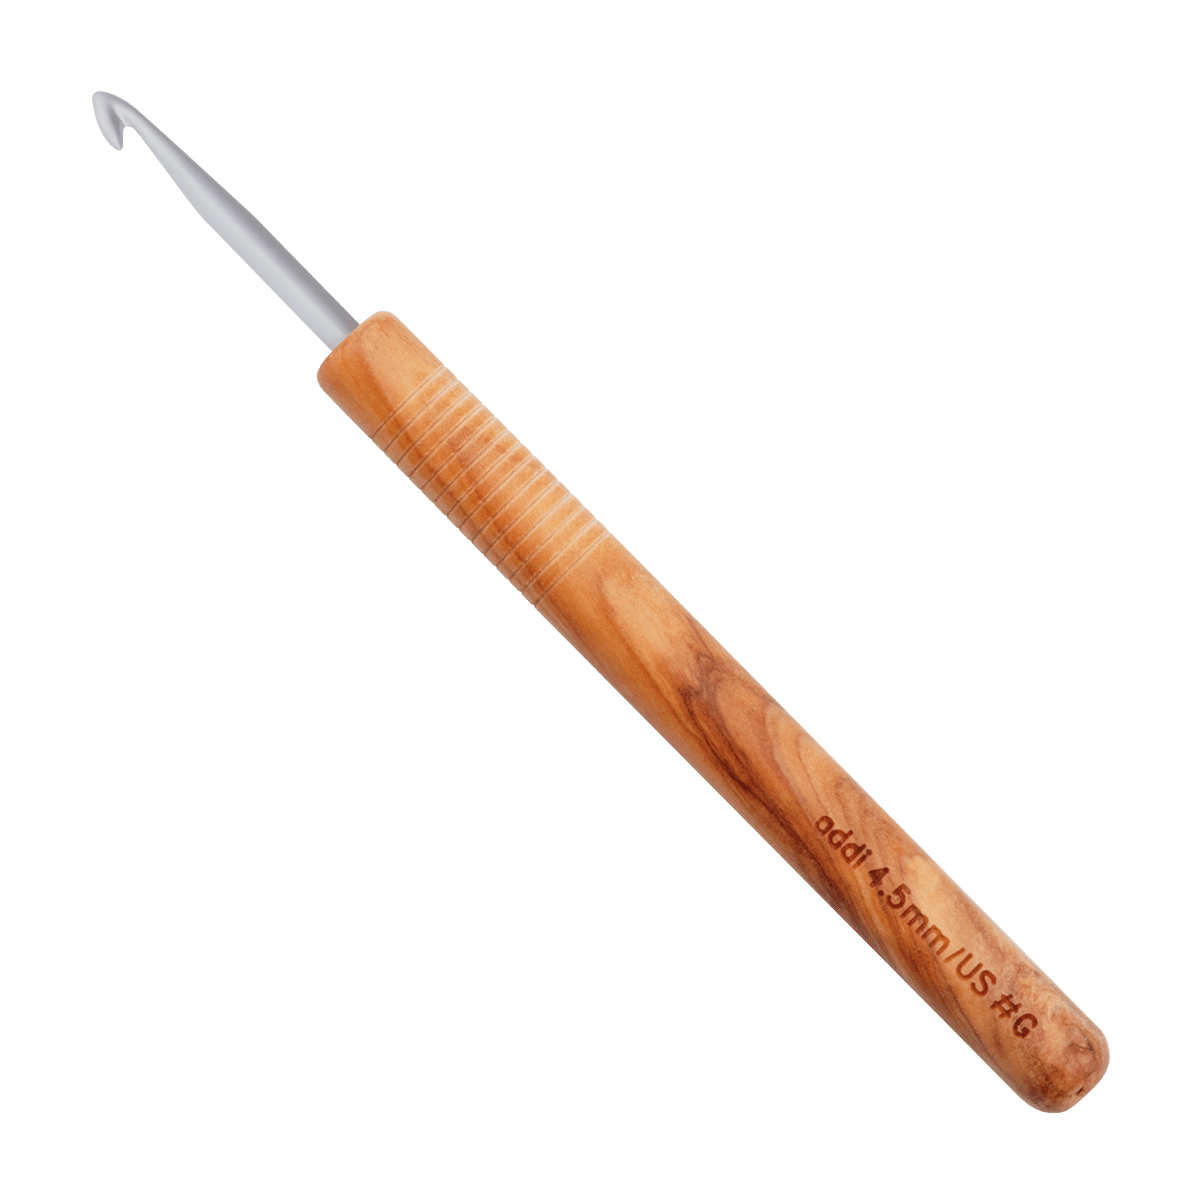
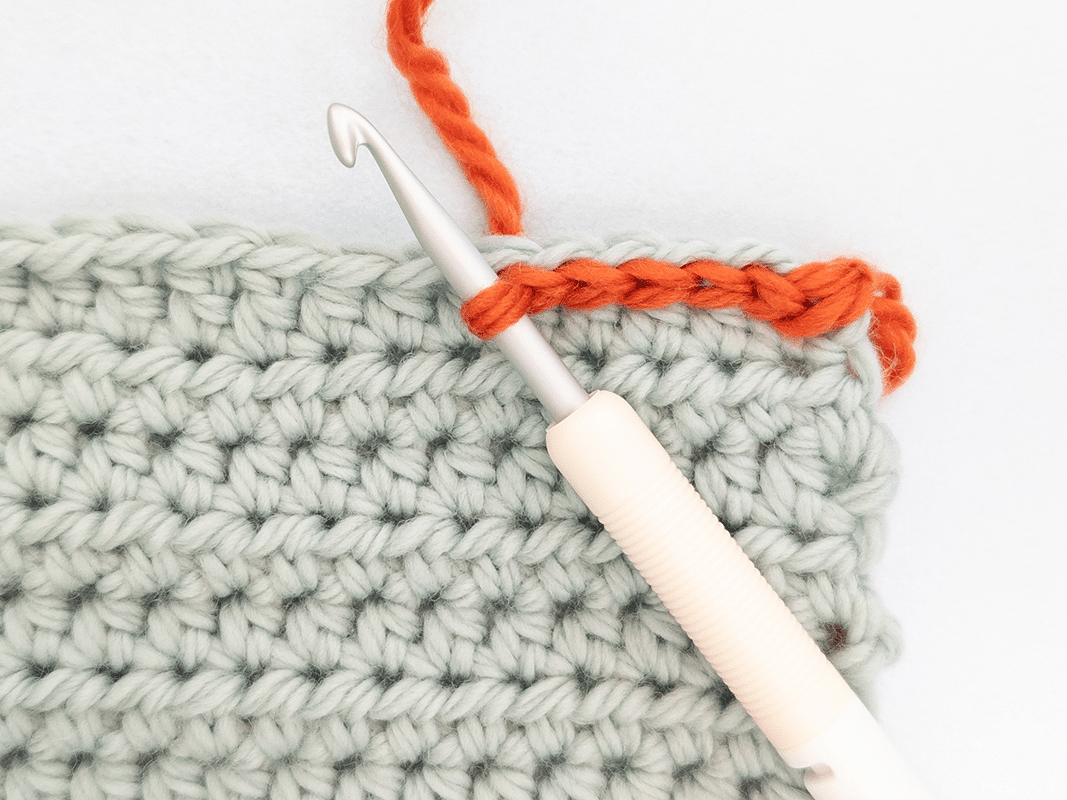
The crochet hook is inserted into the stitch in which the slip stitch is to be worked.


Inserting into the stitch
The crochet hook is inserted into the stitch in which the slip stitch is to be worked.
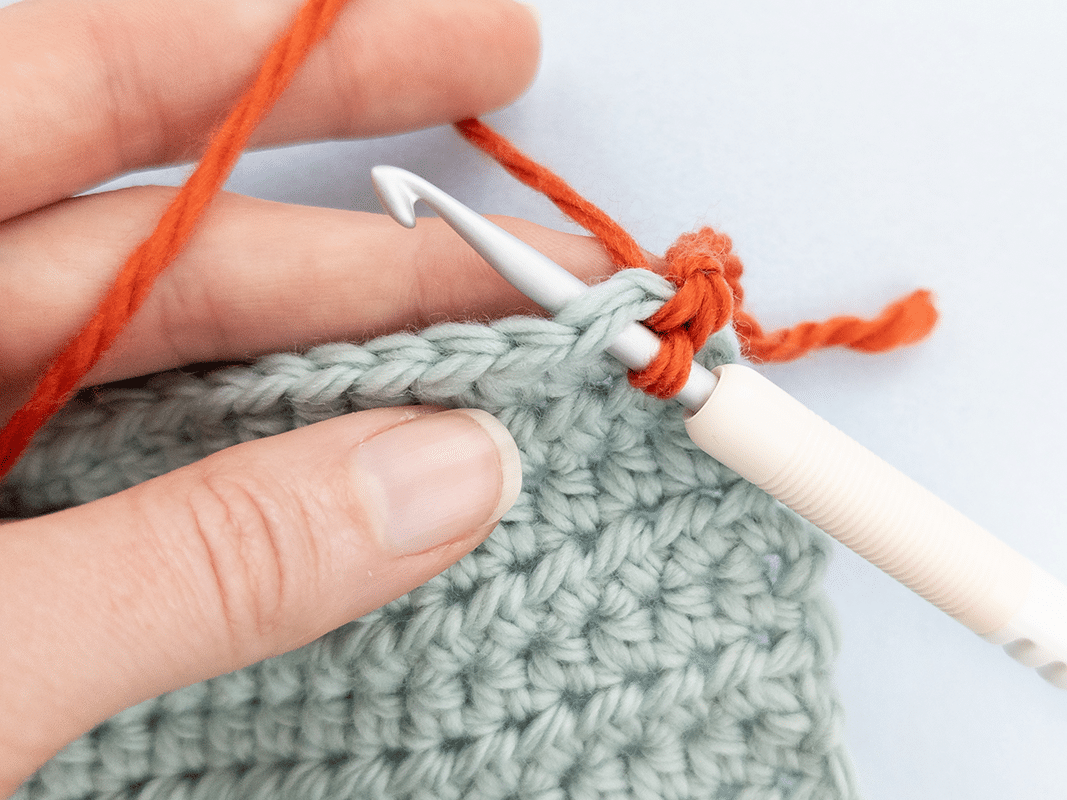

Pick up the yarn
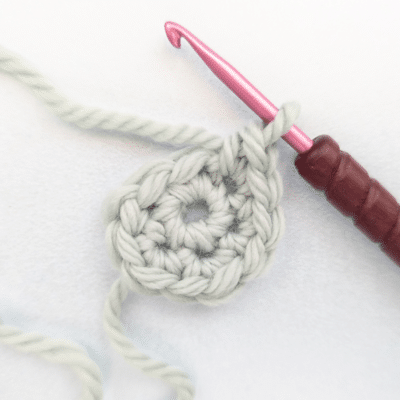
Catch the working yarn with the crochet hook and pull it through both loops. There should now be one loop on the hook again.

Pick up the yarn
Catch the working yarn with the crochet hook and pull it through both loops. There should now be one loop on the hook again.

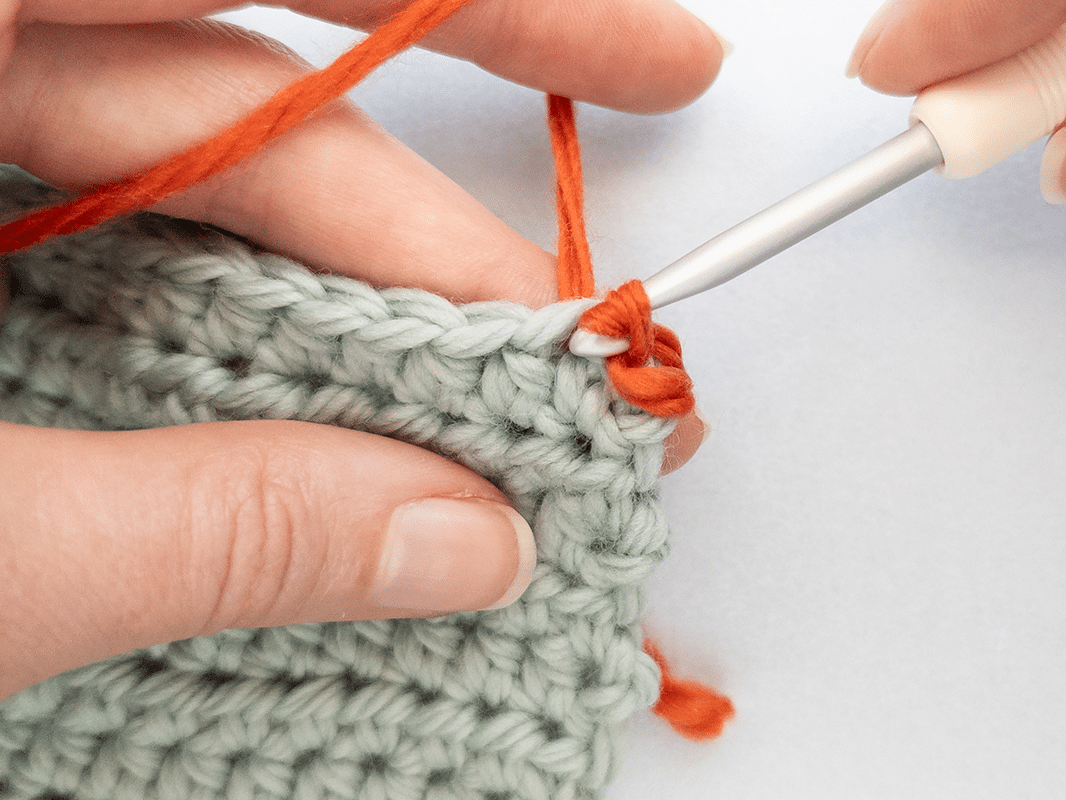
Pull the yarn through both loops
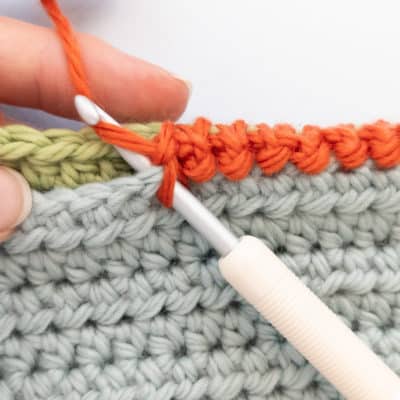
Continue with slip stitches as an edging
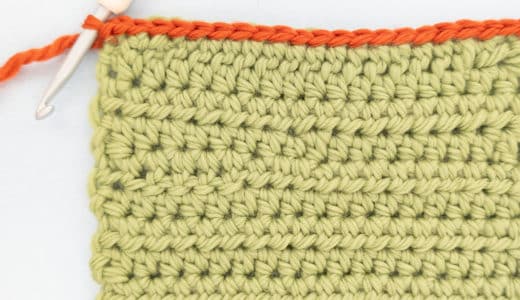
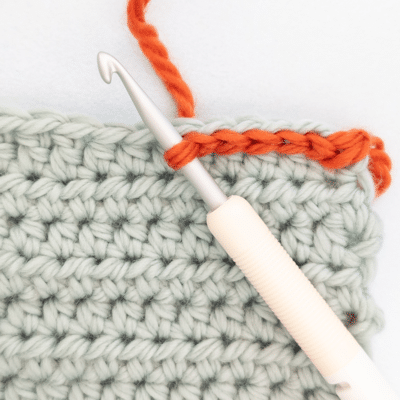
Tip: Slip stitches are ideal for finishing round crochet work, adding decorative edges or securing stitches.
To do this, crochet just two slip stitches, then pull the tail through and weave it in.

Pull the yarn through both loops
Continue with slip stitches as an edging
Tip: Slip stitches are ideal for finishing round crochet work, adding decorative edges or securing stitches.
To do this, crochet just two slip stitches, then pull the tail through and weave it in.
Common mistakes with slip stitches
Crocheted too tightly:
As slip stitches sit very tightly, make sure not to pull the yarn too hard. Otherwise, they will be difficult to work into.
Irregular spacing: Especially when closing a round, it is important to insert the slip stitch in the right place to get an even stitch pattern.
Crocheting slip stitches – video tutorial
In this video, Crasy Sylvie shows you step by step how to crochet slip stitches. Perfect for neat finishes, joins and decorative edges – simply explained and easy to follow!
By loading the video you accept the privacy policy of YouTube.
Learn more