

Joining pieces with chain stitches and slip stitches
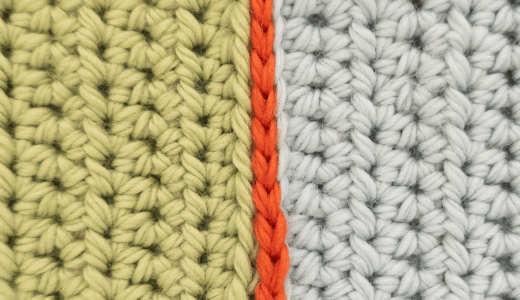
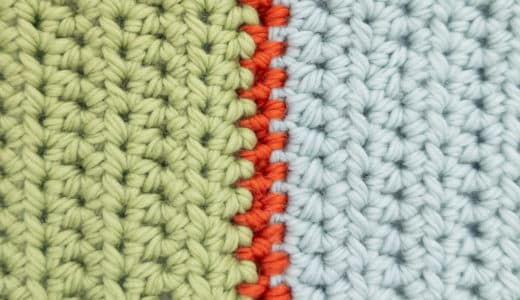
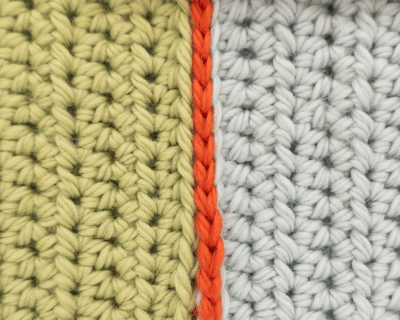
Joining crochet pieces with a combination of slip stitches and chain stitches opens up completely new design possibilities. This technique creates not only stable joins but also decorative effects that make your crochet projects real eye-catchers.

What makes the combination of slip stitches and chain stitches special?
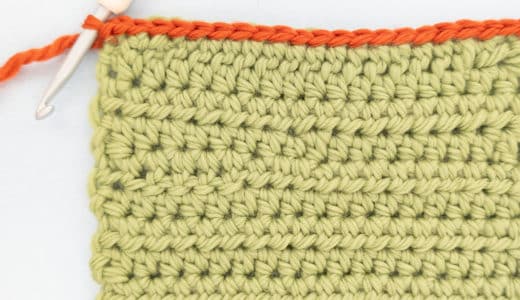
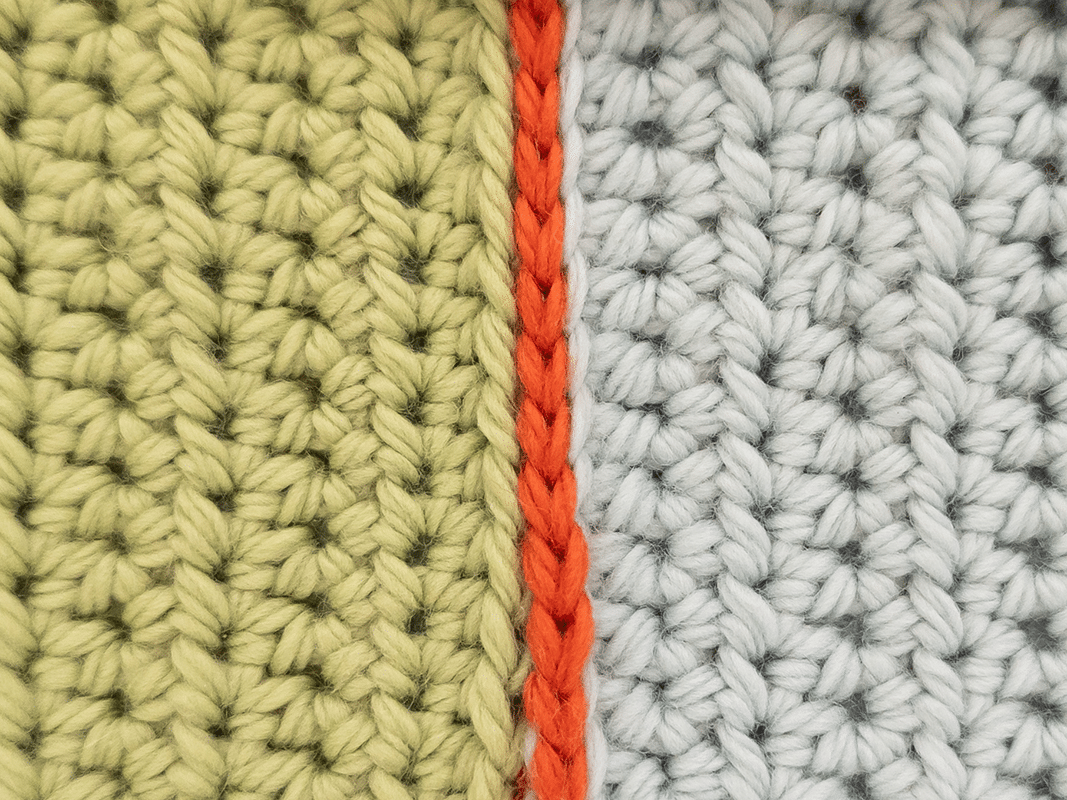
While joining with slip stitches alone creates a flat, inconspicuous seam, the combination with chain stitches adds extra dimension and texture to your projects. This technique is particularly suitable for:
- Decorative joins: Visible seams as a design element
- Looser textures: Less stiff joins than with slip stitches alone
- Colour accents: Contrasting yarns really stand out
- Vintage look: Typical of traditional granny square blankets


What makes the combination of slip stitches and chain stitches special?
While joining with slip stitches alone creates a flat, inconspicuous seam, the combination with chain stitches adds extra dimension and texture to your projects. This technique is particularly suitable for:
- Decorative joins: Visible seams as a design element
- Looser textures: Less stiff joins than with slip stitches alone
- Colour accents: Contrasting yarns really stand out
- Vintage look: Typical of traditional granny square blankets


Different variants of the combination
Variant 1: Simple alternation
Alternating 1 slip stitch and 1 chain stitch creates an even, subtle texture
Ideal for beginners in this technique and for subtle edges.
Variant 2: Grouped stitches
More chain stitches and skipping individual stitches can create a stronger visual effect.
Variant 3: Irregular patterns
Free combination according to your own taste.
Creative design options for crocheters who love to experiment.
Step by step
Slip stitches and chain stitches
Place the crochet pieces next to each other – determine the starting position
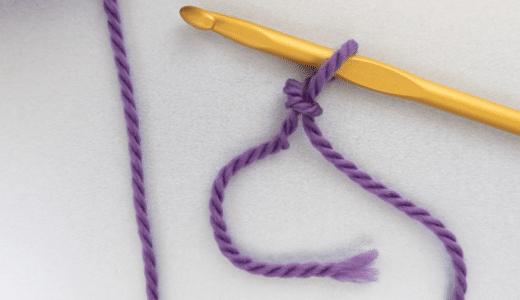
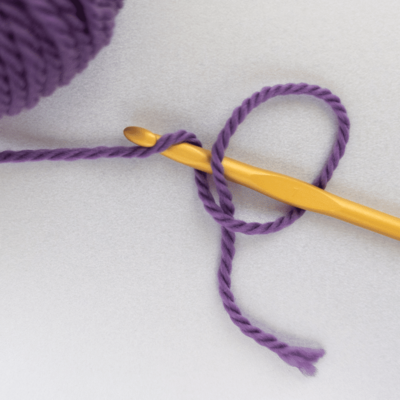
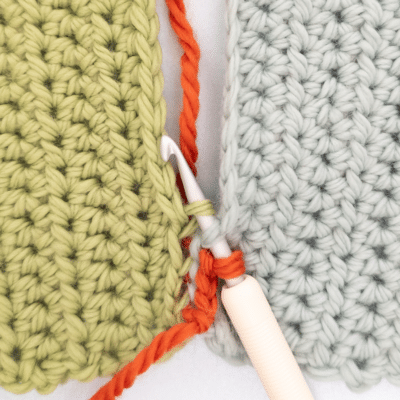
Place both crochet pieces next to each other with the right sides facing up. The edges to be joined should touch. Start at a corner, place a slip knot of the joining yarn on the crochet hook and then begin.


Place the crochet pieces next to each other – determine the starting position
Place both crochet pieces next to each other with the right sides facing up. The edges to be joined should touch. Start at a corner, place a slip knot of the joining yarn on the crochet hook and then begin.


Crocheting the first join
- Insert into the first corner of the front piece and crochet a chain stitch.
- Insert into the corner of the second piece (back) and crochet a slip stitch.
The first join has been made.

Crocheting the first join
- Insert into the first corner of the front piece and crochet a chain stitch.
- Insert into the corner of the second piece (back) and crochet a slip stitch.
The first join has been made.


Crocheting a chain stitch
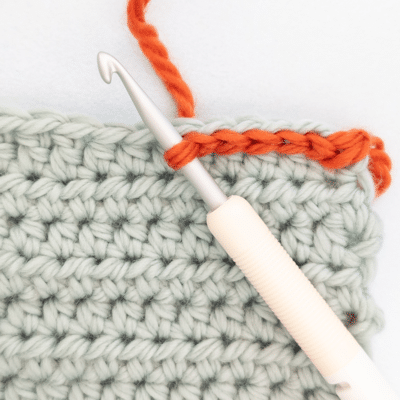
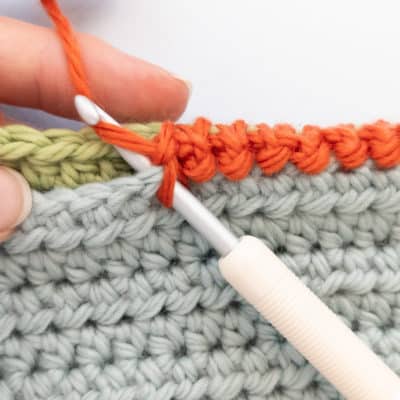
From now on, into each stitch of the pieces to be joined, one at a time,
- crochet 1 slip stitch
- work 1 chain stitch
This sequence is repeated on the front and back pieces to be joined.
Repeat the steps along the entire edge to be joined. Make sure the spacing stays even and every stitch is crocheted.
Finish the join with a slip stitch and carefully weave in the yarn.


Crocheting a chain stitch
From now on, into each stitch of the pieces to be joined, one at a time,
- crochet 1 slip stitch
- work 1 chain stitch
This sequence is repeated on the front and back pieces to be joined.
Repeat the steps along the entire edge to be joined. Make sure the spacing stays even and every stitch is crocheted.
Finish the join with a slip stitch and carefully weave in the yarn.


Creative variations
Multi-coloured joins
Change the yarn colour within a joining seam for rainbow-like effects. Especially popular for children's blankets.
Beads and embellishments
Thread small beads onto the joining yarn and work them into the chain stitch arches for special accents.
Asymmetrical patterns
Deliberately vary the number of chain stitches for a modern, irregular look.
Joining granny squares – video tutorial
In this video, Crasy Sylvie shows you step by step how to join granny squares.

By loading the video you accept the privacy policy of YouTube.
Learn more