

Tutorial: Crocheting edge stitches for perfect edges
Crocheting edge stitches is a decorative technique that gives every crochet project the perfect finish. Whether to reinforce the edges, as a decorative border or to join crochet pieces – edge stitches ensure clean, professional results. We show you how to crochet different edge stitches and when each technique is best suited
What are edge stitches in crochet?
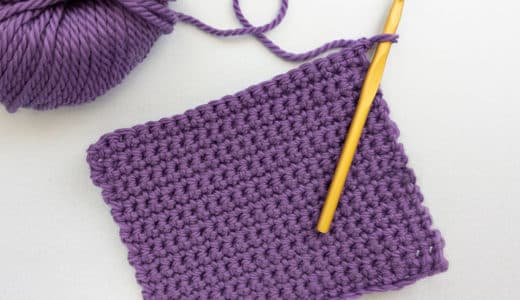
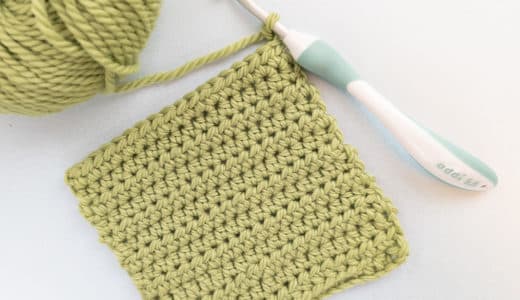
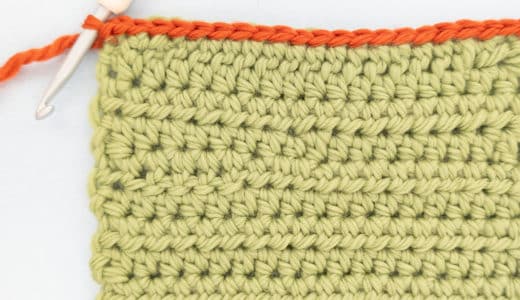
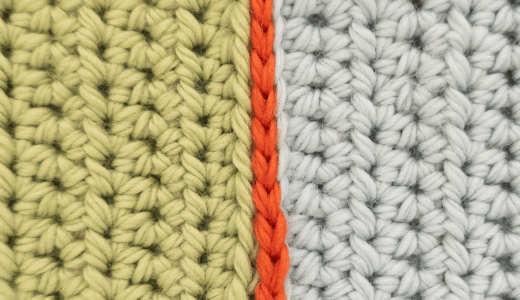
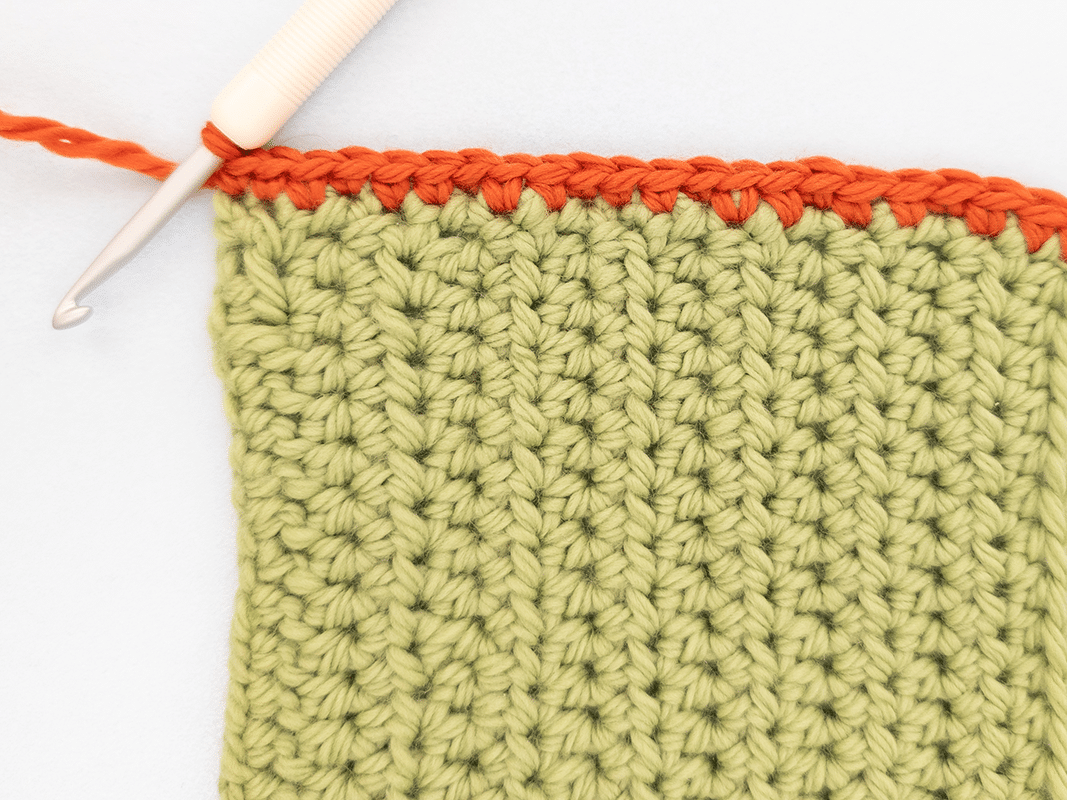
Edge stitches are additional stitches crocheted along the edges of a finished or unfinished crochet piece. They serve various purposes: they stabilise loose edges, create decorative finishes and allow several crochet pieces to be joined neatly. Unlike normal crochet, you do not insert into existing stitches, but directly into the edge of the crochet piece.
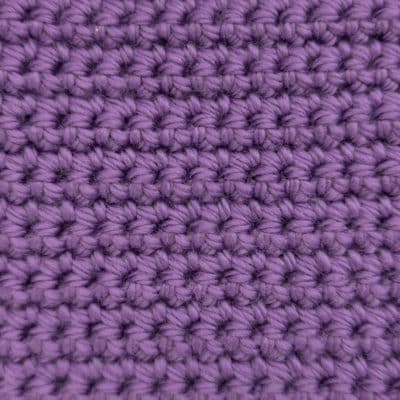
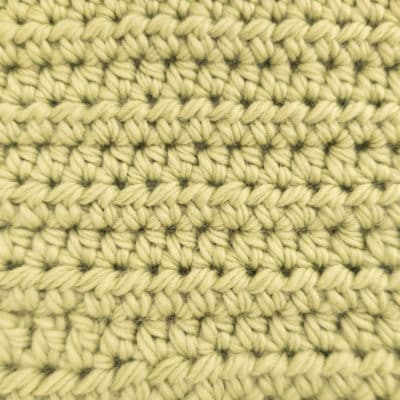
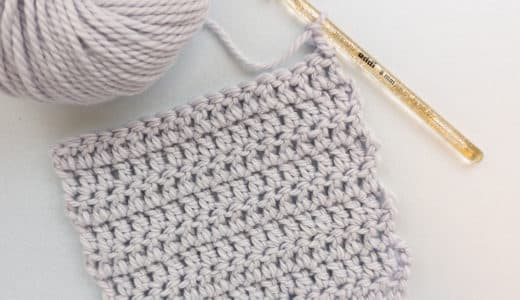
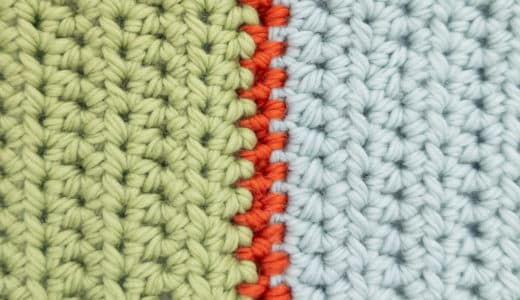
Any stitch you have learned can be used – whether single crochet as in this example, or slip stitches, double crochet or whole patterns created by combining several stitches.

What are edge stitches in crochet?
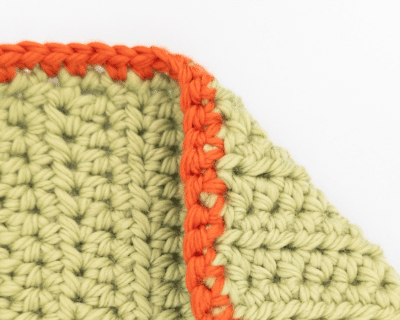
Edge stitches are additional stitches crocheted along the edges of a finished or unfinished crochet piece. They serve various purposes: they stabilise loose edges, create decorative finishes and allow several crochet pieces to be joined neatly. Unlike normal crochet, you do not insert into existing stitches, but directly into the edge of the crochet piece.
Any stitch you have learned can be used – whether single crochet as in this example, or slip stitches, double crochet or whole patterns created by combining several stitches.

Crocheting edge stitches:
Explained step-by-step
Inserting into the edge
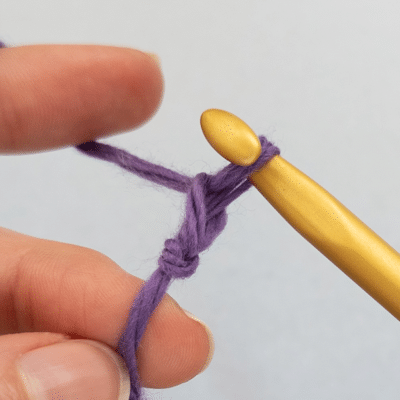
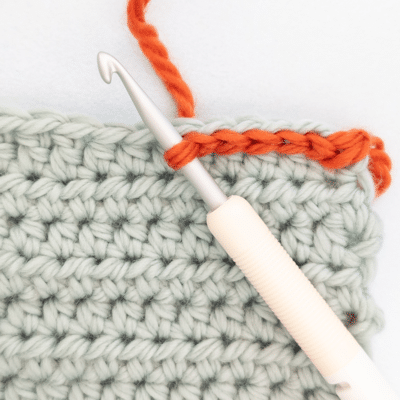
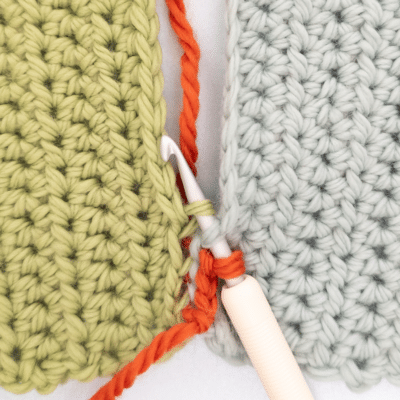
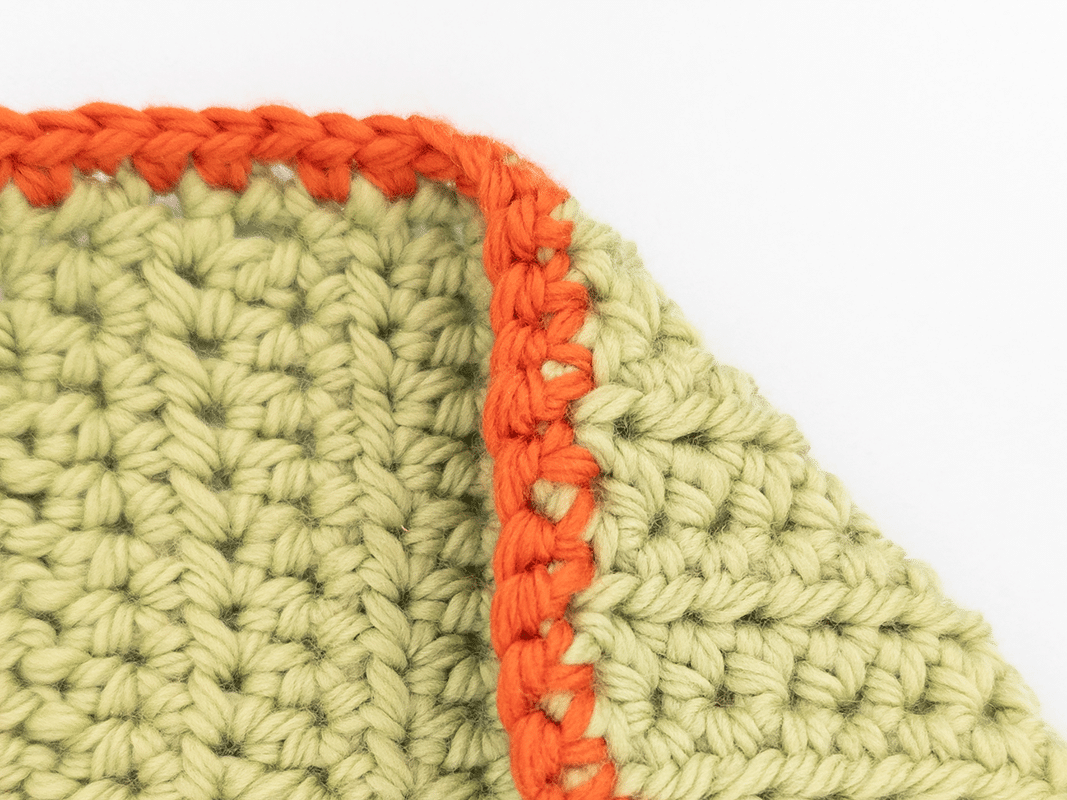
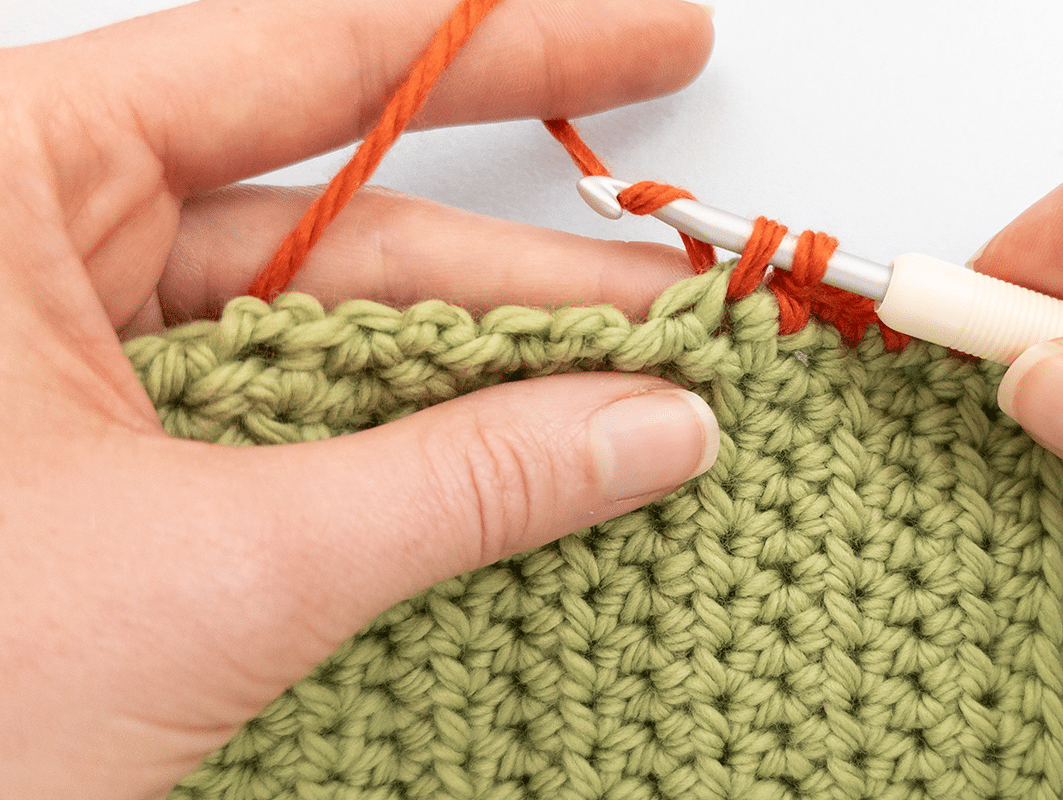
Insert the crochet hook from front to back through the edge of the crochet piece. You do not go through a specific stitch, but through the entire edge. The hook should be inserted about 2-3 mm from the edge.


Inserting into the edge
Insert the crochet hook from front to back through the edge of the crochet piece. You do not go through a specific stitch, but through the entire edge. The hook should be inserted about 2-3 mm from the edge.
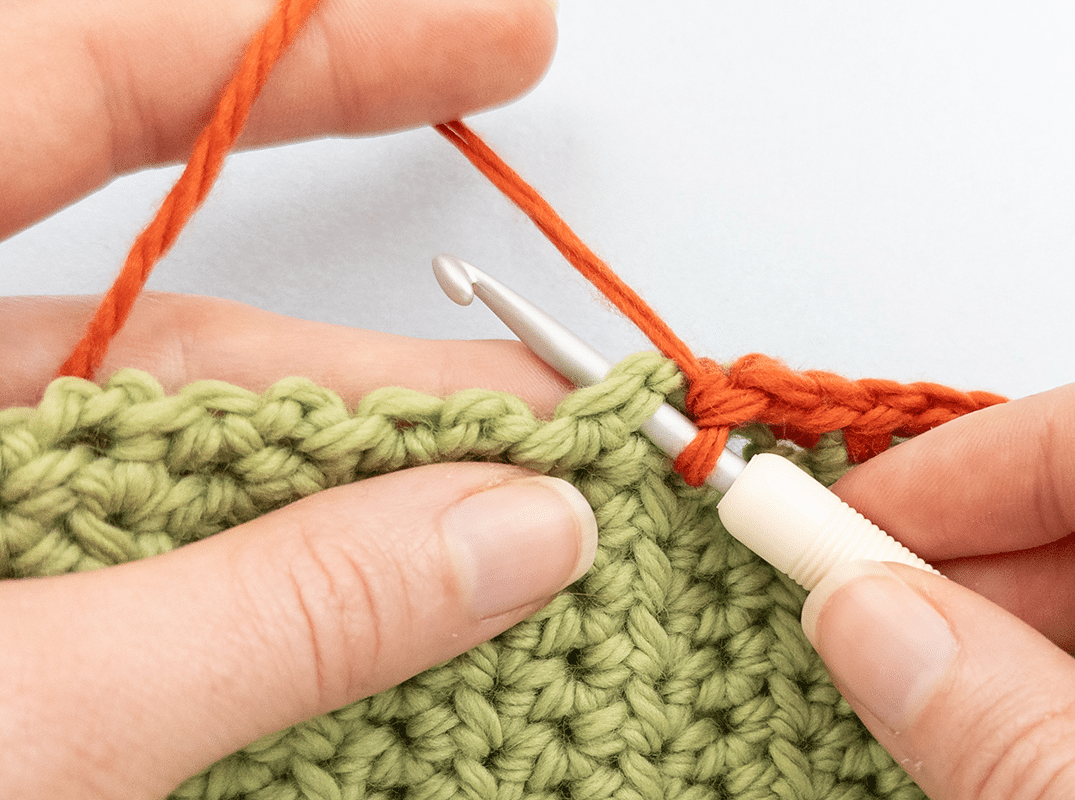


Pick up the yarn
Wrap the working yarn around the hook and pull it forward through the edge. Now there is one loop on the hook and another loop that was pulled through the edge – two loops on the hook in total.

Pick up the yarn
Wrap the working yarn around the hook and pull it forward through the edge. Now there is one loop on the hook and another loop that was pulled through the edge – two loops on the hook in total.
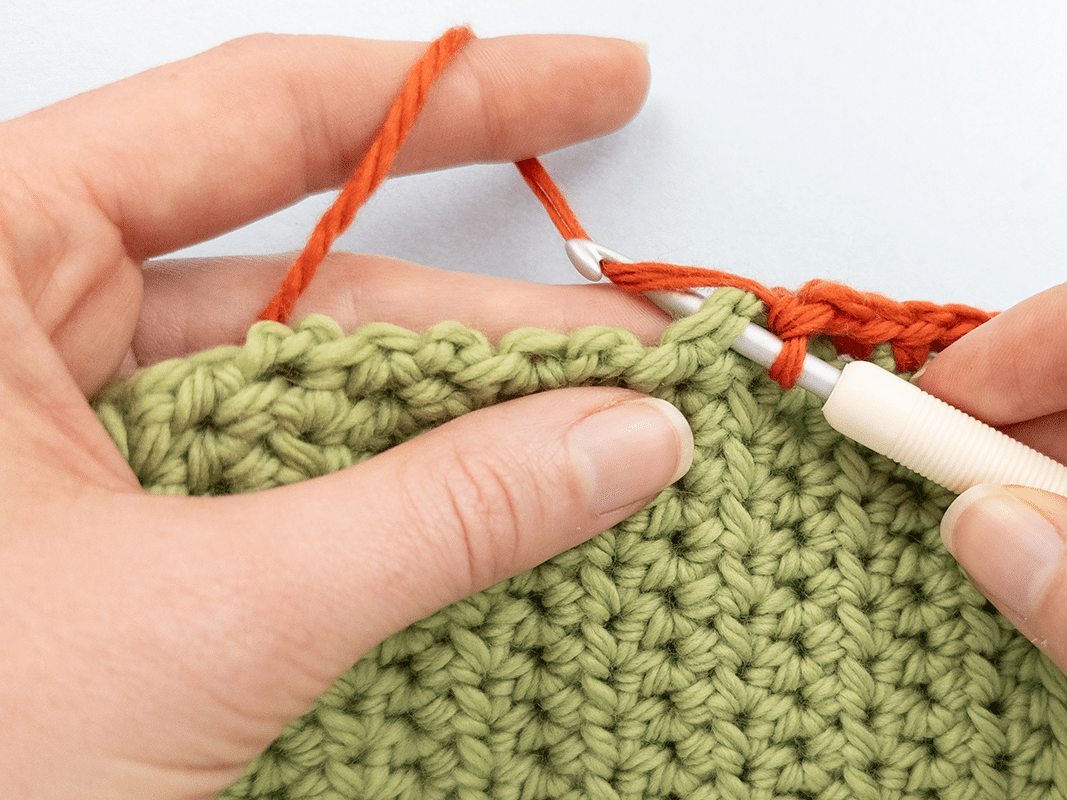
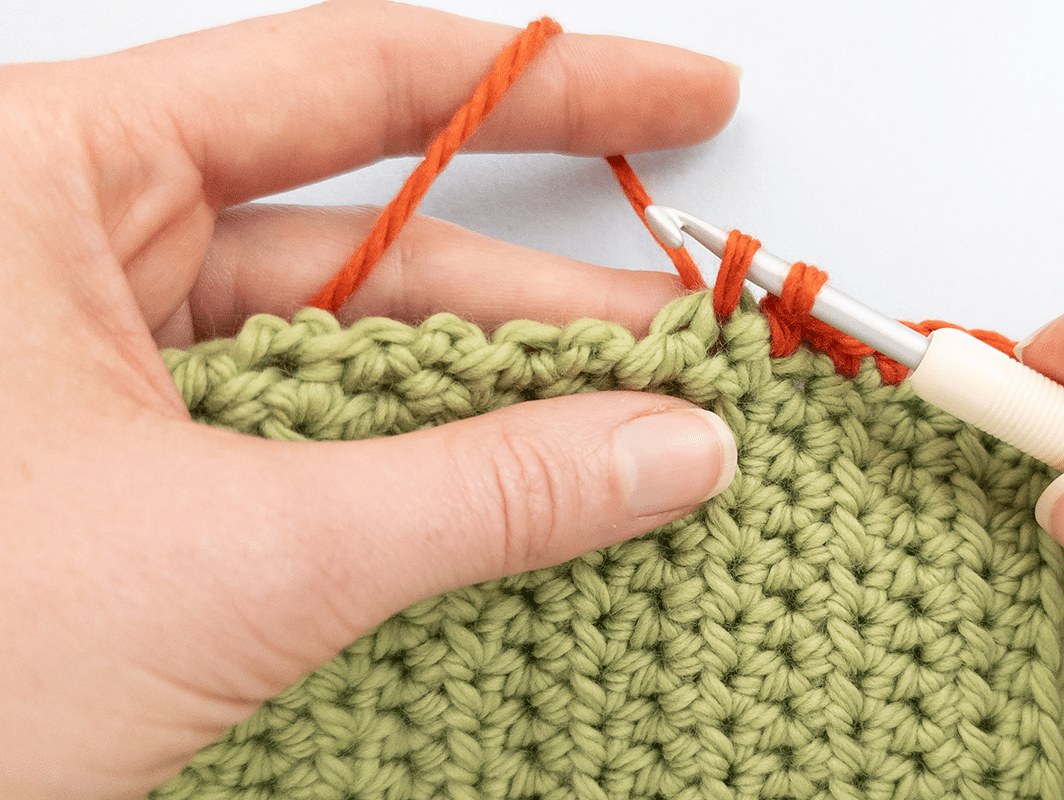
Complete the stitch
Yarn over again and pull through both loops on the hook.
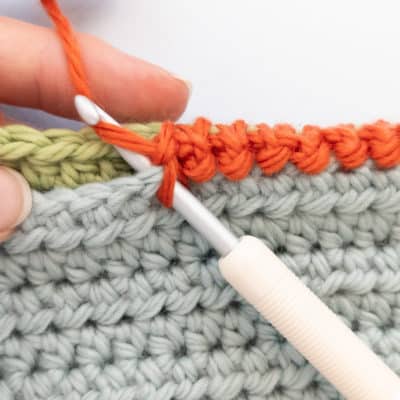
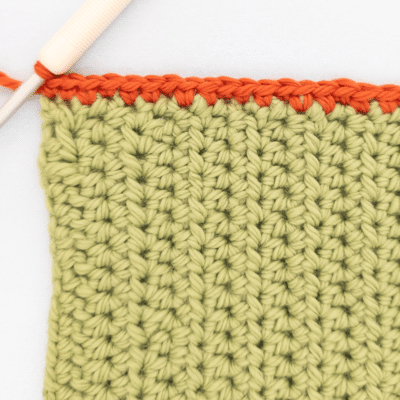
The first edge stitch (single crochet) is finished. Repeat this process along the entire edge and make sure the spacing between the insertion points is even.

Complete the stitch
Yarn over again and pull through both loops on the hook.
The first edge stitch (single crochet) is finished. Repeat this process along the entire edge and make sure the spacing between the insertion points is even.
Popular edge stitch techniques
Basic techniques
Single crochet: The classic variant for stable, even edges. Ideal for beginners and universally applicable.
Half double crochet: Creates slightly taller edges and is well suited to thicker yarns or when more volume is desired.
Double crochet: For even taller, looser edgings, particularly decorative on scarves and shawls.
Special techniques
Crab stitch: Crocheted from left to right and creates a wavy, very decorative edge.
Shell edge: Several double crochets in one insertion point create shell-shaped embellishments.
Picot edge: Small chain loops between the edge stitches create a delicate, lace-like finish.
Crocheted edge stitches – video tutorial

By loading the video you accept the privacy policy of YouTube.
Learn more