Knitting dishcloths in a seed stitch
It's easy to knit a dishcloth yourself - ideal for beginners. With a few loops on the knitting needles you can quickly create a sustainable dishcloth.
How to do this is explained step by step with all the technics.

The cast on
Step 1 – required tail length
The here explained Longtail Cast On is the most commong stitch cast. To do this, a tail for the required number of stitches must be determined, first. For this purpose, the yarn is wrapped around both needles as often as the number of stitches to be casted on.
For the dishcloth in the example, 33 stitches will be casted on. This means the yarn is now wrapped 33 times around both knitting needles. This is the length of the required tail. Just to make sure, add a few more centimeters. The wrapping has to be undone afterwards.
Step 2 – How to hold the yarn while cast on
Now the actual cast on begins. After the unwound tail part (required tail length of step 1), the yarn is picked up with the helpf of the right hand on the left hand as follows. This means, that you do not simply pick up the yarn end, instead right before the part after the previously determined tail. The determined tail incl. the yarn end is situated on the right side, the yarn ball with the working yarn is on the left.
The yarn comes from behind between the pinkie and ring finger. Wrap it once around the pinkie.
Then the yarn goes behind the fingers and wrap around the index finger once.
Step 3 – cast on 33 stitches
- Insert both needles from below in the thumb loop and tilt the hand slightly forward.
- Now catch the yarn that is on your index finger with the knitting needles and pull it through the loop.
- Release the thumb from the loop (the other fingers remain in the position) and tighten the stitch created on the knitting needle..
- Bring the thumb back on the yarn so that the thumb loop is formed again. Repeat this procedure until a total of 33 stitches are casted on.
Nadel- & Fadenhaltung
Now one knitting needle is carefully pulled out of the stitches. The stitches are on the left knitting needle, turn the knitting needle so that the start and end yarn are at the needle tip.
The working yarn comes from the ball, lies behind the project and is wrapped around the index finger a few times. It should be not too tight and not too loose to the knitting needle. This determines the tension and requires some practice. Make sure that the yarn can slip easily and that the index finger is not tied off. The end yarn simply hangs down. The right needle is empty.

Knit stitches
- For the knit stitch, the working yarn has to come from the back.
- With the point of the right needle, insert from left to right into the first cast-on stitch on the left needle.
- Catch the working yarn from behind with the right needle and pull it through the loop. It is possible using the middle finger to steer the yarn a little bit to help.
- Let the loop slip from the left to the right needle. The first knit stitch is done.
Video Tutorial the knit stitch by CraSy Sylvie.
The Purl Stitch
- For the purl stitch the working yarn has to be held in front of the project. Insert the point of the right needle from right to left
- Put the working yarn over the needle from the front to the back. The middle or index finger can help by pressing the working yarn slightly down.
- Pull the working yarn through the loop with the needle.
Video Tutorial purl stitch by CraSy Sylvie.
The pattern:
- Knit 1 right and 1 left stitch alternately.
- The last stitch is a right stitch.
- In the 2nd row, the back row, work 1 knit stitch and 1 purl stitch alternately, but the pattern is staggered, i.e. you work 1 purl stitch over 1 knit stitch.
The pattern:
- Knit 1 right and 1 left stitch alternately.
- The last stitch is a right stitch.
- In the 2nd row, the back row, work 1 knit stitch and 1 purl stitch alternately, but the pattern is staggered, i.e. you work 1 purl stitch over 1 knit stitch.
How can you recognize knit and purl stitches?
As a knit stitch faces you, it looks like a V and the purl stitch has a small horizontal bump.
Tip: If you might have problems with the purl stitch, you can also simply knit the dishcloth with knit stitches only.


How can you recognize knit and purl stitches?
As a knit stitch faces you, it looks like a V and the purl stitch has a small horizontal bump.
Tip: If you might have problems with the purl stitch, you can also simply knit the dishcloth with knit stitches only.
How to bind off
- The first two stitches are knitted as usual.
- Insert left knitting needle into the first stitch on the right knitting needle.
- This stitch is now pulled over the 2nd stitch on the right needle and lifted of the needle.
- This stitch is now cast off.


How to bind off
- The first two stitches are knitted as usual.
- Insert left knitting needle into the first stitch on the right knitting needle.
- This stitch is now pulled over the 2nd stitch on the right needle and lifted of the needle.
- This stitch is now cast off.
The cast off continues by knitting the next stitch from the left needle to the right and then the process of casting off on the right needle is repeated. When casting off, make sure that you do not knit and pull too tight.
Continue to cast off until there is one last stitch on the needle. Then cut the yarn and pull the tail through the last stitch to secure.
Weave Ends
Now all tail ends have to be weaved in. Weaving ends is preferably done on the back of a knitted project or on the edges. To do this, pull the tail through several stitches with the help of the yarn needle, then repeat it in the opposite direction. Finally, the remaining yarn is cut off close to the knitted piece.
Optionally: Crochet Edge
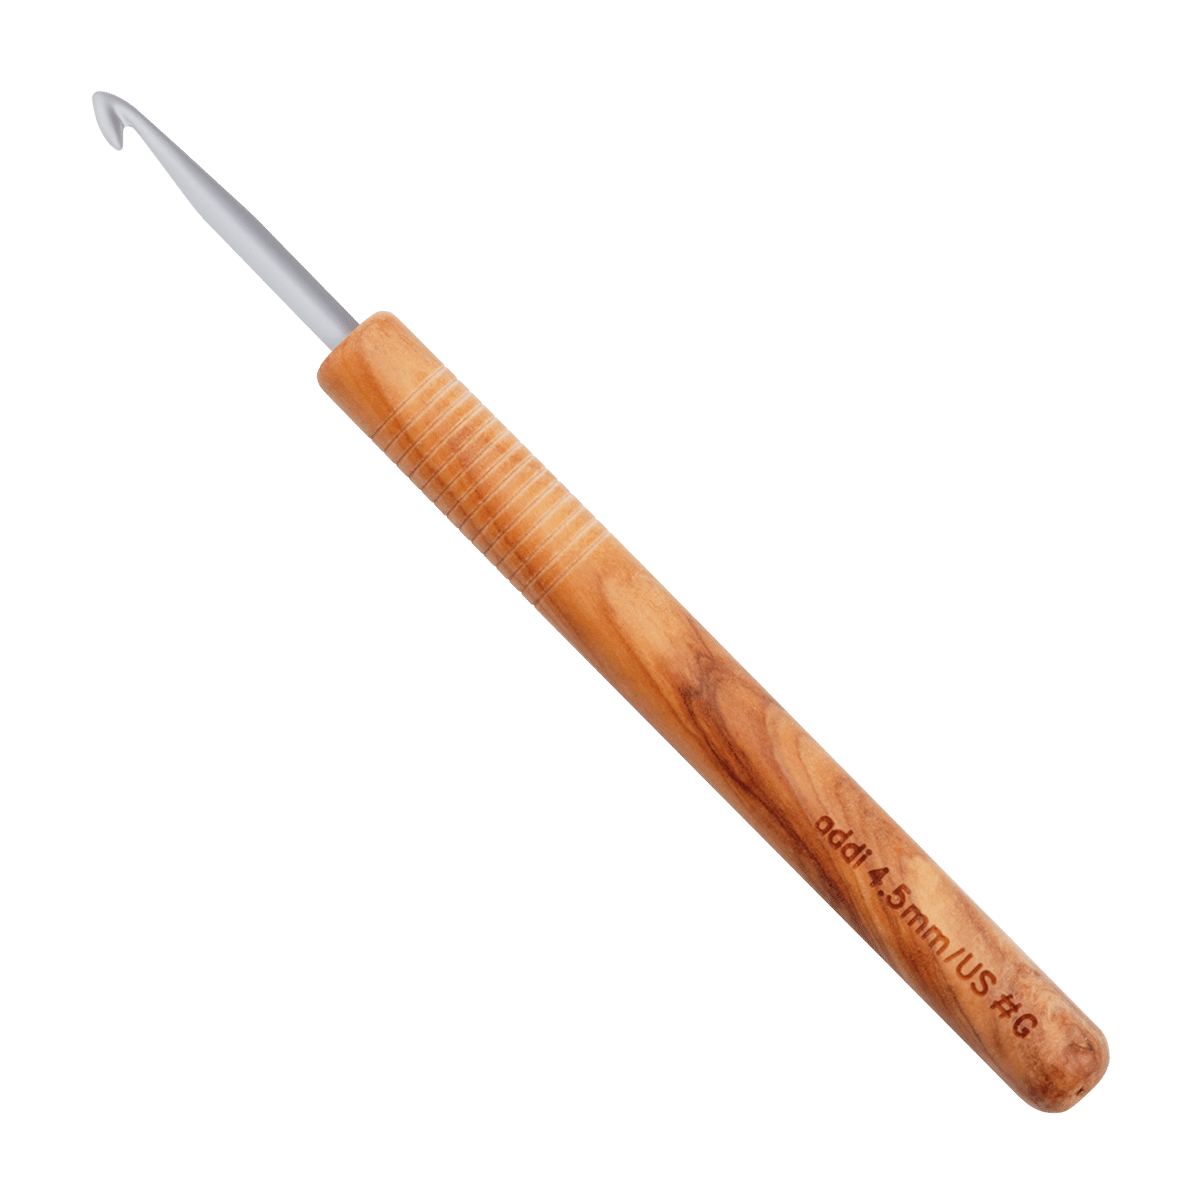
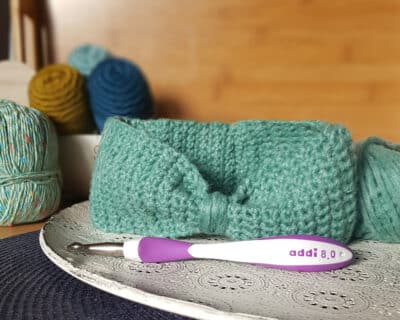
In the blog post “Learn to crochet with addi crochet hooks” is a description of how to crochet single crochet.
With the same or a different color, but with the same yarn thickness, attach the yarn in one corner with the suitable crochet hook (in the example hook size 4). Crochet 3 single crochet in the corner.
Crochet the edge of the dishcloth further with single crochet and 3 single crochet in each corner. Close the round with one slip stitch. Secure the yarn and weave in ends.
With this, the dishcloth is ready.
Congratulations on the first finished knitted piece.
Desire to knit more?
The dishcloth is a great start.
Perhaps you are now in the mood to tackle further knitting projects? Understandable, because so many beautiful things can be created by knitting.
Desire to knit more?
The dishcloth is a great start.
Perhaps you are now in the mood to tackle further knitting projects? Understandable, because so many beautiful things can be created by knitting.
Have fun learning to knit!
The most important thing is, when learning how to knit, is that you need patience. It certainly takes some time to get a perfect stitch structure. But, as is well known, practice makes it perfect. Just enjoy the process.
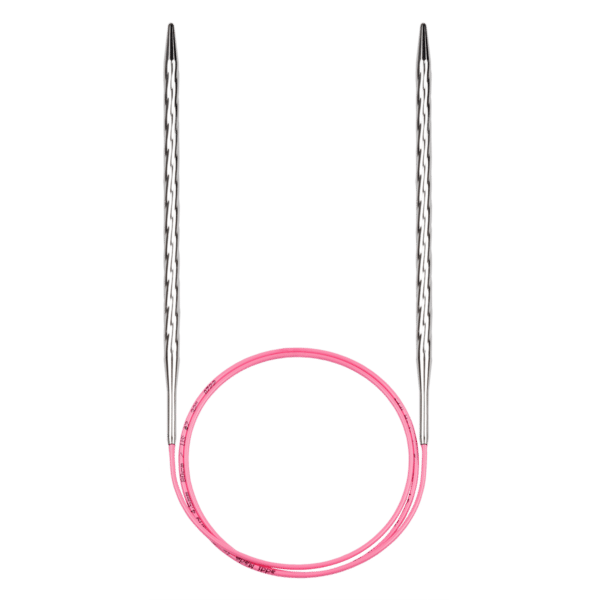
The addi knitting needles are loyal companions for any knitting project.
