Learn how to knit - The guide for beginners
Learning how to knit may seem challenging at first glance, but with a little practice, you will master the basics in no time. We will help you learn how to knit – step by step. In our guide for beginners, we will show you the basics of knitting, featuring tips and tricks as well as easy knitting patterns that will help you successfully carry out your first knitting project.
Basic techniques - when learning how to knit
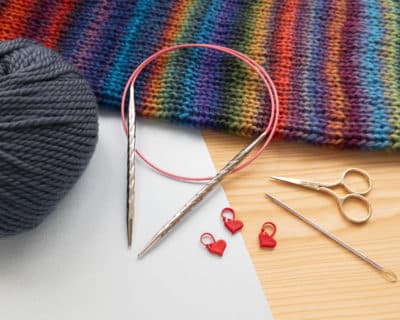
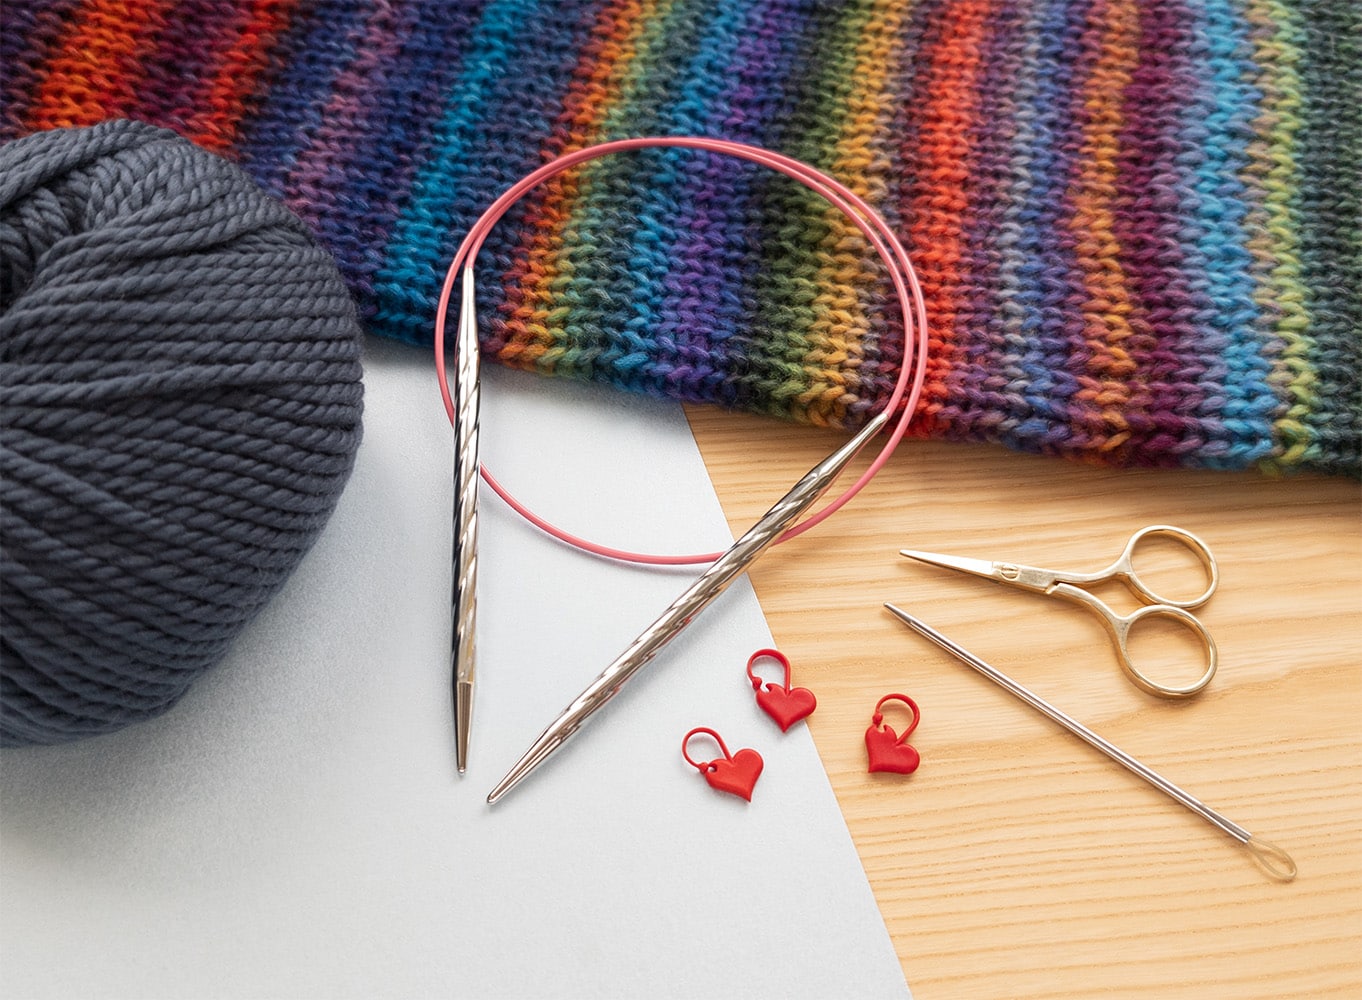
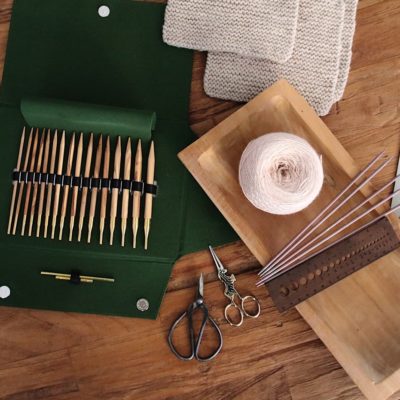
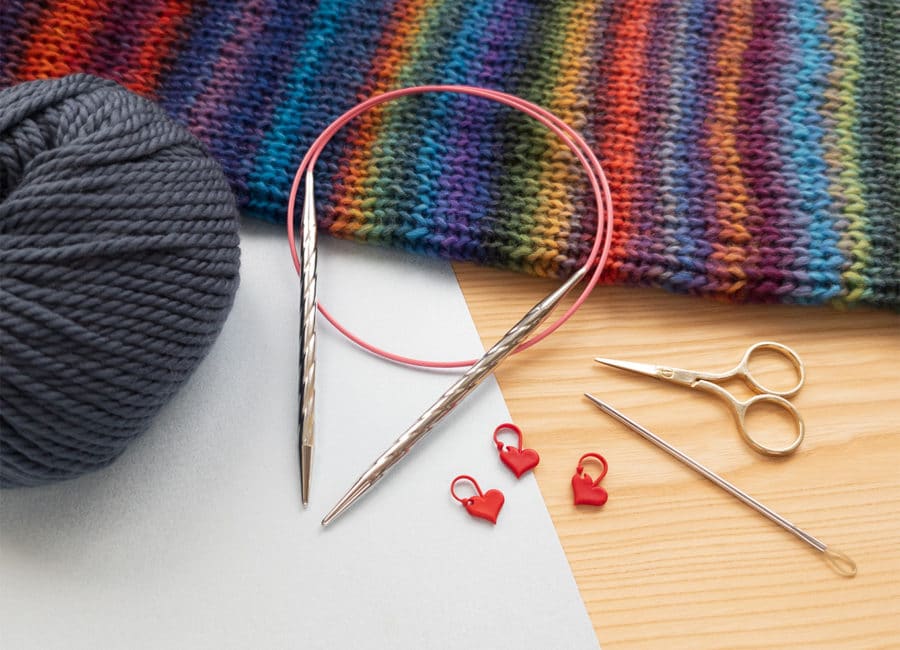
To start knitting, you only need three things: knitting needles, matching yarn and an easy knitting pattern. There are, however, some handy little helpers you may want to purchase before you start. With the following basic equipment, you are all set for your first knitting project:
Here you will find an overview of our Knitting Needles & Knitting Accessories.
Choosing the right yarn
There is a wide variety of yarn to choose from, regarding fibers and yarn weight, which can be overwhelming for beginners. However, it is a lot less complicated than it may seem. Most importantly, your yarn needs to match the size of your knitting needles. Therefore, we recommend buying yarn and needles together.
Our tip for new knitters:
- Use a medium-weight yarn and needles size 4,50-6,0 millimeters (US sizes 6-10). A yarn of this weight makes it easier to identify and check the stitches than lighter yarns, as it is easier to handle than very bulky yarn and allows the use of needles that aren’t too big and might be awkward to handle.
- It is recommendable to work with brighter colors as knitted stitches are easier to recognize.
- In addition, the following are suitable Blended yarns (e.g. with merino or other wool) are suited best for beginners, as they glide smoothly over your needles and provide a certain elasticity. Thus, they are easy to knit with, even when your stitches are still a bit tight.
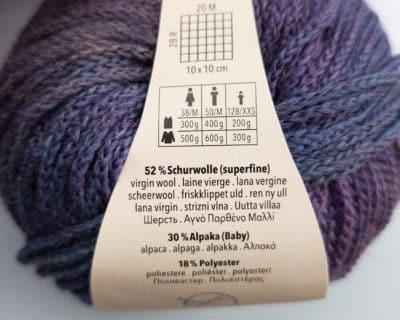
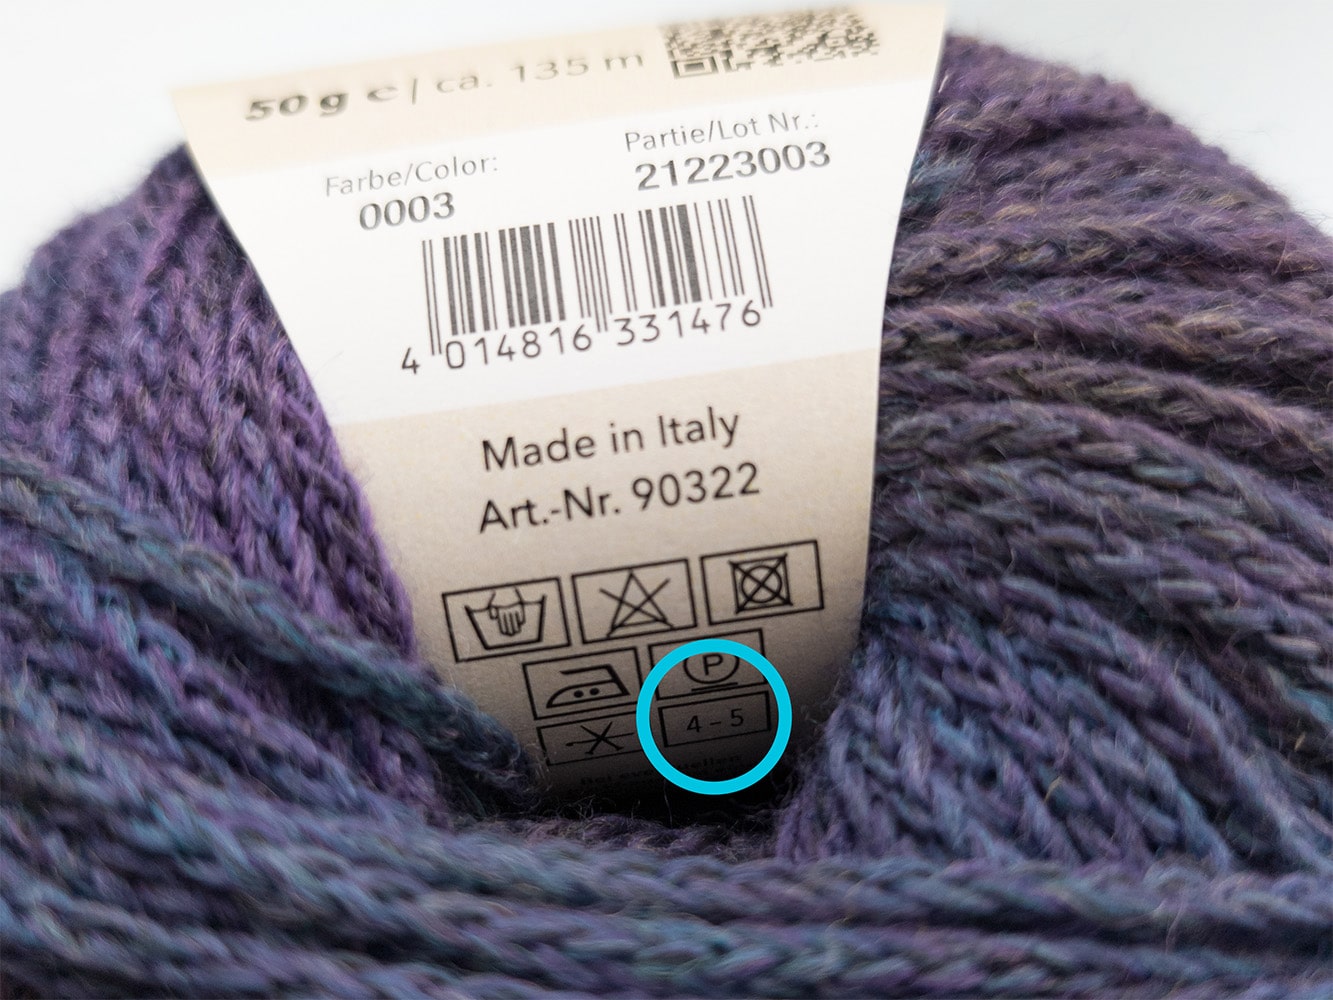
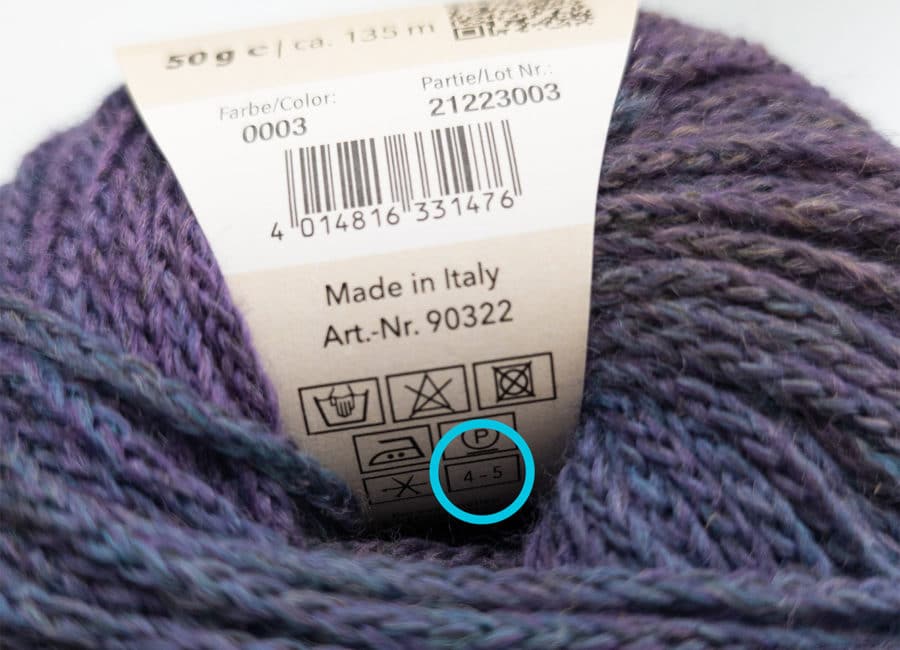
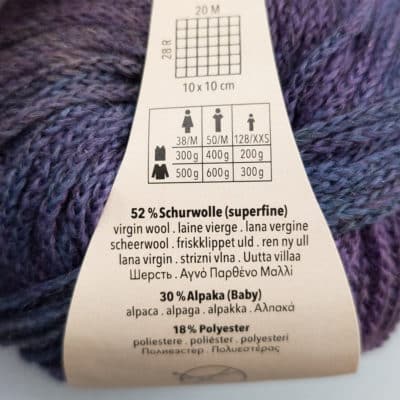
Information on the yarn label:
- Yarn weight: Describes the thickness of the yarn and is often indicated as the number of meters/yards in relation to weight (e.g. 135 meters per 50 grams).
- Recommended needle size: the ideal needle size to achieve the indicated gauge and an even, smooth result (shown as a number next to a knitting needle symbol, circled in this image).
- Gauge: Gives the number of stitches (sts) and rows (r) in a knitted square of 10 cm (4 in). This information helps you achieve the correct measurements and fit of a knitting project (with the indicated needle size in stockinette stitch). It is indicated with a square stating the number of stitches and rows.
- Color and lot number:The specific color name or number to identify the tone and the dyeing lot.
- Composition:Details on the fibers used for this yarn, e.g. wool, cotton, acrylic or blends.
- Care:Care instructions for the yarn, like washing, drying and ironing
Tip: It’s recommendable to keep the yarn label. If you run out of yarn during knitting, you can easily order more with the help of the color lot numbers.
Choosing the right knitting needle
Always choose a needle size that matches the yarn. Finding the correct knitting needle for a project is just as important as selecting the right yarn. When deciding which needle to use for a particular project, you shouldn’t only consider the chosen yarn and the knitting techniques employed, but also your personal preferences and the feel during knitting. Here are some aspects to consider:
Types of knitting needles
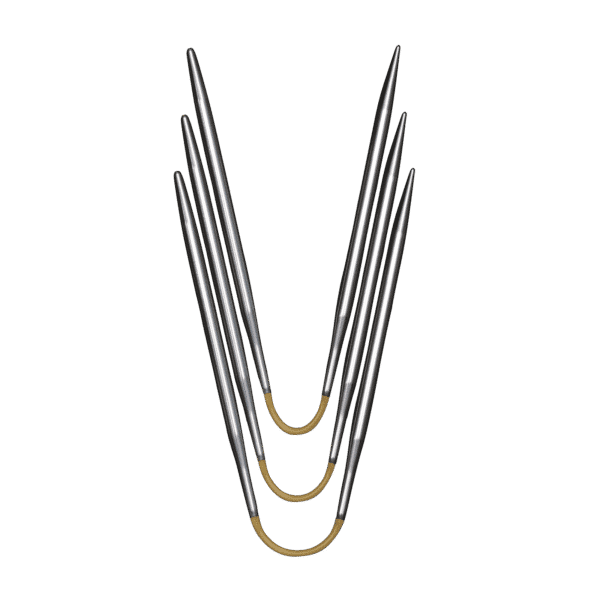
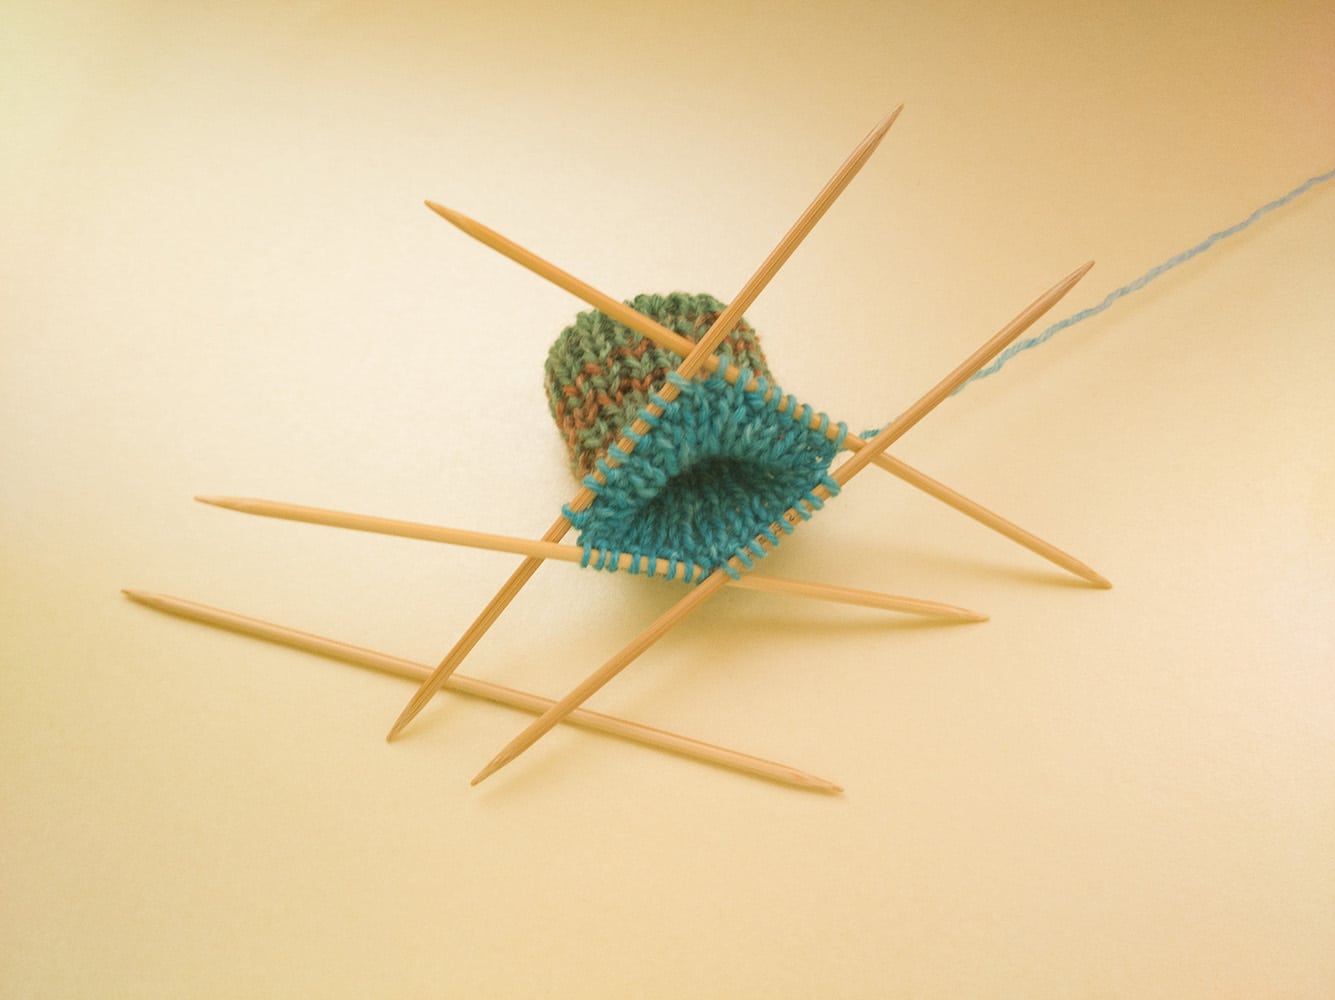
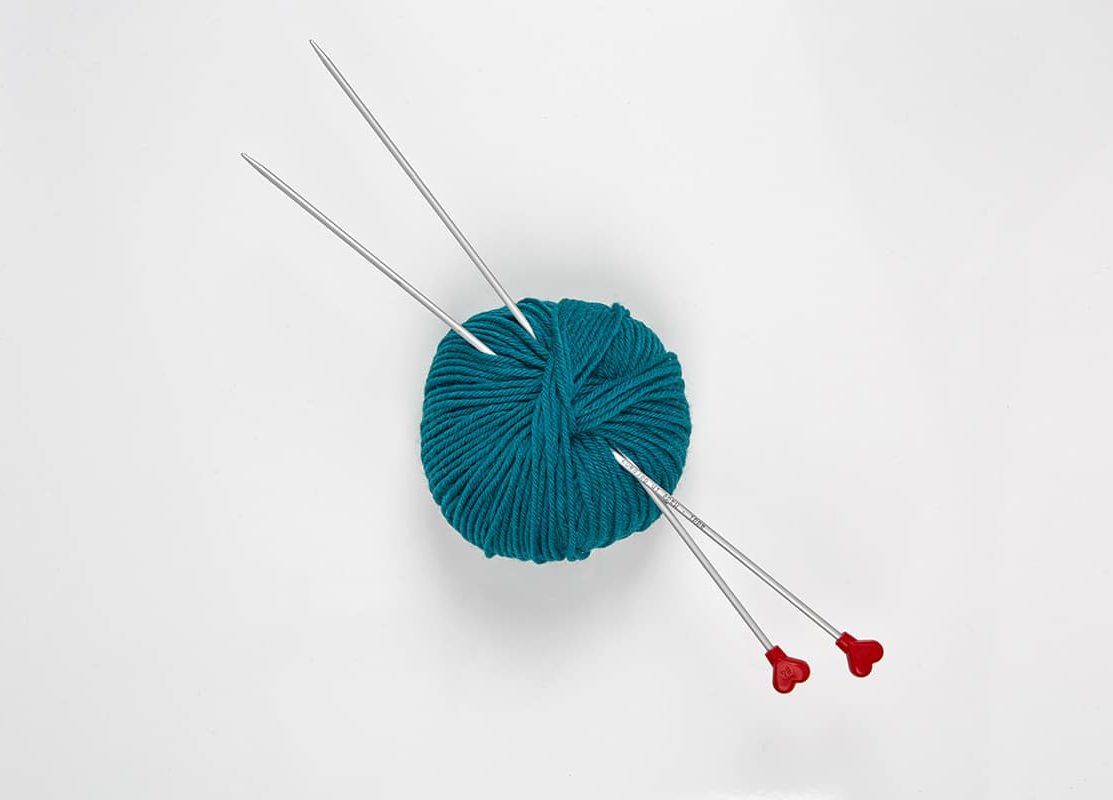
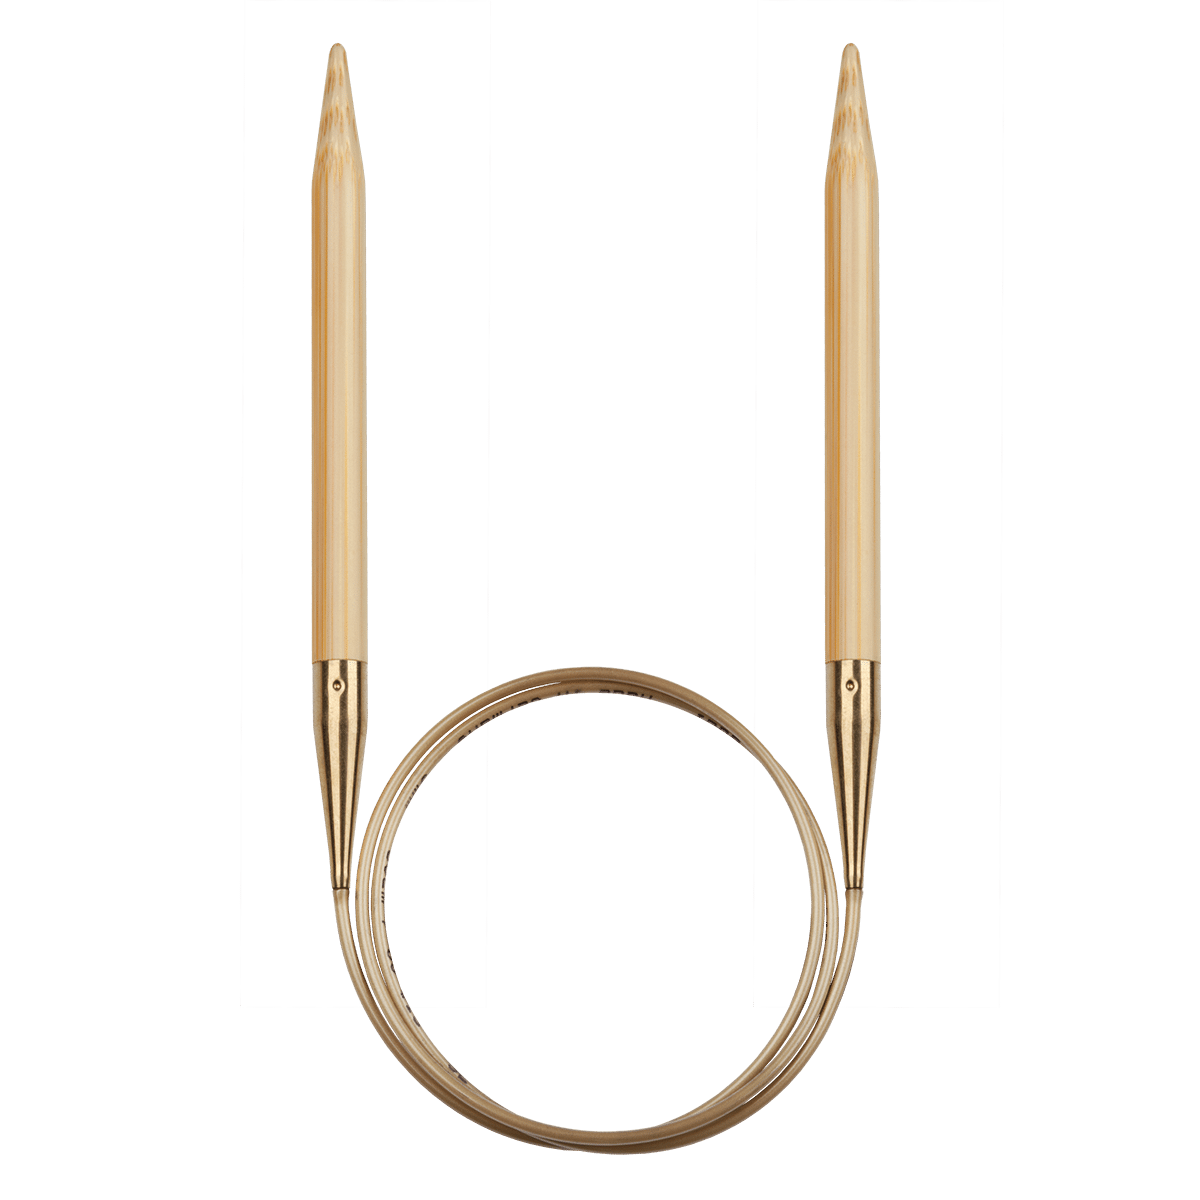
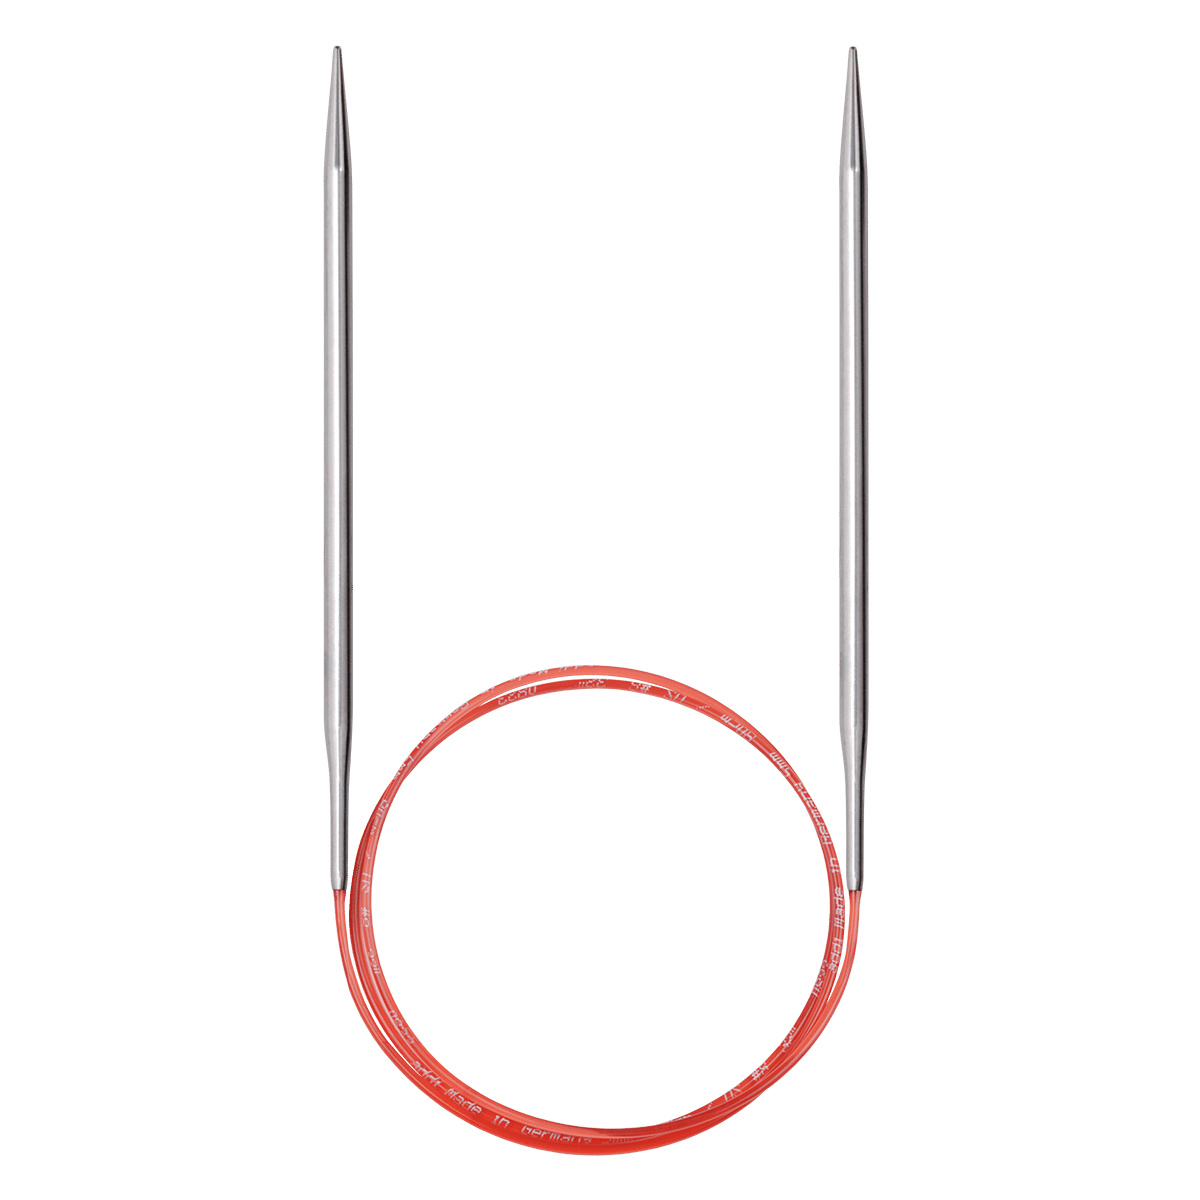
There are generally three different types of needles: circular needles, double-pointed needles and classic straight needles. Circular needles are an excellent choice for your first project. As the name suggests, circular knitting needles are particularly suitable for knitting in rounds, e.g. for hats, loop scarves and jumpers. However, you can also use them to knit flat in rows, making them perfect for projects such as dishcloths, pot holders, blankets and scarves.
Here is an overview: Why are there different types of knitting needles??
Which material is suitable for beginners?
Knitting needles are available in many different materials, including synthetic materials, metal, wood, and bamboo. Every material has advantages and disadvantages that every knitter perceives in their own way.
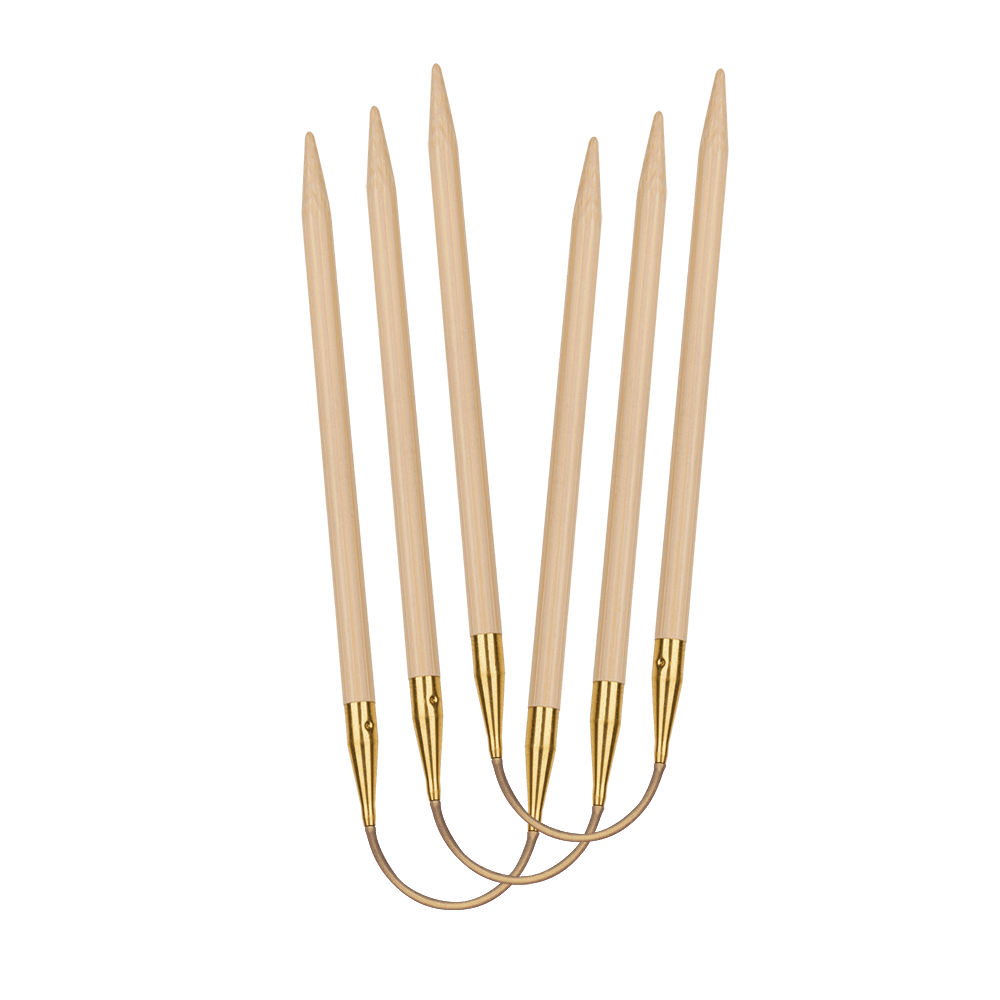
For beginners, Bamboo knitting needles or Metal needles are an excellent choice. They are not only affordable, but also very sturdy and durable. On the downside, they can be slippery, which might make knitting harder for beginners. In these cases, wooden needles or bamboo knitting needles are better suited. They have a warm feel, combining the pleasant touch and sustainability of regrowing bamboo with an accessible price.
Our tip:
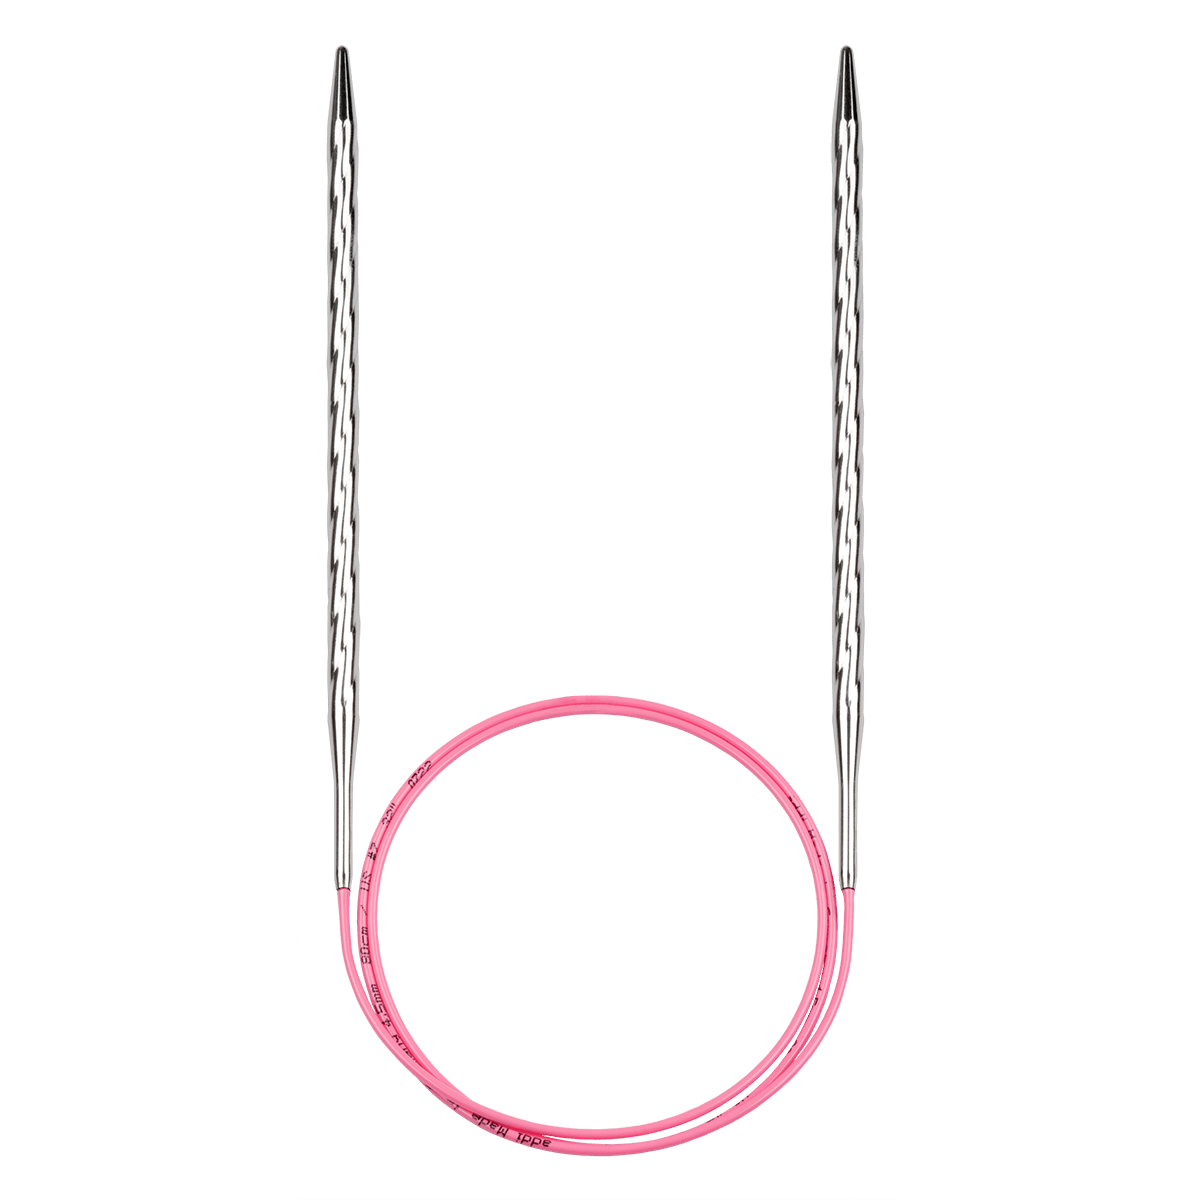
- The addiNature Bamboo circular knitting needles with 80 cm (32 in) length and 4.5 mm in diameter (US 7) are made of metal and allow the stitches to travel easily.
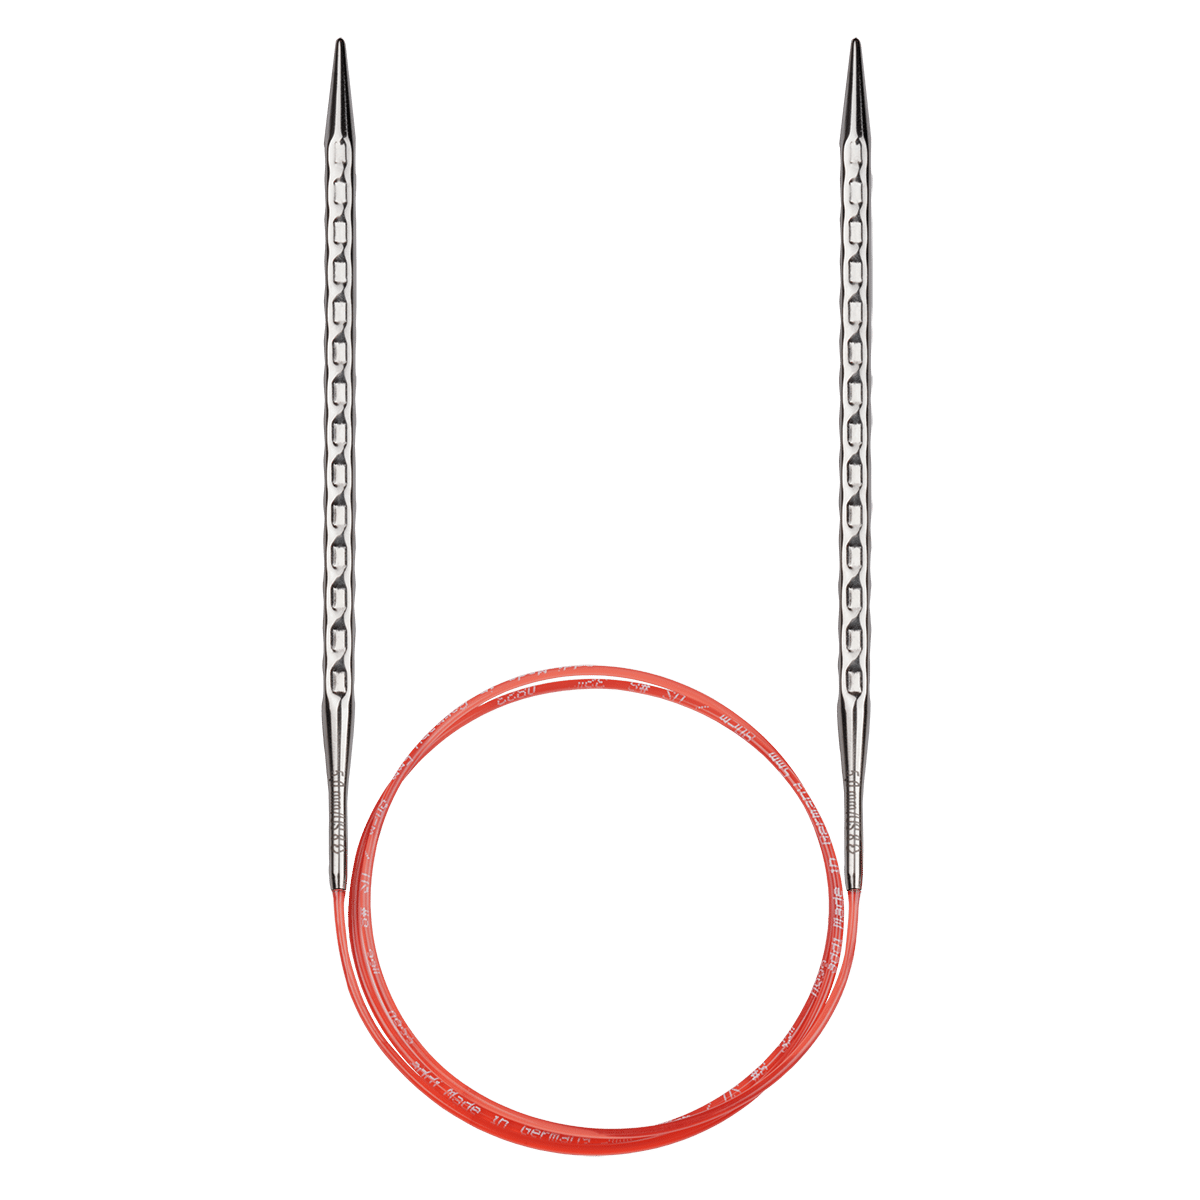
- The addiUnicorn circular knitting needles with 80 cm (32 in) length and 4.5 mm in diameter (US 7) are made of metal and allow the stitches to travel easily.
Here you can find detailed information on the different materials: Which knitting-needlematerial is the right one for me?
Welche Stricknadel passt zu dir?
In diesem ausführlichen Video erfährst du mehr zu den Vorteilen und Argumenten für unterschiedliche Stricknadeln und Materialien.
Basic techniques - learning how to knit
The techniques explained here are the fundamentals of knitting – even for the most sophisticated patterns. Before working with complex patterns and techniques, though, you should learn the basics. This includes casting on stitches, maintaining the correct position of hands and fingers, knitting and purl stitches, as well as casting off stitches. Practice this until you feel confident. Working on small pieces that are entirely for practice can be very helpful.
You should master the following knitting basics and patterns:
Casting on stitches: Long-tail cast-on
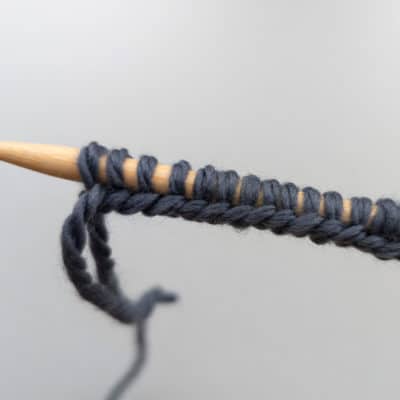
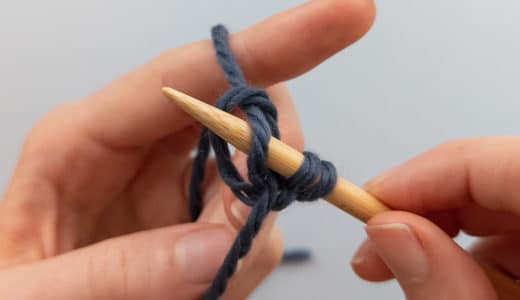
Every knitting project starts with the cast-on. There are numerous cast-on techniques, but for beginners, we recommend the long-tail cast-on. It provides a stable cast-on edge that still is a bit stretchy, making it suitable for almost any knitting project, such as cardigans, scarves, hats, or socks.
The long-tail cast-on-
stept by step
The long-tail cast-on, as described here, is the most common cast-on. First, unravel some yarn from the ball. The longer the yarn tail, the more stitches you can cast on.
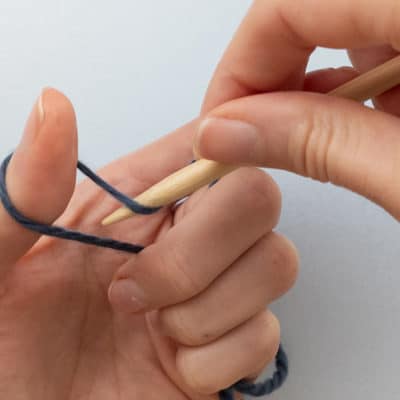
Step 1: Form a triangle
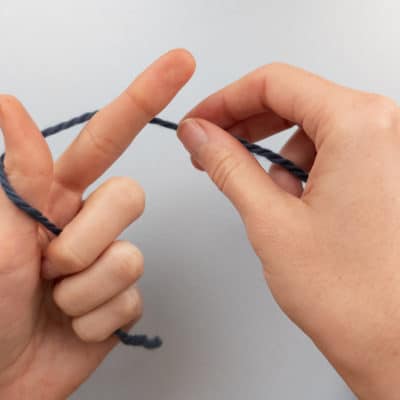
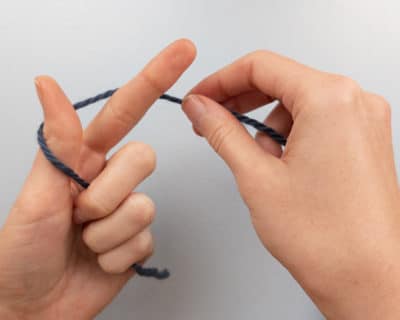
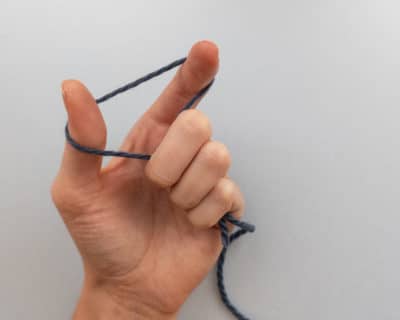
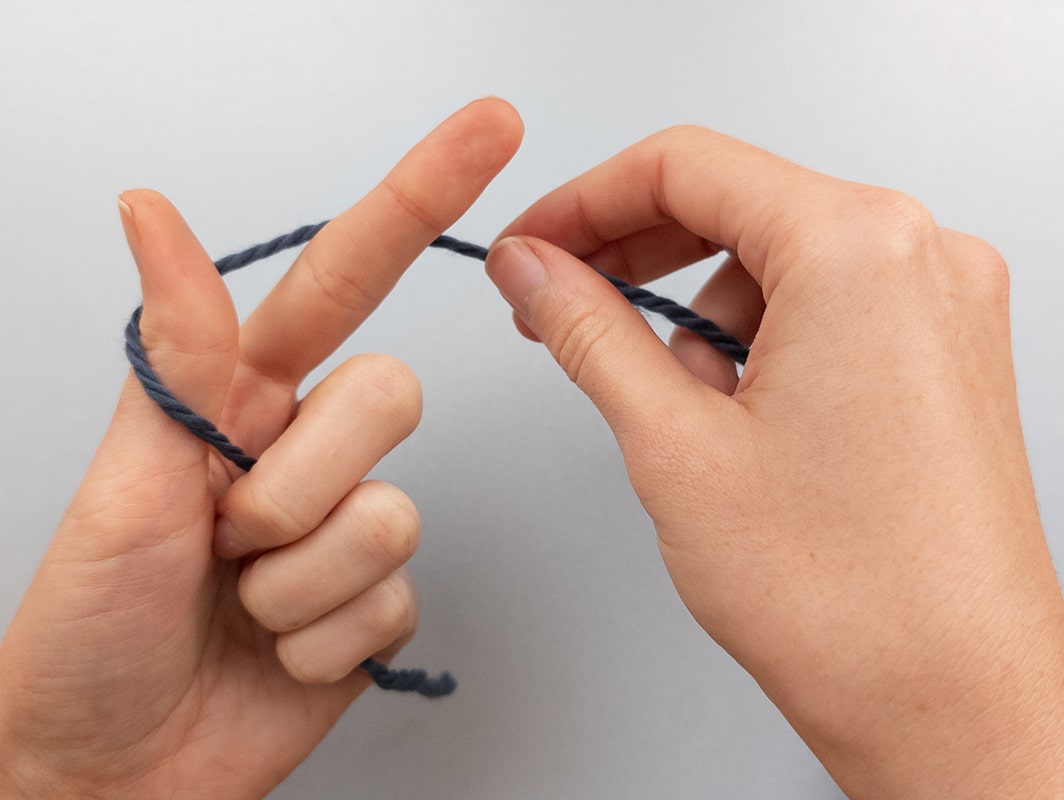
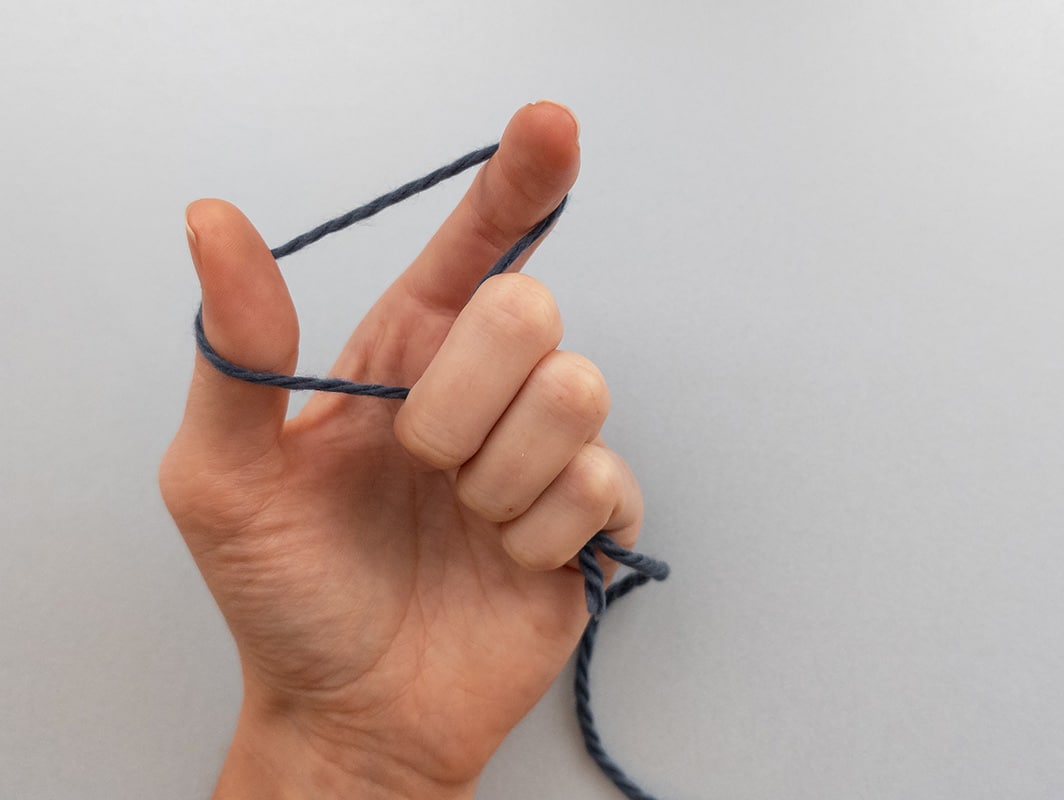
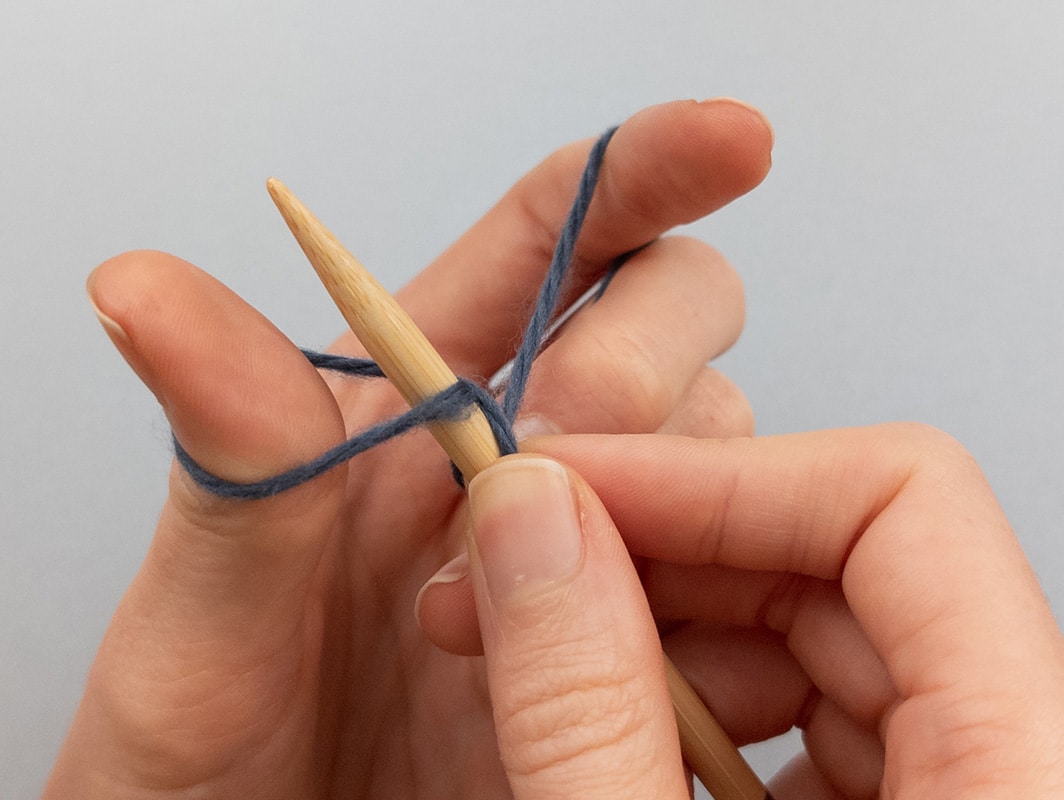
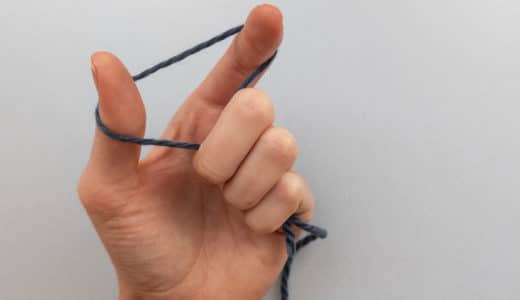
Lay the yarn left to right over the forefinger and thumb of your left hand, bringing it downwards behind the forefinger. Hold the yarn tail and the working yarn coming from the yarn ball in your palm, the yarn tail running in front of your thumb and the working yarn over your forefinger.
Hold the knitting needle in your right hand.
Now spread the forefinger and thumb of your left hand, forming the starting position for the long-tail cast-on
Step 2: Pull the working yarn through the loop
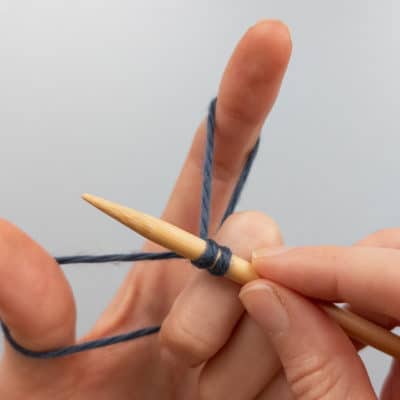
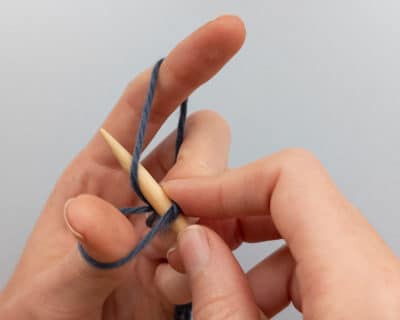
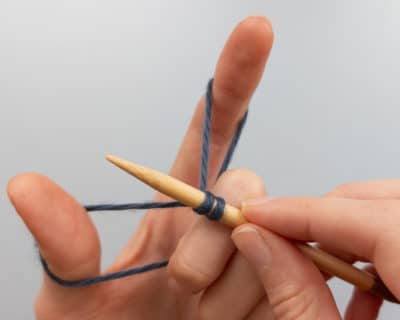
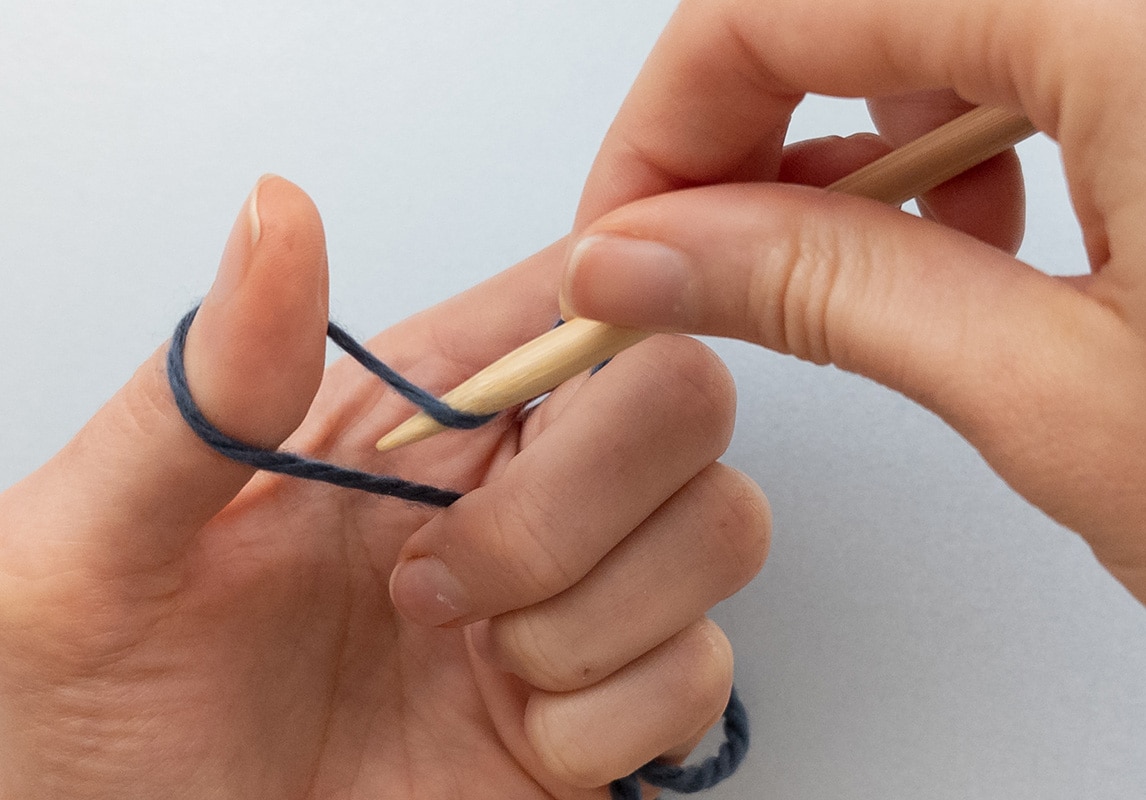
Pick up the knitting needle with your right hand and use it to push down the horizontal strand of yarn between thumb and forefinger. Insert the needle from below into the loop you have just formed around your thumb, catch the right strand and pull it through the loop. Then pull your thumb from the loop.
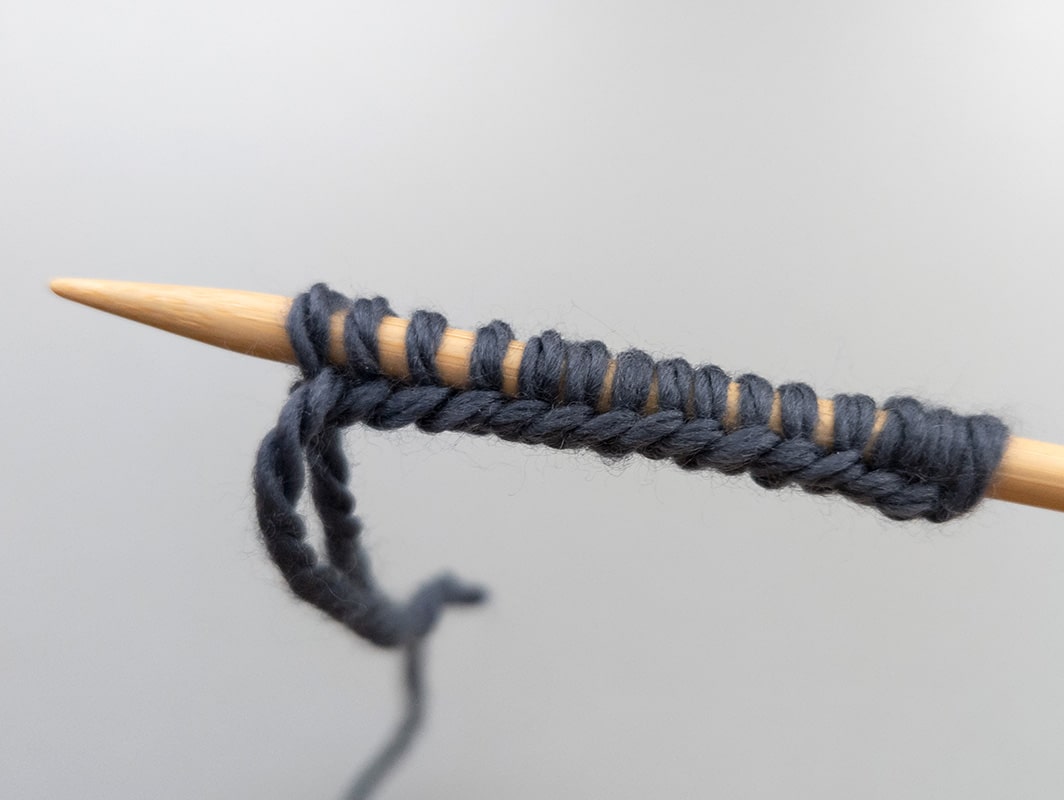
- Tighten the loops on your needle by pulling the yarn tail downwards. You have now cast on the first two stitches.
Step 3: Form a triangle again
- Lay the yarn tail around your thumb, left to right, in front of the needle, and hold it tight. Move the needle downwards.
Step 4: Cast on further stitches:
- To cast on more stitches, repeat steps 2-3 until reaching the desired number of stitches.
When you have the necessary number of stitches on your needle, you can start knitting your project.
Getting started with knitting:
The correct position of the hands and fingers
The correct position of the hands and fingers
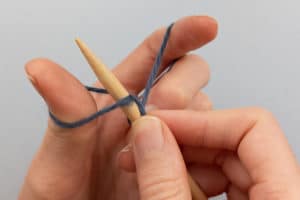
Before actually starting to knit, you should practice holding your hands and fingers in the correct position. You will need this to work the first stitch. The position of your hands is always the same, no matter which type of knitting needle you are using.
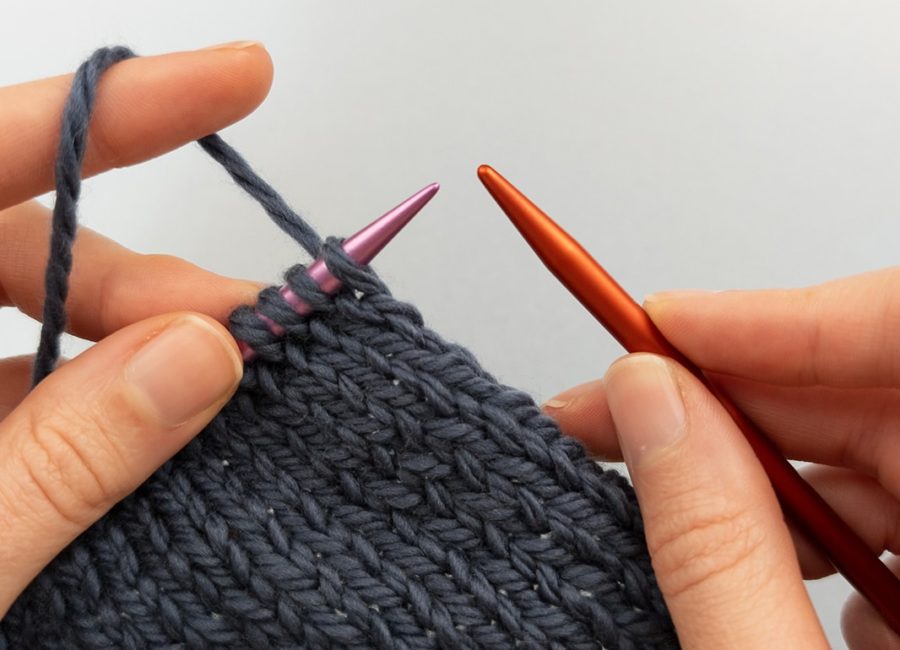
Left hand: With this hand, you hold the needle carrying the stitches and the working yarn. Wrap the yarn around your forefinger (or another finger) and hold it in the palm of your hand.
Right hand: With this hand, you hold the needle that forms the new stitches.
There are slightly different ways of holding your hands during knitting. Find the one that is most comfortable for you.
Knit stitches
Knit and purl stitches are the basis for a wide variety of patterns and knitting techniques. By skillfully combining them, you can achieve different patterns and textures. Knit and purl stitches are closely linked because, viewed from behind, a knitted stitch is a purl stitch, and vice versa. With only these two basic stitches, a diverse world of knitting projects and textures opens up.
What are knit stitches?
Knit stitches are one of the basics of knitting, and also the easiest stitch type, no matter which kind of needle you use. Knit stitches appear as a small V on the right side (front) of your knitting, while on the wrong side (back), they resemble a small bump.
Working knit stitches – step by step
Preparation and position of hands and fingers
- The cast-on stitches are lying on the needle in your left hand. The strand coming from your ball of yarn is at the beginning (tip) of the needle.
- Wrap the working yarn around the forefinger of your left hand and secure it with the rest of your fingers.
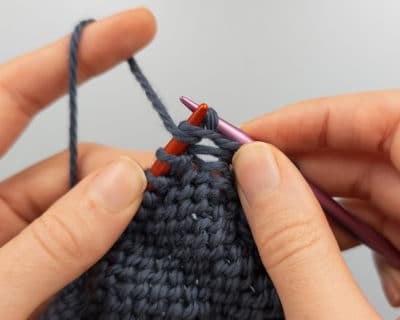
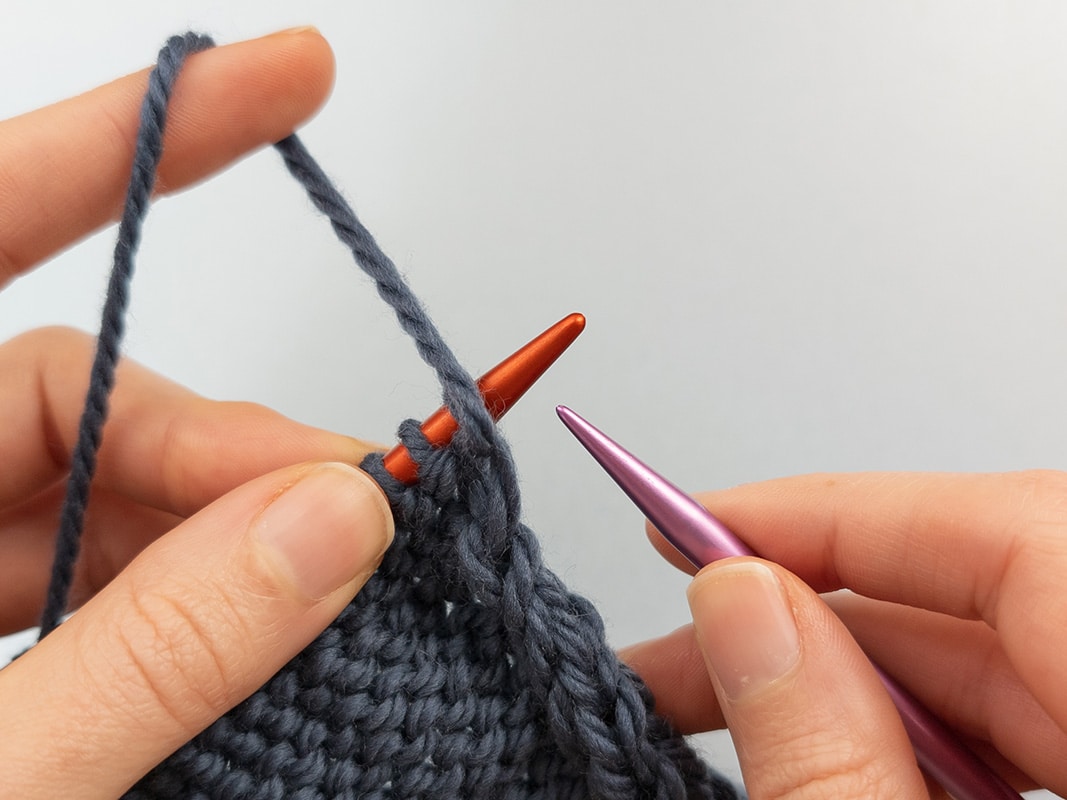
Step 1: Insert the needle in the stitch
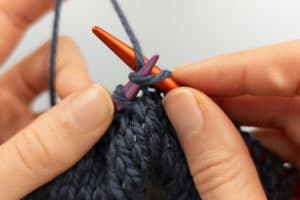
- Insert the right-hand needle front to back into the first stitch of the left-hand needle,
traversing the stitch and passing behind the left-hand needle.
- The right-hand needle should lie comfortably on your hand.
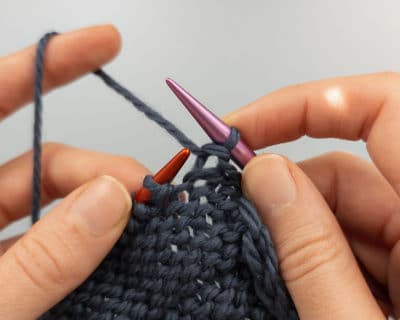
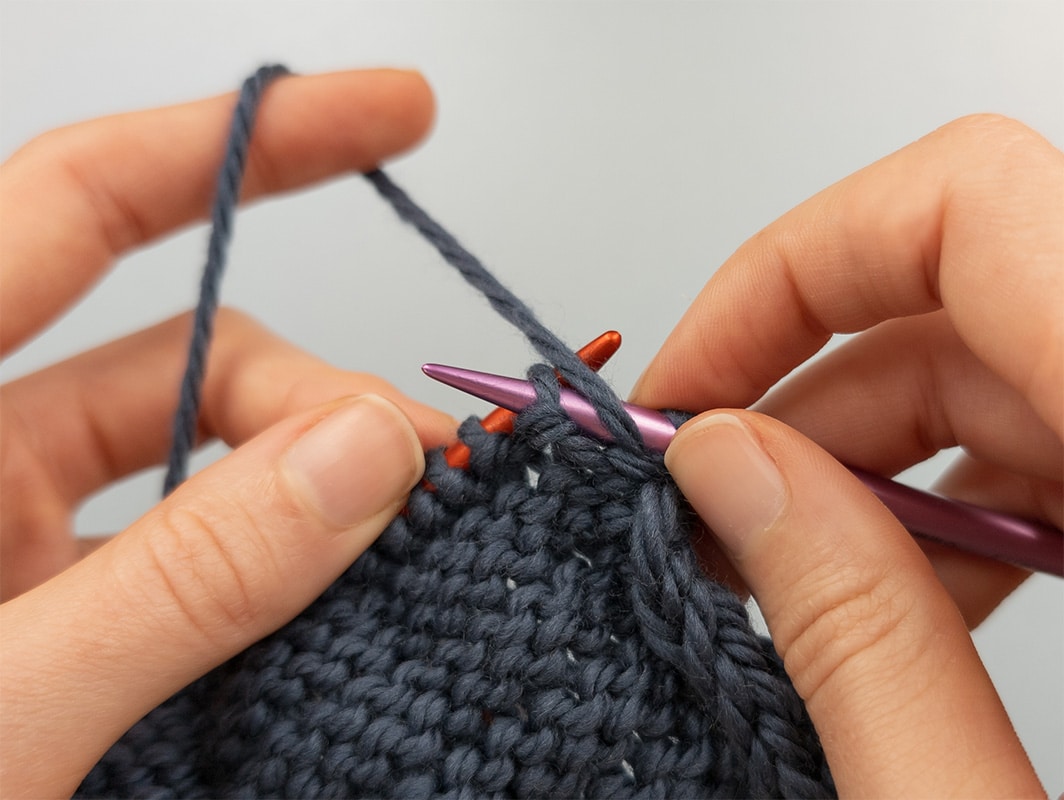
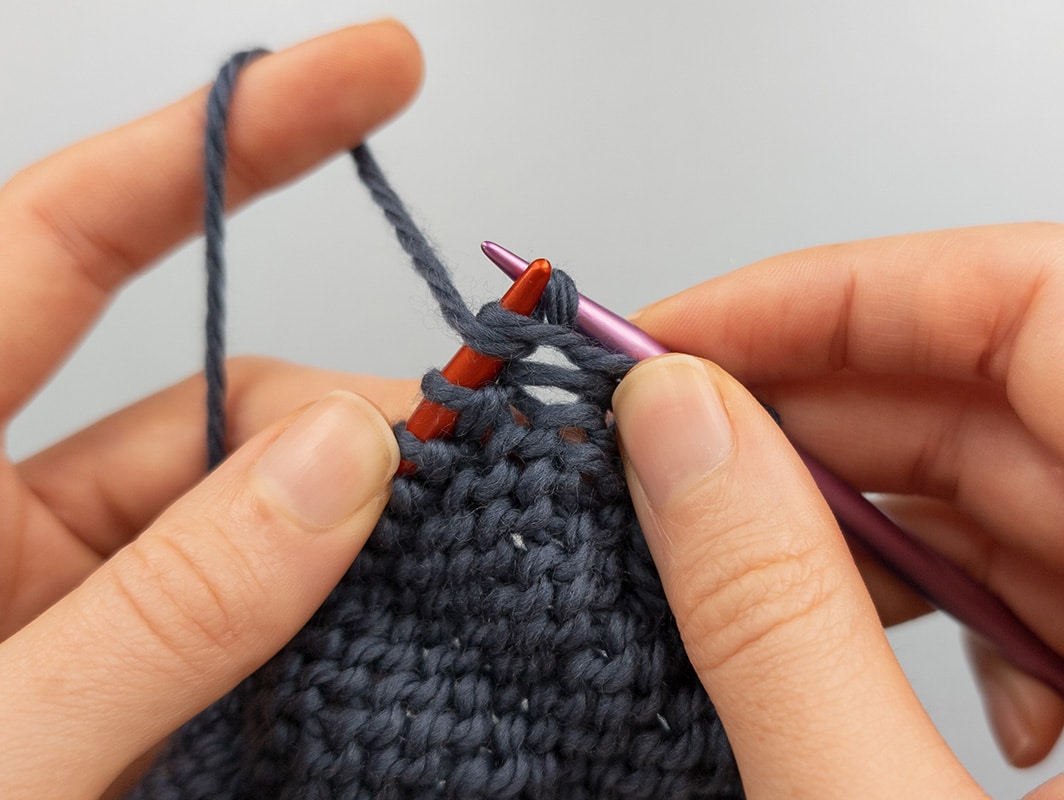
Step 2: Pull the yarn through
- Wrap the working yarn lying over your left forefinger around the right-hand needle back to front.
- Then pull it through the stitch, forming a new stitch on the right needle.
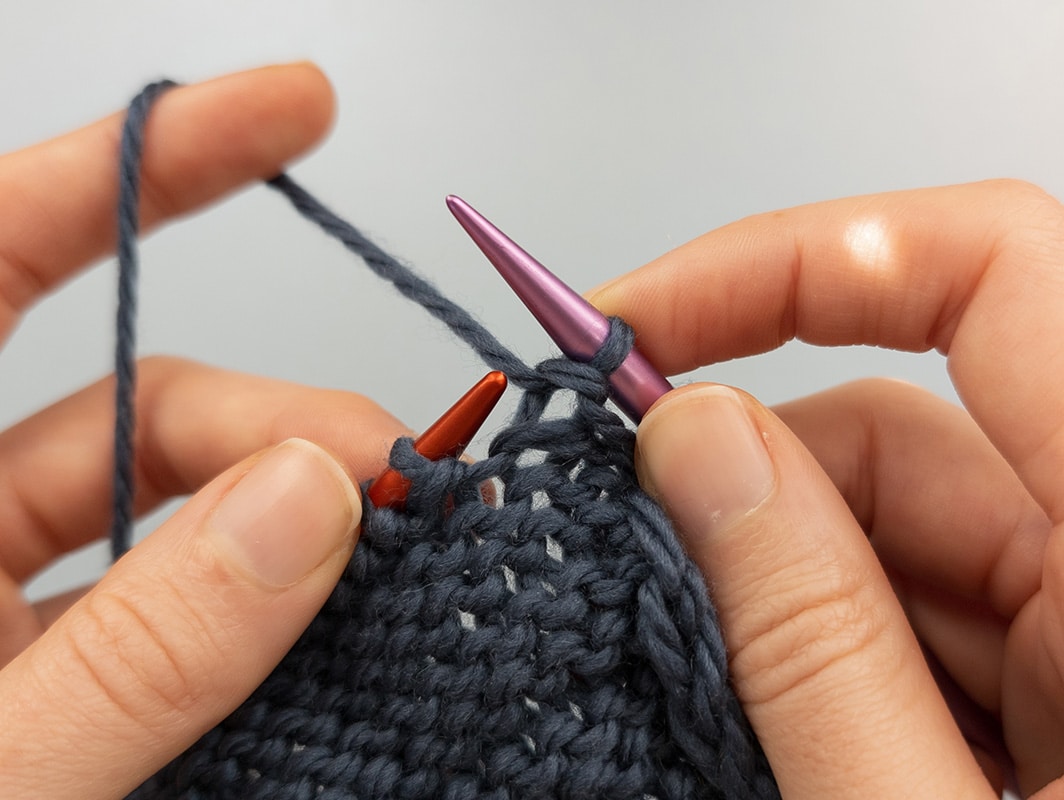
Step 3: Let the stitch slip from the needle
- After pulling the yarn through the stitch, let it slip from the left-hand needle.
- The new stitch remains on the right needle.
- Repeat this until you have knitted all stitches from the left-hand needle.
Once all your stitches have moved from the left-hand needle to the right-hand needle, you can admire the first row of knit stitches, showing their characteristic appearance that resembles small hearts or Vs. On the opposite side, you can see the little bumps.
What are purl stitches?
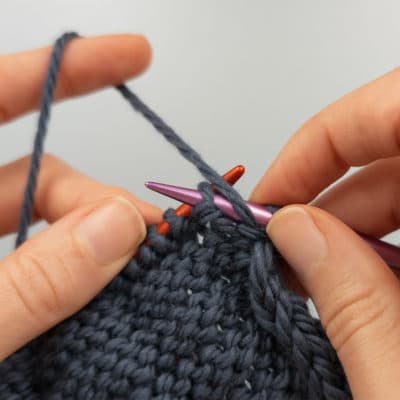
Purl stitches, along with knit stitches, are one of the basics of almost all knitting patterns. While knit stitches are worked with the yarn behind the needle, the working yarn lies in front of the needle when you purl. Purl stitches form a textured fabric with little bumps on the right side (front) of the fabric, while appearing as a small V on the wrong side (back).
Working purl stitches -
stept by step
Preparation and position of hands and fingers
- Hold the needle with the stitches in your left hand, just like when working knit stitches. The strand coming from your ball of yarn is at the beginning (tip) of the needle.
- Wrap the working yarn around the forefinger of your left hand and secure it with the rest of your fingers.
Step 1: Place yarn in front of the needle
- The working yarn is placed in front of the left-hand needle holding your stitches.
- It is now lying above the first stitch at the needle tip.
Step 2: Insert the needle in the first stitch and yarn over
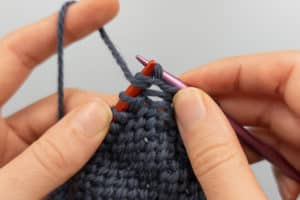
- Insert the right-hand needle right to left into the first stitch, passing in front of the left-hand needle but behind the yarn.
- Then wrap the yarn counterclockwise (back to front) around your right needle. To do this, you can either move your right-hand needle or wrap the yarn around it with your left forefinger.
Step 3: Pull the yarn through
- After wrapping the yarn around your right-hand needle, pull it through the stitch, using your right thumb to secure the yarn on the right needle tip until it is completely pulled through.
- Let the stitch glide off your left-hand needle.
The new stitch has been formed on your right-hand needle. Repeat until all the stitches are worked.

Strickmuster: Glatt Rechts & Kraus Rechts
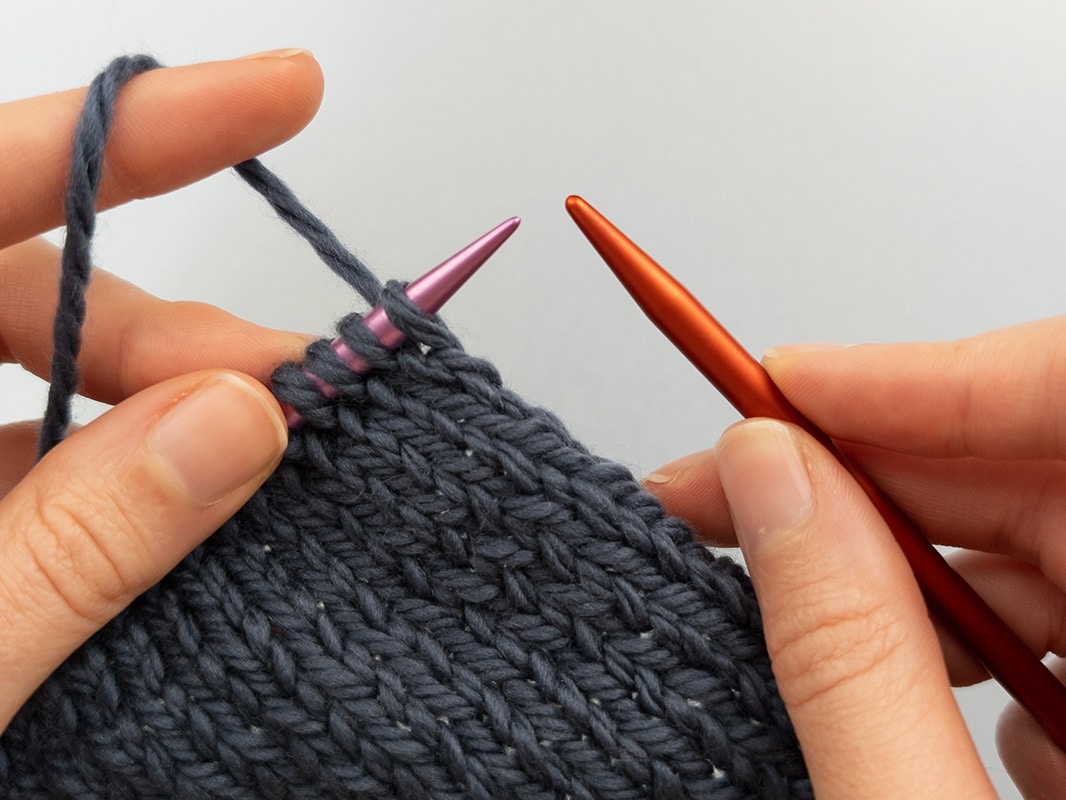
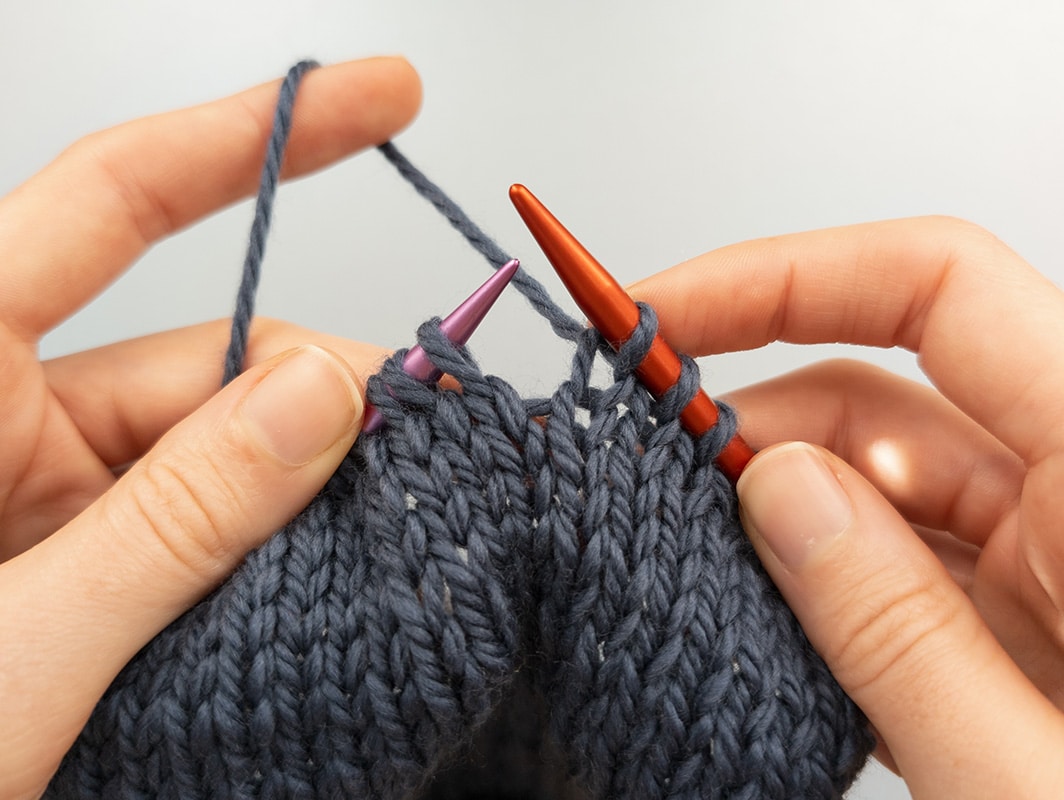
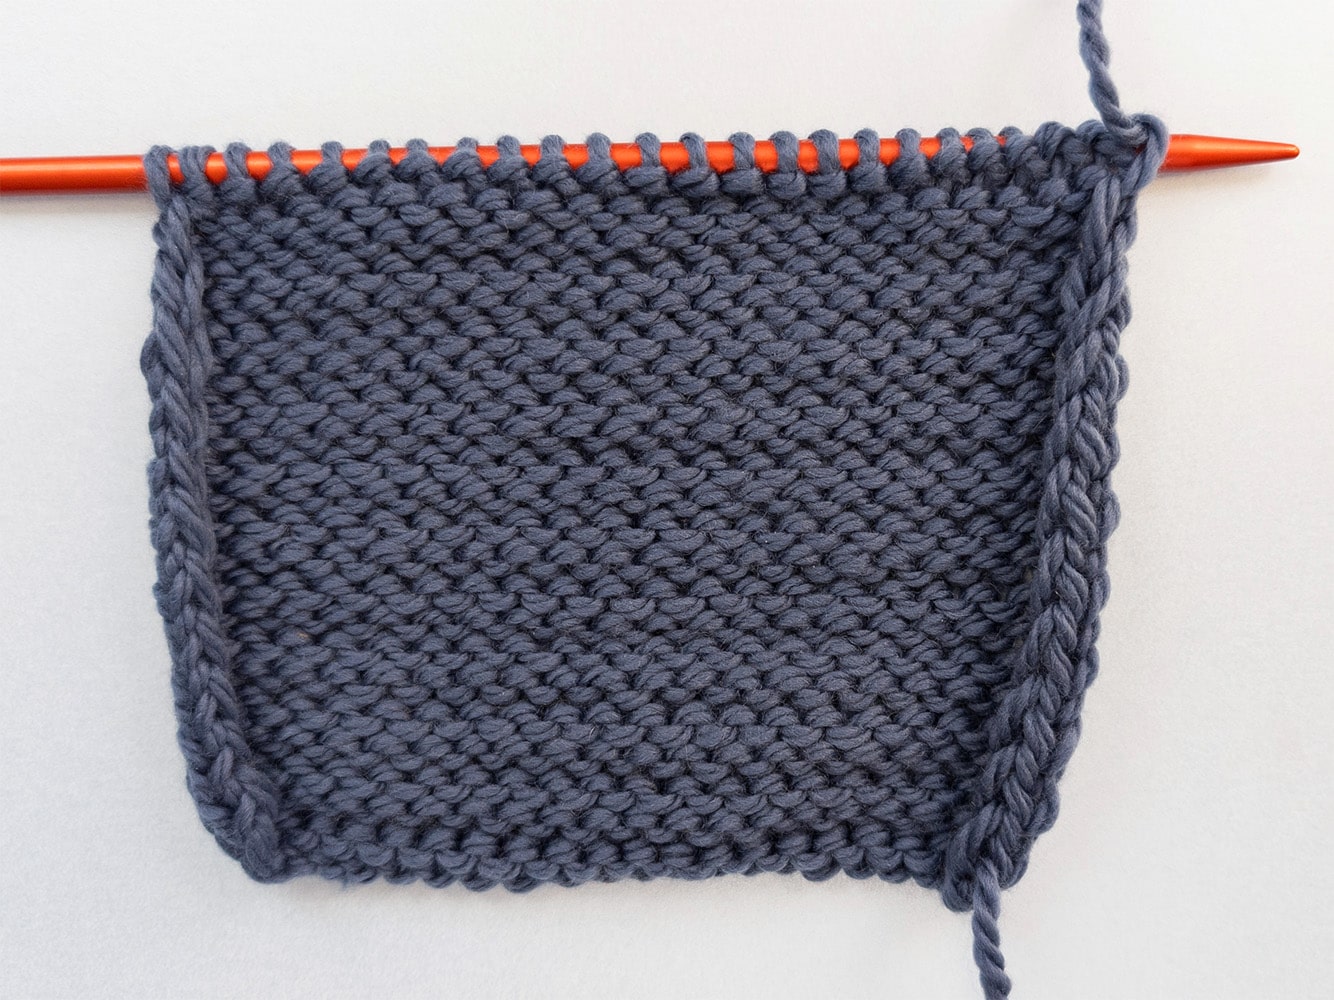
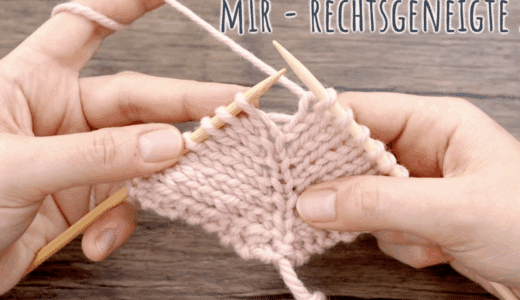
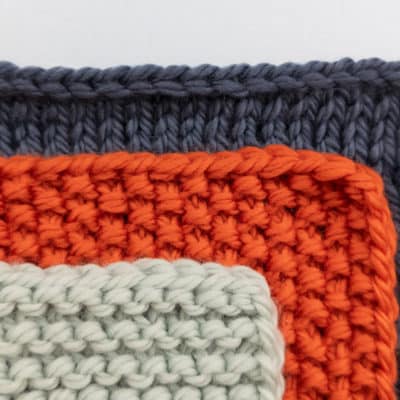
You can work a great variety of patterns using only knit and purl stitches.** One of the easiest and most common combinations of knit and purl stitches is the stockinette stitch (blue) It is worked with knit stitches on the right side of the fabric and purl stitches on the wrong side, i.e., in all right-side rows, you knit all the stitches, and in wrong-side rows, you purl all the stitches. The result is a smooth right side (front) of the fabric, characterized by the distinctive V-shaped stitches, while the wrong side has a slightly rippled texture.
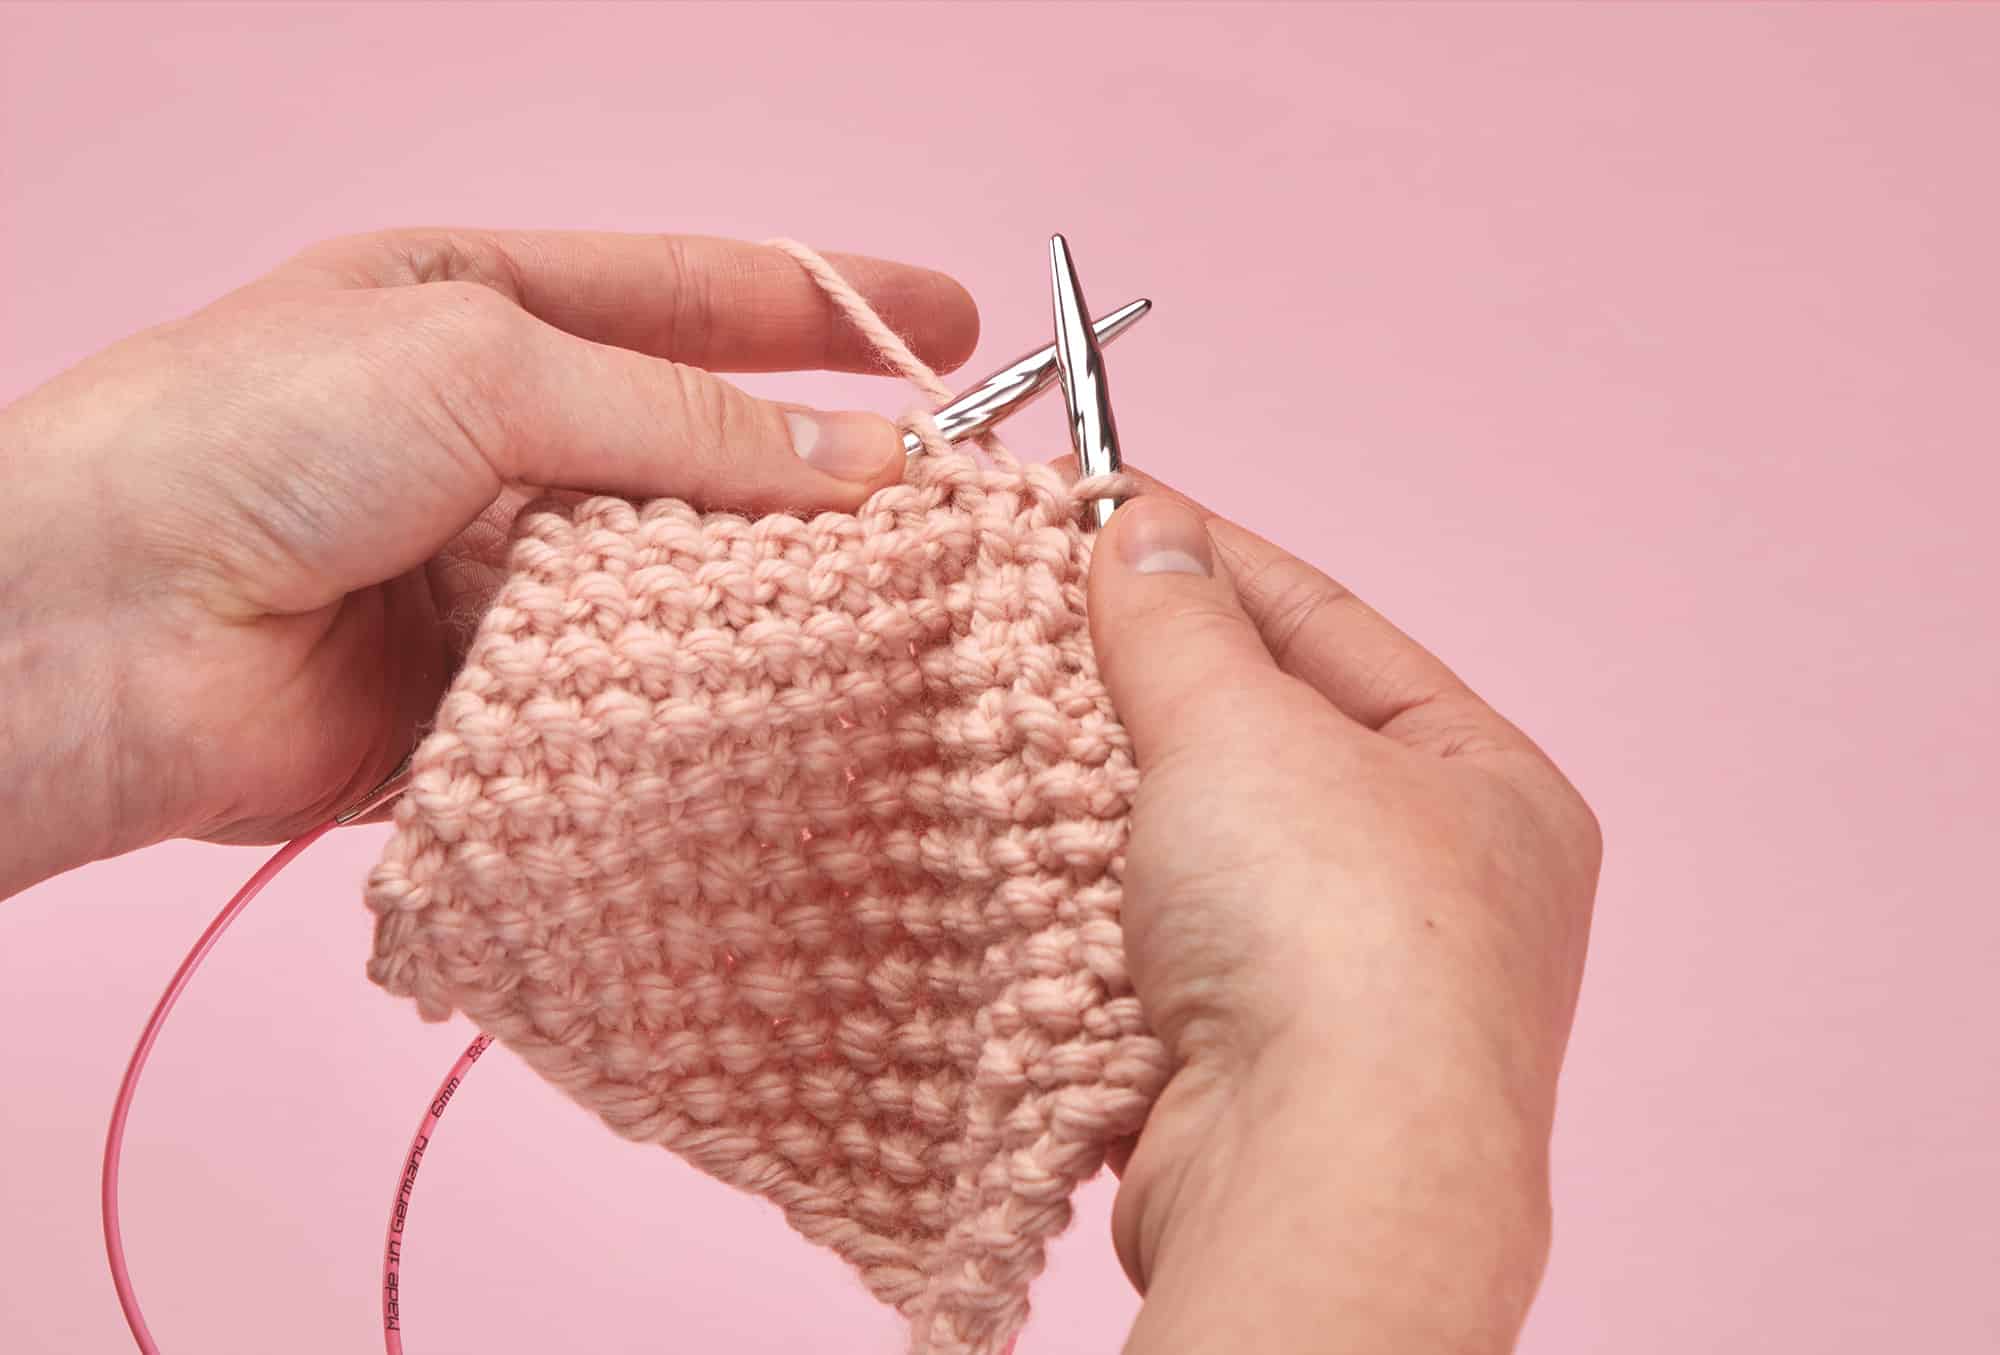
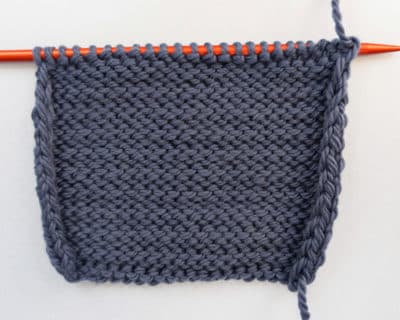
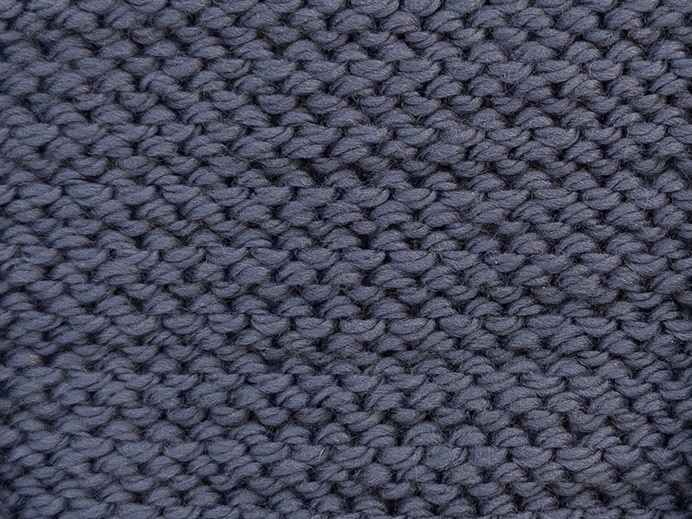
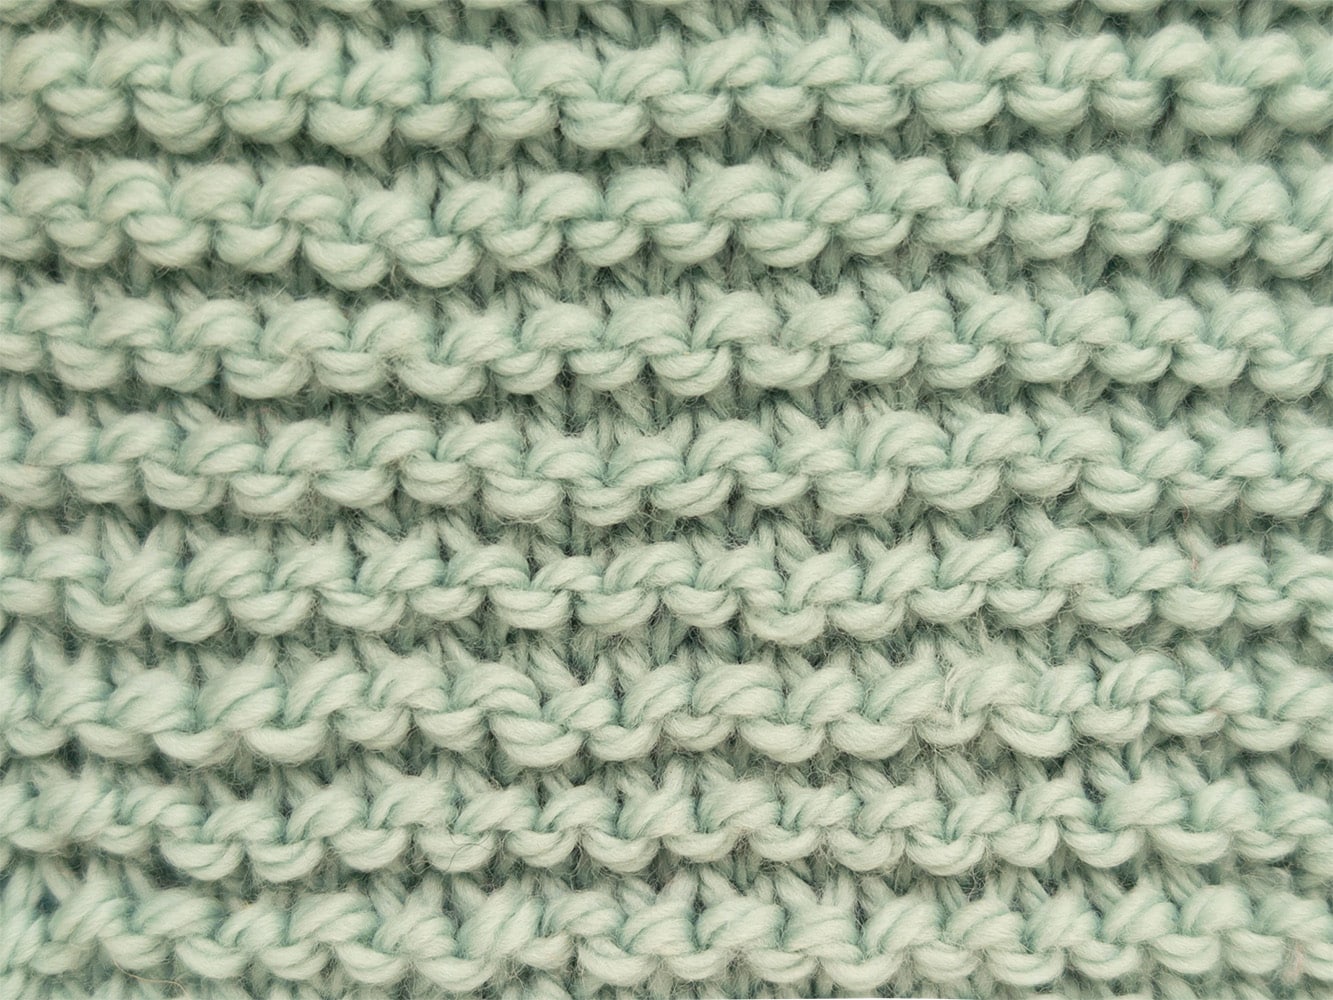
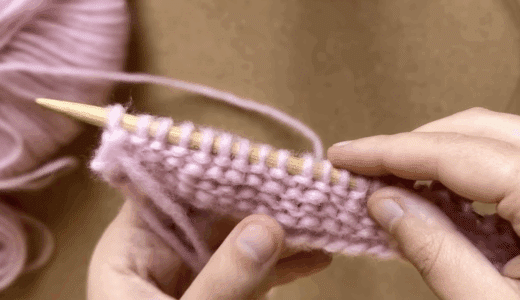
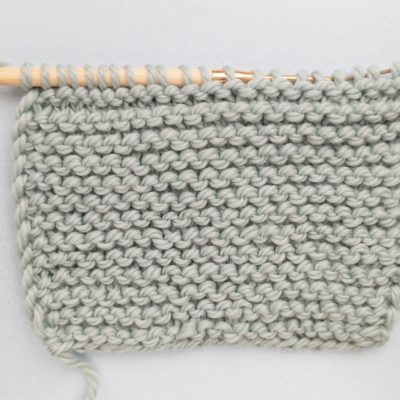
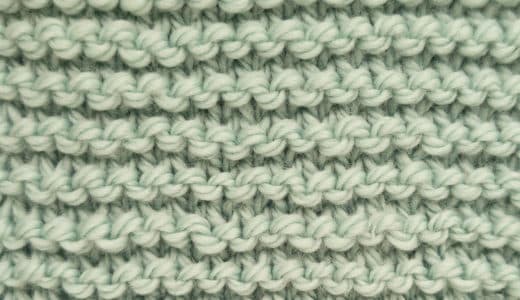
Another popular stitch is the garter stitch (mint) Here, you only work knit stitches, both in the right-side and wrong-side rows. This creates a ridged texture as knitted and purled rows alternate throughout the fabric. It is a very easy-to-knit pattern whose edges do not roll in, making it an excellent choice for scarves and blankets. It is also often used on the edges of knit designs.
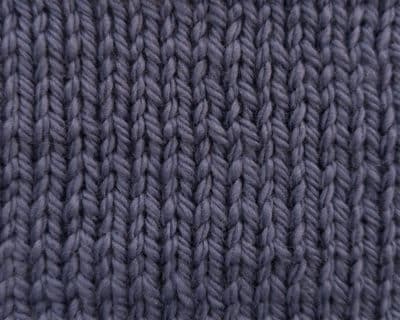
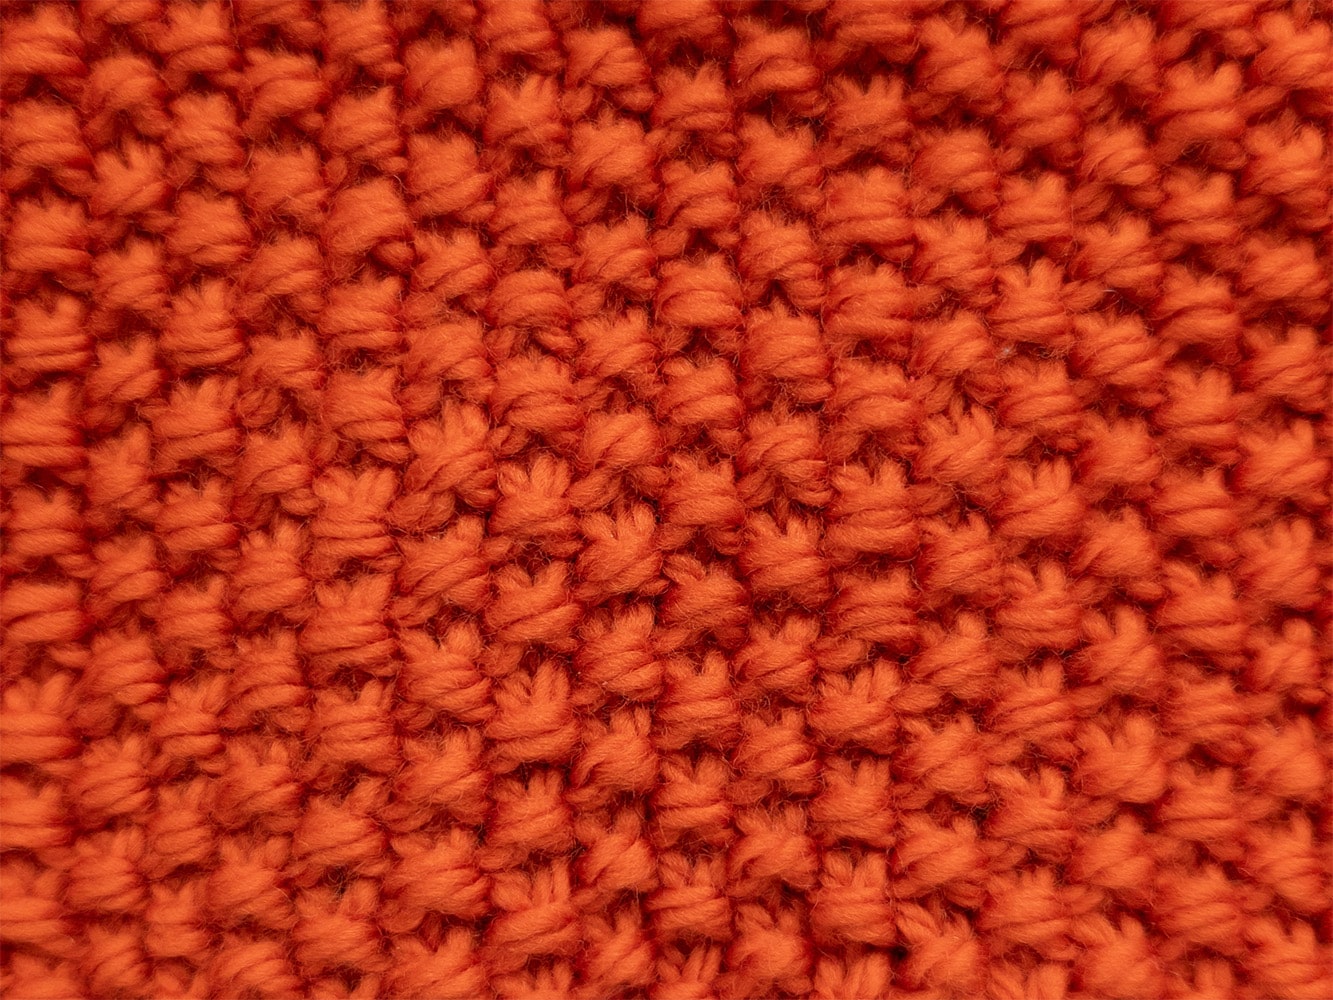
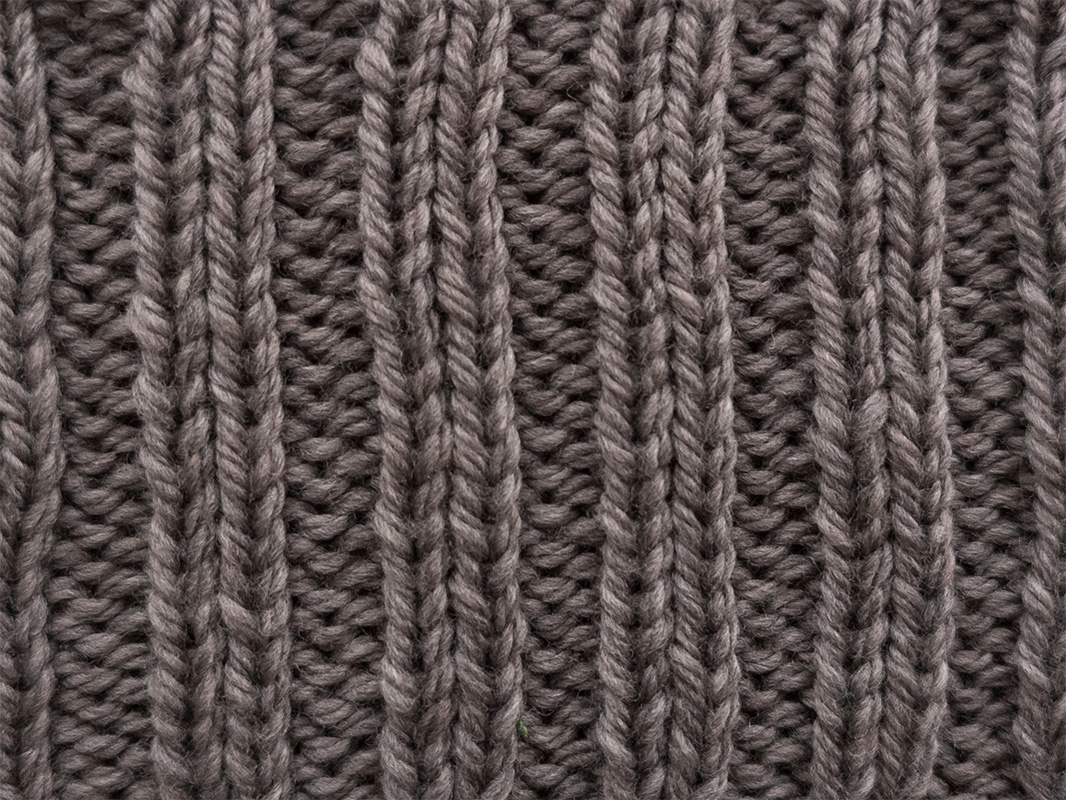
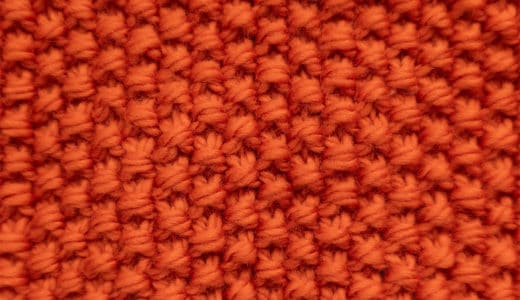
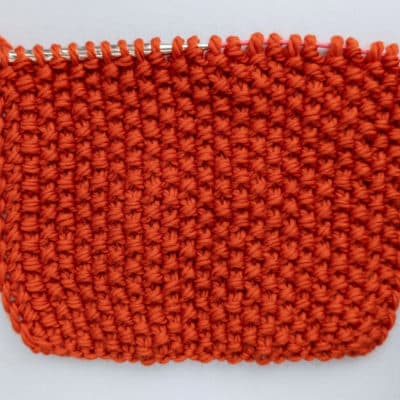
Combining knit and purl stitches, you can also create more elaborate textures like the rib stitch (grey), for which you alternate knit and purl stitches in one row, or the seed stitch (orange), where you alternate knit and purl stitches both horizontally and vertically. With these patterns, you can add even more texture to your knits.
Casting-off stitches: Finishing your knitting project
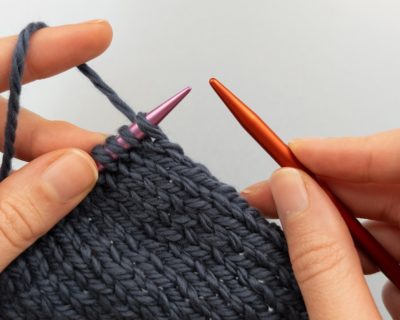
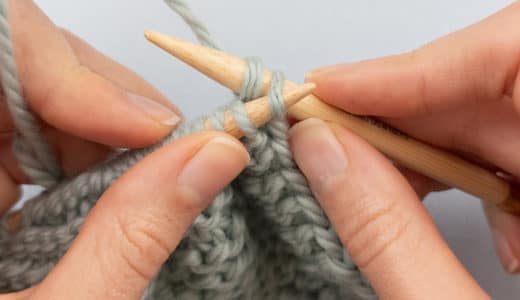
Casting off the stockinette stitch is a vital step to finishing your knitting project and making sure that the stitches do not unravel. It results in a stable edge and ensures that the piece keeps its form. Whether you are working on a scarf, a blanket or a garment, casting off the stitches is a necessary finishing step for every knitting project.
Short guide for casting off stitches:
Step 1: Start by working two stitches in your chosen pattern.
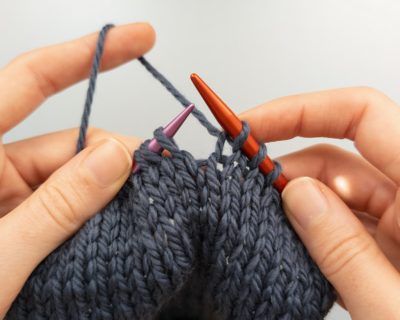
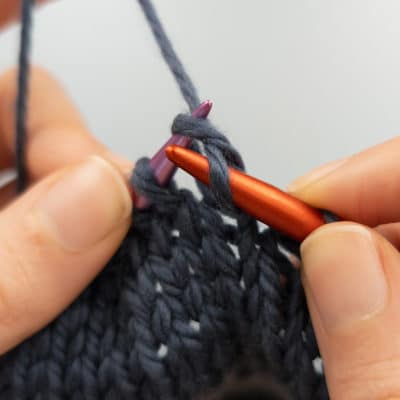
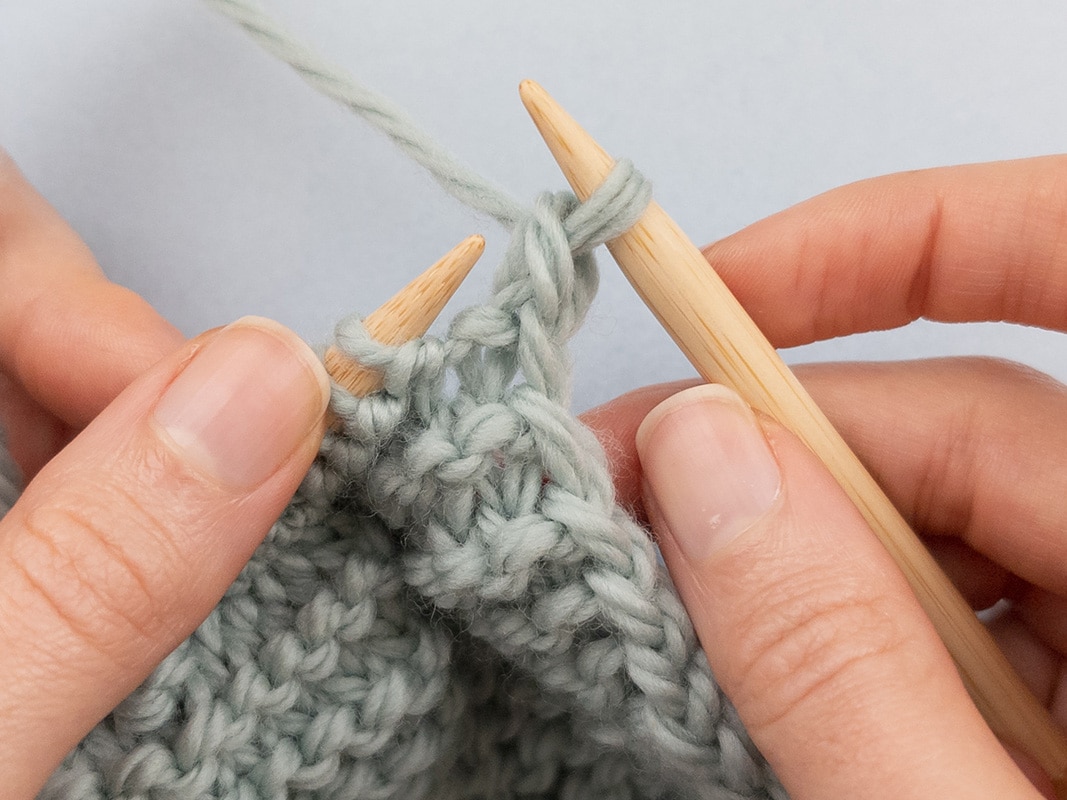
Step 2: With the left-hand needle, pass the first stitch (on your right-hand needle) over the second stitch and the needle tip, letting it slip from the needle. One stitch remains on your right-hand needle.
Step 3: Work the next stitch and repeat passing the first stitch on the right-hand needle over the second. Repeat the entire procedure until only one stitch remains.
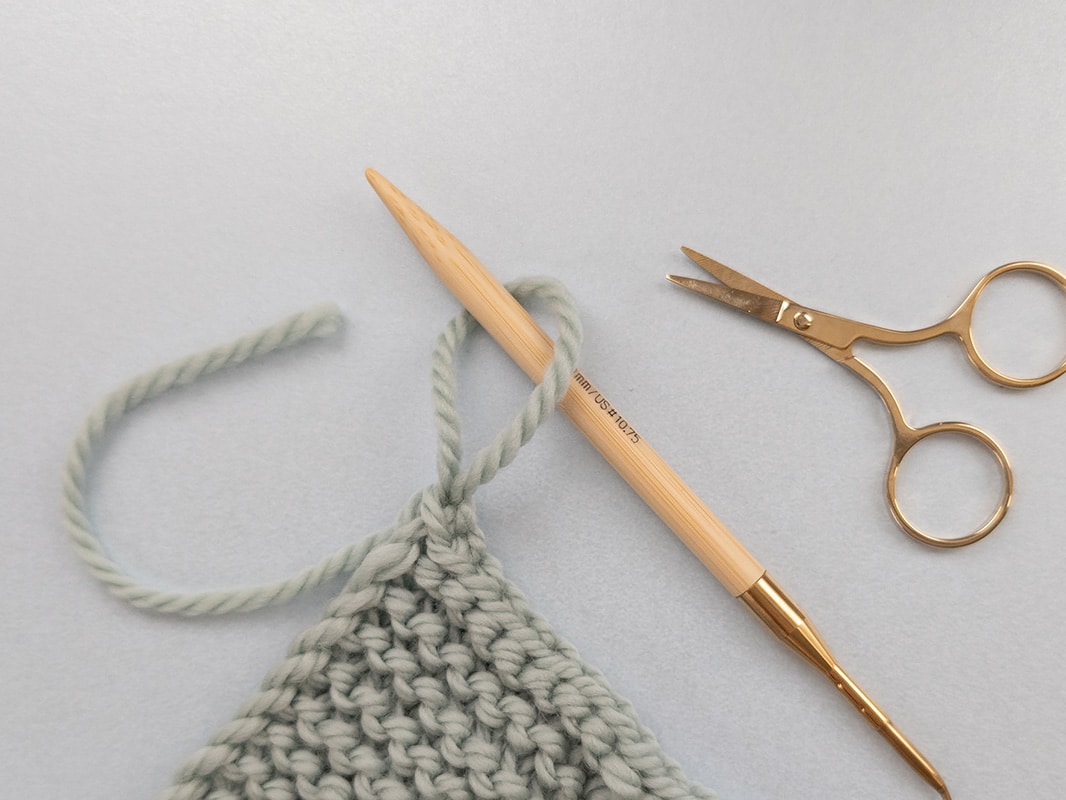
Step 4: Pull on the last remaining stitch, enlarging the loop of yarn. Then slide the needle out and cut the working yarn. Pull the yarn end through the loop, then tighten to secure the last stitch.
Tip: The process of casting off can vary dependingon your pattern and the purpose of the cast-off edge. Therefore, it is essential to employ the correct technique.
Make a gauge
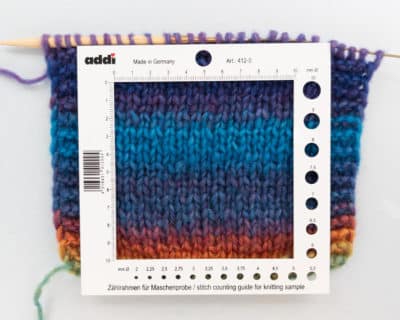
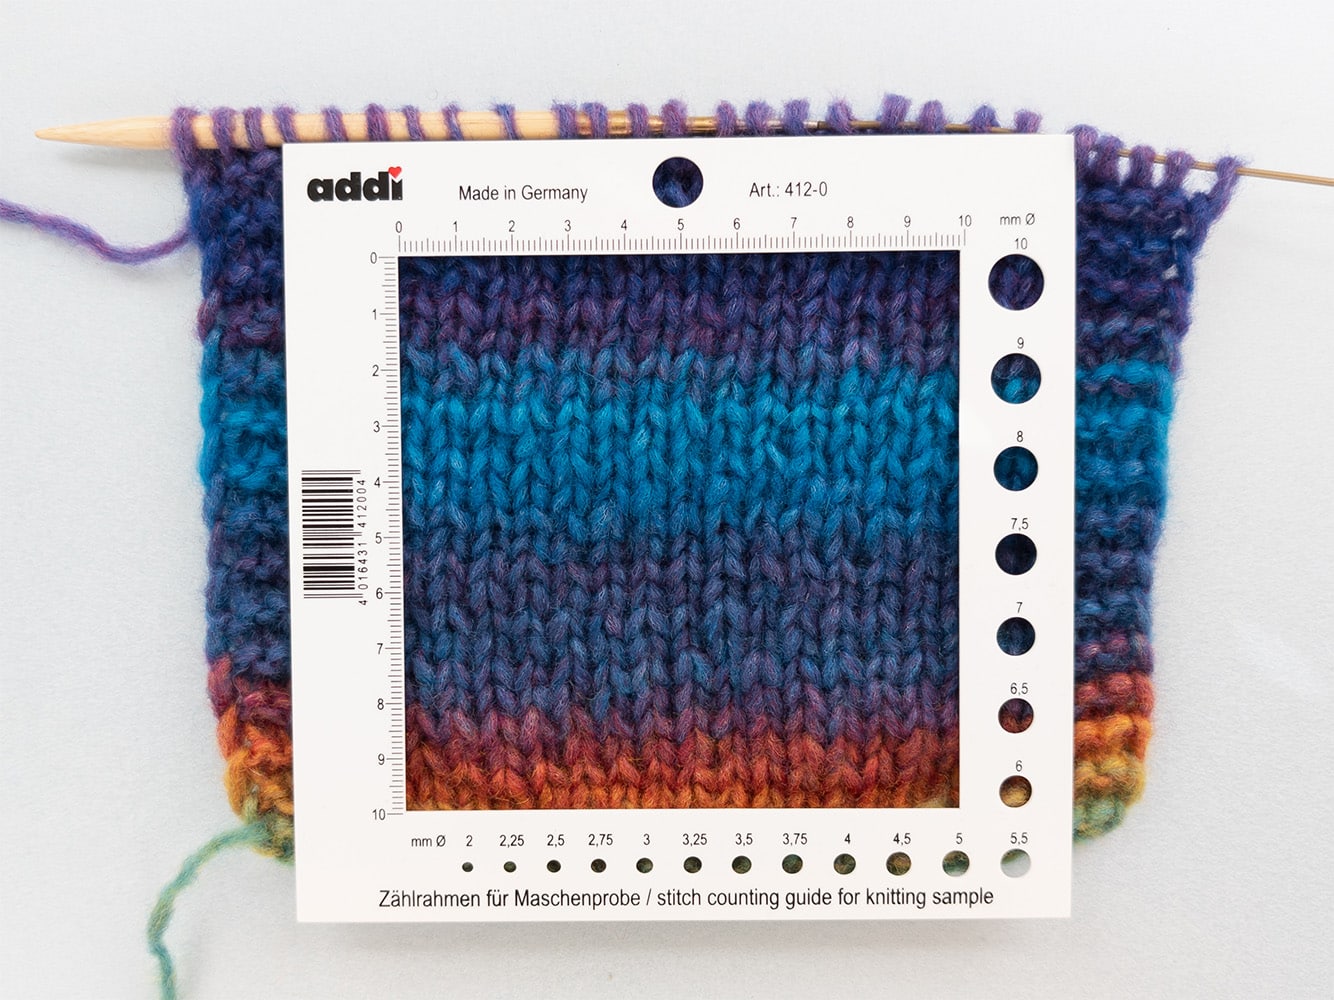
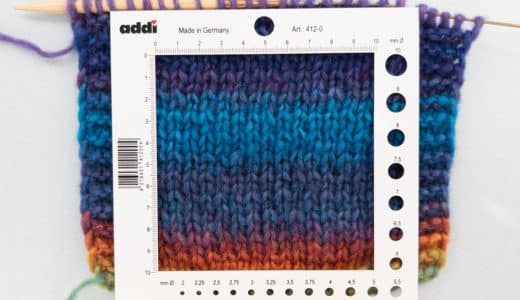
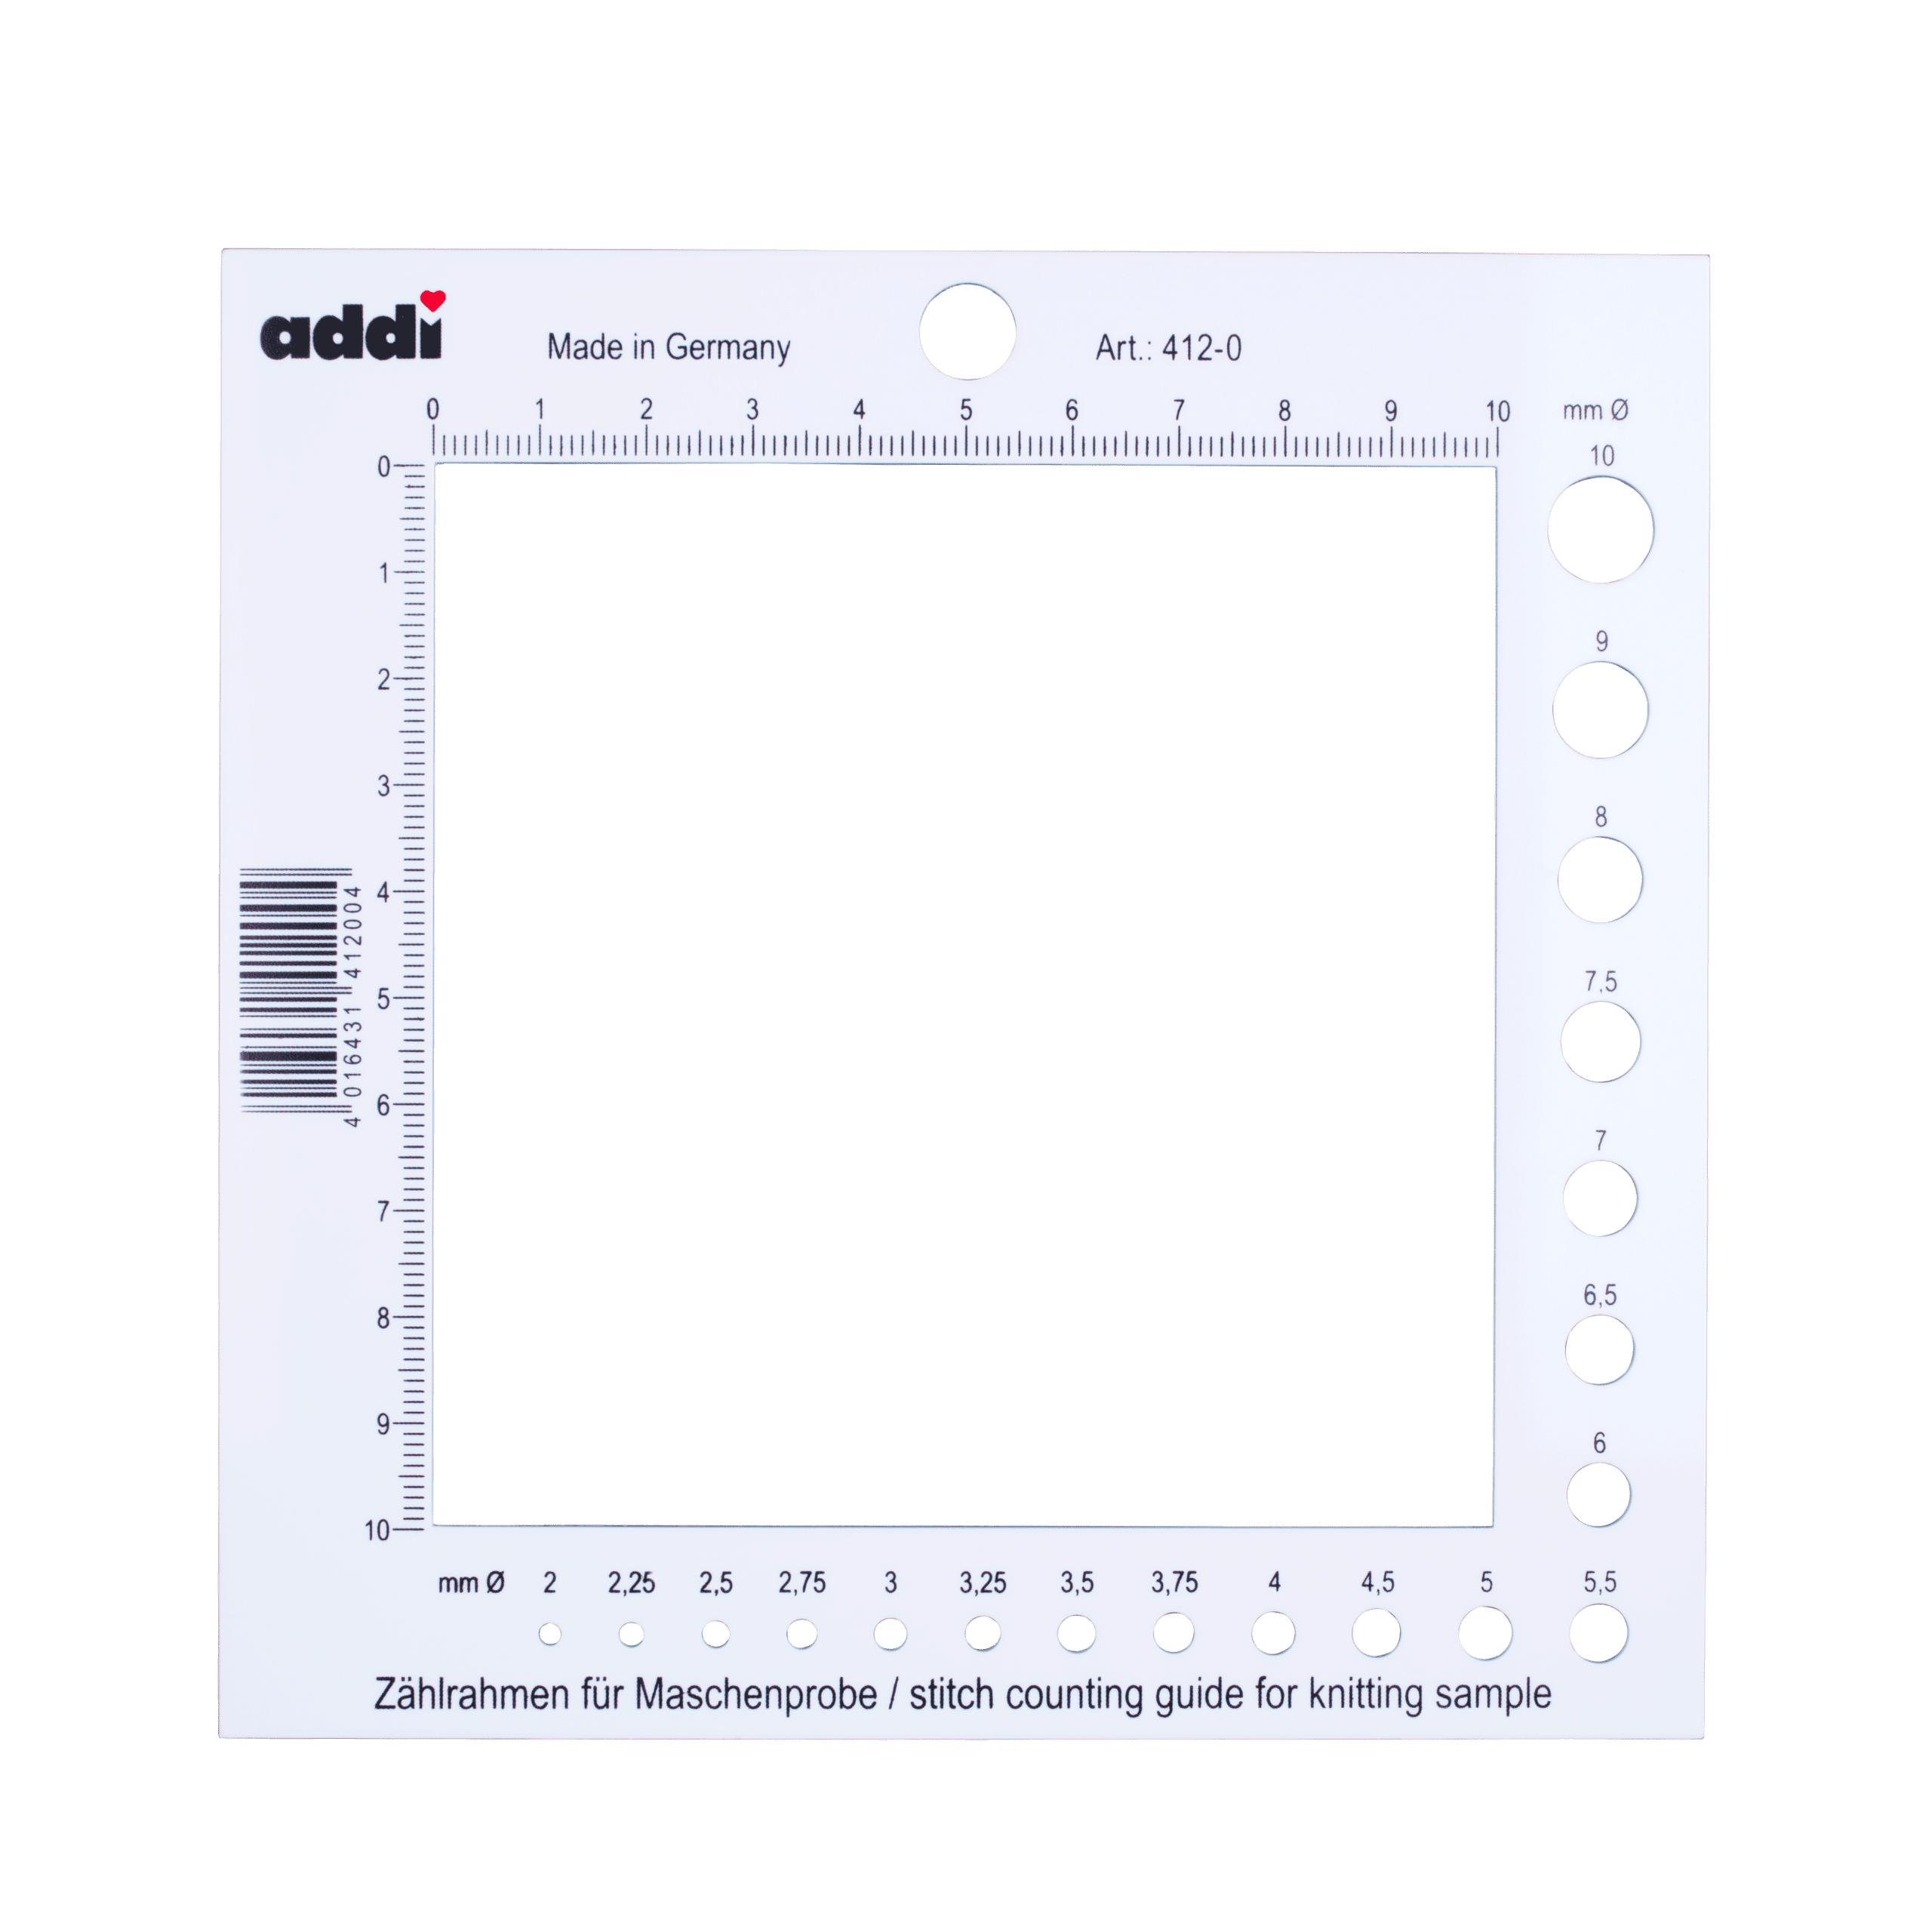
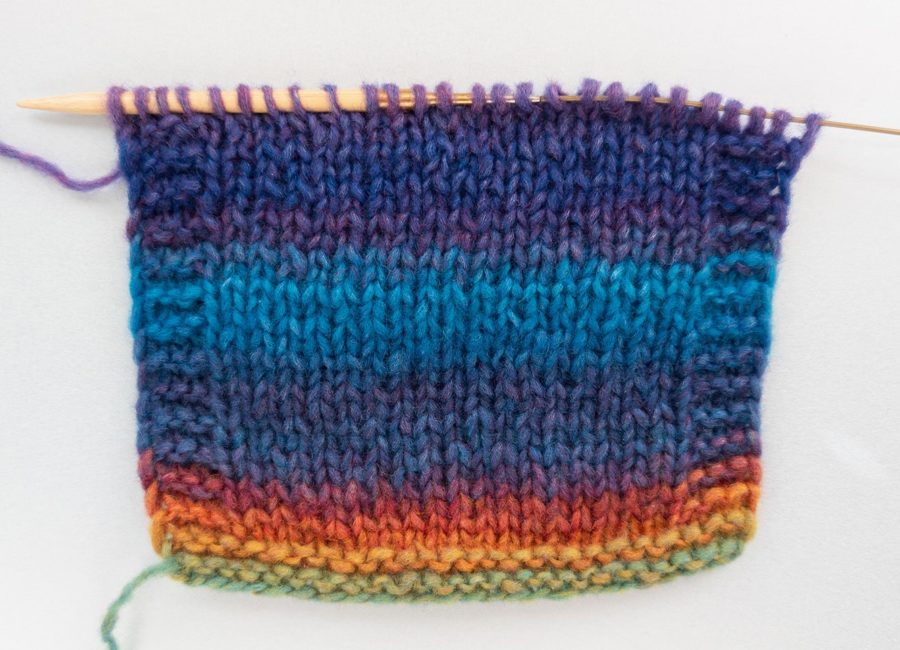
To make sure your finished knitting project has the correct measurements and the right fit, knitting a gauge swatch is highly recommended. The swatch helps you to determine the number of stitches and rows in a 10 x 10 cm (4 x 4 in) knitted square. Even though you might be tempted to start working on your main project right away, swatching is especially important when knitting big pieces and garments. It will spare you unpleasant surprises and disappointment.
For beginners, swatching offers the possibility to take your first steps in knitting and get acquainted with the yarn and needles. It’s a great opportunity to practice your technique, experiment with yarn tension and make sure that the yarn and needle size match.
Learn how to knit with easy patterns
For beginners, projects with medium-weight yarns are a great choice, such as scarves, dishcloths, or hats. They are usually worked flat or in the round with easy patterns, and fit everybody, even if one or two mistakes sneak in. For these projects, you only need the basics of knitting, providing the perfect opportunity to improve your knitting and achieve first successes.
Strickkurse von Partnern:
Frequently asked questions about learning to knit
Which is easier? Learning to crochet or knit?
When getting started with needlework, many people find crocheting easier than learning to knit. The reason for this is that there is usually only one stitch on the needle when crocheting. Even if the stitch is lost, it can be easily restored. Shapes are thus created very freely.
In comparison, knitting with two needles and many stitches on the needles requires more coordination skills, practical practice and planning. The stitches are all cast on at the beginning and knitted in rounds or rows.
How long does it take to learn how to knit?
Learning to knit takes different amounts of time depending on individual talent and practice. In general, the basic techniques such as casting on, knitting and purling, and casting off can be learned and mastered within a few weeks or months.
At what age can children learn to knit?
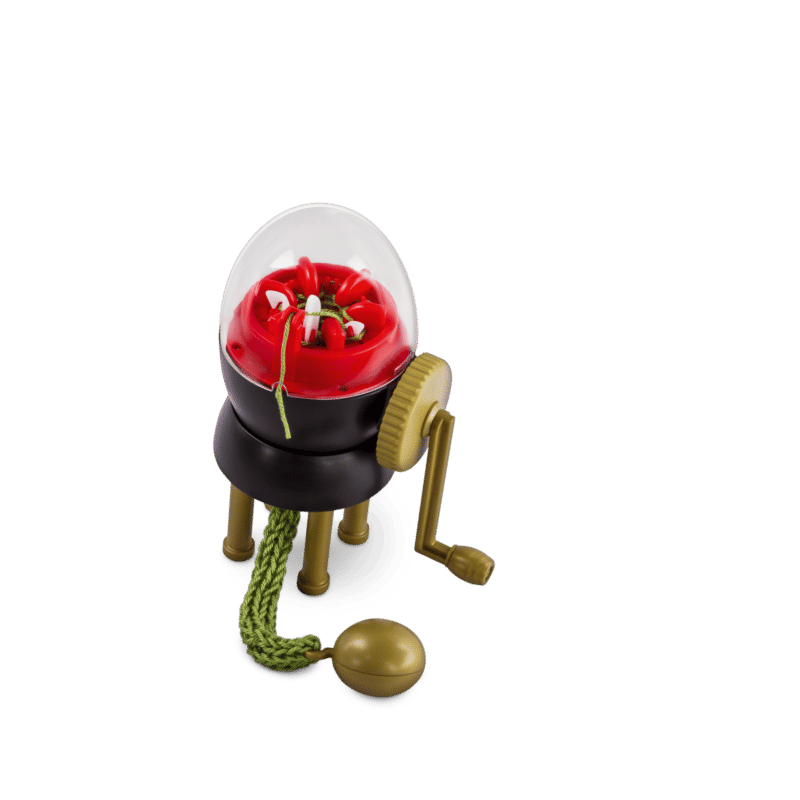
When your child is in their last year of kindergarten, it is a good time to learn the basics of knitting. A knitting dolly is best suited for this. From elementary school age onwards, children can knit their first stitches without any aids. You can find more information on this topic at Initiative Handarbeit.
Is knitting beneficial for mental health?
Knittingand crocheting make you happy. Handicrafts are not only good for your self-confidence, they also improve your well-being and have a positive effect on your mood. Like any creative activity, it improves your imagination and fine motor skills and gives you a sense of purpose and accomplishment. Find out more here: Knitting & Health
